Organize emails, calendar events, and tasks in the new Outlook by creating, assigning, and managing color-coded categories for faster information retrieval and streamlined workflows.
Organize emails, calendar events, and tasks in the new Outlook by creating, assigning, and managing color-coded categories for faster information retrieval and streamlined workflows.
by Pallav Pathak
Color categories in the new Outlook application and web interface allow users to visually group related emails, calendar events, and tasks, making it easier to identify and track items across folders. Assigning categories with distinct colors helps users quickly spot high-priority messages, personal reminders, or project-related items, directly improving organization and reducing search time.
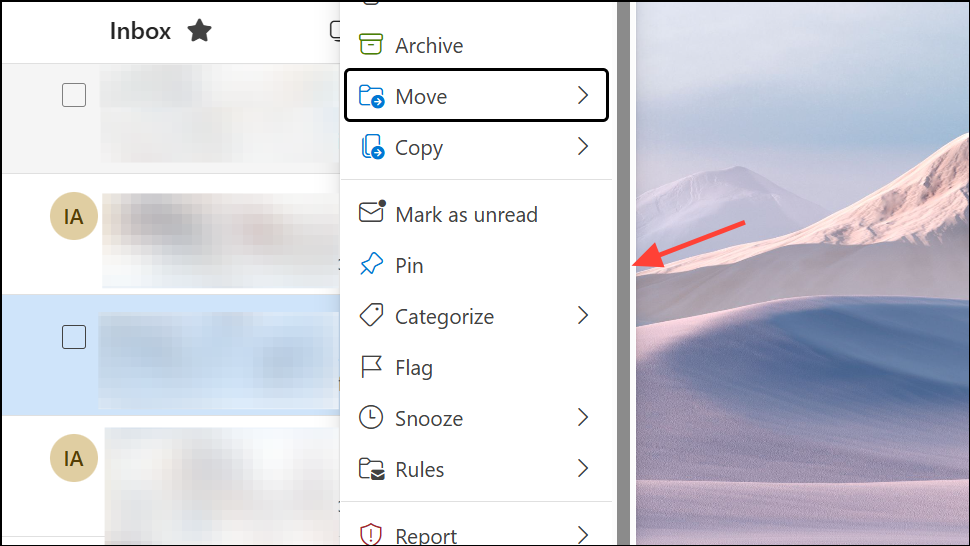
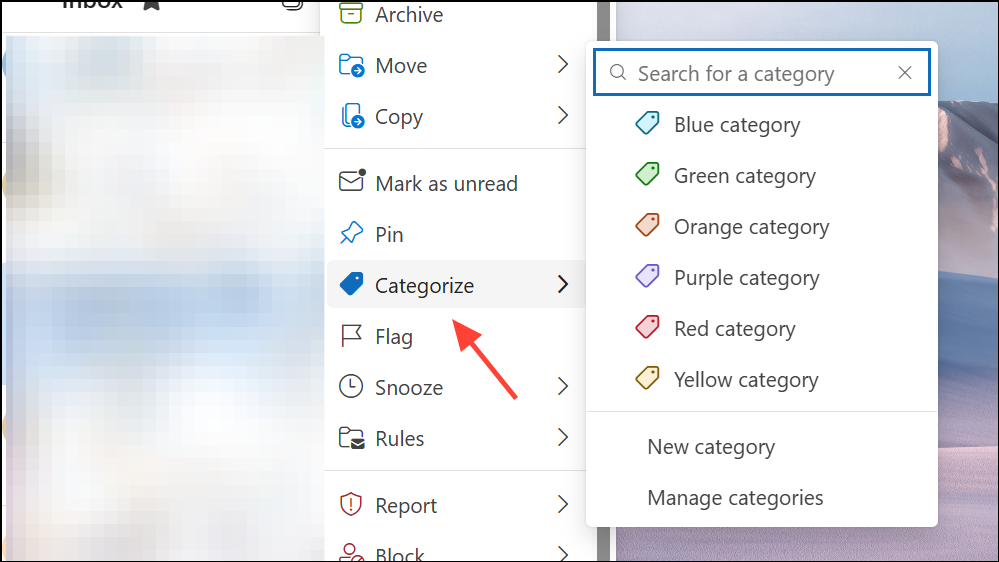
Locate the email, calendar event, or task you want to organize. Right-click on the item to display the context menu. This action works in both the message list and calendar view.
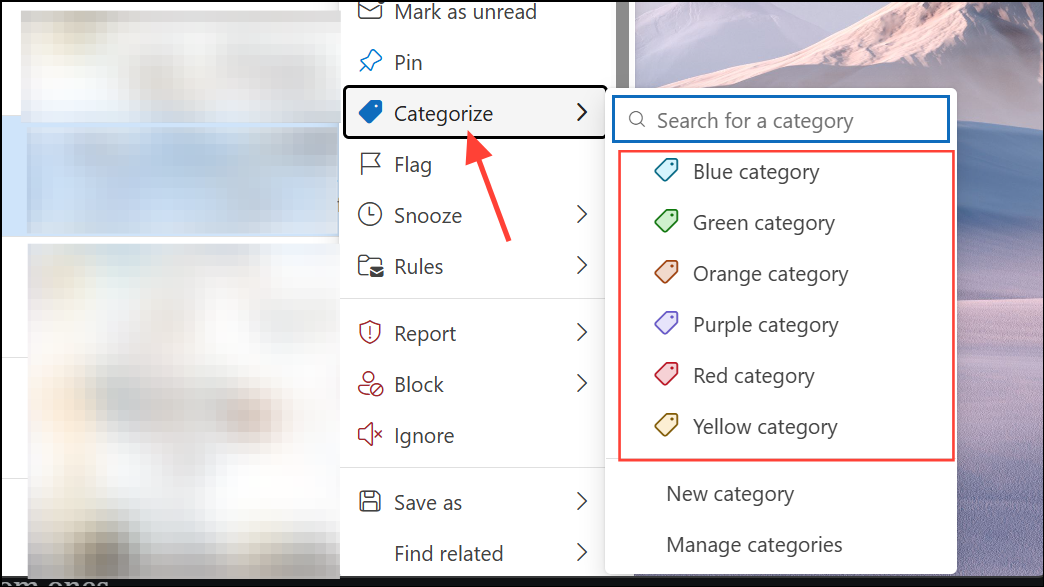
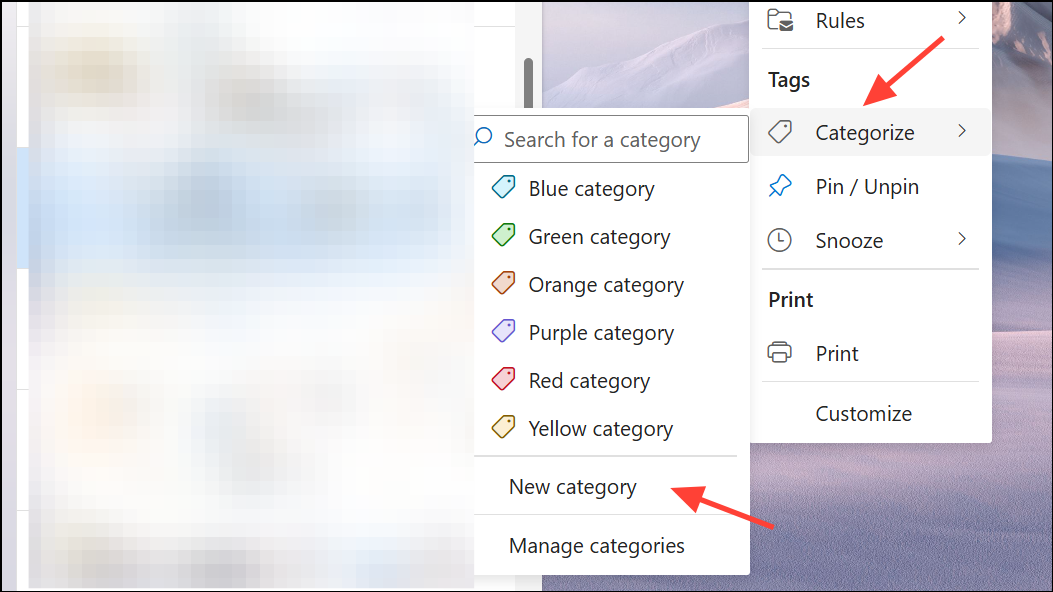
Hover over or select Categorize from the menu. A list of available color categories will appear. Click on the desired category to assign it to the selected item. You can assign multiple categories to the same item by repeating this process.
If the category you need is not visible, select Manage categories or All categories at the bottom of the list. This reveals your complete set of categories, including custom ones.
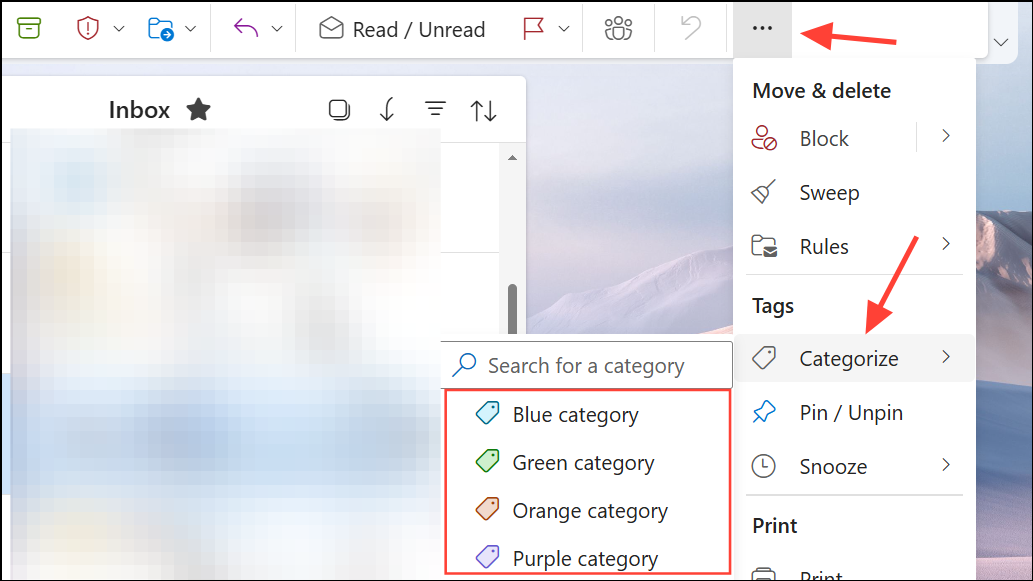
Assigning categories directly from the ribbon is also possible. With an item selected, click the three dots on the ribbon, go to Categorize, and choose your category from the dropdown.
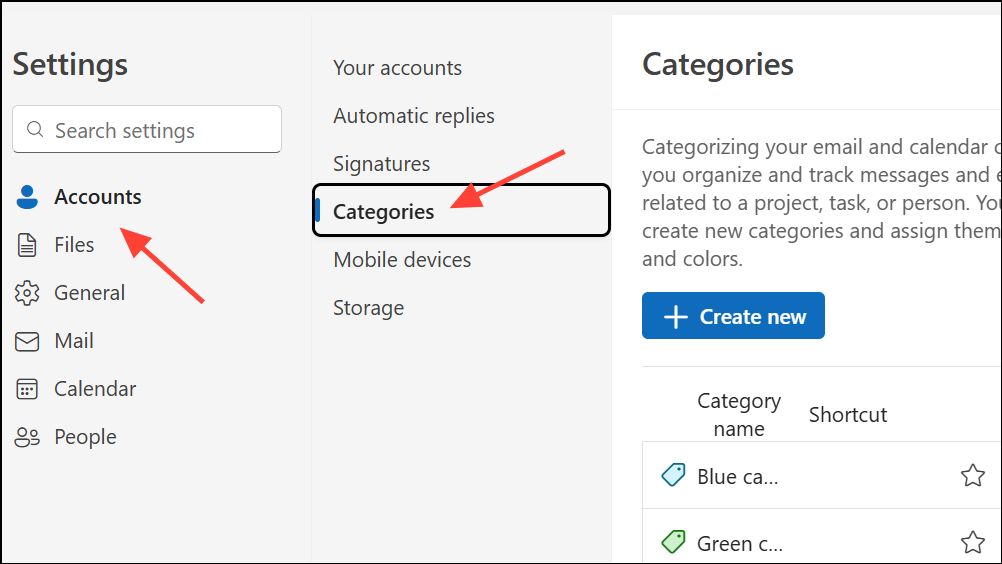
Right-click any email, calendar event, or task, then choose Categorize and select New category. Alternatively, access the ribbon, click the three dots, and select Categorize > New category, or navigate to Settings (gear icon) > Accounts > Categories and click Create category.
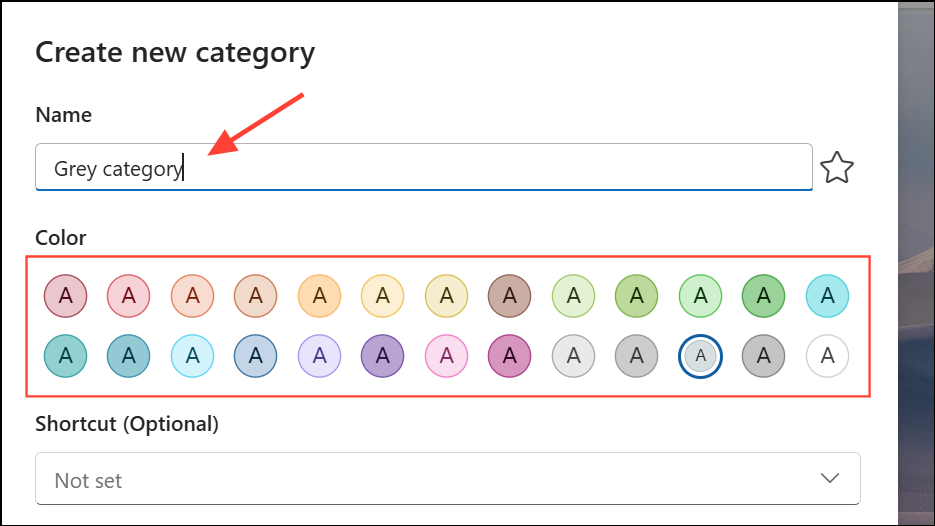
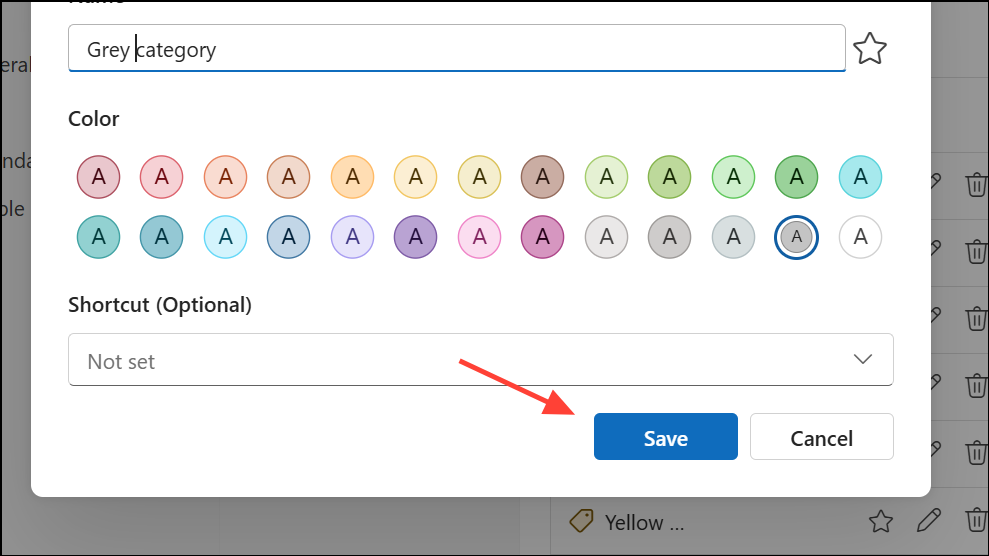
Click Save or press Enter to add the new category. It will now appear in your category list and can be assigned to items across Outlook.
Custom categories are especially useful for personalizing your organization system. For example, you might create categories like Project Alpha, Finance, or Travel for quick identification.
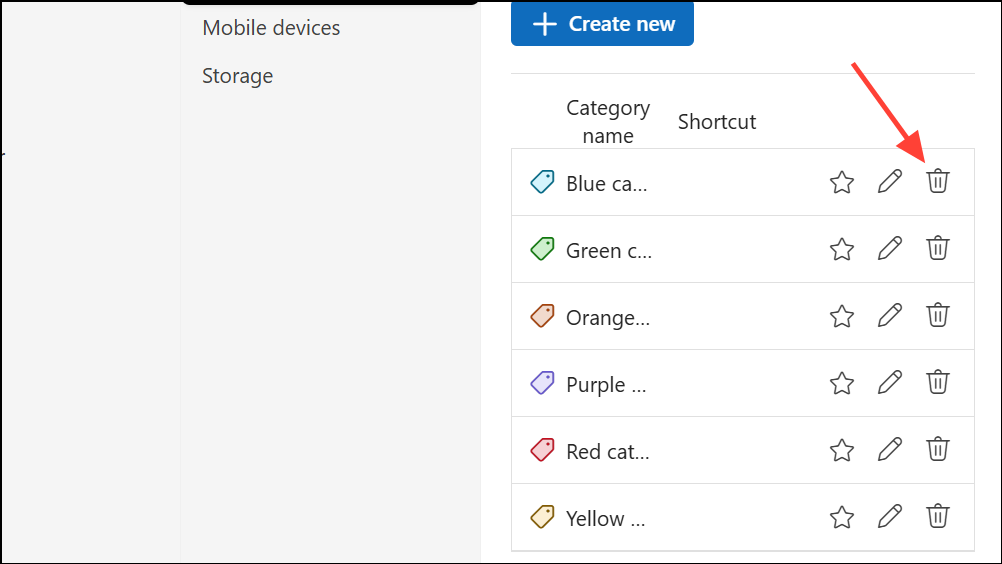
Access the categories management screen by clicking Settings > Accounts > Categories (for the Outlook web app, go to Settings > View all Outlook settings > General > Categories).
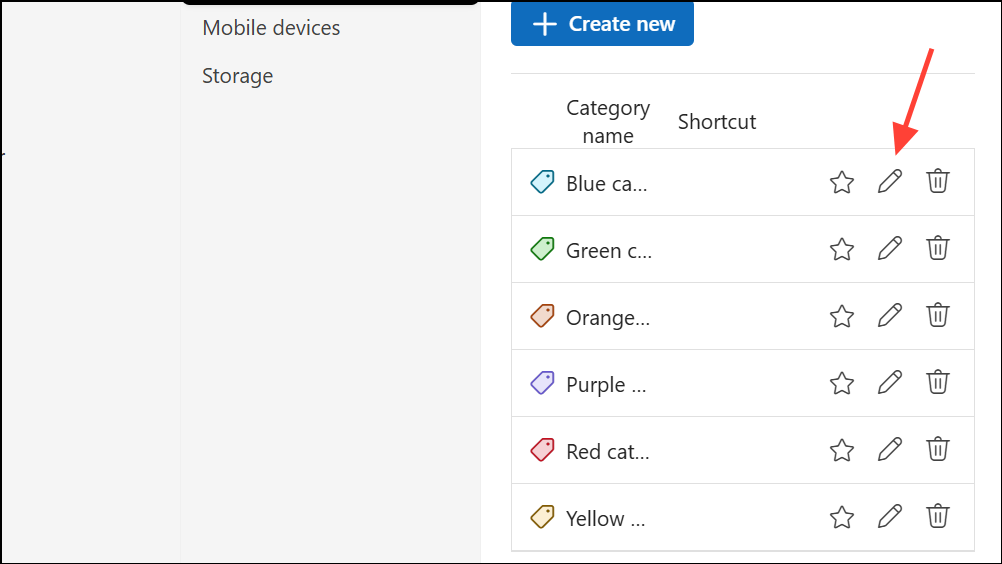
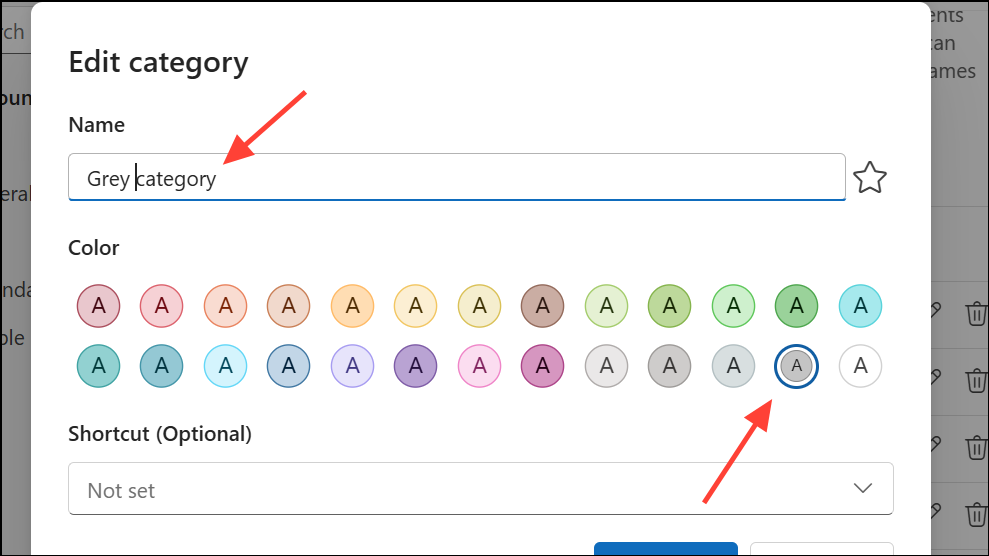
Enter a new name for the category and/or select a new color from the color picker. This change updates the category label and color for all items currently assigned to it.
Click Save to apply your changes. Renaming categories to reflect their purpose (e.g., changing “Red” to “Urgent”) helps clarify your organization system.
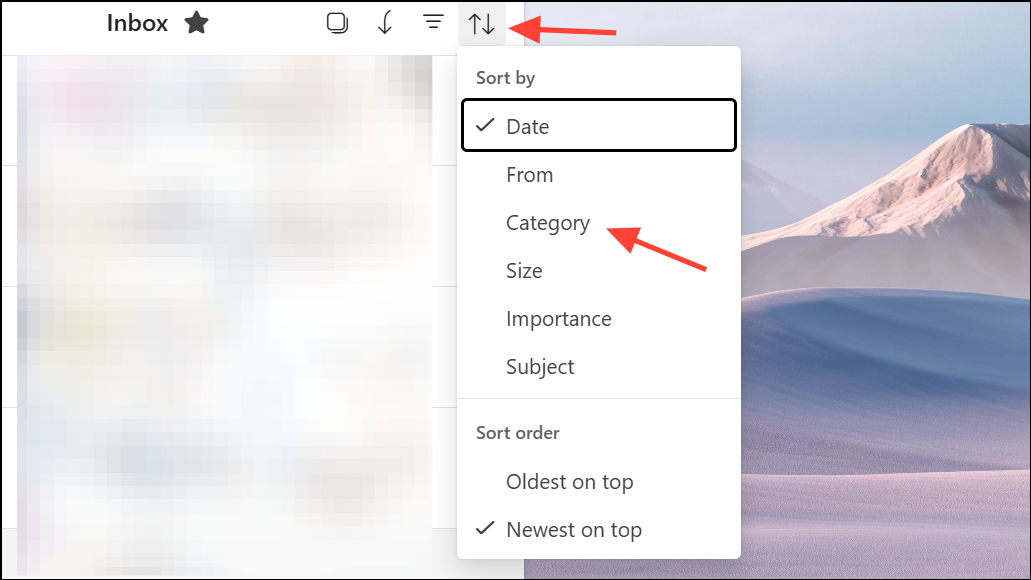
Click the Sort button in the upper-right corner. Select Category from the dropdown menu. Your emails will now be grouped based on their assigned color categories, making it easier to focus on specific projects or priorities.
To filter emails by category, click on the category tag attached to any email. This displays all items with that category across folders. To limit the view to a specific folder, click the folder name displayed next to the subject line. Exit the filtered view by clicking the left-pointing arrow in the search box.
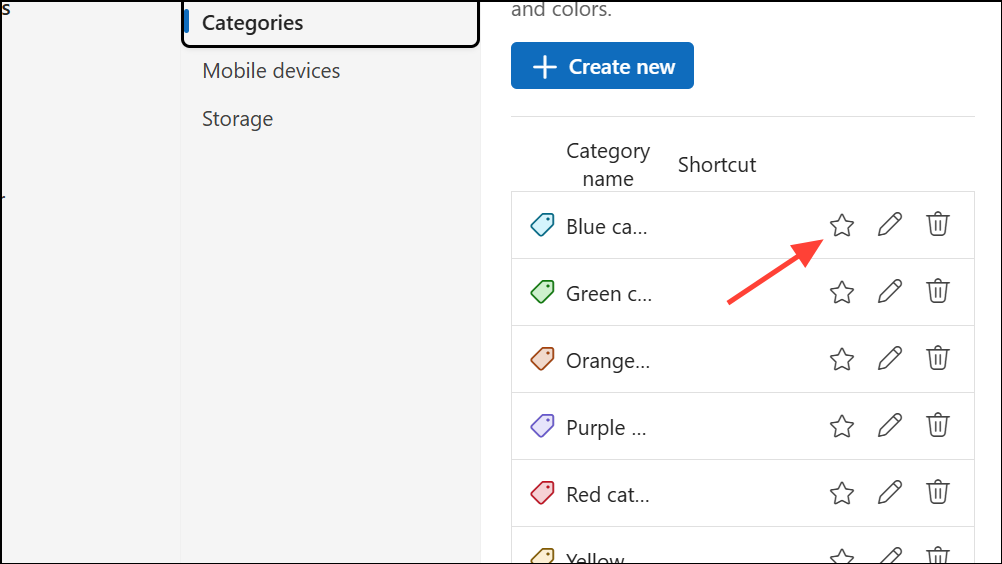
The favorited category now appears in your folder pane under Favorites. Selecting it instantly displays all emails with that category, streamlining access to important messages or projects.
Searching by Category
If you are using Classic Outlook, you can use categories with the Search Folder.
Assign a name to the search folder and select the categories you want to include. Click Create to finish. The new search folder will automatically update as items are categorized or uncategorized, providing a dynamic view of all items with specific categories.
Best Practices for Managing Categories
Rename generic categories to reflect your workflow, such as changing Blue to Client A or Green to Finance.
Assign multiple categories to items that span several projects or contexts for improved cross-referencing.
Establish rules to automatically categorize incoming messages based on sender, subject, or keywords, reducing manual sorting.
Sync categories across devices by using the new Outlook, ensuring consistency whether working on desktop, web, or mobile.
Be aware that category colors and names are specific to your account and device; others won’t see your categories on shared items.
Using color categories in the new Outlook streamlines organization and retrieval of emails, events, and tasks. With these steps, you can quickly build a system that adapts to your workflow and keeps your digital workspace efficient.