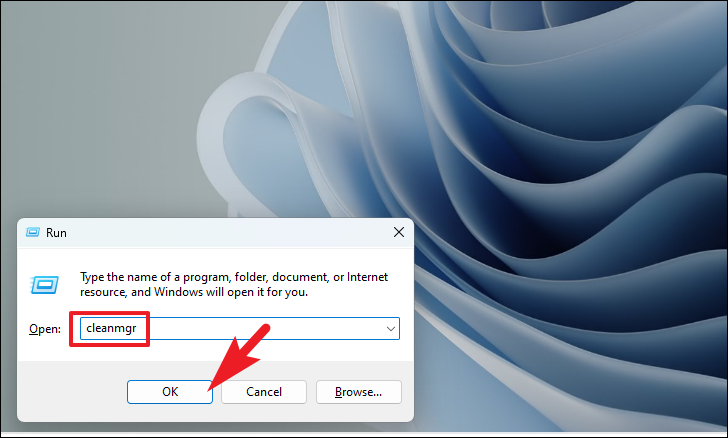
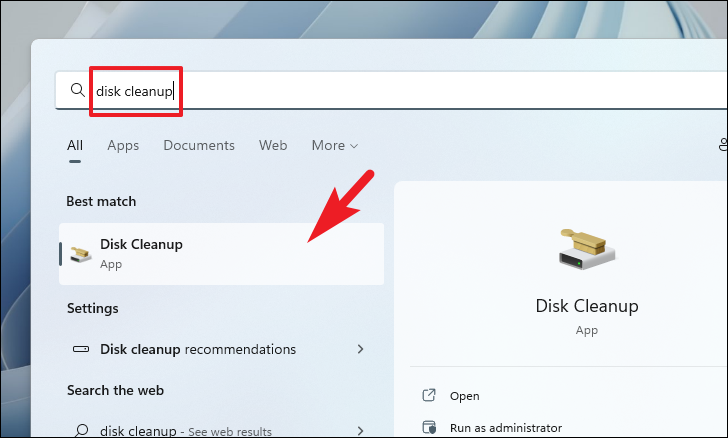
Use the Disk Cleanup Wizard to clear unnecessary files from your storage. Alternatively, use Storage Sense to automize the process or set up a schedule.
Use the Disk Cleanup Wizard to clear unnecessary files from your storage. Alternatively, use Storage Sense to automize the process or set up a schedule.
by Parth Sawhney
Maintaining ample free space on your Windows 11 computer is crucial for optimal performance. Over time, temporary files, cached data, and other unnecessary items can accumulate and consume significant storage space. Fortunately, Windows 11 provides built-in tools to help you efficiently clean up your disk space.
Automatically clean up disk space with Storage Sense on Windows 11
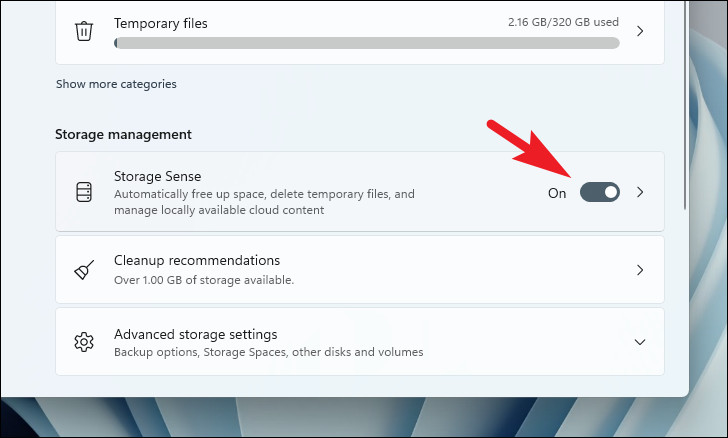
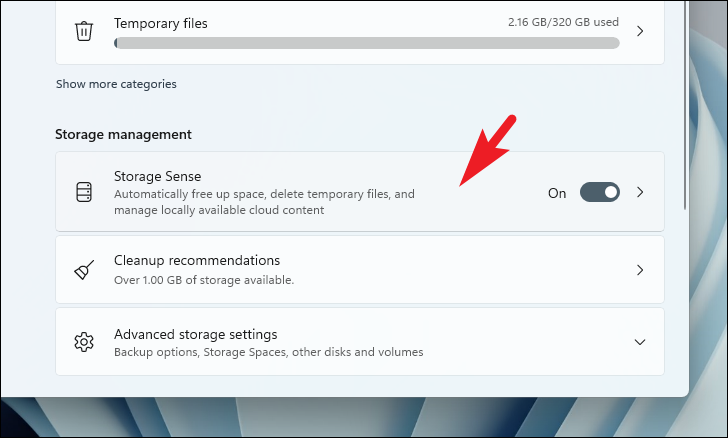
If you prefer an automated way to manage and free up disk space, you can enable Storage Sense on your PC. This feature automatically deletes temporary files, empties the Recycle Bin, and cleans up other unnecessary data when your system is running low on space or on a schedule you set.
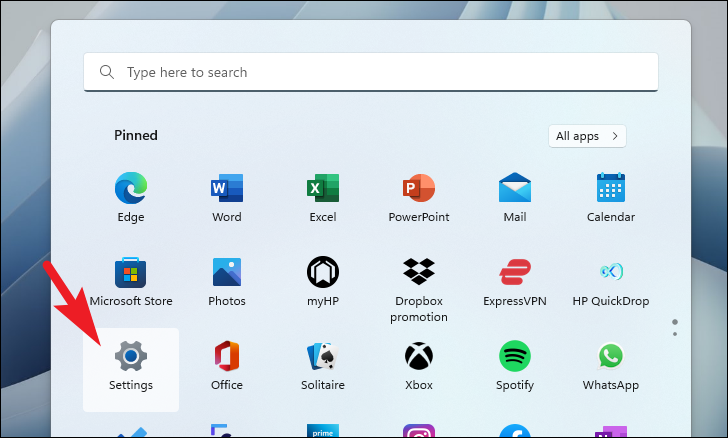
Open the Settings app on your computer. Click on the Start button and select Settings from the pinned apps. Alternatively, you can type Settings into the Start menu search bar and press Enter.
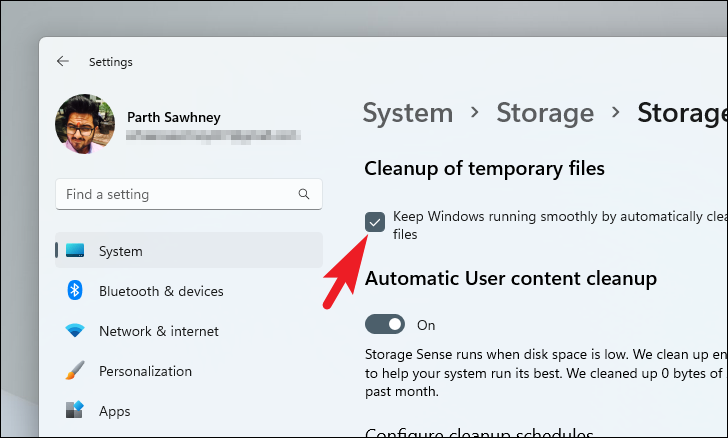
On the Storage Sense settings page, check the box under Automatic User content cleanup to allow Windows to automatically delete temporary system and app files.
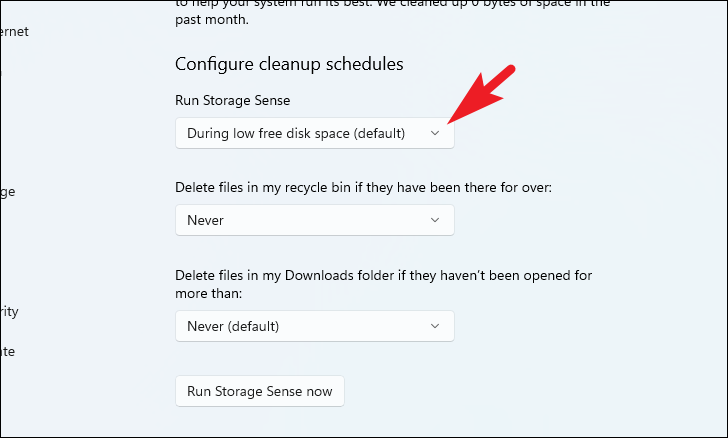
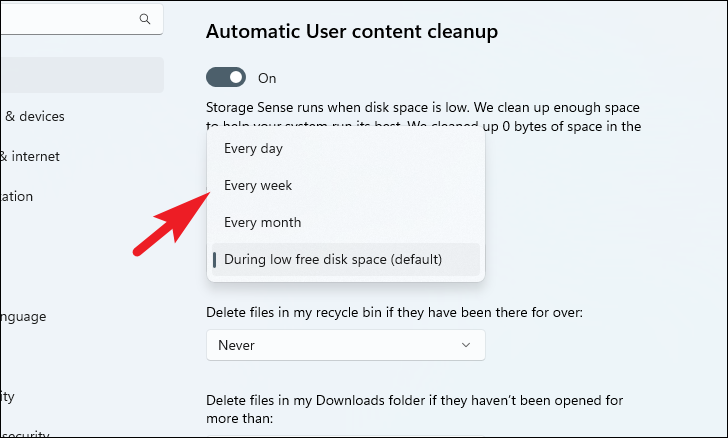
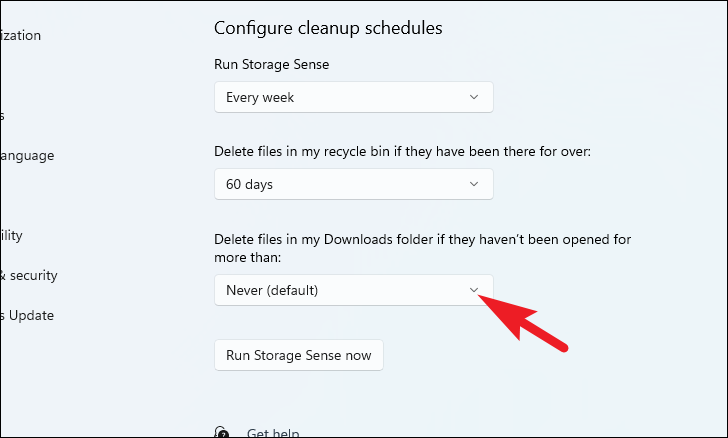
To set up a cleanup schedule, navigate to the Configure cleanup schedules section. Click on the drop-down menu under Run Storage Sense and select your preferred frequency (e.g., every day, week, or month).
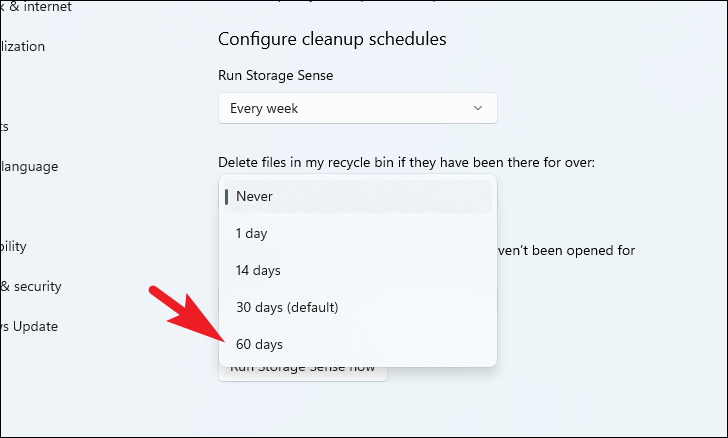
Under Delete files in my recycle bin if they have been there for over, choose the time period after which files in the Recycle Bin will be permanently deleted.
If you want Storage Sense to delete files in your Downloads folder that haven’t been opened for a certain period, select the desired time frame from the drop-down menu under Delete files in my Downloads folder if they haven’t been opened for more than.
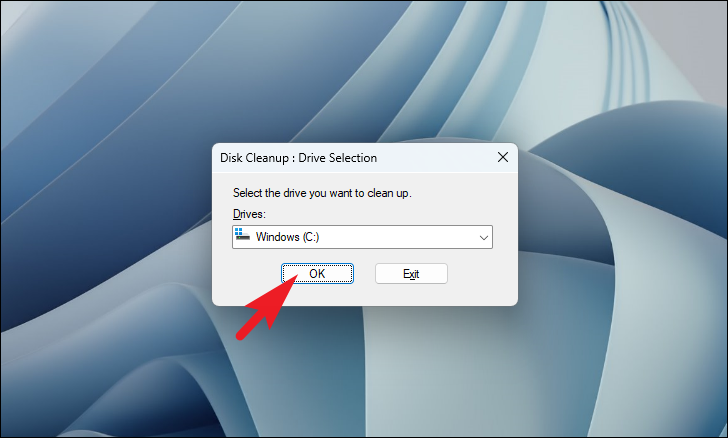
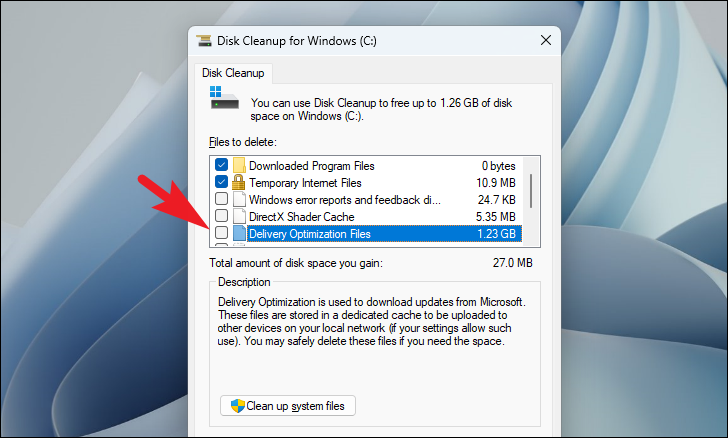
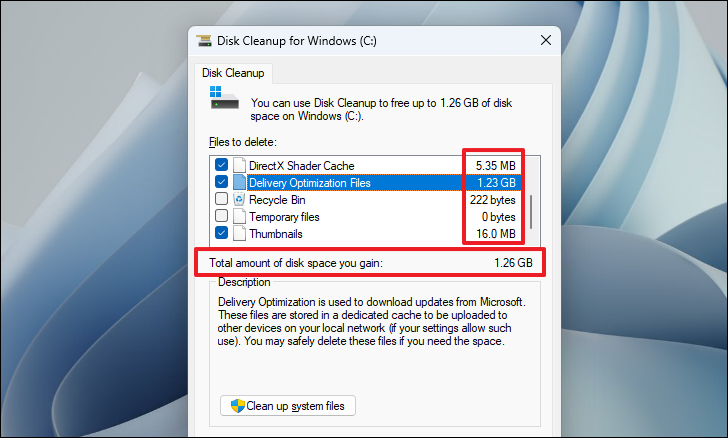
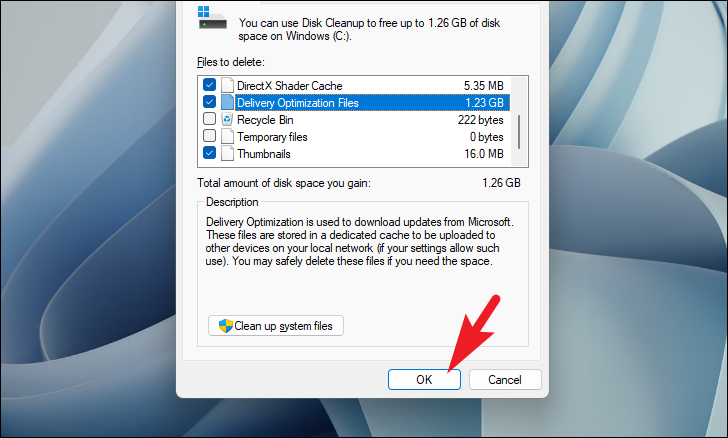
In the Disk Cleanup window, select the drive you want to clean up from the drop-down menu. Commonly, this is the C: drive where Windows is installed. Click OK.
Windows will calculate the amount of space you can free up. Once the scan is complete, you’ll see a list of file categories. Scroll through and check the boxes next to the types of files you want to delete, such as temporary files, system cache, and recycle bin contents.