
If your Windows 11 computer is experiencing issues like corrupted files, apps not opening, or system crashes, the DISM (Deployment Image Servicing and Management) tool can help you fix these problems. DISM is a built-in command-line utility that allows you to scan and repair Windows images, including Windows Recovery Environment, Windows Setup, and Windows PE (WinPE). This tool is particularly useful when the System File Checker (SFC) can’t resolve certain issues.
In this guide, we’ll explore how to use DISM commands to repair your Windows 11 system, whether you’re fixing corrupted files, repairing the Windows image using PowerShell, or resolving DISM errors.
Run DISM Commands to Restore Corrupted Files
DISM scans your system for corrupted or missing files related to various Windows services. It then downloads the necessary images and files from the Microsoft servers to replace the corrupt ones. To use this feature, ensure your computer is connected to the internet.
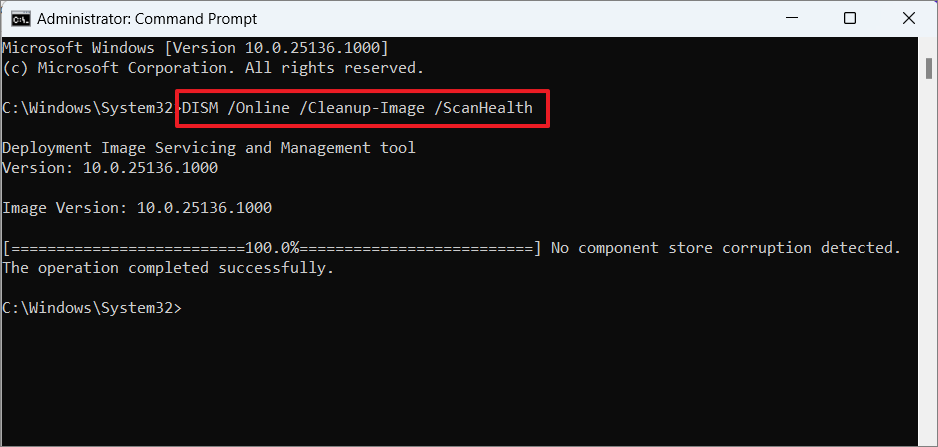
cmd in the Windows search, right-clicking on “Command Prompt,” and selecting “Run as administrator.”Enter to scan for file corruption:DISM /Online /Cleanup-image /ScanhealthThe /ScanHealth option scans the system’s component store for corruption and logs it in C:\Windows\Logs\CBS\CBS.log. Note that this command doesn’t fix any issues; it only reports them.
DISM /Online /Cleanup-Image /CheckHealthThe /CheckHealth option verifies whether any corruption has been detected by checking the error logs. This command will let you know if the image is healthy, repairable, or non-repairable.
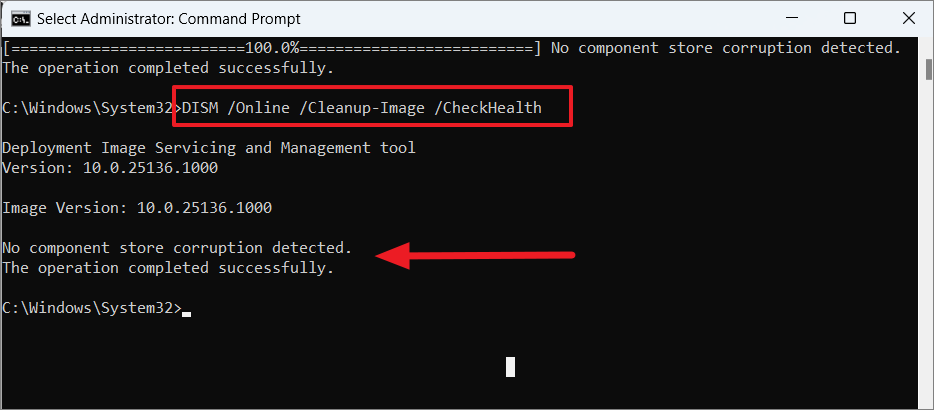
The check process may take around 10-15 minutes. Once completed, you may receive one of the following messages:
- No component store corruption detected – This means no corruption was found, and you don’t need to take further action.
- The component store is repairable – Corruption was detected, and you can proceed to repair it with the
/RestoreHealthoption. - The component store is not repairable – The corruption is severe, and you may need to restore Windows from a backup, reset, or reinstall Windows.
DISM /Online /Cleanup-Image /RestoreHealthThe /RestoreHealth option scans for corruption and repairs the Windows image. This process can take 10-15 minutes or longer, depending on the extent of corruption.
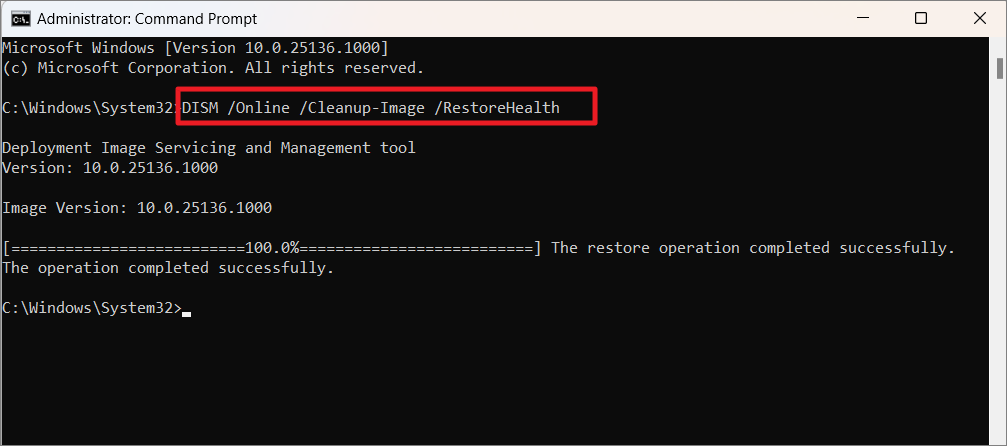
Allow the process to complete without interruption. After it’s finished, you should see a message indicating that the restore operation completed successfully. Restart your computer to apply the changes and verify if the issues are resolved.
If you want to view detailed logs of the DISM scan and repair, you can access them by navigating to the following paths in File Explorer:
C:\Windows\Logs\DISM\dism.logor
C:\Windows\Logs\CBS\CBS.log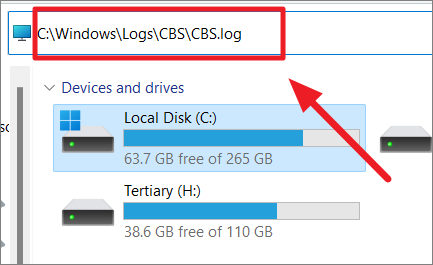
You can also open the Run dialog (press Windows + R) and enter one of the following commands to view the logs:
%windir%/Logs/CBS/CBS.logor
%windir%\Logs\DISM\dism.logIf you receive the message “Windows Resource Protection detected corrupted files and successfully restored them,” it means DISM found and fixed the corrupted files. Restart your PC to apply the repairs.
Repair Windows Image with PowerShell
You can also use Windows PowerShell to repair the Windows image, as it offers similar cmdlets to DISM. Here’s how to do it:
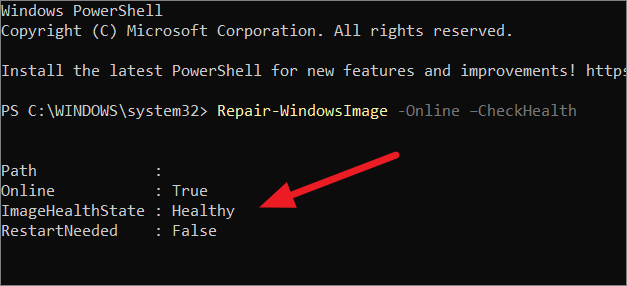
Repair-WindowsImage -Online –CheckHealthThis command quickly checks if any corruption exists in the system image but doesn’t fix any issues.
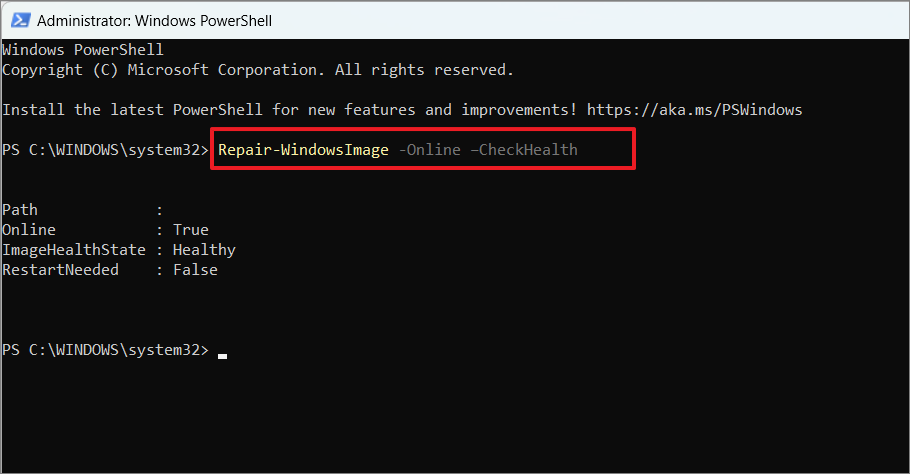
If the scan report shows “ImageHealthState: Healthy,” no errors were found in the component store.
Repair-WindowsImage -Online –ScanHealthThis command scans for corruption and records the details in the log file located at C:\Windows\Logs\DISM\dism.log. It doesn’t fix any issues.

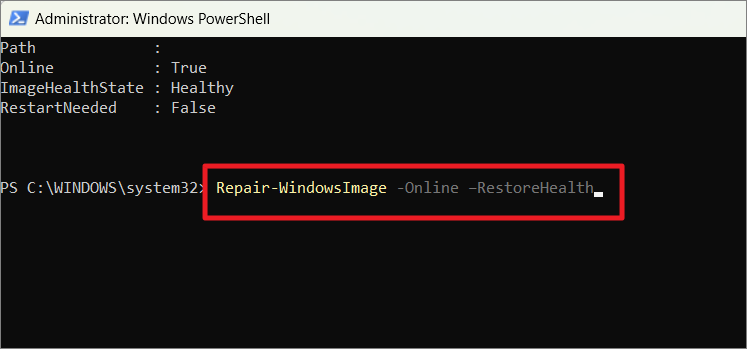
Repair-WindowsImage -Online –RestoreHealthThis command checks for corruption and repairs any issues it finds.
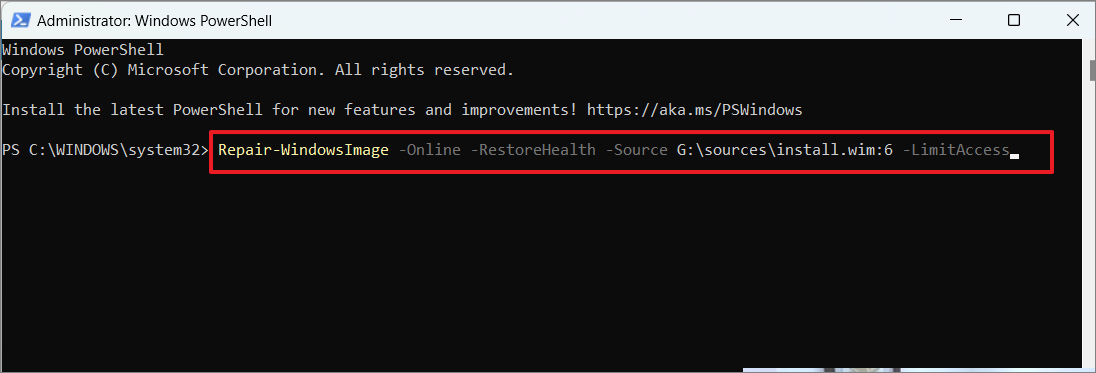
If you don’t have an internet connection, you can use the “Source” option with the install.wim or install.esd file to restore system components. Use the following command to specify the source:
Repair-WindowsImage -Online -RestoreHealth -Source G:\sources\install.wim:6 -LimitAccessReplace G: with the drive letter where the Windows image file is located and :6 with the index number corresponding to your Windows version within the image file.
Repair Windows Image Using install.esd/.wim Image Offline
If you lack internet access or DISM cannot replace the damaged files, you can repair the Windows image using the install.wim or install.esd file from the Windows 11 installation media or ISO file.
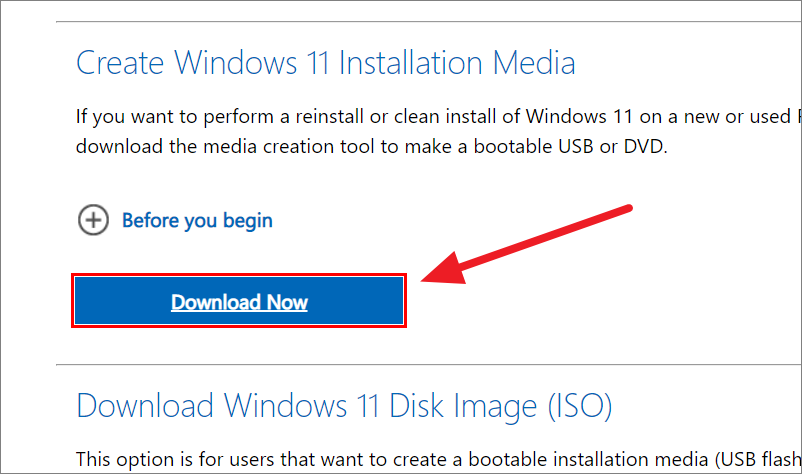
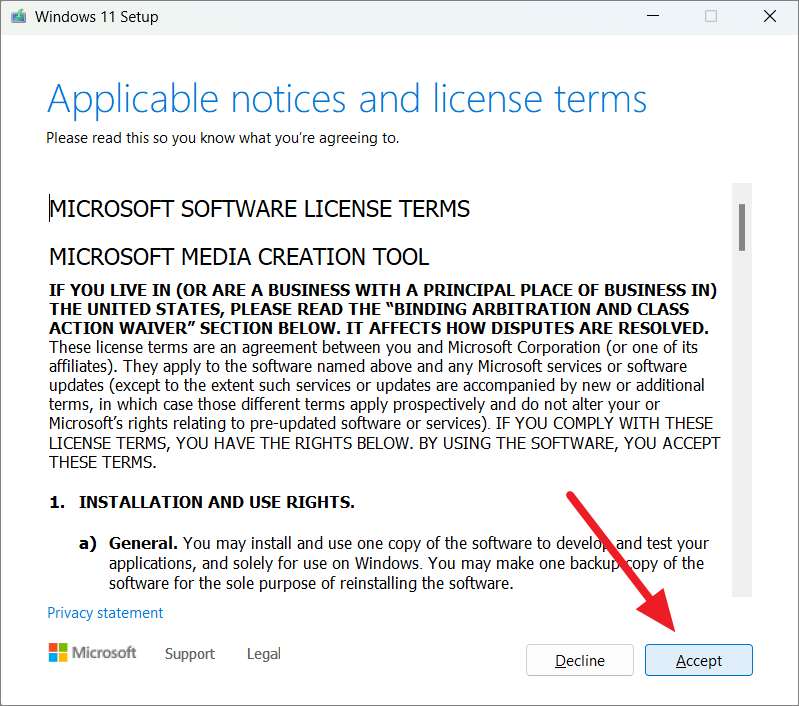
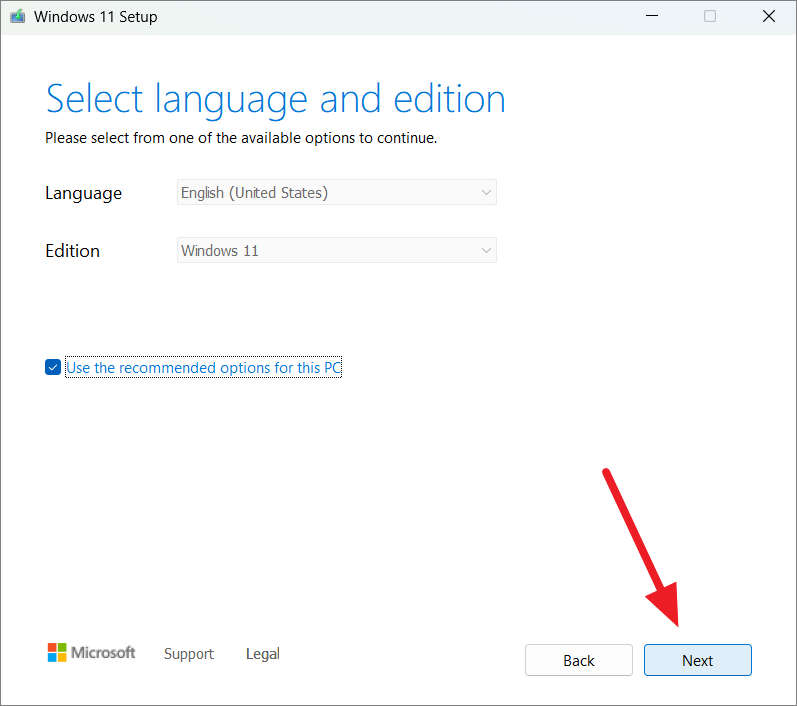
Create Windows 11 Bootable USB Drive or Mount the Windows 11 ISO
MediaCreationToolW11.exe). If prompted by User Account Control, click “Yes.”
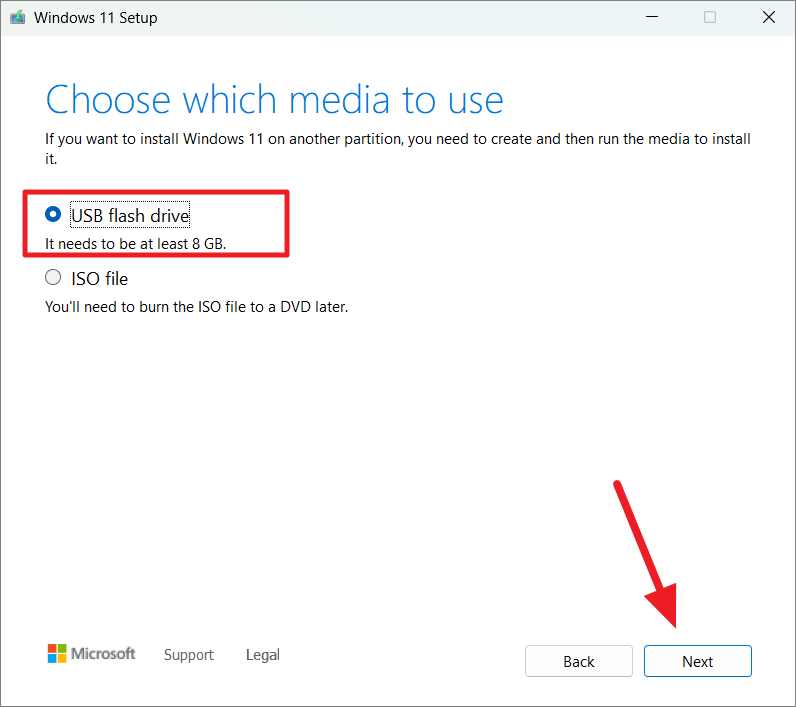
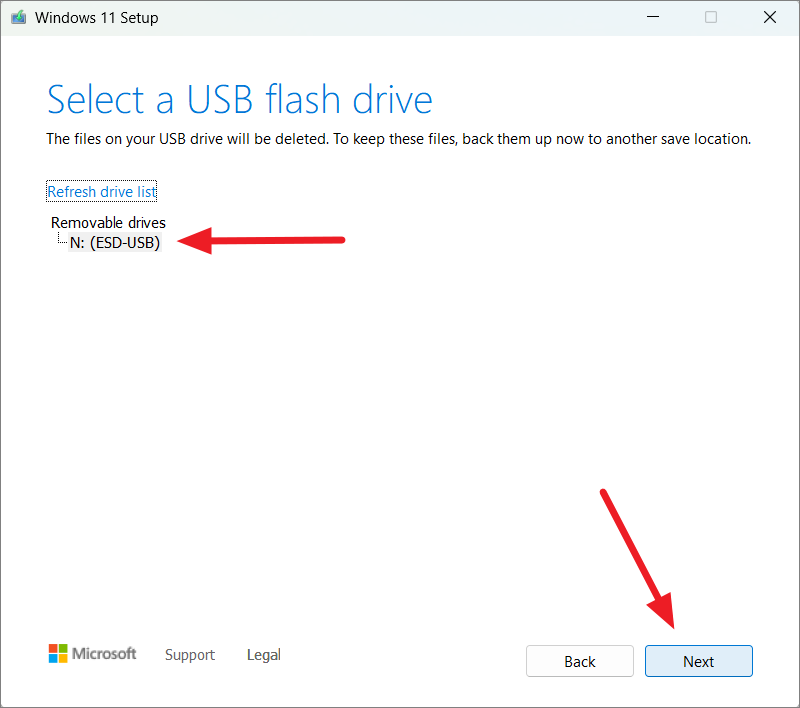
The tool will create a Windows 11 installation media on your USB drive.
Repair Windows 11 Recovery Image Using install.esd/wim
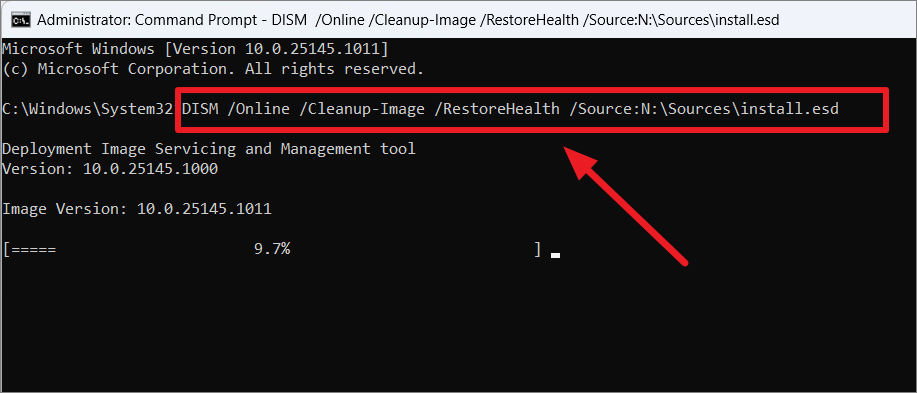
DISM /Online /Cleanup-Image /RestoreHealth /Source:N:\Sources\install.esdor
DISM /Online /Cleanup-Image /RestoreHealth /Source:N:\Sources\install.wimReplace N: with the drive letter of the mounted ISO or USB installation media.
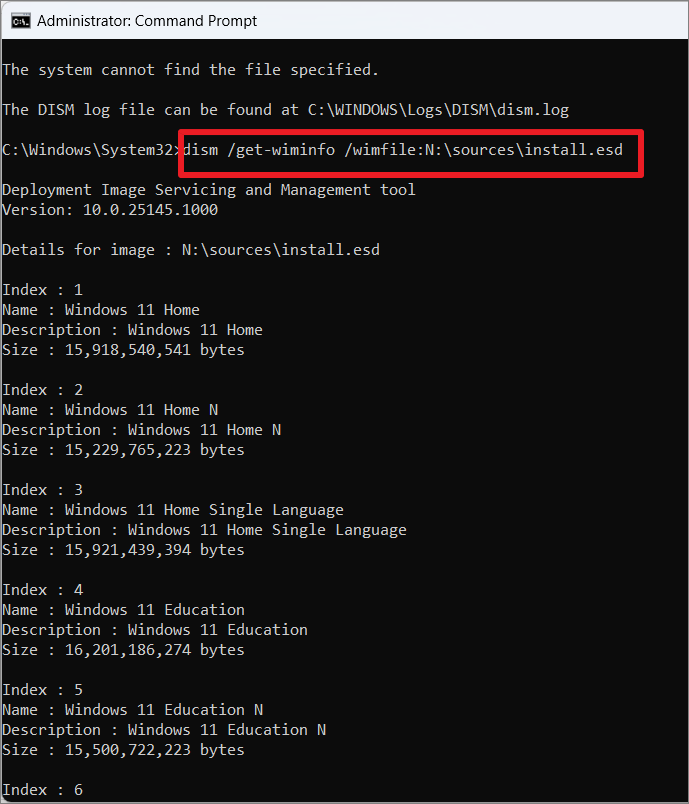
dism /get-wiminfo /wimfile:N:\sources\install.esdor
dism /get-wiminfo /wimfile:N:\sources\install.wimNote the index number corresponding to your installed Windows edition.
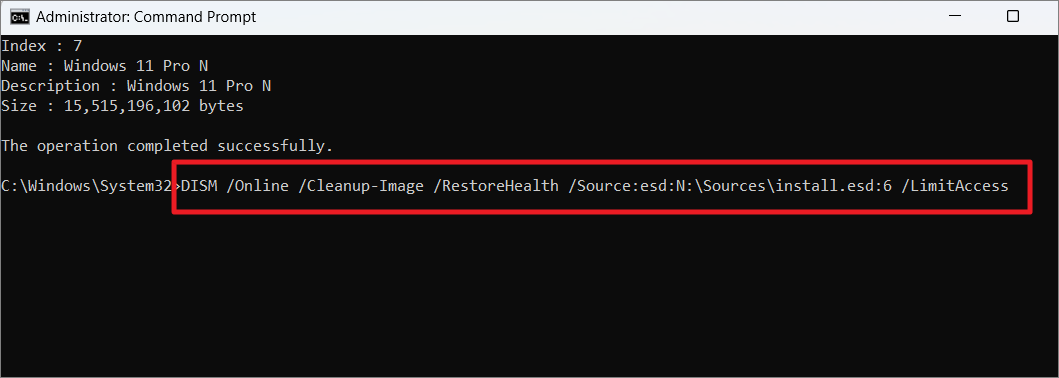
DISM /Online /Cleanup-Image /RestoreHealth /Source:esd:N:\Sources\install.esd:6 /LimitAccessor
DISM /Online /Cleanup-Image /RestoreHealth /Source:wim:N:\Sources\install.wim:6 /LimitAccessReplace 6 with the index number of your Windows edition. The /LimitAccess switch ensures DISM doesn’t use Windows Update during the repair process.
Using DISM to Install Windows Updates
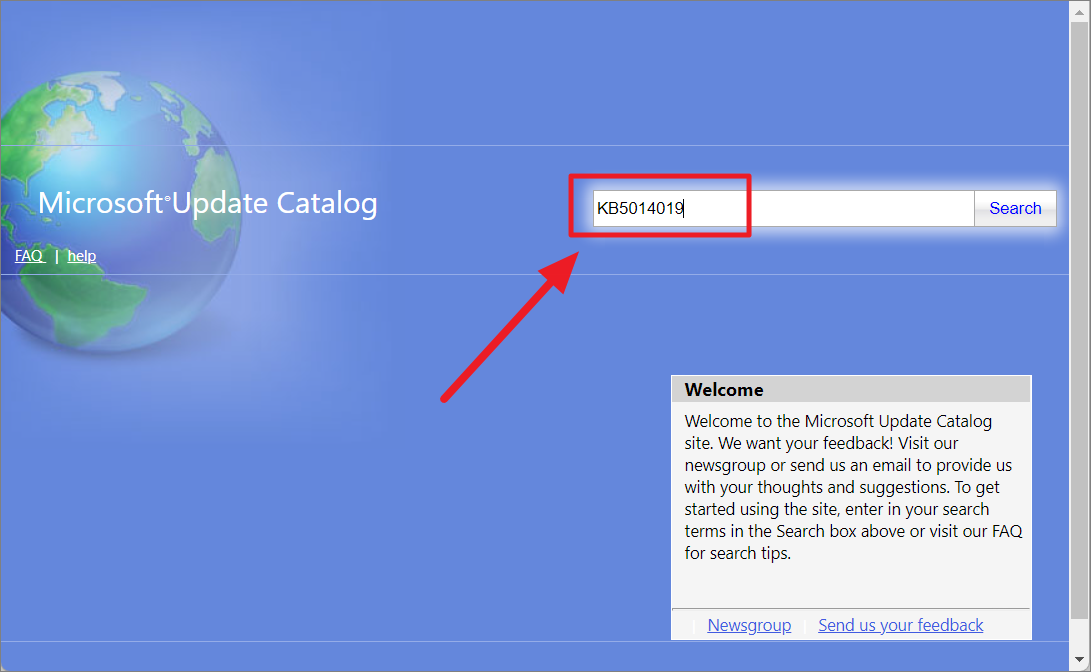
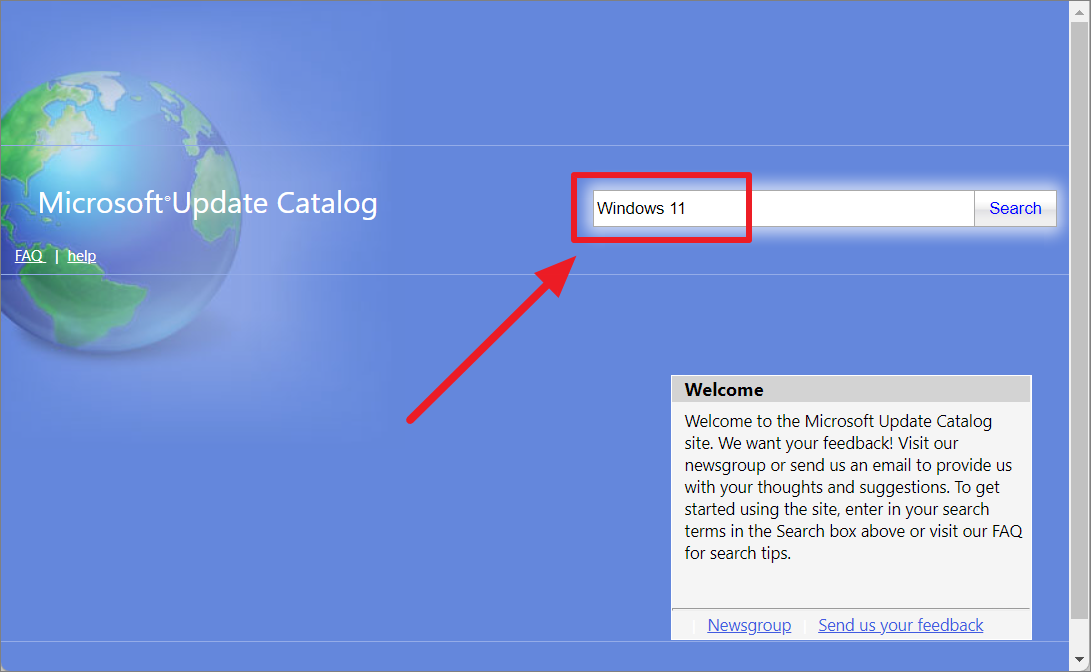
If you’re experiencing issues with Windows Update or need to install specific updates manually, you can use DISM to add Windows updates to your system.
You can also search for “Windows 11” to see all available updates for the stable build.
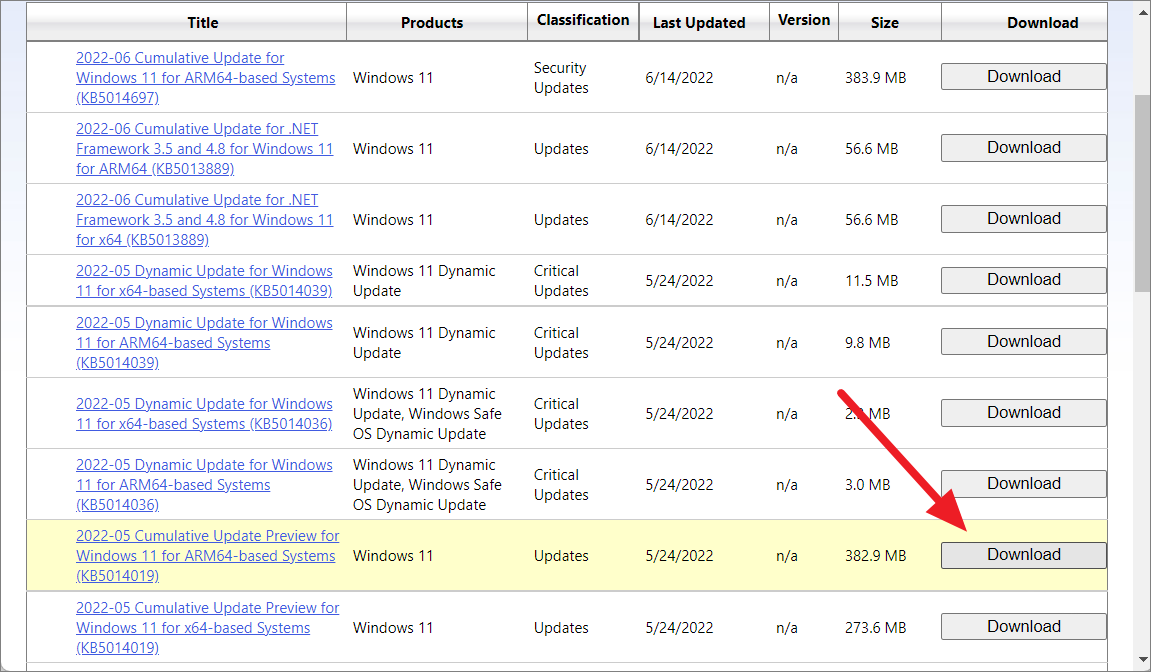
.cab or .msu file) and save it to a convenient location on your PC.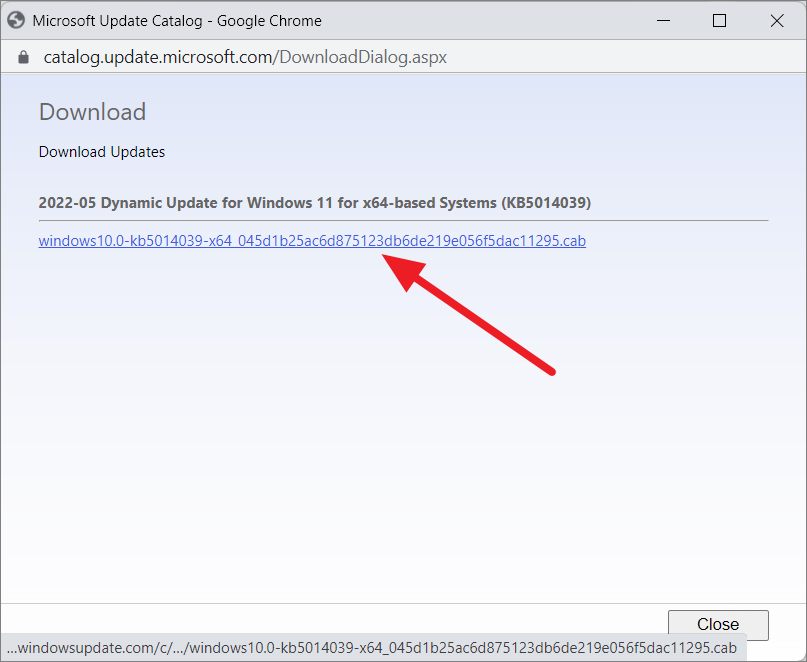
Adding a Windows Update Package to an Image
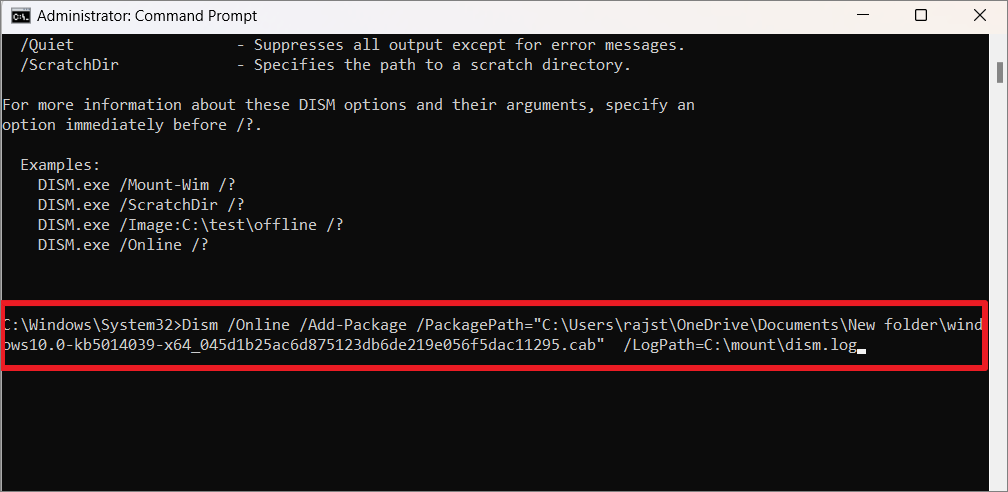
Dism /Online /Add-Package /PackagePath:"C:\path\to\your\update.cab" /LogPath:C:\mount\dism.logReplace C:\path\to\your\update.cab with the actual path and filename of the downloaded update.
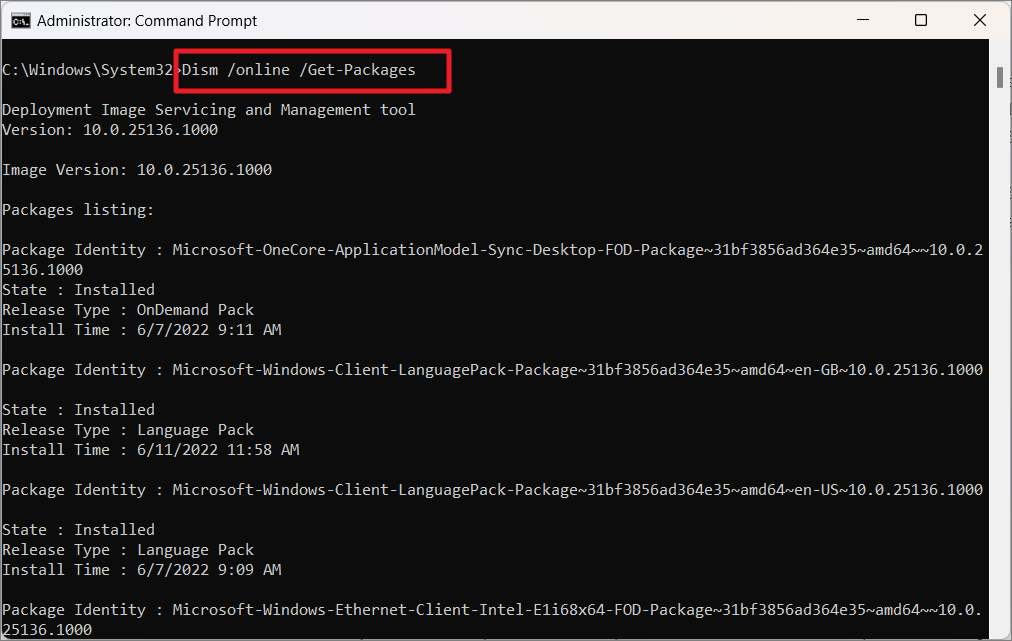
Dism /online /Get-PackagesThis command lists all the packages installed on your system.
Remove Windows Updates Using the DISM Tool
If you need to uninstall a problematic Windows update, you can use DISM to remove it.
DISM /Online /get-packages /format:table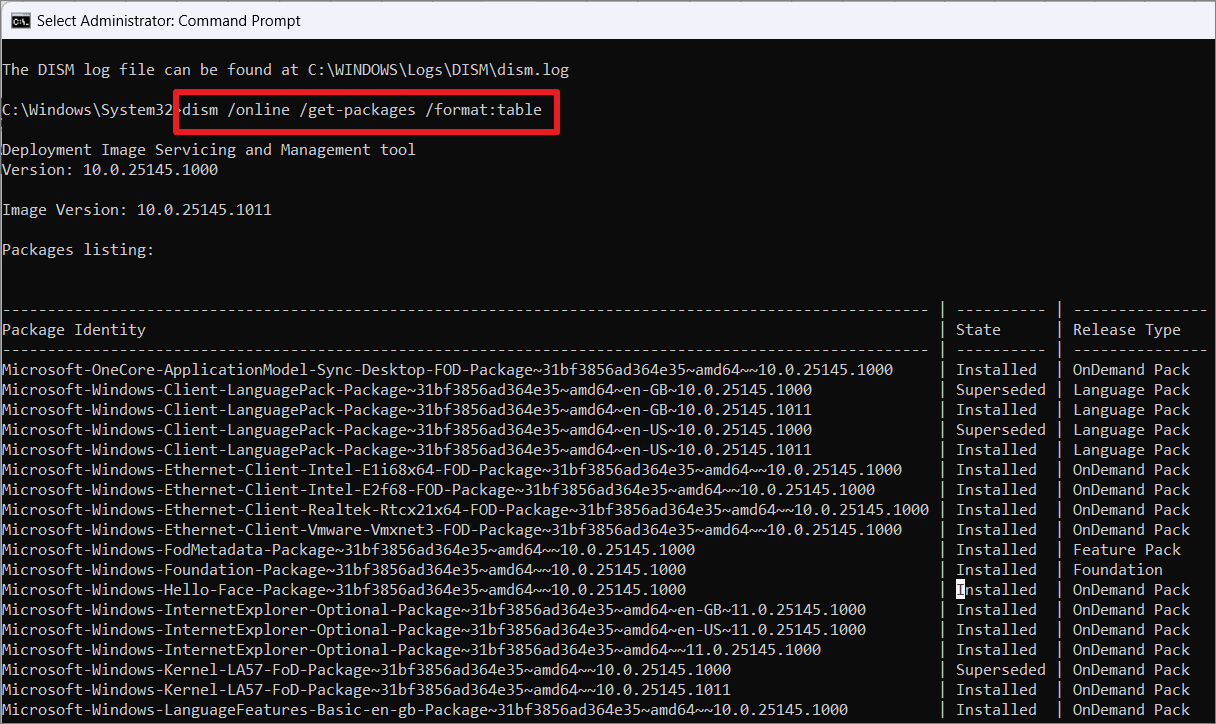
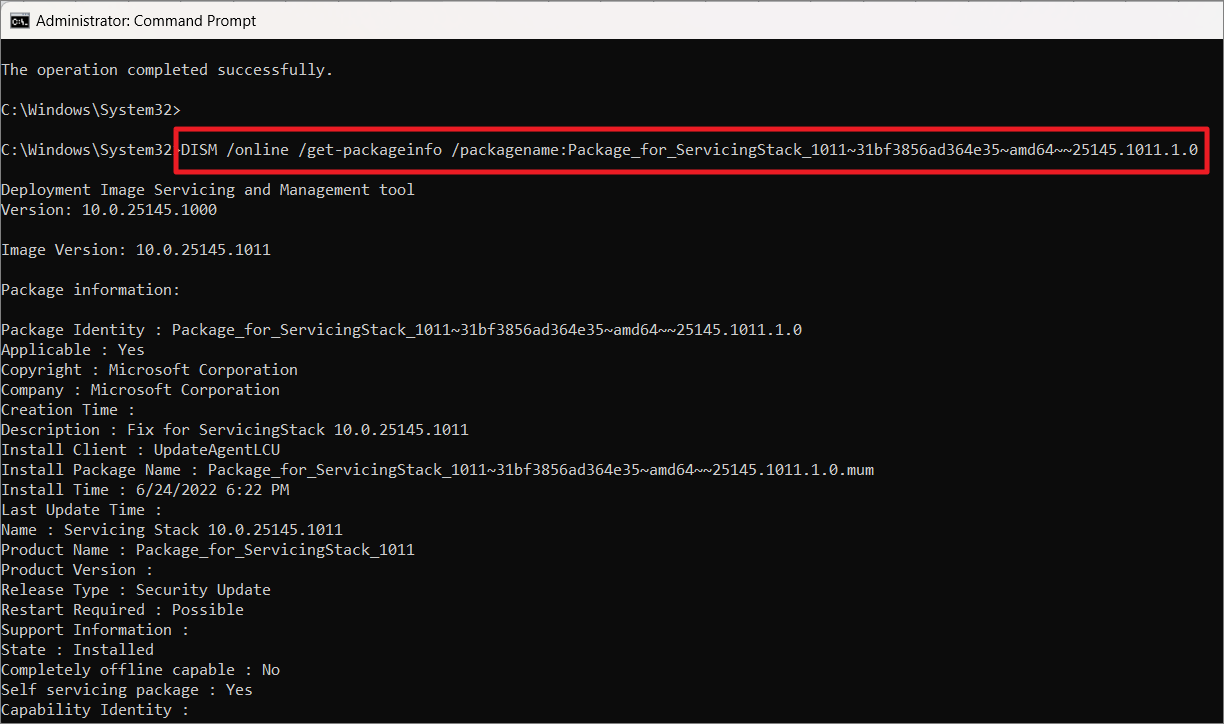
DISM /online /get-packageinfo /packagename:PackageNameReplace PackageName with the actual package identity.
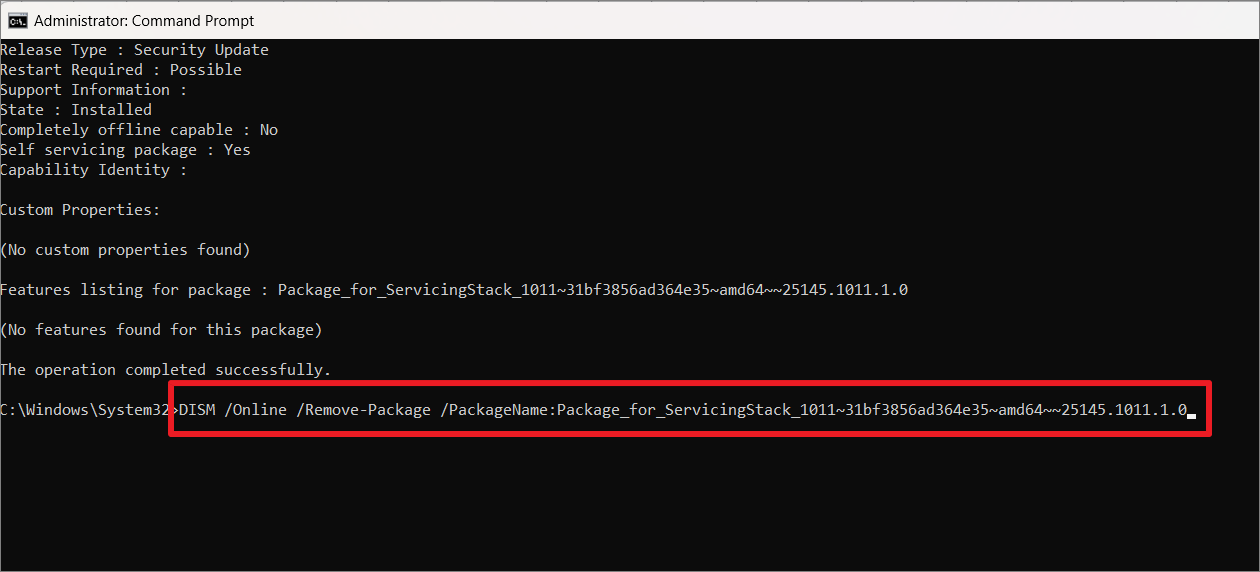
DISM /Online /Remove-Package /PackageName:PackageNameAgain, replace PackageName with the actual package identity.
Enable or Disable Windows Features Using DISM
DISM allows you to enable or disable Windows features on your system. Here’s how:
DISM /online /Get-Features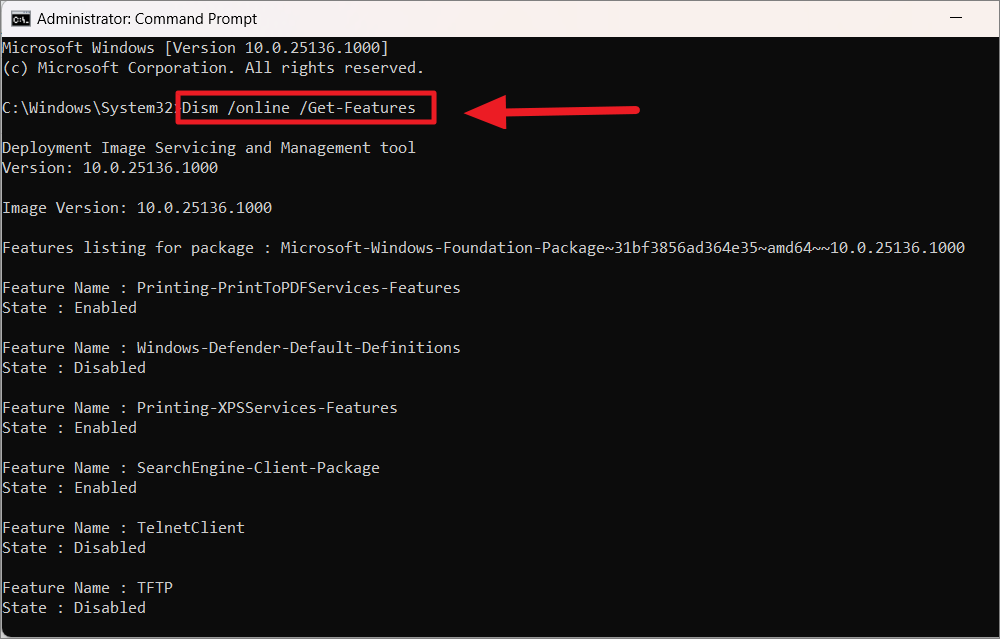
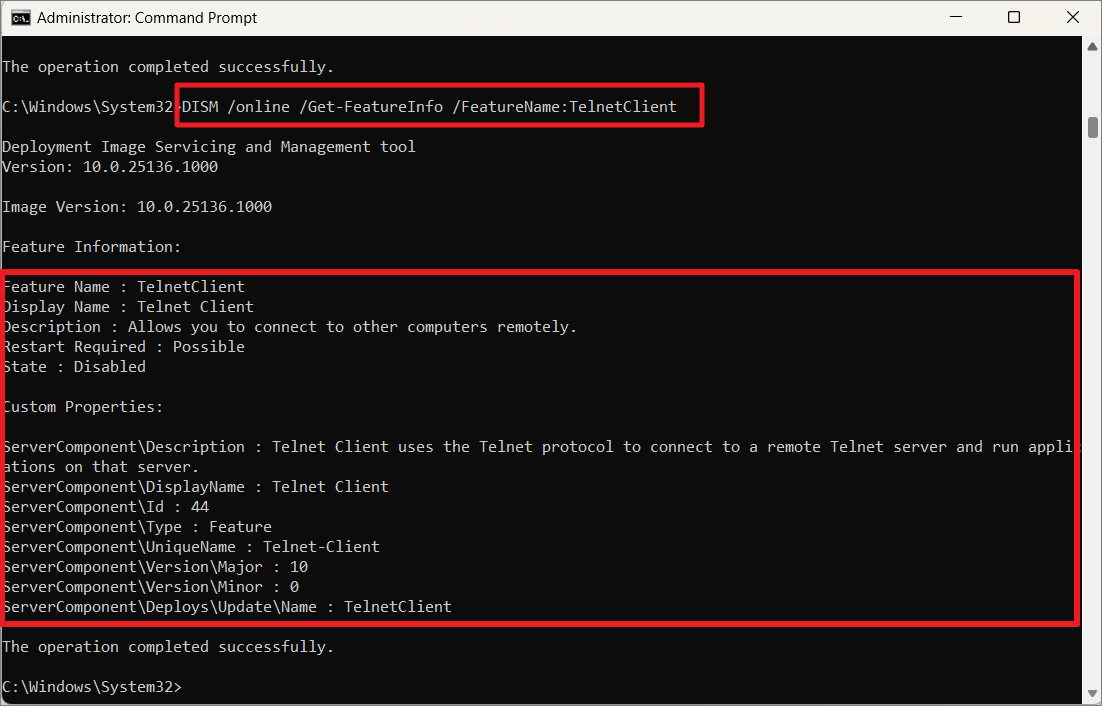
DISM /online /Get-FeatureInfo /FeatureName:FeatureNameReplace FeatureName with the name of the feature you’re interested in.
Enable Windows 11 Features Using DISM
DISM /online /Enable-Feature /FeatureName:FeatureName /AllFor example, to enable the Telnet Client feature:
DISM /online /Enable-Feature /FeatureName:TelnetClient /All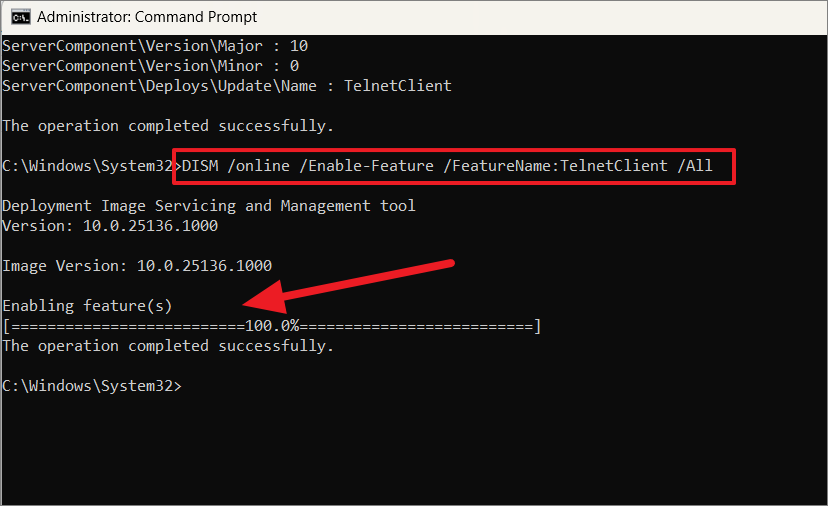
Disable Windows 11 Features Using DISM
DISM /online /Disable-Feature /FeatureName:FeatureNameFor example, to disable the Telnet Client feature:
DISM /online /Disable-Feature /FeatureName:TelnetClient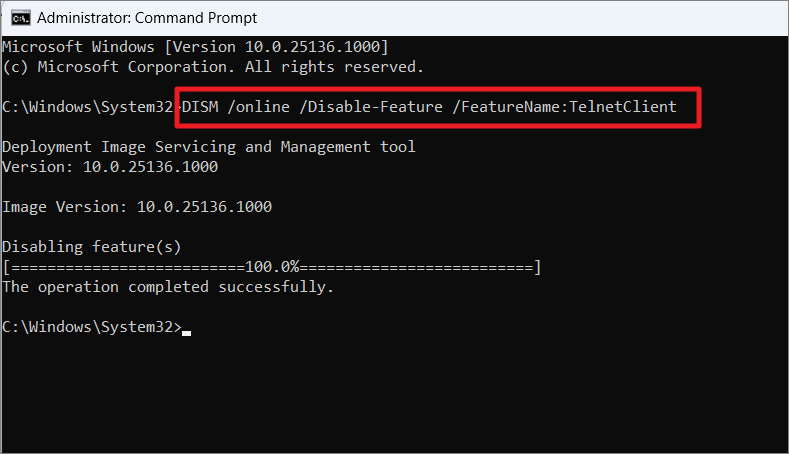
Remove Windows 11 Features Using DISM
DISM /online /Disable-Feature /FeatureName:FeatureName /RemoveFor example:
DISM /online /Disable-Feature /FeatureName:TelnetClient /RemoveDISM Failed Error on Windows 11
While using DISM, you might encounter various errors. Common issues include:
- DISM failed no operation was performed – Often resolved by running DISM with the Windows 11 ISO file.
- DISM failed with error codes like 0x8000ffff, 0x800f0954 – Usually occurs due to lack of internet access or disabled Windows Update service. Using a bootable USB or ISO image can help.
- DISM failed while processing command cleanup-image – Can be fixed by cleaning up the system image components.
DISM Commands Not Working on Windows 11?
If DISM commands aren’t working, you can try the following methods to resolve the issues.
Clean Up the Component Store
Corruption in the component store can cause DISM to fail. Cleaning up the component store can fix this.
DISM /Online /Cleanup-Image /AnalyzeComponentStoreDISM /Online /Cleanup-Image /StartComponentCleanup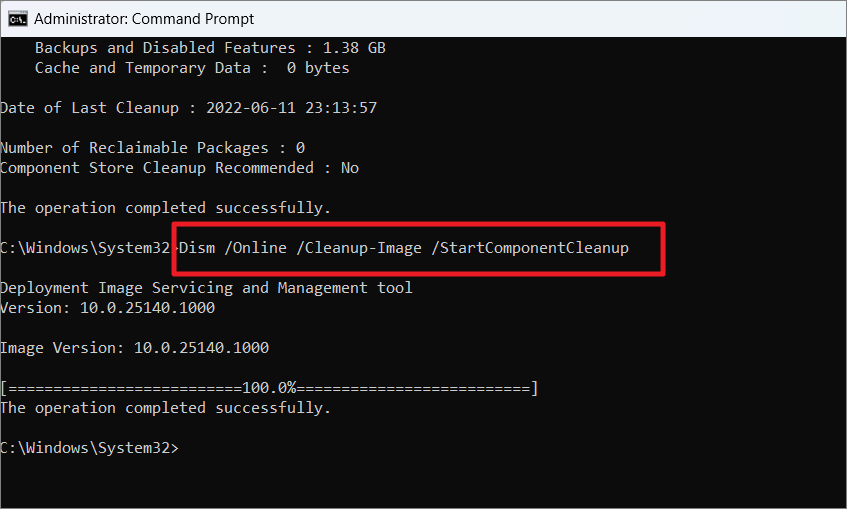
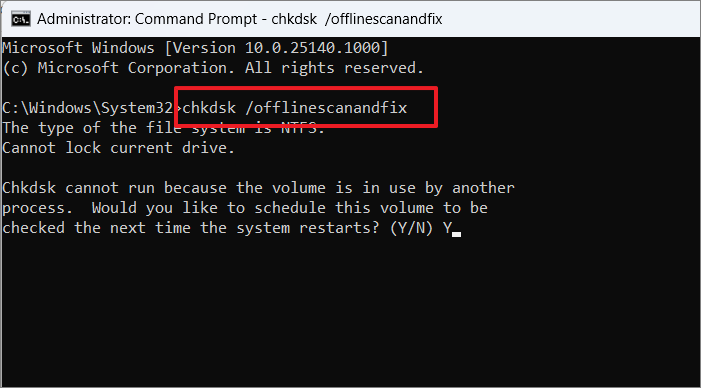
Run CHKDSK
Disk errors can interfere with DISM operations. Running the CHKDSK utility can help.
chkdsk /offlinescanandfixYou might be prompted to schedule the scan on the next restart. Type Y and press Enter, then restart your computer.
Reset Windows Update Service
DISM relies on the Windows Update service to download replacement files. If the service isn’t working correctly, resetting it can help.
net stop wuauserv
cd %systemroot%\SoftwareDistribution
ren Download Download.old
net start wuauserv
net stop bits
net start bits
net stop cryptsvc
cd %systemroot%\system32
ren catroot2 catroot2old
net start cryptsvc
These commands restart the Windows Update service and rename certain folders to force the system to recreate them.
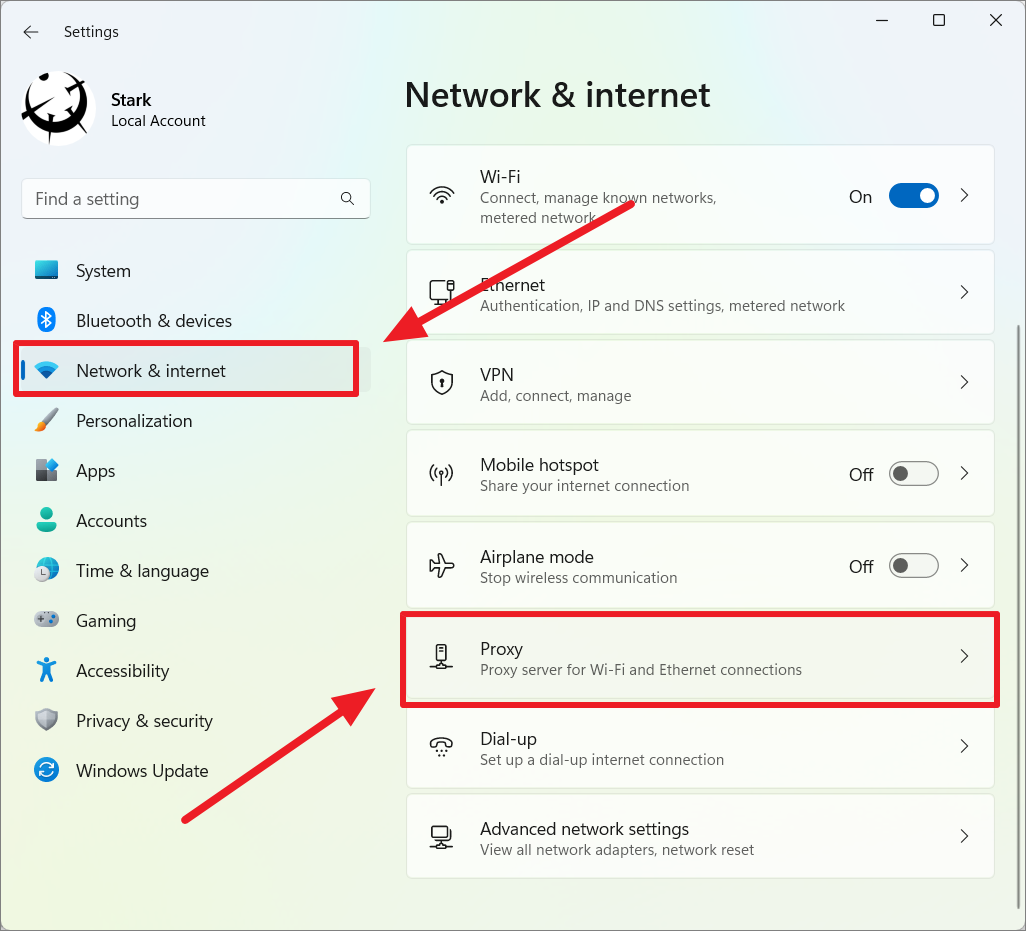
Disable Proxy Service
A proxy configuration can prevent DISM from connecting to the internet. Disabling the proxy may resolve the issue.

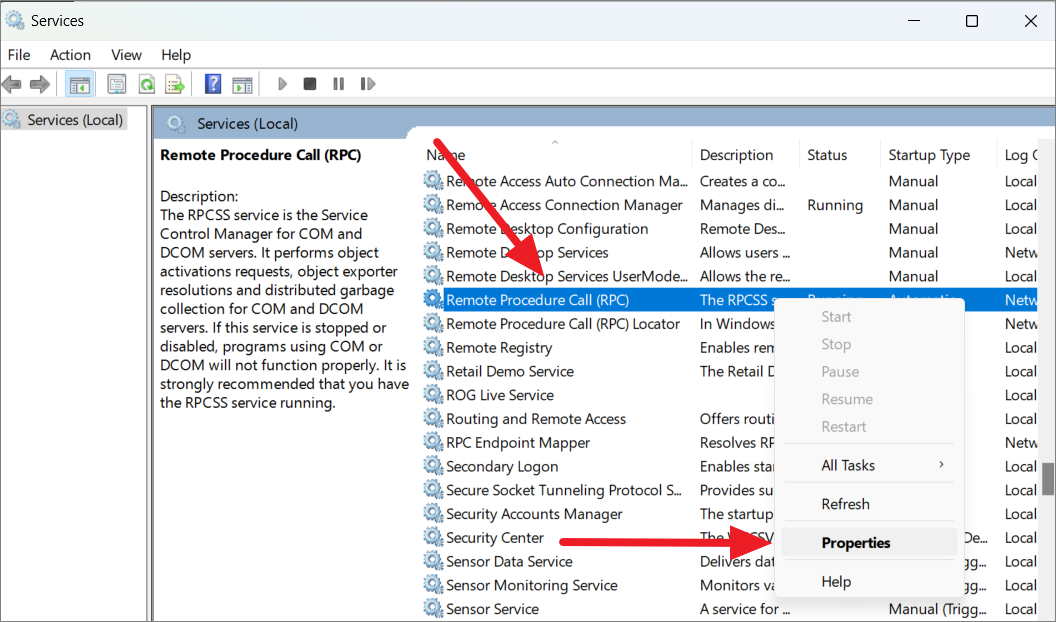
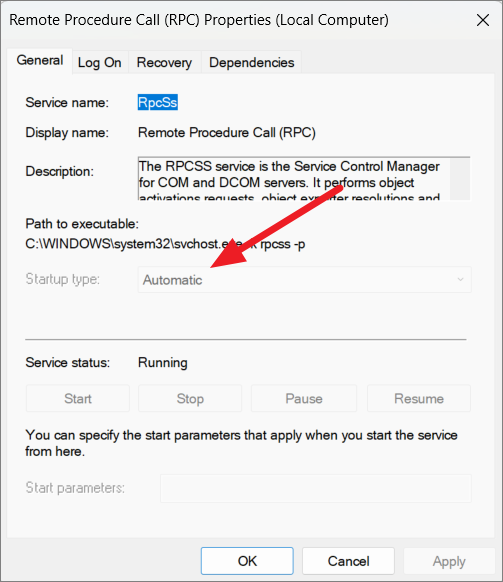
Changing the Startup Type of the Remote Procedure Call (RPC) Service
If you encounter a DISM failed 1726 error, it might be due to the RPC service being disabled. Here’s how to fix it:
By following these methods, you should be able to effectively use DISM commands to repair and maintain your Windows 11 system. Regularly scanning and repairing your system can prevent many common issues and keep your PC running smoothly.


