Google Meet is undoubtedly one of the easiest video conferencing apps to use out there. Starting from the fact that you don’t even need an app to use it on the desktop or laptop, it offers the most user-friendly interface.
If you’re using Google Meet to attend meetings, here’s a quick guide to get you comfortable with using the web app on the computer.
Using the Web App
Google Meet is available as a web app on the desktop. Open the Google Chrome or Microsoft Edge browser and go to meet.google.com.
You can also install Google Meet as a PWA (Progressive Web App). A PWA installs the website as an app on your desktop. It still needs your browser to run, but you don’t have to open it separately. The browser should just be installed on your system. The PWA will open in its own window straight from your desktop. You can install Google Meet PWA from either Chrome or Edge browsers.
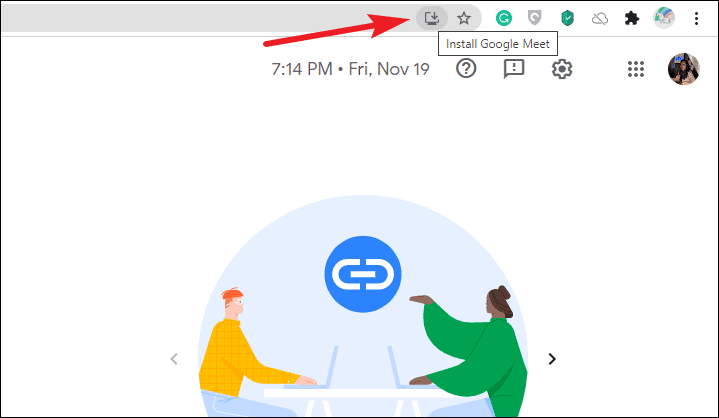
From the Google Meet homepage, go to the address bar and click the ‘Install Google Meet’ icon on the left of the Bookmark icon.
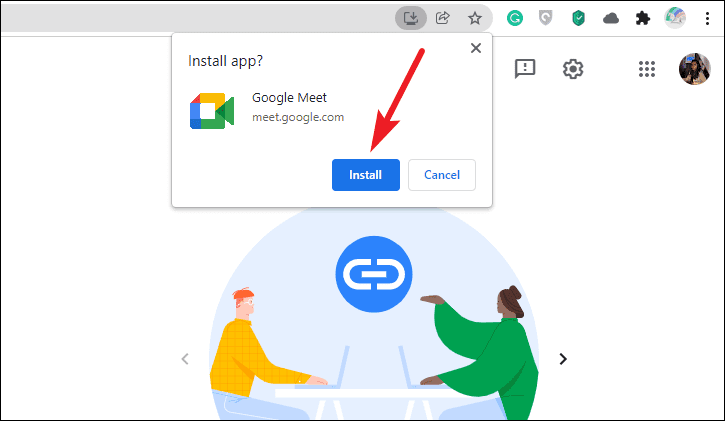
A confirmation prompt will appear. Click ‘Install’ to install it as a PWA on your desktop.
Google Meet will shift in a separate window. You can create a desktop shortcut, pin it to the taskbar or the Start menu, or auto-start it on login like any other desktop app.

Joining a Meeting on Google Meet
Whether or not you install Google Meet as a PWA, the rest of the steps will stay the same as a PWA installs the website as an app.
To join a meeting, you have two options: you can either use the whole link or just the meeting code.
If you have the meeting link, copy/ paste the link into the address bar of your browser and press the Enter key.
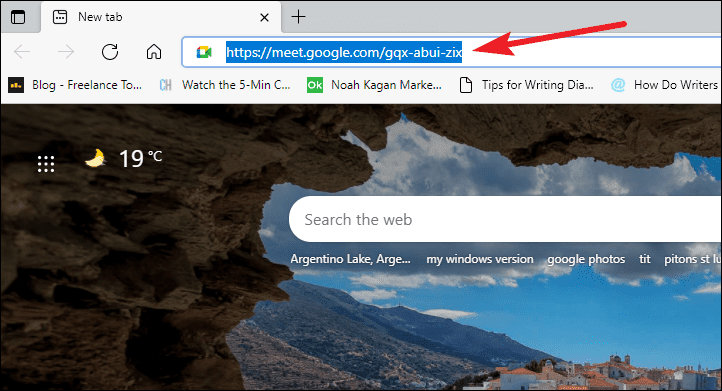
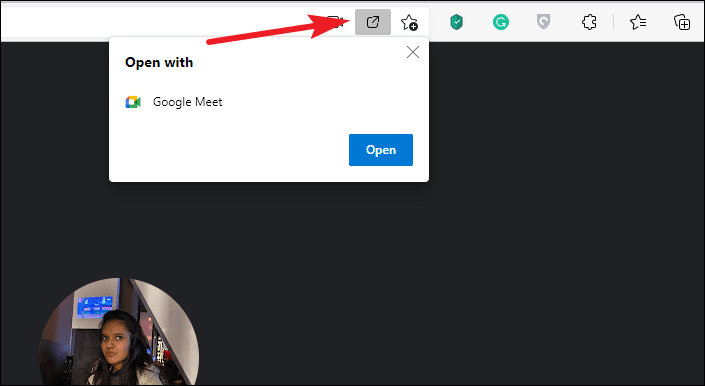
After joining the meeting from the browser, click the ‘Open link in’ icon to open it on the Google Meet PWA.
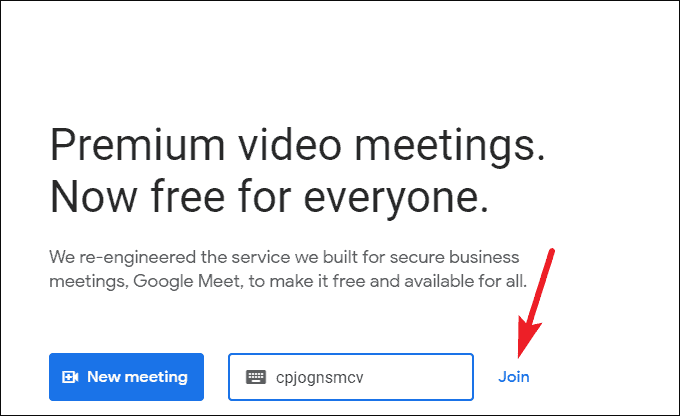
You can also directly paste the link into the textbox on the Google Meet homepage (in the browser or the PWA) that says ‘Enter a code or link’.

To join with a meeting code, enter the code in the textbox. The meeting code is the 10 letter code at the end of the meeting link.
https://meet.google.com/cpj-ogns-mcvYou don’t have to enter the hyphens when entering it manually. The code is also not case-sensitive. Press the enter key or click the ‘Join’ button to join the meeting.
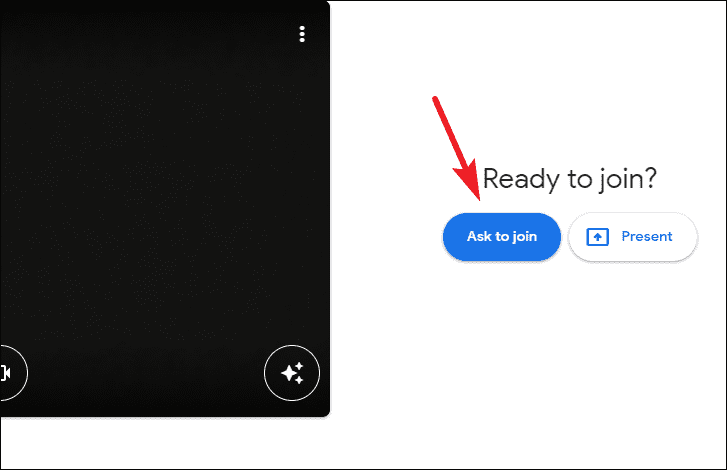
You’ll reach the meeting preview screen. Click the ‘Ask to Join’ button and the meeting host will get a notification that you want to join the meeting. When they let you in, you’ll become a part of the meeting.
Using Other Meeting Functionalities
Google Meet has a lot of features to make the meeting experience seamless. Here’s how to use these features on the desktop in Google Meet.
Camera and Microphone Controls
You can mute/ unmute your mic and turn on/ off your video at any time during or even before the meeting.
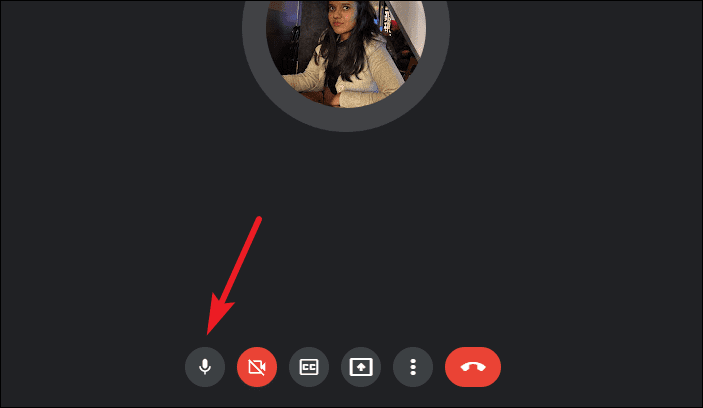
To mute/ unmute your microphone, click the ‘Microphone’ icon from the meeting toolbar. Other people in the meeting can also mute your mic, but only you can unmute it for privacy concerns. You can also use the keyboard shortcut Ctrl + d to toggle the mic on and off.
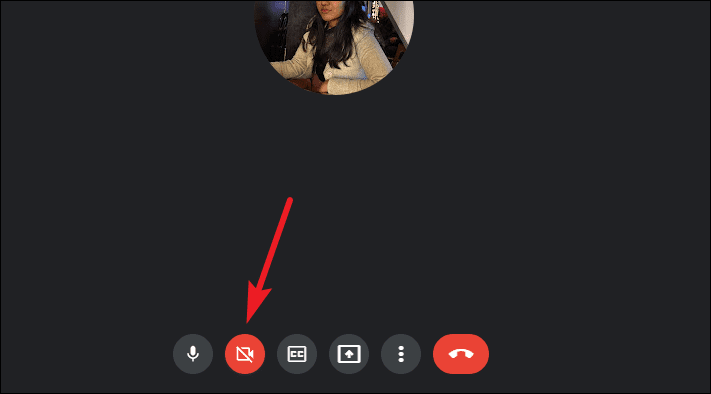
To turn your camera on/ off, click the ‘Camera’ icon from the meeting toolbar. Only you can turn your camera on or off in a meeting. You can also use the Ctrl + e keyboard shortcut to toggle your camera on and off.
Google Meet has also introduced the automatic light adjustment for video on the desktop (web) app. Previously, the feature was only available on the mobile app. You can enable this to make your video brighter when you have poor lighting conditions.
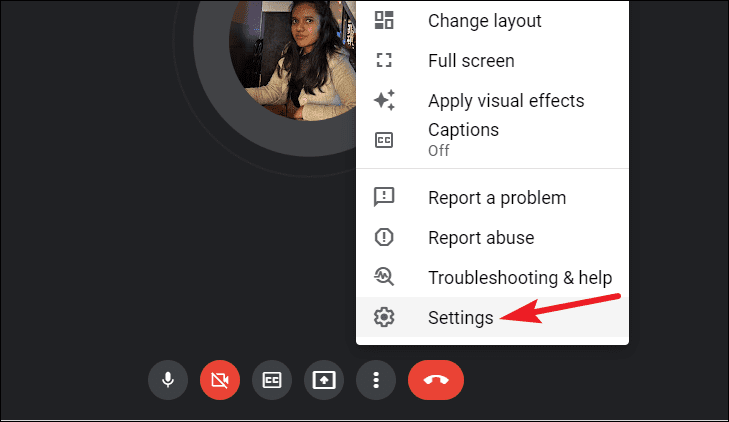
Click the ‘More options’ icon (three-dot menu) from the meeting toolbar.

Then, click ‘Settings’ from the menu that appears.
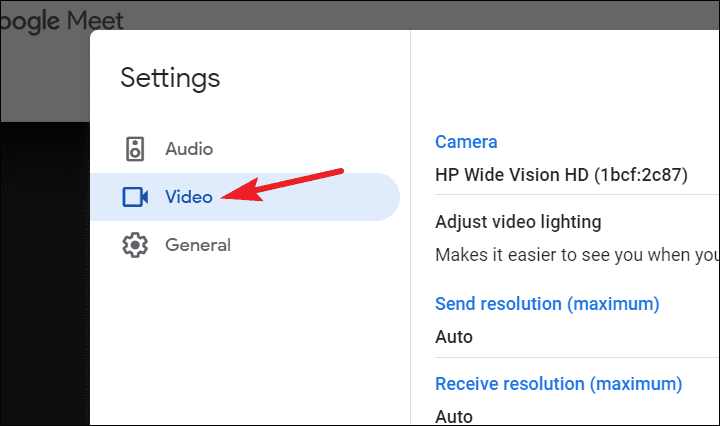
Go to ‘Video’ from the navigation bar on the left.
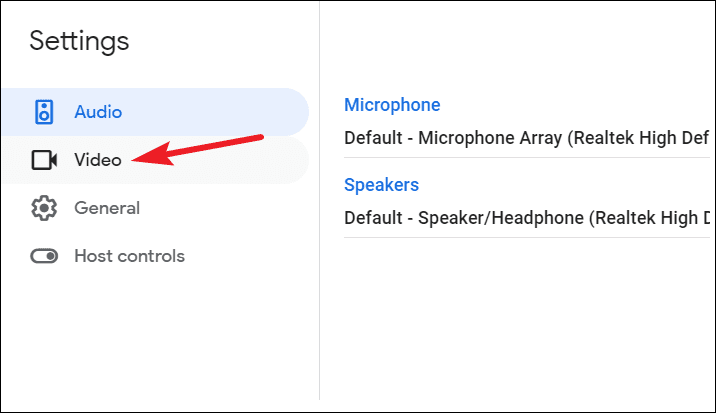
Even if you’re accessing the settings from the preview screen, go to the ‘Video’ tab from the left.
Enable the toggle for ‘Adjust video lighting’.
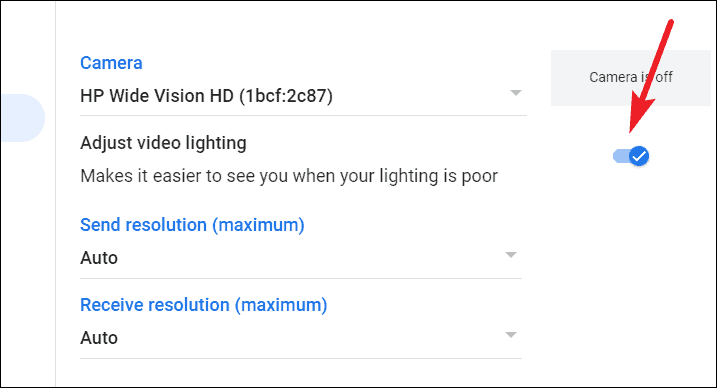
Note: Using light adjustment in the meeting can slow down your computer slightly.
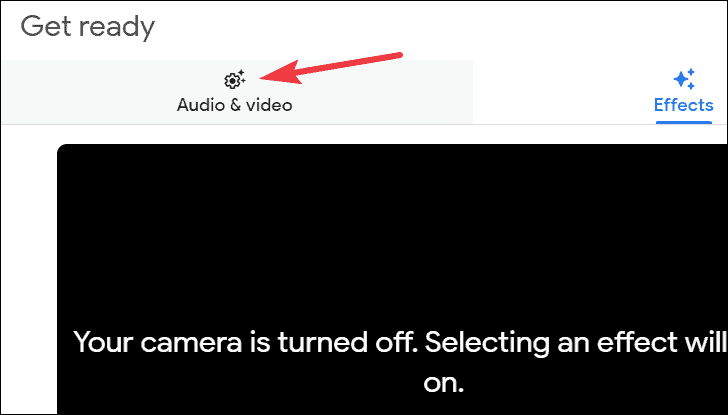
You can also enable the light adjustment from the visual effects menu while on the preview screen. Switch to the ‘Audio & Video’ tab from the top.
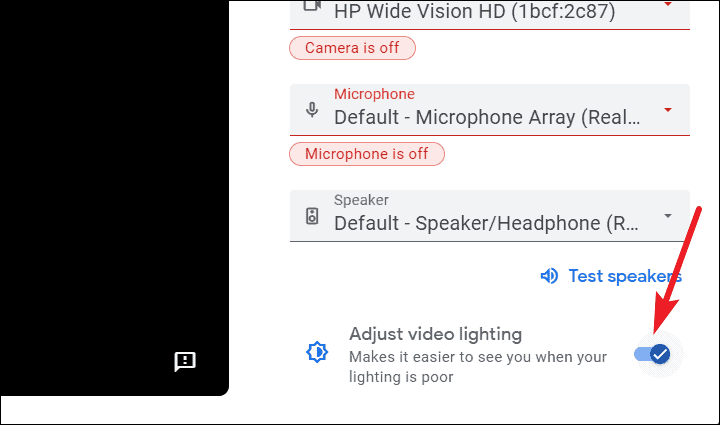
Then, enable the toggle for ‘Adjust video lighting’.
Using Background Effects
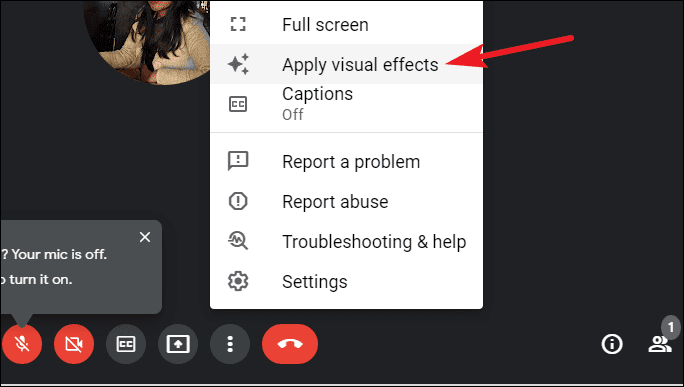
You can also change your background in Google Meet meetings. Go to the ‘More options’ icon from the meeting toolbar. Then, click ‘Apply visual effects’ from the menu.
The Effects panel will open on the right.
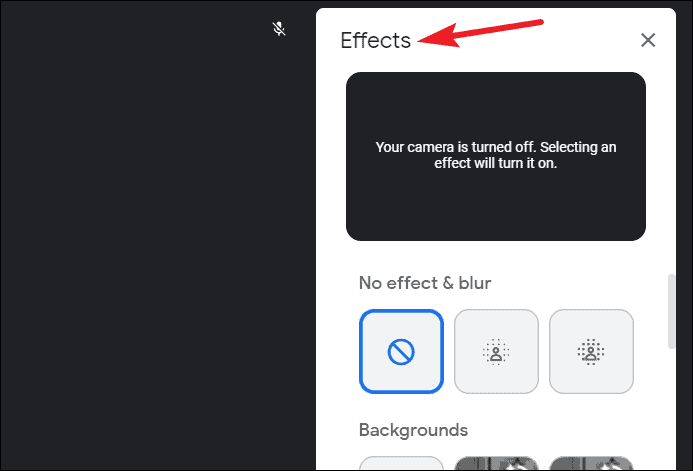
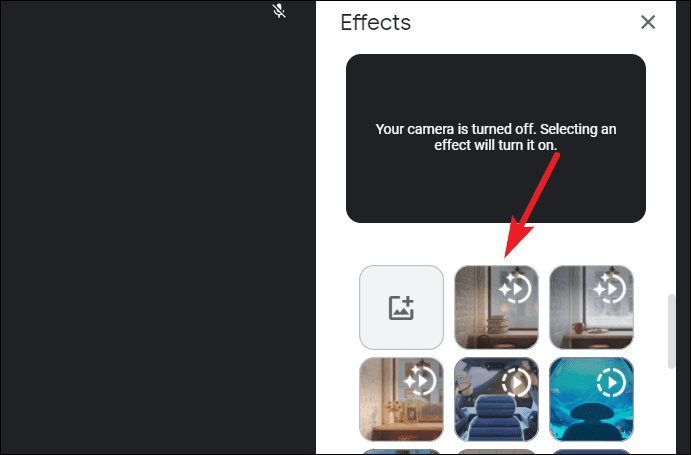
You can use the two blur effects, one of the background images or videos Google Meet offers, or upload a custom background. The web app for the desktop does not have filters and AR styles that the Google Meet mobile app offers. Click an effect to apply it.
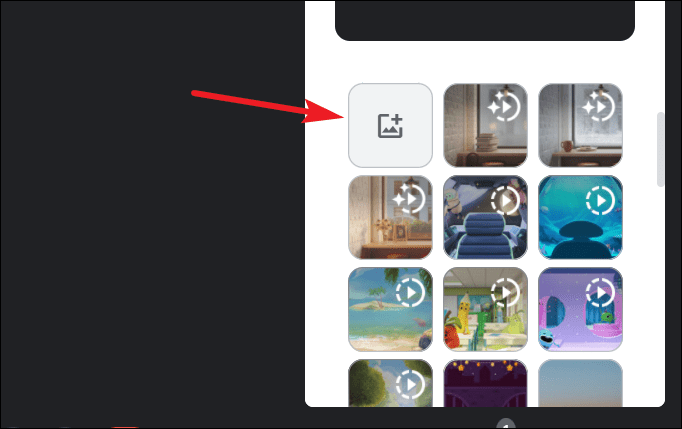
To upload a custom background, click the ‘Upload a background image option and upload an image from your computer.
You’ll be able to see the background in the self-view window in the effects panel itself. The effect is applied and visible as soon as you click it to everyone else in the meeting as well.
If you exit a meeting with a visual effect still on, it’ll automatically be applied when you join the next meeting.
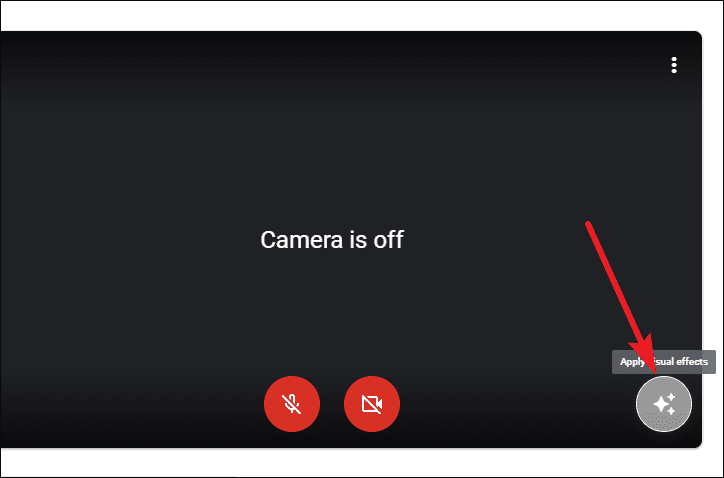
You can also apply background effects before joining a meeting. While on the preview screen, click the ‘Apply visual effects’ button (✨) in the bottom-right corner of your self-view window. Then, click an effect to apply it.
Changing the Meeting Layouts
Google Meet offers a few different layout options for the desktop. You can choose from these different options to arrange the video tiles in a format that suits you the best.
- Auto: Google Meet will choose the layout for you depending on what it deems is the best for the situation. It shows 9 participants by default in a 3×3 grid but you can adjust the number of tiles from the slider at the bottom. It is also the default selection for meetings until you don’t change it.
- Tiled: The tiled view shows all the video feeds in a grid view of equal sizes. If there is a presentation, the presentation tile will be shown in a larger format with speakers alongside in smaller tiles. t shows 16 tiles in a 4×4 grid by default, but you can change the number of tiles from the slider.
- Spotlight: This layout shows the video of the active speaker or the participant you pin or the presentation (the choice is yours) in a full screen layout. The video of the participant you pin is always visible.
- Sidebar: One image, either of a participant or the presentation, is front and center and rest of the meeting participants appear in the sidebar.
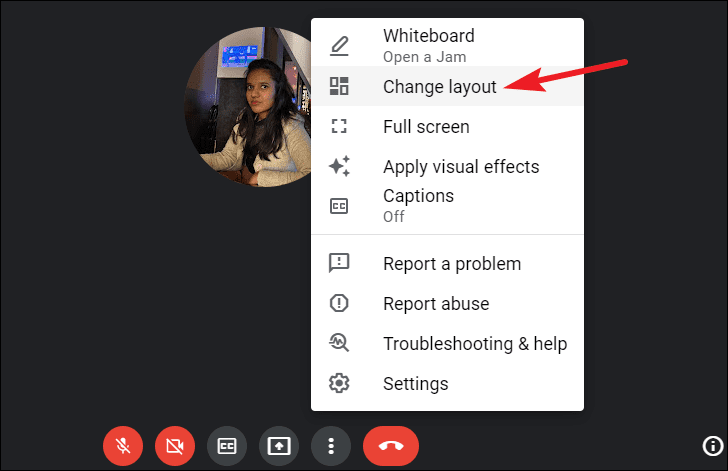
To change the layout, click the ‘More options’ icon (three-dot menu) from the meeting toolbar. Then, select ‘Change layout’ from the menu.
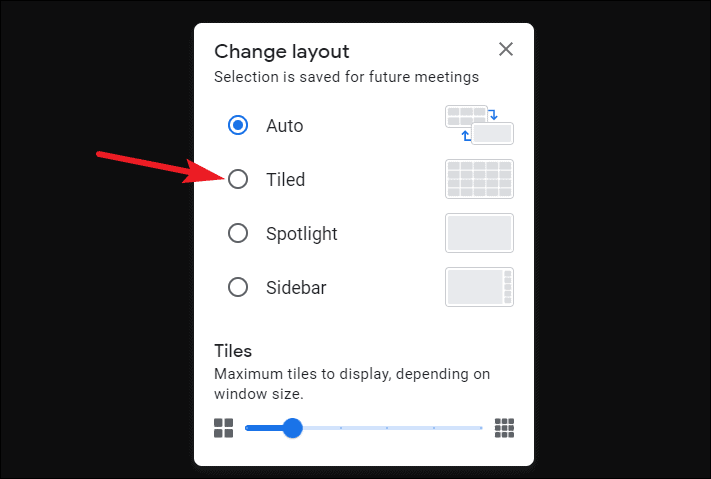
The layout menu will open. Select the layout you want to choose. The layout you choose will be saved for future meetings as well.
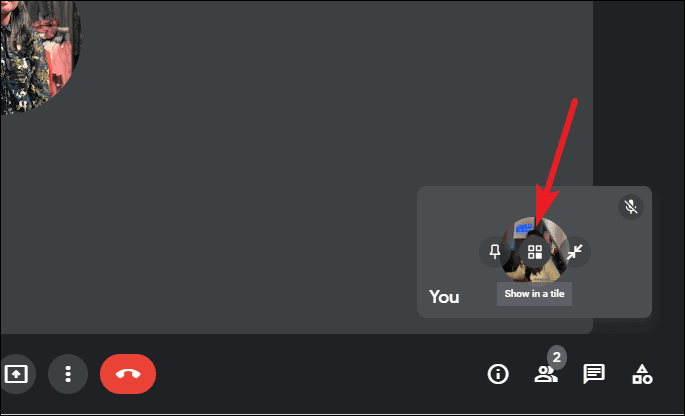
No matter which layout you choose, by default, your video is not a part of it. It instead appears in a movable self-view window which you can even minimize. To include your video as a tile, go to the self-view window and click the ‘Show in a tile’ icon. This will show your video as a tile in the tiled or Auto view.
Meeting Chat in Google Meet
To chat with other participants in the meeting, go to the bottom right corner of the screen. Then, click the ‘Chat’ icon.
The Chat panel will open on the right. Type the message and click ‘Send’. The messages you send will be visible to everyone in the meeting.
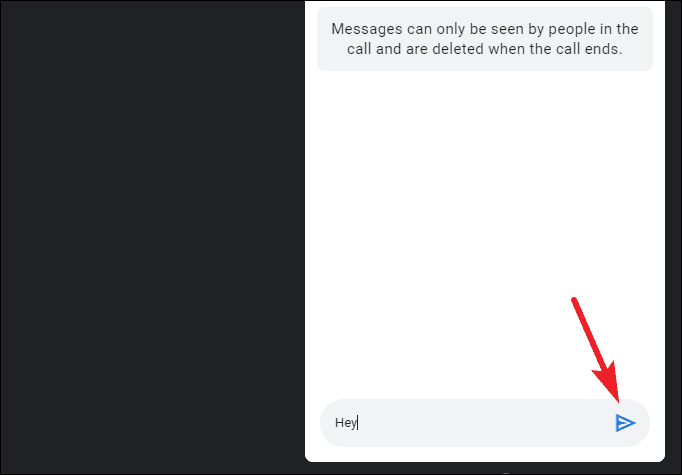
The messages anyone else sends in the meeting will also be visible to you, but any messages sent before you joined the meeting will not be visible to you. The meeting chat is only available during the meeting and all messages are deleted when the meeting ends, even for recurring or scheduled meetings.
You will not be able to send messages in the meeting chat if the meeting host prevents participants from sending messages. You’ll still be able to read the messages others (host and co-hosts) send in the chat, though.
Google Meet is undoubtedly one of the best video conferencing apps out there. But when you’re getting started with something, it can be overwhelming. Hopefully, this guide will help you navigate all the controls easily so you can handle meetings and calls smoothly.