Kami is a PDF and document annotating tool that is a must for any digital classroom. And now, with the pandemic, almost all the classes are digital as we have adapted to this new normal.
Although Kami is useful for anyone who needs a simple yet effective tool for annotating documents, its best usage has to be for a classroom. Using Kami, you can share annotated PDFs with notes/ insights you want your students to see. But the best thing is, you can even share virtual worksheets with your students that they can directly write upon and submit to you to grade. And its integration with Google Classroom makes it infinitely better and that much easier to use in the class.
Important Note: To use the Google Classroom extension in Kami, you need a Pro account with a Teacher or School & District plan. Kami’s Google Classroom integration is not available with the free or even the ‘Pro’ & ‘Work’ Plans for Individuals for logical reasons.
Using Google Classroom with Kami
Now you can either use Google Classroom from Kami’s web app, or you can have a direct integration of Kami in Google Classroom that adds buttons to create an assignment with Kami for teachers and submit a Kami assignment for students right into the Google Classroom’s interface.
Teachers can then grade the assignments students have submitted from within the Google Classroom. It means that everything will happen from within Google Classroom itself, and you won’t even need to open another website.
Getting Kami in Google Classroom
For classes that are already using Google Classroom, this option is the more convenient choice as students and teachers are already comfortable with the interface.
Note: The integration of Google Classroom in Kami allows teachers to create a Google Classroom assignment from Kami, but the rest of the usage like tracking students’ progress, grading assignments, etc. has to be done from Google Classroom only. Also, students cannot see any worksheets you’ve assigned from Kami; it’s only available in Google Classroom.
To use Kami in Google Classroom, you need to install the Kami Chrome extension. The extension should be installed on the teachers as well as all the students’ systems for everyone to able to use it. For schools, admins can deploy the extension to all student accounts from the Google Admin panel to ensure that all students have it.
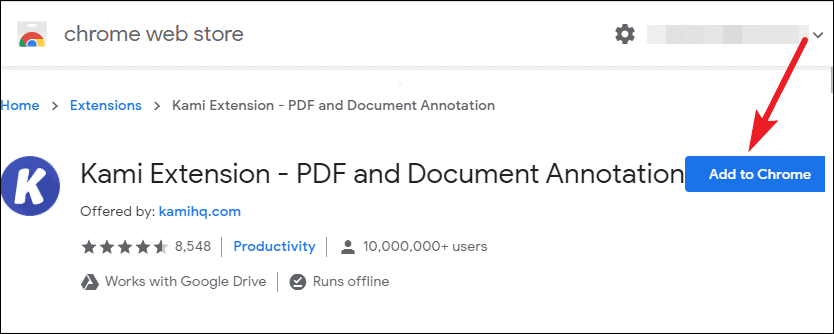
Go to the Chrome Web Store and search for ‘Kami’ to add the extension to your browser. You can also click the button down below to quickly go to the download page.
Click on the ‘Add to Chrome’ button to install the extension on your browser.
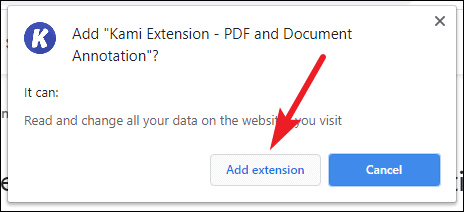
A confirmation dialog box will appear. Click on ‘Add Extension’ and Kami would appear on your address bar with the rest of your extensions.
Once you install the extension, the Kami integration would automatically appear on your Google Classroom account.
Using Kami In Google Classroom (As a Teacher)
Teachers can use Kami to create assignments or worksheets for students that students can annotate. You can even annotate the assignments yourself with any special instructions before you share it with them. The Google Classroom and Kami integration also allows you to grade the assignments as you would real pen-and-paper assignments: you can mark the assignments, and add comments!
Creating an Assignment
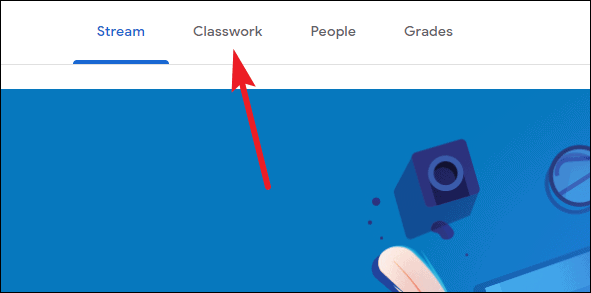
To assign worksheets or assignments using Kami in Google Classroom, log in to your Google Classroom account, and open the class you want to create the assignment for. Then, go to the ‘Classwork’ tab.
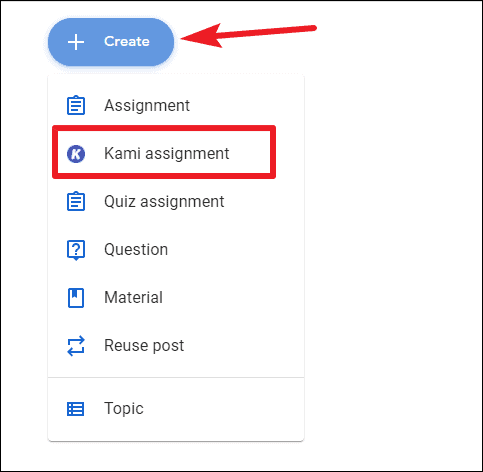
Click on the ‘Create’ button and select ‘Kami Assignment’ from the menu.
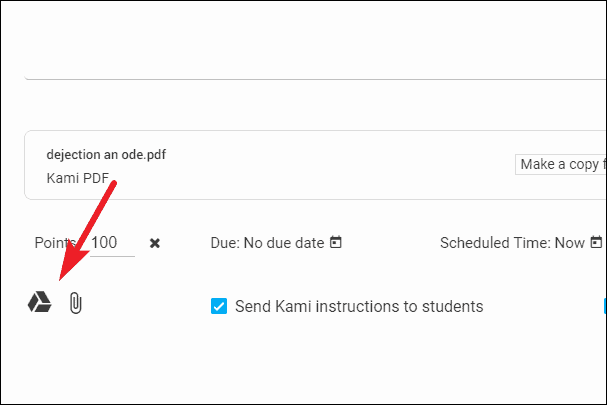
The window to create the assignment will open. Select the assignment file from either Google Drive or your computer.
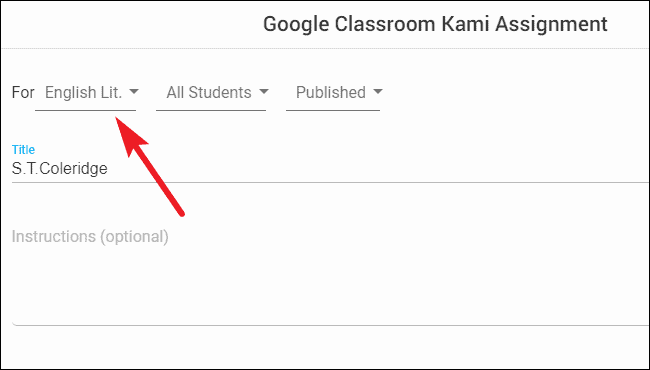
Give the assignment a title and add instructions for students (optional). Then, select the class and students the assignment is for. You can also specify marks, due date, etc. like you can with any other Google Classroom assignment.
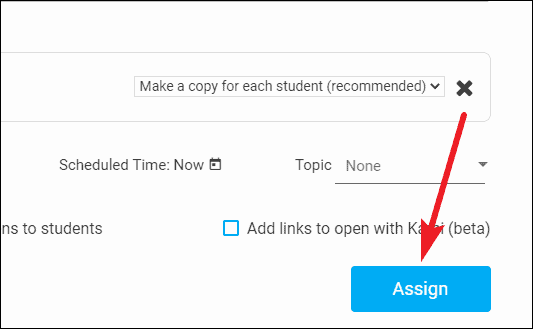
Now, if this is a worksheet that every student needs to work separately on, make sure that you select the option ‘Make a copy for each student’.
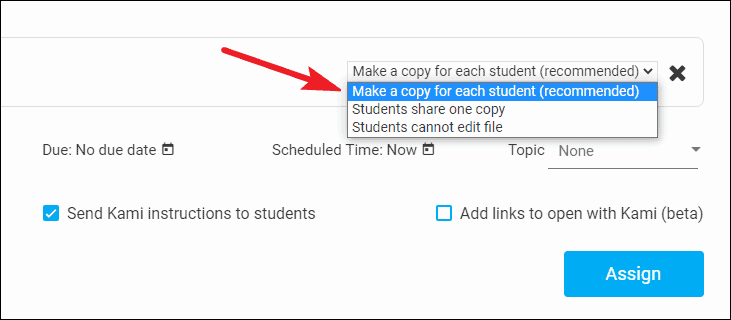
If it’s something you want all the students to collaborate on, then select the option ‘Students share one file’.
If it’s the first time the students will be using Kami, check the ‘Send Instructions with Kami’ option. Students will receive detailed instructions on how to complete the assignment with Kami.
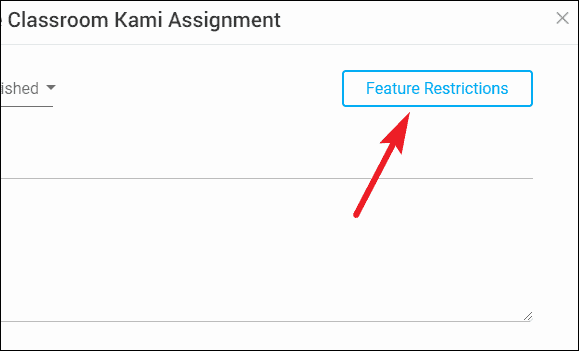
You can also restrict the Kami tools that students can have access to for that particular assignment if you want them to have access to only required and limited tools. Click on the ‘Restrict Features’ button on the assignment window.
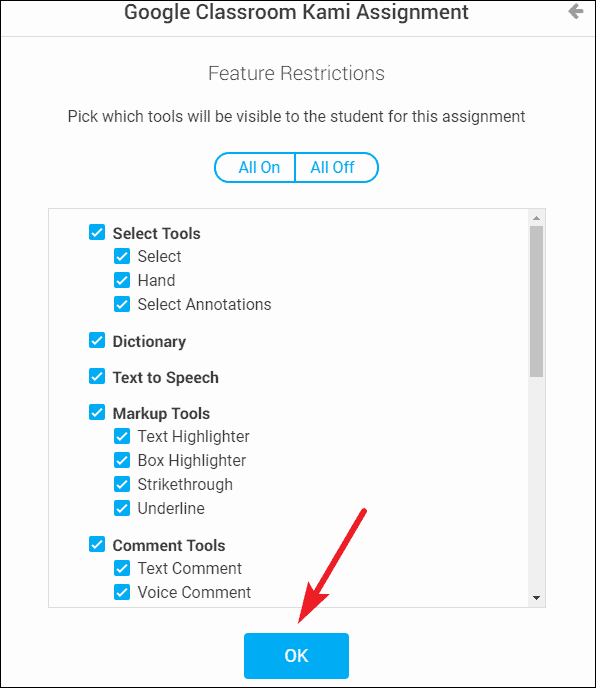
A list of all Kami features will appear. Uncheck the ones you want to restrict access to and click ‘Ok’. Your students won’t be able to use those tools for this assignment.
Finally, click the ‘Assign’ button.
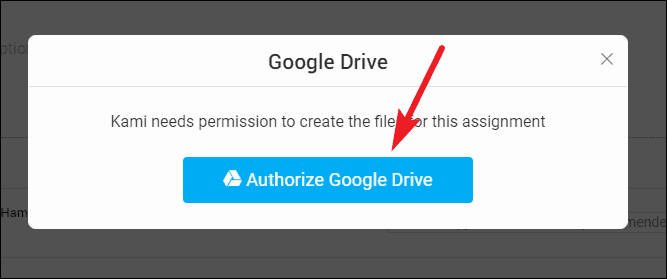
If you haven’t authorized Kami access to your Google Drive before now, it will ask for permission to access it. Click on ‘Authorize Google Drive’.
The assignment will be created, and the students will be able to see it in their Google Classroom Stream and Classwork automatically. You can also share the link to the assignment separately if you want.
Tracking Progress and Grading the Assignments
Once you’ve given the assignment, you can track the status of students’ work from Google Classroom as well. You can see how many students have turned in the assignment. And once they have turned it in, you can also grade the assignments. You can also open the assignments before the students have turned them in to see if they need any help and provide any in form of comments.
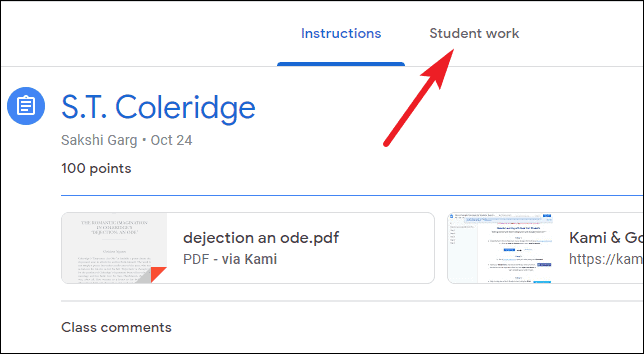
To track the assignment progress, open it in Google Classroom and go to the ‘Student Work’ tab.
Here, you’ll be able to see all the statistics related to the assignment, like how many students have to complete the assignment in total and how many have turned it in under ‘All Students’.
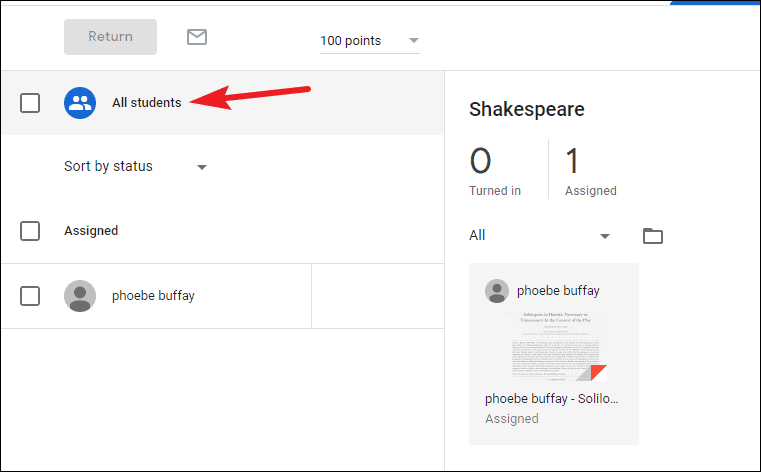
Individual copies of each student’s assignment will appear, and you’ll be able to see the status of the assignment, i.e., whether or not they have turned it in. Click on the assignment to open it.

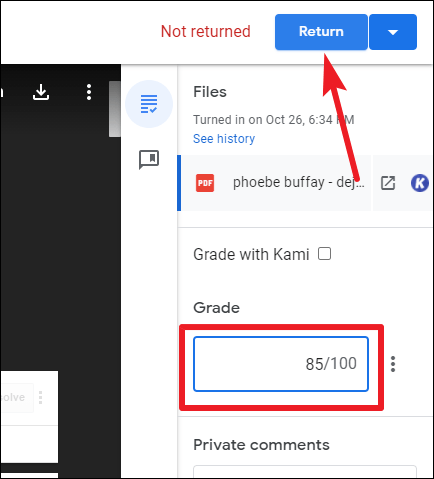
You can see the student’s annotations and comments on the assignment. If you only want to grade it with final marks, just enter the marks on the right side and click the ‘Return’ button.
You can also enter any comments from the Google Classroom viewer itself. But if you want to annotate the assignment like mark the wrong or right answers, click the box next to ‘Grade with Kami’ to select it.
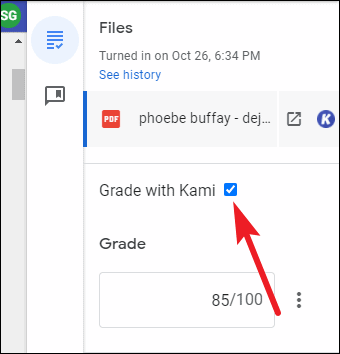
Kami’s editor will open right in Google Classroom. Annotate the assignment however you want. Then, enter the final grade on the right and click the ‘Return’ button.

A confirmation dialog box will appear. Click on the ‘Return’ option on the dialog box.

The student will be able to see their grade on the returned assignment, as well as any annotations or comments you must’ve made.
Using Kami in Google Classroom (As a Student)
Students can use Kami with Google Classroom to annotate on their worksheets or assignments and submit them after completion. Go to Google Classroom and click on the class you want to view the assignments for.
You can see an announcement post for a new assignment on your Stream. But if there are too many posts, click on the ‘Classwork’ tab.
Then, click on the assignment you want to complete.
Open the file in the assignment. In the preview mode, you’ll see the ‘Open with Kami’ button. Click on it.
The assignment will open in the Kami’s web viewer. You can use all the tools your teacher has allowed for the assignment from the toolbar on the left. Once the assignment is complete, click the ‘Turn In’ button on the toolbar on the upper right corner of the screen.
Note: When you’re still working on the assignment, Kami saves all the changes automatically. So your work won’t be lost even if you close the window. You only have to click the Turn in button once the assignment is complete.
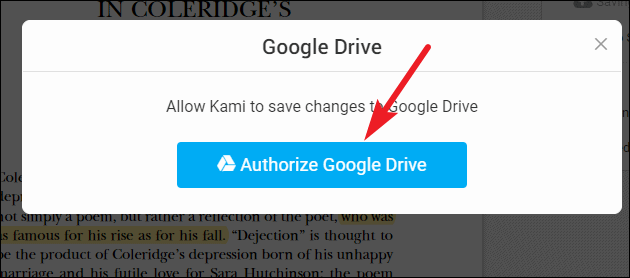
After clicking the Turn in button, if it is your first assignment, Kami would request access to Google Drive. Click the ‘Authorize Google Drive’ button and sign in with your Google account. Then, give Kami access to your account by clicking the ‘Allow’ button.
Your assignment is now submitted and the teacher can grade it and return it you.
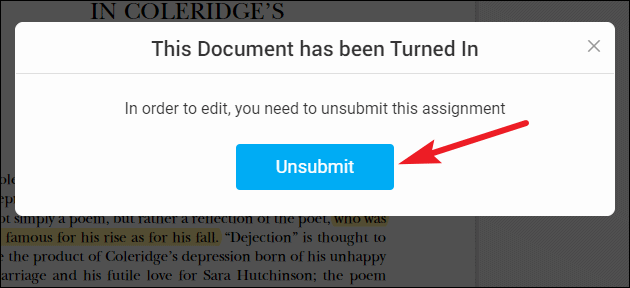
You can also unsubmit the assignment if you need to make some changes after turning it in. To unsubmit the assignment, click anywhere on the assignment in Kami’s web viewer. A dialog box will appear stating that to edit the assignment, you need to unsubmit it. Click the ‘Unsubmit’ button.
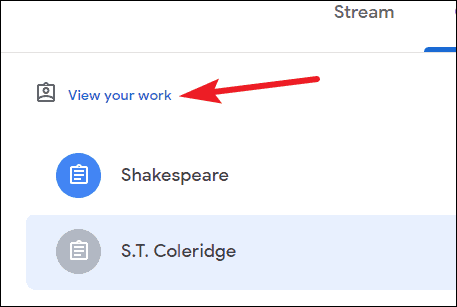
Once the teacher has graded your assignment, you’ll be able to see your final grade from Google Classroom. Click on ‘View your work’ in the Classwork tab.
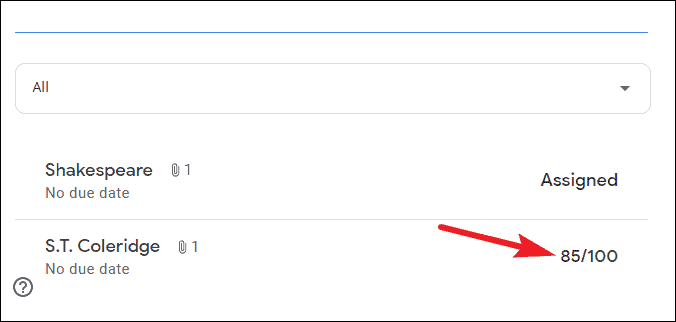
All assignments will open. The returned assignment will have your grade next to it. You can also open the assignment to see any more annotations from the teacher.
Kami is a great tool for teaching. And with schools already using a Learning Management System like Google Classroom, the integration of both makes remote teaching as easy. It feels almost as if you were present in the classroom and handing out assignments in person.