Microsoft Teams has become one of the most popular Workstream Collaboration apps. And for organizations that use it, it is now the primary mode of communication among team members overtaking email. And rightly so. Microsoft Teams has a lot of tools to make communication and collaboration more effective and productive than traditional means.
Even when you’re working from home and are not present in the same physical space, there are a lot of tools to avoid chances of miscommunication and maintain productivity. One such tool that you might have been overlooking but should start paying attention to is the various Status settings available in Microsoft Teams and all the ways you can use them.
What Status Settings are available in Microsoft Teams
There are two types of status settings available at your disposal in Teams – User Presence Status and Custom Status.
What is a User Presence Status
The User Presence Status is the part of your profile in Microsoft Teams (and also throughout Microsoft 365) that lets other users know your availability state. It appears as the small dot in green/ red/ yellow/ grey color next to your profile picture.
One glance at the status and other members in your team will be aware whether you’re online, in a meeting, not to be disturbed, etc. You get the gist. Strictly speaking, it’s meant to let others know the general state of your availability.
What is a Custom Status
Other than the user presence status, there’s also a Custom status in Microsoft Teams that you can use to let others know the exact circumstance of your availability. Where the User presence status can only tell someone that you’re away from the desk, the custom status can tell the exact grounds behind this status, like telling someone you’re away at lunch and will be back in an hour.
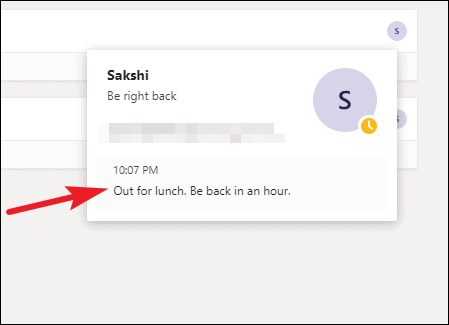
It is a little custom message you can display for a brief period of time. Other users can see it when they hover over your profile picture. And it also pops up when someone sends you a message through personal chat or @mentions you if you so desire.
Using the Status Settings in Microsoft Teams
Setting your status in Microsoft Teams to indicate your availability to other users is rather easy.
Setting Your Presence Status
You might have noticed that even though you’ve never changed your status settings before, there’s automatically a change in your Presence status. That’s because Microsoft Teams automatically displays your status depending on different circumstances.
You’ll also find that certain status options are not available to you to set as your status, yet you can see them as other users’ presence state. Like “In a meeting”, “Presenting”, “Focusing”, etc. These options aren’t just “not available” for you, they are not available for anyone to set themselves. These statuses are app-configured, i.e., Microsoft Teams changes these statuses. It can change them to “In a meeting” when you’re, well, in a meeting, or “Presenting” when you’re sharing the screen in the meeting, and so on.
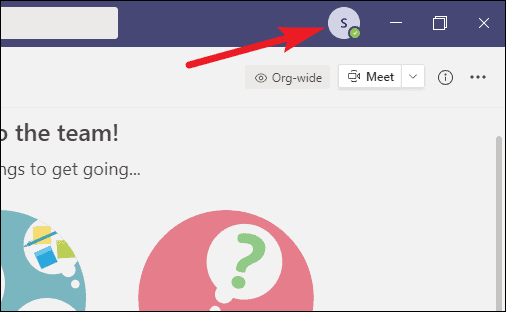
But the options for you are limited. To set a user-configured Presence status, click on the profile button on the Title bar of the Teams app.
A context menu will appear. Go to the Status option (current status) on the menu.
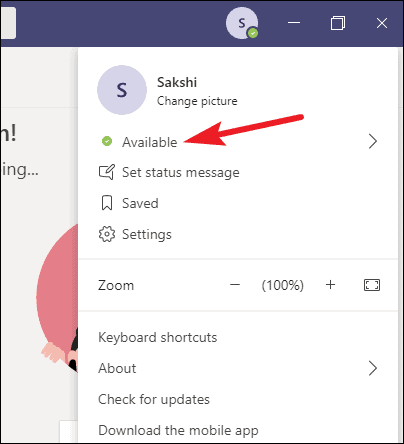
The sub-menu will appear with the following status options: Available, Busy, Do Not Disturb, Be Right Back, and Appear Away. Click on the status you want to display. There’s also a ‘Reset Status’ option if you want to revert the presence to the app-configured state.

When you set a status yourself, it overrides the app-configured status in most cases as its precedence is high. For eg., if you set the status as ‘Do Not Disturb’, Teams won’t change it to ‘In a Meeting’ or ‘On a Call’ as it would have done so normally.
Not all user-configured statues are override proof, though. Even if you set your status to ‘Available’, Teams would override it to ‘Away’ after detecting inactivity for more than five minutes most of the time.
Also, when you set a status yourself in Microsoft Teams, all states have a default expiration period. So even if you forget to change back your status, you won’t stay on Do Not Disturb or Busy forever.
| User Configured State | Default Expiration |
|---|---|
| Busy | 1 day |
| Do not disturb | 1 day |
| Others | 7 days |
Setting Custom Status
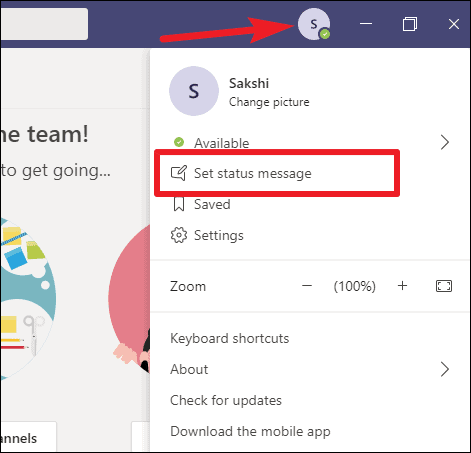
To set a custom status message, click on the profile button, and then go to ‘Set status message’ from the menu.
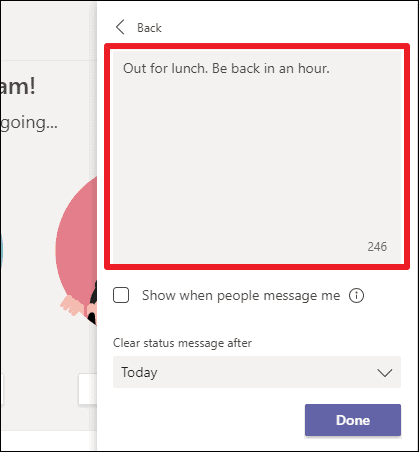
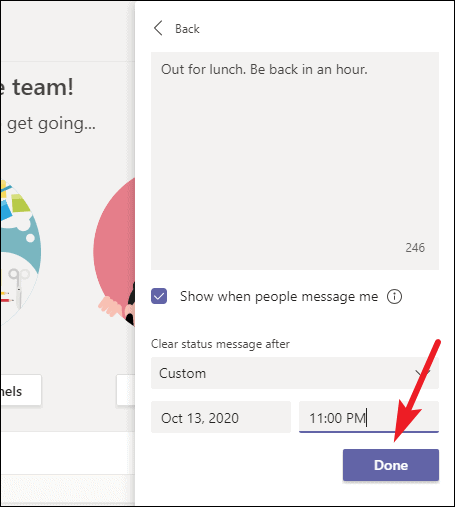
The compose box for the status message will open. Compose the status you want to display to others; the maximum length for the custom status is 280 characters. You can also @mention someone in your status.
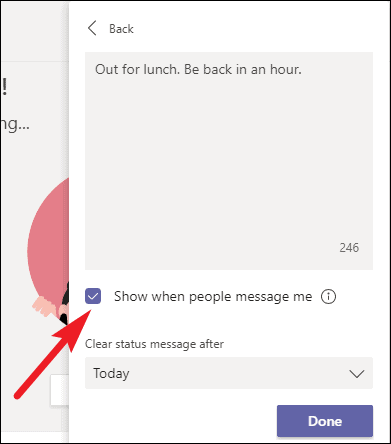
After composing the status, check the ‘Show when people message me’ option if you want. When this option is enabled, whenever someone sends you a private message or @mentions you in the channel, Teams will display your status above their compose box. So, there’ll be no chance in hell that they miss out on your status and blame you later for not responding.
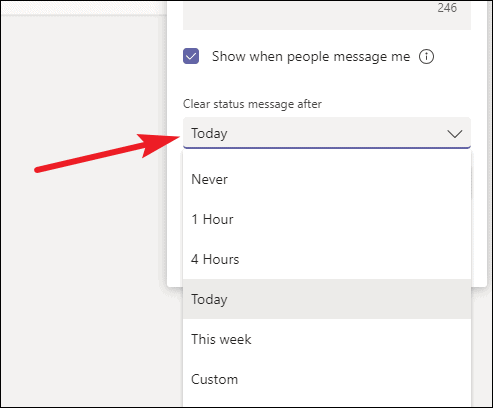
You can also set the expiration date for the status upon whose completion, Teams will clear your status automatically. By default, it will show ‘Today’ as the selected option. Click on it to expand the drop-down menu. Then, select one of the options from ‘Never’, ‘1 Hour’, ‘4 Hours’, ‘Today’, ‘This Week’. You can also select ‘Custom’ to specify a date and time.
Now, tap ‘Done’ to save the status.
Your custom status will be set and visible to others along with your presence state.
Tip: There’s also an Out of Office status you can set in Microsoft Teams that, funny story, cannot actually be set from Microsoft Teams. Read how to set Out of Office in Microsoft Teams in our detailed blog post here.
Follow Other Users’ Status in Microsoft Teams
Apart from setting your own status to keep others informed, you can also follow other users’ status in your organization. When you’re following a person’s status, you’ll get a notification every time they appear Available or Offline. You’ve got to admit, getting notifications is better than having to obsessively stalk and wait for them to appear online when you have some important business.
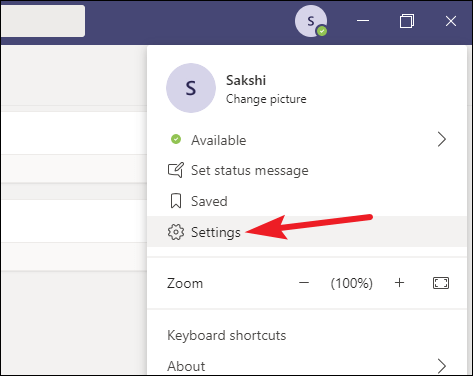
Click on the profile button in Microsoft Teams and go to the ‘Settings’ option from the menu.
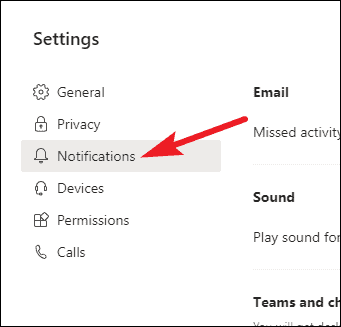
Go to ‘Notifications’ from the navigation menu on the left.
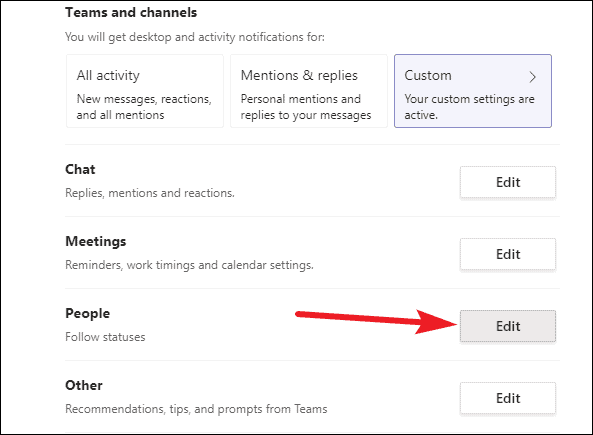
Find the ‘People’ option and click on the ‘Edit’ button next to it.
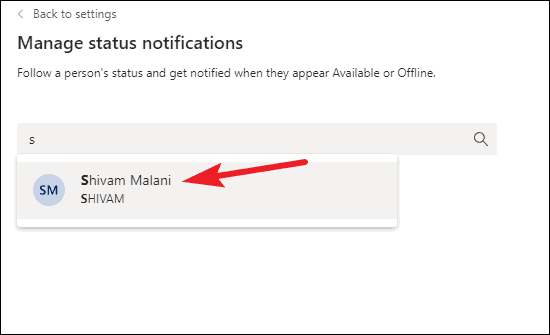
Now, add the person(s) whose status you want to follow and get notified about.
You can stop these notifications at any time by clicking the ‘Turn Off’ button next to the person’s name.
Status settings in Microsoft Teams is an invaluable tool available to you to make sure that there is no room for miscommunication. You can also use various settings like Do not disturb, or Focused, etc. to make sure that you can focus on the task at hand, and no one can disturb you. You still receive messages from people, just not the notifications, so you can remain in your zone.