Windows 11 offers the ability to create and manage multiple virtual desktops, enhancing your ability to organize open applications and tasks efficiently. This feature allows you to separate different activities into distinct desktops, making multitasking smoother and your workspace less cluttered.
Benefits of using multiple virtual desktops
Using multiple virtual desktops can significantly enhance your productivity by allowing you to organize your workspace more effectively. Here are some key advantages:
Improved organization and focus. By categorizing your open applications and windows across different desktops, you can keep work-related tasks separate from personal activities. This separation reduces visual clutter and helps you focus on the task at hand.
Simplified window management. Virtual desktops enable you to manage your open windows more efficiently. You can easily move applications between desktops with simple drag-and-drop actions or keyboard shortcuts, streamlining your workflow.
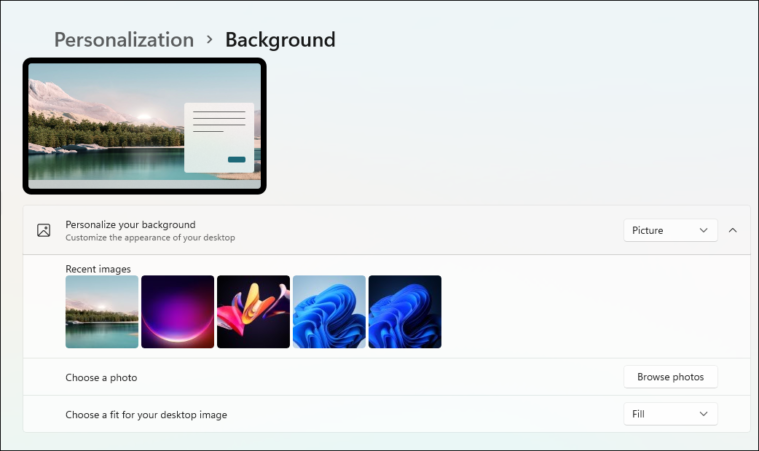
Personalized workspaces. With Windows 11, you can customize each virtual desktop with its own background, allowing you to personalize your environment and quickly distinguish between different desktops.
Trying out multiple virtual desktops can help you determine whether this feature enhances your workflow and productivity.
Creating multiple virtual desktops in Windows 11
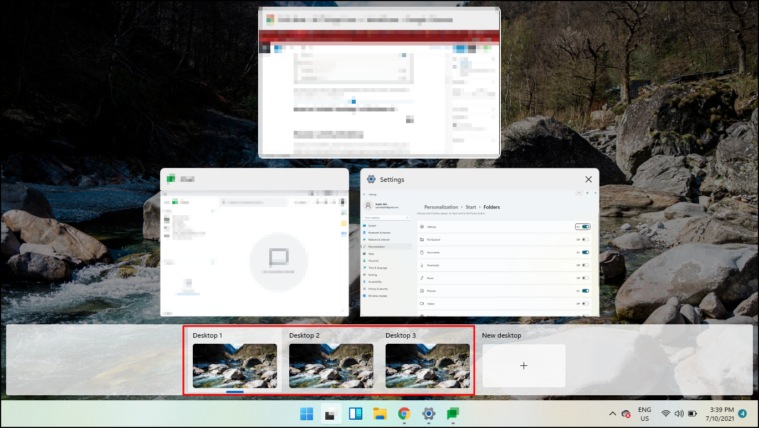
Windows + Tab to open Task View. At the top, you’ll see all the open windows on your current desktop, and at the bottom, you’ll see thumbnails of your existing virtual desktops.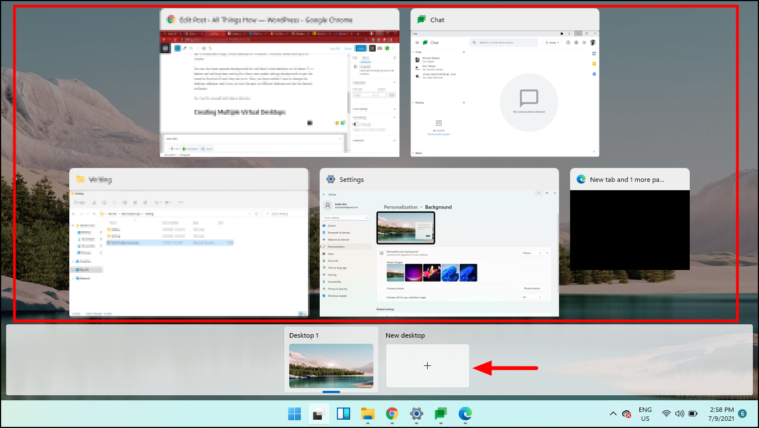
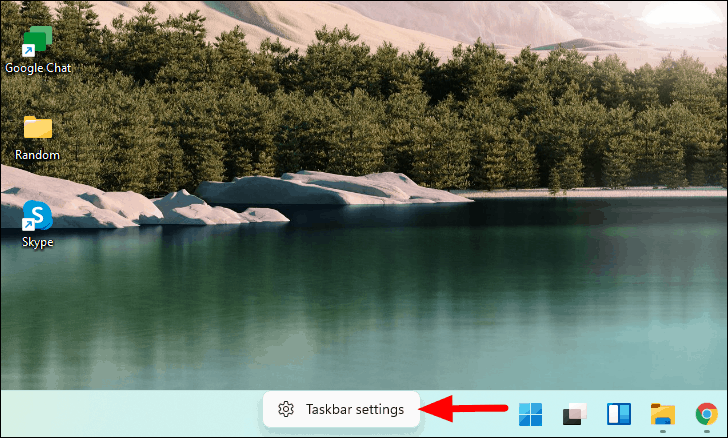
If you prefer, you can also click or hover over the Task View button on the Taskbar to access your virtual desktops. If the Task View button is not visible, you may need to enable it in the Taskbar settings.
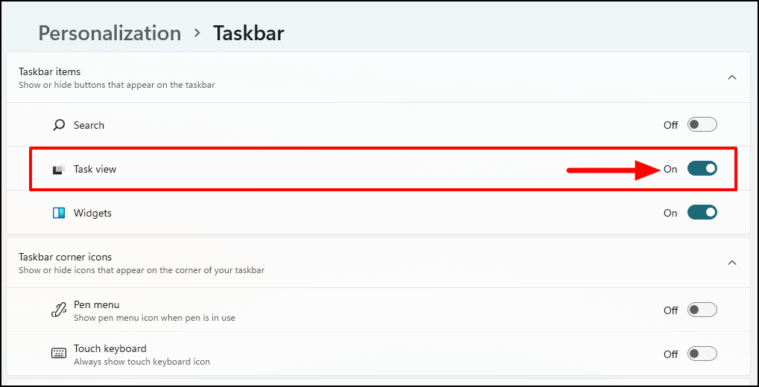
Enabling the Task View button
If the Task View button is not visible on your Taskbar, you can enable it through the Taskbar settings.
Switching between virtual desktops
Method 1: Using keyboard shortcuts
You can quickly switch between virtual desktops using keyboard shortcuts. Press Windows + Ctrl + → to move to the virtual desktop on the right, or Windows + Ctrl + ← to move to the one on the left.
This method is efficient for navigating between desktops without interrupting your workflow.
Method 2: Using Task View
Renaming a virtual desktop
To help keep your desktops organized, you can rename them based on their purpose.
Enter to save.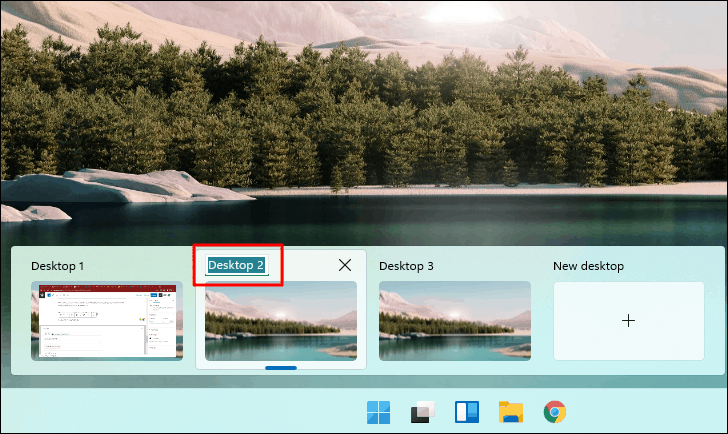
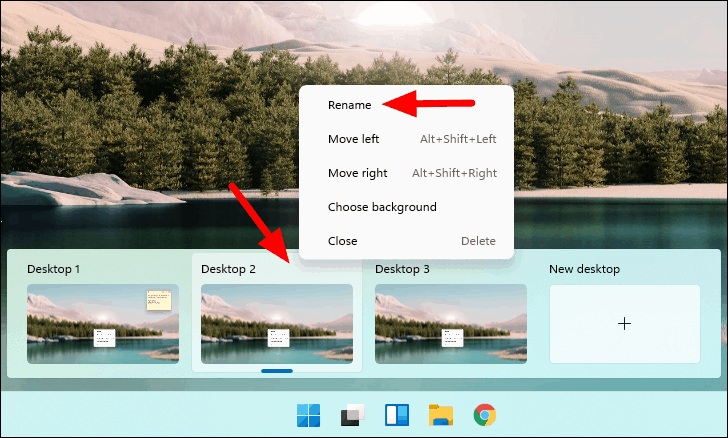
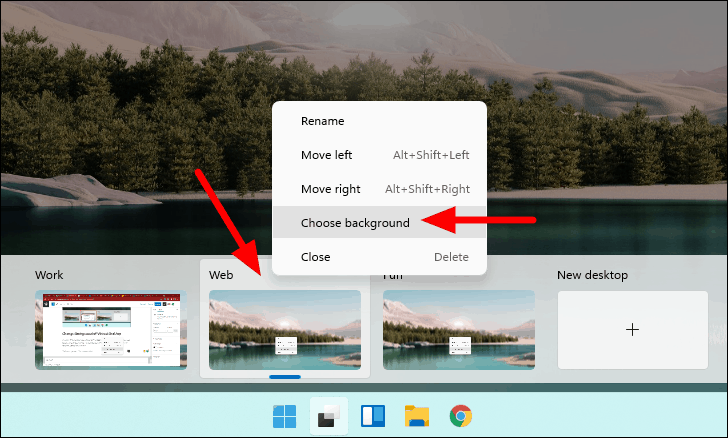
You can also right-click on the desktop thumbnail in Task View and select Rename from the context menu to change the name.
Rearranging virtual desktops
You can change the order of your virtual desktops to suit your preferences.
Using keyboard shortcuts
The virtual desktop will move to the new position accordingly.
By dragging and dropping
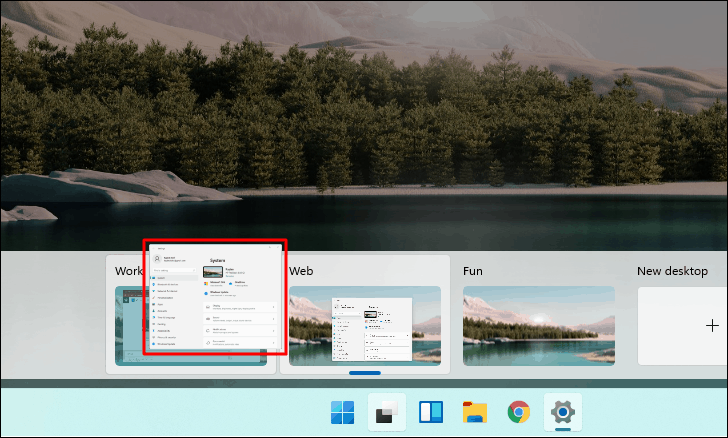
Customizing virtual desktop backgrounds
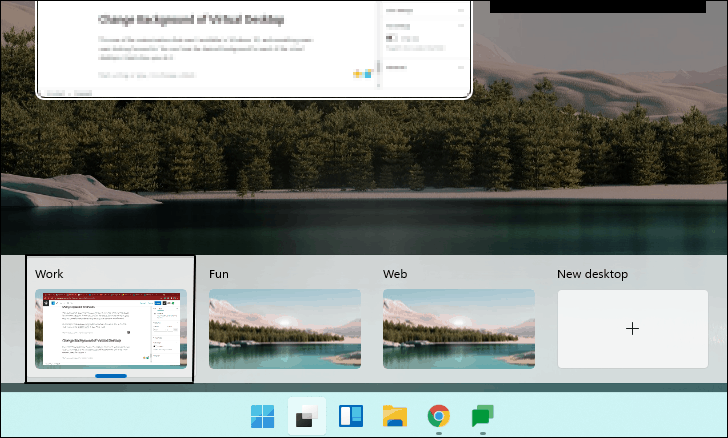
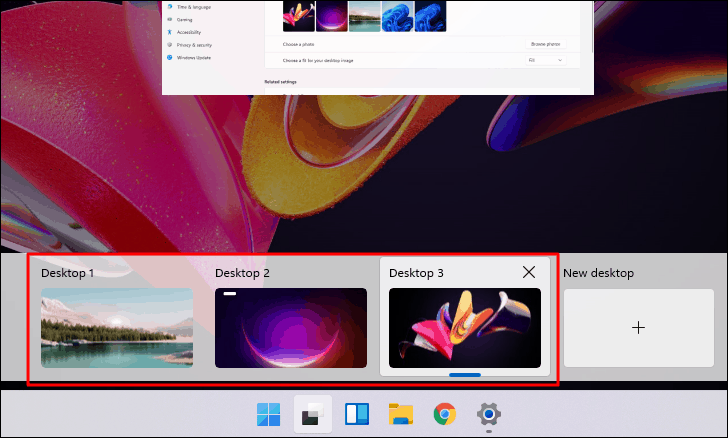
Windows 11 allows you to set different backgrounds for each virtual desktop, making it easier to distinguish between them.
Here is an example of different desktops with unique backgrounds:
Troubleshooting background changes
If you encounter issues when changing the background of a virtual desktop, it might be because the Settings app is already open on another desktop. Windows 11 only allows one instance of the Settings app at a time, and if it’s open elsewhere, attempting to change settings may redirect you to that desktop without notice.
To resolve this:
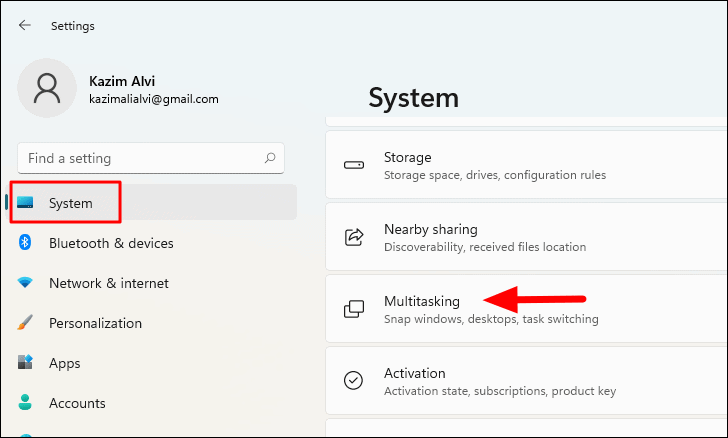
Adjusting virtual desktop settings
You can customize how windows and apps appear across your virtual desktops.
Windows + I).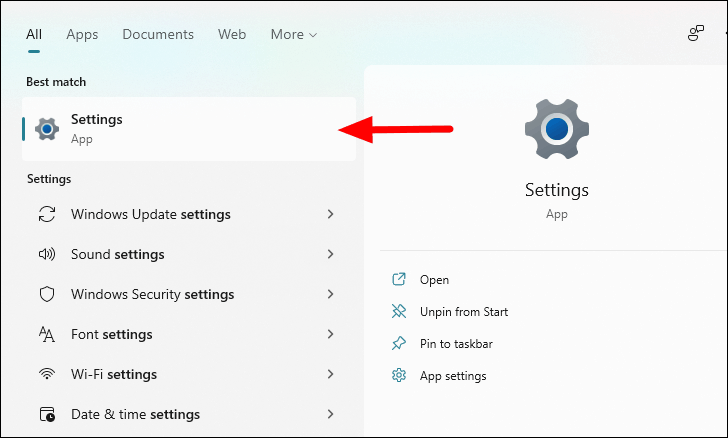
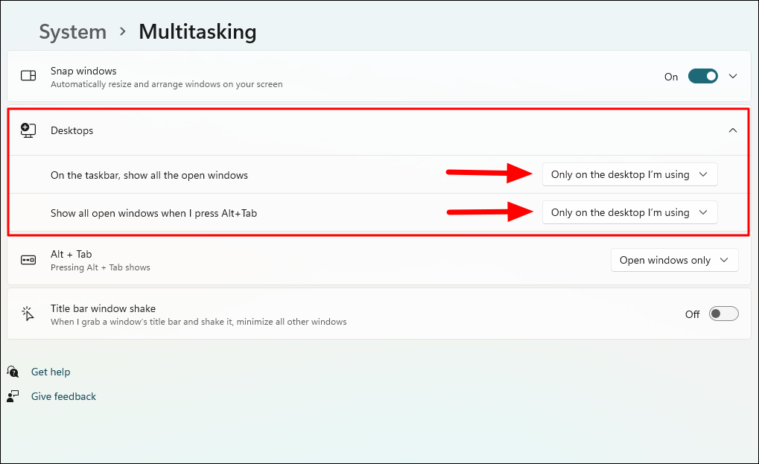
Selecting On all desktops will display all open windows across your desktops, while Only on the desktop I’m using will limit the view to the current desktop.
Moving applications between virtual desktops
You can move open applications from one virtual desktop to another to better organize your tasks.
The application will now be accessible on the selected virtual desktop.
By utilizing multiple virtual desktops and customizing them to your needs, you can improve your workflow and productivity in Windows 11. Experiment with these features to find the setup that works best for you.