Microsoft announced the Tasks app for Microsoft Teams last year, and it’s safe to say it’s one of the apps whose arrival people were eagerly waiting for. Keeping track of different tasks we have to take care of throughout the day or by the week’s or month’s end can be really daunting. Of course, there are different apps for that in Microsoft.
But that’s precisely the problem. Or, at least it was. The apps were separate. And you’d have to switch between multiple apps to keep track of everything. It was really hard to preserve your sanity while doing that. But with Tasks, Microsoft is changing that.
Tasks app brings all the capabilities of Microsoft’s separate progress tracking and task management apps into one place. The new Tasks app combines your personal tasks from To-Do and shared tasks from the Planner app right in Microsoft Teams. So you can track all your tasks from a single place.
Adding Tasks in Microsoft Teams
The Tasks app started rolling out earlier this year in phases and is now generally available to everyone with a Microsoft 365 subscription. Microsoft Teams Free users don’t have access to the app.
You can add the Tasks app as a system-wide app in Microsoft Teams or as a tab in a channel. When you add Tasks as a tab in the channel, it won’t include your personal tasks from To-Do.
Before adding the Tasks app in Microsoft Teams, there’s one thing to remember. You won’t find the app under the name “Tasks”. Currently, you’ll find it under the name ‘Planner’.
Gradually, the name will change to ‘Tasks by Planner and To-Do’ before finally becoming ‘Tasks’. The change to the former has already started, and some users might find the app under that name instead of ‘Planner’. But no matter the name, the functionality is the same.
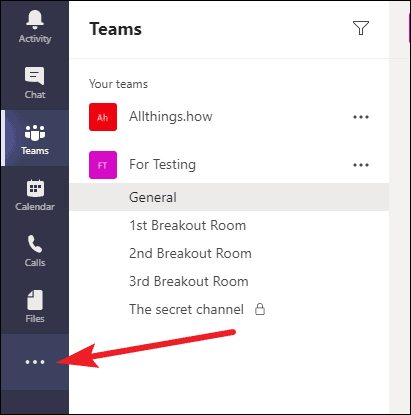
To use the Tasks app, click on the ‘More added apps’ option (three dots) on the navigation bar on the left.
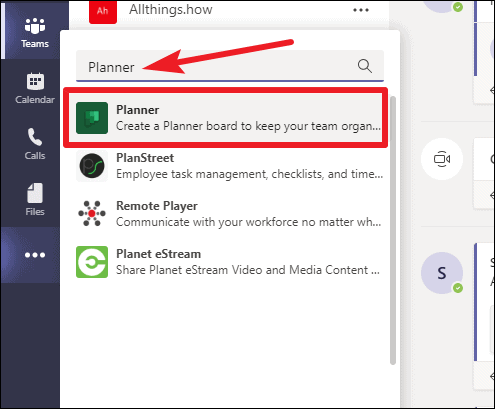
Then, click on the ‘Find an app’ search bar and search for ‘Planner’. Click on the app to add it to your Microsoft Teams roster.
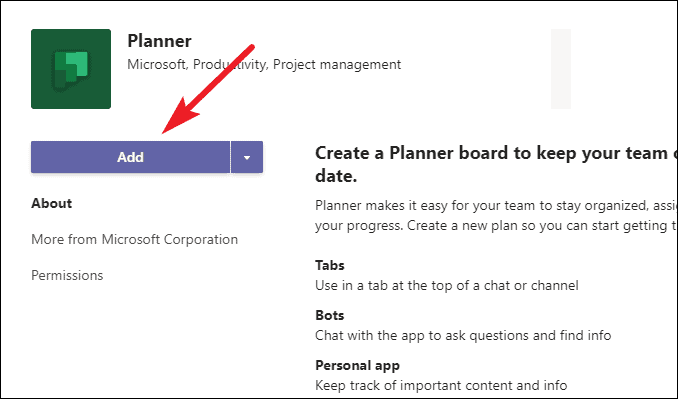
The app description window will open. Click the ‘Add’ button to install the app.
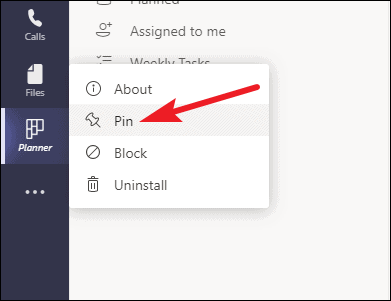
The Planner (or, Tasks by Planner and To Do, in some cases) will appear on the navigation bar. You can also pin the app on the navigation bar for future access. Right-click on the app and select ‘Pin’ from the options menu.
Using Tasks in Microsoft Teams
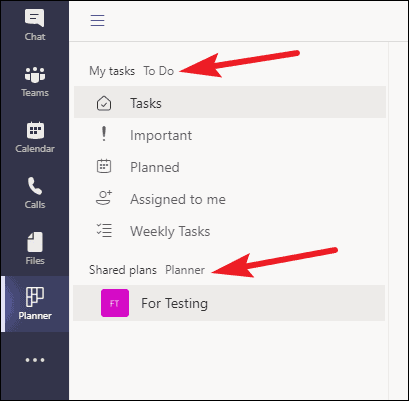
The Tasks app on Microsoft Teams shows your tasks in two sections: ‘My Tasks’ and ‘Shared Plans’.
The ‘My Tasks’ section includes your lists from the Microsoft To-Do app, as well as any tasks you’ve added in To Do and Outlook. It also includes a section for ‘Assigned to Me’ that shows any tasks from Planner assigned specifically to you so you can always have the list of tasks handy.
The Shared Plans section includes the tasks or plans from the Planner app that have been added to Teams.
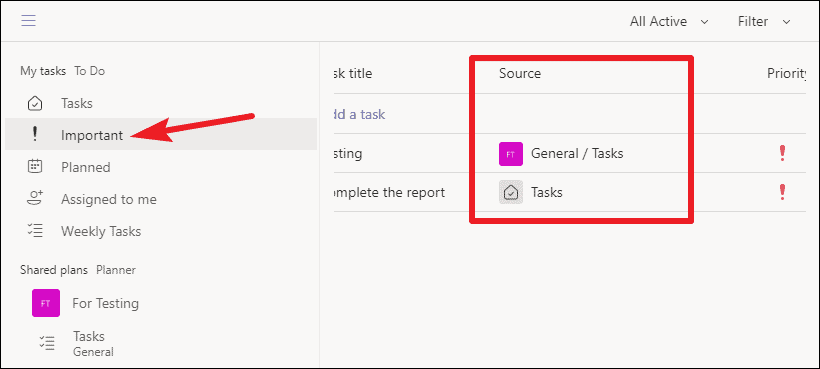
The ‘My Tasks’ section also includes Important and Planned categories. The Important category shows all tasks you’ve starred, from To Do as well as tasks assigned to you in Planner.
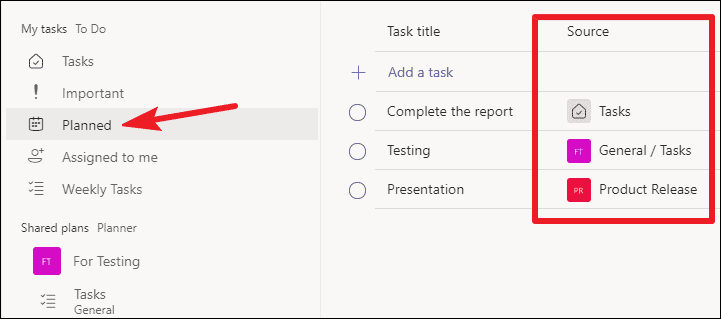
The Planned category shows all your tasks that have a Due Date, from To Do as well as Planner that are assigned to you, sorted by date so you can keep track of your time table. It also shows tasks from Plans that are not part of your Teams but are present in the native Planner app.
Creating New Tasks
The Tasks app just doesn’t show all your tasks from these other apps; you can also create new tasks.
Click on the ‘New List or Plan’ option towards the bottom of the screen to create new lists or plans.

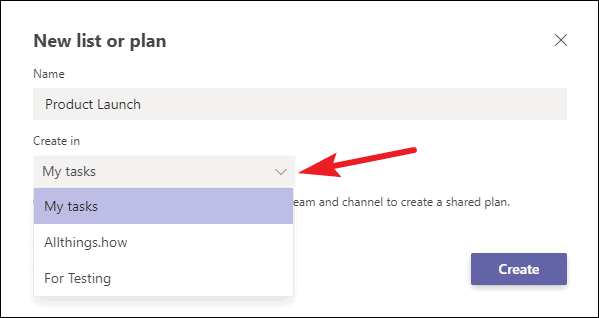
The window to create a new task will appear. Give your list or plan a title. Then, go to the drop-down menu under ‘Create in’ and select what type of task is it going to be. Select ‘My Tasks’ if you want to create a private list or the team name, and channel if you want to create a shared plan.
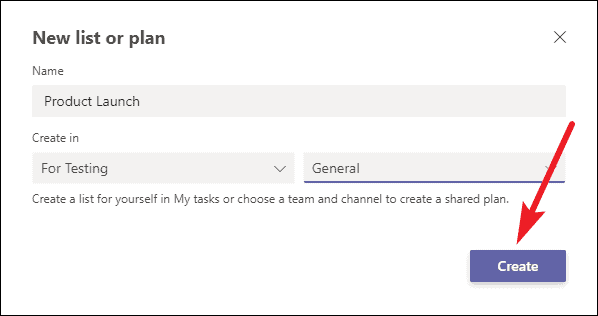
Then, click the ‘Create’ button.
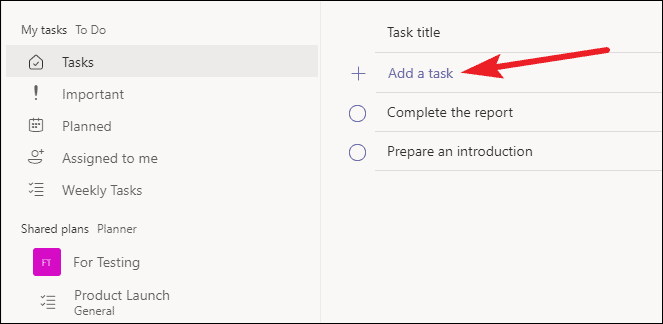
To create a new task in an existing list or plan, go to that list/ plan first. Suppose you want to create a new personal task for To-Do, go to ‘Tasks’ under ‘My Tasks’.
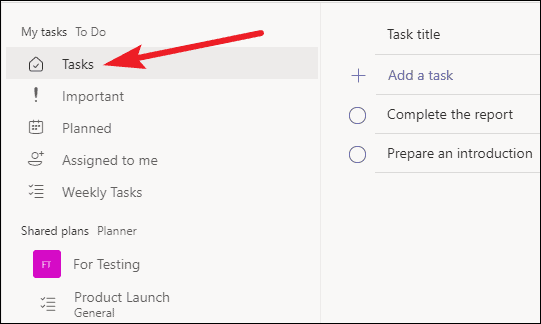
Then, click on the ‘Add a Task’ option.
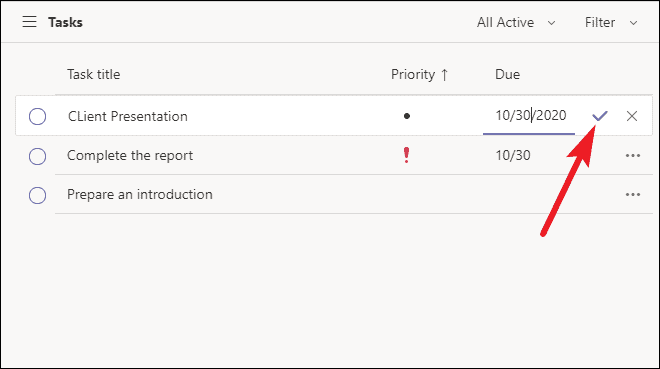
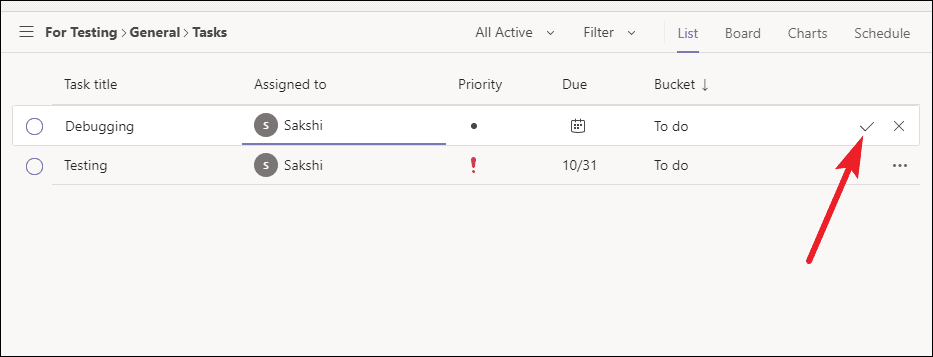
Enter the title for the task, and a priority status or due date if there is one. And click on the ‘OK’ button (checkmark icon) to save the task.
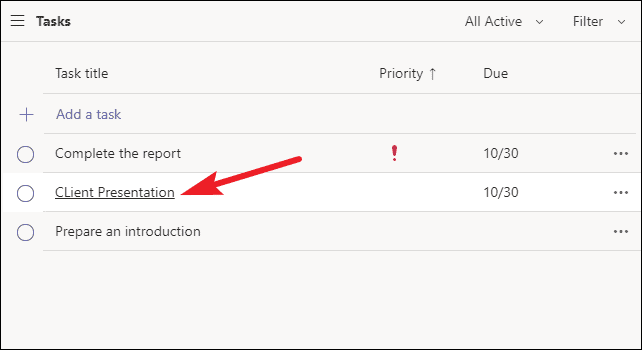
To edit further information about the task, like adding description or subtasks, click the task.
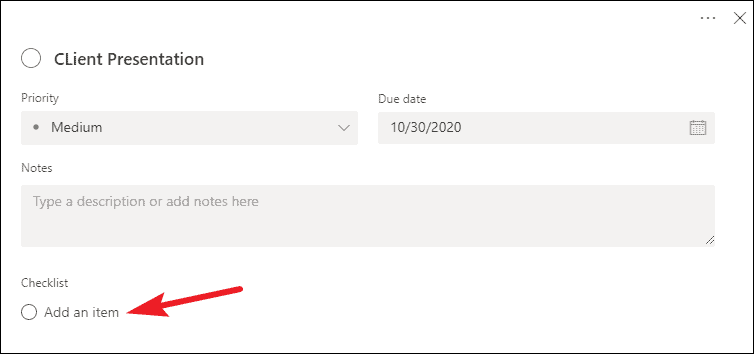
The editing window will open. Go to ‘Checklist’ and add subtasks for the task where it says ‘Add an Item’.
Similarly, for a new shared plan task, go to the Plan name and click on the ‘Add a Task’ option. The only difference for a new task in a Plan would be the column categories. You can enter details for the ‘Assigned To’ and ‘Bucket’ categories when creating a new task for Planner.
Viewing your Tasks
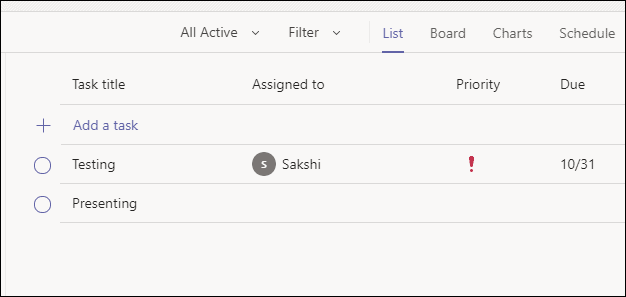
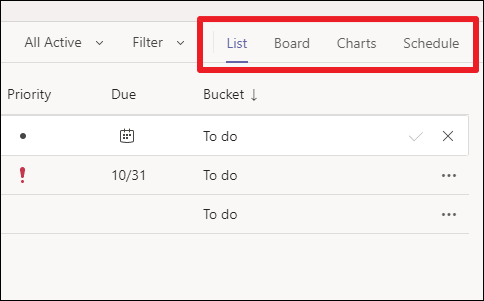
The To-Do tasks can only be viewed as a list, but the Planner tasks support 4 types of view. You can display your tasks in form of a List, Board, Chart, or Schedule.
By default, the ‘List’ view will be visible.
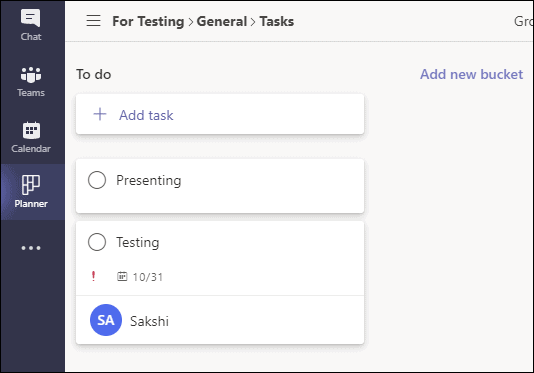
The Board view displays all the tasks in the form of cards on a board, which is the default view in the native Planner app in Microsoft 365.
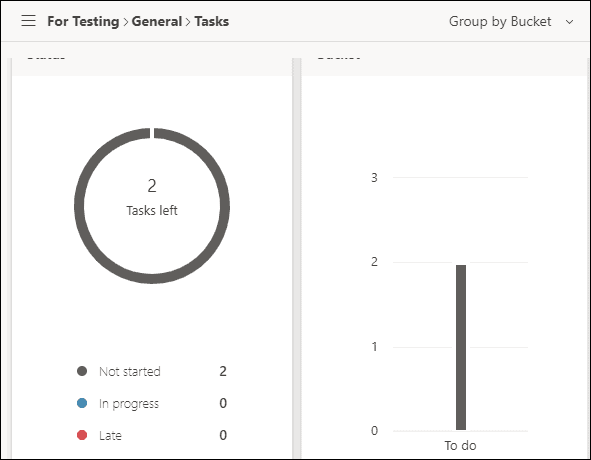
The Chart view displays all the statistics related to the Plan in form of charts that makes it more visual and, therefore, easier to keep track of all the information.
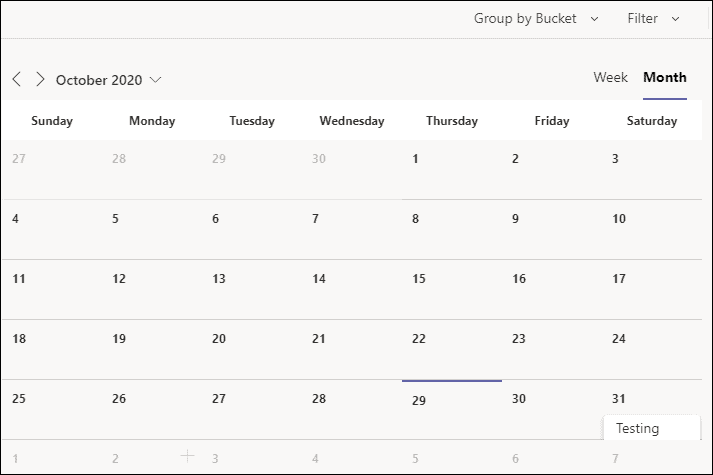
And the Schedule view will display all your tasks on a Calendar making it easy to keep track of your deadlines.
To change the view, click on the corresponding option on the right corner of the toolbar above the tasks.
Using Tasks as a Tab
You can also add Tasks as a tab in a Teams channel. When added in a channel, the app won’t include your personal tasks from To-Do. With Tasks app in the channel, your team can create plans collaboratively and keep all tasks at hand organized.
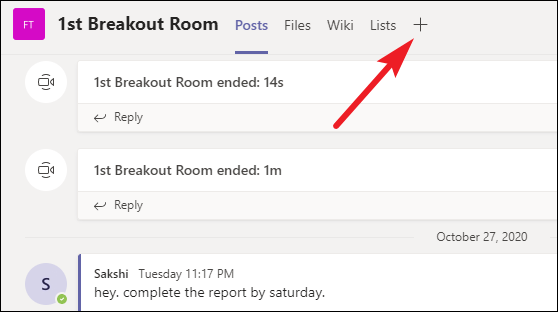
Go to the channel you want to add the Planner to and click on the ‘+’ icon at the top to add a new tab.
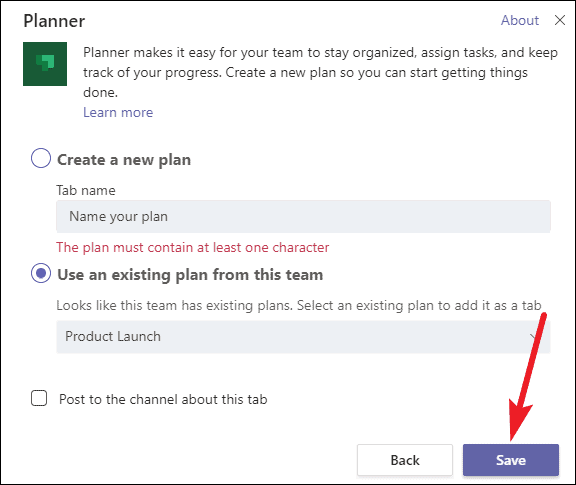
Search for ‘Planner’ from the apps and click on it. You can either create a new plan or add an existing one. Select the radio button corresponding to the option you want, and then either enter the name for a plan (to create a new plan) or select an existing plan from the drop-down menu. Then, click the ‘Save’ option.
The new Tasks app in Microsoft Teams will make managing tasks, team as well as personal, a piece of cake. And the coming months will only see an enhancement to the app, with more additions like recurring tasks, My Day list, etc. coming too.