The Journal app from Apple is finally here in iOS 17.2 after months of waiting for it since it was first announced at this year’s Worldwide Developer’s Conference. Journaling has proven to be great for reflecting on your thoughts and experiences, setting down goals and tracking your progress towards them, or just getting your thoughts down so they’re tangible. And your phone can be the best place to keep a journal.
With the Journal app, Apple hopes to provide you with a place where you can journal every day for better mental well-being – a theme that the company was pretty big on in iOS 17 with updates like State of Mind in the Health app. So, here’s everything you need to know about the app.
What is the Journal App?
Journal is a basic journaling app from Apple where you can create and manage journal entries. Journal from Apple is not the first app of this kind on the scene; there are many third-party apps that have been doing it longer and better.
However, Journal has something these other apps don’t (at least not yet; with the Suggestions API, they can have it, too, though) – a deep integration with iOS.
Journal can have access to your contacts (people you’ve called, messaged, or FaceTimed), locations, photos, media (music and podcasts you’ve listened to), and workouts. With all this information at hand, it can come up with prompts, officially dubbed ‘Moments’, that you might want to reflect on. It uses on-device machine learning to process information from your phone and come up with these moments. However, the inner workings of how it comes up with these moments are shrouded in mystery.
You have some control over what you want to appear in your suggestions, and you can even turn them off completely. Since all the processing happens on your device, you don’t have to worry about your data not being local. Even with the Suggestions API, third-party apps won’t have access to your Moments unless you pick it to add it in the app.
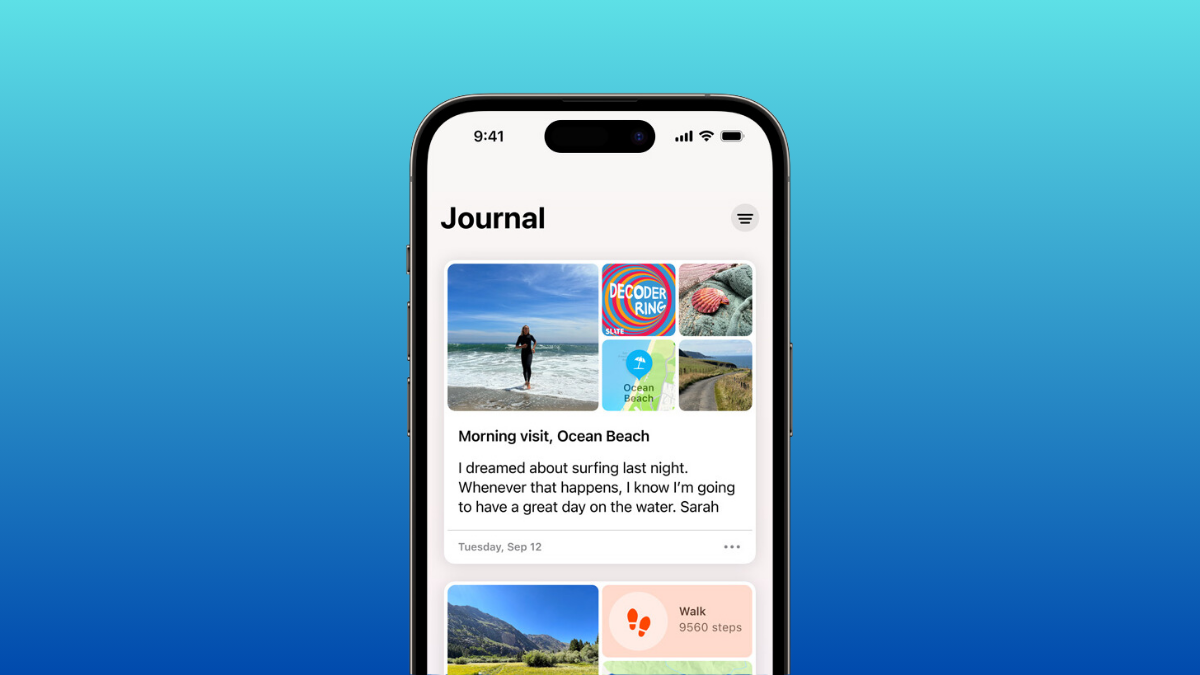
The premise of the Journal app in itself is simple. You can add text, photos, videos, and audio recordings to an entry. You can also tag your entries with locations and dates. The entries appear in reverse chronological order in the app. You can even bookmark entries to find them again easily or filter them on the basis of moments you’ve added to them.
Journal also keeps your entries secure; you can use your device passcode or biometrics to lock it. The iCloud backups are the only part of the entire process that isn’t local, but they are end-to-end encrypted.
Using the Journal App
To use the Journal app, all you need to do is install iOS 17.2 on your device. The app will appear on your iPhone on its own once you update.
- To update your iOS, go to
Settings>General>Software Update. - Then, open the ‘Journal’ app from your home screen.
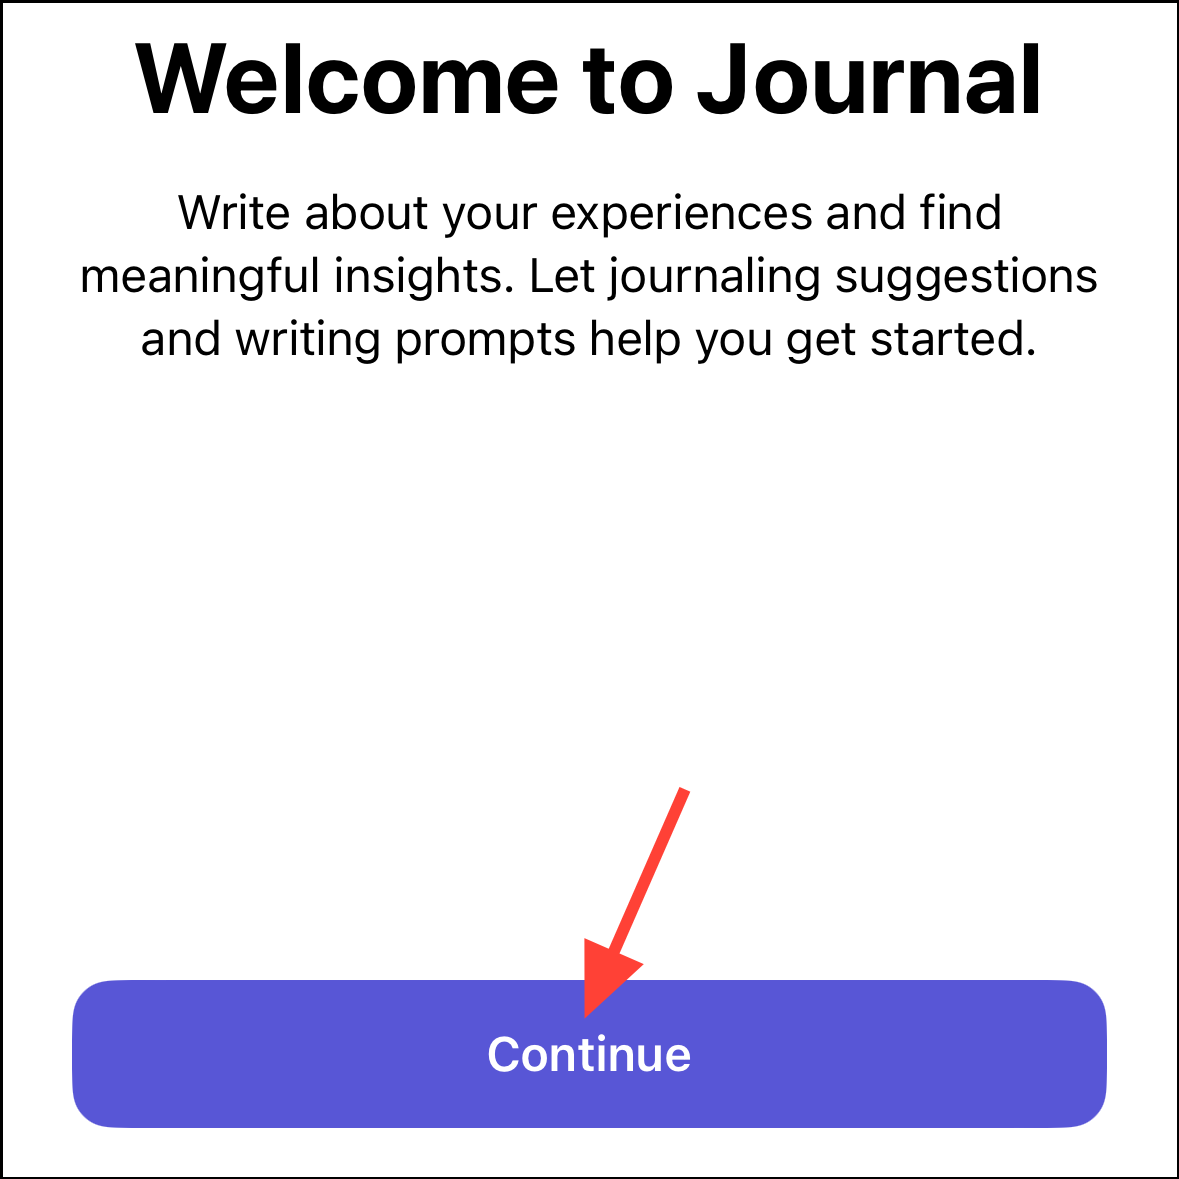
- Tap ‘Continue’ on the onboarding screen.
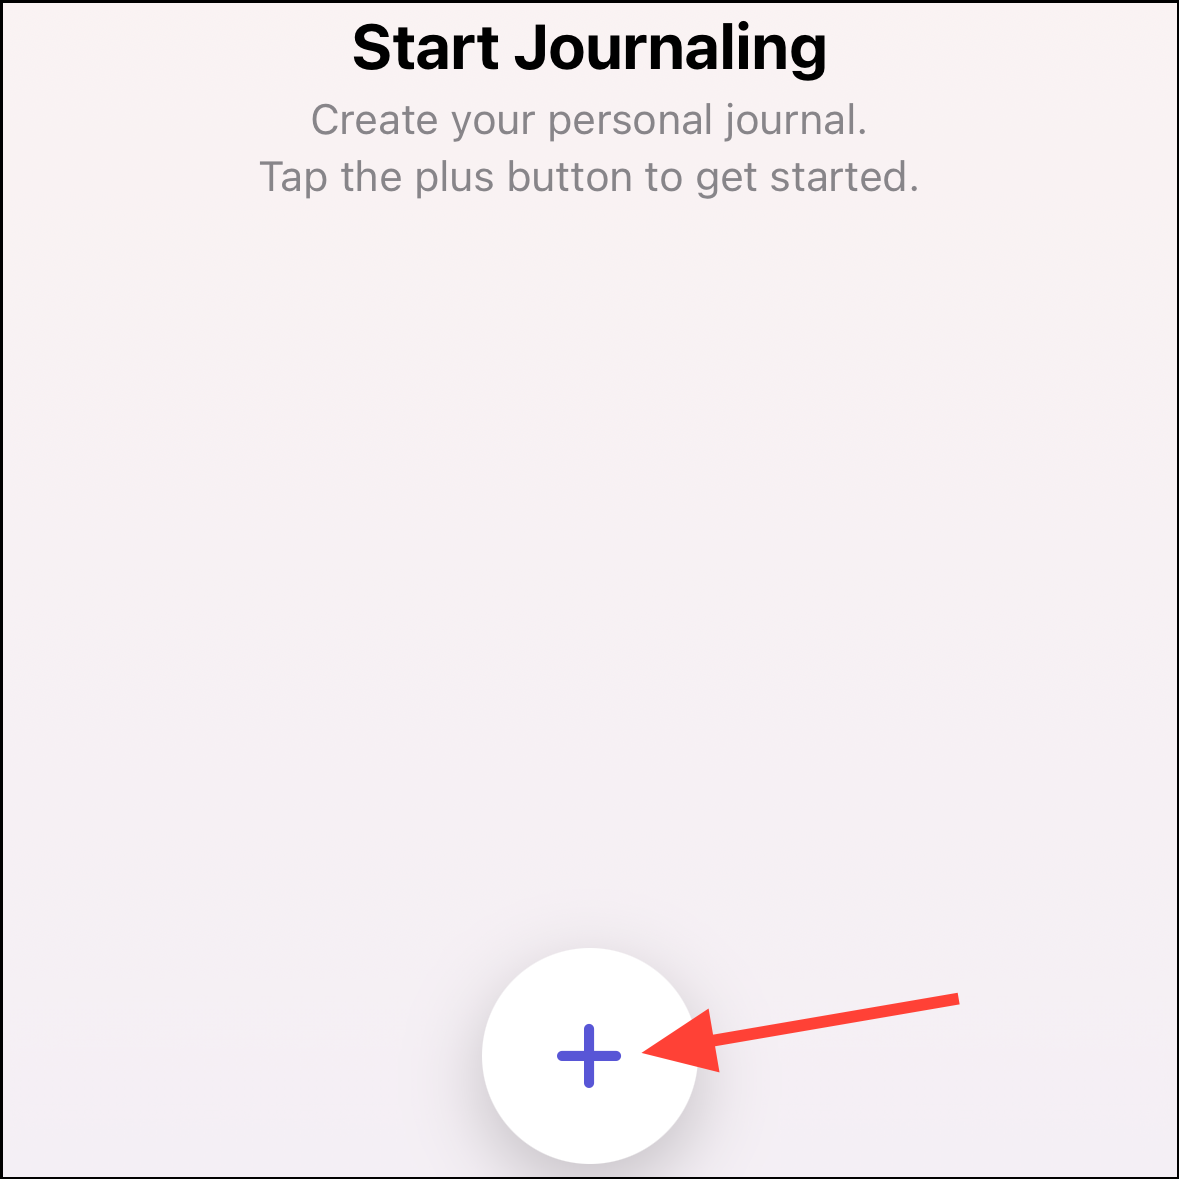
- The homepage for the Journal app will open, which is a simple timeline of your entries (which will be blank at this point) with a ‘+’ button at the bottom to log an entry. Click on it to get started.
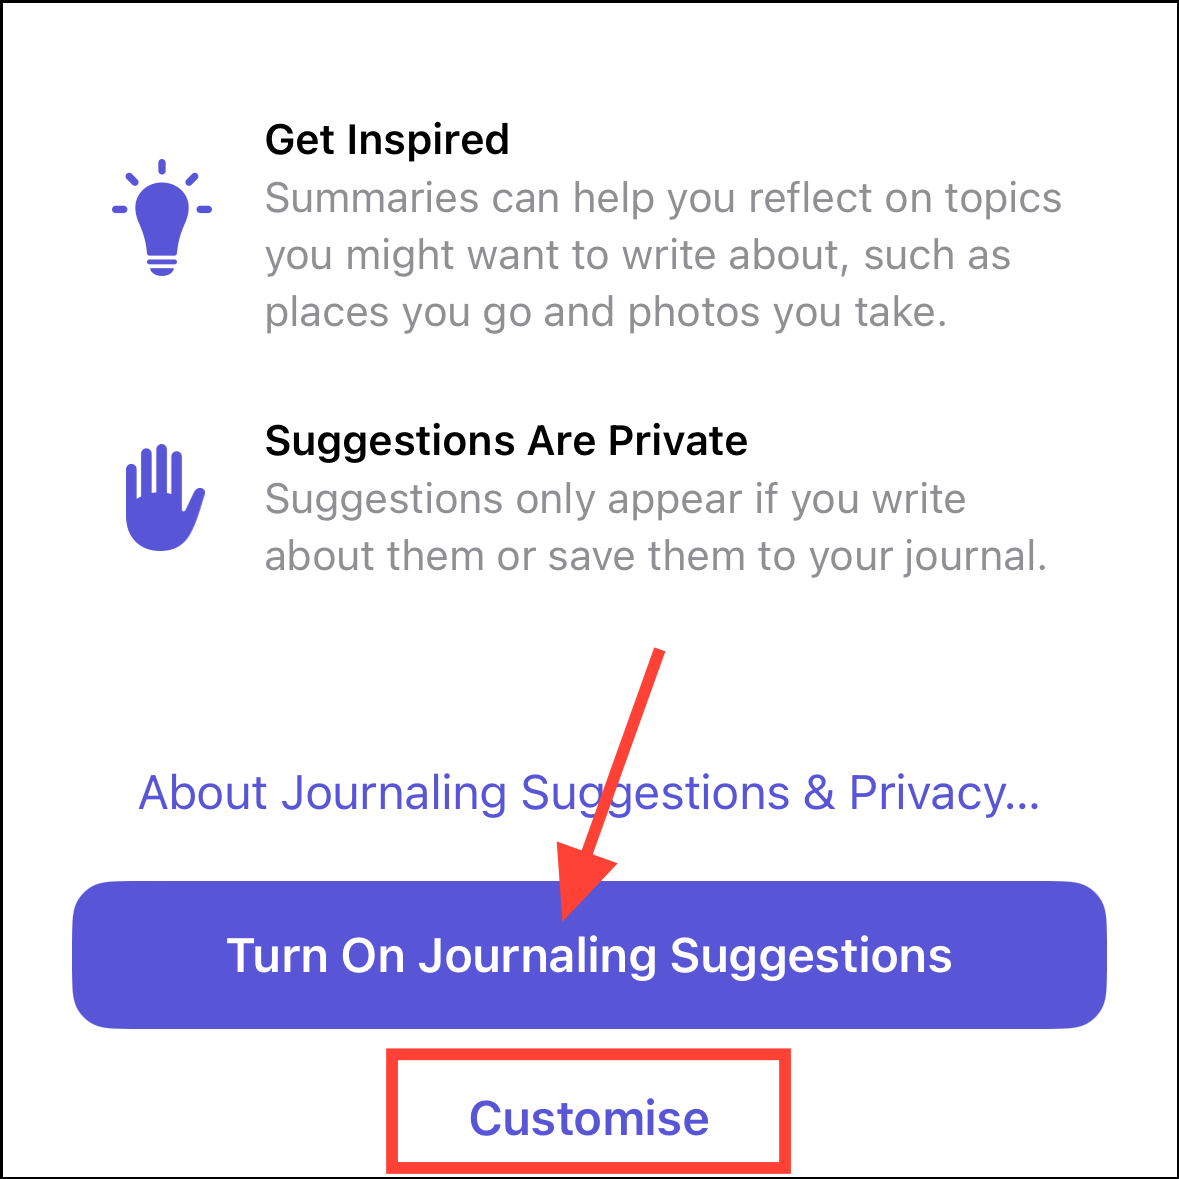
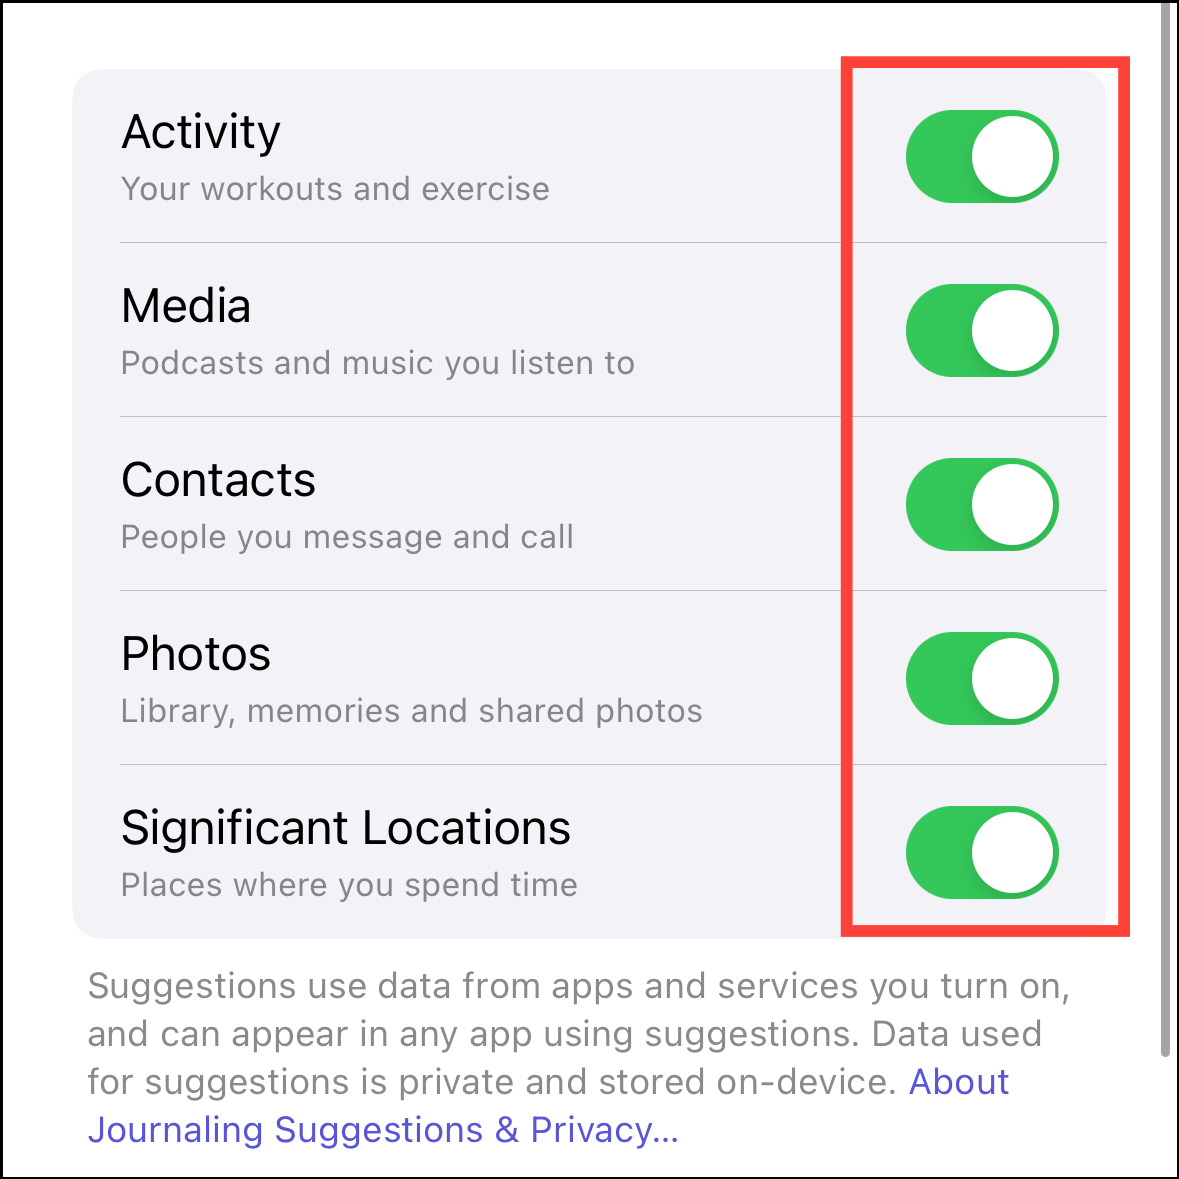
- Then, choose whether you want to turn on ‘Journaling suggestions’. If you want to enable them all, tap on ‘Turn On Journaling Suggestions’ or tap on ‘Not Now’ to keep them off for the moment. You can also ‘Customize’, which information should be available for suggestions by tapping on the button.
- On the next screen, disable the toggles for categories you don’t want to include.
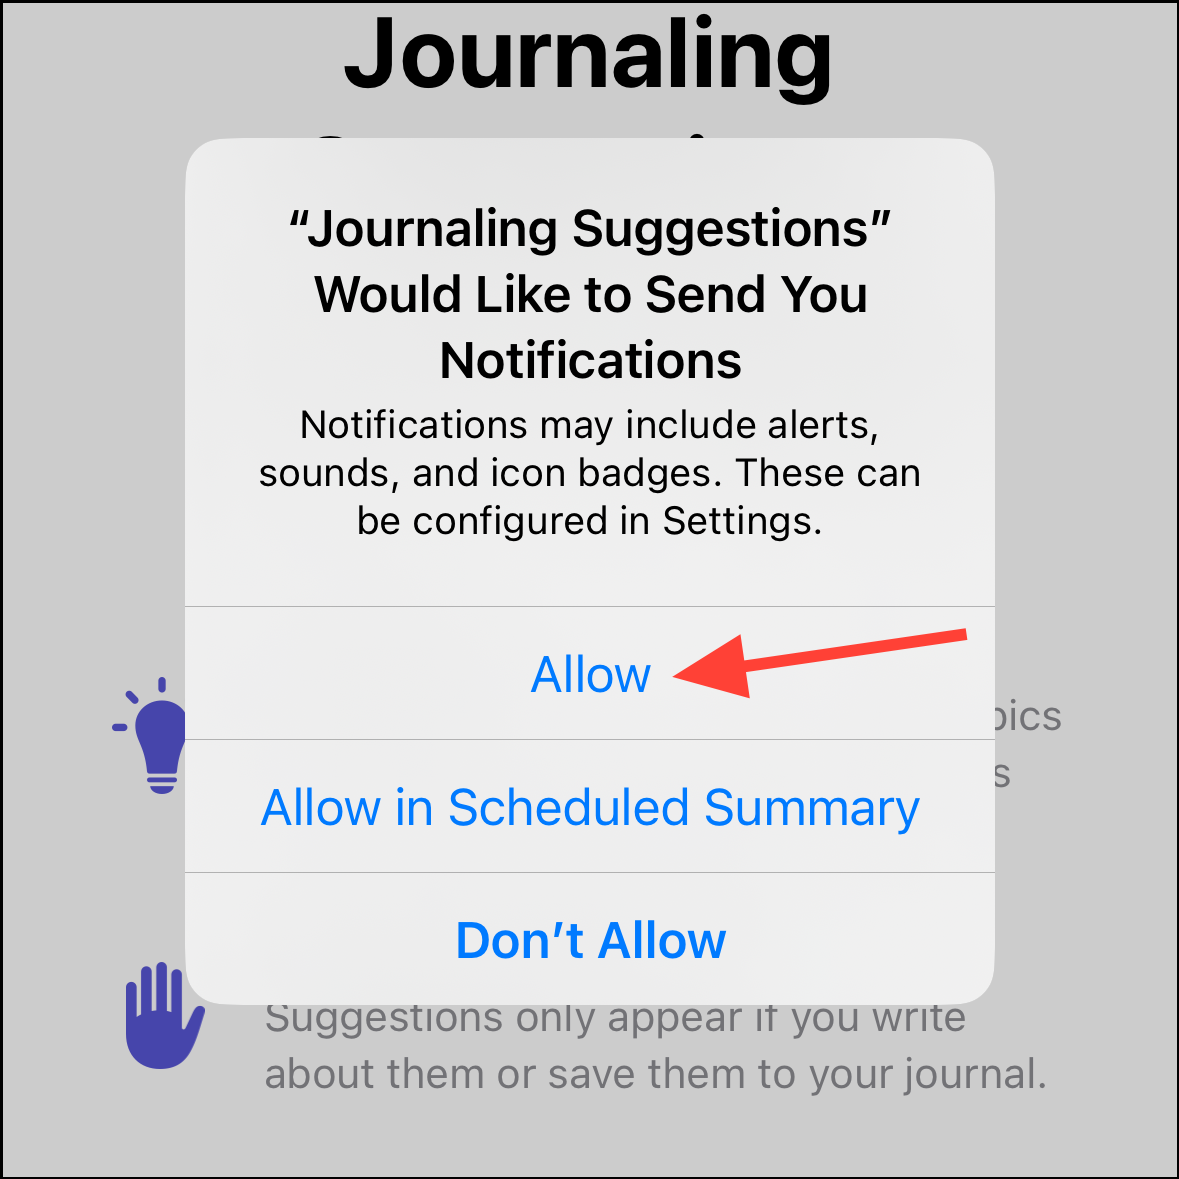
- Then, choose whether you want to receive notifications for journaling suggestions if you’re enabling them.
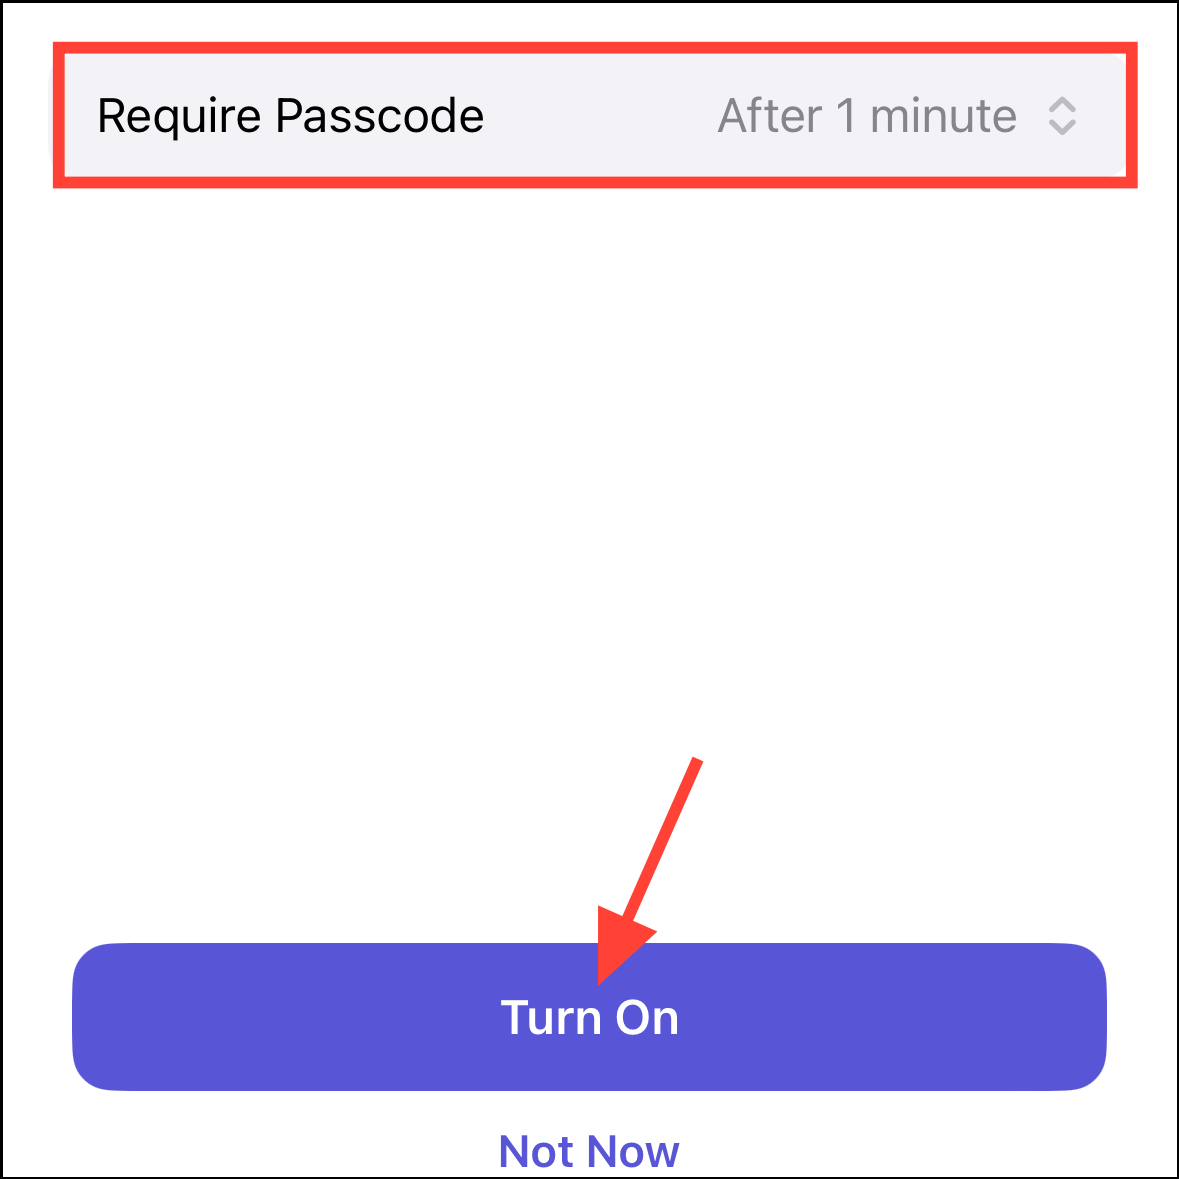
- Next, you can also choose to lock your journal with your device passcode or Face/ Touch ID so your journal can stay private. You can also change the time after which the app should ask for a passcode from the drop-down menu. Then, tap on ‘Turn On’.
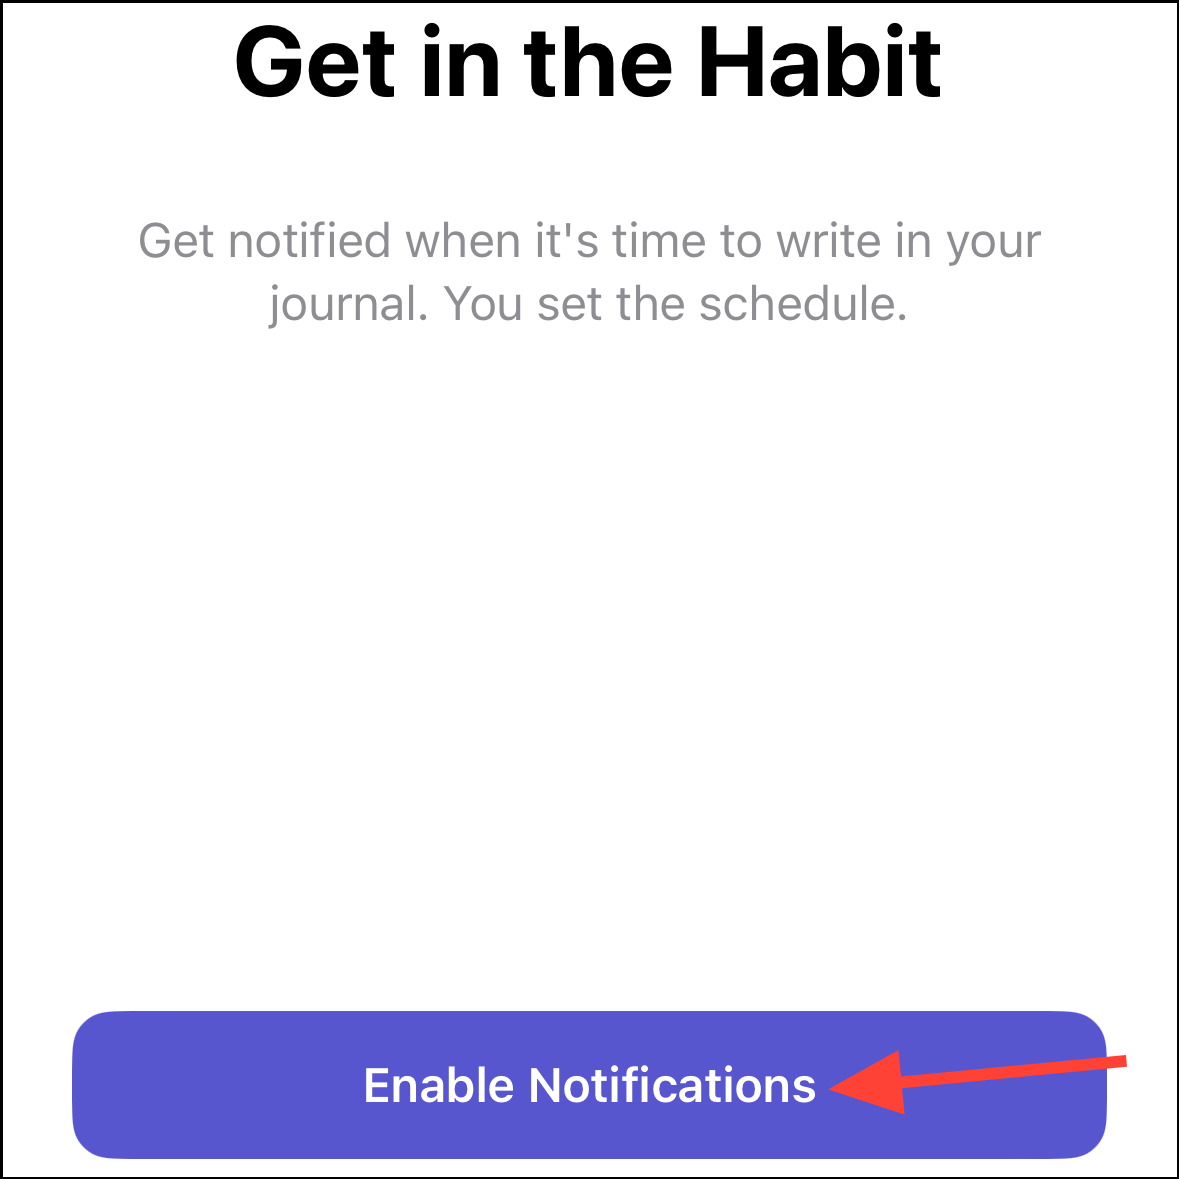
- Also, decide whether you want to receive notifications from Journal when it’s time to write; you can set up your own schedule later. Tap on ‘Enable Notifications’ to turn them on.
Journal is set up and ready to use.
Creating a Journal Entry
The interface for creating a journal entry is simple.
- After clicking the ‘+’ icon, your personalized suggestions will appear.
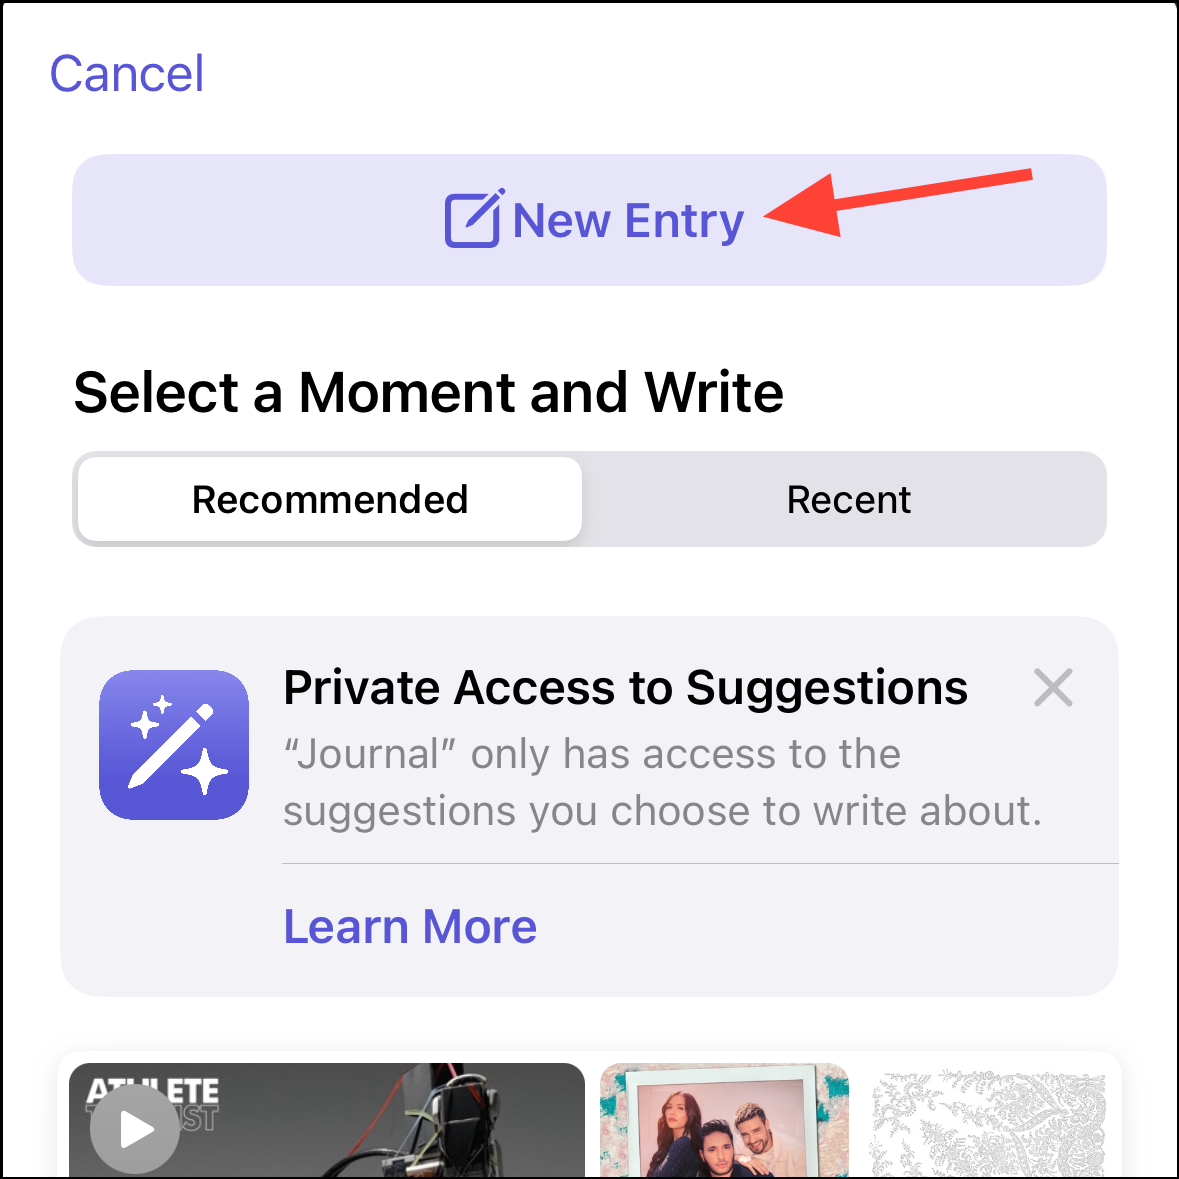
- To write without using a suggestion, tap on ‘New Entry’. You can also skip journaling suggestions so they won’t pop up every time.
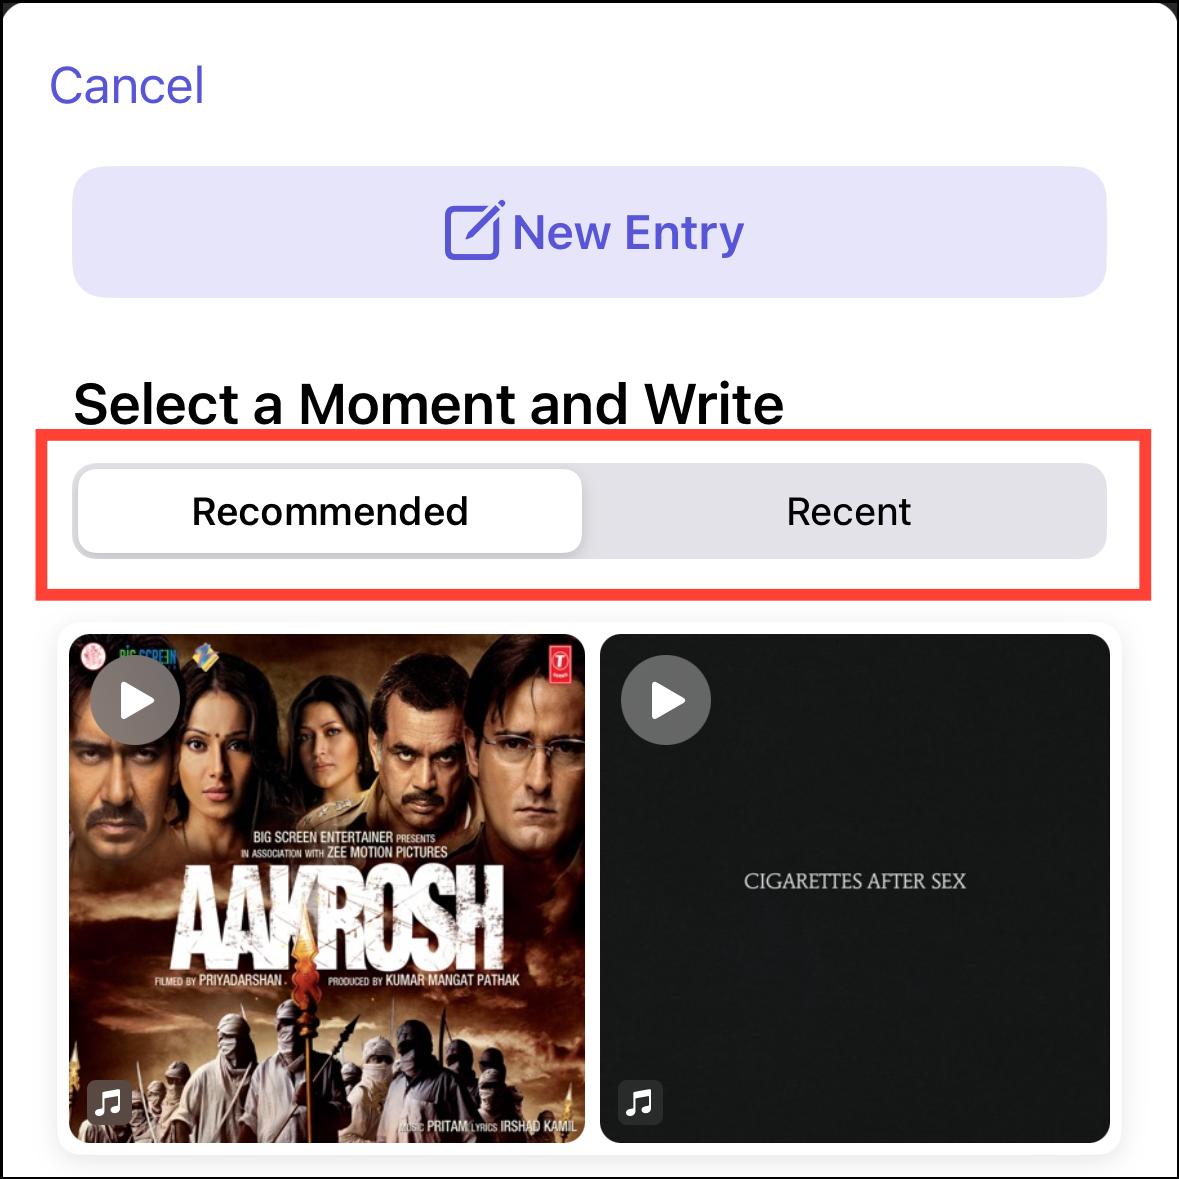
- The Journal app also provides writing prompts and suggestions to help you get started. You can find these prompts by tapping on the Recommended or Recent tab at the top of the screen.
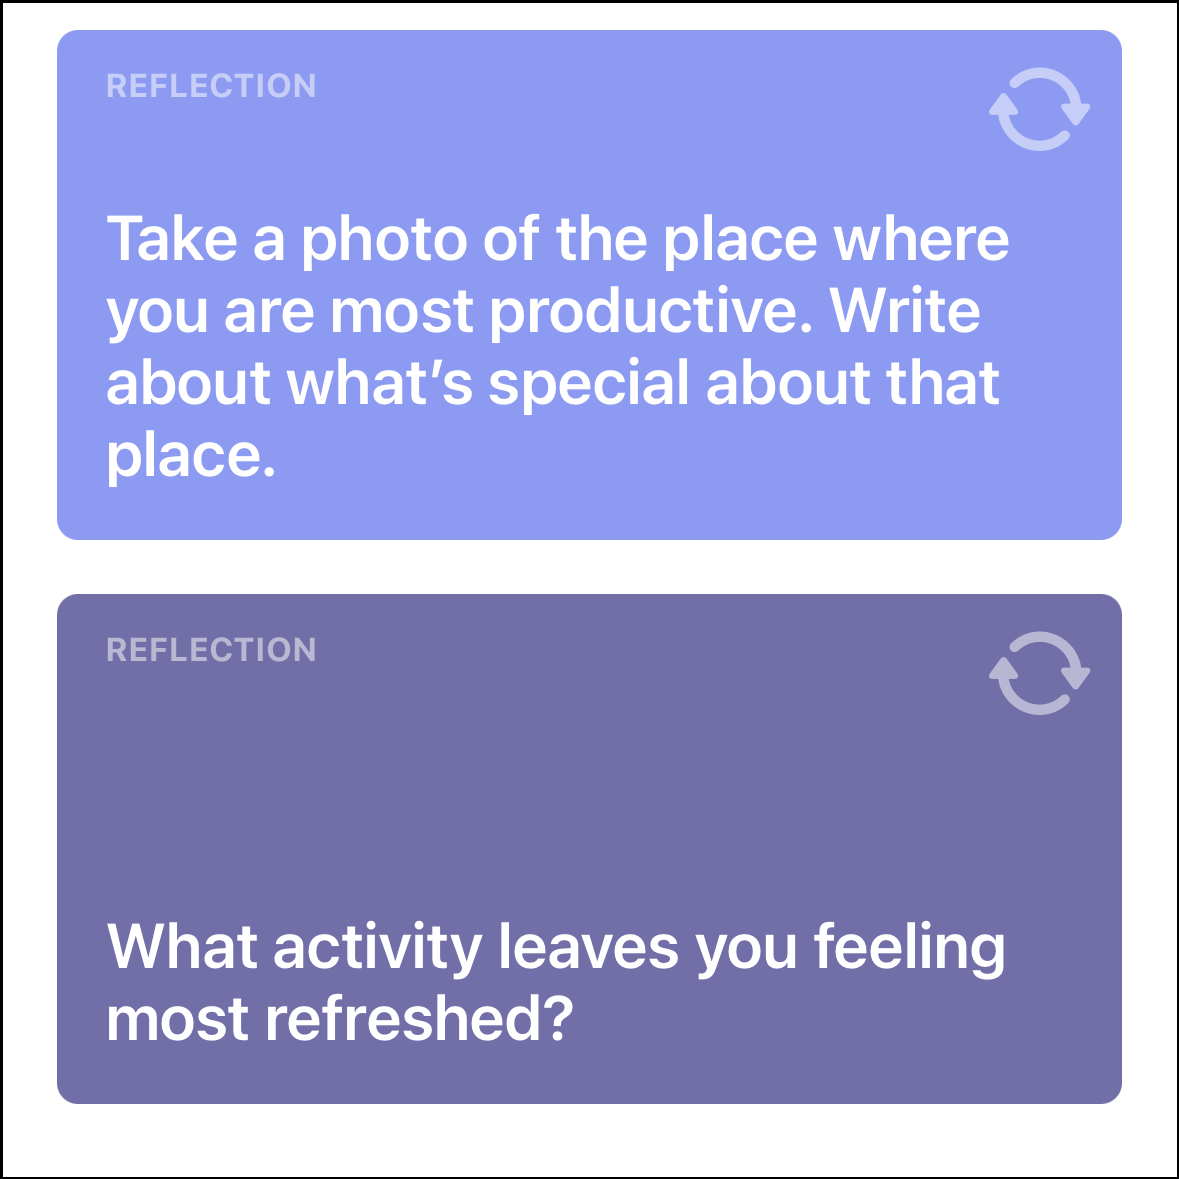
- To use a writing prompt for Reflection, scroll down in the ‘Recommended’ tab and tap on the prompt you’d like to use.
- To use a Moment (personalized suggestions), tap on it.
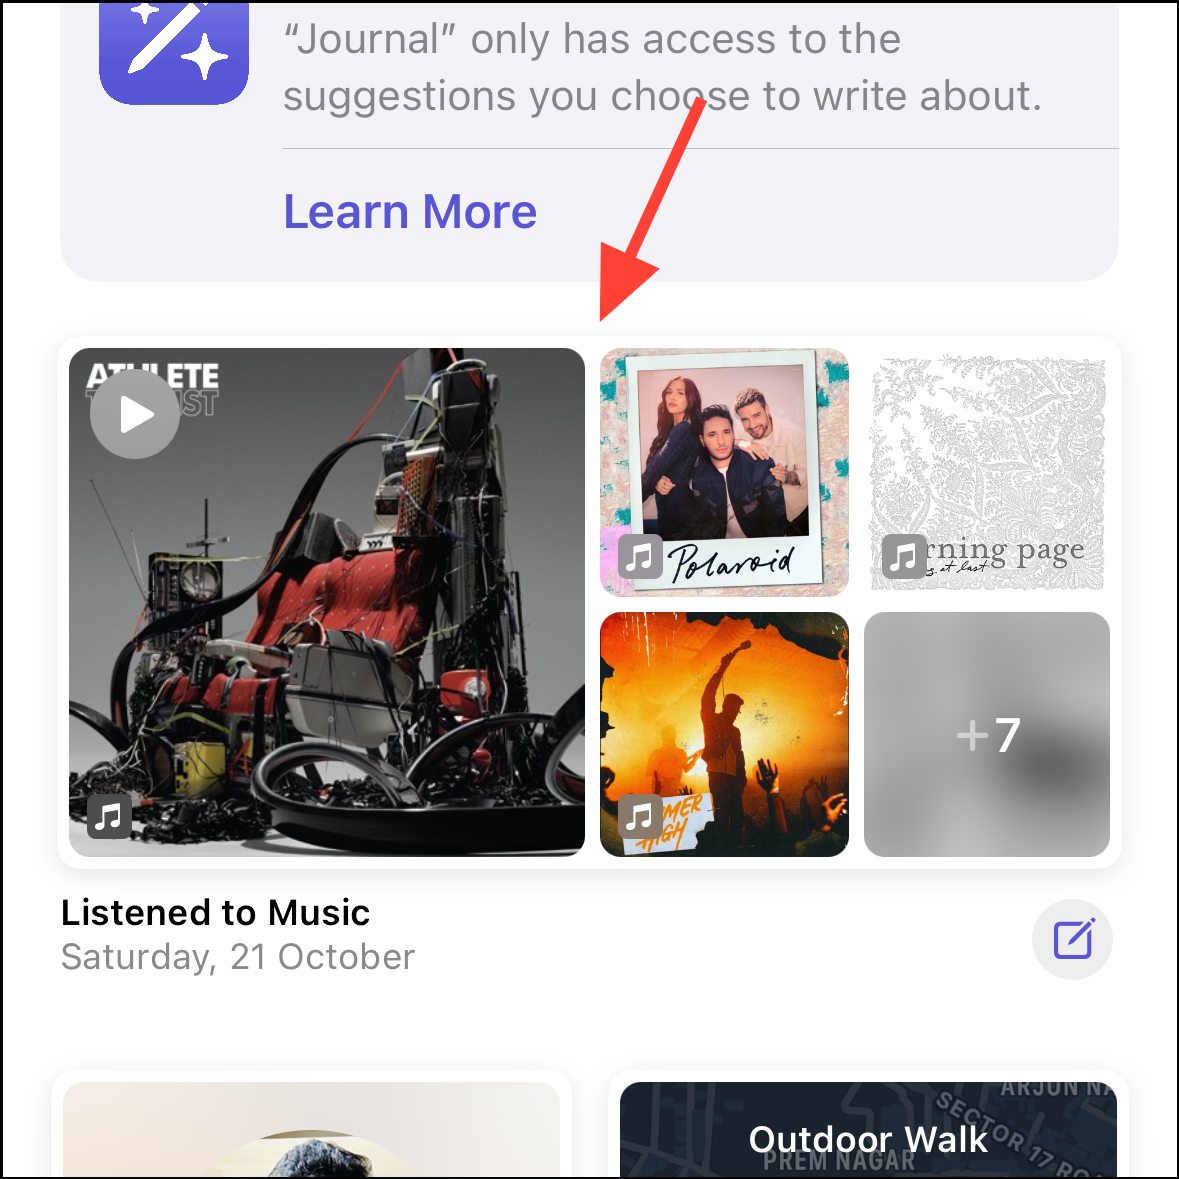
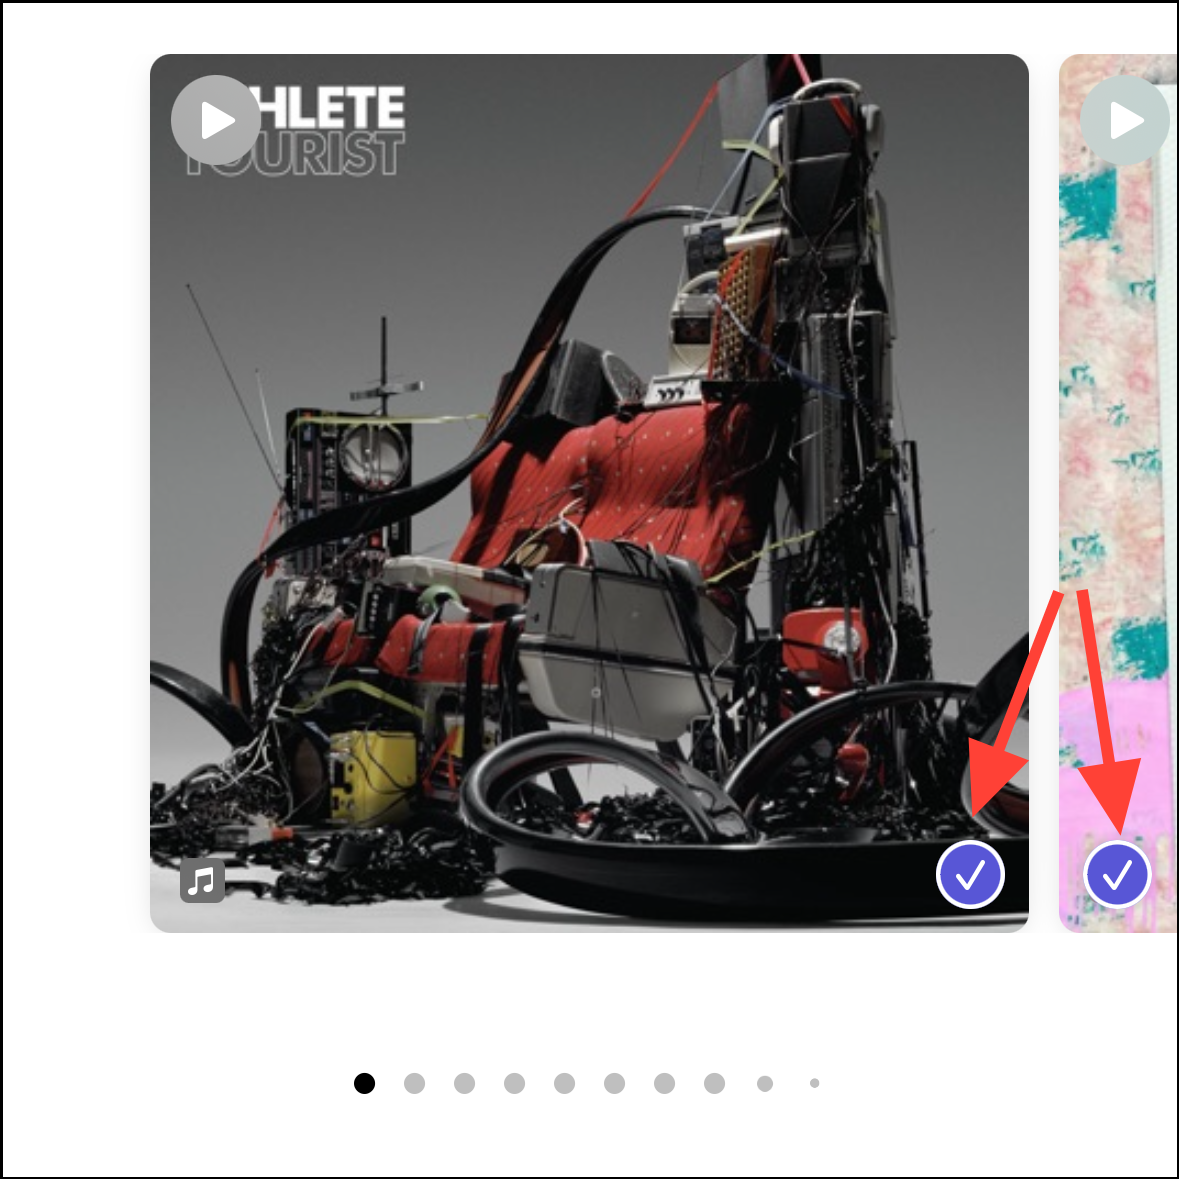
- Depending on the suggestion, you can further choose what to include. For example, if it’s a prompt from the ‘Music’ app that includes the songs you listened to, you can select which songs you want to include.
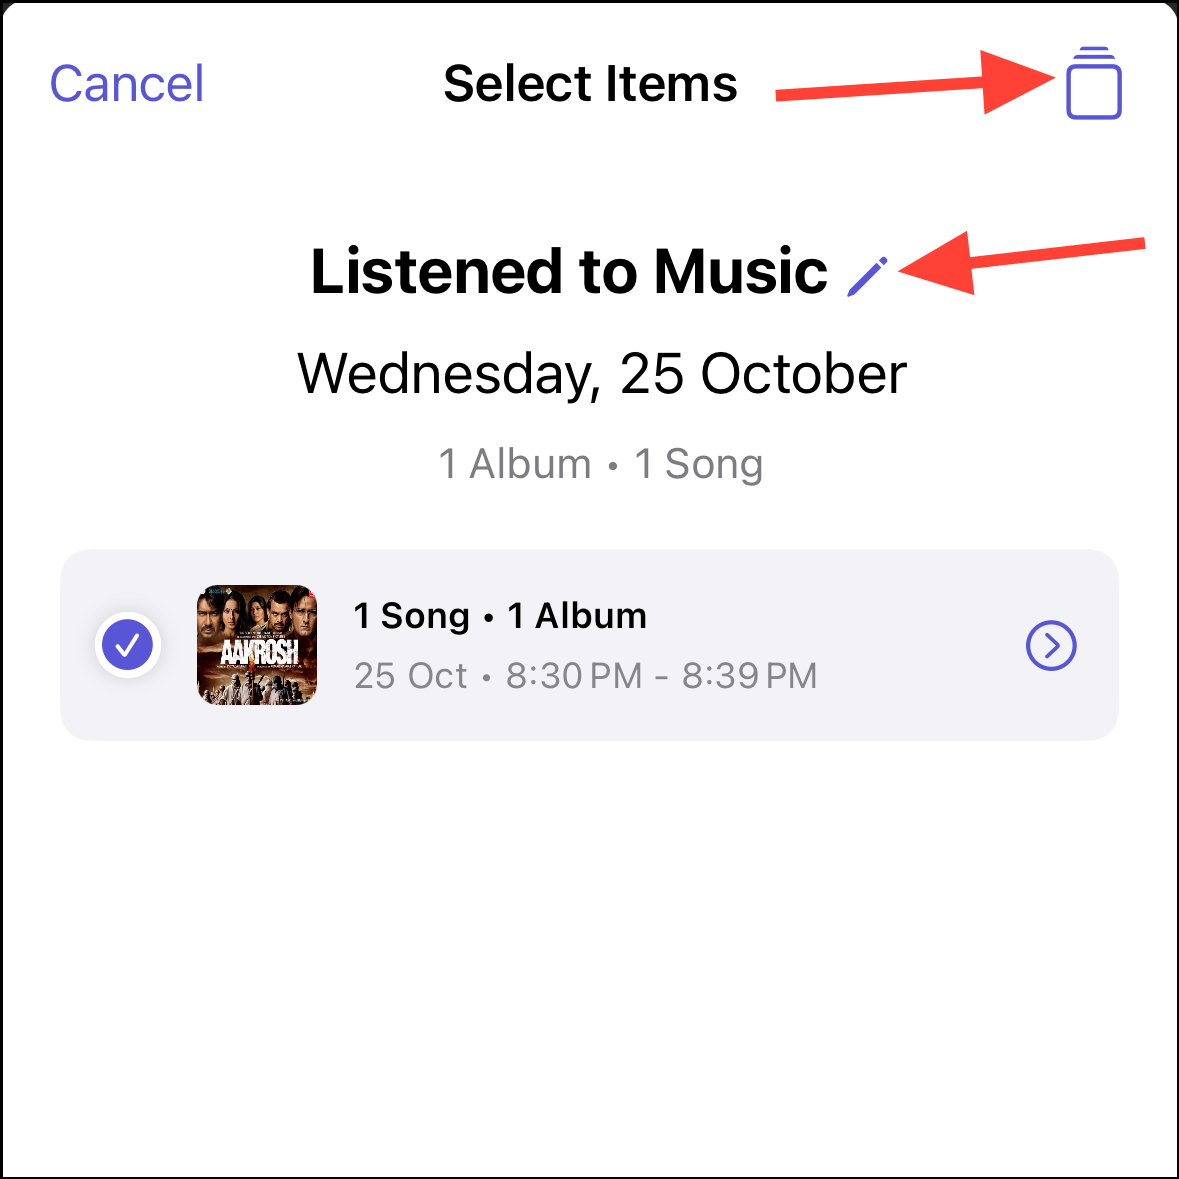
- You can edit the title of the entry by tapping on the ‘Pen’ icon next to the current title that the app will assign. You can also change the appearance of how information will be displayed – either as thumbnails or a list – from the option in the top-right corner.
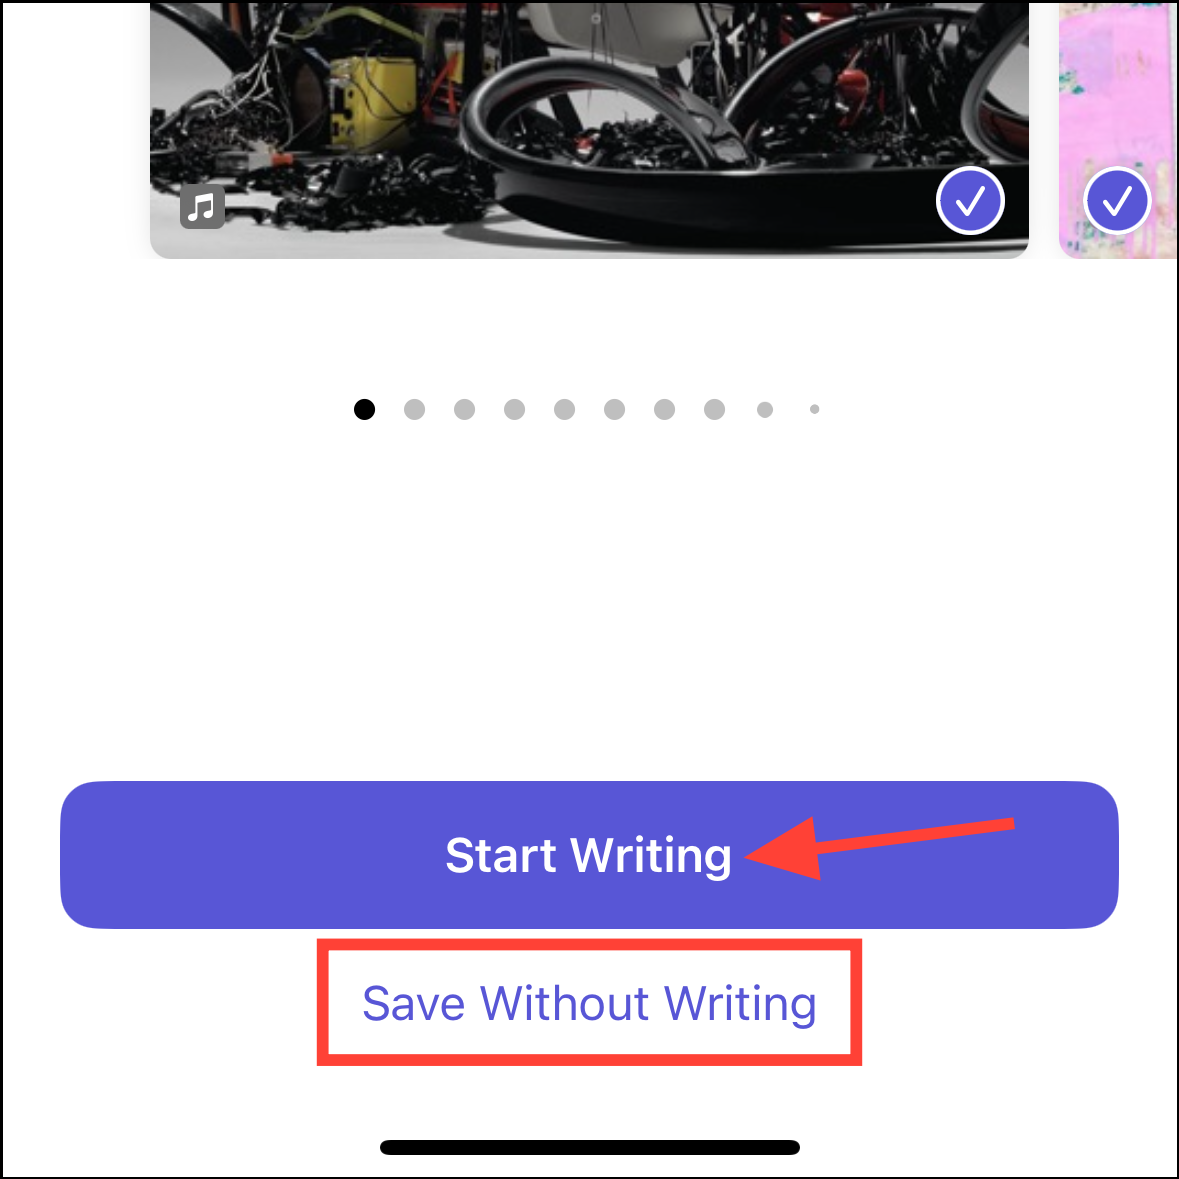
- Then, tap on ‘Start Writing’ at the bottom. You can also save a suggestion as your journal entry without writing about it.
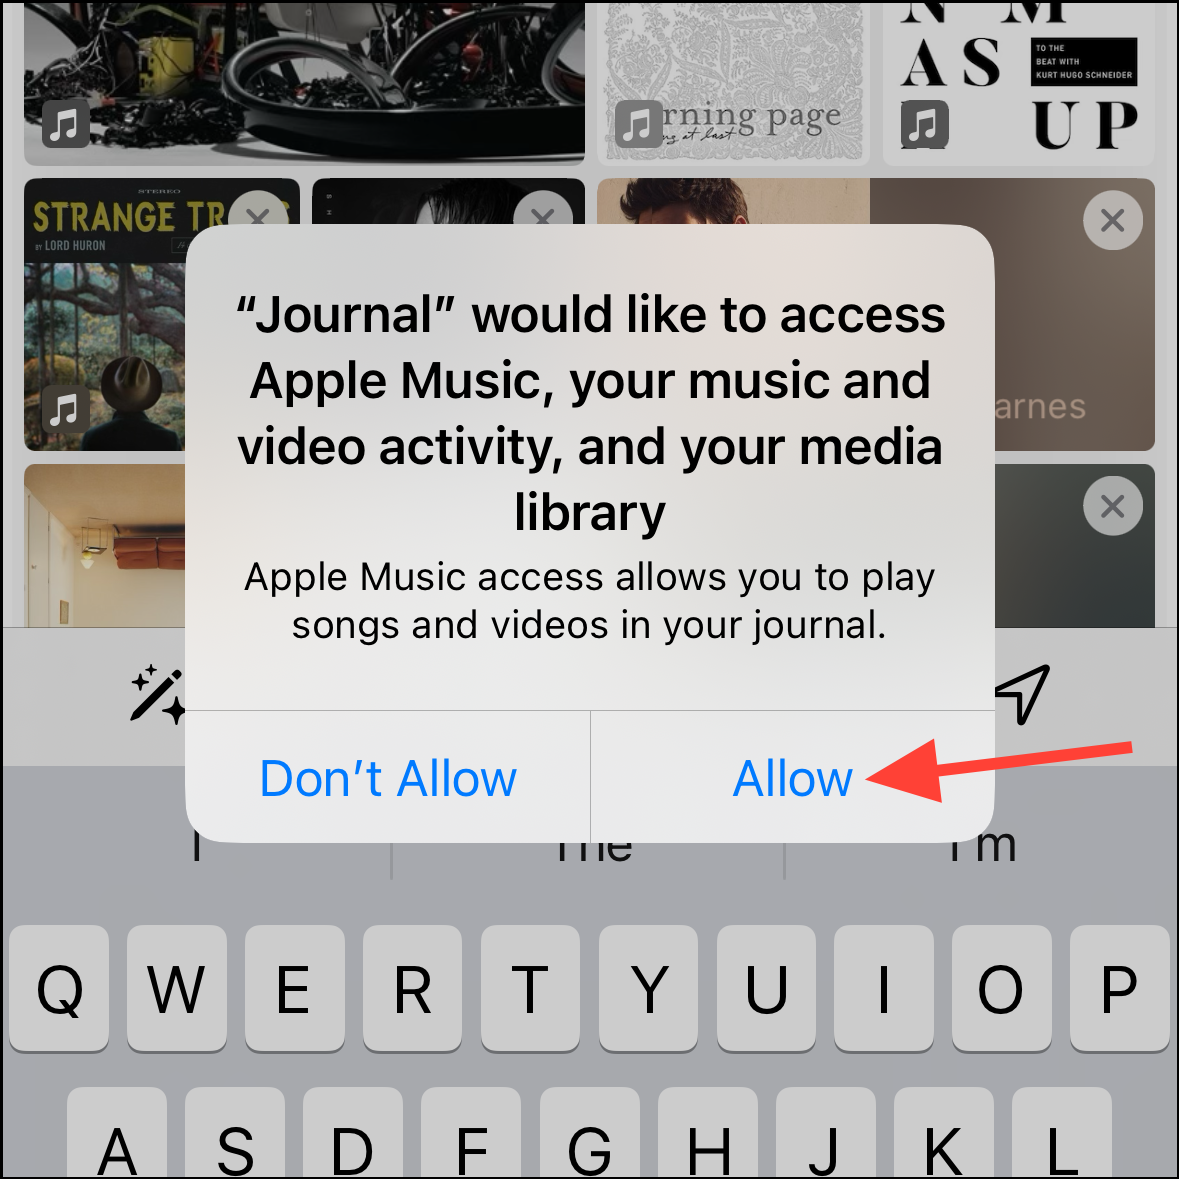
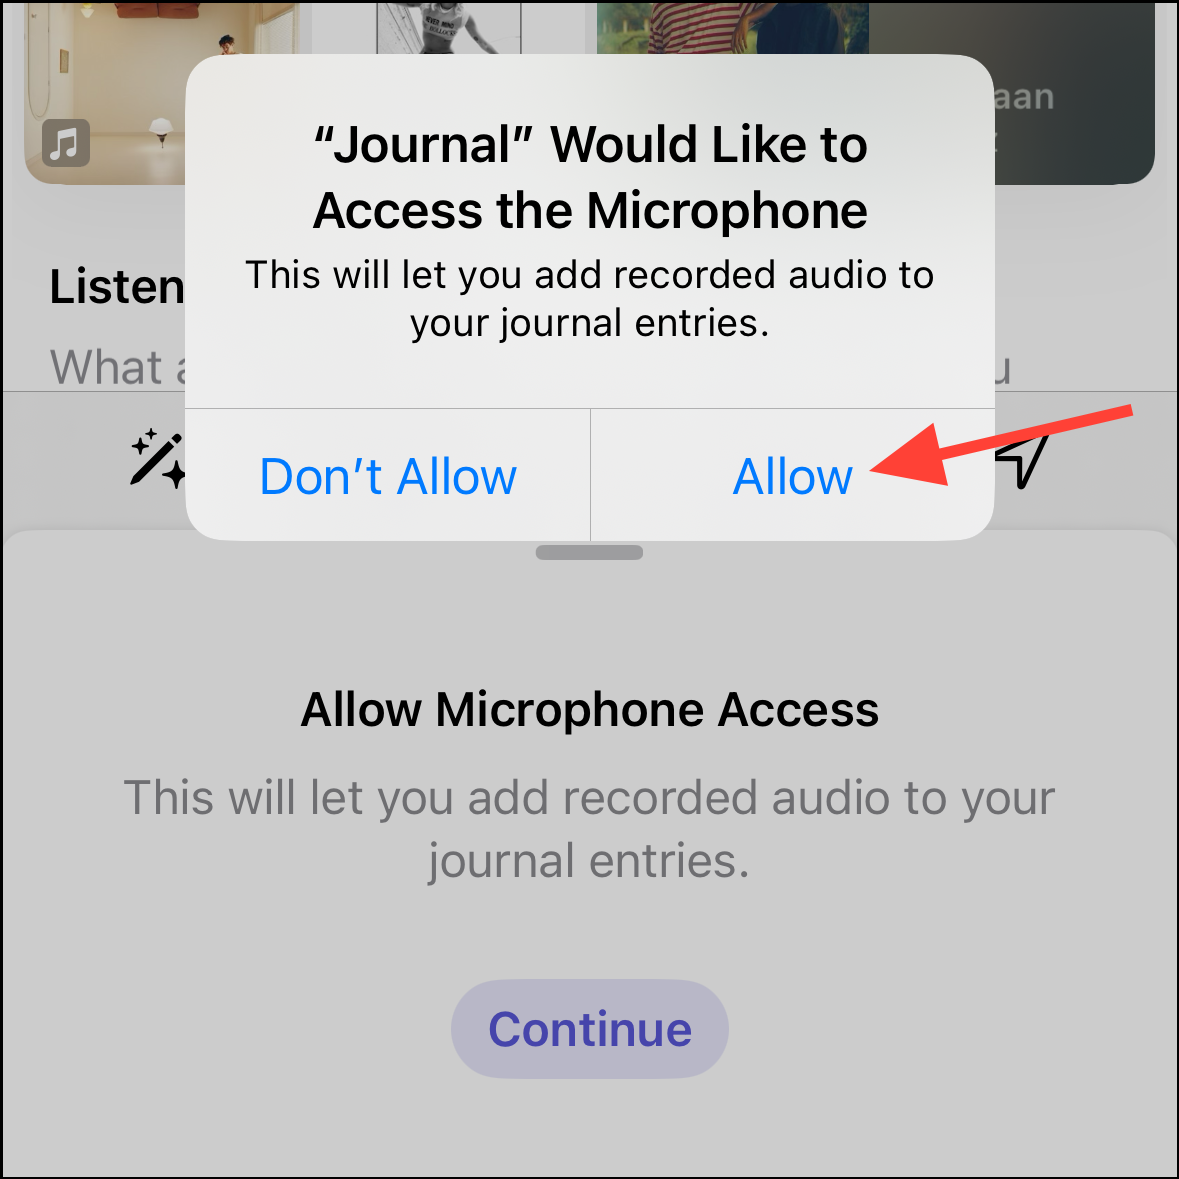
- When using a particular type of suggestion for the first time, you might need to give Journal the necessary permissions to access content from that particular app or service. Tap on ‘Allow’ to proceed.
- You can write your thoughts here or add moments, photos, videos, audio recordings, and location to your entries by tapping on one of the five controls above the keyboard.
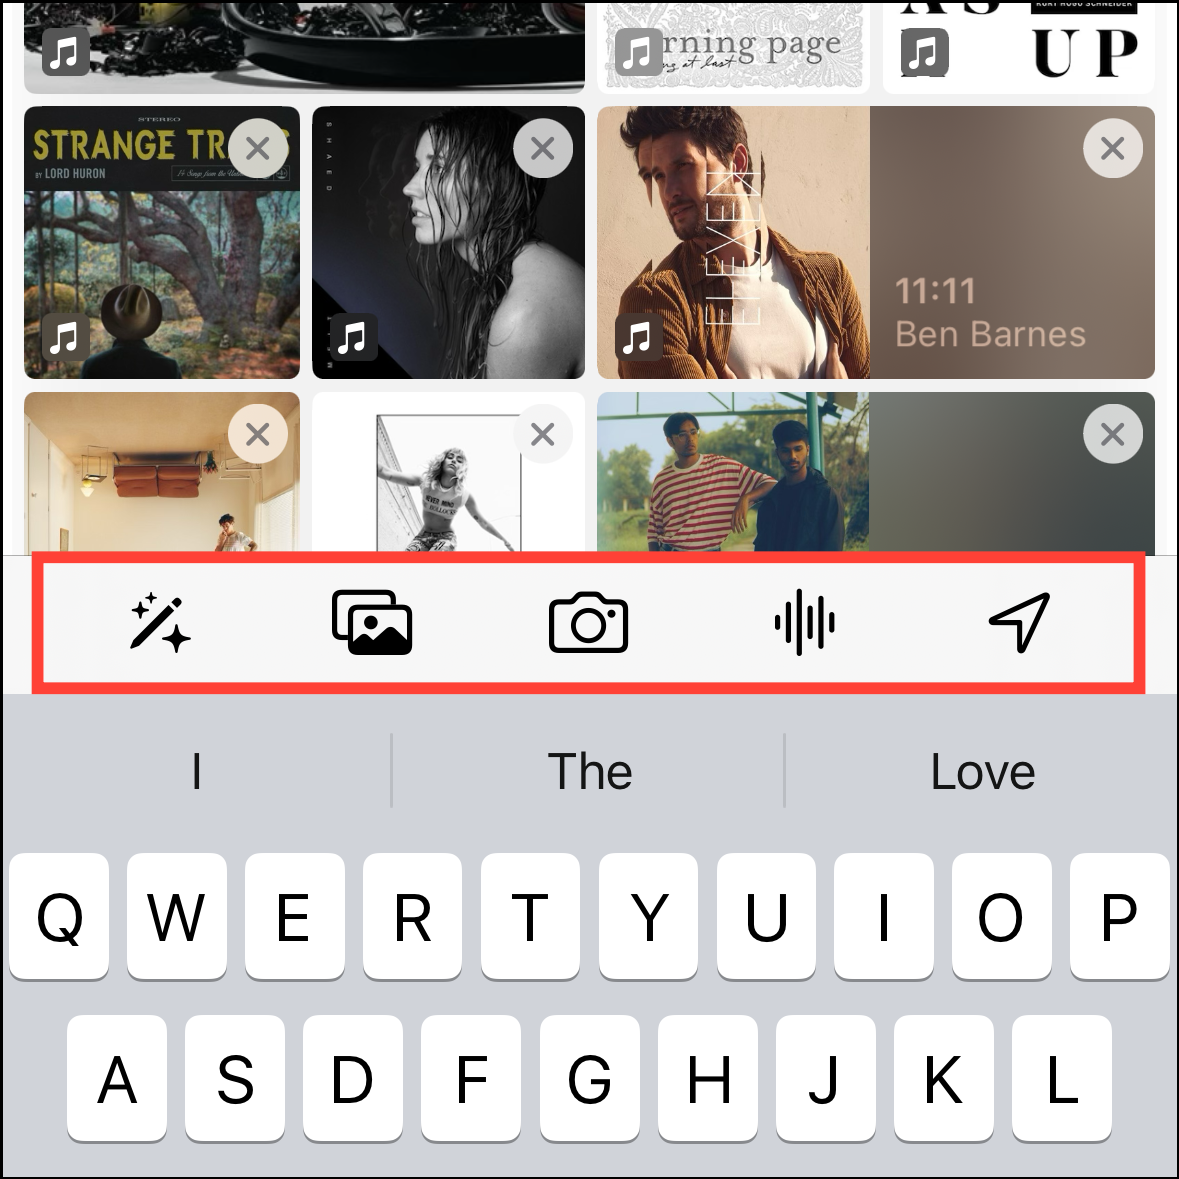
- For each type, i.e., photos, camera, microphone, and location, you’ll need to give permission to the app to use it.
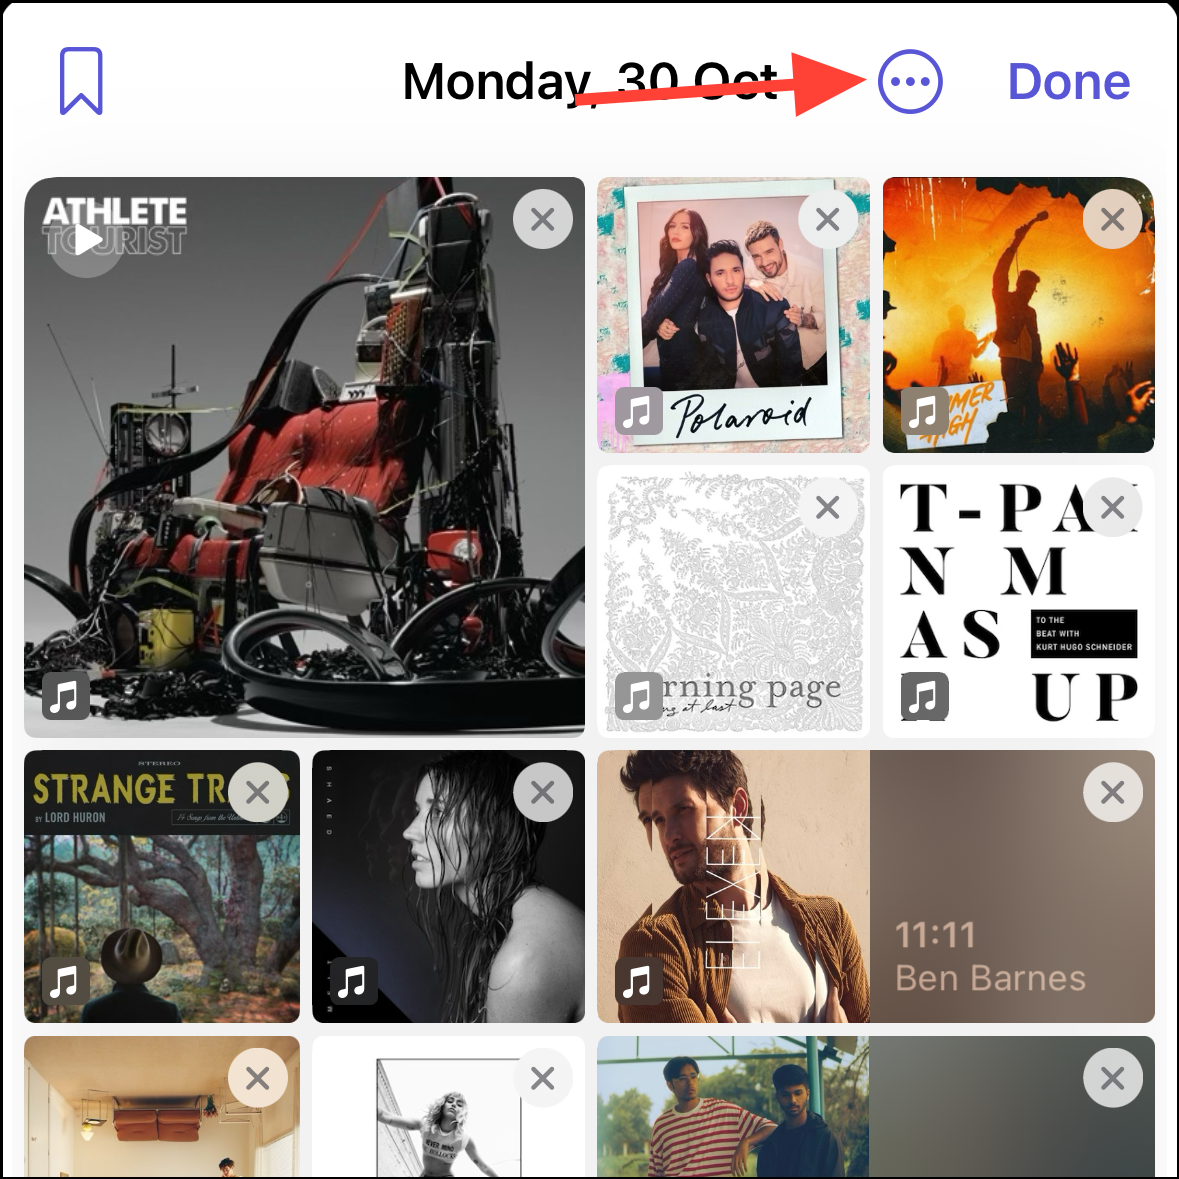
- To change the date, tap the ‘ellipsis’ icon near the top-right corner.
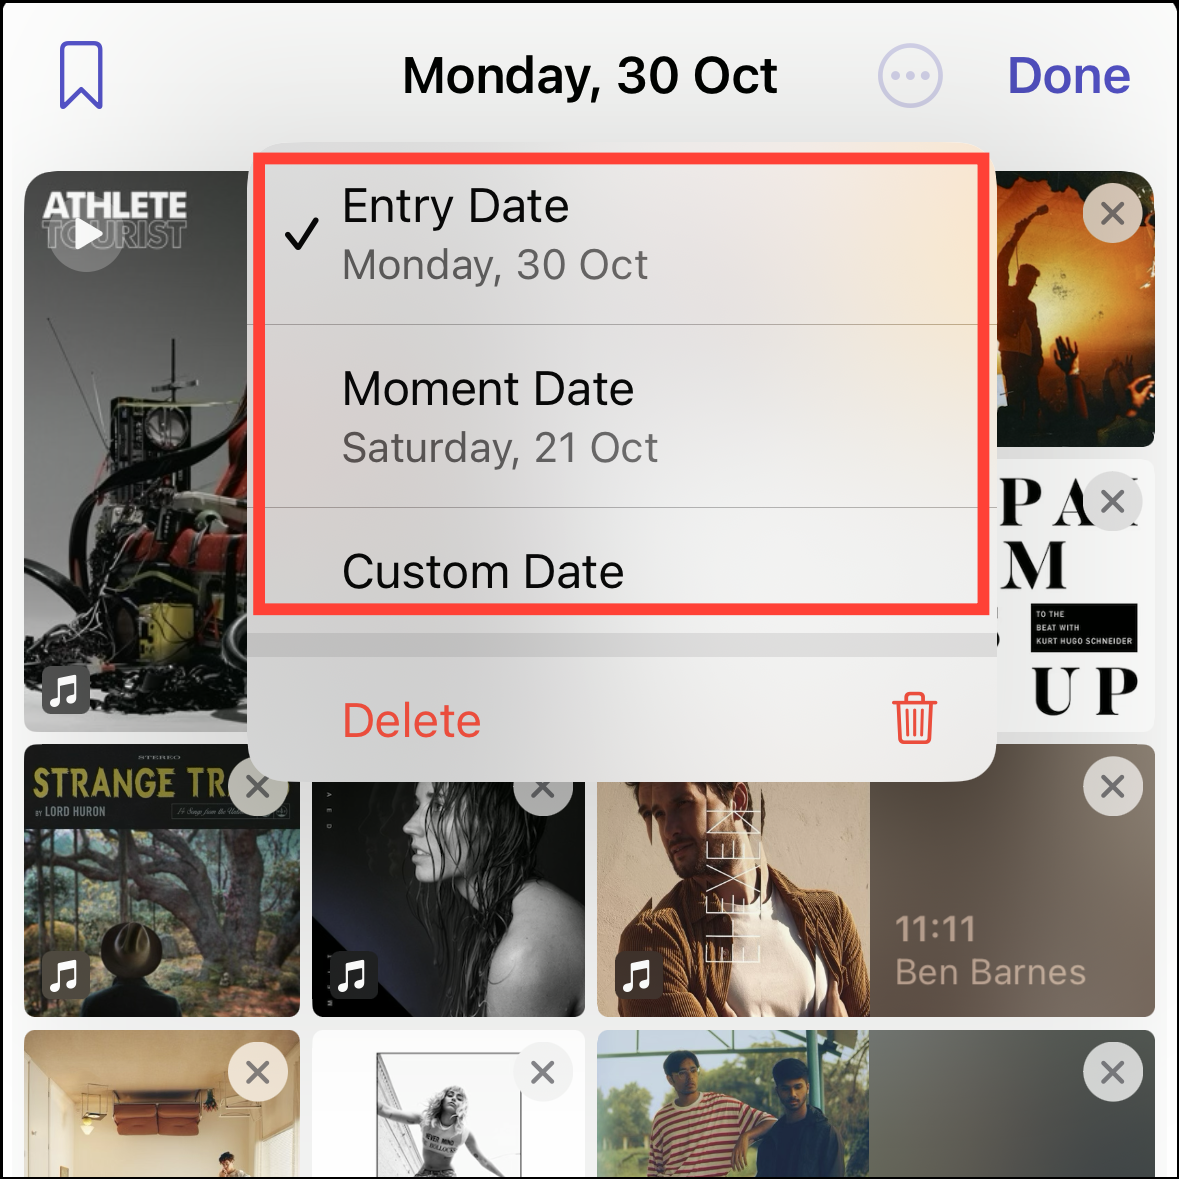
- From there, you can switch between the entry date or moment date or add a custom date.
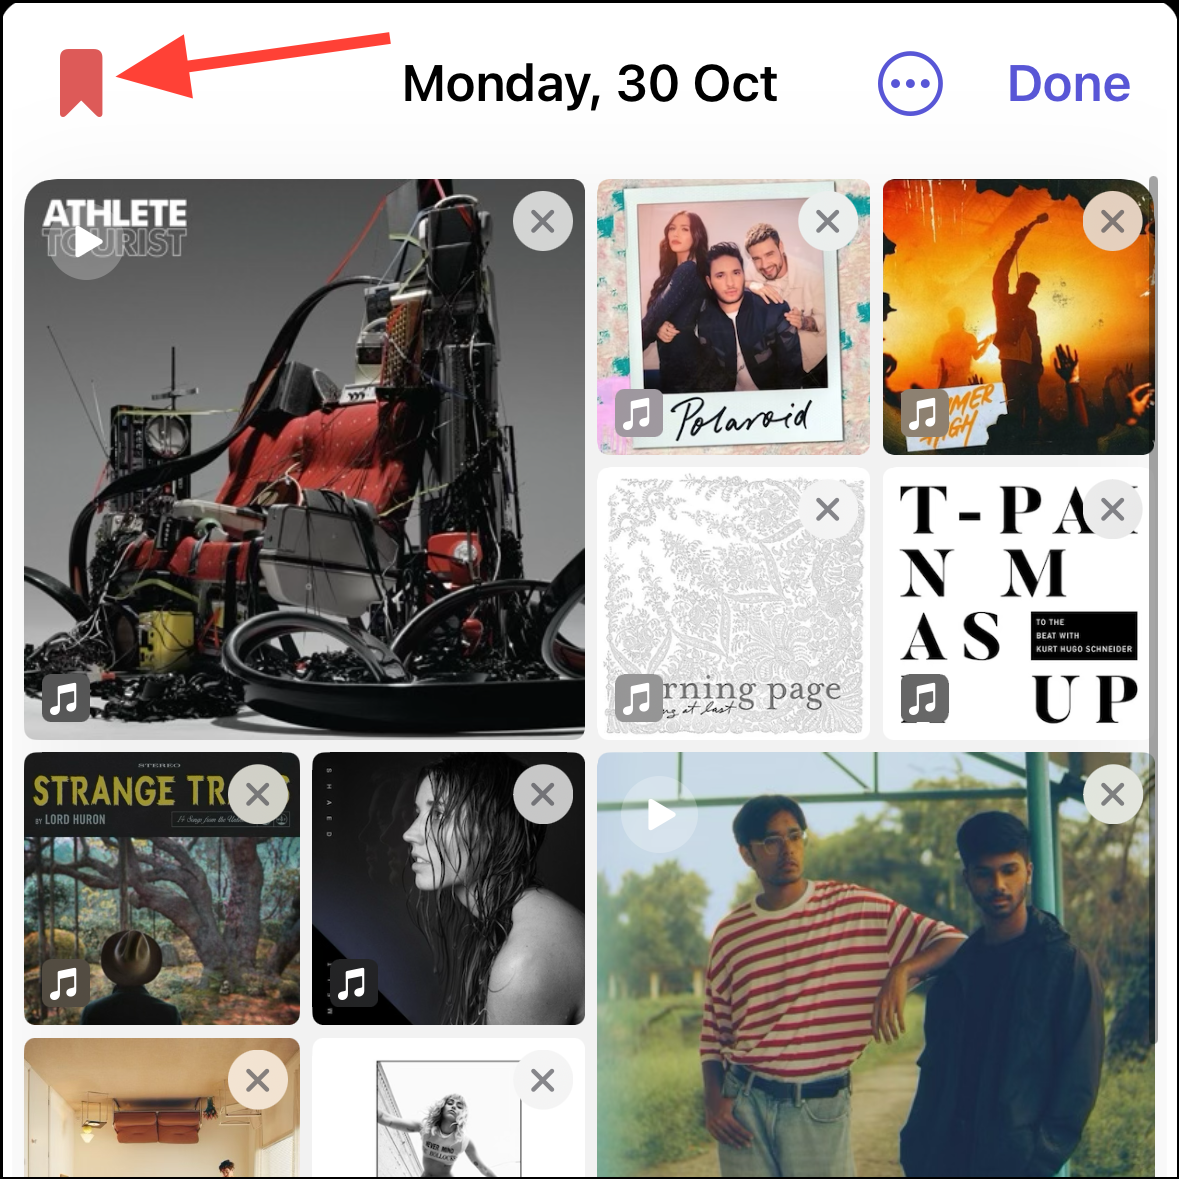
- To bookmark an entry, tap the ‘Bookmark’ icon in the top-left corner.
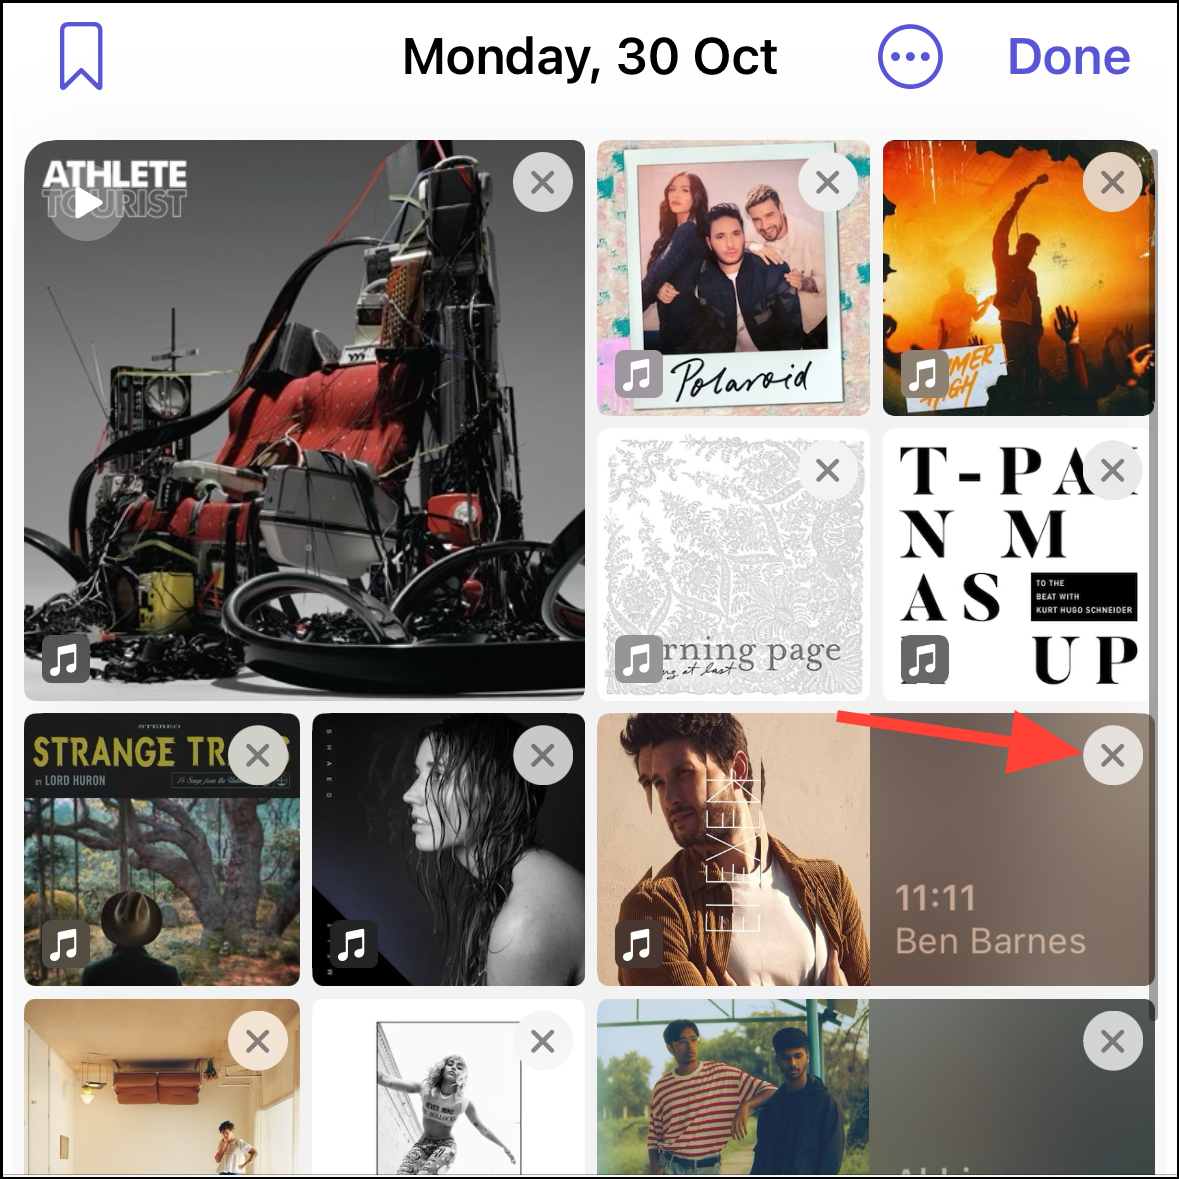
- You can also remove any data you have added to the entry, like music, by tapping the ‘X’ in the top-right corner of the thumbnail. But remember that this action cannot be undone.
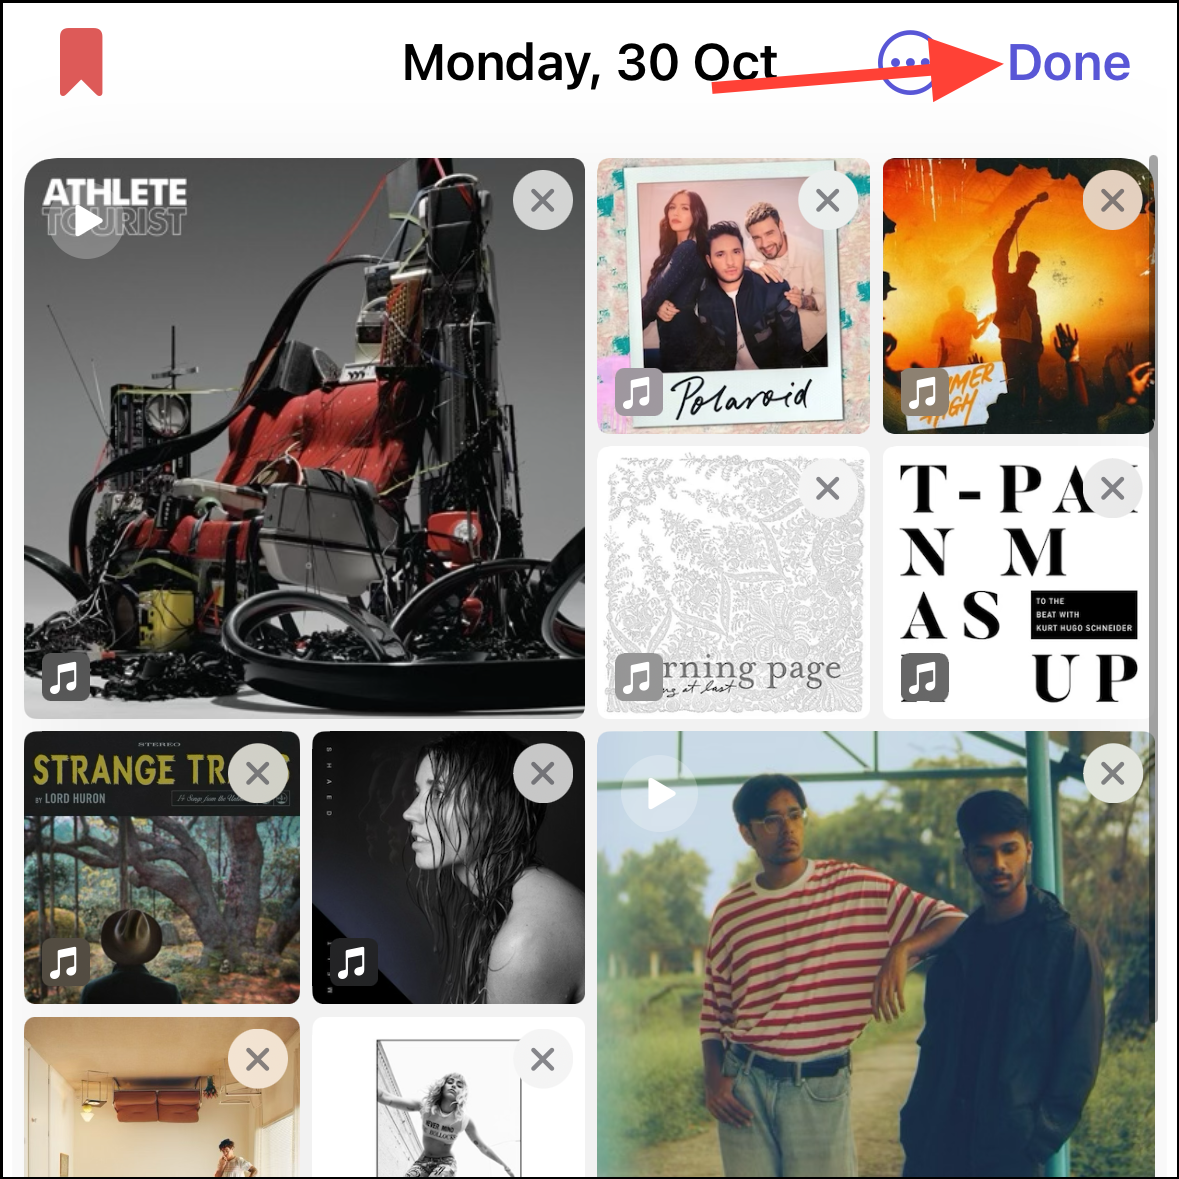
- Tap ‘Done’ after adding the entry.
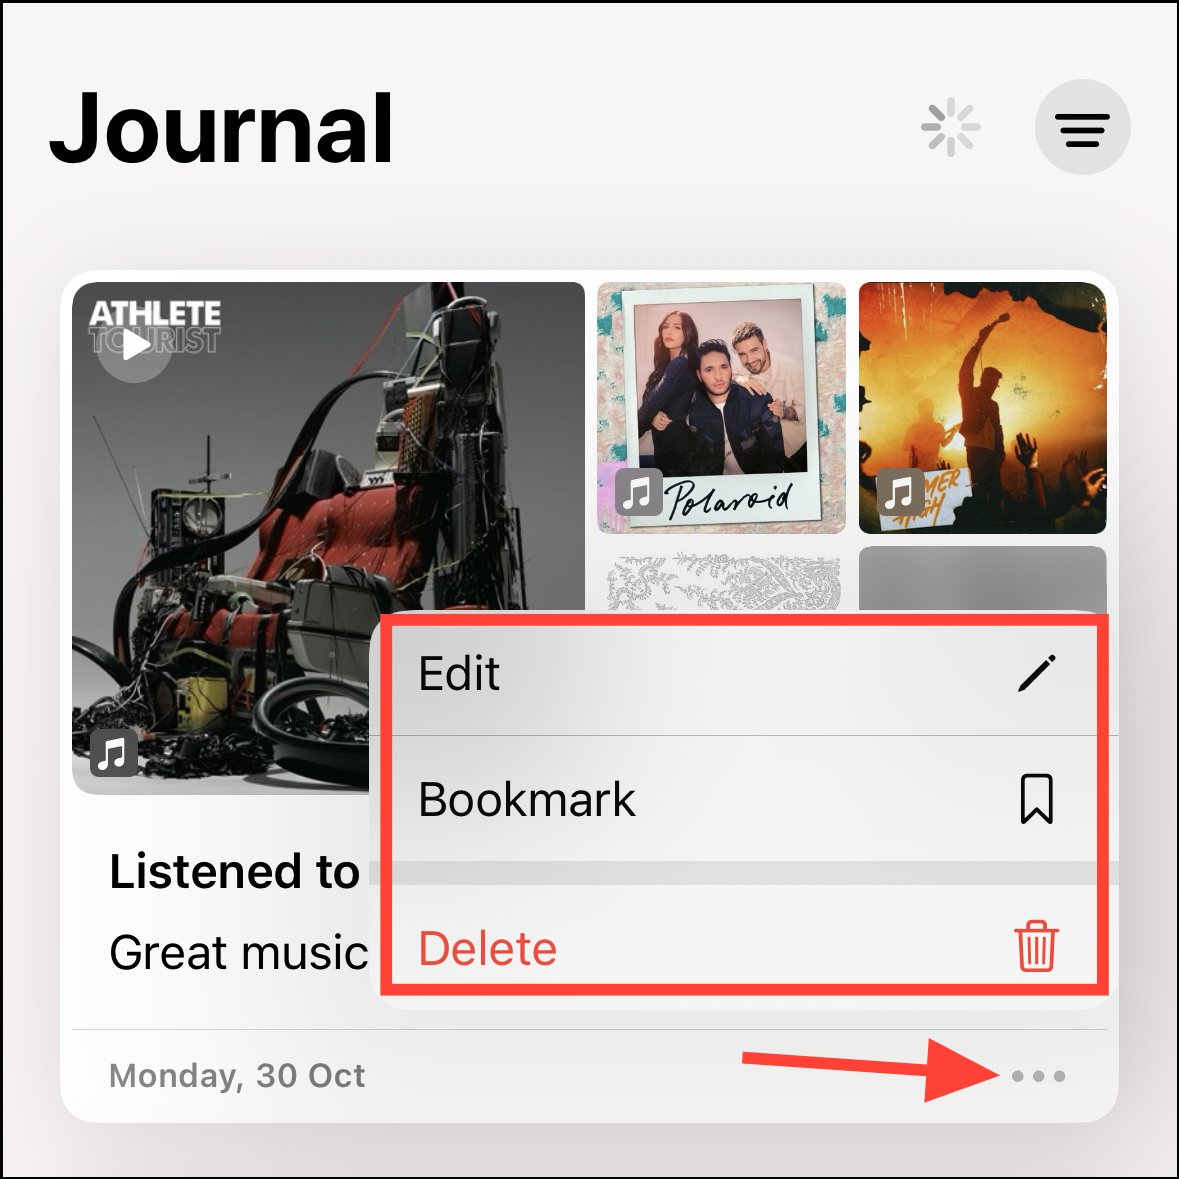
- You can also edit an entry, bookmark it, or delete it from the main screen. Navigate to the journal entry in question and tap the ‘ellipsis’ (three-dot icon) on the left of the tile. Then, select an option from the menu that pops up.
The Journal app is pretty basic and straightforward right now, where you can simply add entries and later find them on your main screen. It’s the Moments that make it any powerful, but the app still has a long way to go before it might become the choice of app for users who have been using third-party journaling apps for years. However, if you’re not one of them, the Journal app is a great way to start your journaling journey on your iPhone.


