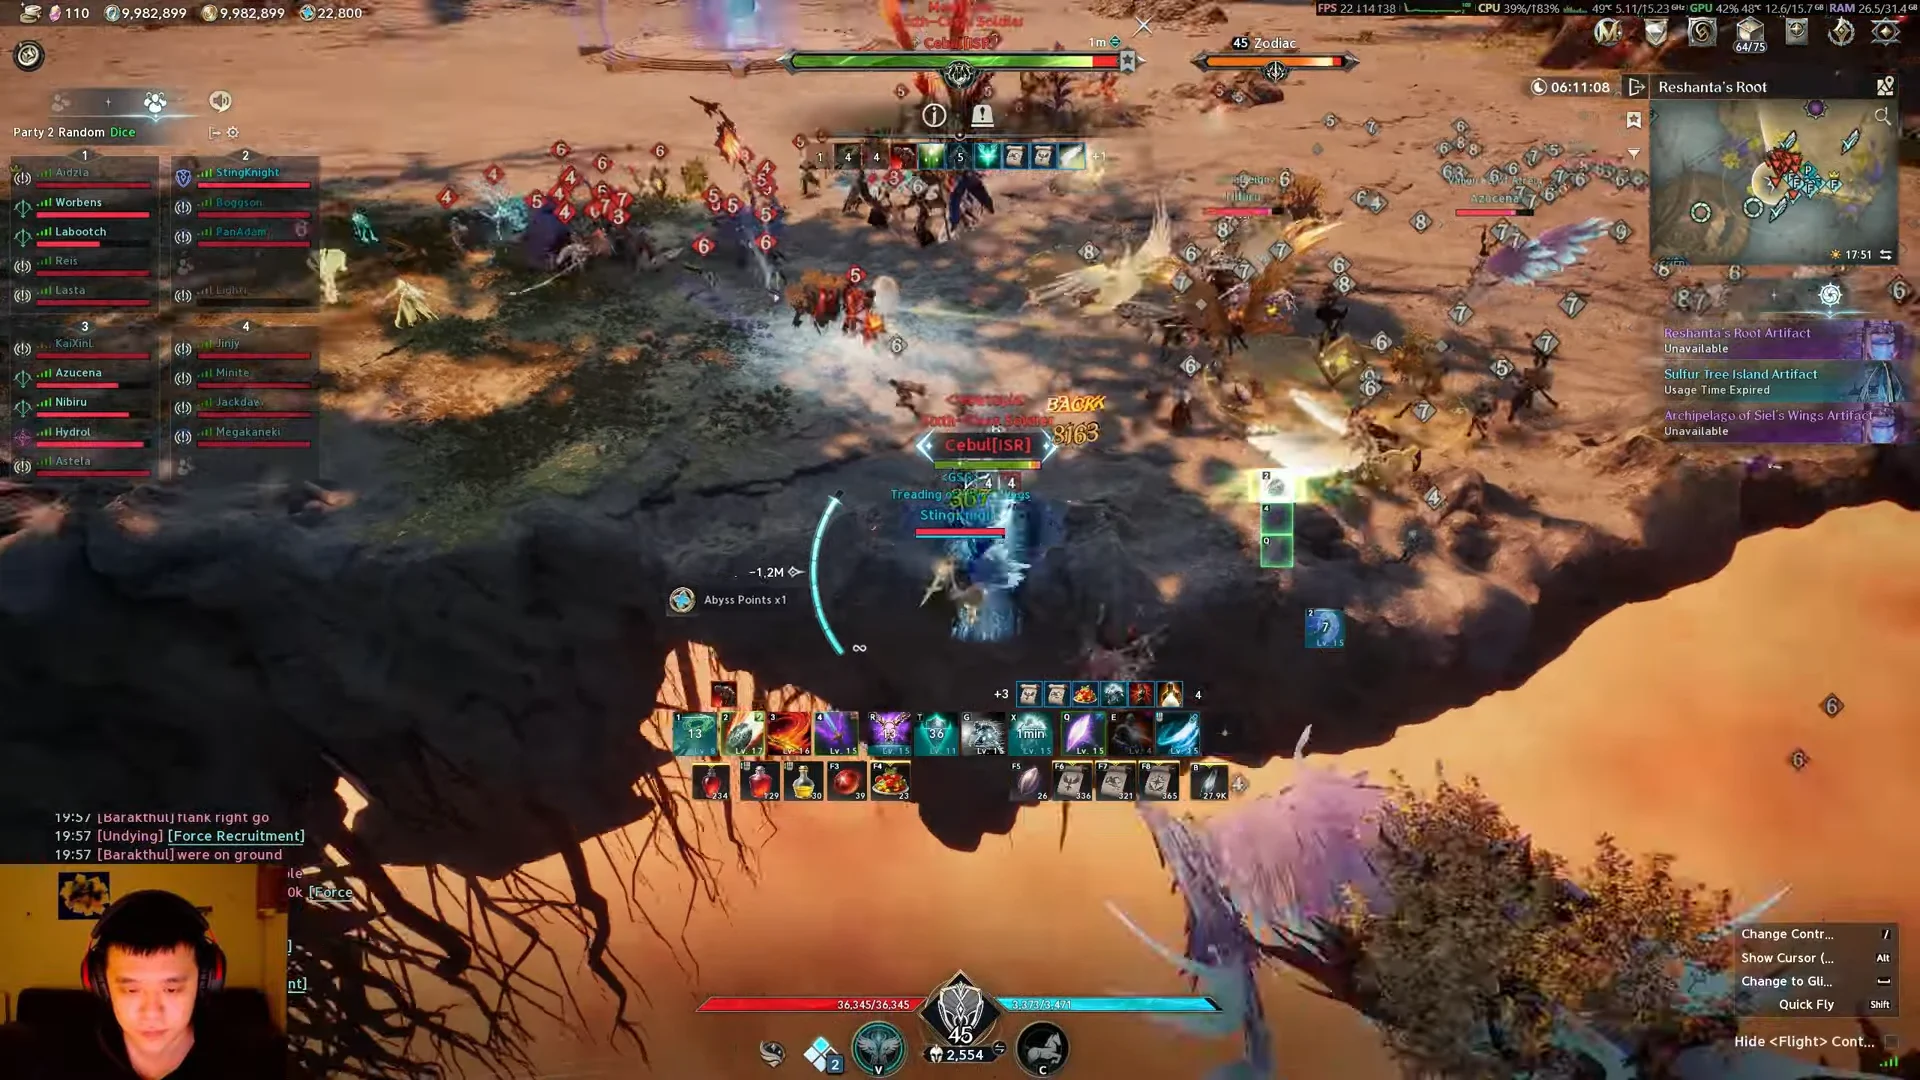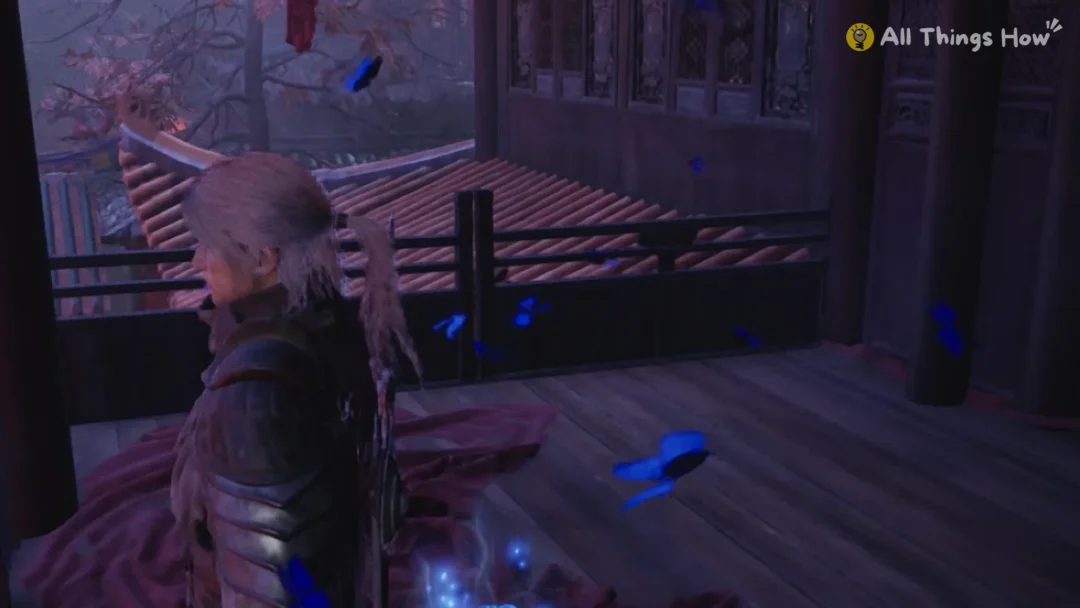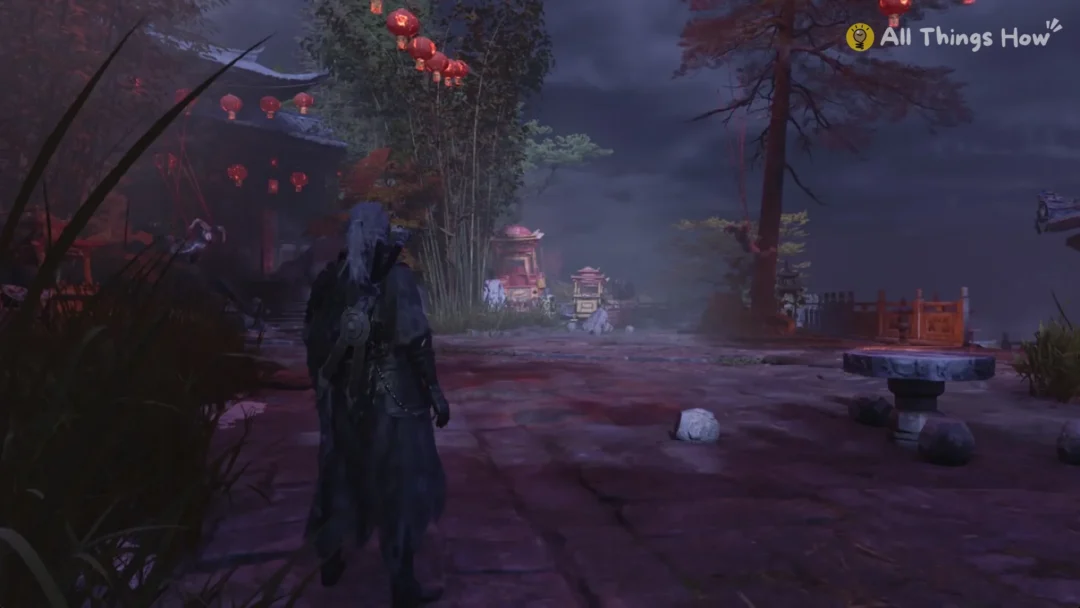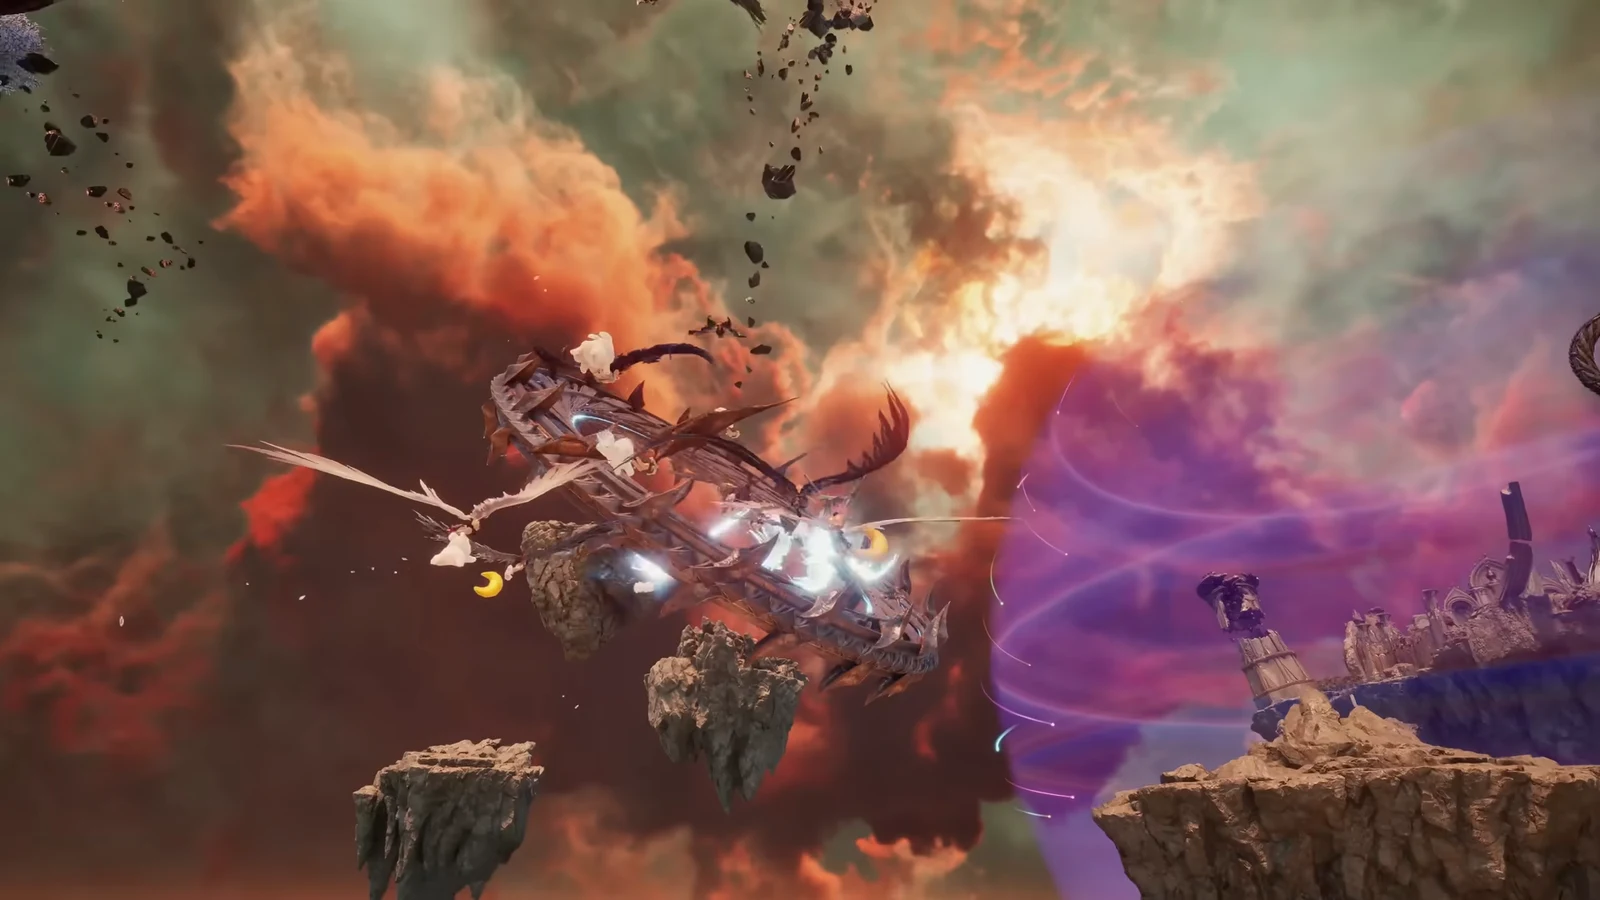
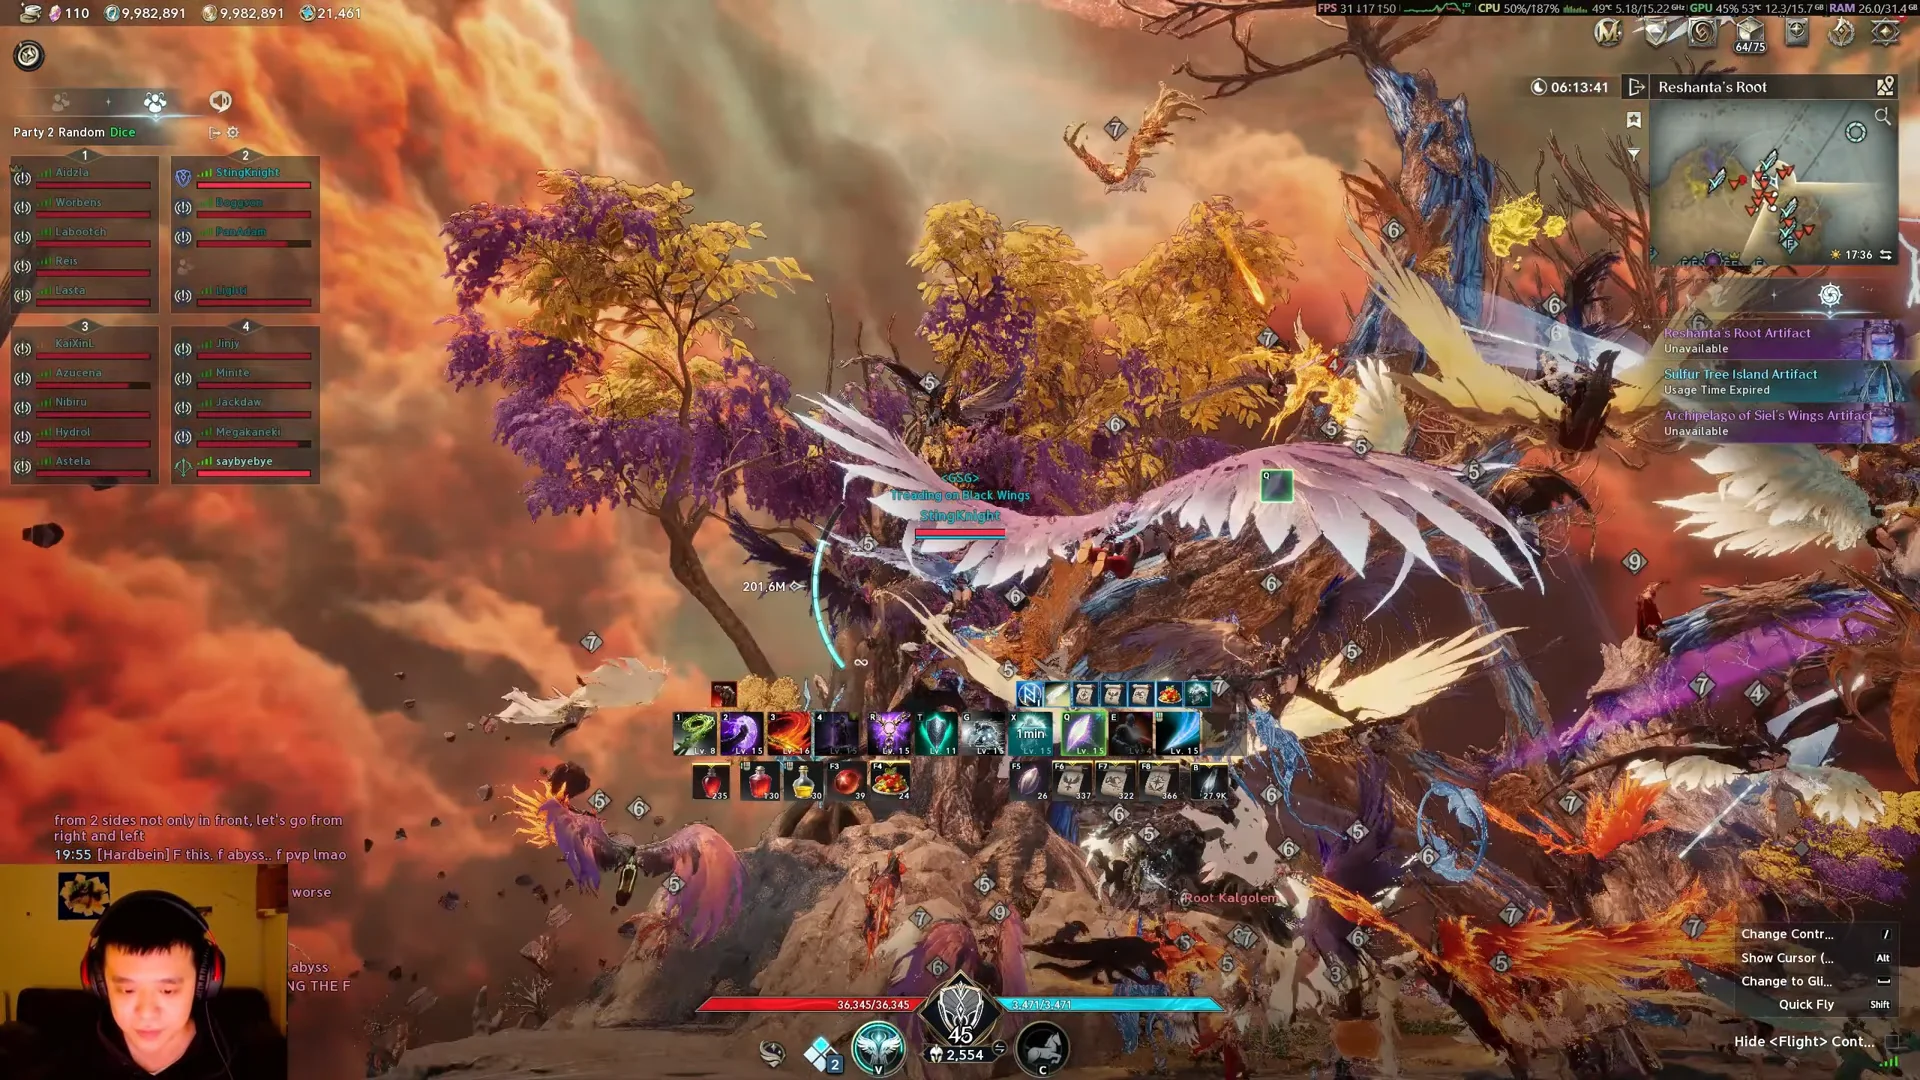
Endgame in Aion 2 lives in the Abyss, and the Artifact Siege is the moment the whole server collides. Elyos and Asmodians drop onto Reshanta’s floating islands to race each other toward a shared boss, the Dimensional Core, while trying to kill everyone on the other side. Watching it from a Templar on the EU Siel server makes the shape of the fight clear: a boss sits on a platform, both factions pile in, players die over and over, and each death means a long flight back through accelerator rings.
Quick answer: The Artifact Siege in Chaotic Lower Reshanta is a timed contest between factions. Both attack the Dimensional Cores, and the faction that lands the final hit claims the Artifacts. Entry requires Character Level 45 and Item Level 1,000.
What the Abyss Artifact Siege is
Reshanta, the Abyss, is a shattered sky of floating islands where the factions can battle freely. It has three layers, with the siege held on contested islands between the faction bases. When the event starts, occupation records for every Artifact are cleared and a Dimensional Core appears at each site. The faction that delivers a Core’s final hit claims its Artifact.
In Chaotic Lower Reshanta there are three Artifacts: at Reshanta’s Root, at Branding Island on Sulfur Tree Island, and at the Grave of Steel in the Archipelago of Siel’s Wings. The Dimensional Core is level 65 in Lower Reshanta and level 80 in Middle Reshanta. The Lower Reshanta siege runs on Monday, Thursday and Saturday at 21:00 server time, and the game posts a warning 10 minutes before it ends.
Combat has two parts. The Core is a shared PvE target: you wear down its health as the enemy faction attacks it and tries to kill you. Flight adds another challenge in Lower Reshanta. Accelerator rings across the islands let you glide and gain speed between respawn hubs and contested points.
Entry requirements for Lower Reshanta
You can reach the Abyss from level 45, but the Lower Reshanta bases add one more gate on their entry panel. The checklist is short:
- Completing the Episode story quests brings you to Character Level 45.
- The Lower Reshanta base entry panel lists Item Level 1,000 as the gear threshold.
- You get 7 hours of Abyss time per layer each week, with the allowance resetting every Wednesday.
Your Abyss time only counts down while you are inside the layer. Sort out your Stigmas and shopping in town first, then enter with a target in mind, such as a siege window or an elite spawn.
How a match unfolds
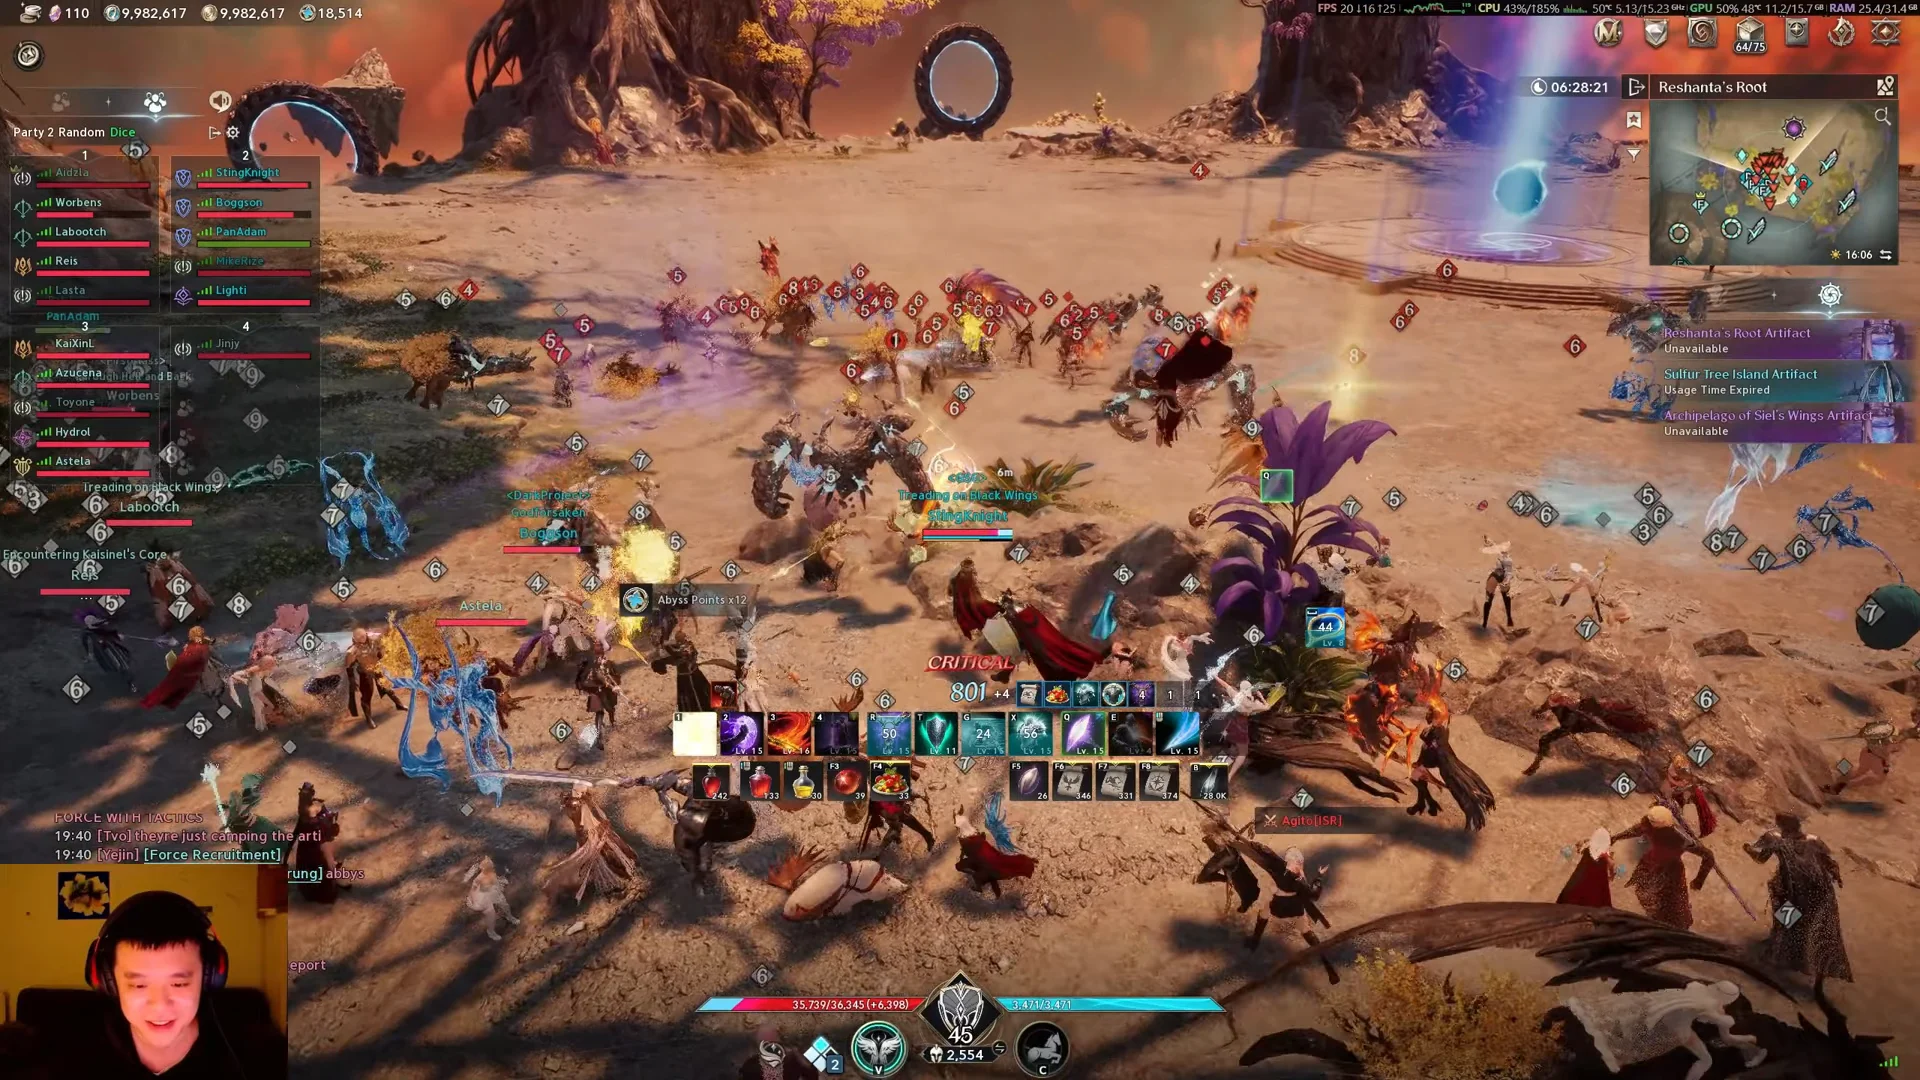
While the preparation timer counts down, allies assemble on a round dais in Chaotic Lower Reshanta. This area is uncontested, making it a good time to form parties and divide the faction into smaller groups that can follow voice-chat shot-callers.
When the countdown reaches zero, the screen displays “Start” and announces that occupation status has been cleared for every Artifact. A flame-wreathed Core appears on the dais, and the rival faction arrives moments later. Players and boss quickly converge in one huge fight on the platform. A solo player has little influence here: coordinated focus fire can end a run in seconds.
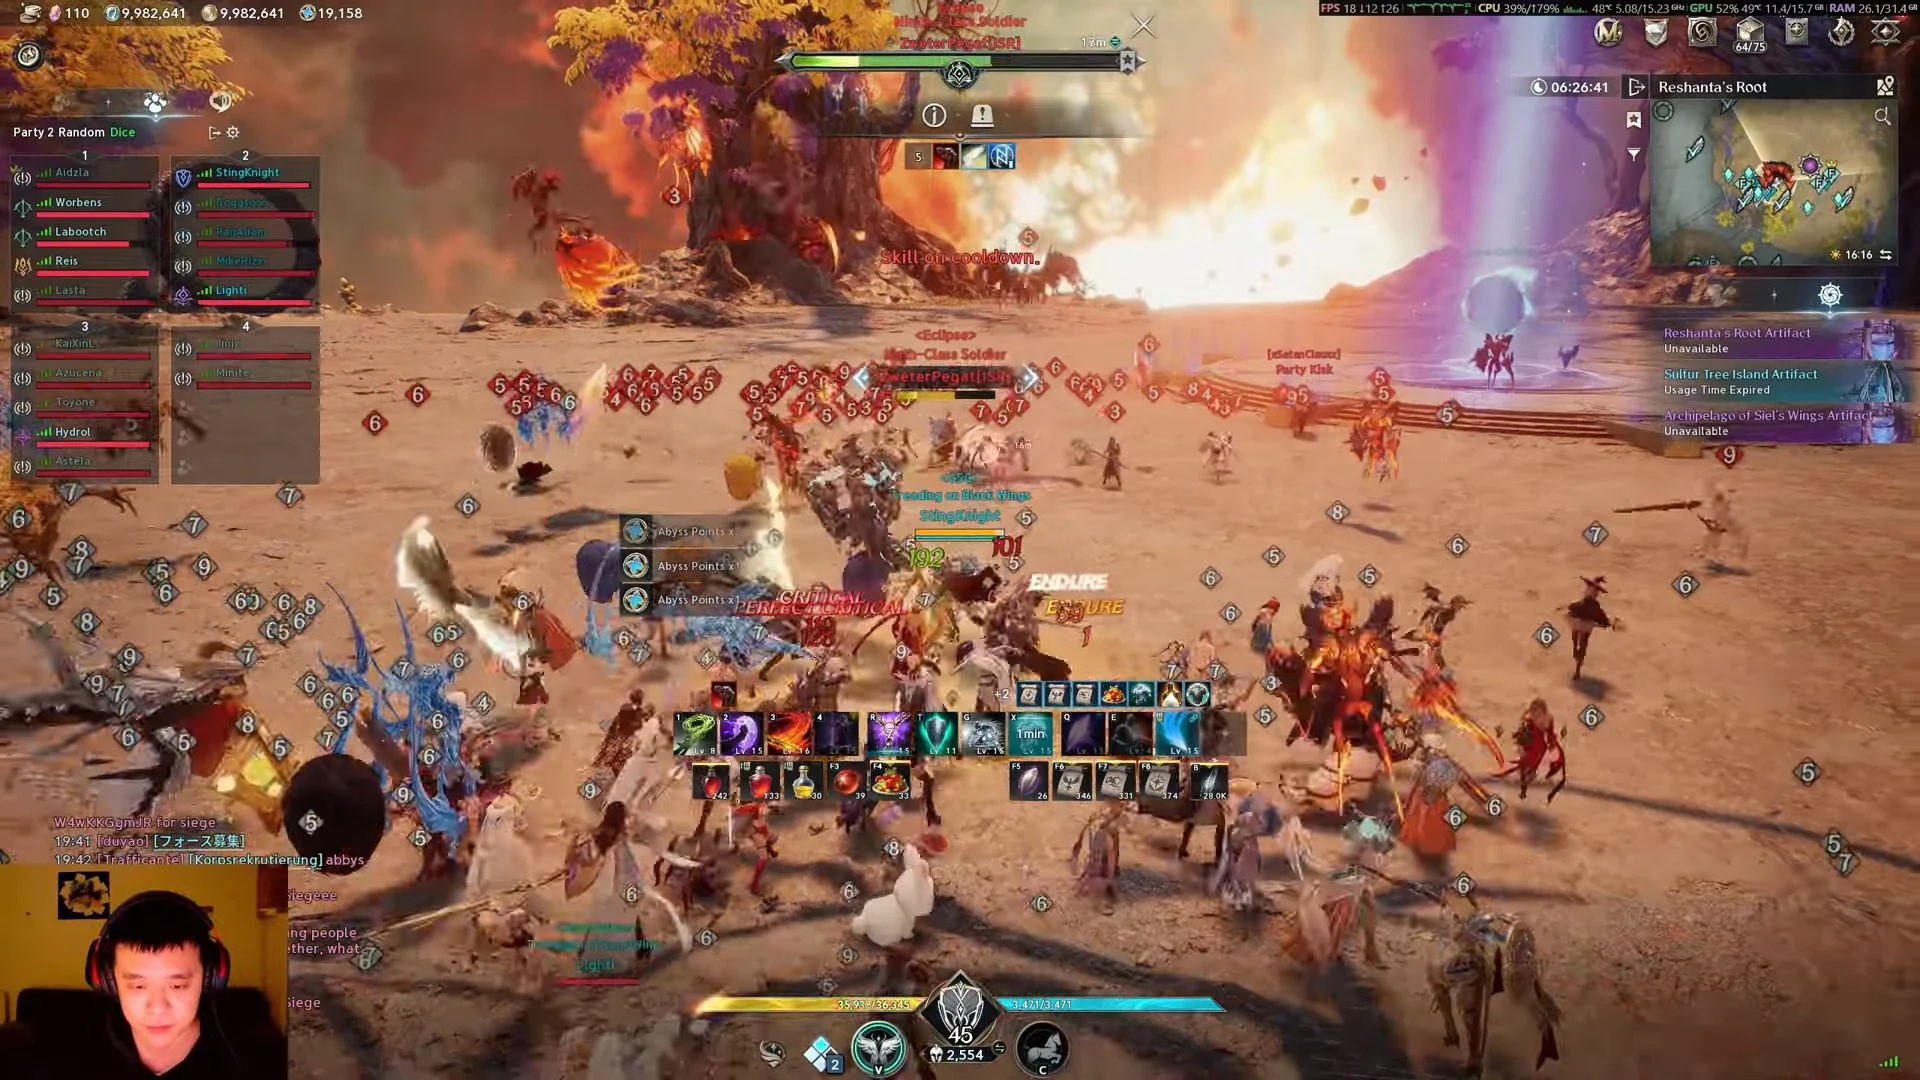
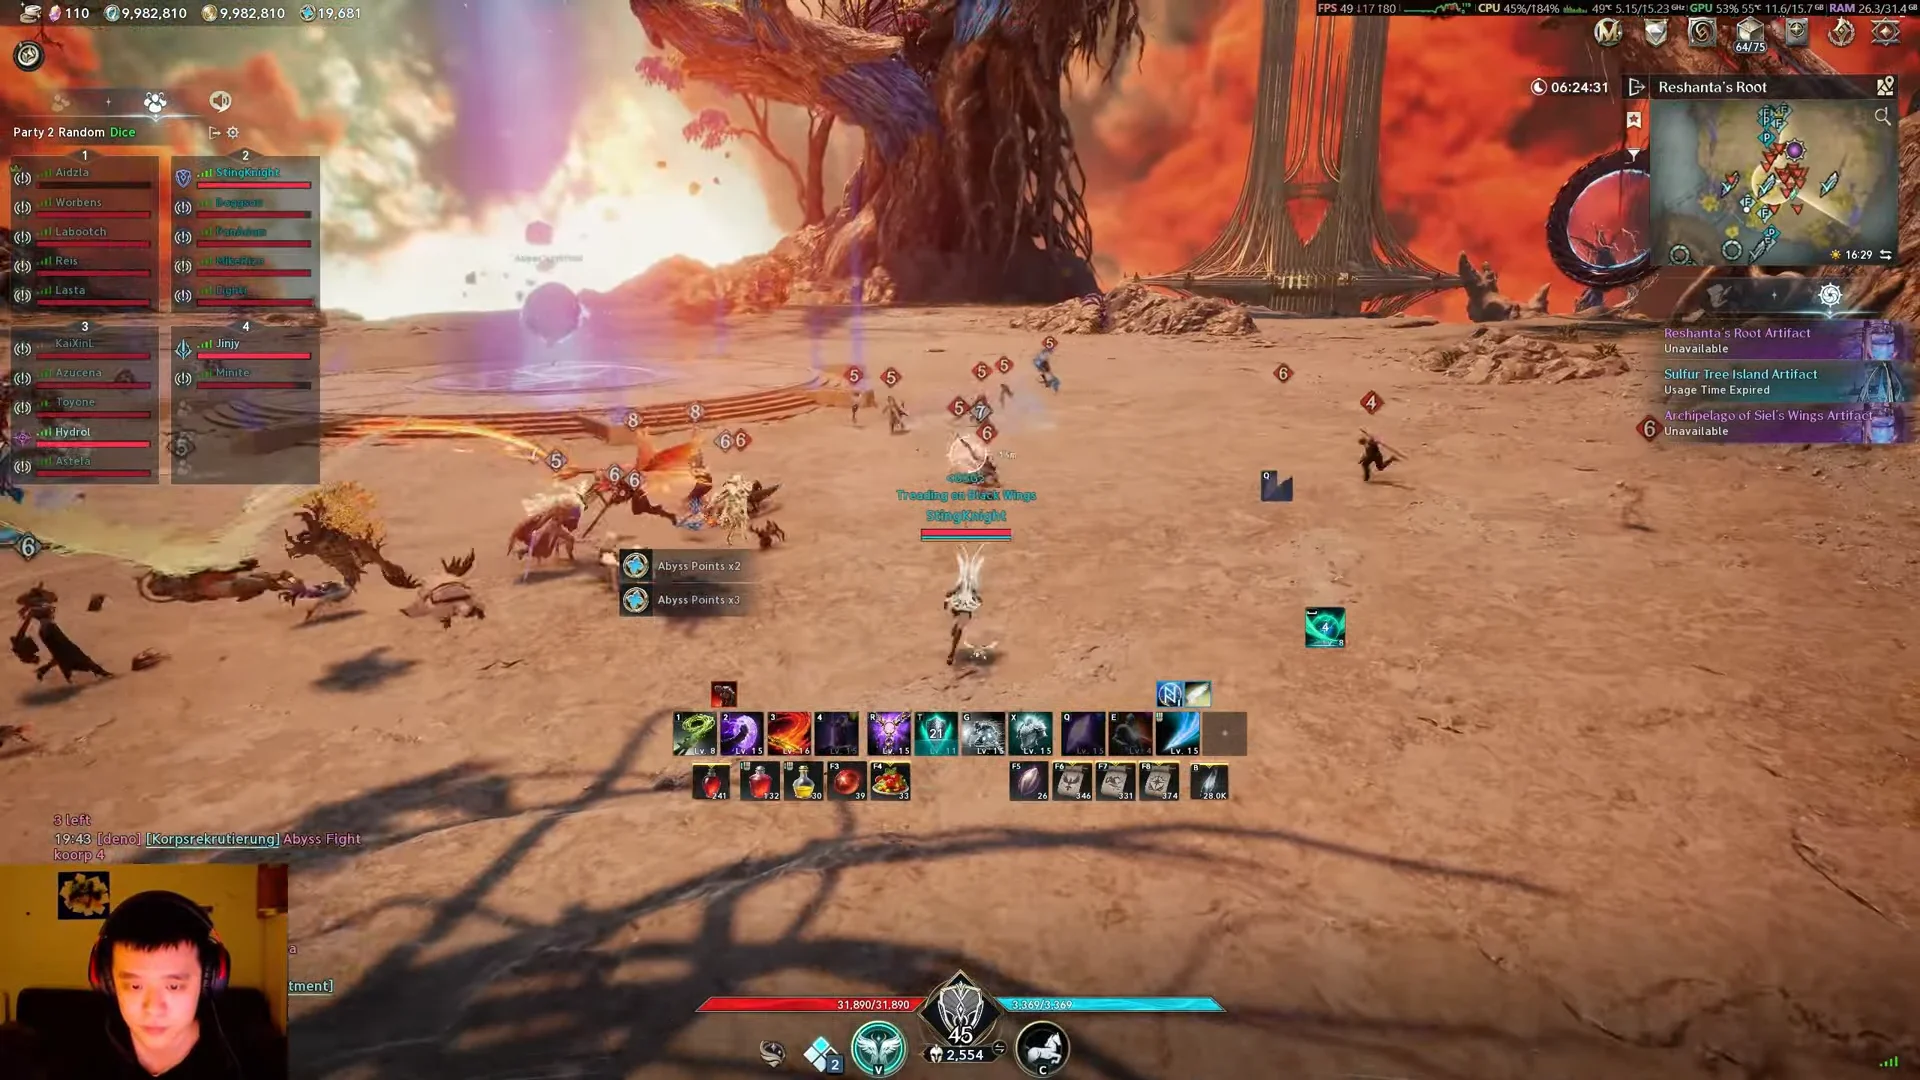
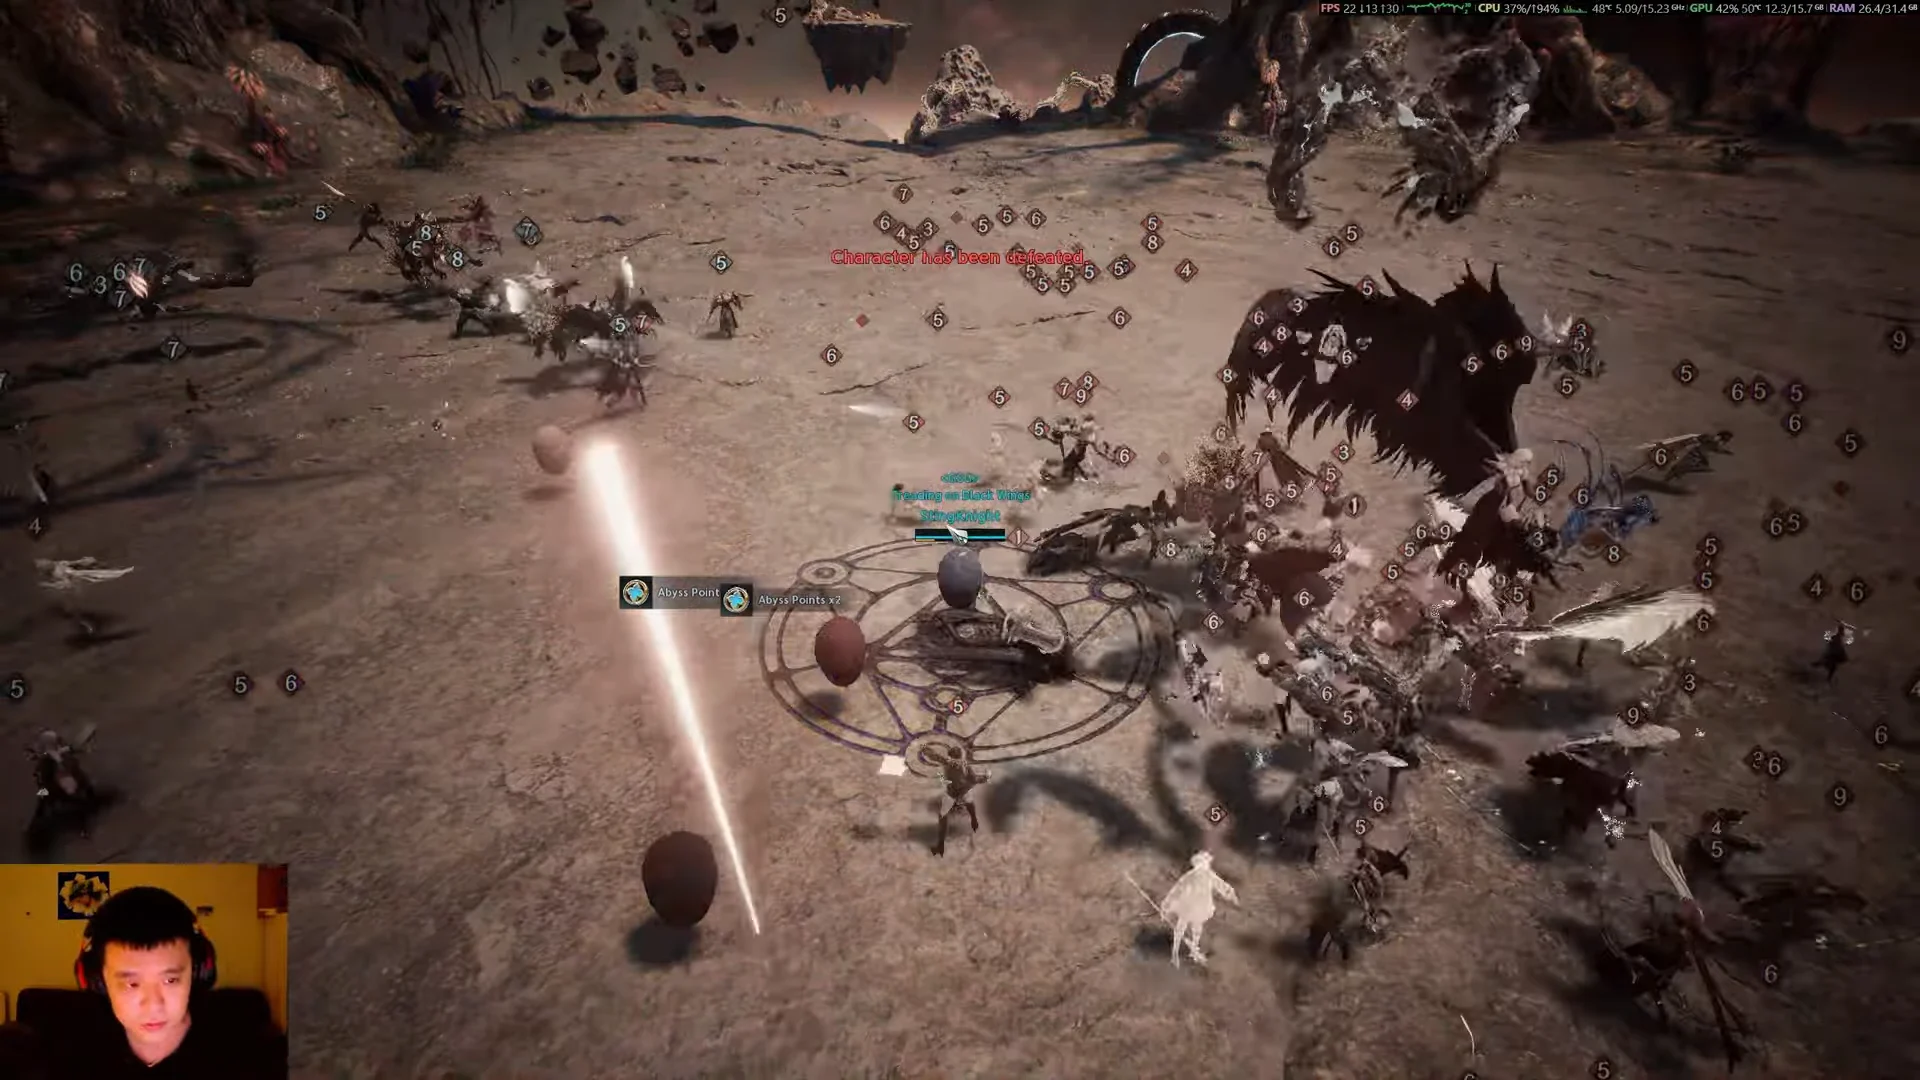
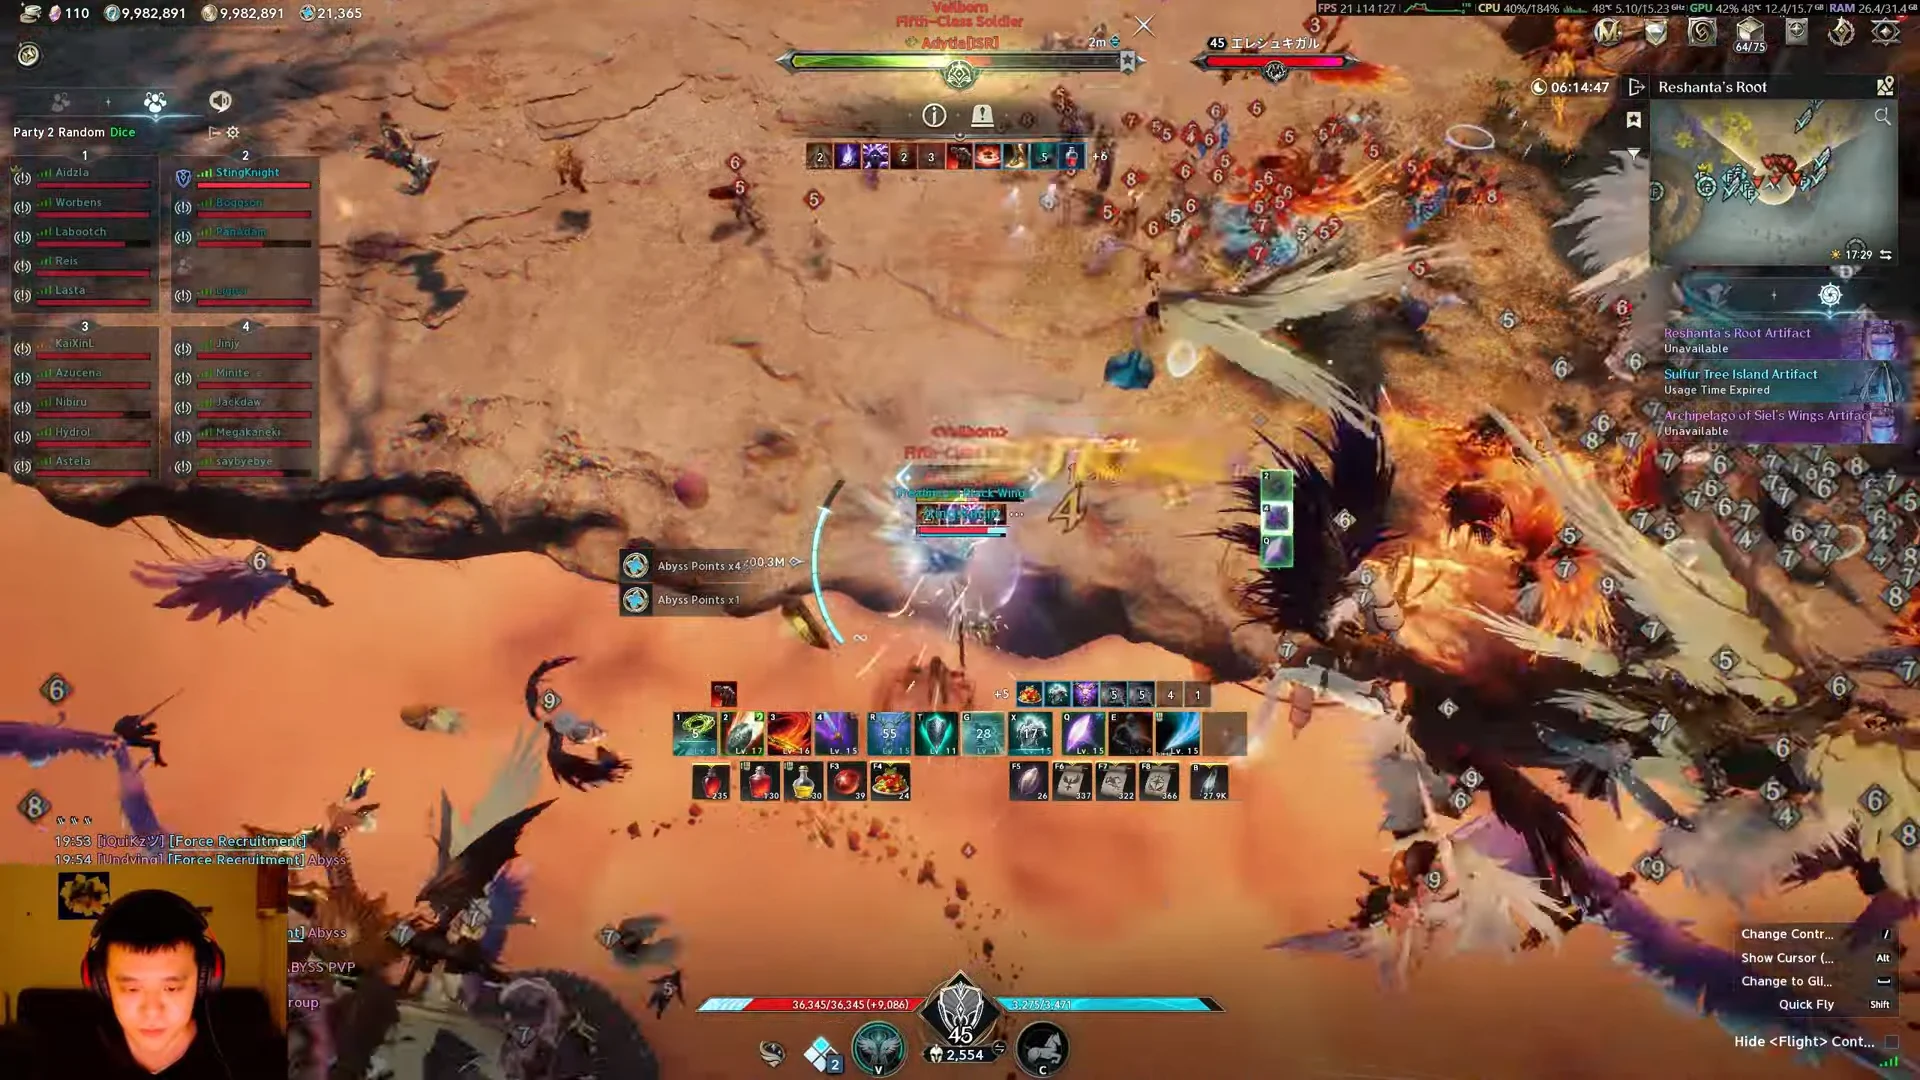
Death is routine. When a character goes down, a “Character has been defeated” panel names the killer, and the player respawns at a base hub such as Latexian Western Root rather than on the spot. Getting back means flying: from the respawn hub you launch into glowing flight rings to build speed and cross the islands toward Sulfur Tree Island and the Archipelago of Siel’s Wings, the two outer Artifact zones. Personal and legion Kisks act as forward respawn anchors, so without a registered Kisk you are stuck with the long trip from base.
The outcome can be a loss. An “Ended” banner closes the siege, and the map may show that the opposing camp has taken all three Artifacts. In one recorded Level 45 Templar match, the Abyss Rank tab placed the character 41st with a 22/10/8 record and 19,228 Rank Points. Losing every Artifact is not a dead end, though. A separate Corridor spawns at the losing faction’s base, open only to that side.
Holding bonuses, Abyss Points and the Corridor
The more Artifacts your faction controls, the larger its faction-wide Abyss Point bonus becomes.

| Artifacts held | Abyss Point gain increase |
|---|---|
| 1 | +2.5% |
| 2 | +5% |
| 3 | +7.5% |
After the siege ends, each Artifact held by the winning faction opens a doorway into the Abyss Corridor, an instanced farming room that runs for 5 minutes. Entry remains available until another siege or a server matchmaking change. A set number of winners receive Abyss Points according to their contribution, while contribution placement awards Silver Medal of Merit; the top two contributors receive Silver Medal of Merit x 3.
Spend Abyss Points on PvP upgrades in the Trade Shop, such as Potential Stones, Abyssal Manastones, Stigma Shards and PvP wings.
Why melee classes struggle in the open field
The Templar has a rough time in these mass fights. It is built around close-range strikes, which means walking into enemy lines to deal damage, and a coordinated group can drop a lone frontliner before support reaches them. Repeated deaths and long flights back are the normal rhythm, not a sign of a mistake.
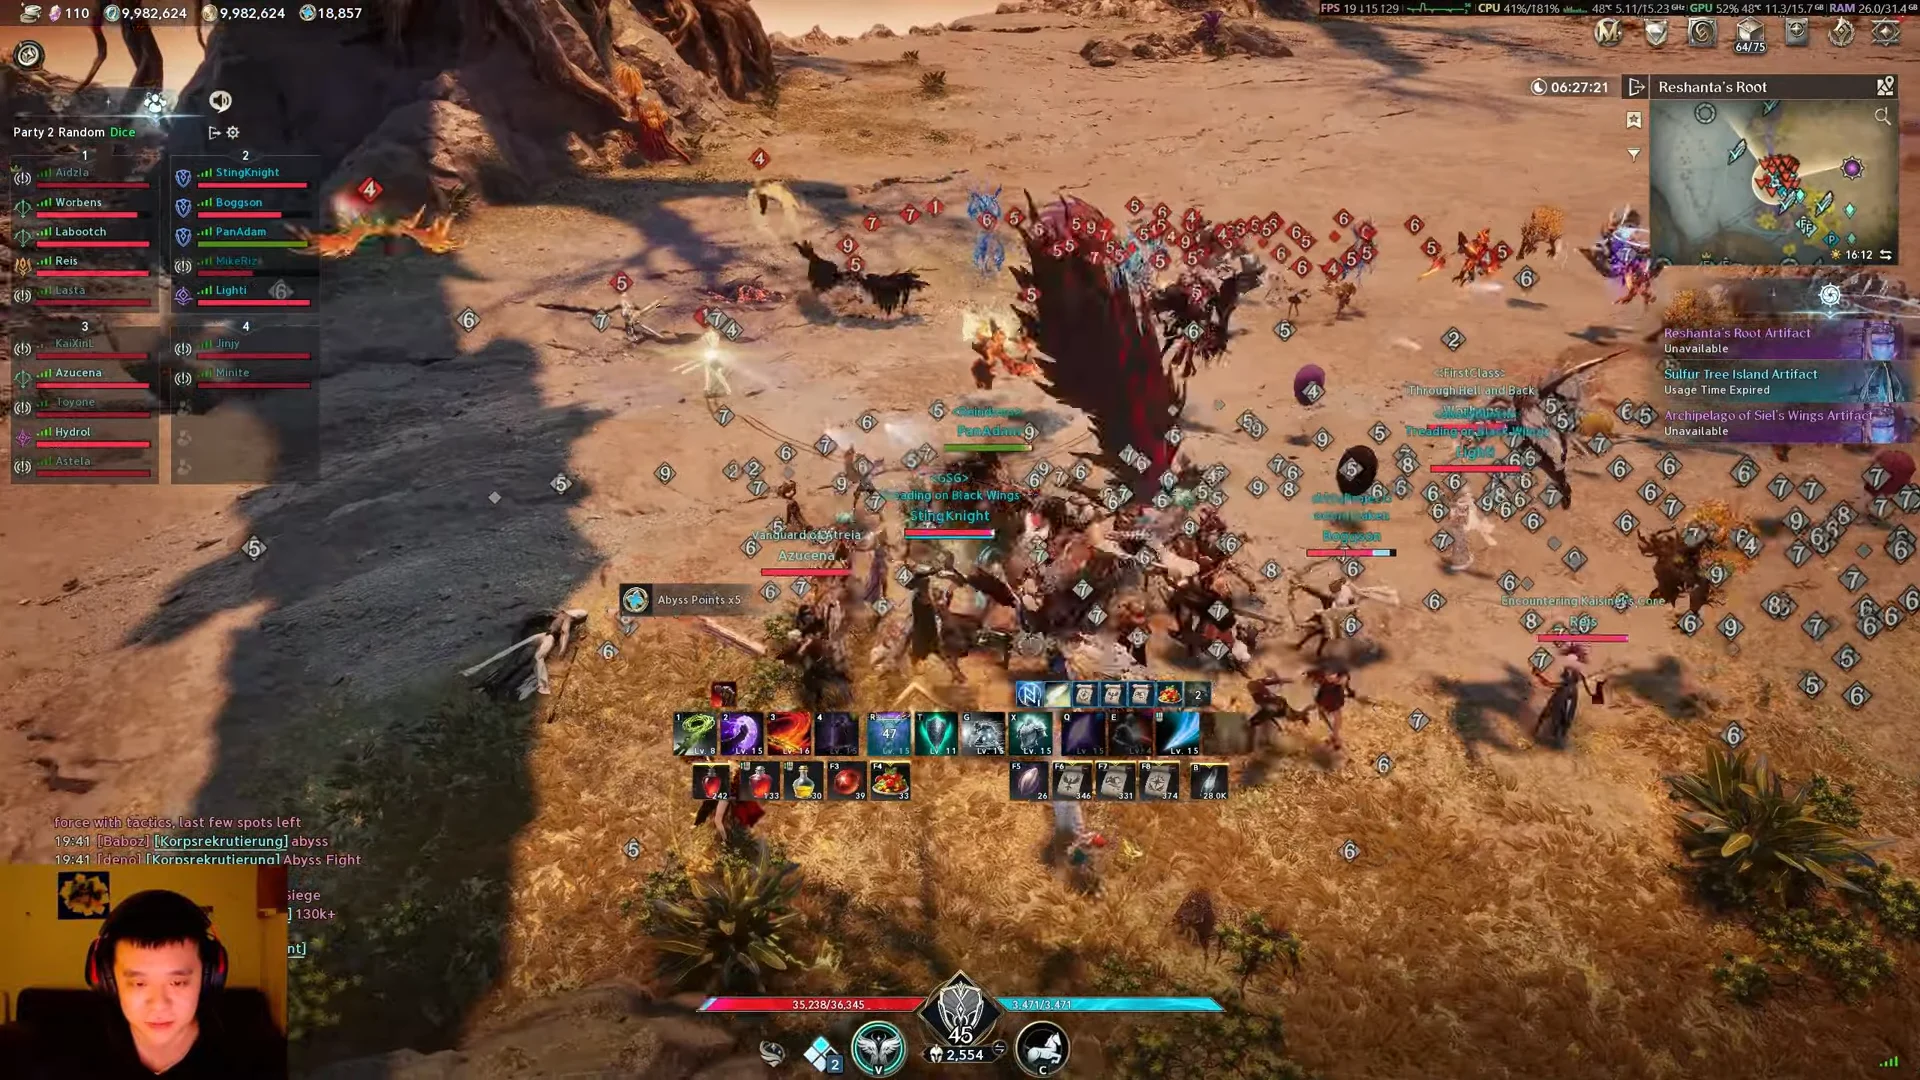
Targeting also undercuts the pulls. Offensive hooks often latch onto an enemy’s summoned spirit instead of the player, burning the cooldown on a pet while the real target walks away. In busy fights, Spiritmaster summons stand between the Templar and its mark so often that they become a steady annoyance.
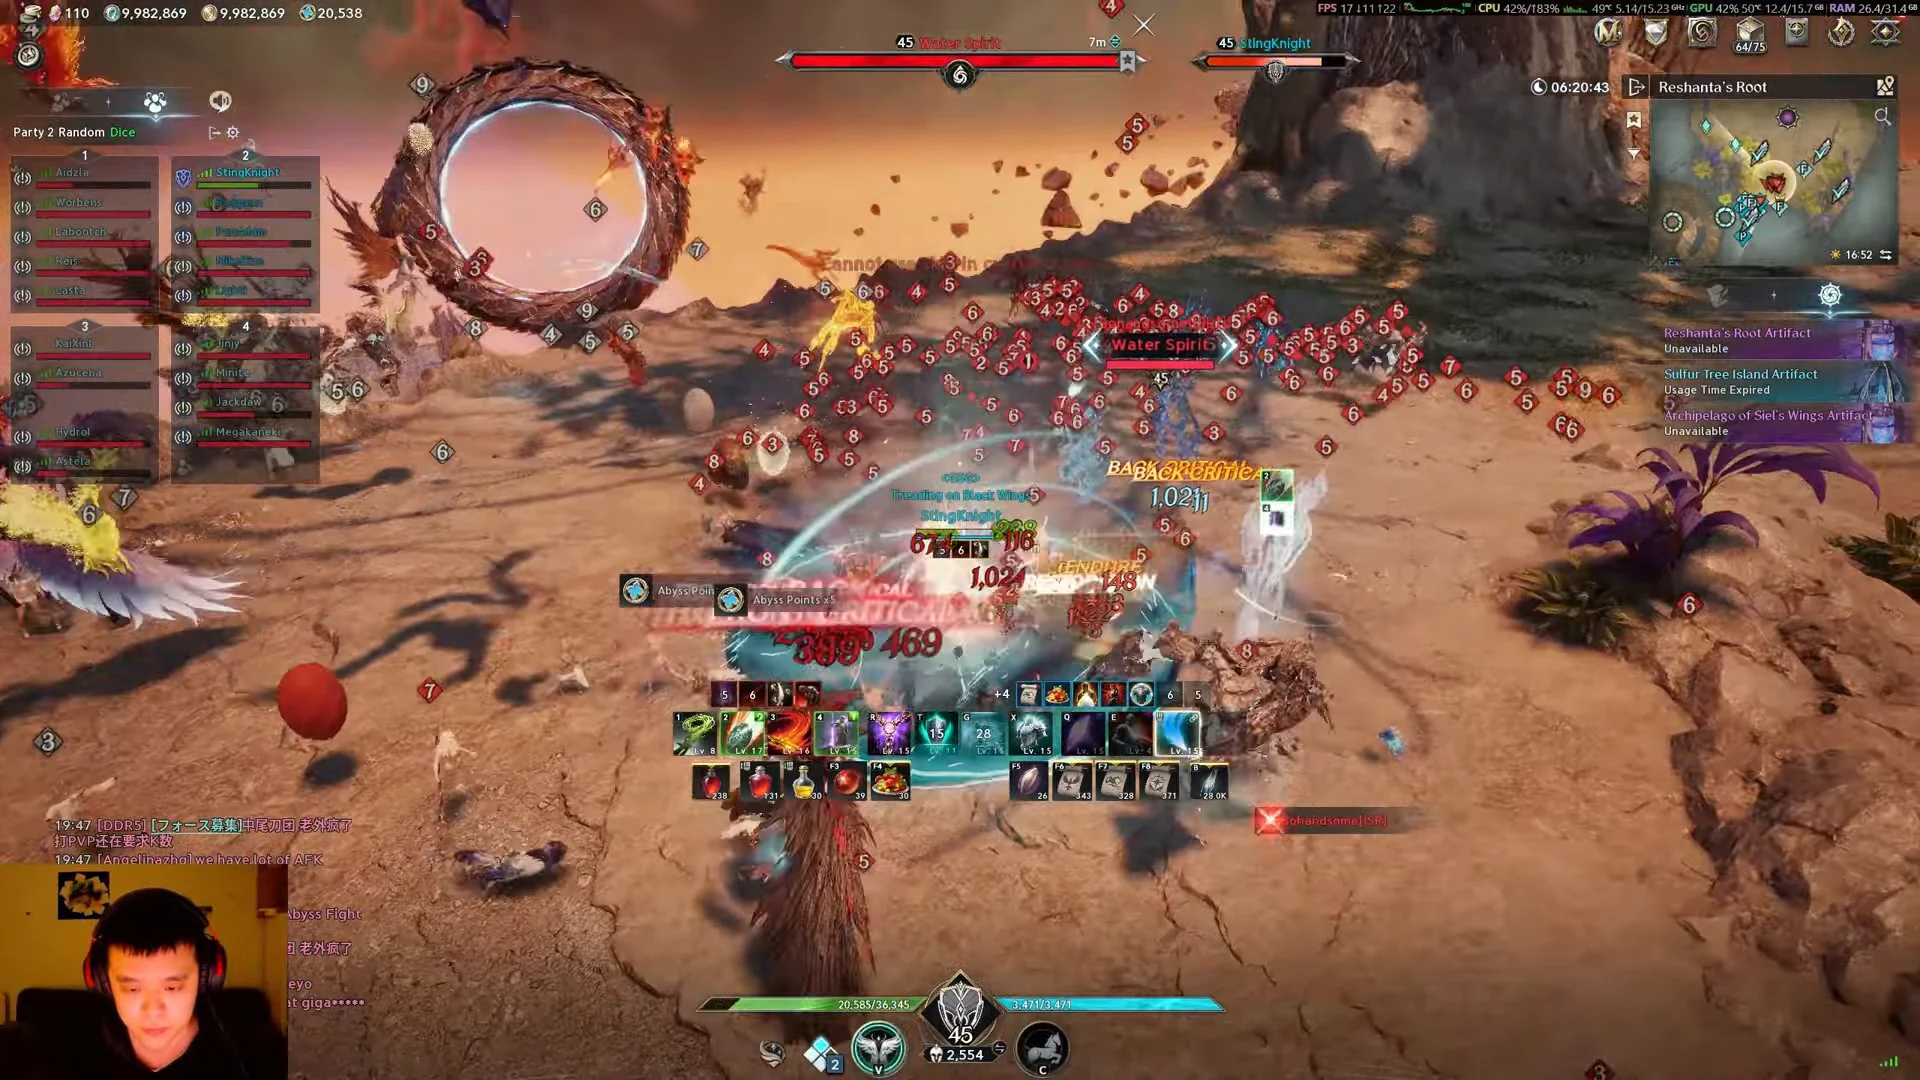
Defenses can be retuned mid-session by refunding Stigmas. Resetting a slot refunds shard points and makes room for Shield of Protection. For a short time, that skill raises Block Damage Reduction by 100%, makes every block guaranteed, and restores HP and Stamina with each block, letting a lone tank absorb focused fire. In the recorded run, the Templar reset Nezekan’s Shield for 19 Stigma shard points and slotted Shield of Protection to survive the crowd.
The landscape itself can be dangerous. Battles reach narrow ledges and tree roots, where a stun or poorly timed glide may send you over the edge into the abyss and force another flight back.
The Templar’s pull and control kit, with the numbers
The Templar wields a Longsword and serves as a Tank, with 36 skills across its regular and Stigma lists. In a packed siege, control and pulling are more useful than raw damage. Grapple and Poach hook enemy players from long range and draw them into allied ranks, while Empyrean Lord’s Punishment and Shield Smite can stun targets to keep them pinned. The table lists the control and melee tools with their verified figures.
| Skill | Type | Range / Cooldown | Max-level damage |
|---|---|---|---|
 Grapple | Stigma | 20m / 90s | 3,312 (Lv. 25) |
 Poach | Regular | 20m / 15s | 1,845 (Lv. 40) |
 Empyrean Lord’s Punishment | Stigma | 20m / 60s | 2,976 (Lv. 25) |
 Shield Smite | Regular | 4m / 10s | 3,780 (Lv. 40) |
 Judgment | Regular | 4m / 5s | 4,936 (Lv. 40) |
 Pummel | Regular | 4m / — | 2,545 (Lv. 40) |
 Vicious Strike | Regular | 4m / — | 2,024 (Lv. 40) |
Grapple is the more powerful pull: select an enemy within 20m, and the skill draws up to four additional foes clustered within 7m of that enemy toward you, rooting them for 3 seconds. Its Level 15 specialisation removes 30 seconds from the cooldown, making Level 15 the key breakpoint for repeated frontline control.
Poach is a lighter, faster hook on a 15-second cooldown that pulls and roots a single target, useful for snagging stragglers between Grapple casts.
Empyrean Lord’s Punishment can strike four foes at most, provided they are within 4m of the chosen target. Players have a 50% chance to be stunned for 3 seconds, while NPCs are always stunned. Alongside Shield Smite and the Punishment line’s self-healing, it helps you hold your position without a Cleric nearby, exchanging some damage for displacement and survivability.
The field bosses that follow a siege
Reshanta’s named Hero-rank field bosses run on fixed weekly schedules in server time and can drop Abyss gear sets. Those in Lower Reshanta are level 65, while Middle Reshanta bosses are level 80. Each guarantees refining stones and draws from the shared Earth and Vagabond gear pool, with the rarer ones also dropping Epic-grade weapons and unique artwork.
| Boss | Layer / Level | Spawn (server time) |
|---|---|---|
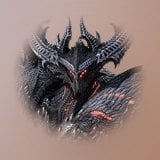 Guardian Lord Nahma | Lower / 65 | Sun, Fri 21:00 |
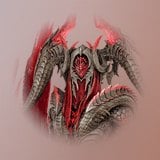 Executor Tamasa | Lower / 65 | Mon, Thu, Sat 21:30 |
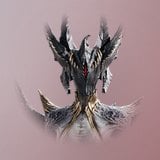 Executor Kaira | Lower / 65 | Mon, Thu, Sat 21:30 |
| Enraged Guardian Lord Nahma | Middle / 80 | Sun, Fri 21:00 |
 Executioner Dramos | Middle / 80 | Mon, Thu, Sat 21:30 |
The Executors arrive 30 minutes after the siege begins on Monday, Thursday and Saturday, so the siege and the boss rush stack up close together on those nights. That is the Abyss loop in full: arrive before the countdown, race the enemy faction to the Dimensional Cores, grab as many Artifacts as you can for the point buff and Corridor runs, and be ready to fly back the moment you respawn.