Yen fuels almost every upgrade in Jujutsu Zero, so the real question is not which activity pays the most per clear, but which one pays the most per minute. The right answer shifts as your damage grows. A build that struggles against a boss with hundreds of millions of health should not be farming that boss, and a build that deletes it in seconds is wasting time on low-health quests.
Quick answer: If your damage is low or moderate, spam the level 2,950 quest (the Disaster Flame Curse raid) for about 74,300 Yen per single-enemy clear. Once your damage is high enough to clear a boss in seconds, switch to overworld raids like Manifested Star on Calamity for about 105,000 Yen per run, and sell surplus crate gear on top.
Why Yen per minute beats the biggest reward
The single most important number is Yen per minute, not the headline payout on a raid. A raid that hands you six figures per clear is worthless if your damage forces you to grind it for several minutes each attempt. A smaller reward you can collect on a fast loop will out-earn it easily.
That is why the best target changes with your build. Match the activity to how quickly you can end the fight, and the total Yen climbs even when the per-run number looks lower.
Low to moderate damage: farm the level 2,950 quest
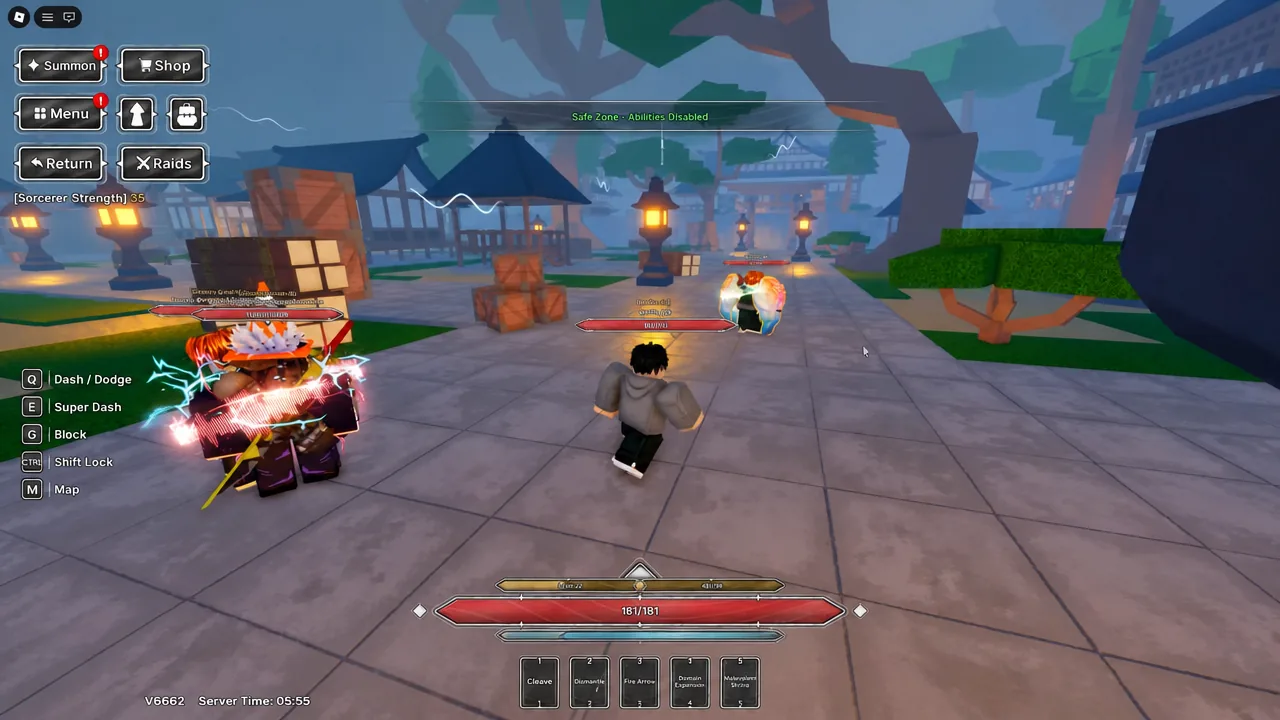
If your damage cannot chew through a boss with tens of millions of health, the level 2,950 quest is the most reliable earner. It is the Disaster Flame Curse raid, and it asks you to defeat a single enemy with roughly 100,000 HP for about 74,300 Yen. That small health pool is exactly what makes it efficient for weaker builds.

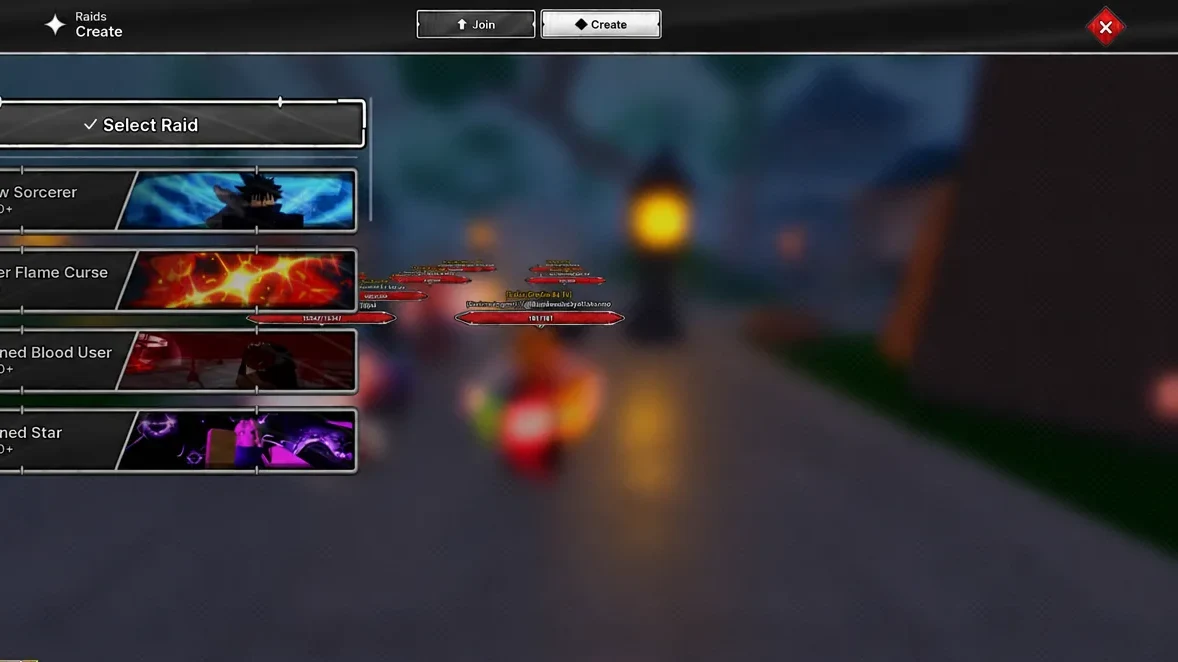
Repeat this loop until your damage is strong enough to end far bigger bosses in seconds. That is your signal to move up.
High damage: switch to Manifested Star on Calamity
Once you can delete a target almost instantly, overworld raids become the better payout. Manifested Star on Calamity difficulty gives about 105,000 Yen per run. The catch is its scale. That clear carries roughly 350 million effective health, so it only makes sense when your build can burn through it in about one to three seconds.
Here is how the two main methods compare so you can pick the one that fits your current damage.
| Method | Best for | Effective HP | Yen per clear |
|---|---|---|---|
| Level 2,950 quest (Disaster Flame Curse) | Low to moderate damage | ~100,000 | ~74,300 |
| Manifested Star (Calamity) | Very high damage | ~350 million | ~105,000 |
Sell crate gear for extra Yen
Raids do more than pay direct Yen. Manifested Star can reward up to seven Void Crates per clear, and those crates hold gear you can convert into cash. Duplicates and pieces you do not need sell for extra Yen, and rare drops can go for hundreds of thousands or even over a million each.
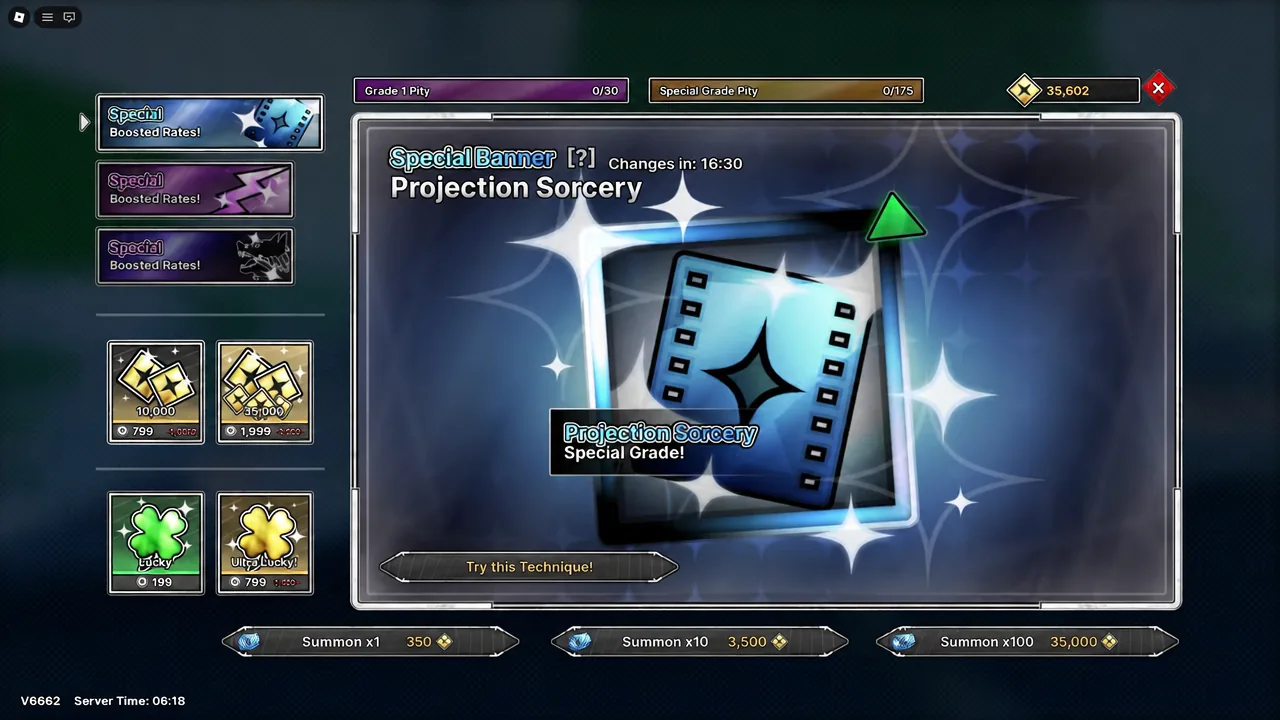
Treat gear selling as a second income stream that runs alongside your raids. The Yen from a stack of unwanted drops can rival the direct rewards from the clears themselves.
Stack Yen boosts before a farming session
Before you commit to a serious grind, turn on your multipliers. Two boosts stack on top of your direct Yen rewards and make every clear worth more.
| Boost | Effect | Duration / cost |
|---|---|---|
| Yen Vow | +20% Yen | 10 minutes |
| Yen Boost game pass | +100% Yen to direct rewards | Permanent, 400 Robux |
Note: activate the Yen Vow right before you begin so you do not waste any of its 10-minute window on setup or travel.
The full farming route
Put the pieces together into one loop that scales with your character. Start on the level 2,950 quest, then graduate to overworld raids the moment your damage can handle them.
- Activate your Yen Vow and, if you own it, the Yen Boost game pass.
- Spam the level 2,950 Disaster Flame Curse quest while your damage is still building.
- When you can melt a boss in seconds, move to Manifested Star on Calamity.
- Clear those raids quickly and sell the crate gear you do not need.
You will know the route is working when each clear returns its expected payout, your boost timer is still running, and your crate gear is converting into Yen between runs. If a raid ever feels slow, that is the sign your damage has not caught up to it yet, so drop back to the faster loop until it does.