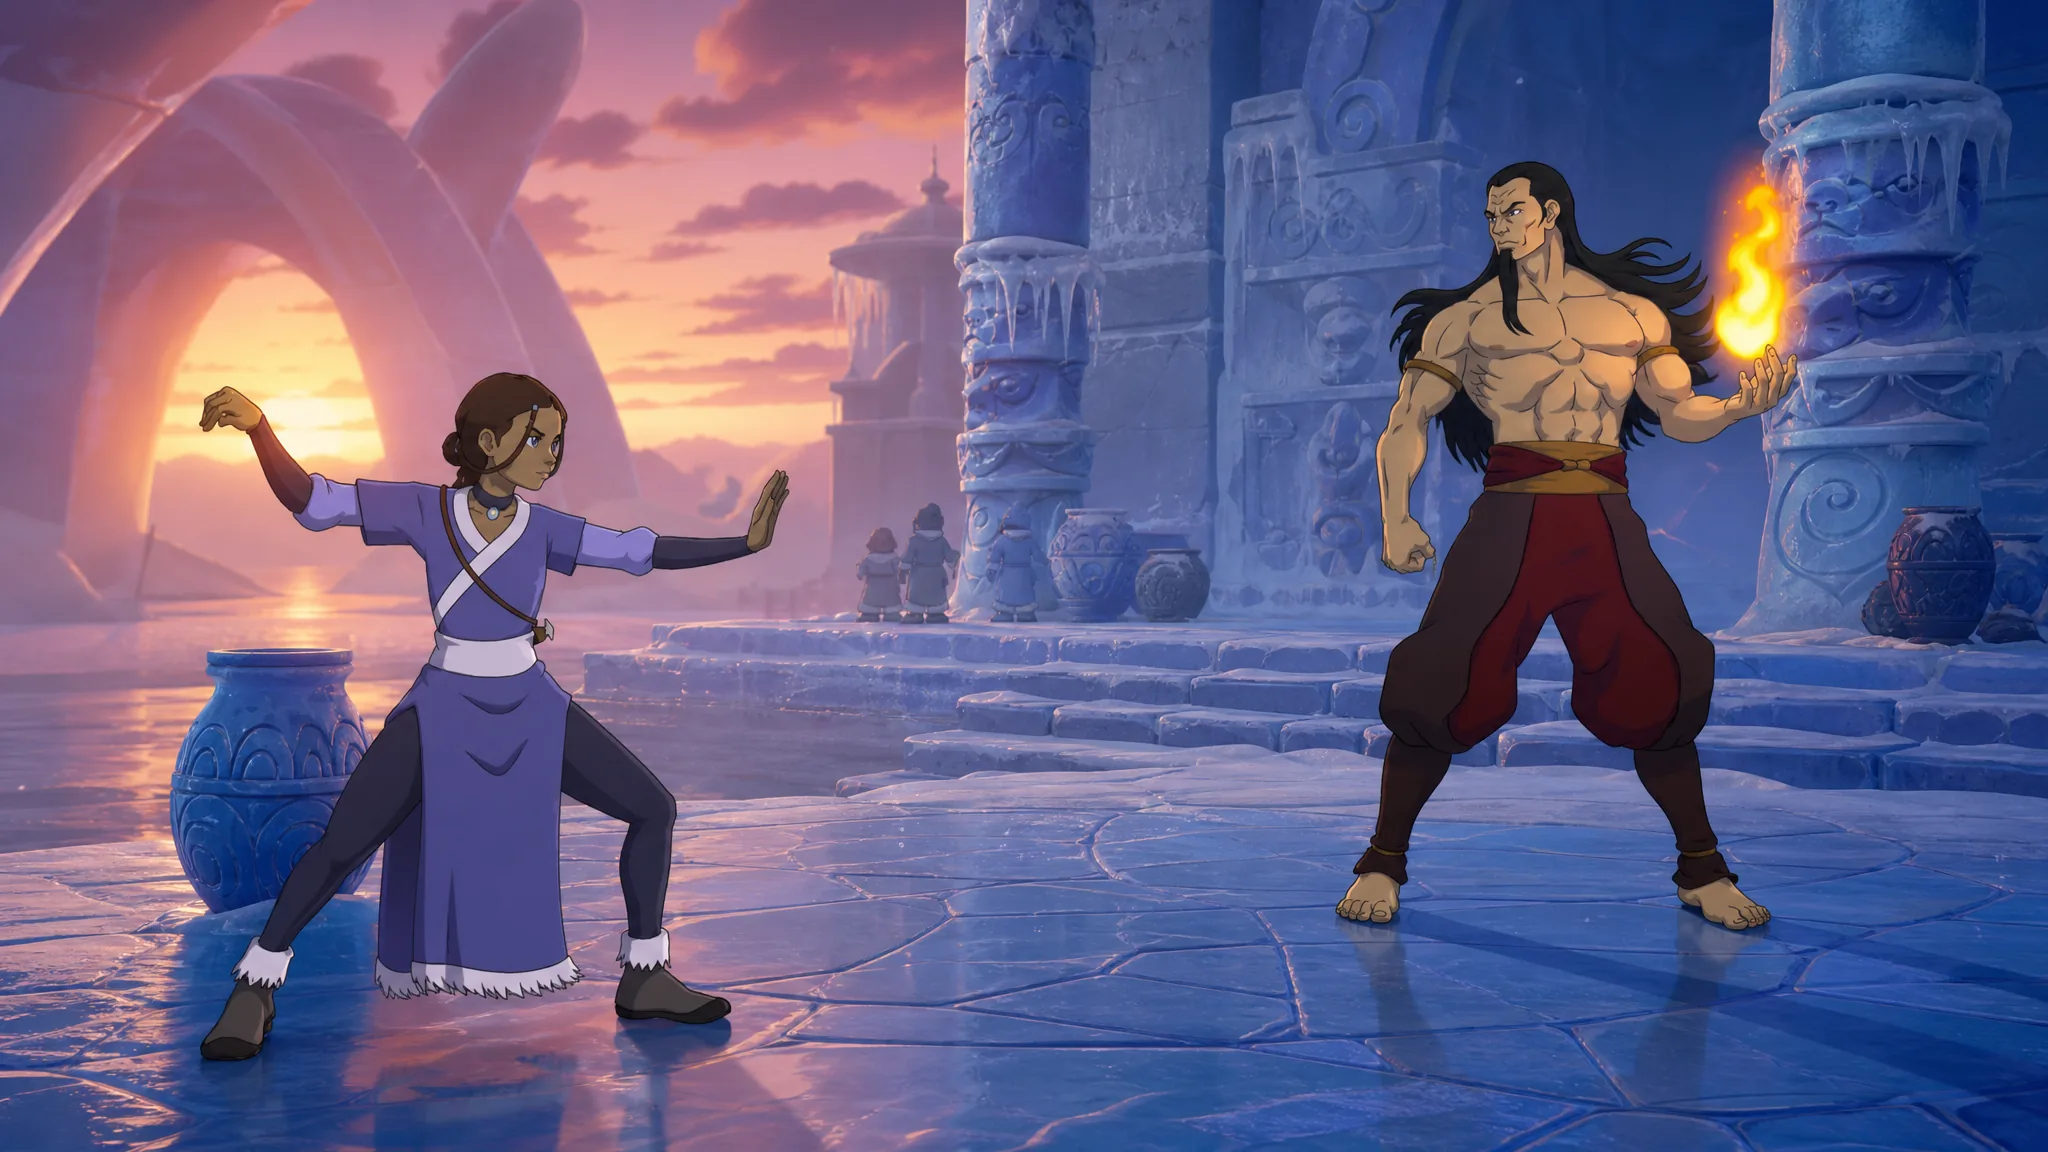
Katara is one of the strongest picks in Avatar Legends: The Fighting Game, and most of her power comes from range. Her Water Whip Stance gives her a near full-screen sweep, and her Flow movement lets her jump over people to land overheads and crossups in a single input. The trade-off is execution. Her best combos ask you to chain cancels quickly, especially the Flow-jump links, so plan to spend time in training mode before they hold up in a real set.
Quick answer: For a reliable starter, use A, A, 2B, C, 236A > B > C. It works midscreen, is easy to hit, and pushes the opponent toward the corner where Katara’s stronger routes take over.
Input notation used in these combos
These routes use numeric notation, the same layout as a keyboard numpad. Think of your movement as a numpad grid where 5 is neutral, 2 is crouch, 8 is straight up, 6 is forward, 9 is a forward jump, and so on. A j. prefix means the move is done in the air.
| Symbol | Meaning |
|---|---|
| A | Light Attack |
| B | Medium Attack |
| C | Heavy Attack |
| D / F | Flow input |
| SUP | Super |
| EX | Two attack buttons together |
| ~ | Cancel into the next move |
| j. | Performed in the air |
Note: Do not mash the auto-combo (repeated A) during the longer routes. This is a tight game on combo timing, and mashing will drop the aerial links. Hit the exact inputs.
Why Katara wins with Water Whip Stance
The core of Katara’s game is Water Whip Stance, entered with 214+A. It keeps opponents out and gives her that long sweep, but the real value is the mixup. Enter the stance, use a Flow Jump to sail over your opponent, then press 214+A again while above them. That single motion becomes both an overhead and a crossup at the same time, which is very hard to block on reaction.
Her supports change how the stance behaves. Kanna, listed in-game as her grandmother, opens up Water Whip cancels that feed straight back into the mixup game.
| Support | What it changes |
|---|---|
| Kanna | Cancels Water Whip follow-ups back into Water Whip Stance for extra Flow-based pressure. Aerial Water Whip can cancel into EX Aerial Water Whip. |
| Master Pakku | Speeds up her Flow Moves. Snowdrift Flip gains range and becomes airborne faster. |
| Hakoda | Improves aerial projectiles, allows up to two per jump, and lets her move forward and backward during Frigid Snap. |
Combo 1: Easy midscreen BnB
Route: A, A, 2B, C, 236A > B > C
This is your dial-in bread and butter. Start with two light attacks, then a crouching B, then a heavy. From there, 236A leads into the B and C follow-up. It does not carry across the whole screen, but it knocks the opponent back and can push them into the corner, which sets up your stronger routes.
Combo 2: Corner pressure into Super
Route: 214A > C, A, A, B, C, 6C, C, 6F, 9F, B, 214A, 236 SUP
C button out of 214A, which launches them and starts the juggle.A, A, B, C, 6C, C, then 6F for the Down Flow. Keep the rhythm steady so nothing whiffs.9F and hit B immediately. This part must be fast, because the window to link into the air is short.214A, then cash out the Super with 236 SUP. The tricky part throughout is the quick Flow jump followed by an instant button, so drill that link on its own first.Combo 3: Slide-in starter into Super
Route: 214A > 6F > C, A, B, C, 236A > C > A, 236 SUP
This one cancels Water Whip Stance into Forward Flow, which dashes Katara in on an ice carpet to close the gap. Once you slide in, run C, A, B, C, then 236A into C and A to keep the juggle going. End with the Super. The full route hits hard, taking off roughly half a life bar.
Combo 4: Big damage aerial juggle
Route: 5C > 214EX~6D~C > 5C > 6C, C > 6D~8D > j.5A > j.5B > j.236B > j.45 C > j.5C
5C, the neutral heavy, then go into the EX Water Whip with 214EX. Cancel that into Forward Flow with 6D, then cancel again into C.5C, then 6C, C. Getting the cancel into the Water Whip knock-up cleanly is the hardest ground link here.j.5A > j.5B > j.236B, then land the Frigid Snap with j.45 C before ending on j.5C. You need tight air inputs for this, but the payoff is huge damage.Combo 5: Ground to air and back down
Route: 5C > 6C,C > 214A~6D~8D > j.5A > j.5B > j.236B > j.5B > j.214A > 5B 5C > 236A~B~A
This is the route you will run into most online. It starts on the ground with 5C then 6C, C, cancels Water Whip into Forward Flow and Jump Flow with 214A~6D~8D, then carries the opponent across the screen in the air using her strong aerial buttons. After the air string you drop back down into 5B 5C and finish with 236A~B~A. If the opponent ends up in the corner, you can keep the pressure going.
Note: Again, do not lean on auto-combo during the aerial part. Precise inputs are the only thing that keeps this string connected.
Combo limits and infinite protection
Before you assume a long juggle will run forever, watch for the escape indicators. The game has built-in protection against endless loops, similar to systems in other tag-style fighters. When red hit sparks appear, paired with a blue outline on the opponent that triggers at the same moment, the defender can tech out of the combo.
Because of that, treat very long strings as pressure rather than guaranteed damage, and be ready to reset into another Water Whip mixup if the opponent escapes. The routes above end in a knockdown or Super before the protection would normally kick in, so stick to those endings until you can read the sparks on the fly. Between the sweep range, the crossup out of Flow, and these damage confirms, Katara rewards patience in the lab with some of the scariest corner pressure in the game.