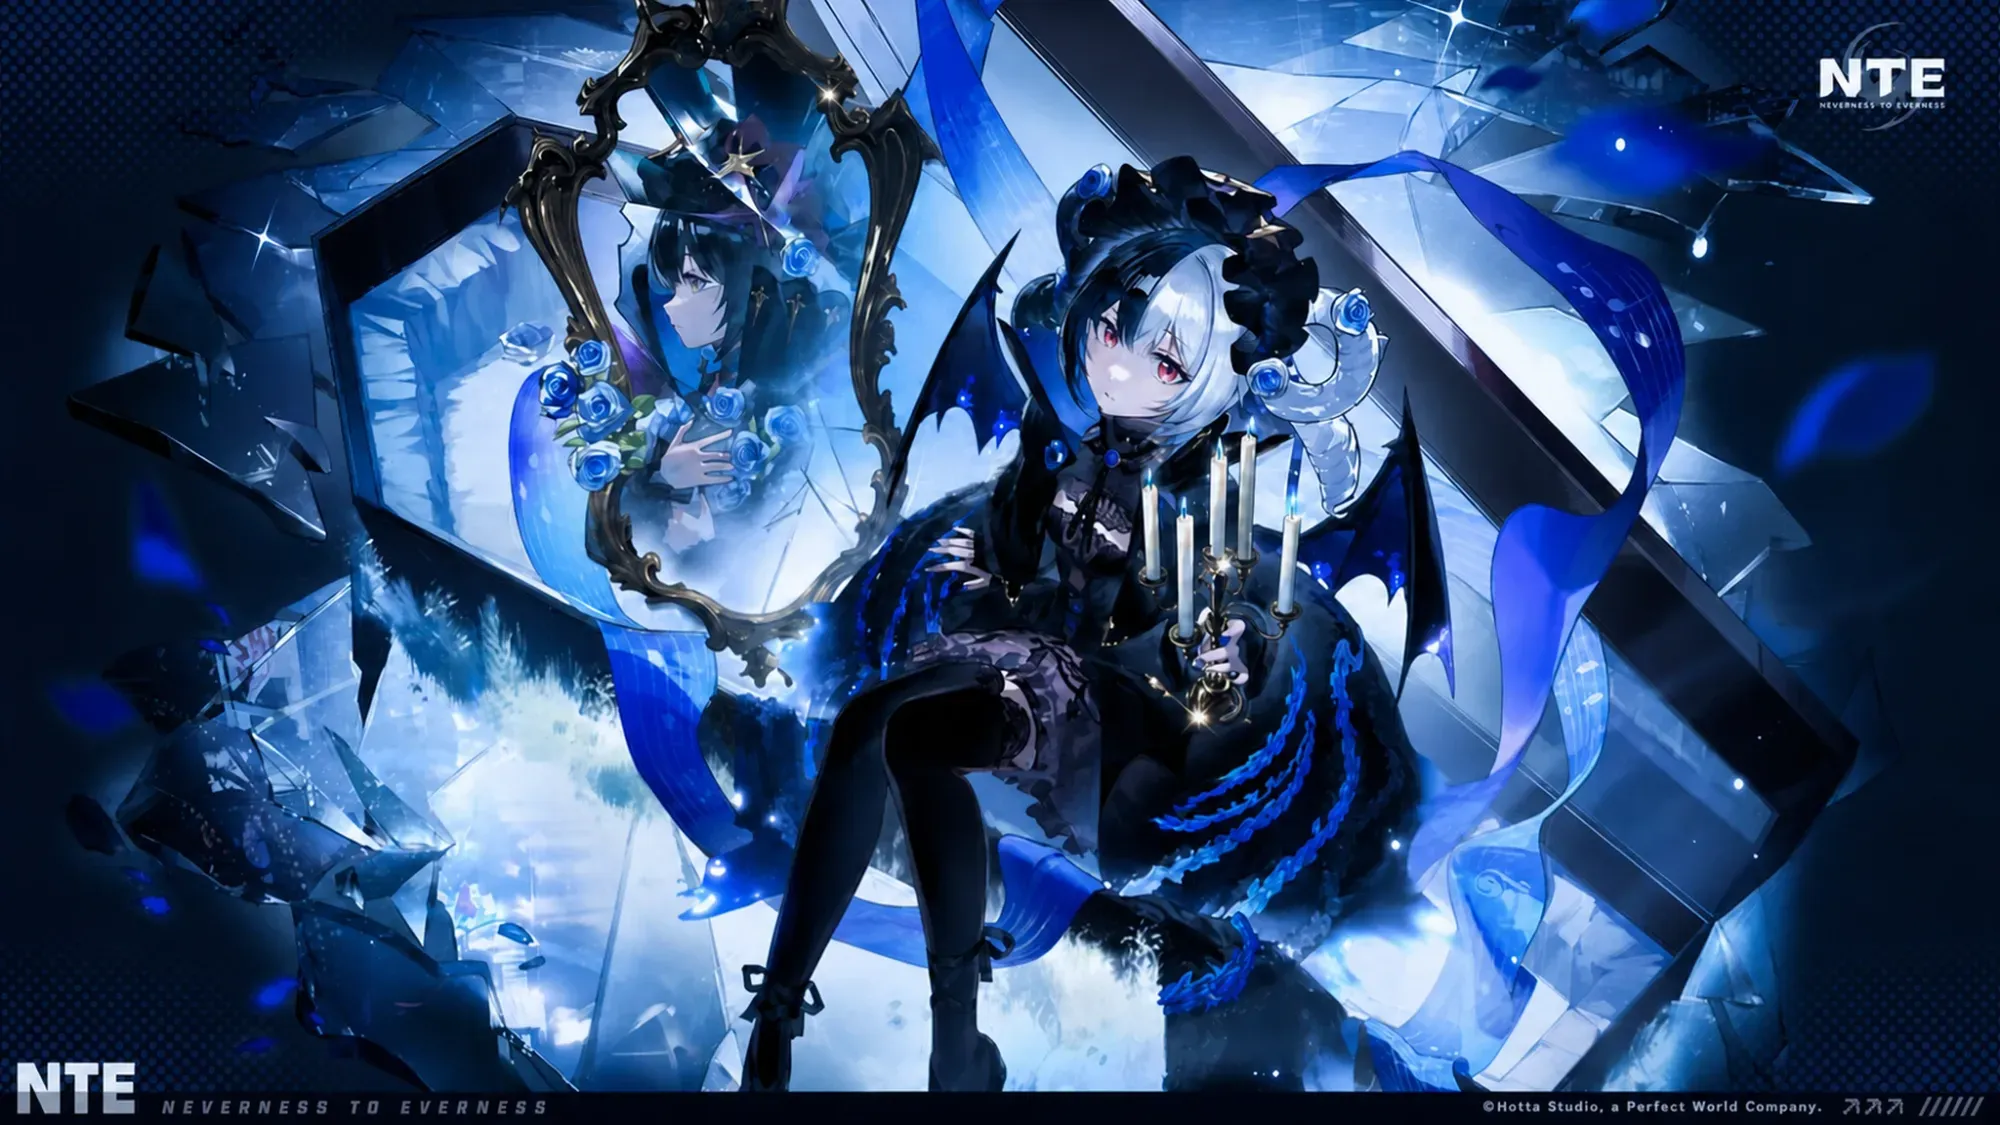
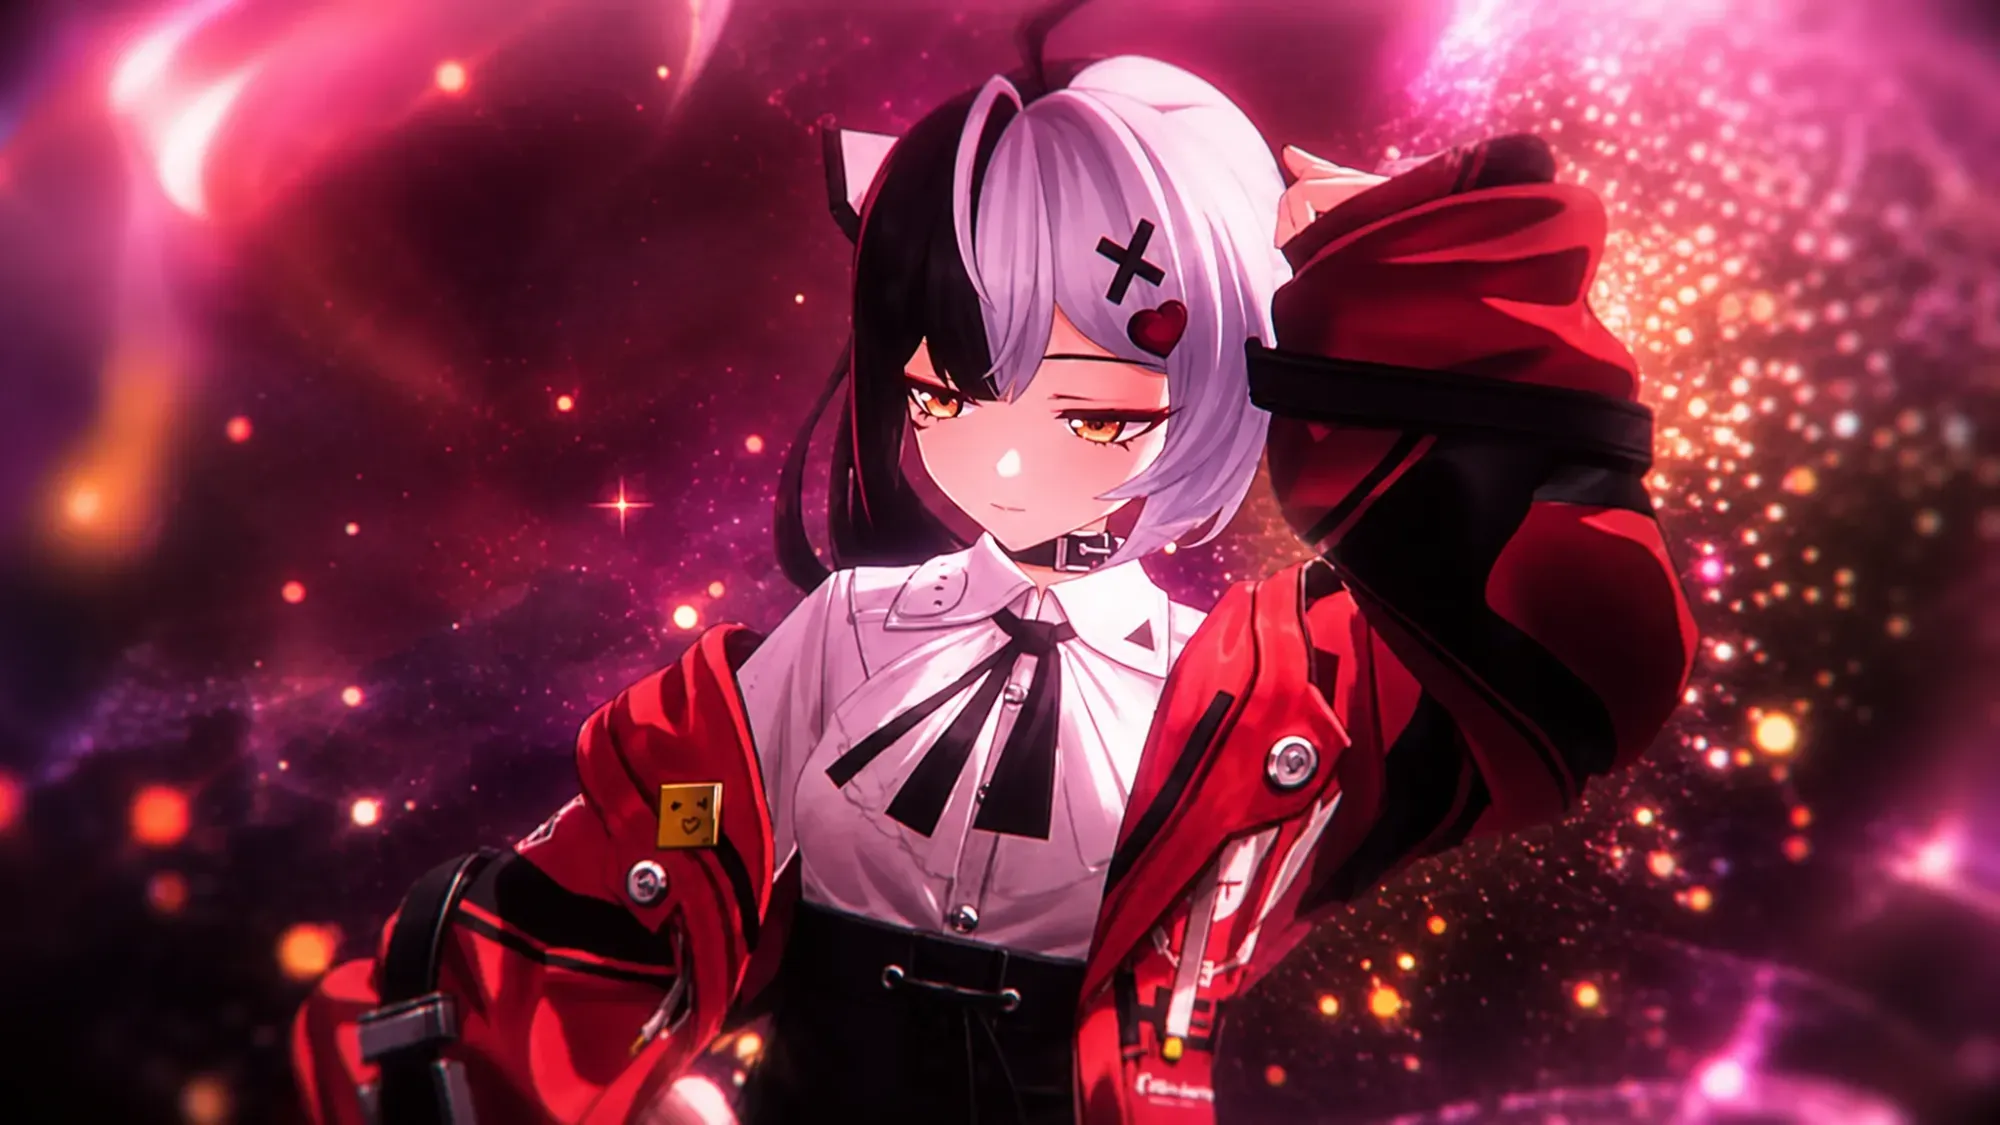
Lacrimosa headlines the first half of Neverness to Everness Version 1.1 as an S-Rank Chaos Main DPS built around stacking Nightmare and detonating it for damage over time. Her banner runs through June 24, 05:59 (UTC+8), so the decision in front of most players is simple. She fills a specific role, and whether you pull comes down to what your roster already has.
Lacrimosa banner period and where she fits
Lacrimosa is the Phase 1 limited character of Version 1.1. She is a Chaos (Dark) element unit with a Liquid Esper type, and she works as either a Main DPS or a Sub-DPS thanks to her Nightmare damage over time. Players who do not already have a Chaos carry get the most value here, since she anchors a full Dissonance damage core on her own.
| Detail | Value |
|---|---|
| Character | Lacrimosa |
| Rarity | S-Rank |
| Element | Chaos (Dark) |
| Role | Main DPS / Sub-DPS (Nightmare DoT) |
| Banner window | Through June 24, 05:59 (UTC+8) |
| Phase 2 | Chaos (S-Rank, Lakshana) — kit unconfirmed |
She also helps outside combat. A long press of the dodge button shifts her into a flight form that moves quickly across the map, which makes exploration faster. The flight drains stamina while active, so it is best used in bursts.
How Lacrimosa’s damage works
Her output revolves around Nightmare stacks. Normal attacks, her Skill, and her Ultimate all apply Nightmare, and once the stacks hit their cap they detonate for a large hit of area damage over time. Because Nightmare scales off her Basic Attack, that is the priority to level first, with her Skill and Ultimate close behind.
Two extra mechanics round out the kit. She can copy a non-boss enemy’s attack module by holding the Basic Attack button, temporarily fighting in their form, and she switches between a normal stance and a Bat / Doll Fiend stance. The normal stance builds stacks while the transformed stance delivers the burst. Her signature payoff is Tomato Banquet, which deals 400% of ATK in extra damage when Discord triggers on a target that is already Broken.
Best Lacrimosa teams
Lacrimosa wants a lineup that reliably triggers Discord, which means running a second Chaos unit alongside an Incantation and a Psyche character. The standard endgame comp pairs her with Daffodill for Break, Sakiri for grouping and control, and Fadia for healing and the Psyche slot.
| Team | Members | Why it works |
|---|---|---|
| Standard Dissonance core | Lacrimosa, Daffodill, Sakiri, Fadia | Two Chaos units keep Discord active; Daffodill shreds Break, Fadia heals and applies Psyche. |
| Passionate Combo | Lacrimosa, Baicang, Daffodill, Haniel | Swapping to Baicang during Bat Form fires an instant attack, a Power Word Silence, a super-jump, and a 20% team ATK boost. |
| Lower-cost option | Lacrimosa, Sakiri, Haniel, Adler | Adler’s shields raise survivability, but the team has no dedicated healer. |
If you already own Daffodill, the synergy is immediate. Their shared Discord setup lets Lacrimosa land Tomato Banquet’s bonus far more often, since Daffodill’s Blade Draw lowers the enemy’s Break cap and sets up the Broken window.
Should you get her Awakening and signature Arc?
The most impactful single Awakening is A6, Morning Spell. It lets Lacrimosa automatically cast her Support Skill and trigger the matching Esper Cycle without building Cycle Energy, which keeps team-wide reactions firing consistently. If you only plan to unlock one node, this is the one.
Beyond that, her Awakenings push Nightmare harder. A4 extends Nightmare duration, effectively doubling its damage, and A1 raises its multiplier. A5 stops Nightmare stacks from being cleared by healing. If you are stacking copies for personal damage rather than a cycle-focused team, the A4 + A1 + A5 path can outvalue A6.
| Priority | Awakening | Effect |
|---|---|---|
| 1 | A6 Morning Spell | Auto-casts Support Skill and triggers the cycle without Cycle Energy. |
| 2 | A4 Almighty Lord of Tomatoes | Extends Nightmare duration to 6s, roughly doubling its damage. |
| 3 | A1 Clock Out Clemency | +50% Nightmare DMG Ratio; pairs with A4. |
| 4 | A5 Tempered Glass Judgement | Stops Nightmare stacks from being removed by healing; cuts target Max HP. |
Her signature Arc, The Last Rose, is built for damage. It raises ATK by 14%, grants Chaos Thorn stacks that add CRIT DMG as she deals damage over time, and extends the Broken state of enemies. The buff is easy to keep up, so it is the strongest choice if you want to push her ceiling. If you skip it, Fluff of Fleetness is a solid free alternative that grants up to 25% ATK while she stays on the field.
Equipment and stat targets
For her Cartridge set, Diabolos is best. It adds 10% Chaos DMG and ignores 12% of enemy Chaos RES, rising to 24% for 20 seconds after she joins a Nova or Scorch reaction. That directly widens her burst windows. Shadow Creed is the backup, giving 25% ATK for 20 seconds after she casts a Skill.
Stat priority leans into Chaos damage and crit. Aim for Chaos DMG, then ATK, then Cycle Intensity, with CRIT following on main stats. Substats favor ATK%, universal DMG%, and Cycle Intensity before crit. Leveling her to 60 first unlocks the level cap and base panel.
Pull cost and the gacha system
NTE uses a board-style banner called Scarborough Fair with player-friendly rules. There is no 50/50, so hitting hard pity always gives you the featured limited character. Hard pity sits at 90 pulls, soft pity starts ramping at 70, every 10 pulls guarantees an A-Rank, and pity carries over between banners.
The worst-case cost for a single S-Rank is 90 pulls, around 13,500 Ethellite. Landing on a Rainbow Tile can hand you the character early and save pulls. If you want both Lacrimosa and the Phase 2 character, the theoretical maximum is 180 pulls, though carry-over and Rainbow Tiles usually bring the real number down.
Who should pull and who should wait
Pull Lacrimosa if you do not yet have a Chaos Main DPS, if you own Daffodill or her predecessor and want to raise your Dissonance damage ceiling, or if you enjoy timing form swaps for higher burst. She is a strong, immediately usable carry with a fully public kit.
Hold off if your team needs a healer or a control unit more than another damage dealer, if you already have a comparable Chaos carry and are low on resources, or if you prefer simple one-button clear characters. Players eyeing Phase 2’s Chaos may also want to save, since that kit is not yet confirmed and is worth waiting on until the official program airs before committing pulls.