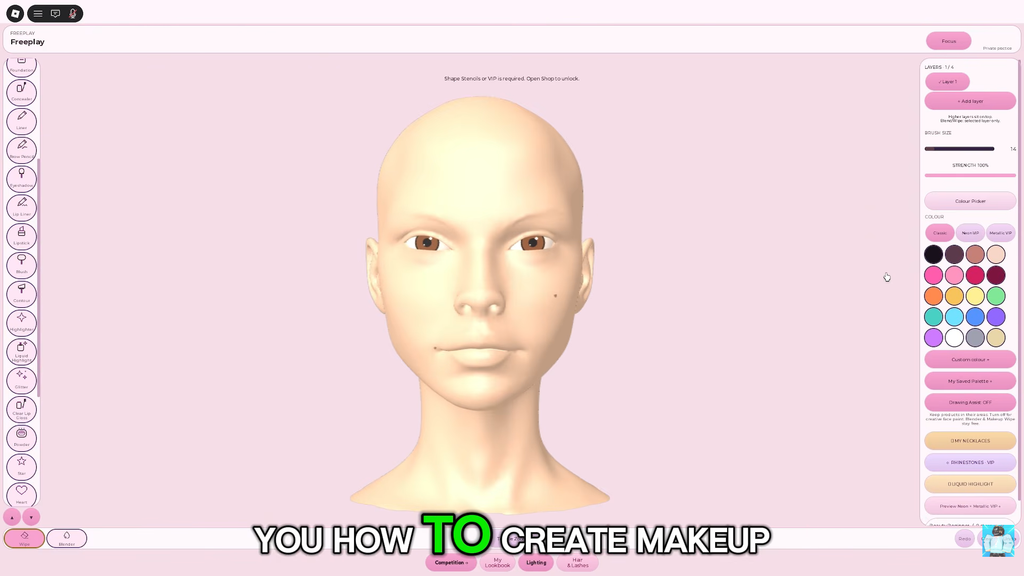
At the start of a Makeup Mania round, you face a blank avatar head, a theme prompt and a countdown. As many as ten stylists use the dressing room at once, all working from that same prompt. Build a complete makeup look, arrange the hair and 3D lashes, then take the catwalk while the others award between one and five stars. The tools allow precise control, but moving too quickly in your first round can leave paint smeared. Following a set order across the face helps prevent that.
Quick answer: Read the theme, set the skin tone and eye colour, then paint foundation, concealer, powder, brows, eyeshadow, blush, liner and lips in that order. Equip lashes and one hairstyle in Style Studio, then walk the runway to be voted on.
How a Makeup Mania round works
Each prompt uses the same sequence of rounds. A banner identifies the theme, such as Goth, Fairycore, Y2K or Clean Girl, and gives you about 300 seconds before the catwalk begins. The theme affects your palette and styling choices, but not the stages.
- The room receives a shared theme prompt.
- You paint the face on the vanity canvas.
- You equip 3D lashes and a hairstyle in Style Studio.
- The timer ends, everyone walks the runway, and the room votes.
Check the official Roblox place page to verify the game; it is hosted by the Make-up Mania! group. The experience remains in BETA, and its precise scoring formula has not been released. You can complete a round without a game pass because most items are free to equip.
If you see a Freeplay option, use it for your first pass. It joins a shared, untimed server for up to ten players with no runway and no reward, so you can learn where the controls are with nothing at stake. Save anything you want to keep to My Lookbook before you travel, because unsaved work does not come with you.
Set Mirror Mode, Undo and zoom before your first stroke
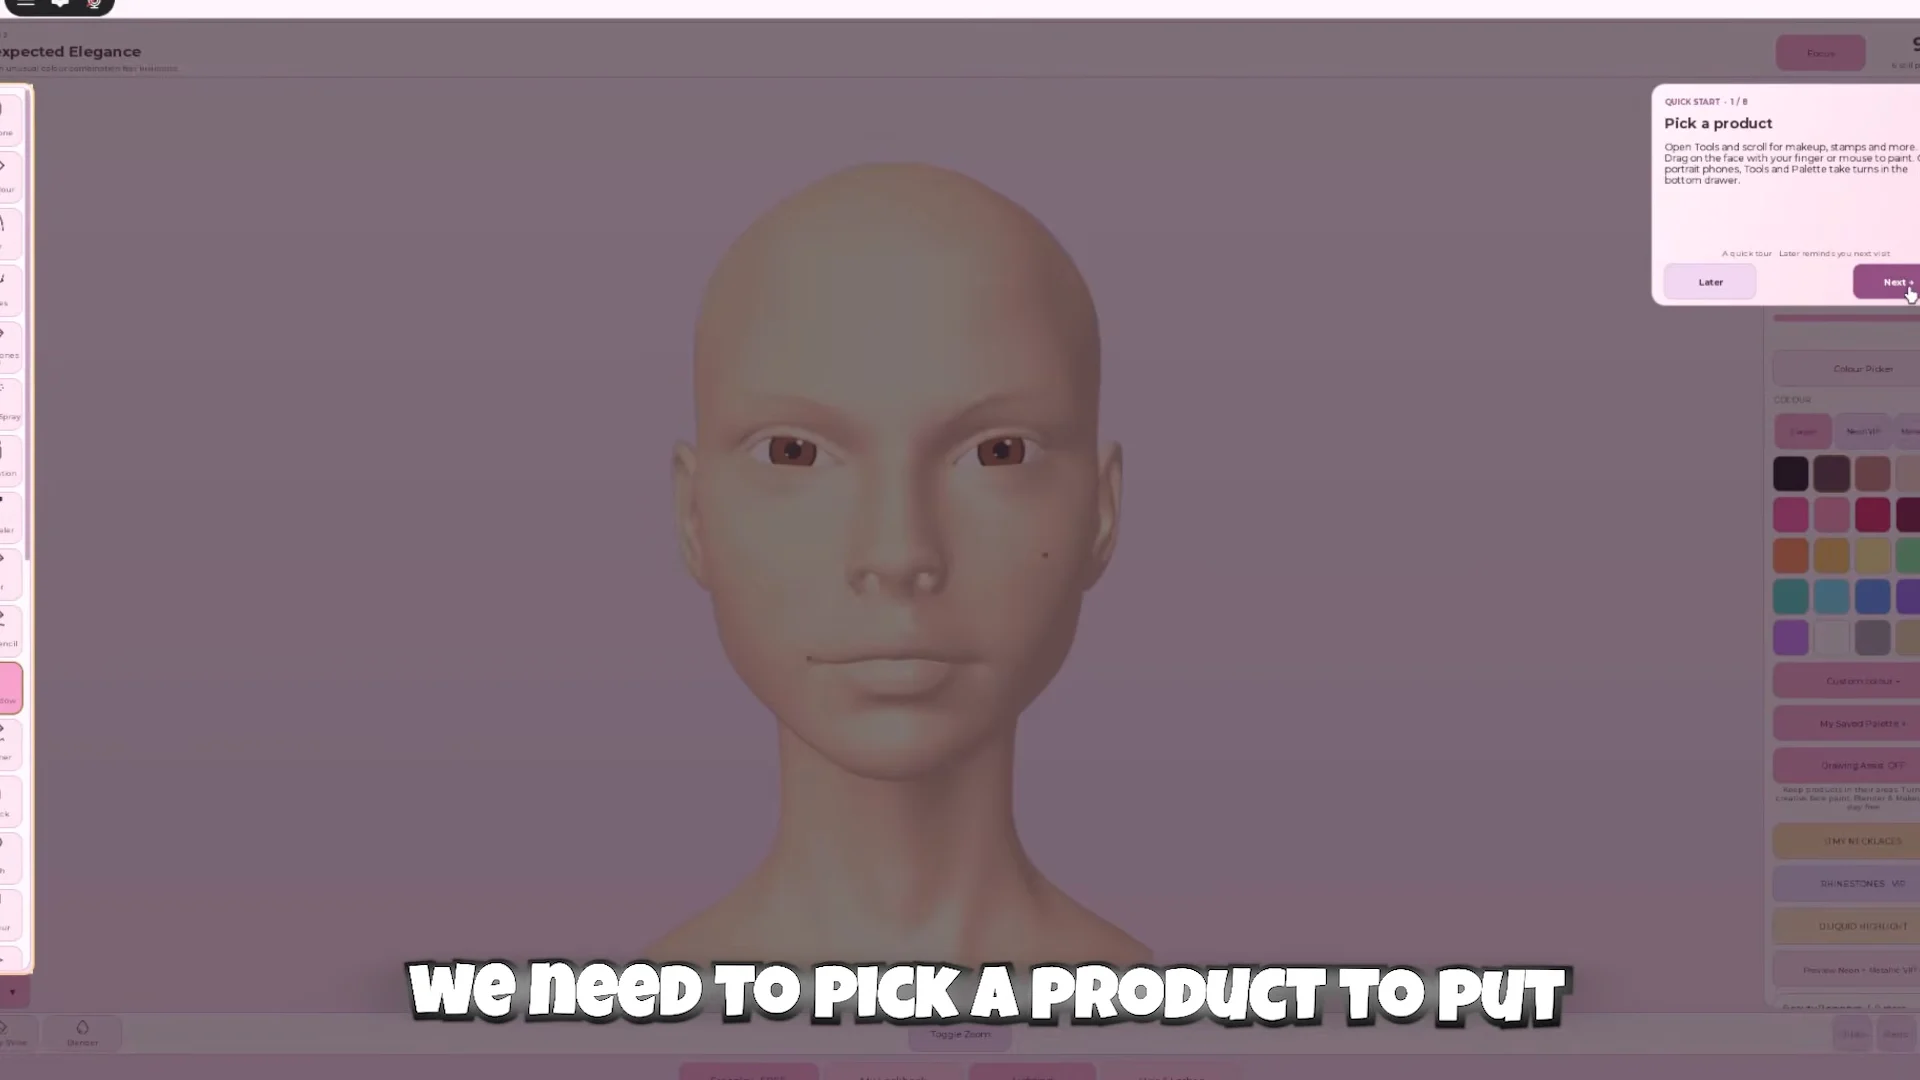
Three controls decide how smooth the round goes, so find all of them before you paint anything.
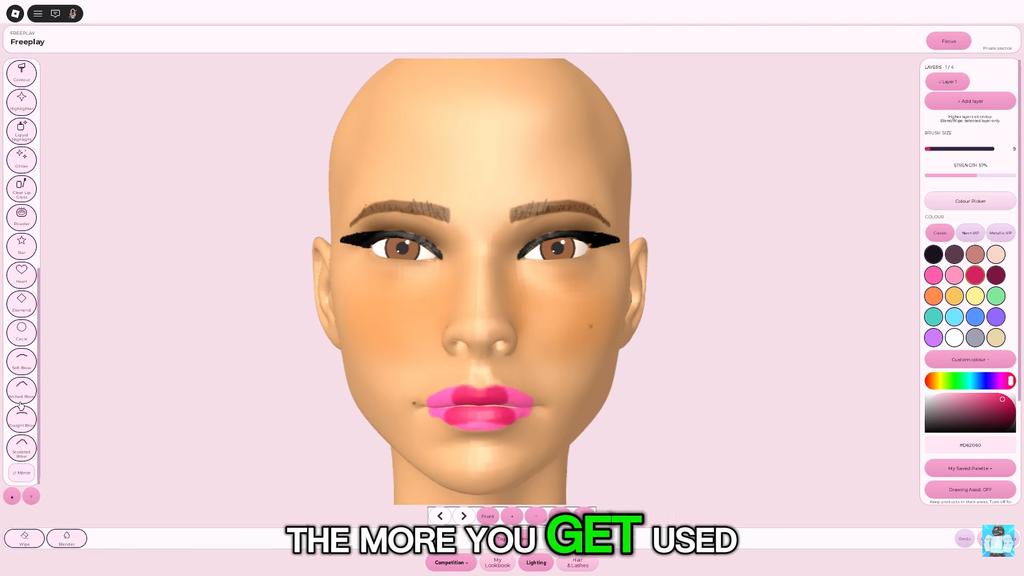
- Mirror Mode reflects each stroke onto the opposite side while you paint. Enable it for the eyes and brows, then work on just one side. Disable it when adding an asymmetrical accent, such as one beauty mark.
- Use Undo to reverse your most recent stroke; Clear removes everything from the canvas. Trying to cover an error manually with the opposite color leaves a muddy result.
- Toggle Zoom and the rotate arrows sit along the bottom edge. The default wide view makes fine work on the eyes and brows nearly impossible.
Set the skin tone and eye colour first
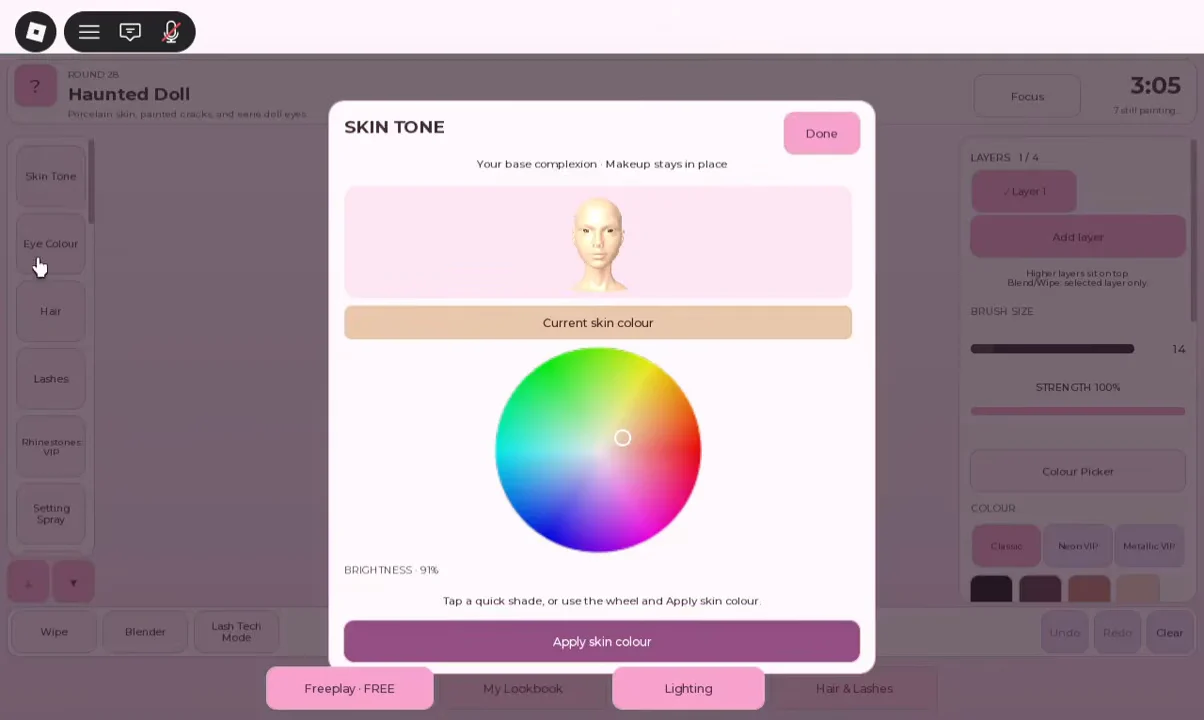
Before using a brush, choose both settings that affect the entire face. Open Skin Tone and sample several preset shades, or blend a custom one with the color wheel. If stage lights make the face appear too bright, lower the brightness slider. Skip intense pink and overly yellow shades, which can look radioactive on the runway. Press Apply skin colour to set your choice.
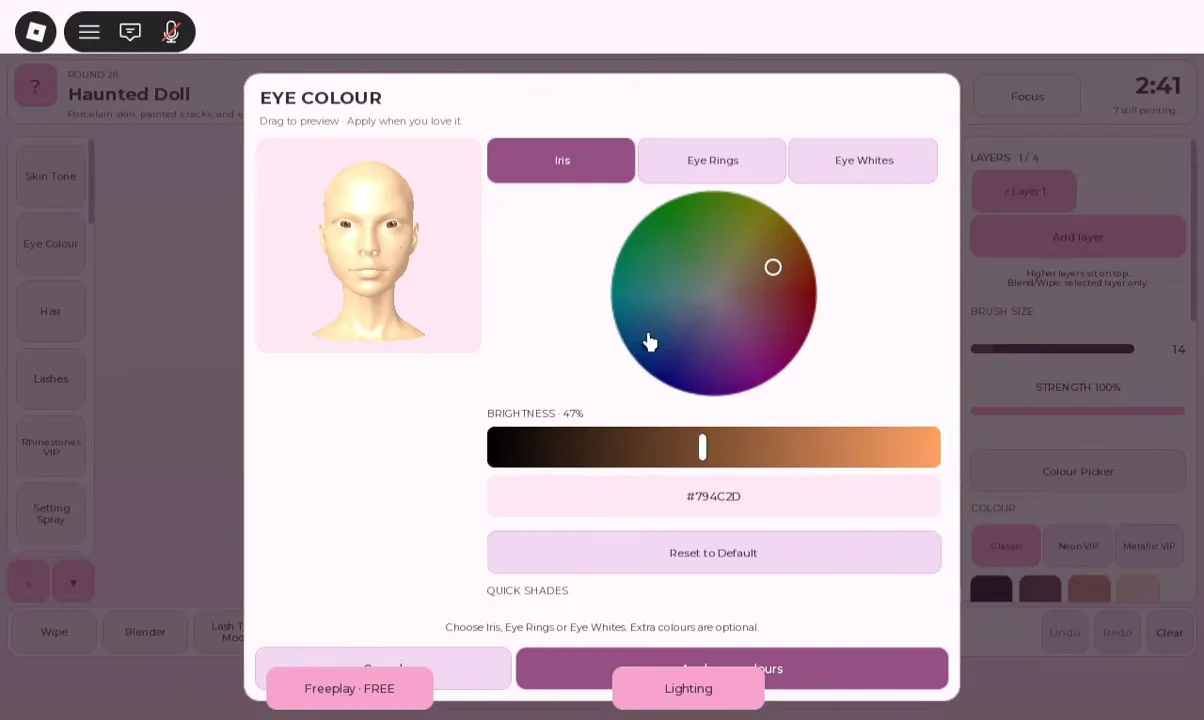
Choose the eye colour before moving on. Its panel lets you adjust the Iris, Eye Rings and Eye Whites individually with a color wheel and brightness slider. Preview shades by dragging until one suits the theme, then apply it; doing this first avoids having to repaint eyeshadow around the colour.
Build the base: foundation, concealer and powder
Finish the skin layer before adding any other color. Brows painted first will be covered when you apply foundation, forcing you to redo them. Set the brush size and strength for each tool before painting rather than building extra layers to fix a poor stroke.
| Step | Brush size | Strength | Where to apply |
|---|---|---|---|
| Foundation | Large | Highest | Whole face in a few broad strokes |
| Concealer | Very small | High | Under-eye, nose bridge, chin and spots |
| Powder | Medium | Light | Forehead and nose to kill shine |
For foundation, use a broad brush and set its strength to maximum to cover the face quickly. Choose concealer that matches the base, or is one shade lighter for a brighter effect, so it doesn’t appear as another color. Avatar skin has a glossy sheen that can reflect oddly beneath stage lights, so apply powder.
Paint brows, eyeshadow, blush, liner and lips
Voters read these details to recognise the theme, so apply them once powder is done. Follow this order.
Brows
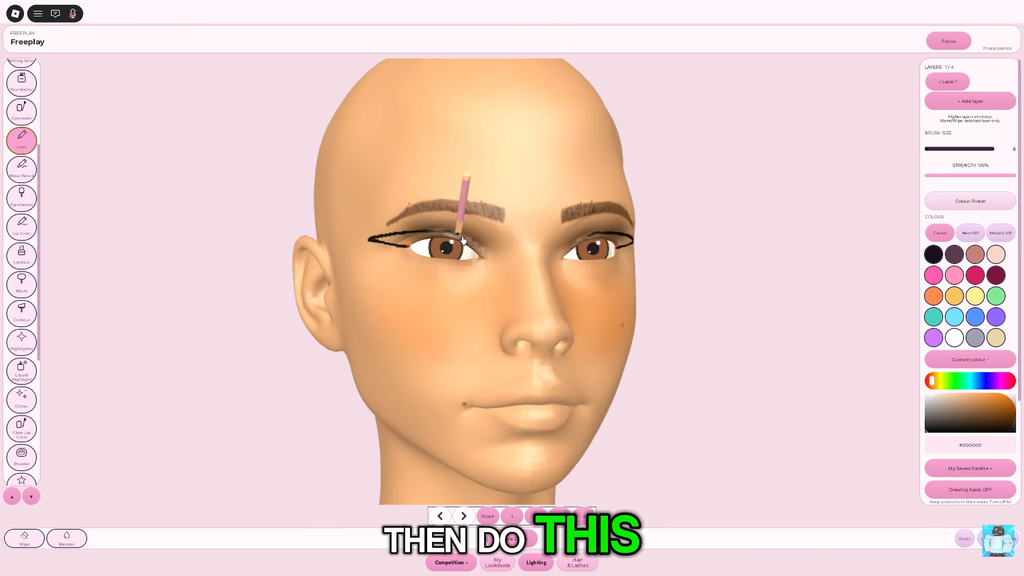
Switch Mirror Mode on to keep both arches balanced. Pick a soft brown or orange-brown with the colour picker instead of pure black for a natural base. Shape the brow with a medium brush around size 21, then make the brush smaller to sharpen its outline. For fine upward hairs, use a darker shade and the minimum size; increase strength slightly if the marks are hard to see. Using the minimum size for the entire brow leaves it too thin.
Eyeshadow and blush
Shade the outer boundary of the eye socket with a brush slightly wider than your hair-line setting. One crisp shade beats several blended-together layers, and if the color creeps up to the brow, undo it and redraw a tighter curve. Then add blush in a small patch on each cheekbone with a wider, airy brush. Pick a peach or soft pink and keep it off the nose, where lighting can make it look like a stain.
Liner
Turn the head to a side or three-quarter view before making the wing. A straight-on angle obscures the outer corner, which can make your stroke wobble. Use a small brush in black, or another color if the theme calls for it. Draw a flick from the corner toward the temple, then fill in the upper lash line. If the point looks blunt, undo the stroke and make a sharper one.
Lips
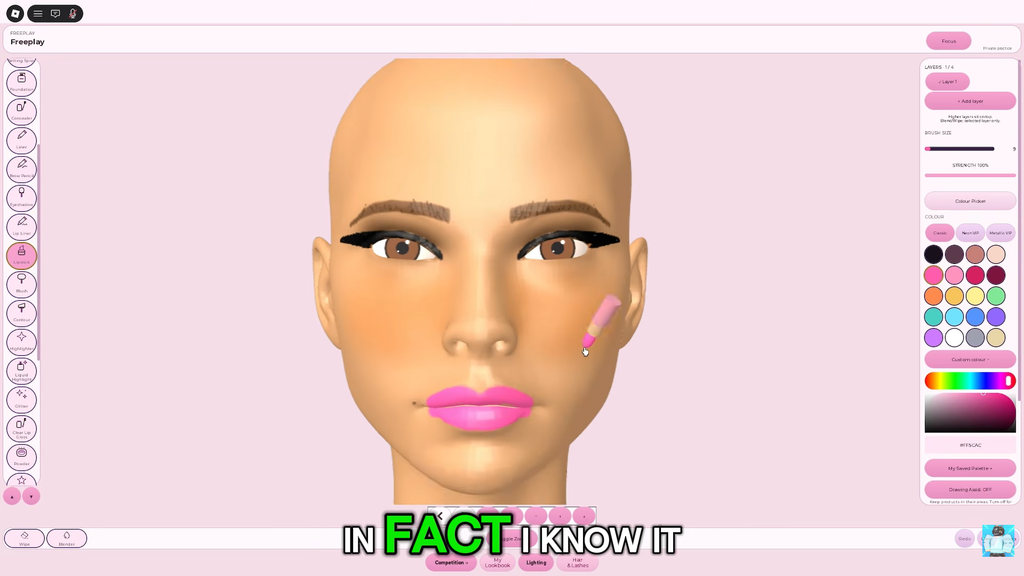
Outline and fill the lip shape with the theme’s main color at full strength. Then lower the strength, pick a deeper tint or a gloss highlight, and tap it along the inner center for depth. If that pass wipes out the lip edge, drop strength further and keep the second color in the middle. A simple two-tone gradient catches the runway lighting better than a flat single-color fill.
Add 3D lashes and hair in Style Studio
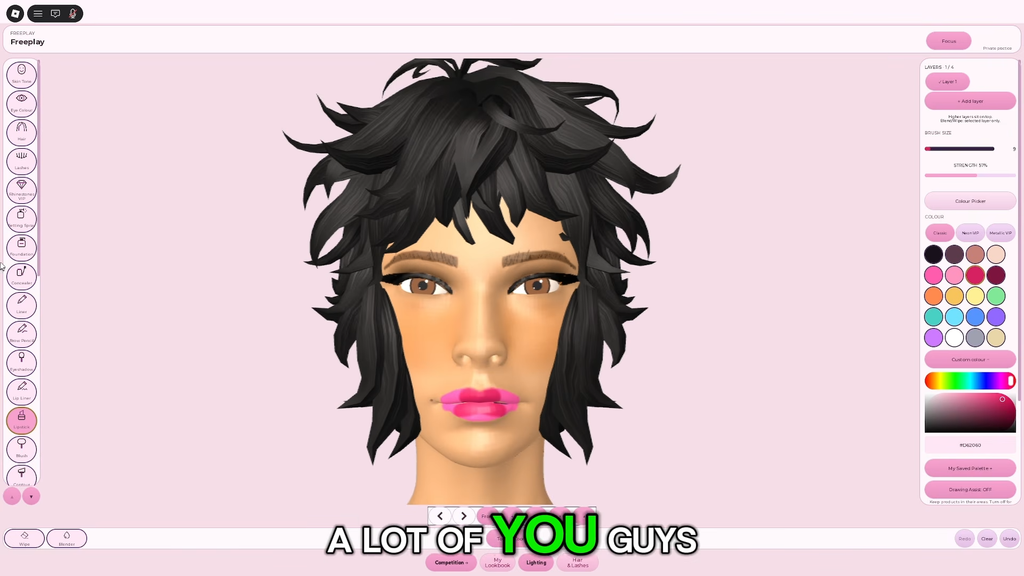
You can’t paint hair or lashes with a brush. Instead, try on or buy them through Style Studio, which opens apart from the makeup toolbar and has Hair, Lashes and Face Extras tabs. Using liner to draw lashes only adds more pigment to the skin.
Only one of the shared brow-and-lash accessory slots can be equipped at a time; choosing one removes the other. For a brow-focused theme, keep the brows, and for an eye-focused look, choose lashes. When both are needed, draw the brows with the brow pencil and equip the lashes.
Walk the runway and read your votes
A round ends once the styling window shuts, your avatar takes the catwalk, and other players submit star ratings. For the first couple of seconds, the runway camera stays close to your face before widening its view. As you enter, use a face-forward or close-up pose to display the eye details. While time remains, turn the model through the Lighting Studio presets and correct anything washed out with powder or Undo.
A finished simple look scores higher than an ambitious one left half-done, so commit to one strong design. Read the number you get, change one thing next round, and your results get steadier from there.
Beginner mistakes that cost votes
| Mistake | Do this instead |
|---|---|
| Picking colors before reading the theme | Read the banner first, then build the palette around it |
| Using a small brush for foundation | Widen the brush and max out strength for the cover pass |
| Drawing both brows by hand | Turn Mirror Mode on and paint one side |
| Painting over a bad stroke | Remove the wing or arc with Undo as soon as it goes wrong, then draw it again. |
| Drawing lashes with the liner | Equip lashes from Style Studio after the paint is done |
| Picking hair before lips are finished | Finish the full face, then do one hair try-on |
| Chasing ten eyeshadow shades | Lock one core theme color early, save time for hair and lashes |
| Leaving Mirror Mode on for a beauty mark | Toggle it off before any one-sided detail |
Practice several rounds in Freeplay to find suitable brush sizes and strengths for each facial area before joining a timed room. Set the base and eye colour early, enable the mirror for symmetrical details, and reserve enough time to add lashes and a hairstyle before the runway begins.