Gaming Guide

Marvel’s Wolverine: How to Beat the Sentinel Prototype Boss

Every phase of the Sentinel Prototype fight, from the hangar arm panels to the core extraction and Trask's meltdown.

Every phase of the Sentinel Prototype fight, from the hangar arm panels to the core extraction and Trask’s meltdown.

The Sentinel Prototype is the first time Insomniac’s Wolverine goes up against something he cannot simply claw to death. Bolivar Trask introduces the machine over an intercom as “humanity’s protector and mutantkind’s extinction,” and it fights like a set piece rather than a normal enemy: fixed weak points, scripted hazards, and button prompts that gate every phase change. Mystique starts the fight with you, Sabretooth joins halfway through, and the whole thing ends with Logan’s flesh burned off his adamantium skeleton.

Quick answer: Shred the glowing orange panels on both arms until the Sentinel reports “Defenses impaired,” then clear the QTE prompts on its shoulder joints, faceplate, and chest to tear out the core.


The one rule that governs the whole Sentinel Prototype fight

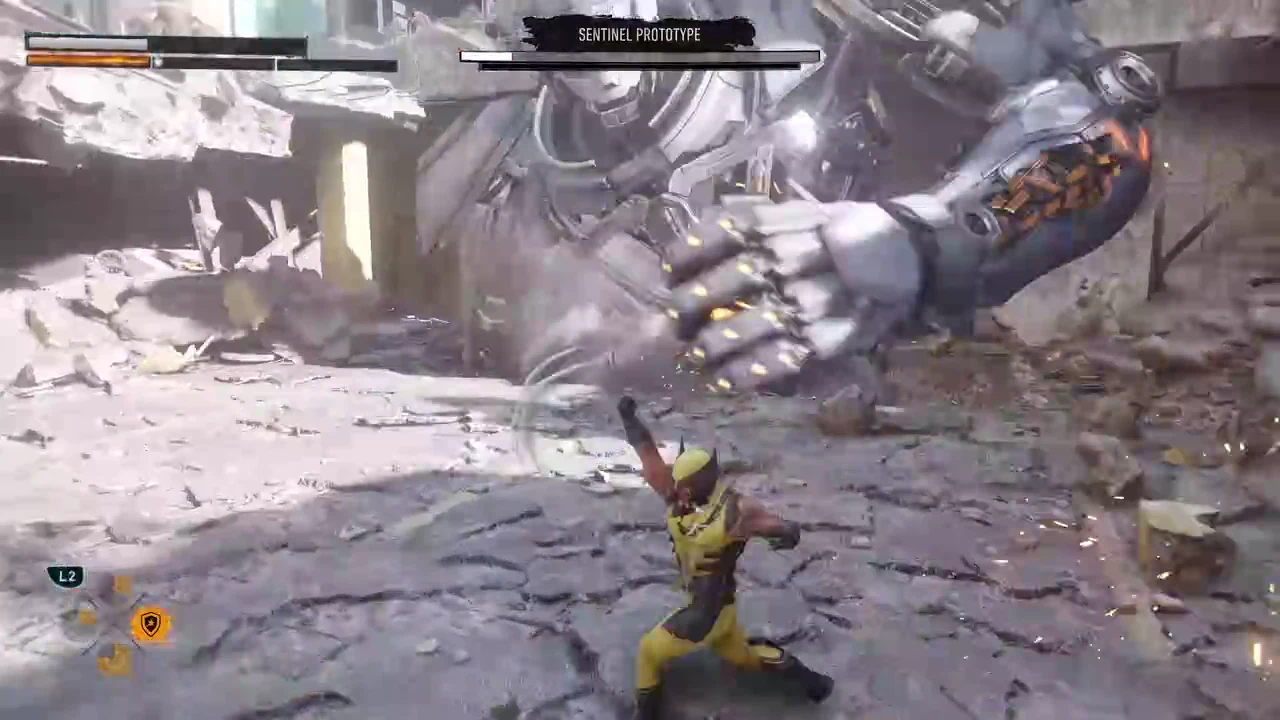
The Sentinel’s health bar is not the thing you are managing. The arms are. Each arm carries a cluster of glowing orange panels, and those panels are the only surfaces that take meaningful damage. Cut through one and the robot announces “Panel failure”; strip enough of them and it follows with “Defenses impaired,” which is your cue that it is open for a climb.

Everything else the machine does exists to keep you away from those panels. Fist slams, ground sweeps, floor fire, eye lasers, and later missiles are all area denial. None of them need to be countered cleverly. They need to be walked out of, and then you go straight back to the arm you were working on.

This encounter has been shown from an early build of the game, so exact prompt icons and panel counts can shift in the shipping version. The structure of the fight is what matters here.


Sentinel Prototype attacks and how to answer them

AttackTellResponse
Fist slamArm raises over a single spotDash sideways, then punish the arm
Arm sweepArm drags across the floorMove out of the arc, do not block
Floor fireOrange tiles light upLeave the marked tiles before they blow
Eye lasersEyes glow redKeep moving laterally; beams track slowly
Missile lock“Locking-on target” plus floor circlesStep off every circle immediately
Energy blast“Preparing countermeasures”Get behind hard cover

A slammed arm is an invitation, not just a threat. When the Sentinel drives a fist into the ground and leaves it there, that arm becomes a ramp you can run up to reach the shoulder joint.


Phase 1: Stripping the arms inside the hangar
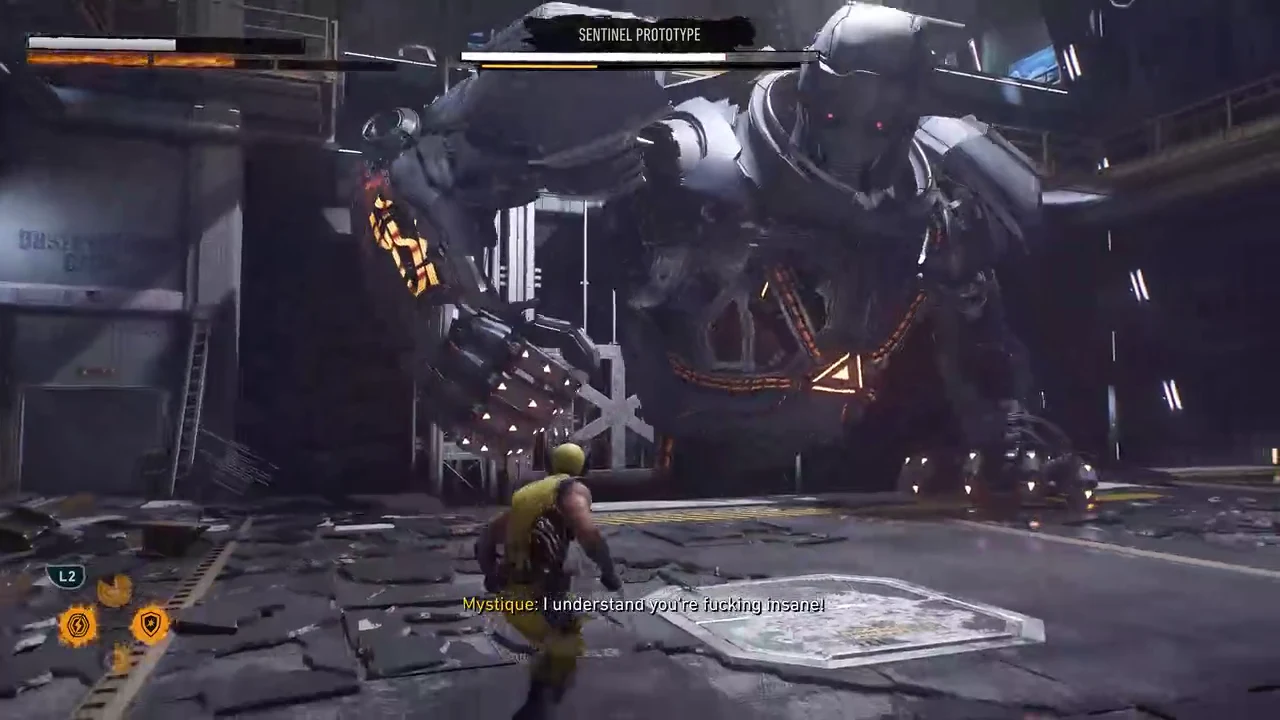
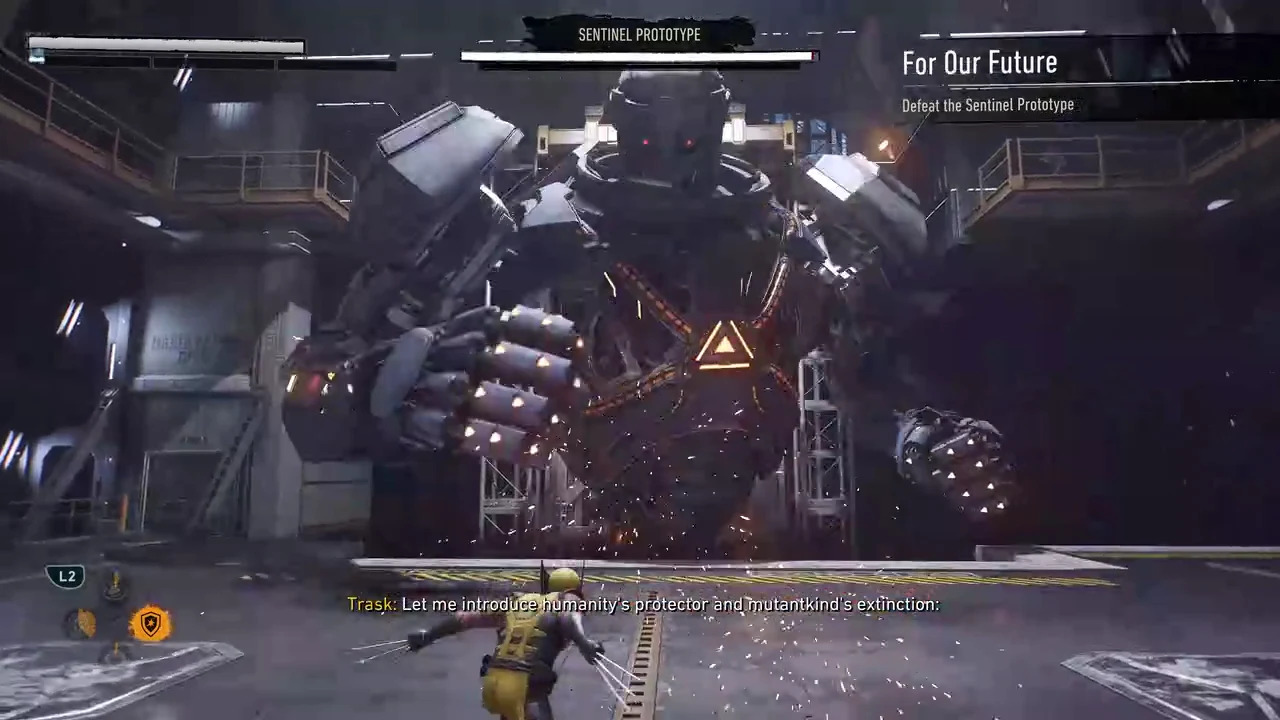
The fight opens in a dark hangar with the objective “Defeat the Sentinel Prototype” on screen. Close the gap immediately and start slashing the lit panels on the left arm. Trask talks over you the entire time, so ignore the dialogue and watch the arm.
Wolverine tearing into the Sentinel Prototype's lit arm panels with the boss health bar on screen
The orange arm panels are the only part of the Sentinel that takes real damage. Image: Insomniac Games
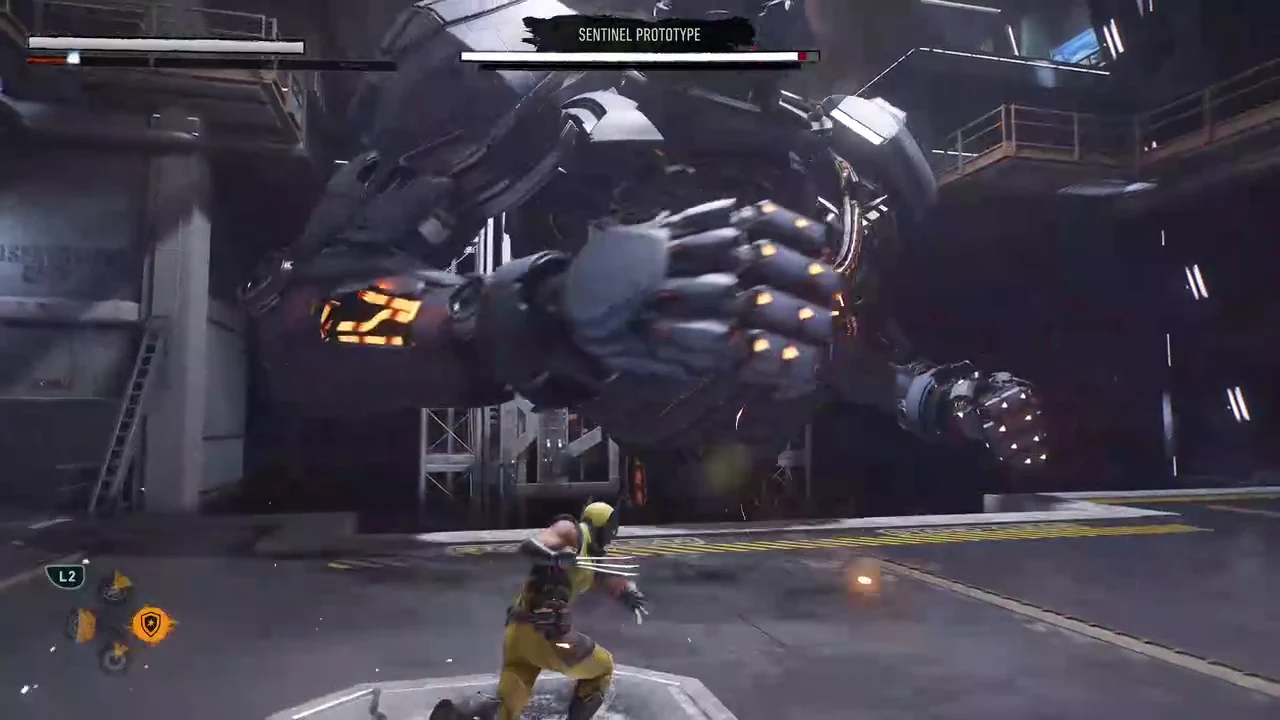
When the machine starts slamming and sweeping, break off and reposition instead of trying to trade hits. The sweep covers a wide arc across the arena floor, and there is no reward for standing in it.
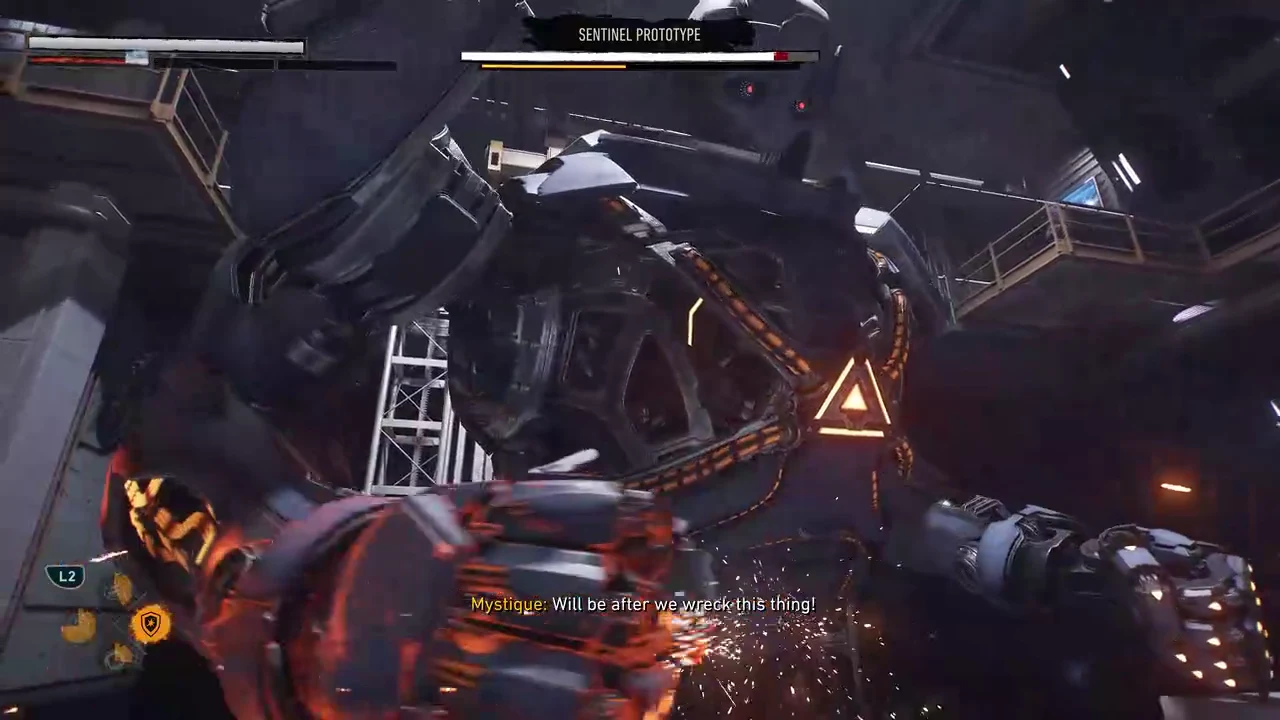
Watch the floor. Tiles light up with orange warning markers and then erupt in fire a moment later, so treat any marked tile as already on fire and clear it early. The same logic applies when the eyes glow red and twin beams start tracking you.
Wolverine circling the Sentinel Prototype as its eye beams sweep the hangar floor
Eye lasers track slowly, so constant lateral movement beats them. Image: Insomniac Games
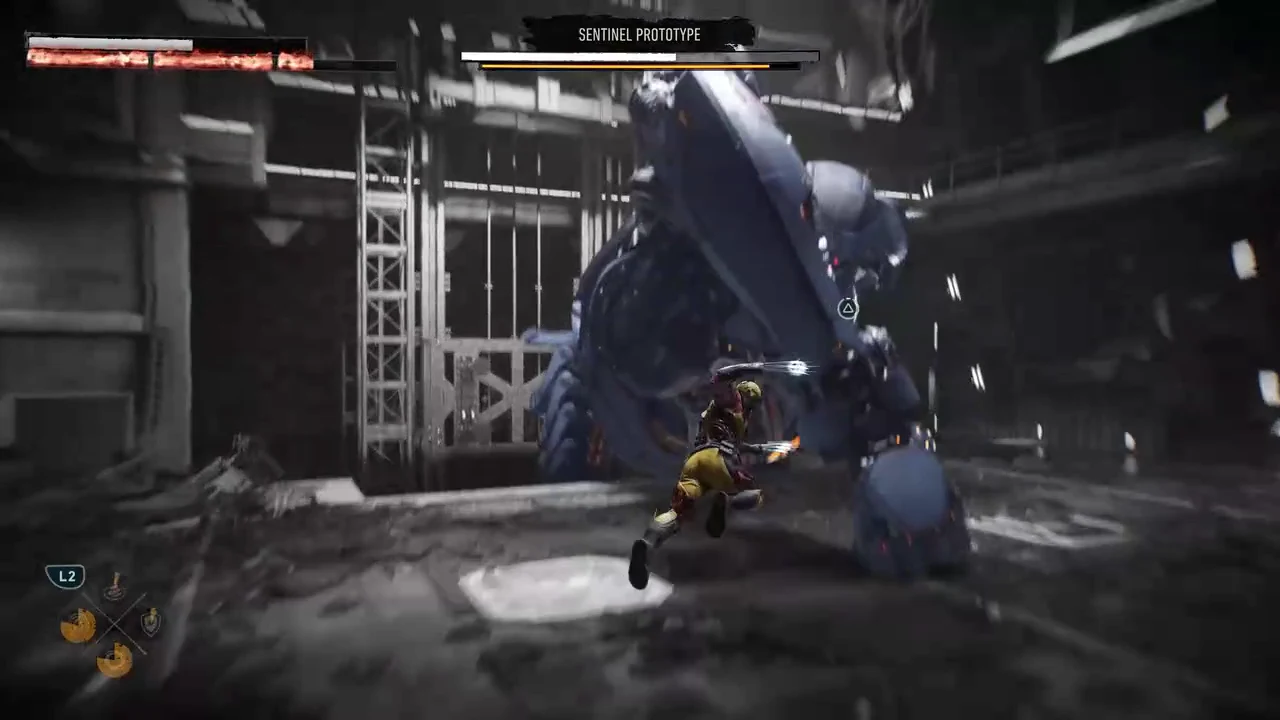
Once the first arm is compromised, swap to the opposite arm and repeat the process. Mystique calls out “Watch the eyes” during this stretch, which is a reliable warning that a laser pass is coming.
Wolverine attacking the Sentinel Prototype's second arm at close range
Switch arms once the first set of panels fails. Image: Insomniac Games
After the Sentinel plants an arm on the ground, run up it and go to work on the shoulder joint. The game throws L2 and R2 prompts at you here; land them and Logan rips the arm clean off, sending the machine through the hangar wall.
A button prompt appears as Wolverine stabs the Sentinel Prototype's shoulder joint
Climbing the planted arm triggers the shoulder-joint prompts. Image: Insomniac Games

Phase 2: The street fight with Sabretooth and the Reavers

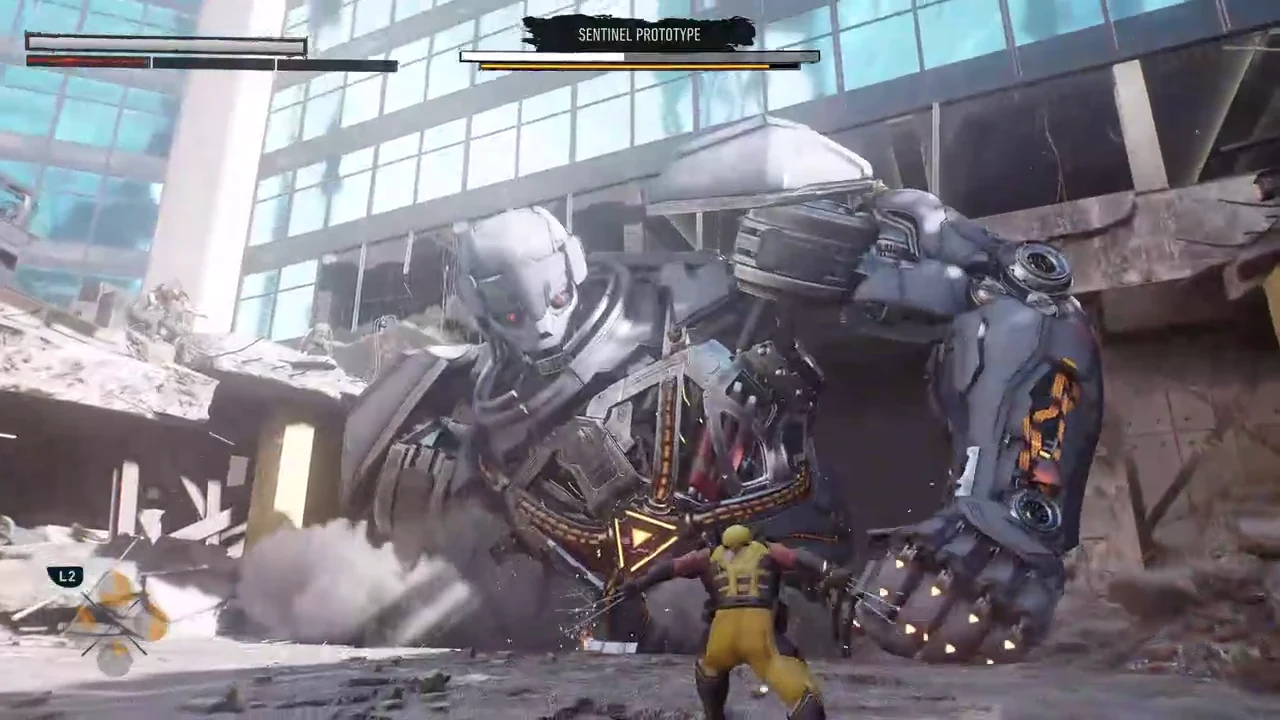
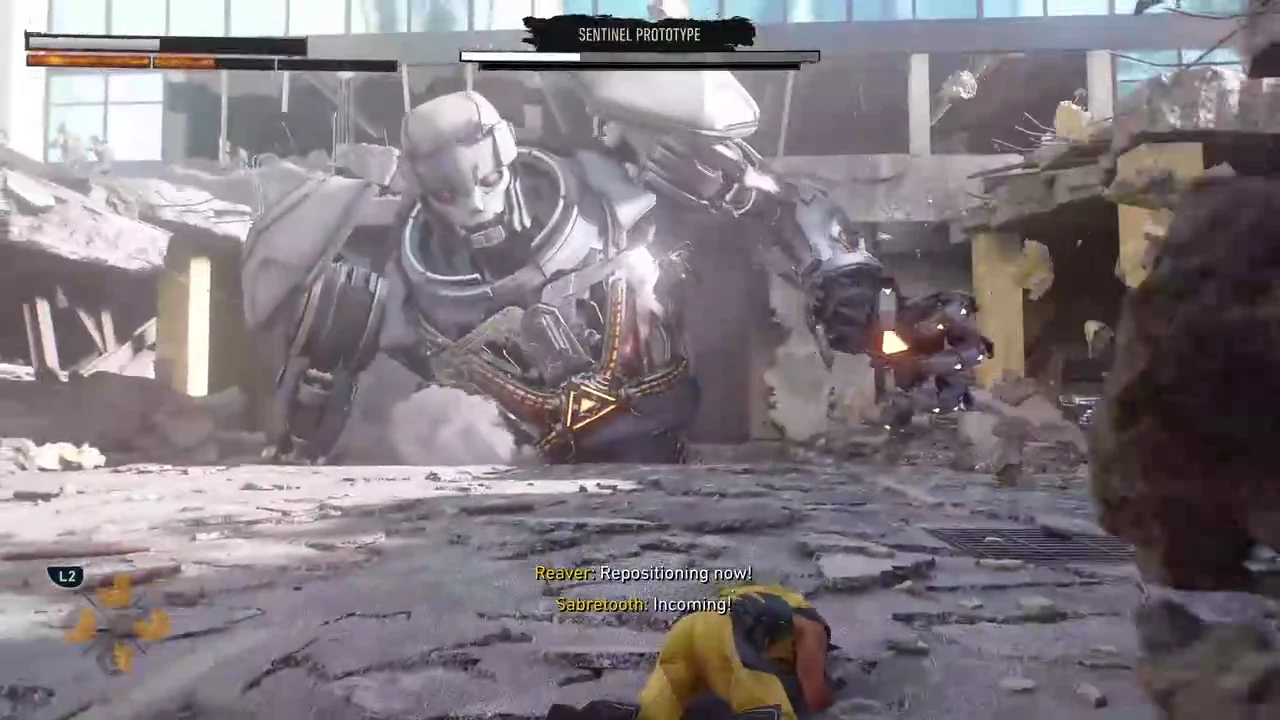
The facility collapses and the chase spills out onto a ruined street. The Sentinel grabs both Wolverine and Mystique before Sabretooth drops off a building onto its head and frees them, which turns the encounter into a three-mutant brawl.
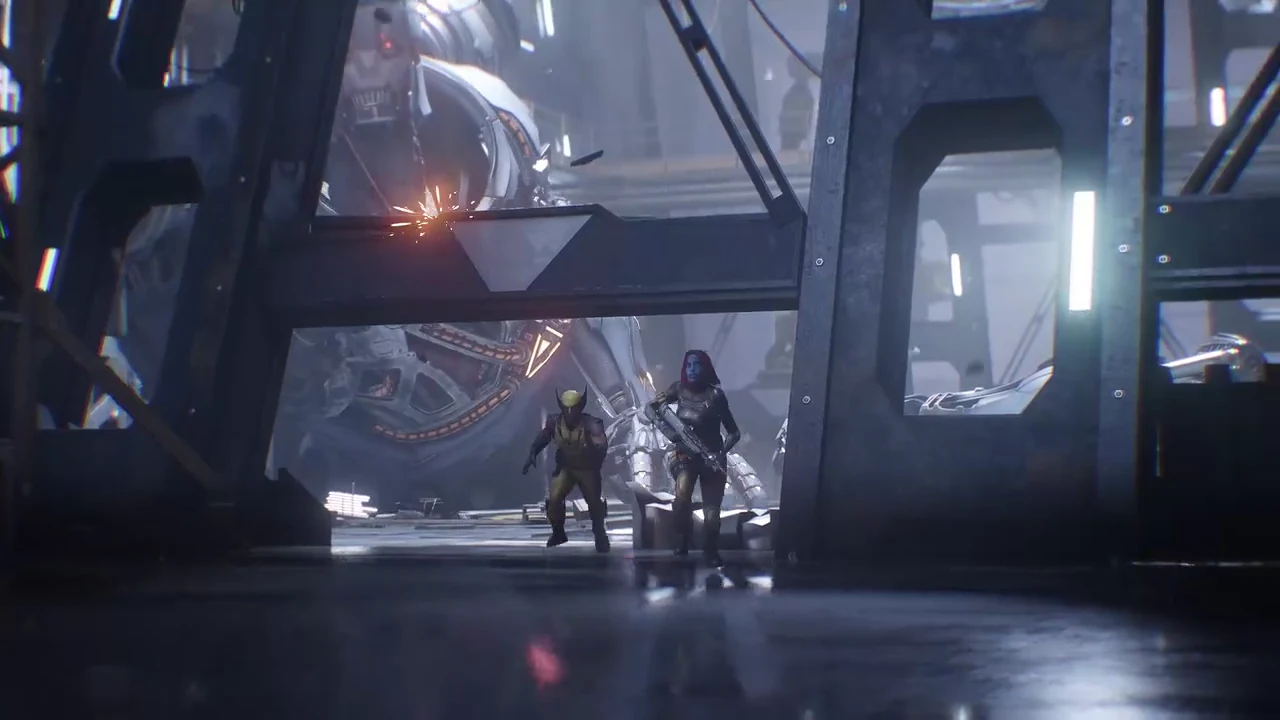
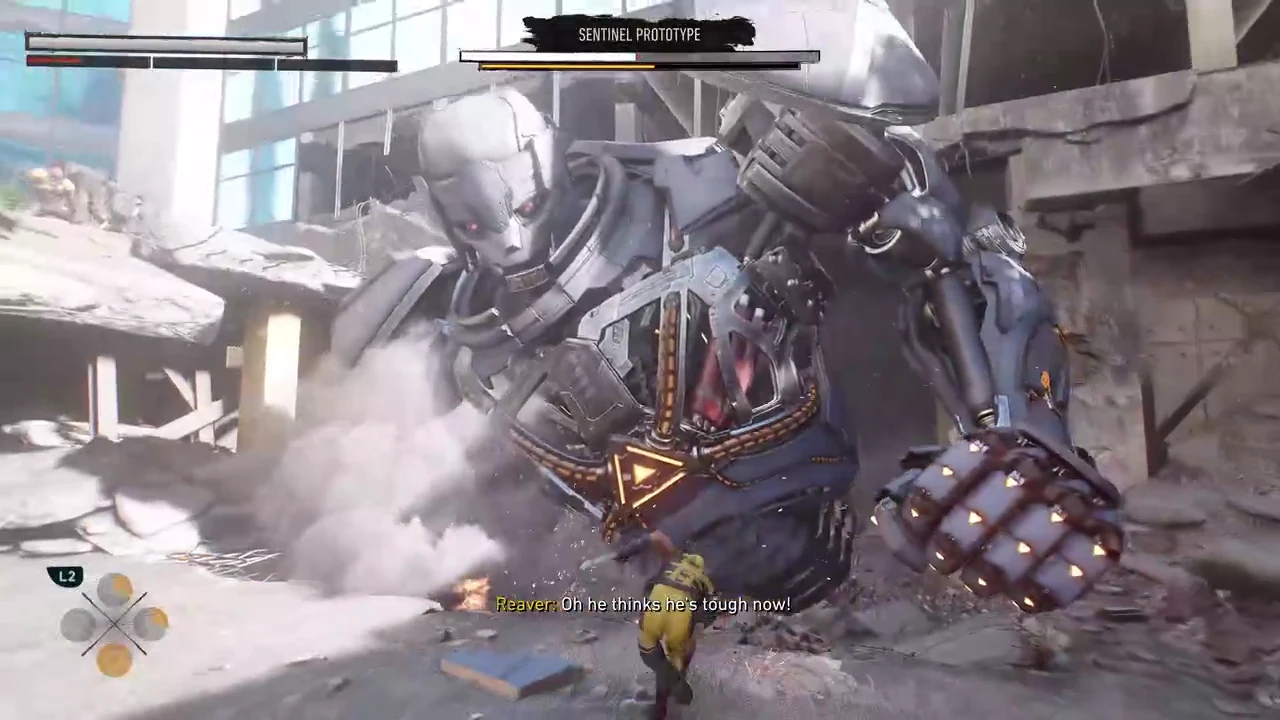
Wolverine and Mystique escaping the collapsing facility into the street
The hangar collapse pushes the fight outdoors. Image: Insomniac Games
Restart the panel routine on the arm that is still intact. Mystique spells it out with “Gotta lose the other arm,” and nothing about the weak points changes outdoors.
Trask sends in Reavers, who open fire while the Sentinel paints missile targeting circles on the ground. Hand the Reavers to Sabretooth when he offers and keep your own attention on the arm, because the ground hazards punish you far harder than the gunfire does.
Reavers firing during the Sentinel Prototype fight with an L2 prompt on screen
Reaver reinforcements arrive while the Sentinel calibrates missiles. Image: Insomniac Games
Finish the last arm panels to trigger “Defenses impaired” again. This is the state the rest of the fight depends on, so do not stop halfway to chase Reavers.
Wolverine in his yellow suit destroying the Sentinel Prototype's remaining arm panels
Clearing the remaining panels disables the Sentinel’s defenses again. Image: Insomniac Games
When the machine announces it is preparing countermeasures, get behind the truck Sabretooth flips over. That blast is the one attack in the fight you cannot simply sidestep, and the cover is placed for you.
Wolverine sliding behind a flipped truck as the Sentinel Prototype charges an energy blast
The flipped truck is the only cover that stops the charged blast. Image: Insomniac Games
Take Sabretooth up on the fastball special. He hurls Logan straight at the Sentinel’s head, where R2 and L2 prompts let you carve up the faceplate and dig into the eye socket before you drop back to the street.
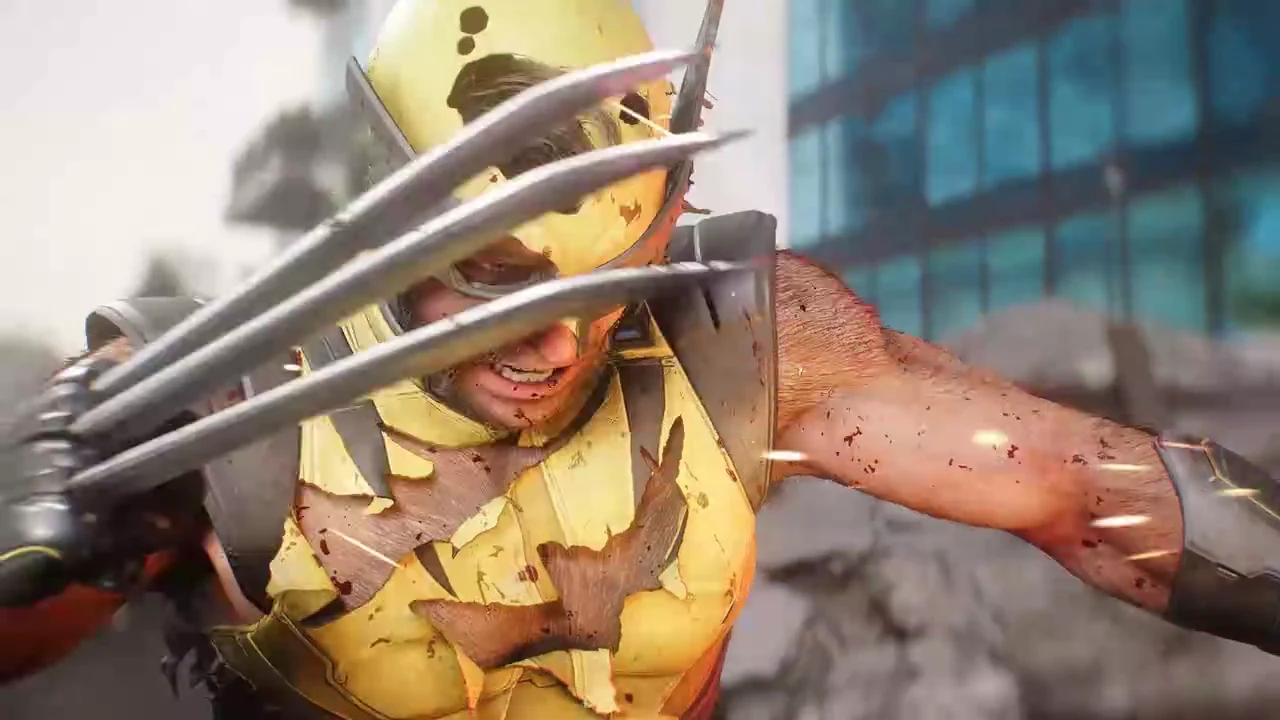
For the final stretch, build Rage and let the glowing blue claws do the work on whatever panel is left. Rage turns a slow chip-away into a few seconds of shredding, which matters because the Sentinel is cycling countermeasures the whole time.
Wolverine's claws glowing blue with Rage during the final phase of the Sentinel fight
Rage-fueled claws cut through the last panel quickly. Image: Insomniac Games

Ripping out the core, and how the fight actually ends

With the arms gone and the head wrecked, Logan leaps onto the Sentinel’s chest, drives his claws into the eye, and tears the central core out of the machine. A prompt appears directly on the chest for the extraction, so there is no ambiguity about where the finisher goes.
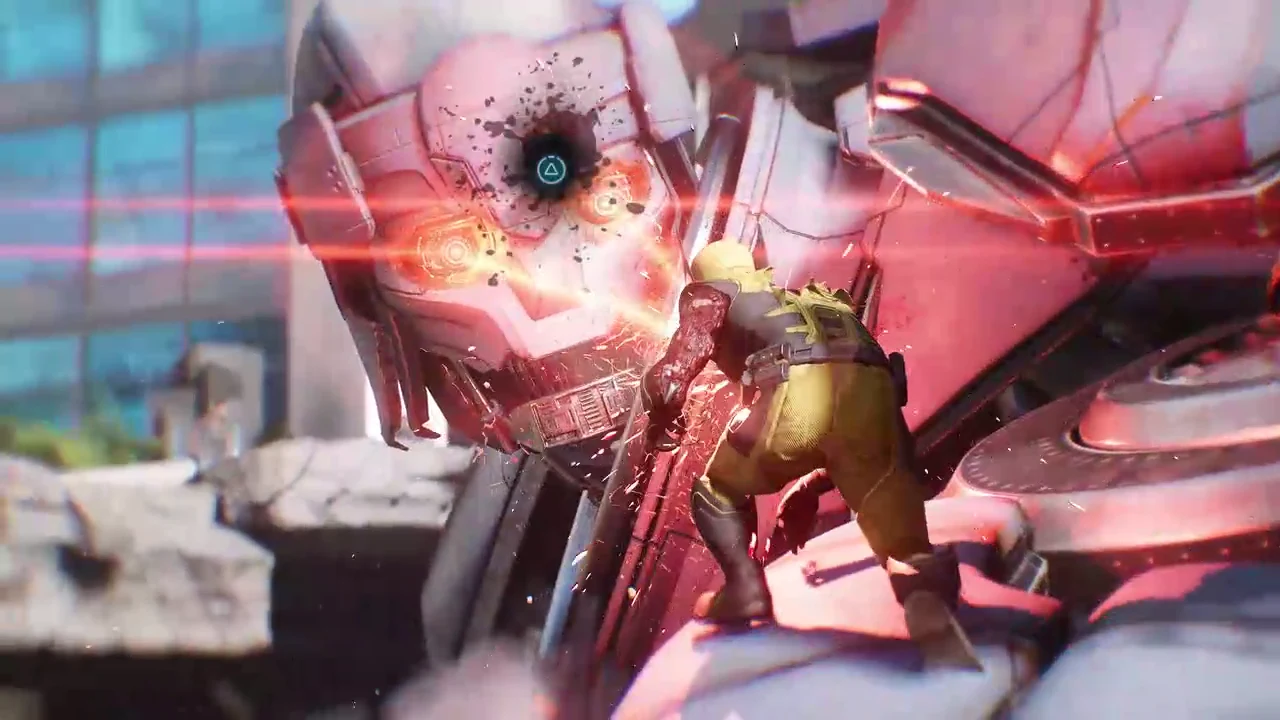
A quick-time prompt on the Sentinel Prototype's chest as Wolverine reaches for the core
The chest prompt starts the core extraction. Image: Insomniac Games

Killing the robot does not end the sequence. Trask, watching from a control room on a monitor, taps his tablet and triggers a core collapse rather than let the prototype be salvaged. The machine warns that a core collapse is imminent while Mystique and Sabretooth shout at Logan to pull back.
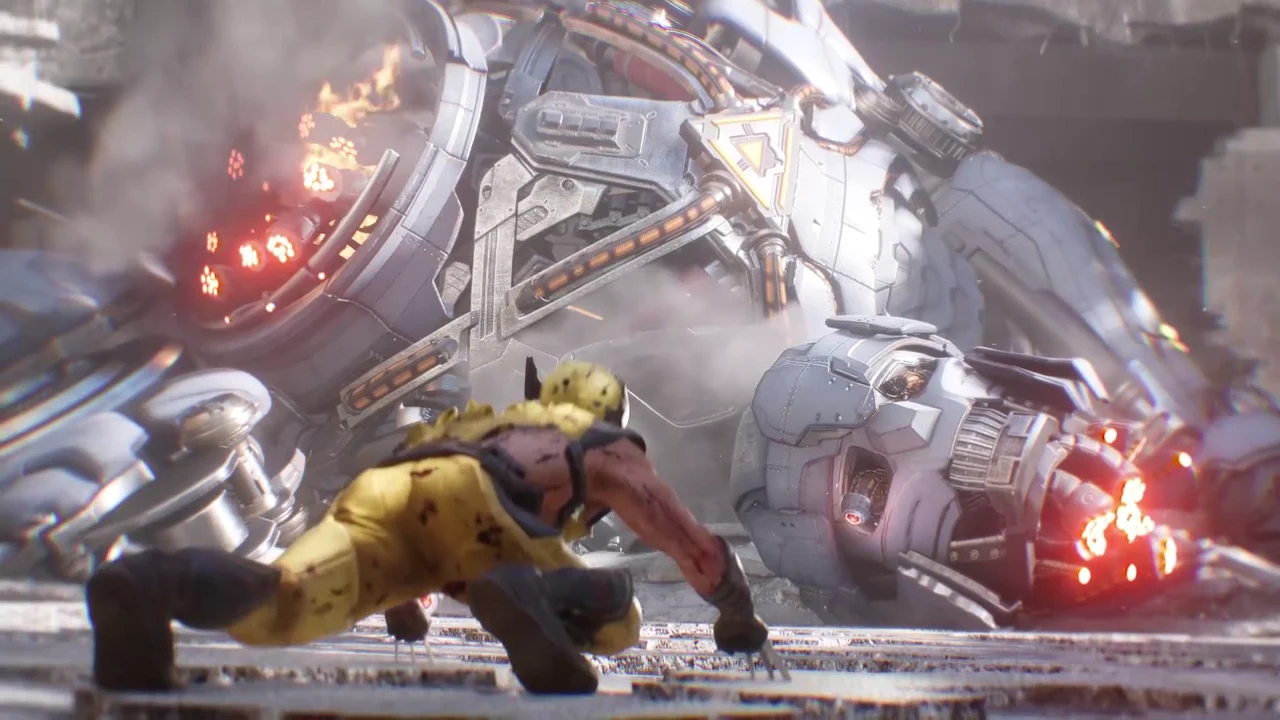
Bolivar Trask watching a monitor in a control room and triggering the core collapse on a tablet
Trask initiates the self-destruct from a remote control room. Image: Insomniac Games

Logan does the opposite. He jams his claws into the overloading core and holds the blast in place with his own body. The energy burns his suit, skin, and muscle away until only the adamantium skeleton is standing there, and his healing factor then rebuilds him.
Wolverine's flesh burning away to reveal his adamantium skeleton as he contains the core blast
Containing the meltdown strips Logan down to bare adamantium. Image: Insomniac Games

The core finally implodes into a purple sphere and melts into slag, which is your confirmation that the encounter is genuinely over rather than rolling into another phase.
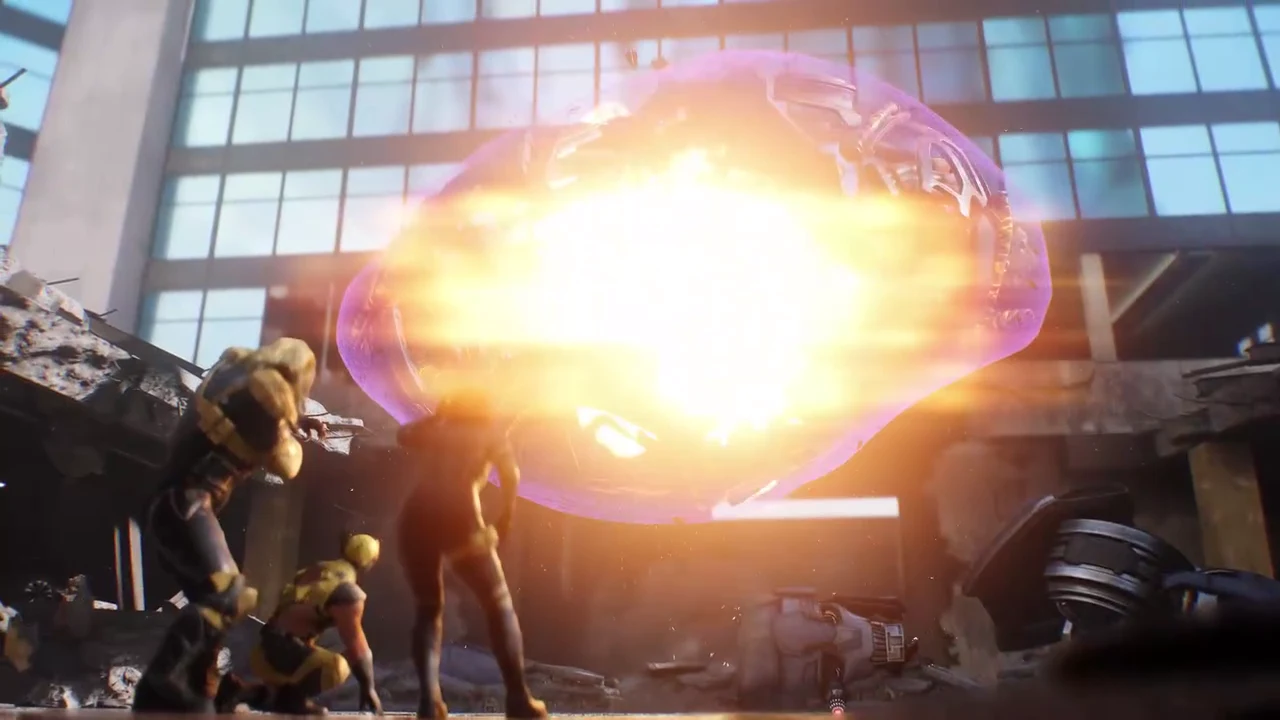
The Sentinel Prototype's core collapsing into a purple sphere of energy before melting
The collapsed core melts into slag once the blast is contained. Image: Insomniac Games

How to tell the fight is finished

  • Both arms are stripped and the boss health bar clears from the screen.
  • Logan pulls the core free in a cutscene rather than another prompt loop.
  • The core implodes and melts, and control does not return for combat.
  • A figure in a suit with white eyes and purple magnetic energy descends and lands in front of Wolverine, Mystique, and Sabretooth.

That last beat is Magneto, and it is the scene transition out of the encounter. Insomniac’s take on Logan is a single-player, narrative-driven action-adventure built for PS5, and the Sentinel Prototype is a fair preview of how its big fights are put together: readable weak points, hazards that demand footwork rather than parries, and a finisher that costs Logan a layer of himself.