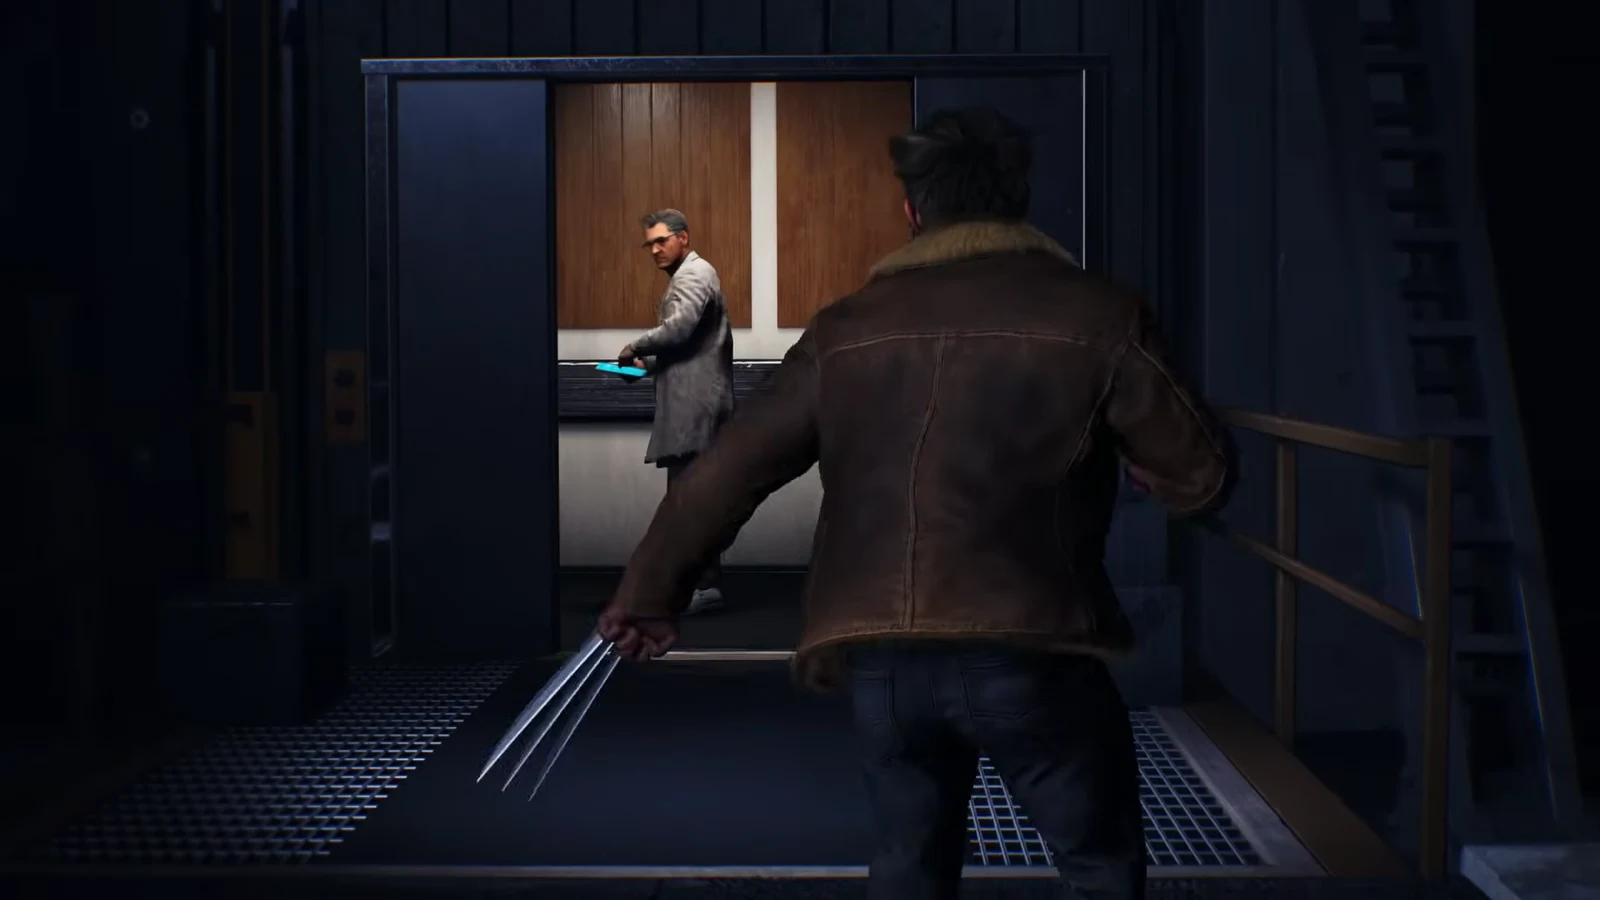
The Madripoor mission “For Our Future” drops Logan into a hangar with Bolivar Trask, who promptly activates a giant Sentinel Prototype and leaves you to deal with it. It’s a two-phase boss fight — one inside the facility, one outside in a wrecked Hightown street — and it’s the only real obstacle in the mission.
Quick answer: Destroy the glowing yellow panels on the Sentinel Prototype’s arms to strip its armor, then climb onto its head and stab the eyes to collapse its core.
What the Sentinel Prototype fight asks of you
The whole encounter runs on one rule. Damage to the Sentinel’s body doesn’t matter — the arm panels do. Each destroyed panel weakens its defenses, and once enough of them are gone the machine becomes vulnerable and you get the opening to finish it.
- Target the glowing yellow panels on the arms, not the torso or legs.
- Watch the ground for red circles and lines — they mark where an attack is about to land.
- Listen for the Sentinel’s callouts (“Armor breached,” “Panel destroyed,” “Defenses impaired”) to track your progress.
- Use Healing Strike on Staggered enemies whenever your health dips.
Phase 1: Hangar fight with Mystique
After Trask taps his tablet and blasts Logan back, the Sentinel rises and starts scanning for mutants. You’re alone for a moment, and then Mystique arrives and shoots at it to pull its attention away. That’s your cue — the first phase properly begins when she starts drawing fire.
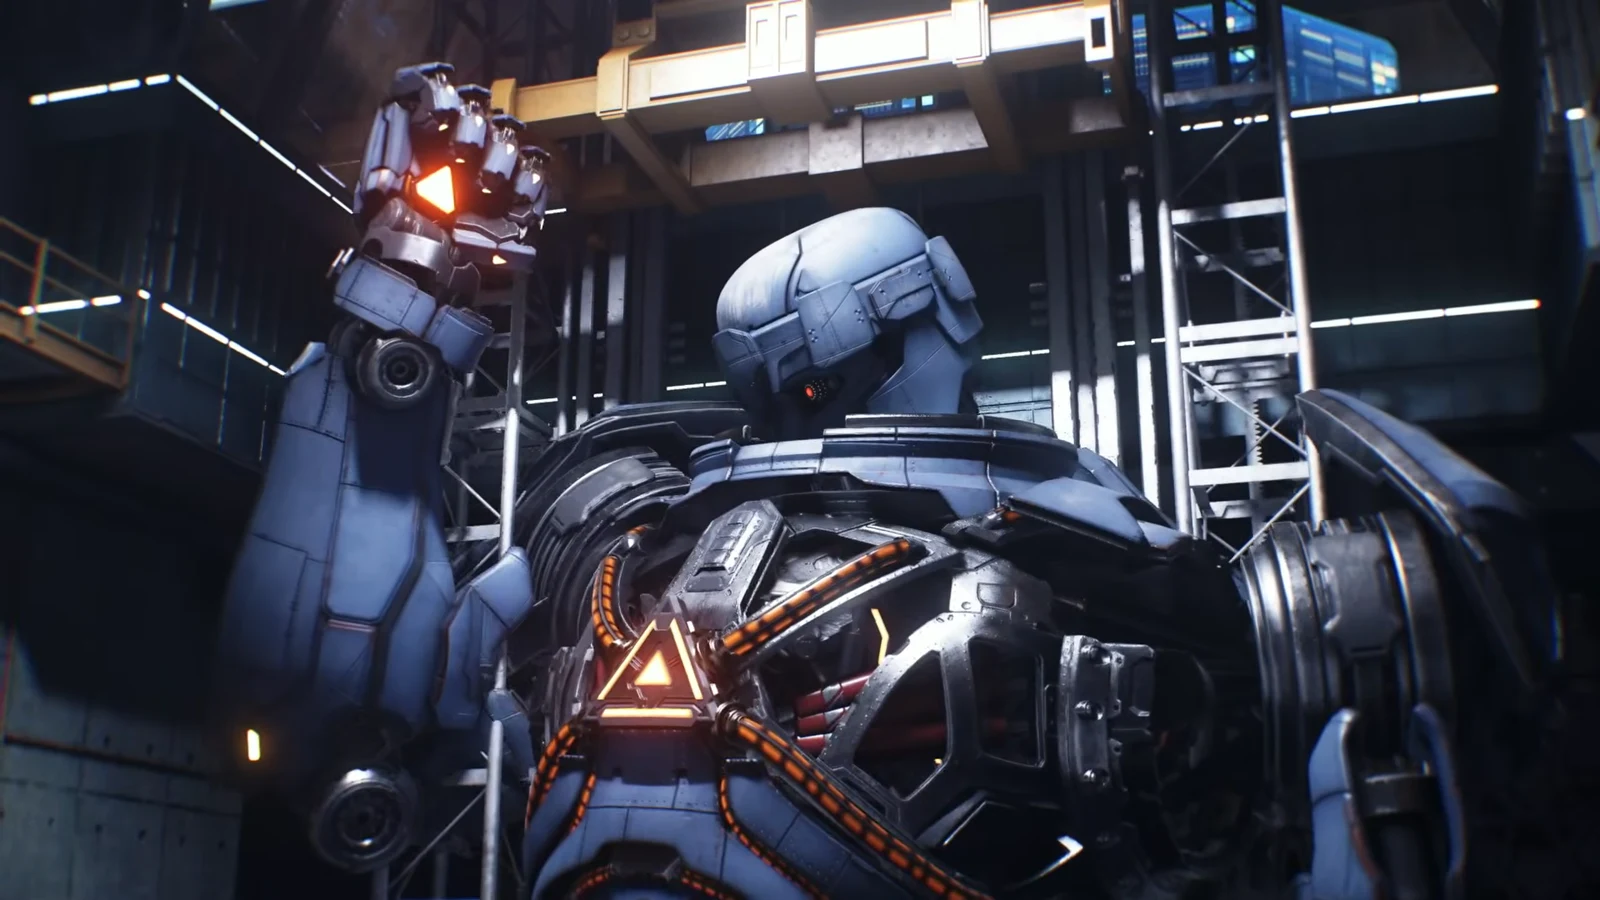
Stay mobile and work the arm panels while the Sentinel sweeps lasers across the hangar floor and slams down at you. When Logan calls out “Mystique, now!” or “Mystique, shoot it!”, she opens up on it and buys you a window to close in. Keep cycling between attacking a panel and repositioning — standing still is how you eat a slam.
Once you’ve done enough damage, the Sentinel smashes through the facility’s outer wall and drags Logan and Mystique out into a ruined street. That transition is scripted, so there’s nothing to do but keep swinging until it happens.
Phase 2: The street fight with Sabretooth and the Reavers
Outside, Sabretooth leaps onto the Sentinel and joins the fight, and Trask’s Reavers start filtering into the street. This is the part where players usually die. You now have two threats at once, and the Reavers will happily shred you while you’re focused on the boss.
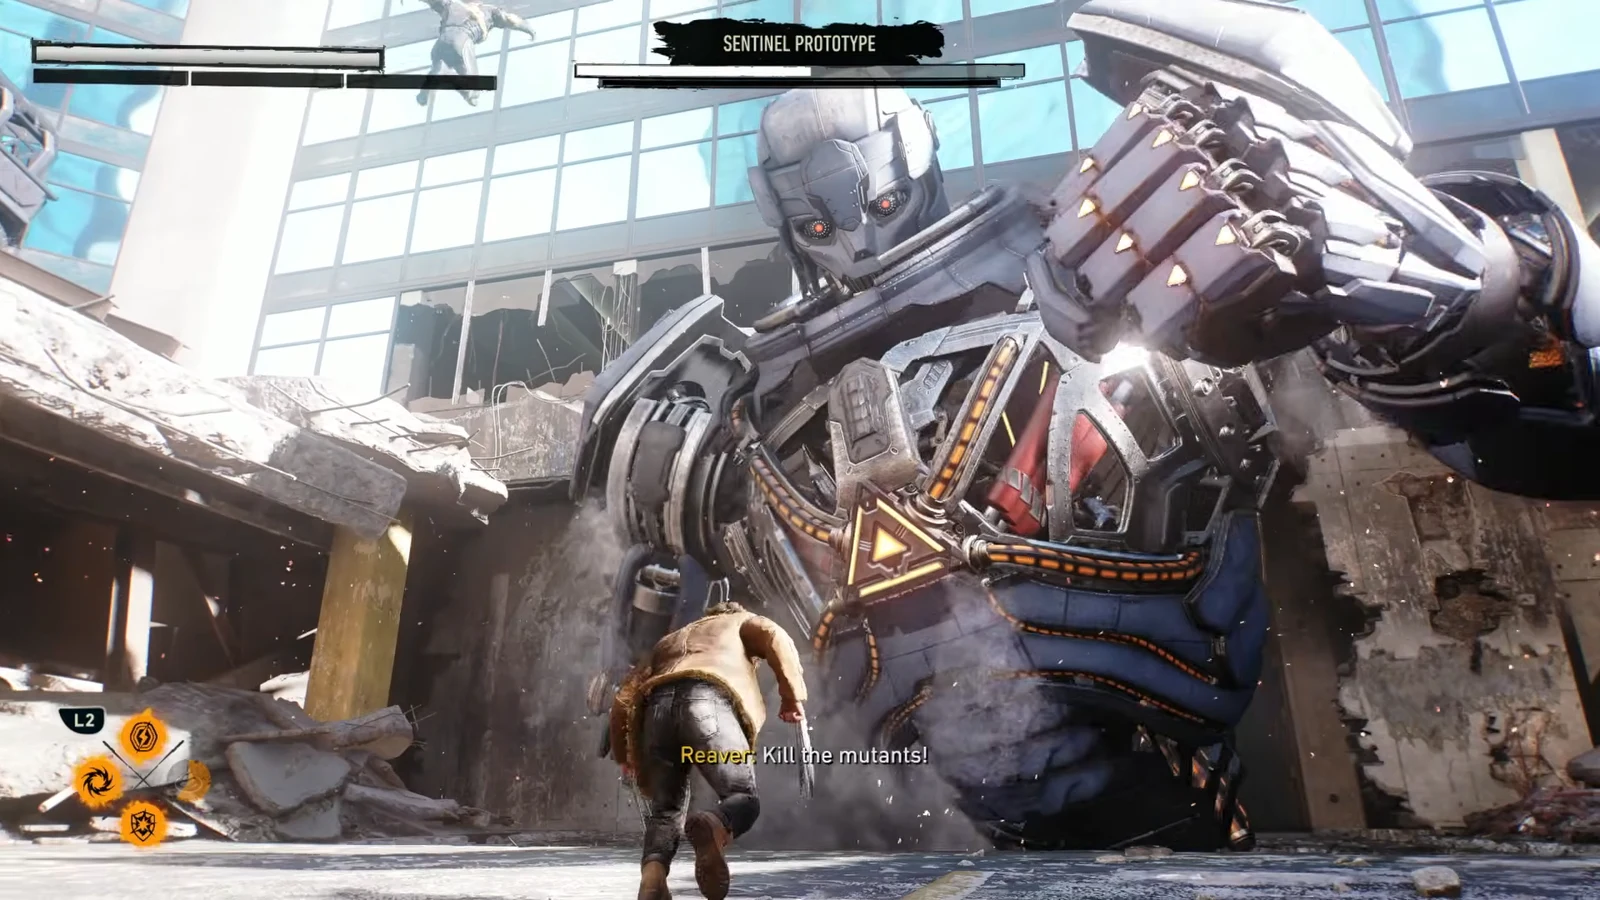
Let Sabretooth handle the crowd where you can — he’s happy to, loudly — and keep your own attacks on the arm panels. Mystique will flag the next target (“Gotta lose the other arm!”), and Logan’s “Cover me!” prompt is the signal to commit to a panel while the other two hold the line. Between panel runs, thin out the nearest Reavers so you aren’t being shot at from three directions.
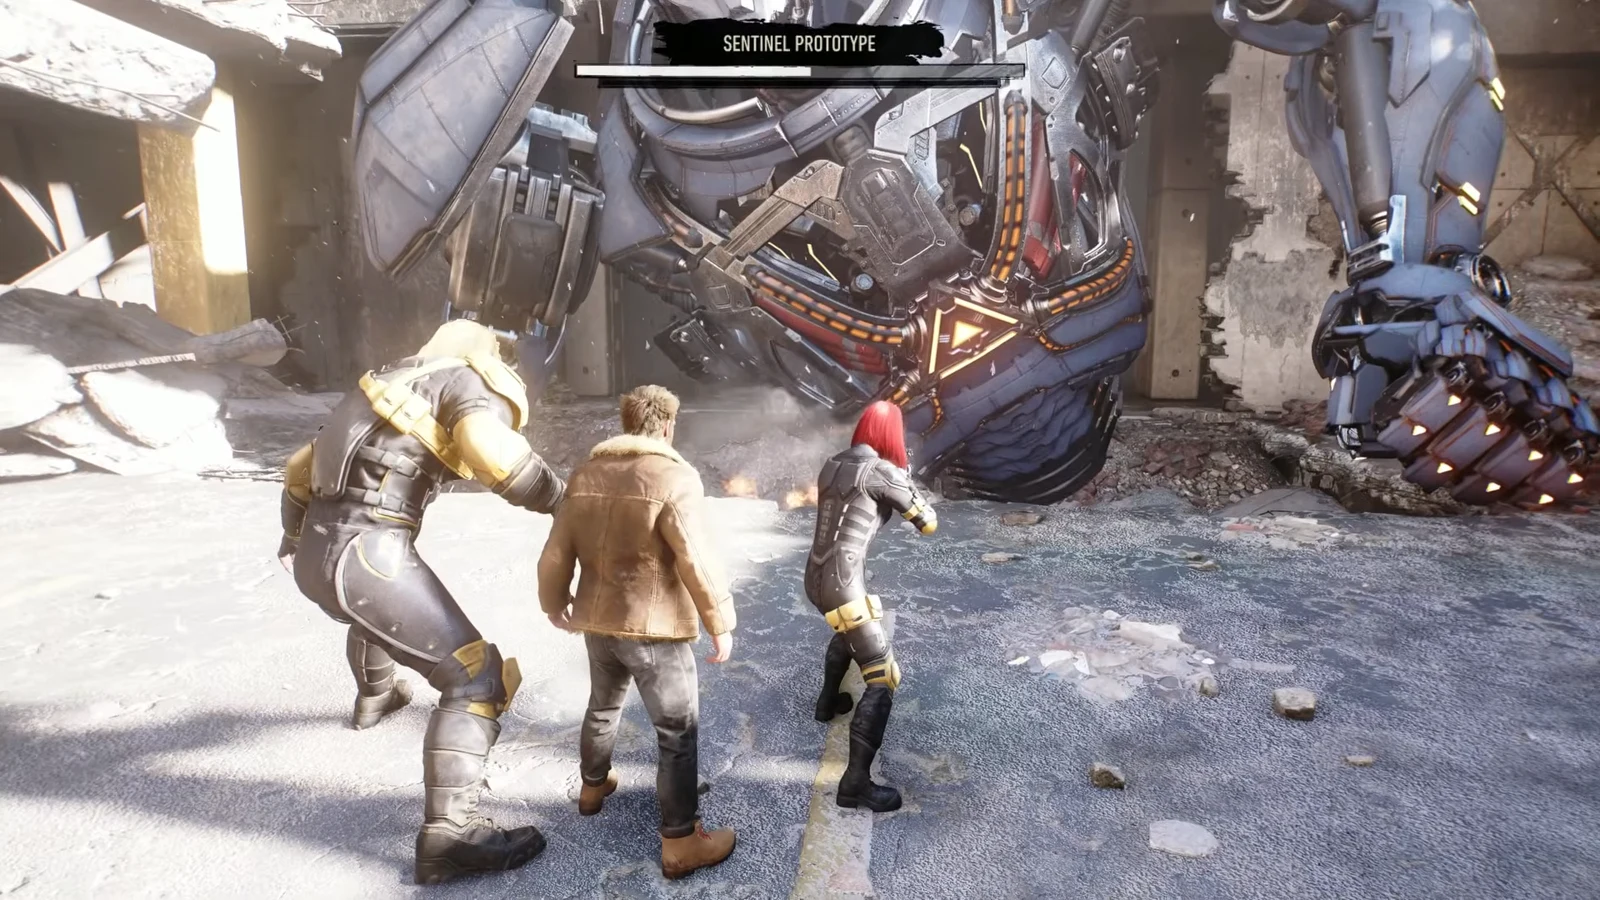
If Logan goes down out here, the game restarts you from the outdoor checkpoint rather than the hangar, so a failed attempt doesn’t cost you phase one.
Sentinel Prototype attacks and how to respond
| Attack | Tell | Response |
|---|---|---|
| Laser sweep | Red line across the ground | Move off the marked path |
| Arm slam | Red circle beneath you | Break contact, reposition |
| Missile barrage | “Missiles calibrated” | Keep moving, use cover |
| Lock-on | “Locking-on target” | Stop attacking, dodge out |
The missile barrages are the biggest health drain in the outdoor phase, and they’re the reason the fight punishes greed. If you hear the callout mid-combo, drop the combo and relocate. The panel will still be there.
Healing Strike is mapped to triangle and only works on Staggered enemies. The Reavers are your healing supply out here, so stagger one and cash it in rather than hunting for a lull in the boss’s attacks.
Finishing the Sentinel Prototype
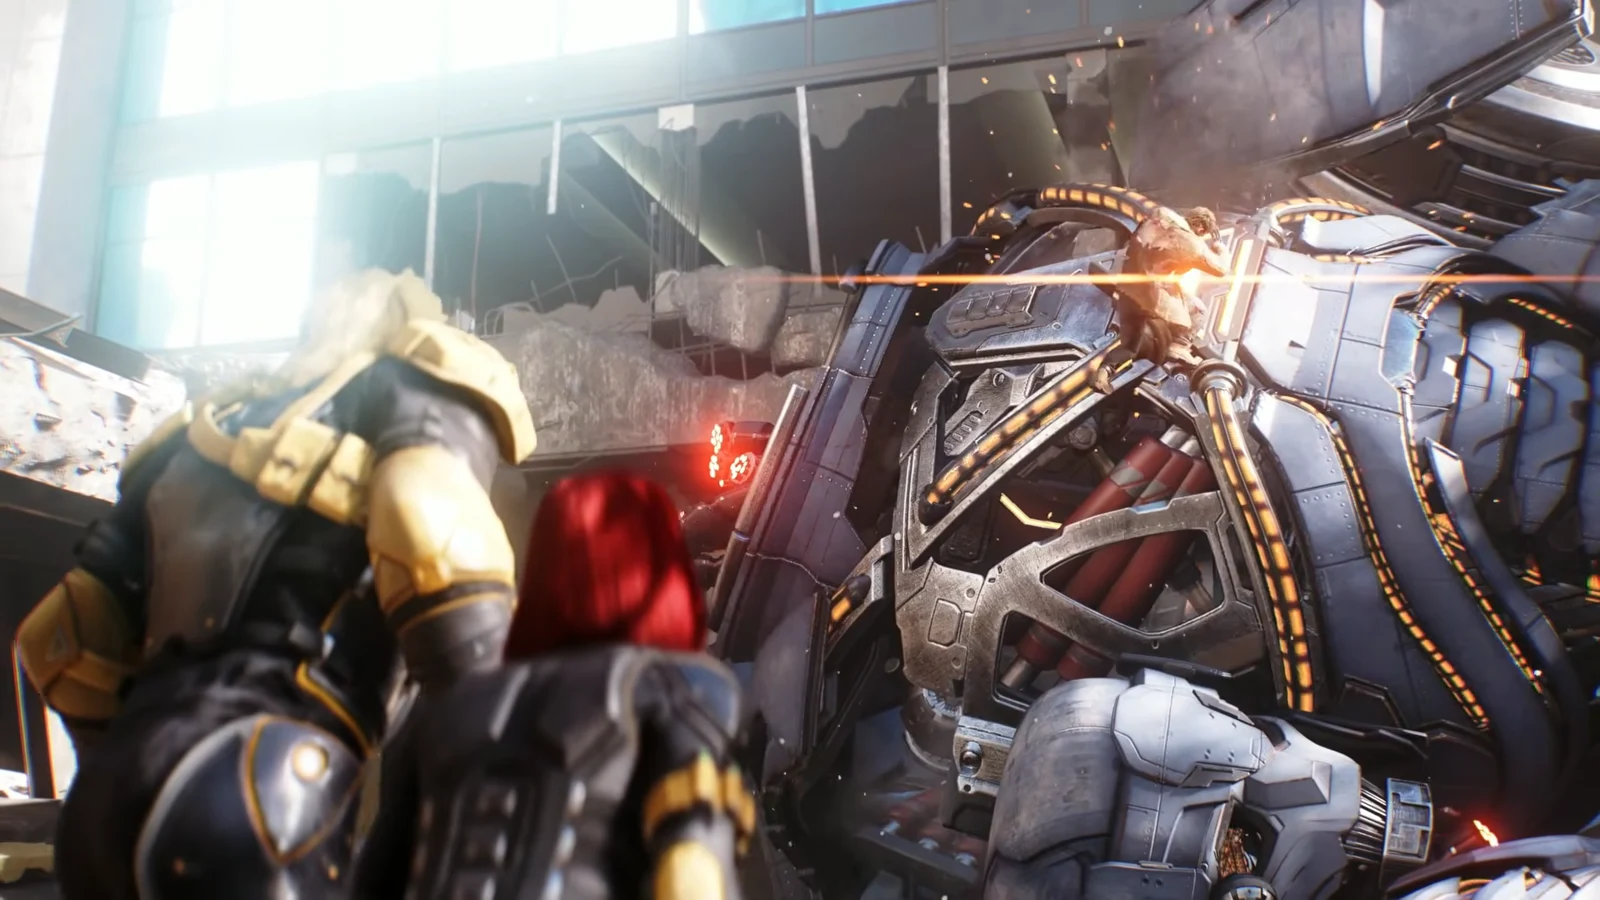
When the machine announces “System vulnerable” and starts rerouting power, the kill is available. Logan climbs onto the Sentinel’s head and drives his claws into its eyes, which triggers a core collapse and shuts the whole thing down. You’ll know it worked because the boss health bar disappears and the fight cuts straight into a cutscene — there’s no second wind or hidden third phase.
How the mission ends: Essex, Trask, and Mystique’s swap
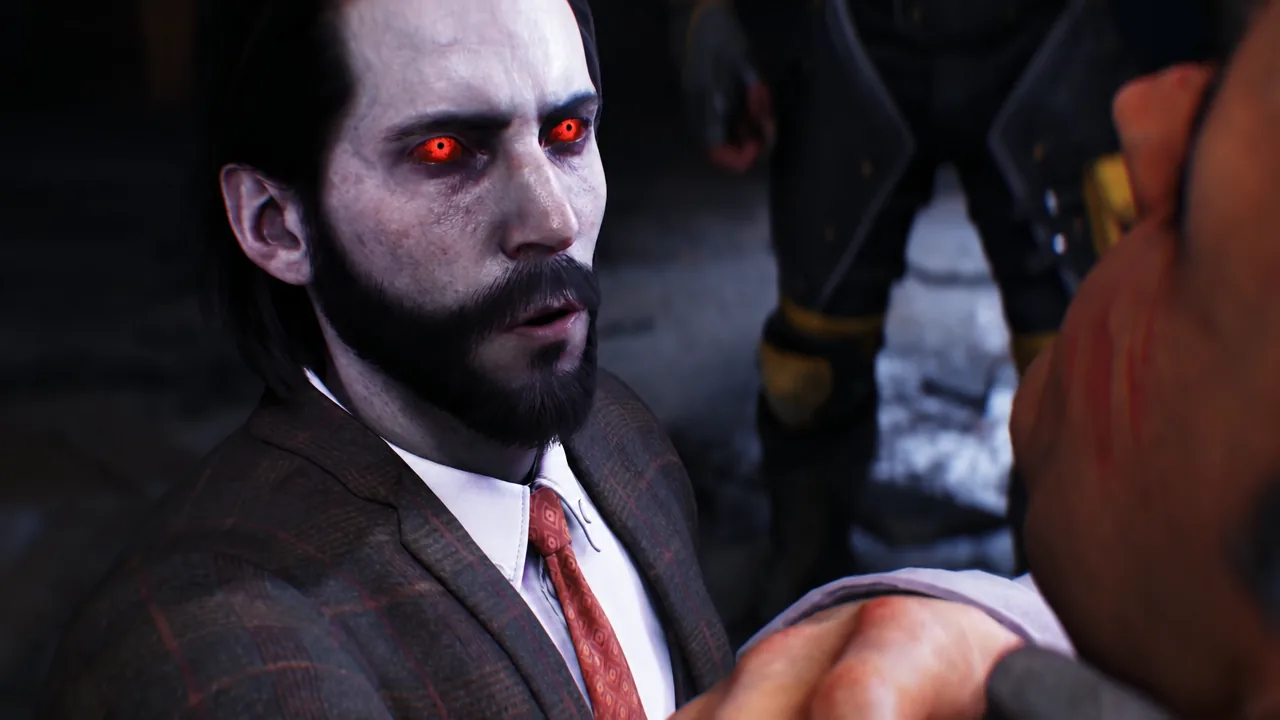
With the Sentinel dead, Trask scrambles for backup from his office upstairs. He doesn’t get it. Nathaniel Essex arrives, shatters the office floor with telekinesis, and lowers Trask down in front of everyone.
Essex then chokes Trask while telling him mutants are the future, and Logan cuts the torture short with his claws — the one moment in the scene where Wolverine pushes back on his supposed ally. Essex isn’t pleased about it, but he moves on.
The plan that follows is straightforward and ugly. Trask stays alive only long enough for his assets to be signed over, Mystique shapeshifts into him to sell a “security test gone wrong” story to the public, and Sabretooth drags the real Trask off to be killed. Logan makes a dry comment about Essex being off to a hell of a start and walks away, which closes out the mission.
Collectibles in For Our Future
There are no collectibles in this mission — no Material Crates, no Whisky Bottles, no Nightmare Doors. Beating the Sentinel Prototype and watching the scene through is 100 percent of the mission’s content, so there’s nothing to sweep the area for before or after the fight.
That’s worth knowing if you’re chasing full completion across the Madripoor chapter. The crates and bottles sit in the missions on either side of this one, and nothing in the game is missable anyway — chapter select, accessed from the Nightmare Cabin on the title screen, lets you go back for anything you skipped once the story is done.