

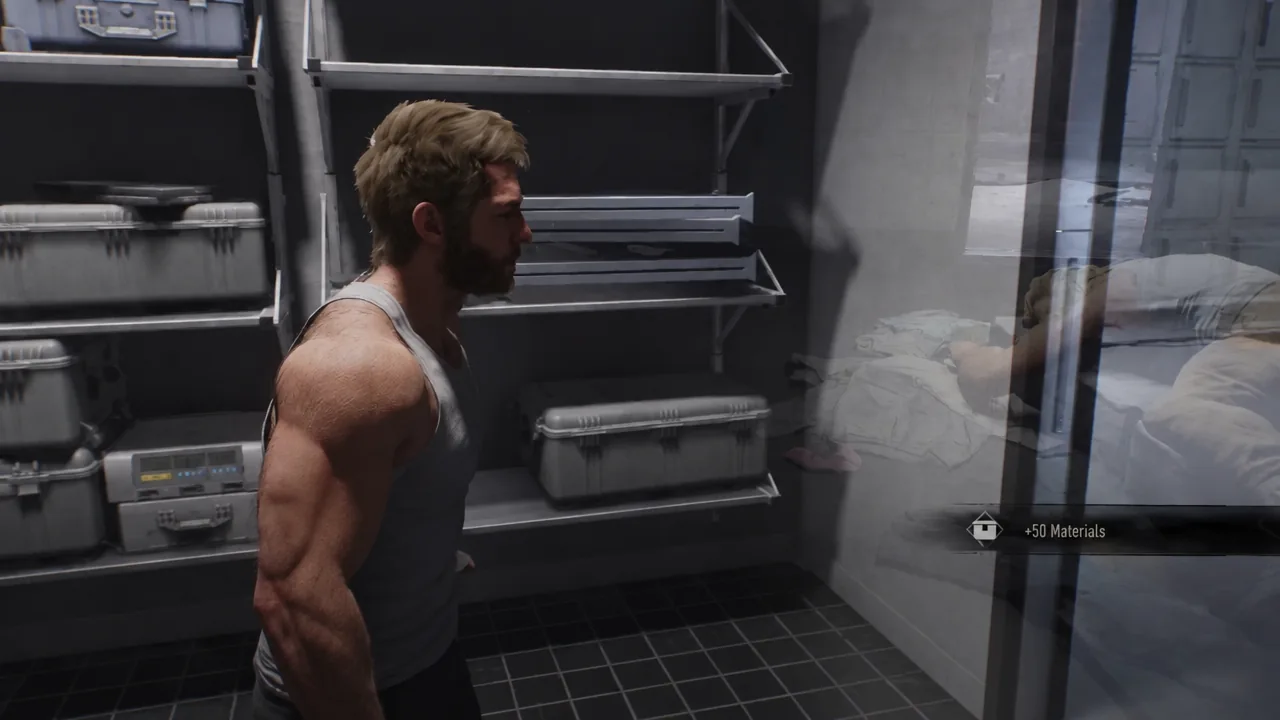
Material Crates are the currency behind Wolverine’s wardrobe. Each one you pop open with a claw swipe hands Logan materials, and materials are what pay for alternate suits and their matching claws — which in turn push his maximum health higher. They are scattered through almost every mission, sometimes three feet off the critical path, sometimes tucked behind a vent grate you have to cut open.
Quick answer: There are 68 Material Crates across 20 missions, each worth +50 materials. Nothing is missable — anything you skip can be cleaned up later through Chapter Select in the Nightmare Cabin.
What Material Crates are worth
Every crate pays out exactly the same amount: +50 materials. They come in two looks — white high-tech military containers and darker wooden or metal chests — but the reward never changes based on the style.
Those materials go straight into crafting suits. The suits themselves unlock automatically through the story, but you need enough materials banked to actually build them, and building enough of them fully upgrades Logan’s health. Collecting all 68 also unlocks the Crate Collector trophy, while crafting enough suits to cap your health unlocks Adamantium Armory.
Make crates easier to spot before you start hunting
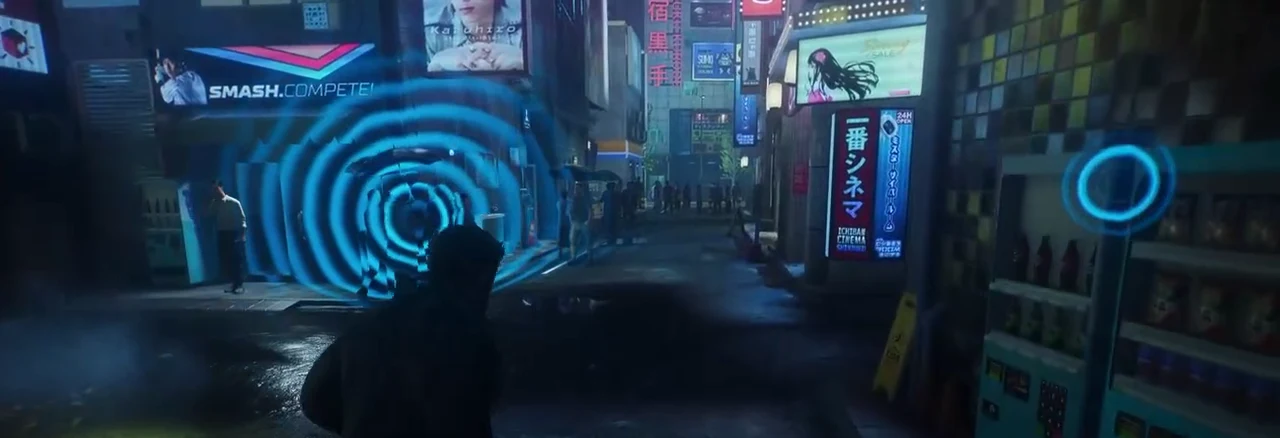
Wolverine’s senses do most of the work. Crates emit a clicking sound Logan can tune into, and when you use your senses they light up with pulsing blue rings visible from a long way off. Logan will also occasionally comment out loud when one is nearby.
- Equip the Crate Finder Adaptation to mark crates from a great distance and through walls.
- Turn on Settings > Visuals > Collectibles and Interact Shader to outline every collectible in a color of your choosing.
- Check the collectible tracker in the pause menu to see how many crates a mission still owes you.
Material Crate count by mission
Ten missions contain no crates at all, including the Telambang opening trio, Jetlag, and the final two chapters. Here is where the 68 actually sit.
| Region | Mission | Crates |
|---|---|---|
| Canada | Homecoming | 2 |
| Canada | The One That Got Away | 4 |
| Canada | Raise Some Hell | 4 |
| Canada | Strays | 1 |
| Canada | Something Much Stronger | 4 |
| Madripoor | Knock Knock | 2 |
| Madripoor | Mutant Detected | 4 |
| Madripoor | One Last Mission | 3 |
| Japan | Get Angry | 5 |
| Japan | Bad Blood | 4 |
| Japan | In the Shadows | 7 |
| Japan | Death Comes to Death | 3 |
| Japan | We Were Wrong | 5 |
| Japan | Hell Followed With Him | 4 |
| Japan | Sinister Tidings | 1 |
| Madripoor (return) | Way Down Low | 4 |
| Madripoor (return) | Roll The Dice | 1 |
| Madripoor (return) | Field Test | 2 |
| Madripoor (return) | I’m Still Here | 5 |
| Madripoor (return) | This Was The Dream | 3 |
Canada crate locations
Homecoming (2 crates)
Both are handed to you by the story. Walter asks you to bring him supply crates: the first is in the storage room behind him in the lab, and the second is upstairs in Victor’s room, found by following the scent trail.
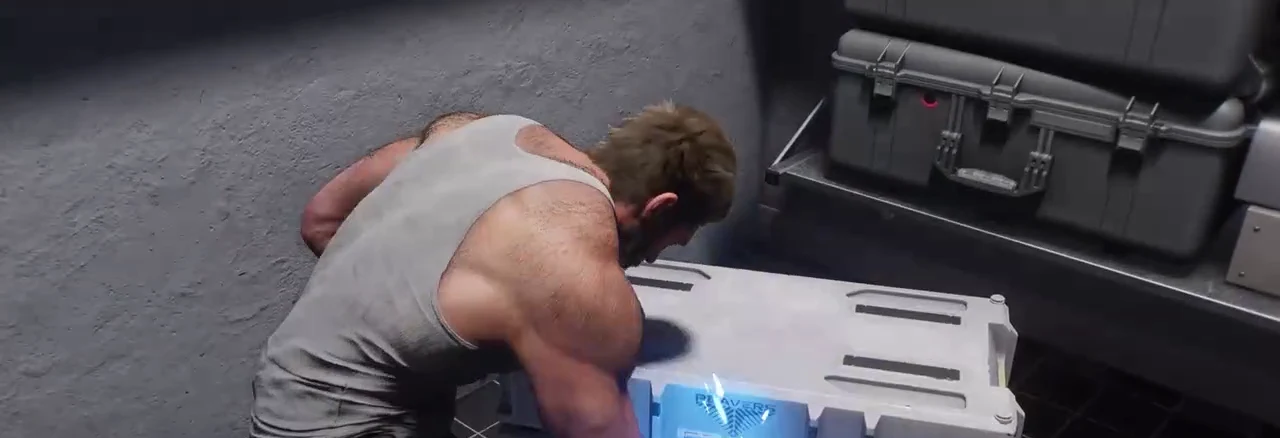
The One That Got Away (4 crates)
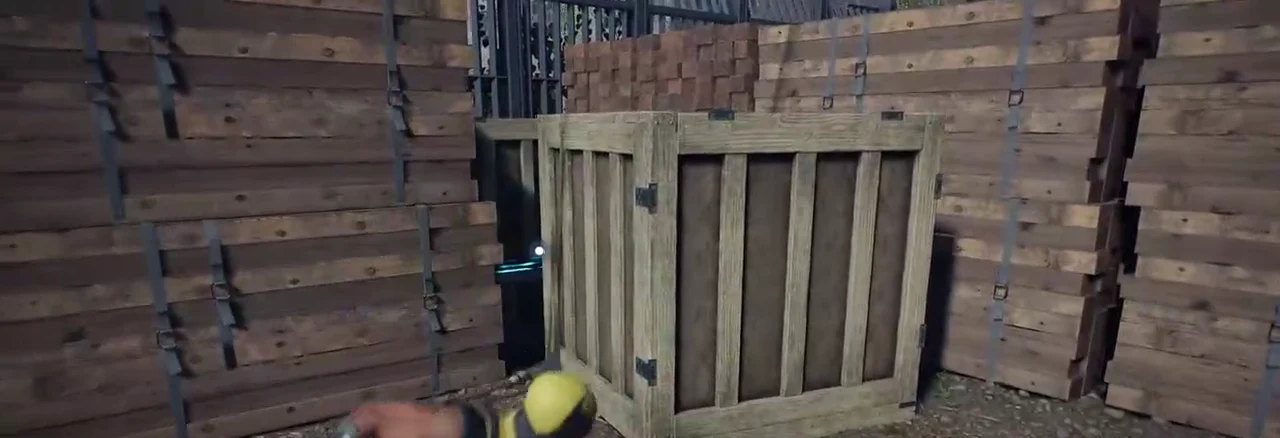
- At the lumberyard, after the zipline and the two Reavers, turn back toward the gate and slash the stacked wooden boxes.
- Drop through the skylight, take out the lone Reaver, drop to ground level and make a U-turn into Leech’s hideout behind the “Entry Restricted” panels.
- At the river with the Nightmare Door, walk the opposite direction from the door and duck under the fallen tree. The crate sits out in the open near a painting on an easel.
- In the second half of the shipyard, ride the wire up to the top of the container crane and grab it off the catwalk.
Raise Some Hell (4 crates)
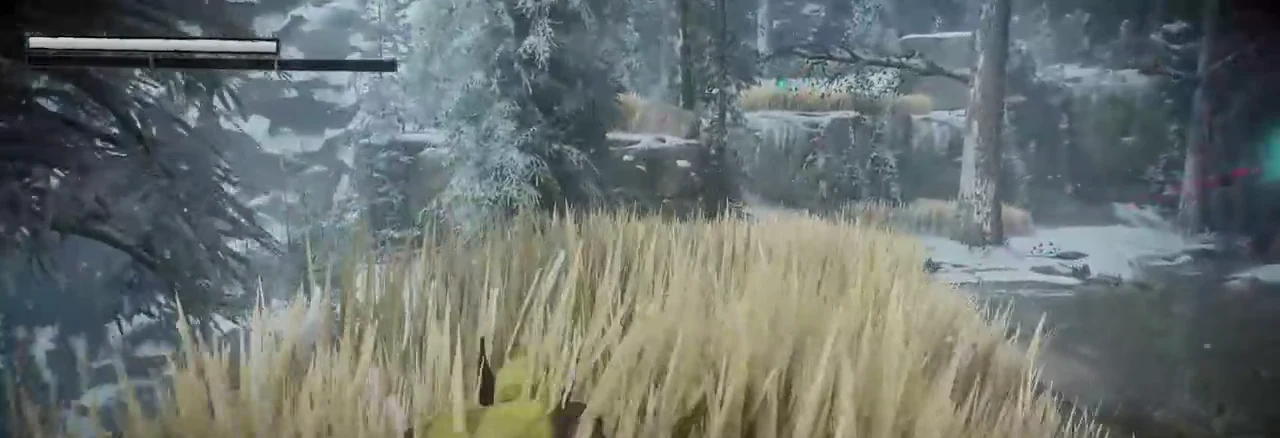
- When you jump across to the cliff holding the second squad of Reavers, bear left and take it off the ledge.
- Same area, ground level: follow the stream running between the two cliffs until it dead-ends in a small ravine.
- In the construction yard, check the back left corner from where you entered, behind the icicle-covered trailer.
- After Hot Claws and the Nightmare Door, head down the stairs into the container courtyard and climb into the open bed of the transport truck.
Strays (1 crate)
While tracking Leech’s drawings, leave the lab and continue down the hallway into the armory lined with Team X’s lockers and weapon racks. It is right beside the door.
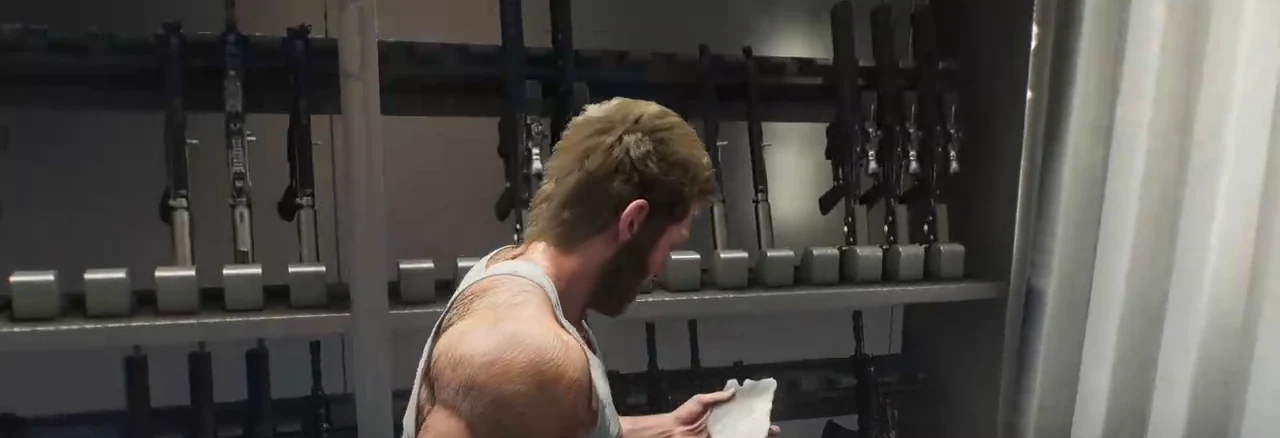
Something Much Stronger (4 crates)
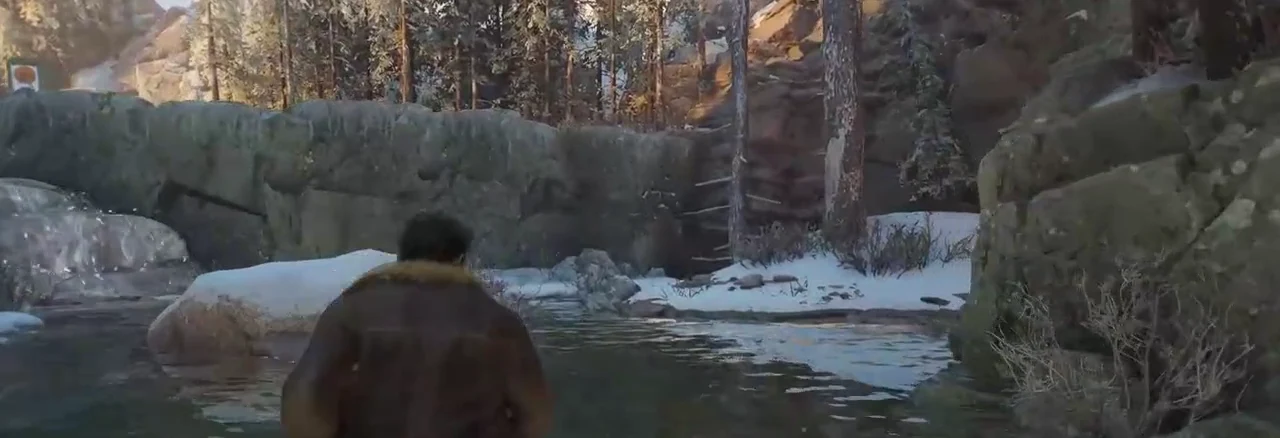
- Early on, drop into the stream and bear right. Look for the climbable tree and the rock wall beside it, then pull yourself up to the ledge.
- After the narrow passage, look left toward the fallen tree and hop the gap.
- Once you cross the fallen log, the path splits. Take the right fork downhill to the fishing hut.
- Climb the last cliff to Logan’s cabin and turn right before going inside.
Madripoor crate locations (first visit)
Knock Knock (2 crates)
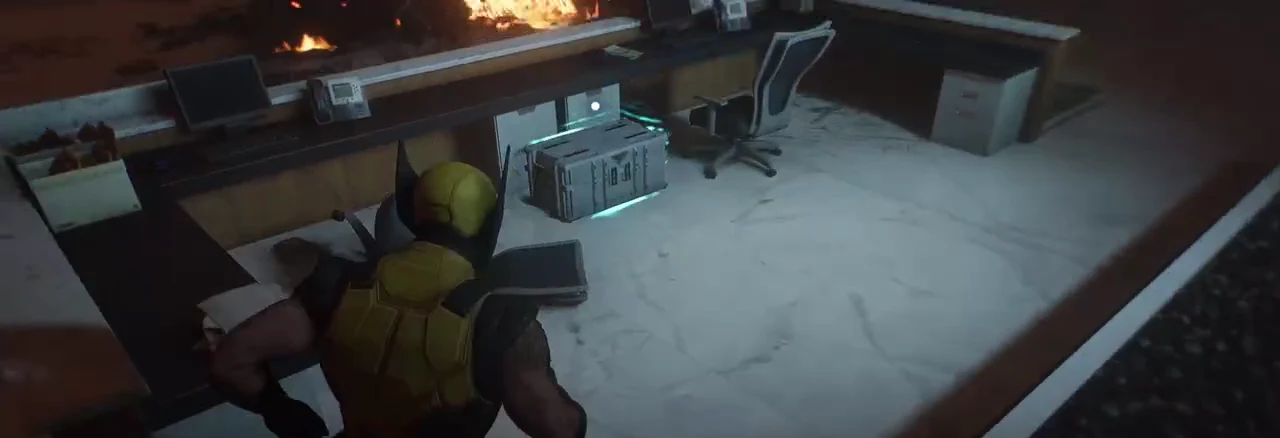
- After Sabretooth puts the APC through the wall, walk into the burning lobby and look behind the front desk.
- Following the server room fight, climb the next ledge and cut open the vent grate in front of you. Crawl through to the crate.
Mutant Detected (4 crates)
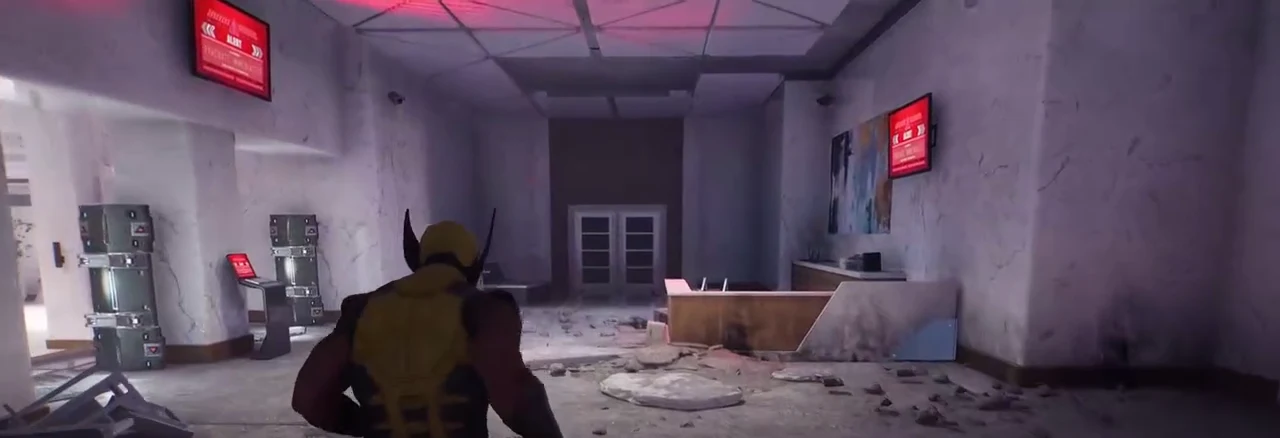
- Immediately at the start, behind the reception desk under the Trask Industries sign.
- After Mystique opens the security door while disguised as Trask, step through and turn right. It sits behind the server racks.
- Later, Mystique breaks a door as Wolverine. Follow the hallway and take the first left to a keypad-locked door. The code is 0291 — use your senses to bring up the fingerprints on the pad.
- Right after surviving the propulsion tunnel, walk past the burning turbine and check behind the metal debris on your left.
If the keypad ever gives you trouble, the fingerprints glow blue when your senses are active, so the digits are readable even before you know the order.
One Last Mission (3 crates)
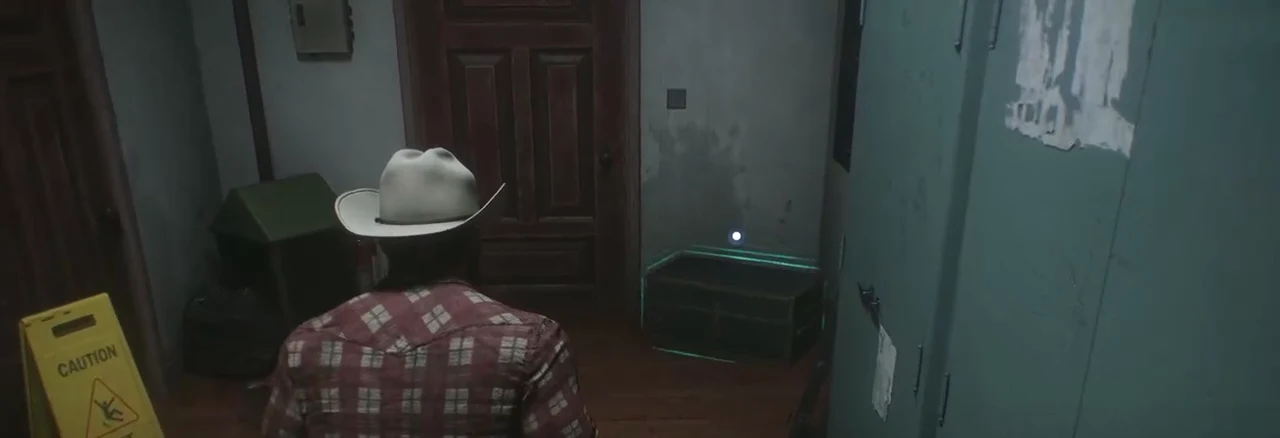
- At the chapter start inside the Princess Bar, face the bar and take the circular doorway on the right into the back hallway.
- Outside, go right down the neon street past the Nightmare Door until you spot a steep set of stairs heading down on your left, next to the food stall.
- After the rooftop chase and the Hand ambush, take the wooden stairs down to the water and walk to the end of the pier.
Japan crate locations
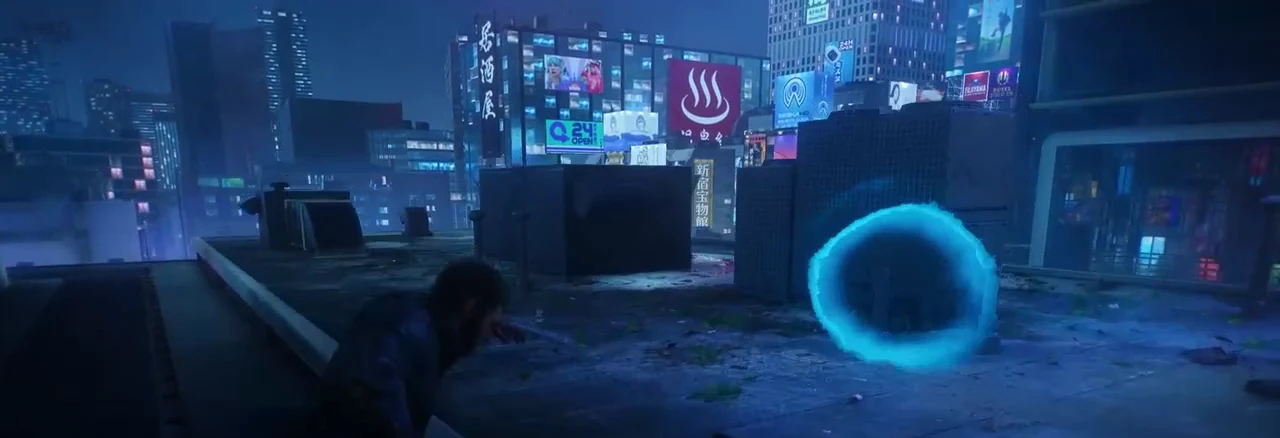
Japan holds 29 of the 68, and In the Shadows alone accounts for seven of them across the Shinjuku rooftops. This is the region worth slowing down for.
Get Angry (5 crates)
- While chasing sounds to find Jean, head for the nearest arcade. A narrow alley sits just before the Smash Competition storefront.
- Ride the elevator down to The Hand’s hideout and turn right as you step off.
- After destroying the first set of incense burners, leave the illusory rooms, enter the concrete corridor and turn right. It is hidden among other wooden boxes.
- Down in the caves, after the pole-swinging section, climb to the top of the metal bridge and turn around to walk the other way before going through Jean’s door.
- Once you ride the elevator back up, walk to the back of the storage room, behind the metal shelves.
Bad Blood (4 crates)
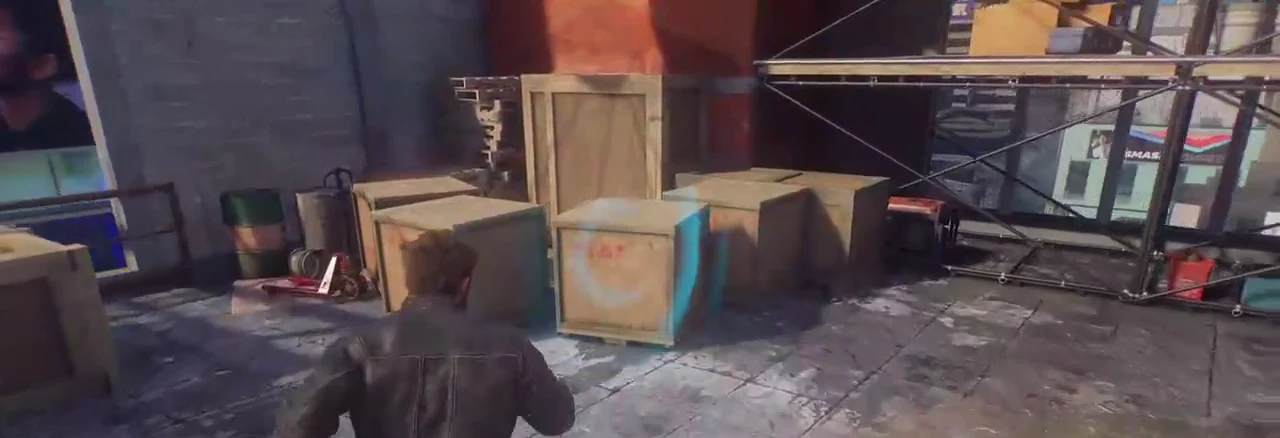
- After the first zipline, climb onto the next roof and break the boxes.
- Starting the climb to Shiro’s penthouse, make a U-turn after the first stack of boxes and climb the second stack.
- Inside the building under construction, break through the wire gate and drop down the ledge straight ahead.
- When Jean levitates the hanging scaffolding, turn around before jumping off and climb the wooden platforms back inside the site.
In the Shadows (7 crates)
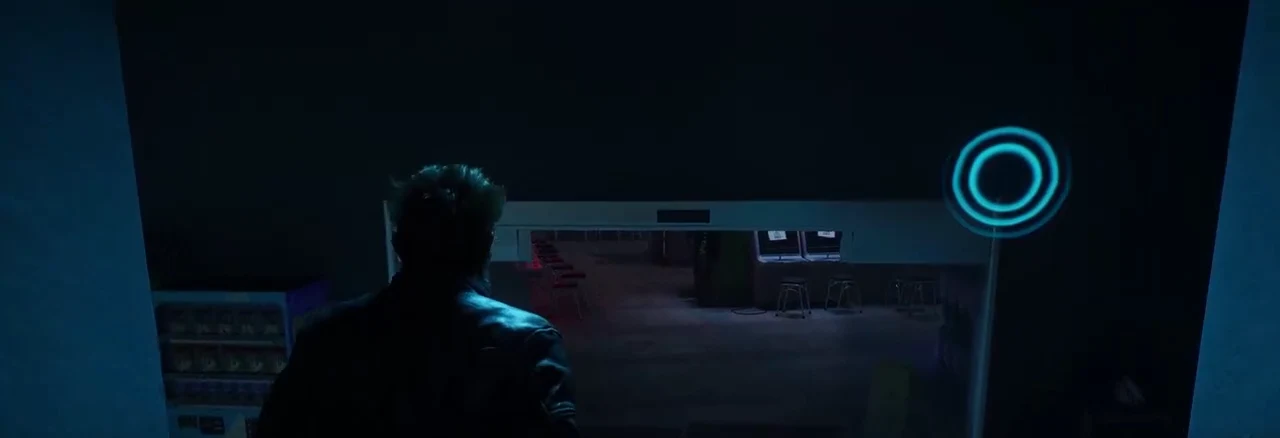
- Enter the dark arcade and keep going down the steps to the lower floor instead of through the main doors.
- Facing the arcade entrance, go left, right, then left again to a cable up to the rooftops. Continue straight, leap to the next roof, and look near the AC ducts.
- On the way to the cluster of mutant detectors, ride the cable and climb the next ledge ahead.
- Beside the detector cluster, shimmy down the yellow clothesline and drop to the lower roof with the AC fans.
- At the construction site, don’t head inside. Go left around the perimeter to the stacked building materials.
- After the red room with The Chosen, take the basement door, walk the stone tunnel and turn left at the end.
- Once Jean saves you from The Hand, take the rooftop zipline and either drop off halfway or ride it and turn around.
Death Comes to Death (3 crates)
- Turn left on the rooftop where the chapter opens, before jumping down.
- After watching the Helix Engine on the security cameras, take the door down to the basement, turn right and duck under the large pipe.
- Once you smash through the fake wall in the bathhouse, turn right in the hallway before taking the elevator.
We Were Wrong (5 crates)
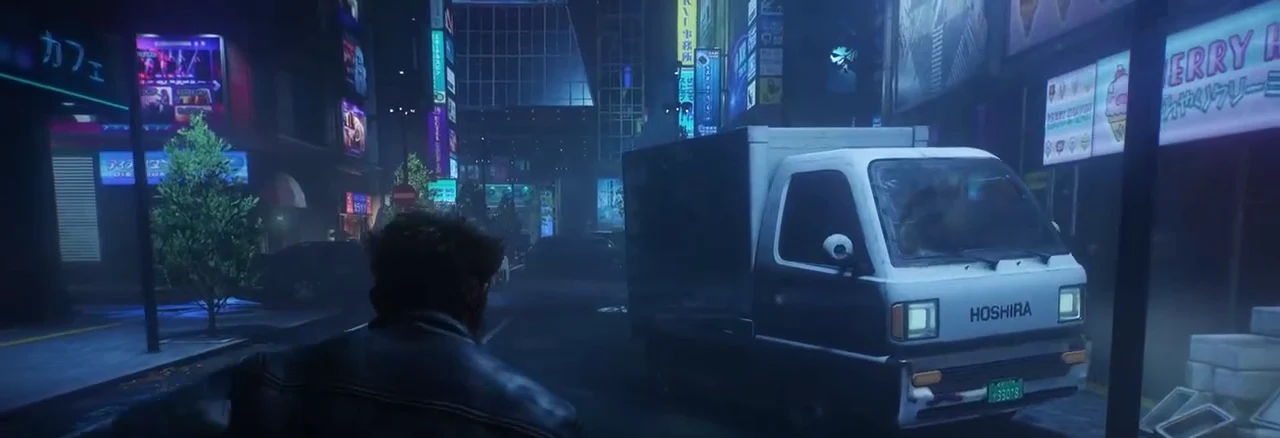
- Past the convenience store early on, go left toward the large parked truck and check behind it.
- After the fight inside the neon restaurant, hop onto the ledge above the stage.
- Following your first set of Hand summons, walk to the overturned car and turn left into the small alcove down the block.
- Tracking The Hand after the plaza fight, turn left past the low broken wall, go behind the truck and break the boxes.
- After the double mutant fight in the warehouse, head into the basement and keep left. It is behind boxes.
Hell Followed With Him (4 crates)
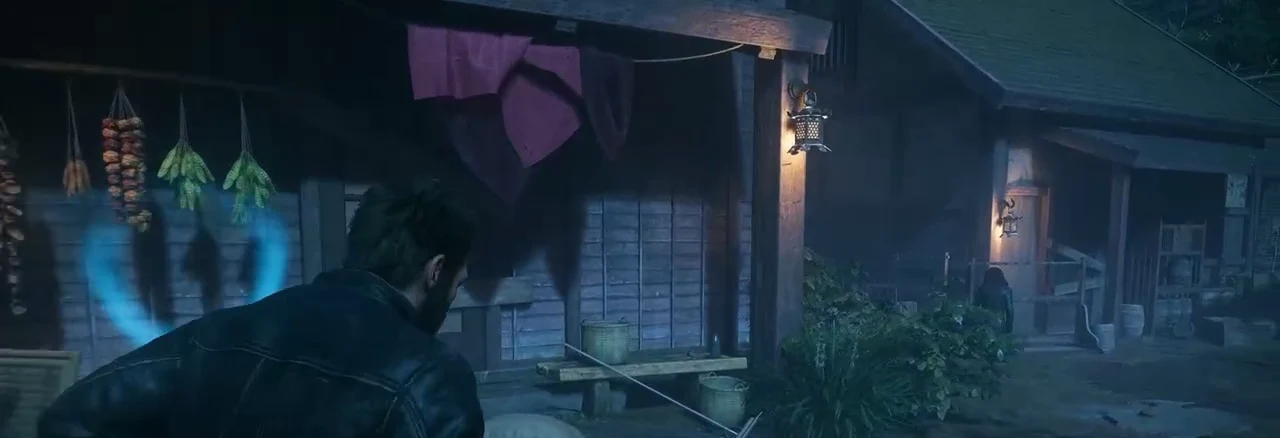
- As the village section starts, walk behind the first house on your left.
- Take the stairs at the back right of the village up to the training ground and check the left corner behind the straw targets.
- After the big fight in the misty valley, head for the rocks at the water’s edge before walking over to Jean.
- Step through the large fortress doors and look immediately left.
Sinister Tidings (1 crate)
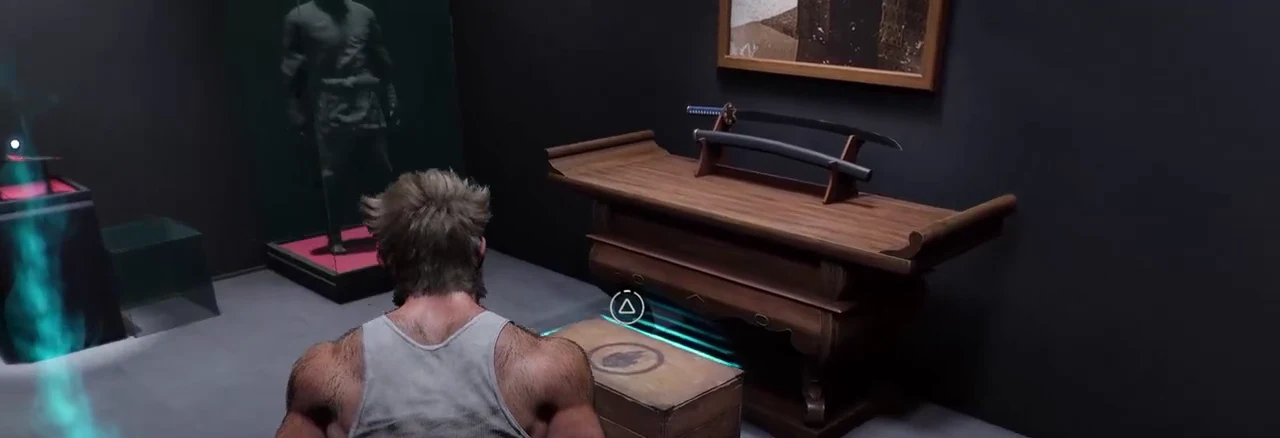
Before heading downstairs, step into Shiro’s collection room. The crate is waiting inside.
Madripoor crate locations (return trip)
Way Down Low (4 crates)
- Clear the first Reaver checkpoint and open the transport truck full of dormant mutants straight ahead. The crate is inside with them.
- Do the same at the second checkpoint further along the road.
- Facing that second checkpoint, go left and follow the parallel road. Just before it slopes uphill there is a third truck.
- Heading to the radio tower, climb to the rooftops and jump across from the pink building. Jean handles the snipers on the way.
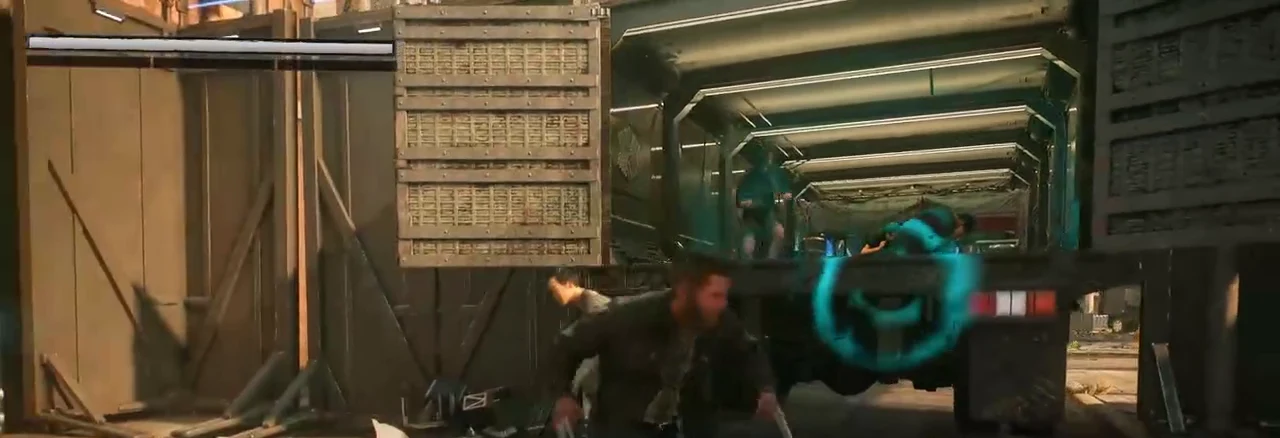
Roll The Dice (1 crate)
After the back room fight, take the right-hand hallway before you step onto the service elevator.
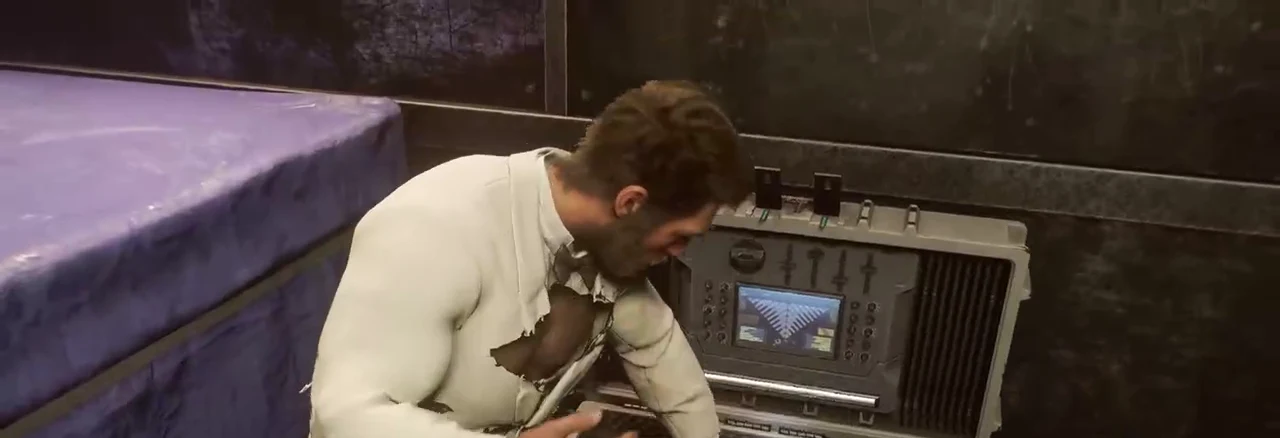
Field Test (2 crates)
- On the way from the fish market to the theater, duck into the small alley on the left side of the road.
- In the same stretch, run uphill to the bazaar and look behind the wooden stands.
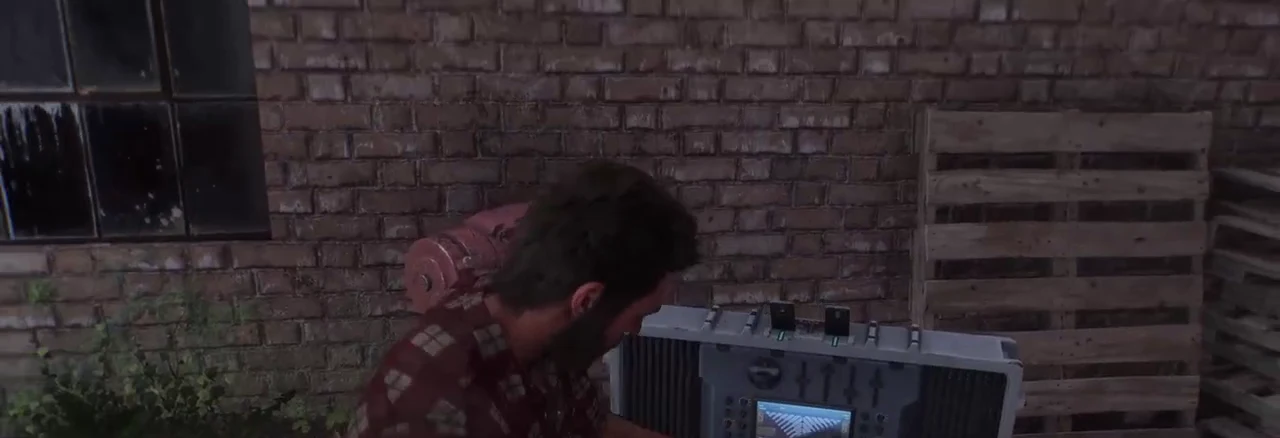
I’m Still Here (5 crates)
- Leaving the debris field, head right past the dead giant mutant and into the small house.
- Push toward the center of the next street section and check the side alley alcove. Sentinels patrol here.
- At the noodle bar, drop to the basement, climb the ledge in the corner and enter the bedroom on the middle level.
- After talking to Mystique you drop into a Sentinel-heavy area. The crate is under the platform where the zipline ends.
- When Logan spots Jean, ignore the building for a moment and head down the street to the left. Two Reavers are guarding it.
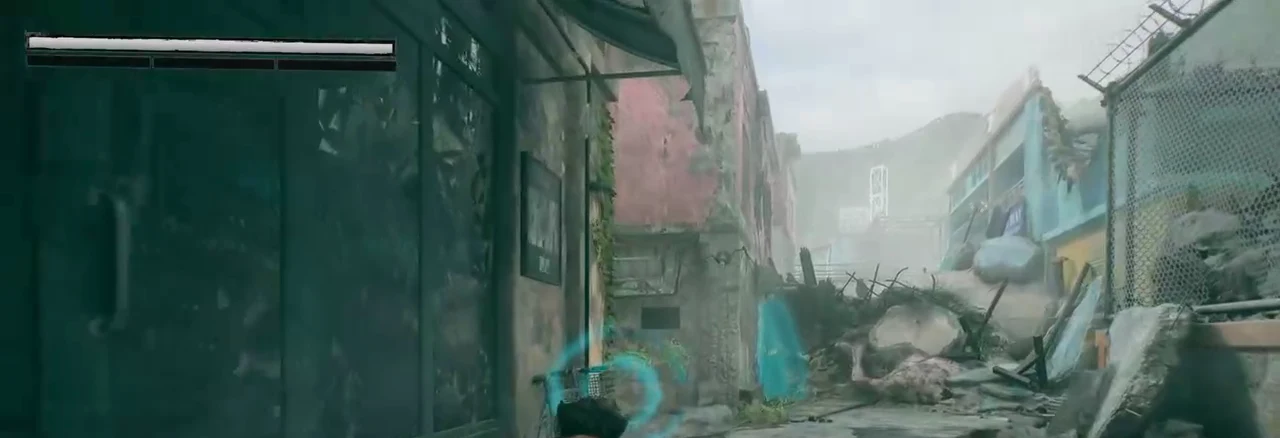
This Was The Dream (3 crates)
- Ride the wire up the bell tower and look right when you land on the first balcony.
- After Essex’s illusion of Tyger’s bar, Logan smashes through a large glass window. The crate is on the other side.
- Following the illusion of Team X’s headquarters, you enter a new lab. Go up the stairs on the left for the final crate in the game.
How to confirm you have all 68
Each mission keeps its own collectible tracker, visible in the pause menu and again in Chapter Select. Total progress is easiest to read off the trophy progress counter attached to Crate Collector, which pops the moment the 68th crate is opened.
Chapter Select unlocks once you find the second Nightmare Door. Return to the title screen, pick Nightmare Cabin, then interact with the bed to jump back into any mission. Everything you collect on a replay carries over, so a missed crate in Homecoming can still be grabbed after the credits.
A full 100 percent run lands somewhere around 15 to 20 hours, and there are no difficulty requirements attached to any of it — the easiest setting counts exactly the same. Pair the Crate Finder Adaptation with the collectible shader and most of the hunting turns into walking a short detour off the critical path.





