

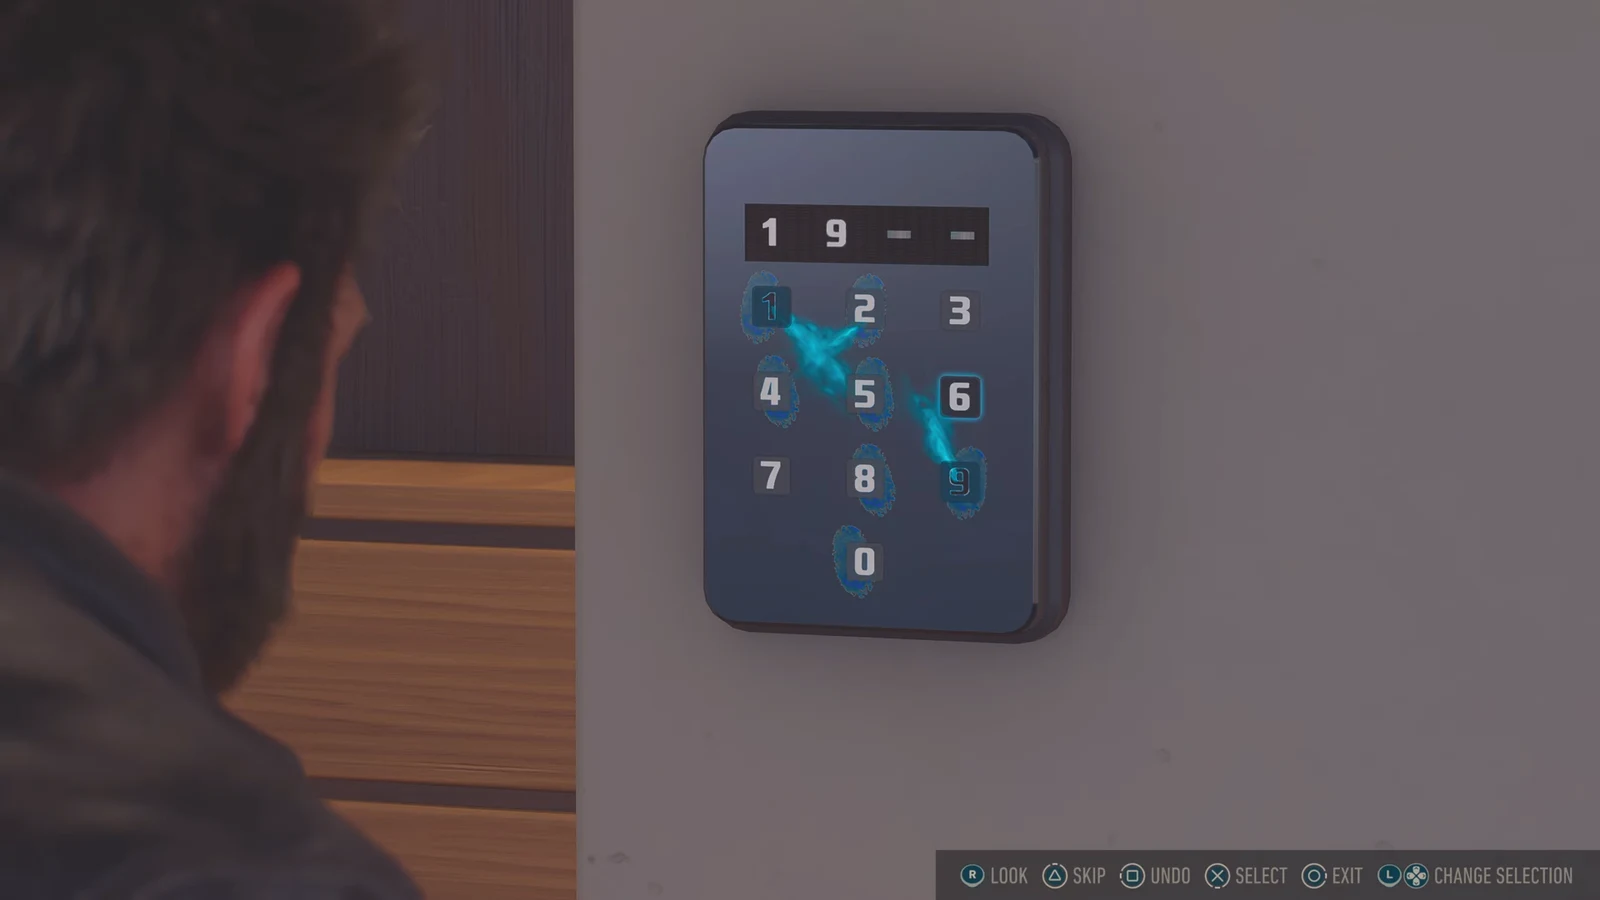
Bad Blood is the Japan mission where Logan and Jean Grey turn up at Shiro’s penthouse to press him on his ties to The Hand. Wander around the apartment and you will find a wardrobe sealed by a red keypad, and the game does not hand you the answer the way it does for most locked doors in Madripoor. The solution is sitting on a bookshelf one room over.
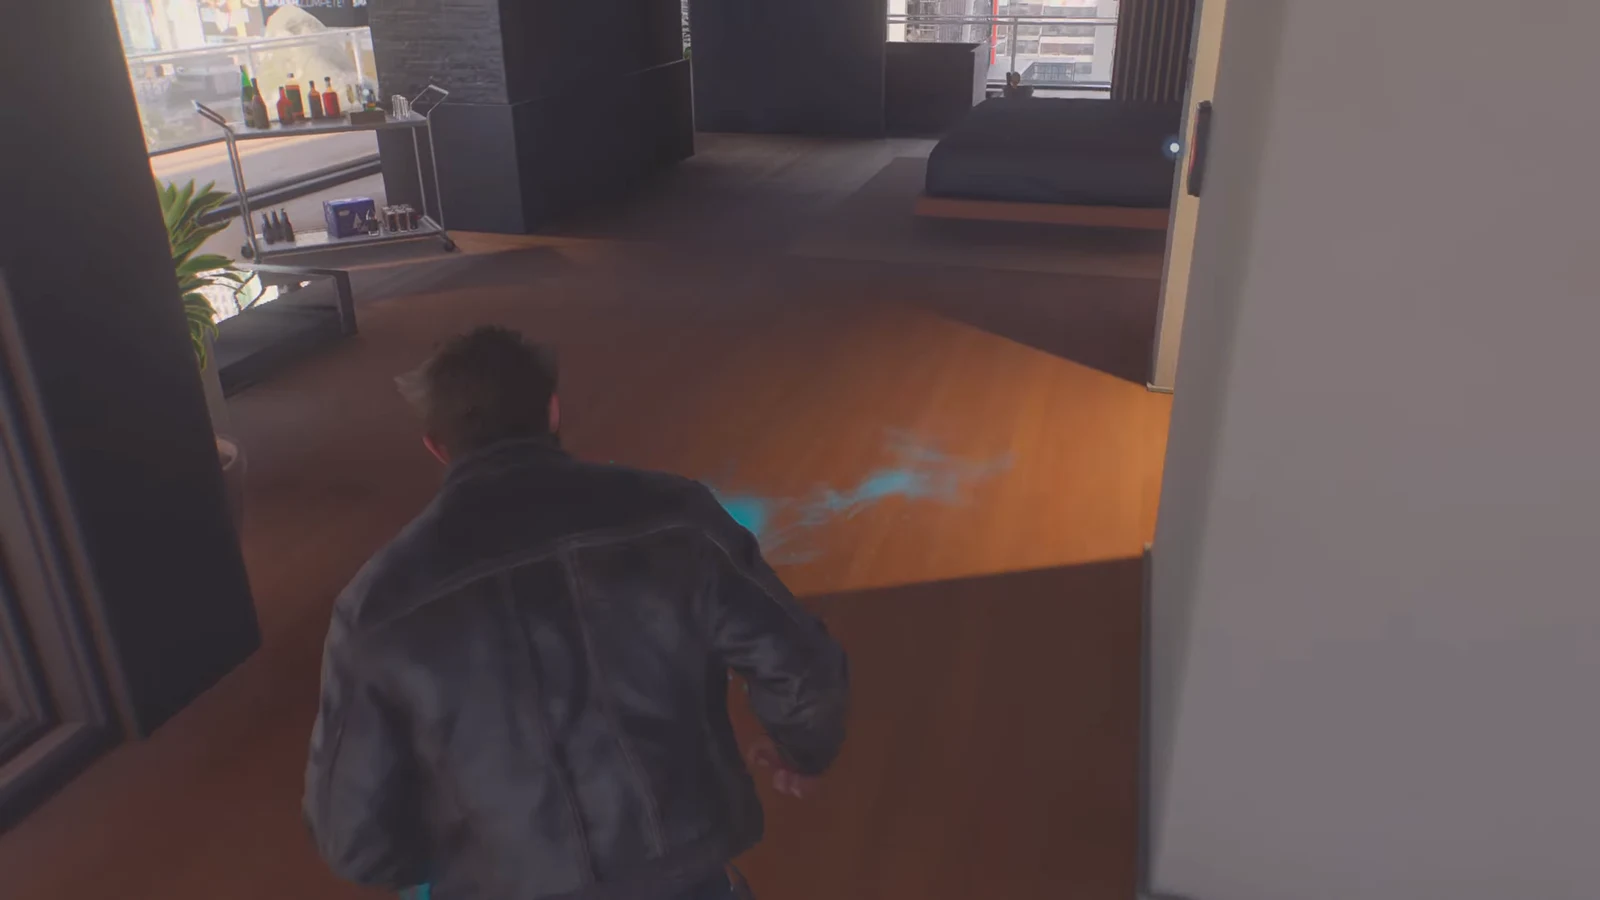
Quick answer: Take a right from the keypad, follow the blue scent trail to the bookshelf in the next room, and read the four manga volumes that are pulled forward out of line.
Where the locked closet keypad is in Shiro’s penthouse
The keypad sits at head height beside a sliding wardrobe door inside Shiro’s apartment, marked with a red screen and a closed padlock icon. A waypoint diamond points you at it, and the objective tracker updates the moment you interact with the pad.
Look closely and you will see fingerprints smudged on the keys, which narrows down the digits Shiro actually presses. You can take a blind stab at it, and a lucky guess opens the door immediately. If the entry fails, Logan mutters that the combination is stashed somewhere in the apartment, which is your cue to stop guessing and start tracking.
Follow Logan’s scent trail to the bookshelf
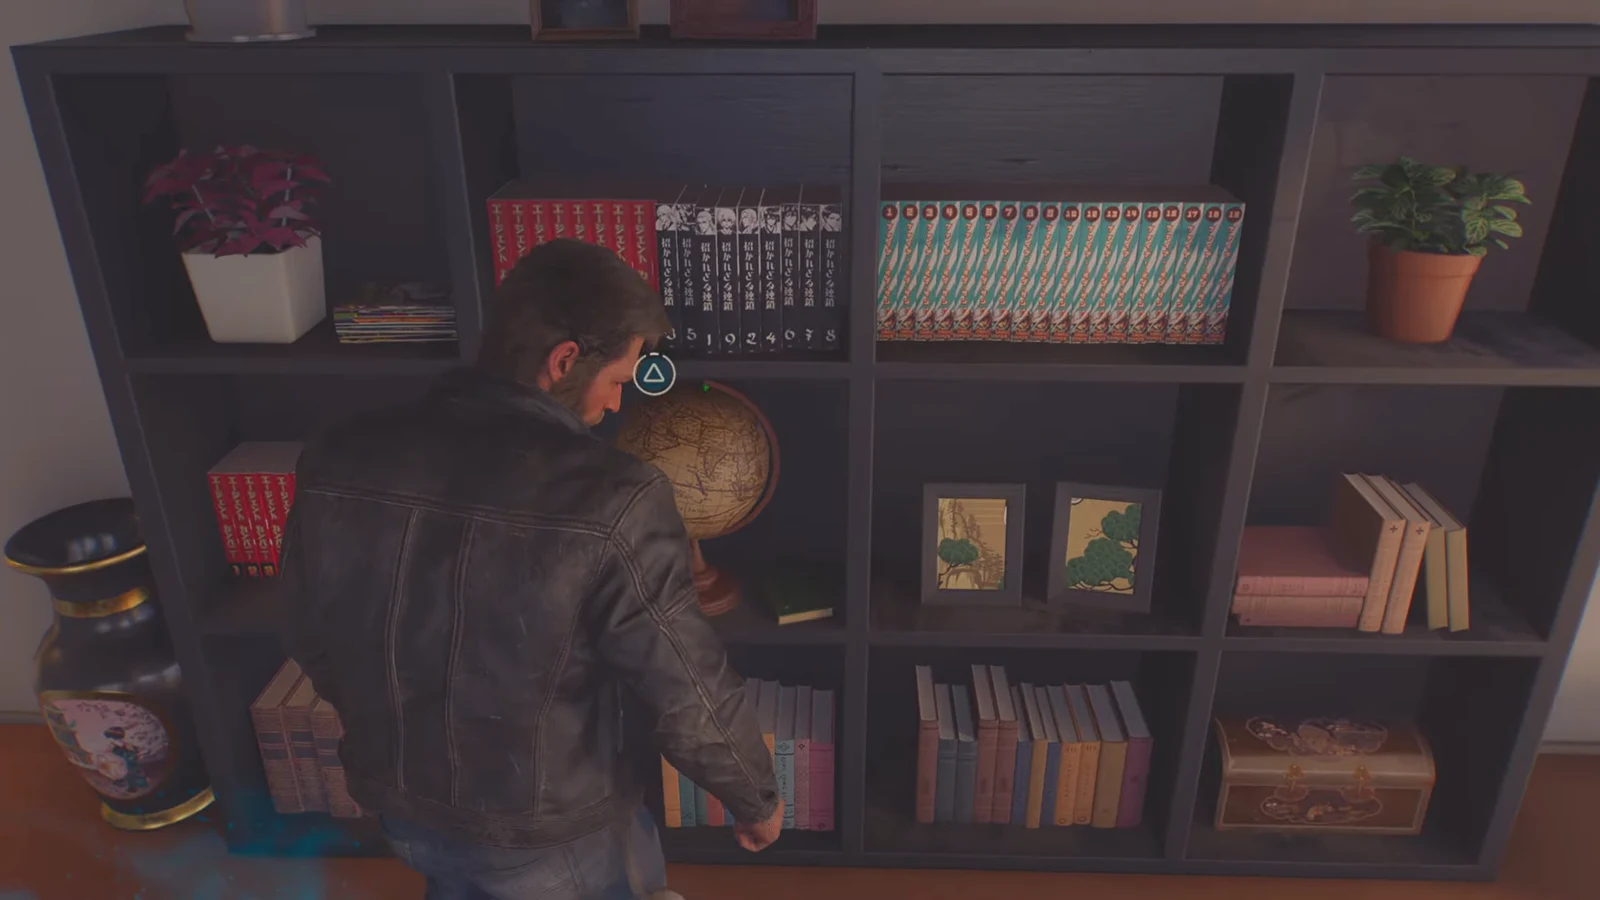
How to read the manga volumes on Shiro’s shelf
Interacting drops you into the game’s inspection view, with prompts for LOOK, ZOOM, READ TEXT and EXIT along the bottom of the screen. You can change your selection freely and back out with UNDO, so there is no way to fail the puzzle here.
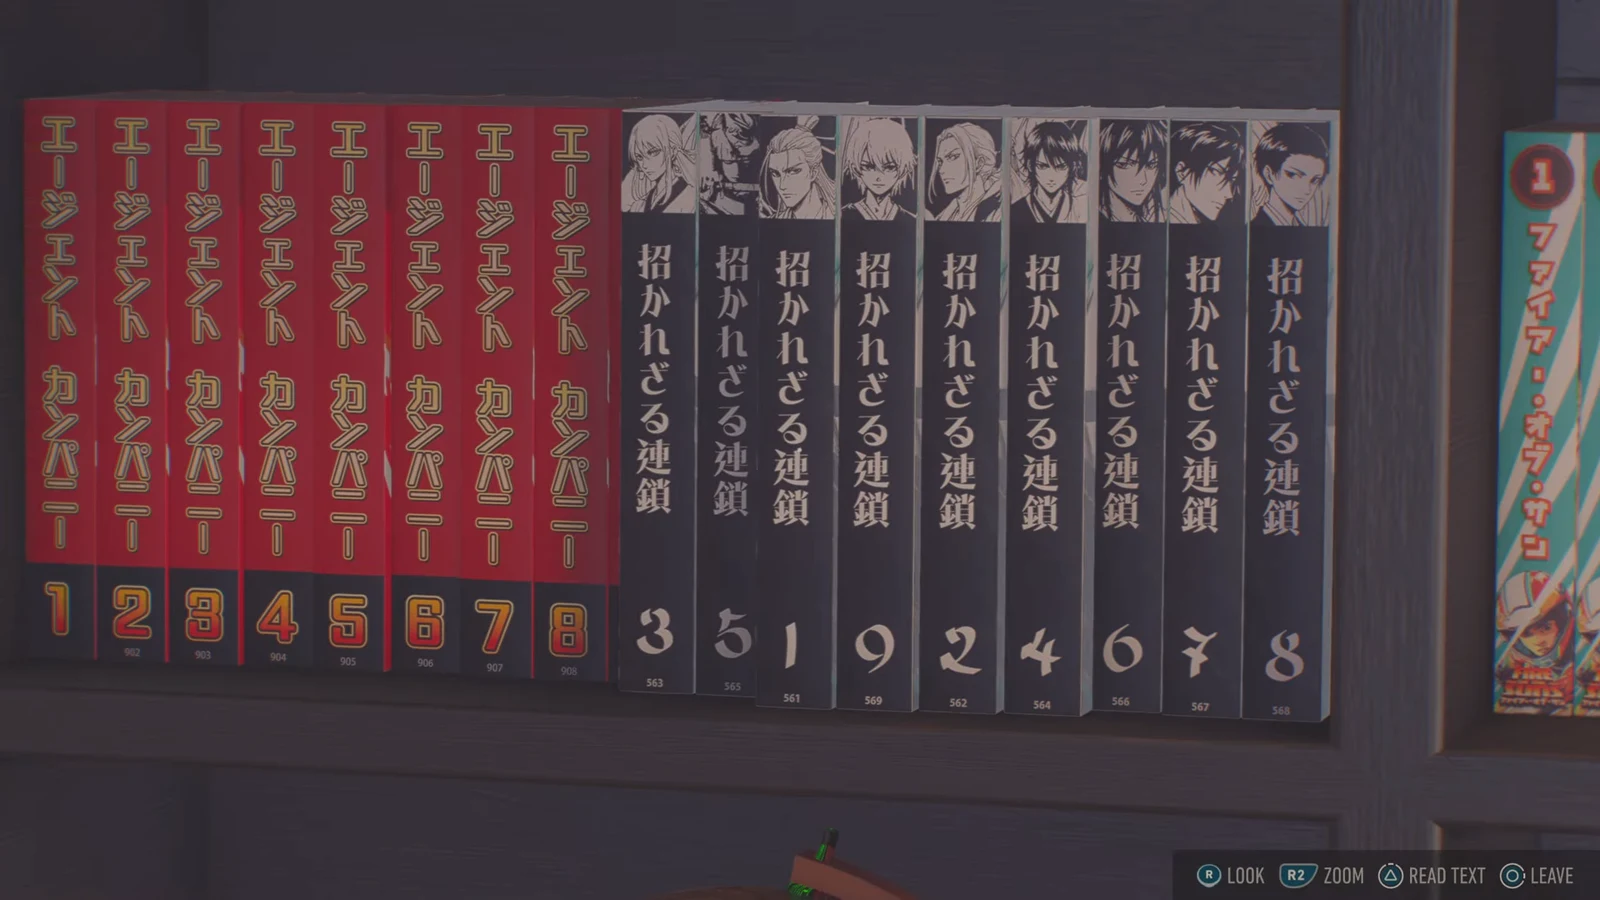
Two rows matter here, and only one of them is the puzzle:
- The top row of red books is lined up neatly and can be ignored.
- The second row holds nine black volumes of the manga Agent Company.
- Every volume in that row has a number printed on its spine.
- Four of those nine volumes are pulled forward, sticking out past the others.
Zoom in and read the protruding spines from left to right. Those four digits, in that order, are what the keypad wants. The volumes are not arranged in numerical sequence, so position on the shelf is the only thing that tells you the order.
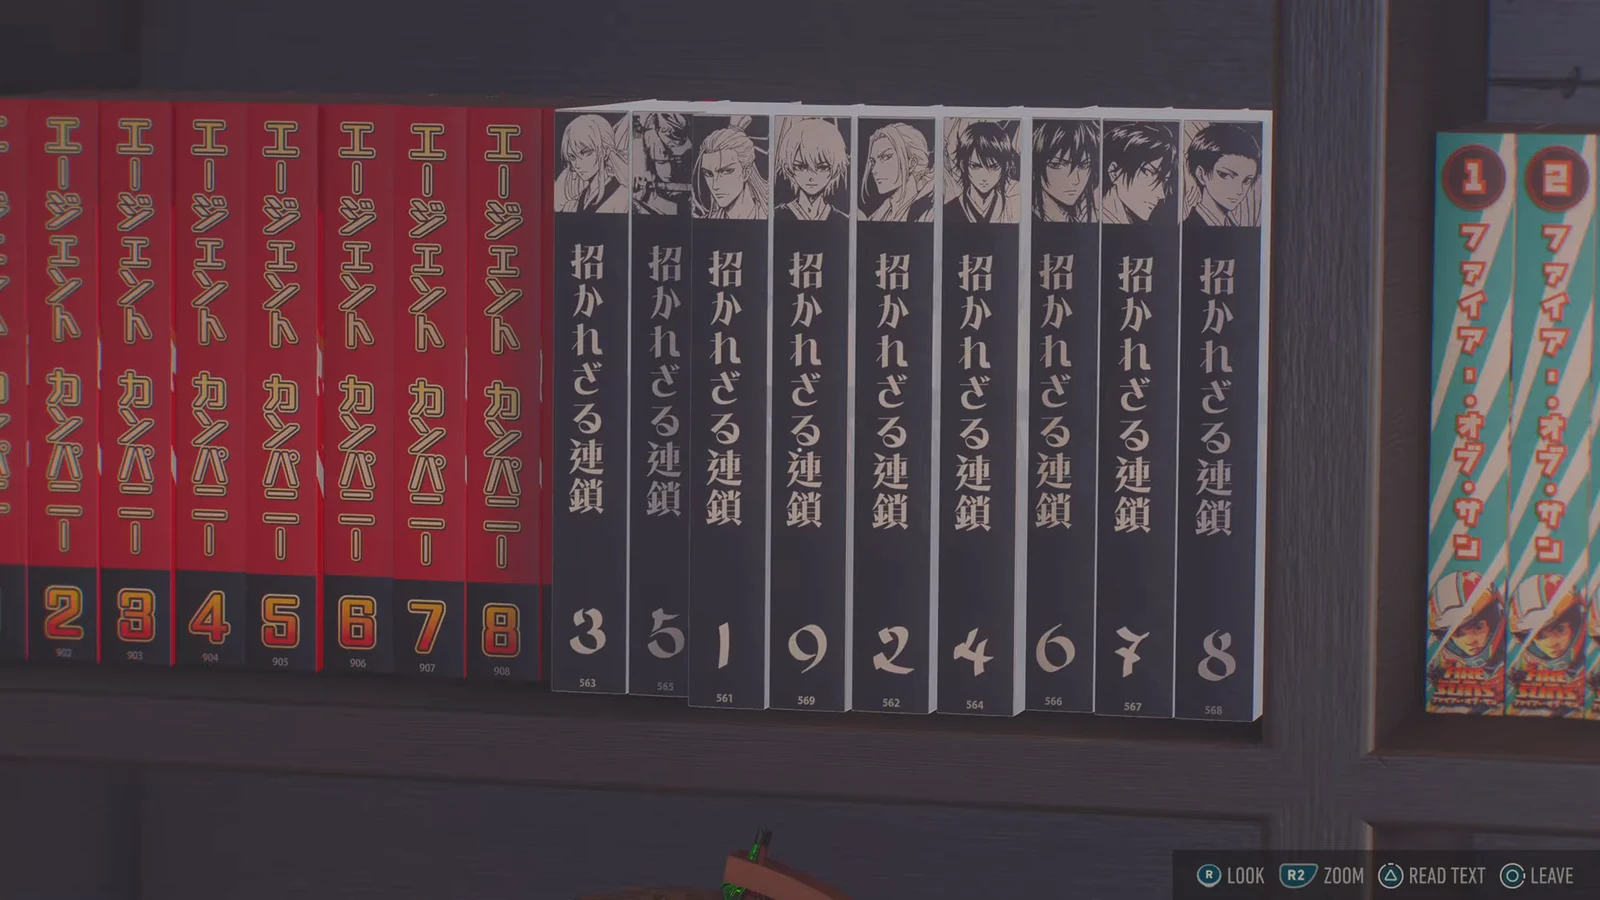
If the shelf looks uniform at first glance, step to one side before zooming. The forward-set volumes are much easier to spot at an angle than straight on.
Confirming the wardrobe is unlocked
Head back to the keypad, interact with it, and punch in the four digits using the SELECT and CHANGE SELECTION prompts. A correct entry flips the keypad screen from red to green and swaps the padlock icon to an open one.
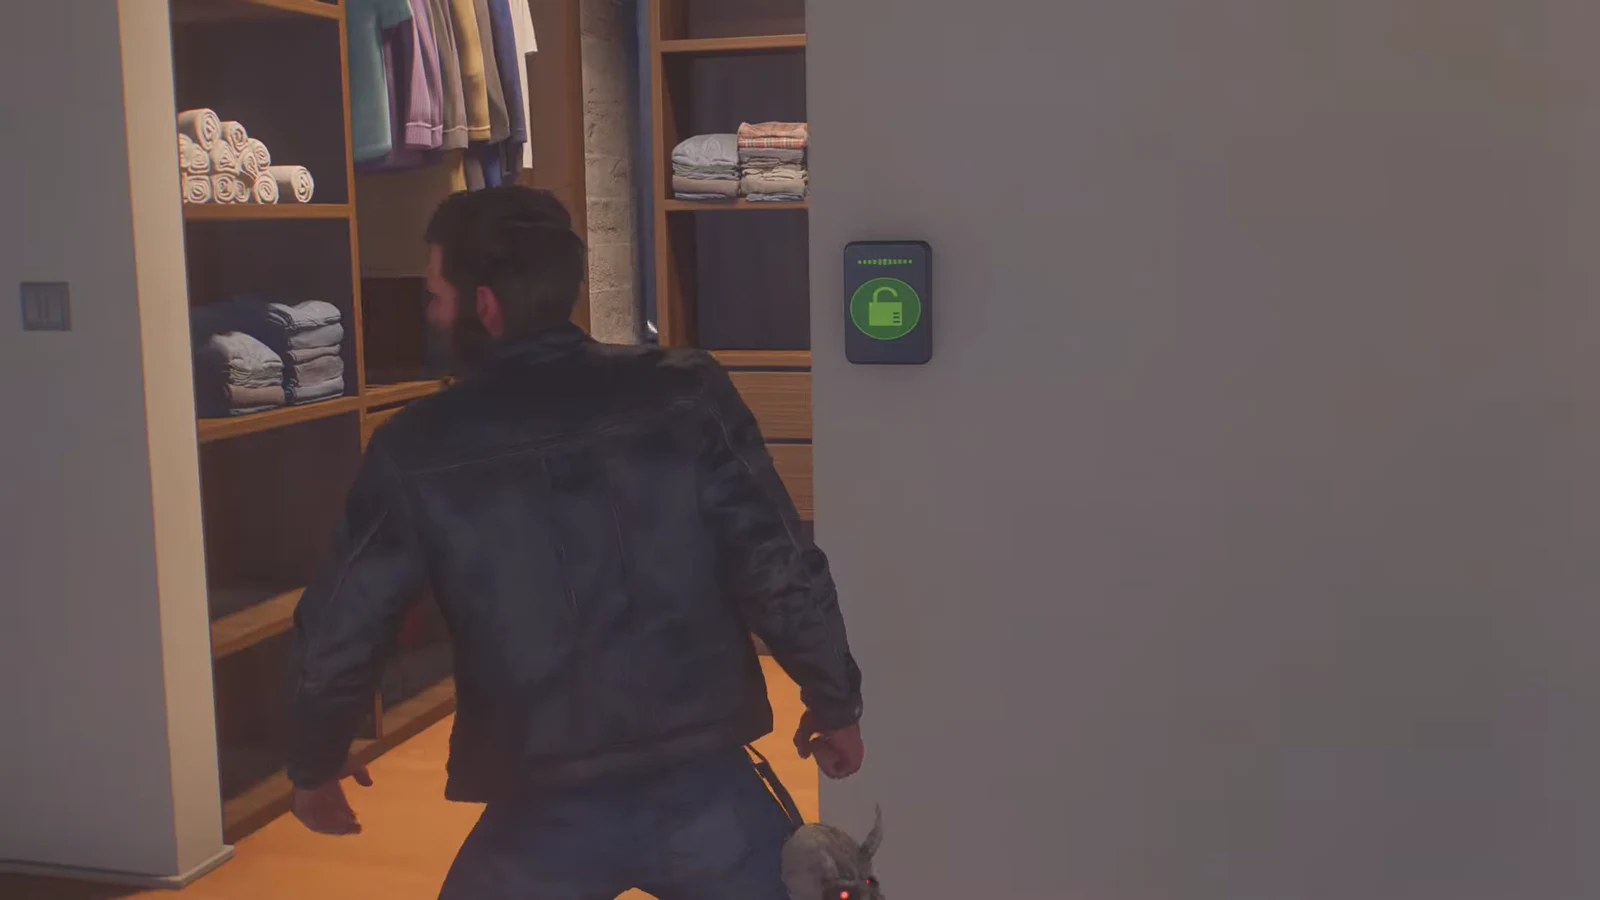
The closet door then slides open on its own, revealing a hidden room behind it with a painting and Shiro’s stash of The Hand memorabilia. That is your confirmation the objective is done. The reveal also feeds directly into the conversation that follows, after which Shiro agrees to help with the search for Walter.
Codes
Shiro’s closet keypad: 1924. Interact with the keypad next to the wardrobe and enter the digits in that order to open the door.





