Meteor Goliath was Evolve’s inaugural adaptation, and it remains a clear model of the adaptation concept. Its body, four abilities and close-quarters brawler job match Goliath’s, but each skill is reworked to leave blue flames burning after impact. Turtle Rock Studios ended dedicated-server support in September 2018; this guide is for the version still played through community setups.
Quick answer: Make Fire Breath’s lingering flames the core of your build. At the start, put one point apiece into Fire Breath, Leap Smash and Charge; choose damage perks such as Heavy Hitter and Brute Force, and spread fire over clustered hunters rather than pursuing a lone target.
What the fire adaptation changes
On paper, Meteor Goliath shares Goliath’s kit: Fire Breath, Charge, Rock Throw and Leap Smash, along with leap traversal and the usual heavy and light melee attacks. What changes is how its attacks deal damage. Its abilities leave lingering fire across an area, so clipping two or three hunters makes each continue taking damage, not just your main target. Their extra reach also helps you spread the flames over the entire squad.
Like Goliath and Behemoth, this is a brawler that relies on close-in pressure and tools for closing gaps. Kraken attacks from range, Wraith fills the assassin role and Gorgon is the summoner. Ranged poking runs counter to Meteor Goliath’s design; its advantage comes from layering fire onto a grouped team.
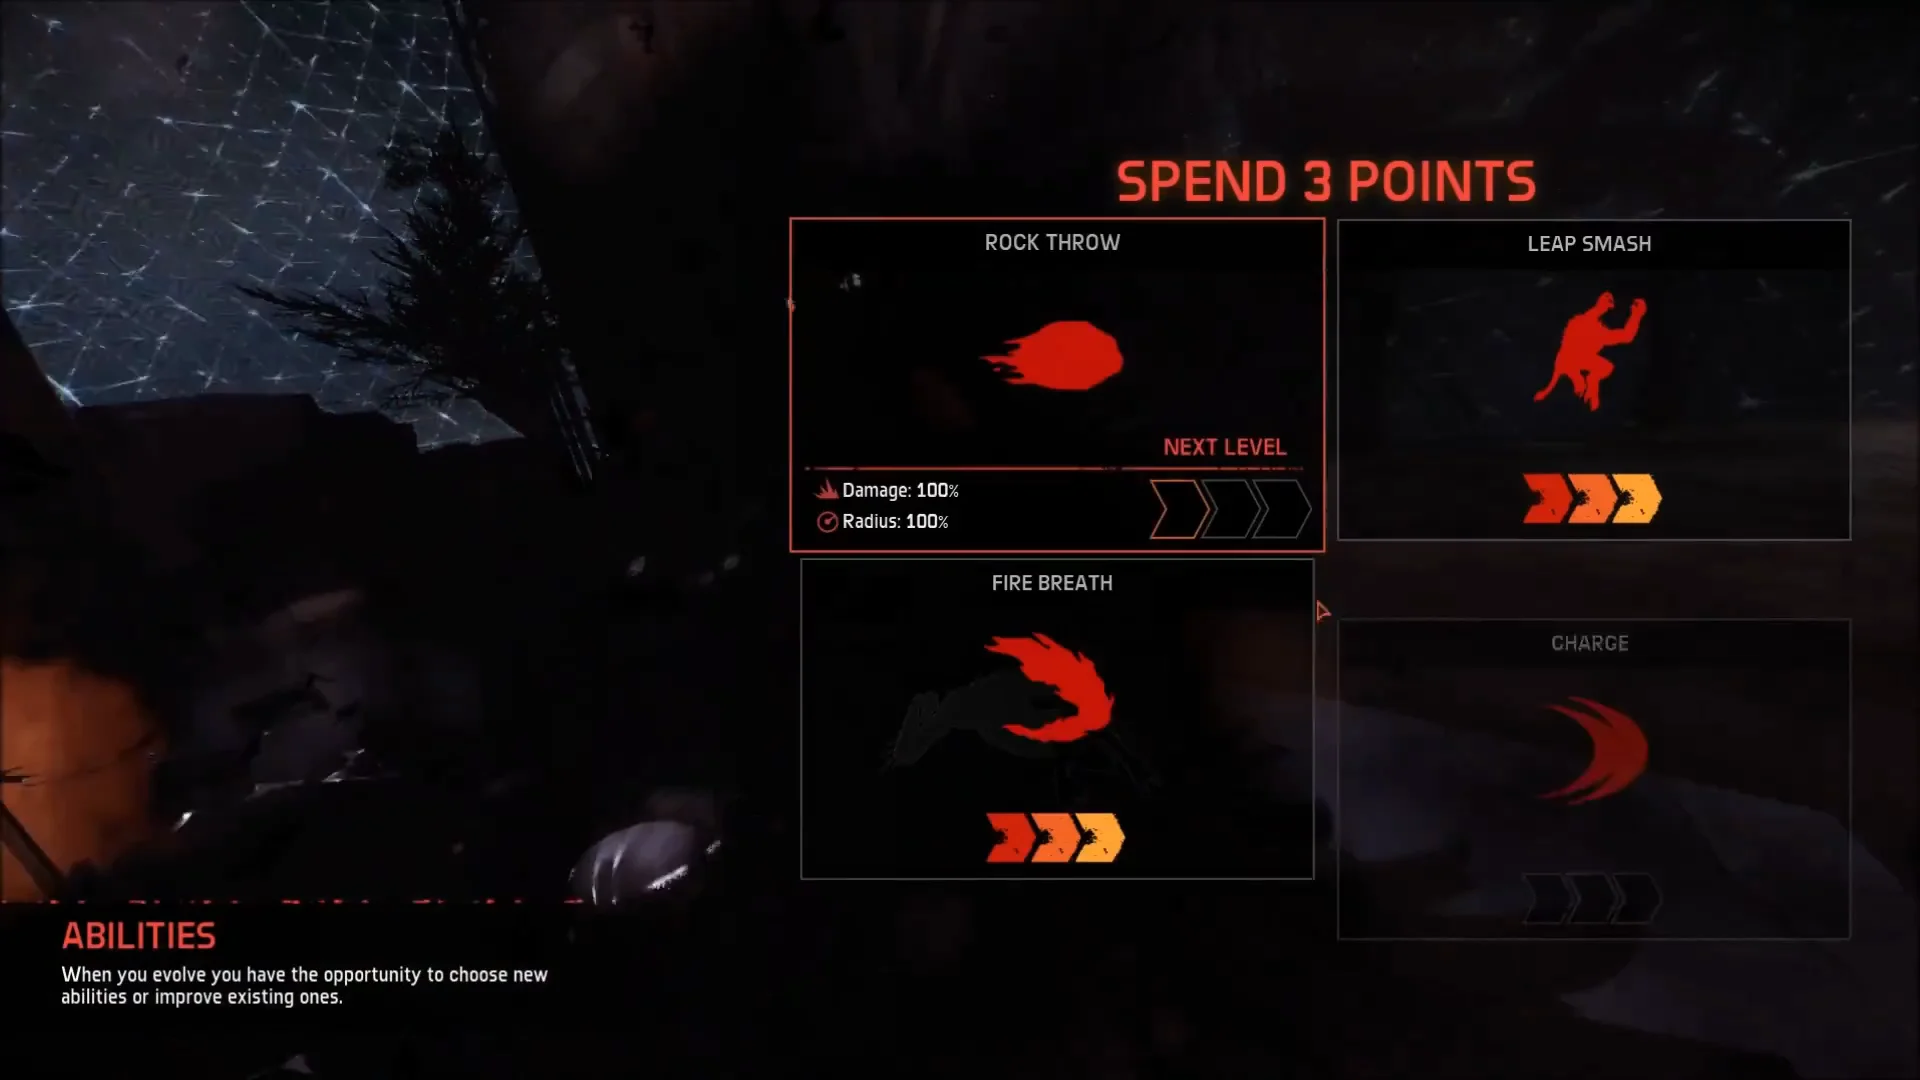
Stage 1 ability points: skip Rock Throw
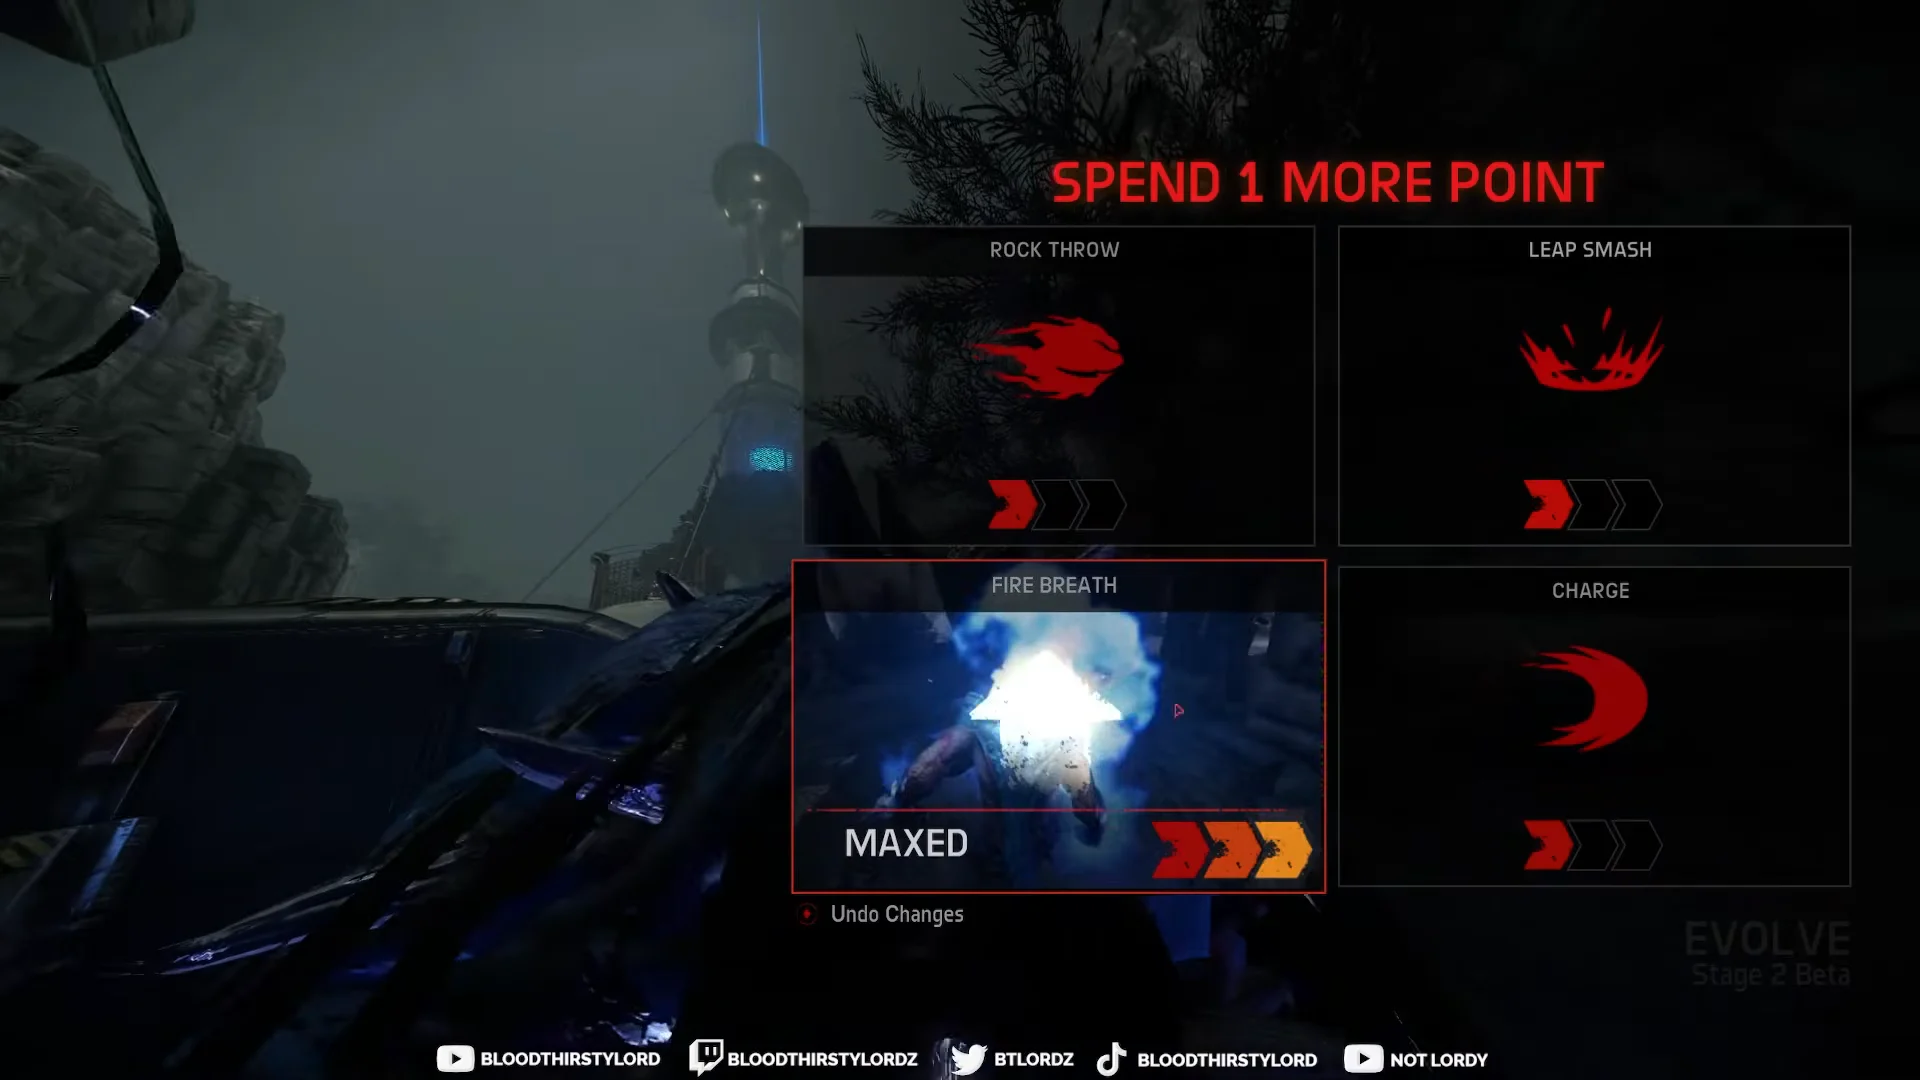
The pre-match period can last two minutes at most, with time for monster choice, ability points and perks. Three points are available before the fight, and placing one in each of three skills is stronger than stacking them. Meteor Goliath does not follow Wraith’s exception to this approach.
Rock Throw should get no opening point. At level one, its projectile moves slowly, reaches only a short distance and bursts over a small area; the obvious wind-up gives capable hunters time to jetpack clear. Instead, assign one point to each of Fire Breath, Leap Smash and Charge.
Fire Breath has multiple uses: it deals burn damage and exposes cloaked hunters, keeping them visible while the flames last. That is especially useful against a Support cloaking the team. Leap Smash and Charge let you initiate or retreat, and can also cover ground while your traversals recharge.
An early point in the wrong skill is recoverable. Stage 2 grants three additional points, followed by two more at stage 3, giving you a chance to adjust as the match progresses.
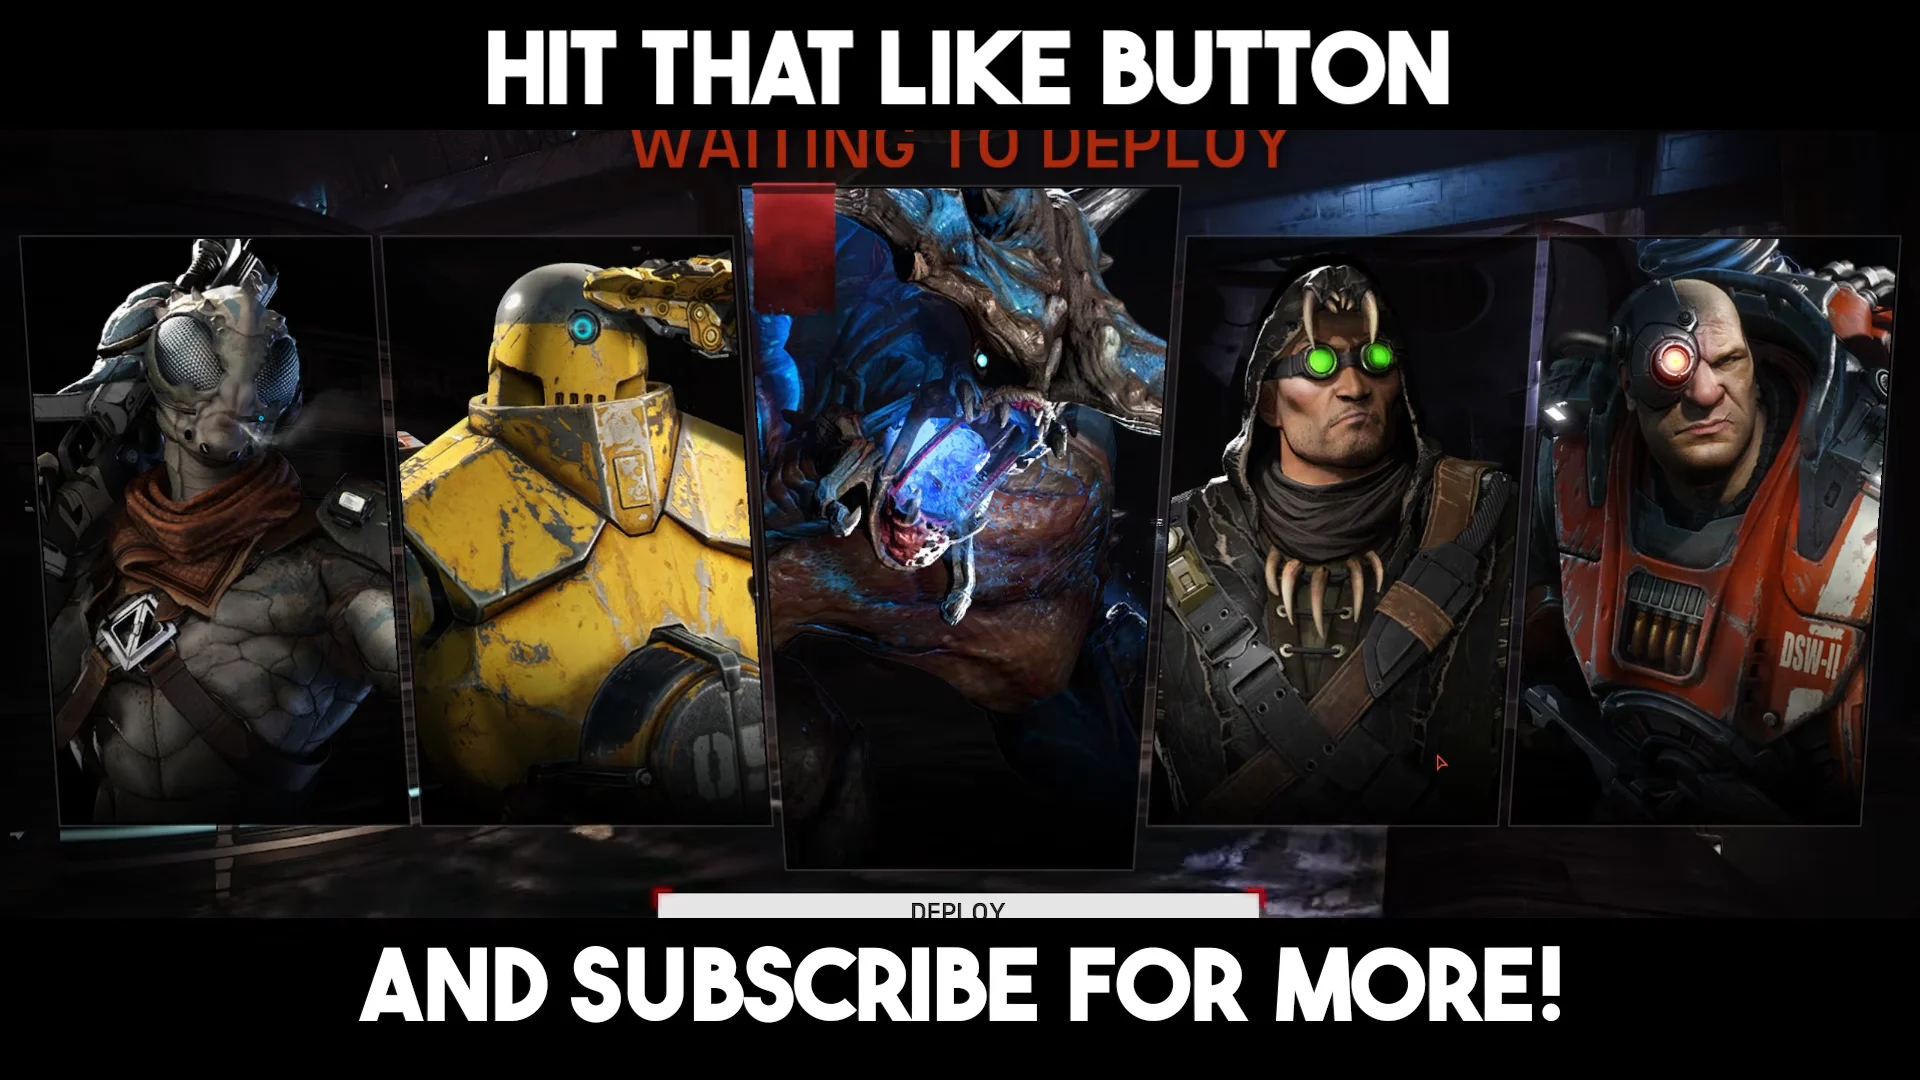
Perk selection for a flame damage build
Choose one perk from a pool of nine; most have three upgrade levels. The Customise option beneath your name handles skins, while the ready control changes from red to green. You may switch your monster, point allocation or perk freely until every player is ready.
| Perk | Level 1 | Level 2 | Level 3 |
|---|---|---|---|
| Cooldown reduction | 10% | 15% | 20% |
| Damage increase | +5% | +7.5% | +10% |
| Damage reduction | +5% | +7.5% | +10% |
| Movement speed | +15% | +20% | +25% |
| Traversal regeneration | +10% | +20% | +30% |
| Feeding speed | +33% | +55% | +75% |
| Climbing speed | +50% | — | — |
| Armour regeneration | +75% | +125% | +175% |
| Smell range | +37% | +55% | +75% |
Each of the five strongest perks is useful in every fight, so any one is a sound choice if you cannot decide. Feeding speed and climbing speed are more situational, but still viable. Avoid armour regeneration and smell range. Armour regeneration does not boost the armor you rely on: eating wildlife gives 500 armor for each bar consumed, and the perk has no effect on that gain. Smell range offers no benefit while chasing or fighting.
An all-in flame loadout leans on the damage perks and accepts the cooldown penalty that comes with them. A common setup pairs Brawler as the minor perk with Heavy Hitter (+7% damage, 11% longer cooldowns) and Brute Force (+10% damage, 16% longer cooldowns). That is roughly a +17% overall damage increase in exchange for +27% longer ability cooldowns. The lingering burn helps here, because damage keeps applying while your abilities recharge.
Feeding routes and the stage 2 rush
The monster appears first, and you gain control 10 seconds later; hunters arrive another 30 seconds after that. Wildlife begins appearing at the 20-second mark, 10 seconds after you can move. If you immediately sprint down a route, you will pass through areas before their wildlife has spawned.
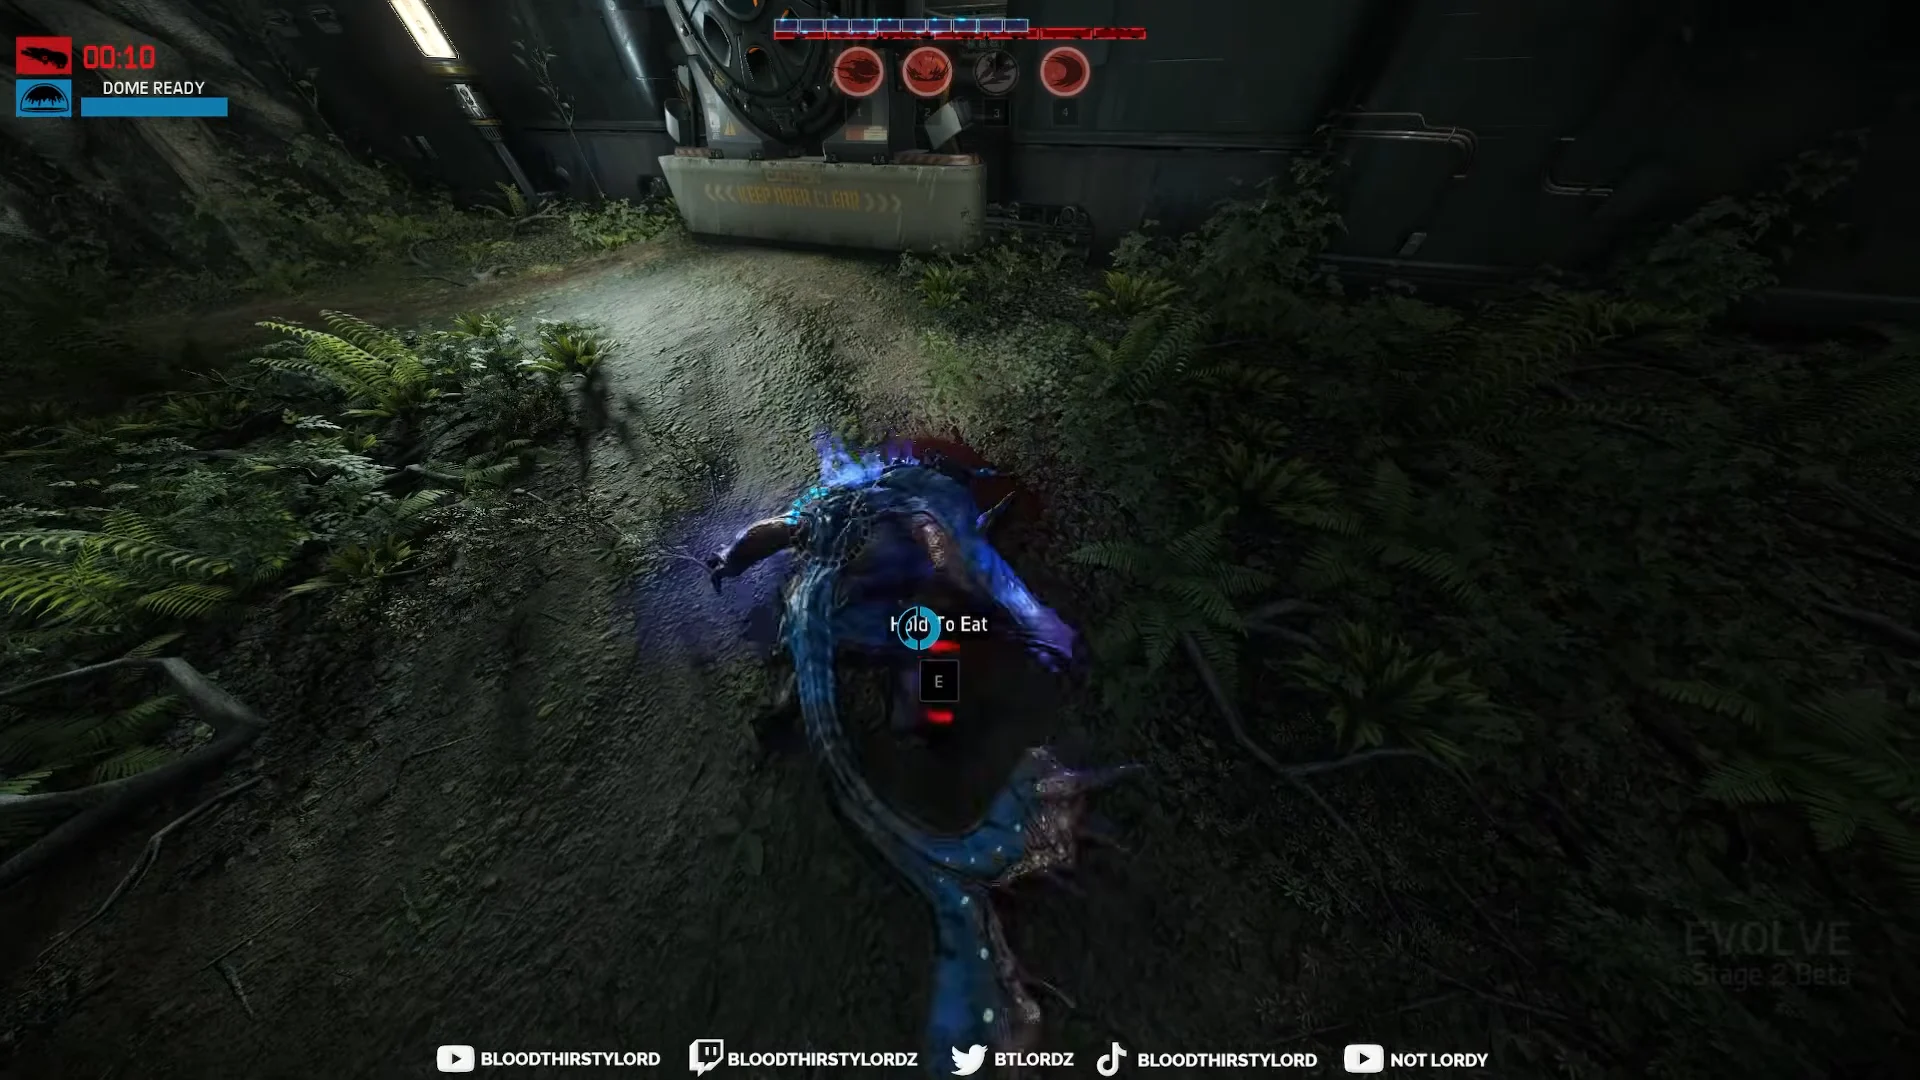
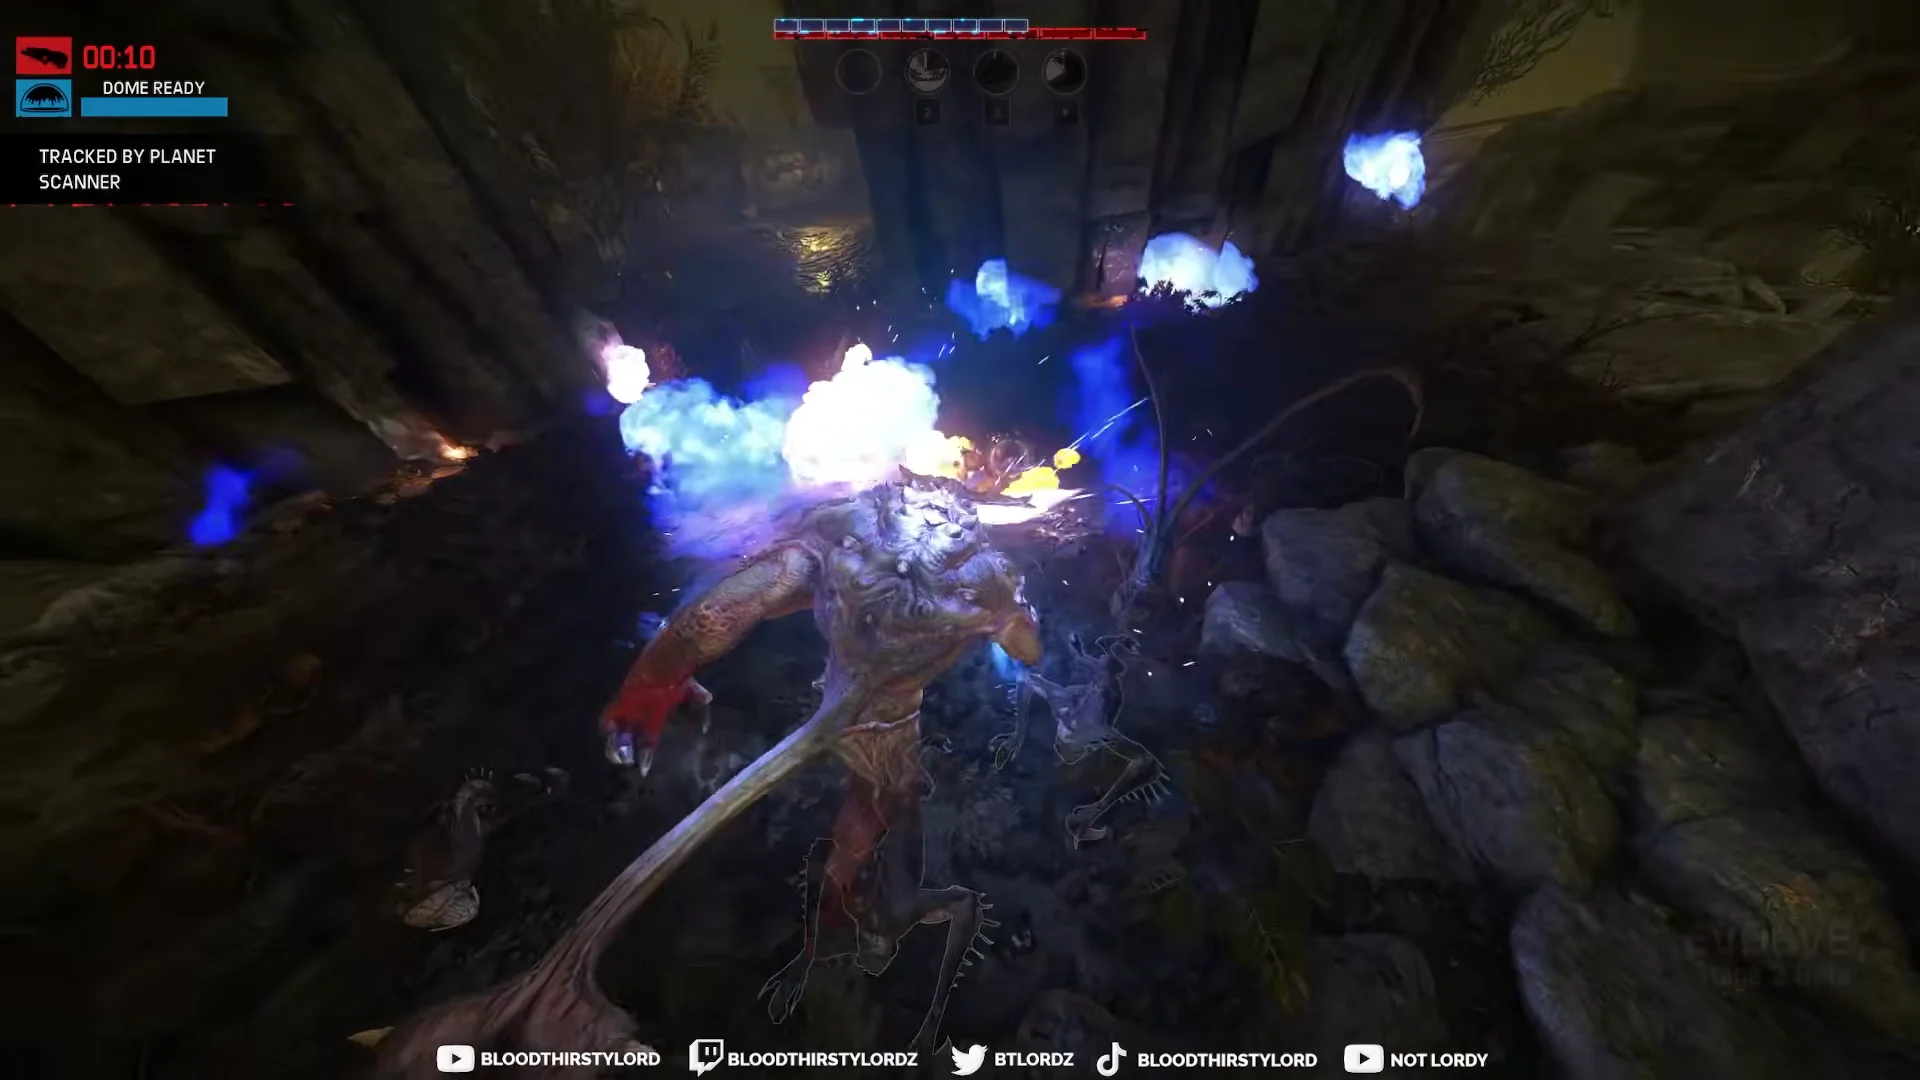
These timings use Goliath, the game’s fastest monster, as their baseline. Meteor Goliath shares its chassis, so the same times work for it. Kraken and Behemoth are slower and fall behind on these routes.
Evolution stages and stat growth
To evolve, you withdraw into a chrysalis and remain vulnerable throughout; hunters who locate you get an opening to attack. Completing the process gives you a larger body, a refilled, extended health bar, additional armor and more ability points.
| Stage | Health | Armor | Height |
|---|---|---|---|
| 1 | 8,000 (5 bars) | 4,000 (8 bars) | 6.3m |
| 2 | 13,000 (8 bars) | 5,000 (10 bars) | 12.4m |
| 3 | 18,000 (10 bars) | 6,000 (12 bars) | 20.6m |
Your leap reaches 31.1m at stage 1 and 54.7m at both stages 2 and 3; you also have three traversals, each recharging in 17 seconds. At stage 3, destroying the Power Relay becomes a practical path to victory alongside eliminating the squad.
For the flame-focused build, use stage 2 to add to Fire Breath and invest your first point in Rock Throw. In narrow corridors, sneak to disrupt tracking and juke the hunters. At stage 3, bring Rock Throw to level 3 and Leap Smash to level 2; this gives you a projectile finisher and a broader ground slam to complement the burn.
Elite wildlife along the way hands out buffs worth grabbing. Eating an elite creature can grant +75% faster armor regeneration or +70% increased pounce damage, both of which feed straight into an aggressive fire game.
Fighting inside the dome
A typical squad fields four hunters: one Medic, one Support, one Trapper and one Assault. The Trapper’s mobile arena commits the teams to a fight; once it is deployed, you can either kill a hunter or stay alive until the arena expires.
When a dome catches you at stage 1 with little armor, avoid trading blows in place. Stay mobile, use the terrain to block the squad’s view, and leap to disrupt their shots until the dome ends or you take down the Trapper. Harpoons cut Charge and Leap Smash range in half, but other slowing effects do not change either move’s range or speed. After downing a hunter, disengage cleanly as soon as the dome drops to save health for the next encounter.
Commit with a combo rather than relying on damage alone. Leap Smash briefly stuns its target, creating an opening to pounce or follow immediately with Charge; use Rock Throw to close the sequence as a hunter retreats. Fire Breath reaches farther than its animation suggests, making it effective for blocking a runner’s path. The knockback on Leap Smash, Charge and Rock Throw also helps control positions: drive hunters off high ground and break their formation apart.
Who you target can decide the fight. Take out the Medic first to remove healing and revives; then Support and Assault become much easier to finish. You can also lure a rescue attempt: leave a hunter down, act as if your attention is elsewhere, then Leap Smash the body and the rescuer together. This can catch Lazarus before he uses the glove.
Come stage 3, the Power Relay is the cleanest closer. Reaching it with full armor and a maxed fire kit lets you land overlapping Fire Breath, Rock Throws and Leap Smash on a defending team and burn the whole squad down in one push.
How to confirm an evolve or a win registered
You have evolved once the chrysalis animation finishes and the upgrade screen appears with new points to spend. After assigning them, you can see that your model has grown and your health bar has gained segments; health and armor are both full. If hunters interrupt the chrysalis, the evolution fails and you do not advance a stage.
A clear result screen marks the end of the match. Defeat the final hunter to see MONSTER WINS!; if your last health bar is depleted, the HUNTERS WIN screen appears instead, followed by a post-game character overview showing your stats and rewards. The winner of the round is clearly displayed.
Meteor Goliath does not require learning a new monster from the ground up. Its feeding pace, three-stage progression and close-range plan all match Goliath’s, with flames that continue to burn even after you shift to another target.