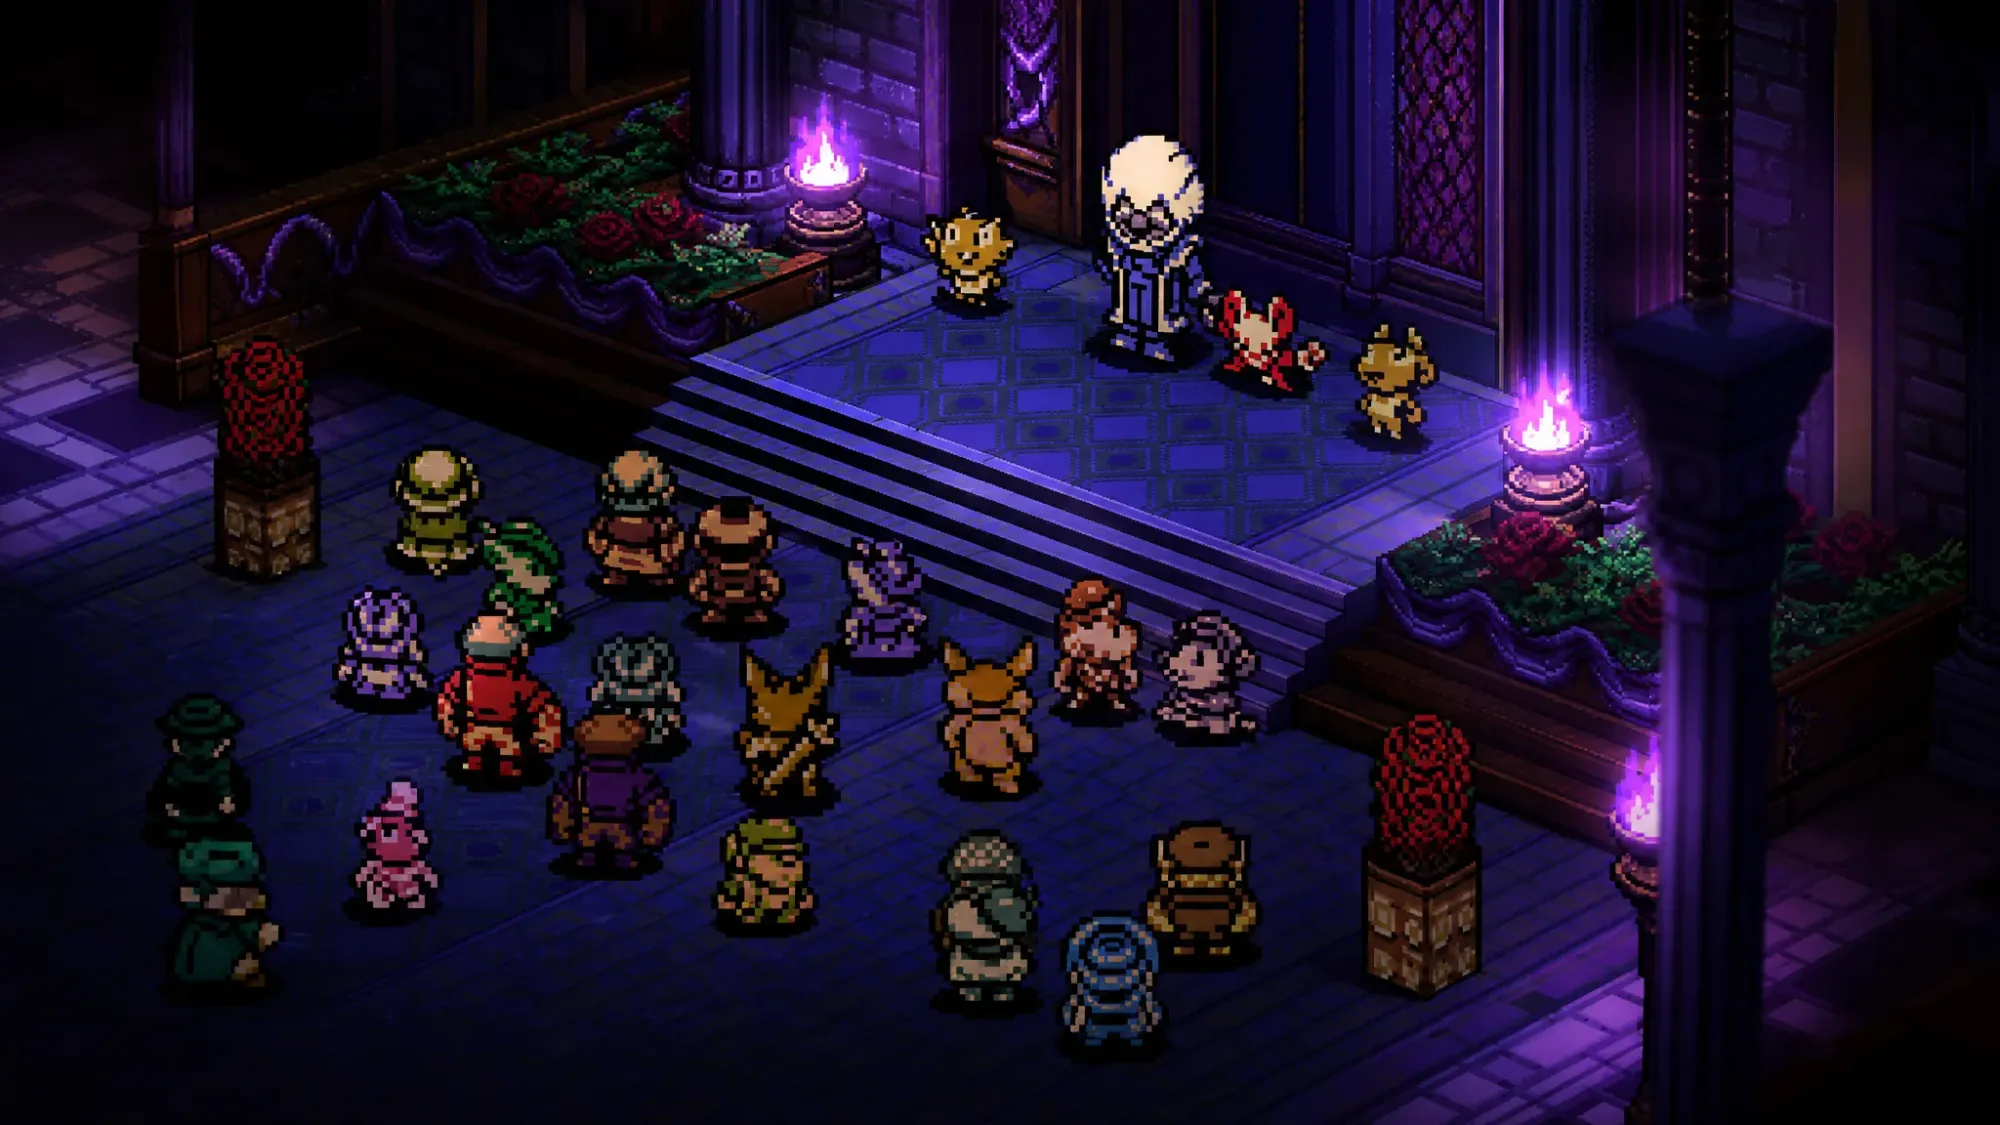
Tenebrous Isle hides nine optional bosses that never show up on the critical path. Each one sits behind a side quest, a locked door, a collection, or a chance encounter, and beating it hands over a specific trinket, upgrade, or container. Miss the trigger and the fight simply never opens. The list below covers every hidden boss in order of appearance, the exact condition that starts each fight, the move you need to watch, and the reward you walk away with.
Here is the full set at a reference level before the breakdowns.
| Boss | Location | What triggers it | Reward |
|---|---|---|---|
| Midden | Queensbury, Ancestral Chamber | Open the 2-Plasma-Vial door, then insult him | Fly Bait Trinket |
| Maxi | Ossex, right-side town entrance | Enter town from the right after the first dungeon | Trinket Bag |
| Armand | Ossex, under Legovich’s shop | Try to buy a second item from Legovich | Restores the blacksmith |
| Dugin | Southern Outskirts or before Backwaters | Talk to Ack and Dak, then find the random spawn | Lace Glove Trinket |
| Willis | Ossex, Bowery music hall | Escort the frog band back to town | Pneumatic Armlet Trinket |
| Dark Deluxy | Windy Generator | Unlock the two-Spark door and escort Luxy | Spark Container |
| Mirren | Coltrane Peak, Frostbite Woods | Reach the frozen carriage and offer help | Blinking Glass Trinket |
| Evra | Ossex Courtyard, Goddred’s Grave | Cross the gap and open the 3-Vial gate | Health Rose |
| Thalassion | Fishing Hole, Backwaters | Catch all 15 fish first | Gilded Rod upgrade |
Midden in the Queensbury Ancestral Chamber
The first hidden fight waits in Queensbury’s Ancestral Chamber, behind a door that needs two Plasma Vials to open. Talk to Midden, then provoke him by choosing the insult option to start the fight. He is one of the gentler bosses here.
His pattern is to lunge across the arena trying to punch you while spawning a swarm of flies that clogs your movement. Clear the flies, keep your distance, and strike when he closes in. Winning gives you the Fly Bait Trinket.
Maxi at the Ossex town entrance
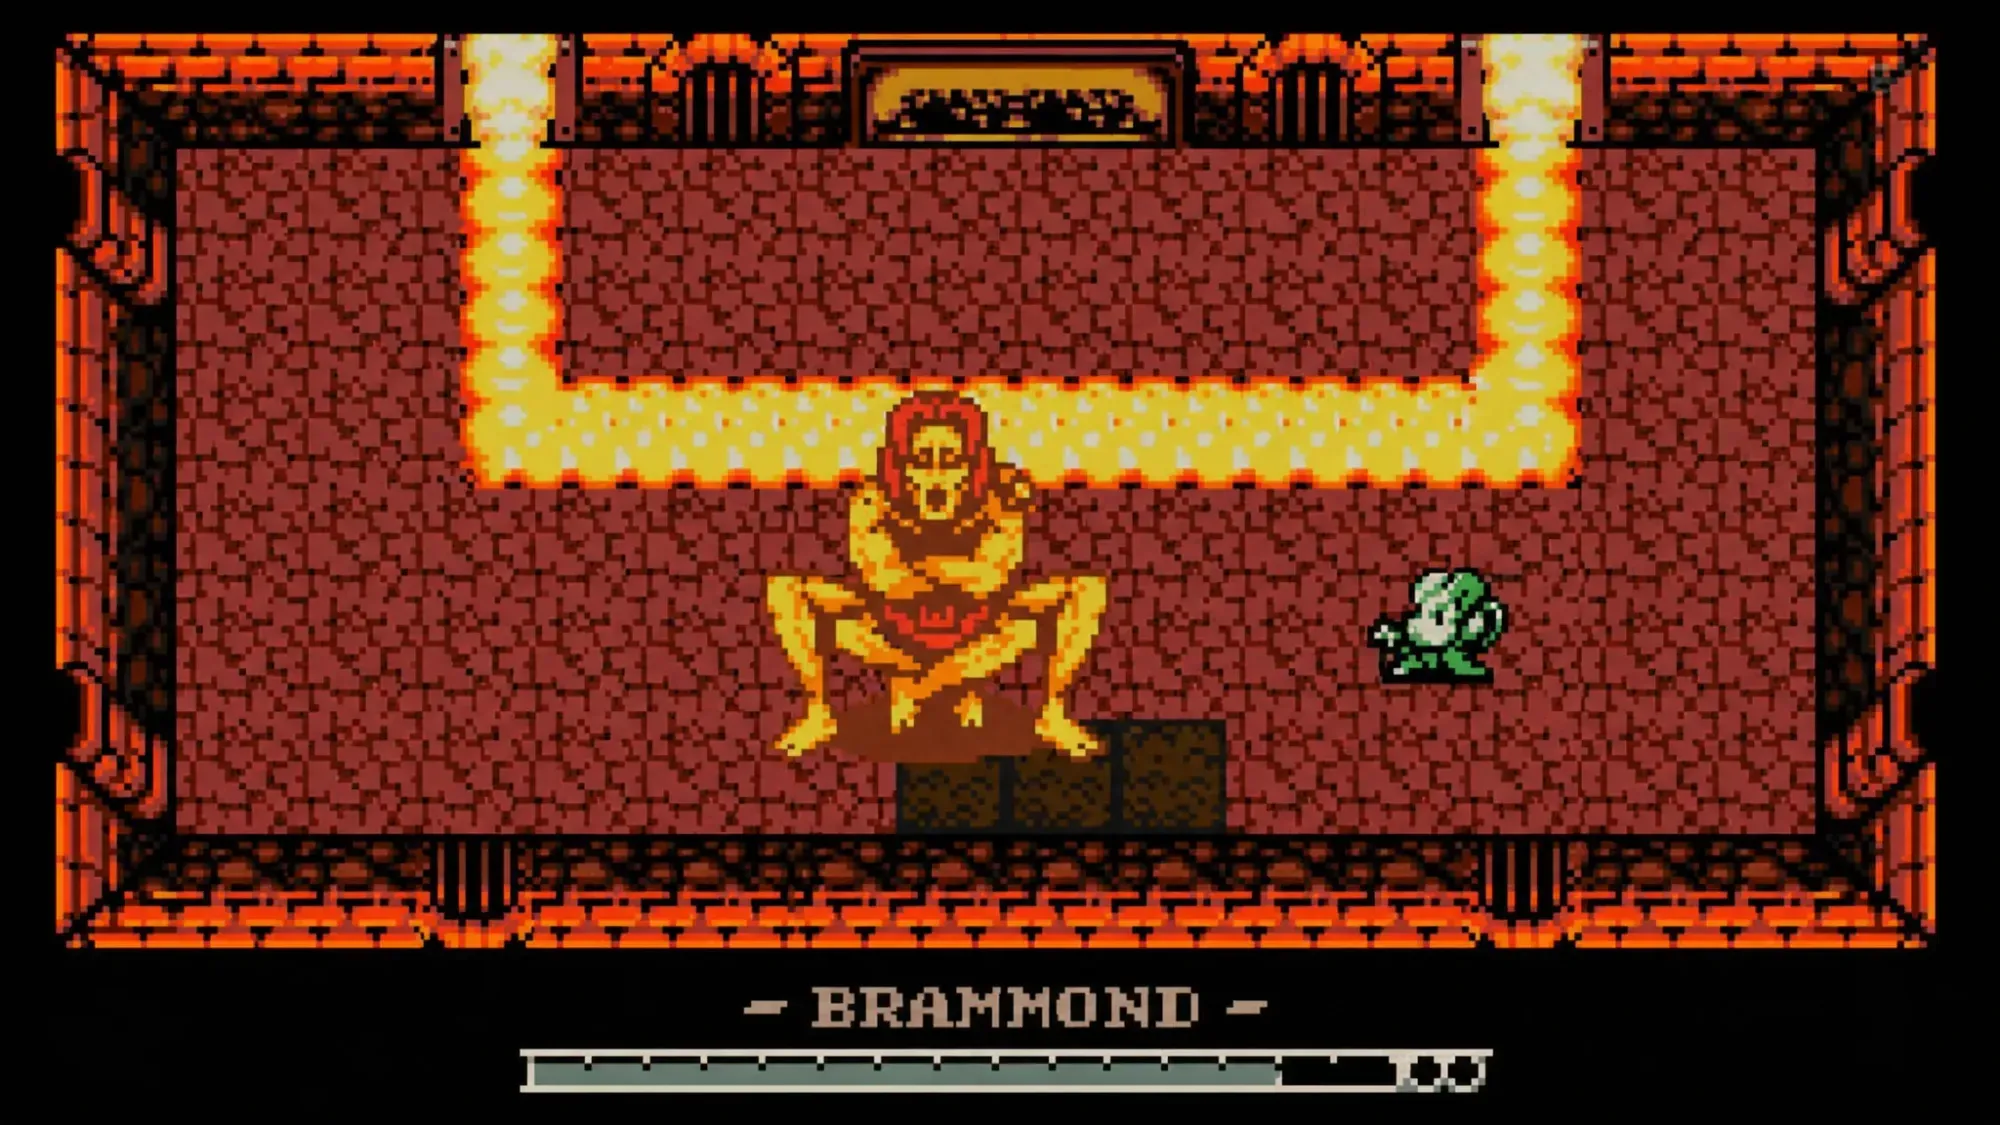
Maxi is a roaming ambush rather than a sealed arena. After you clear the first dungeon and head back from Queensbury Crypt to Ossex, enter town through the right side and he drops in to attack. There is no item or door to prepare.
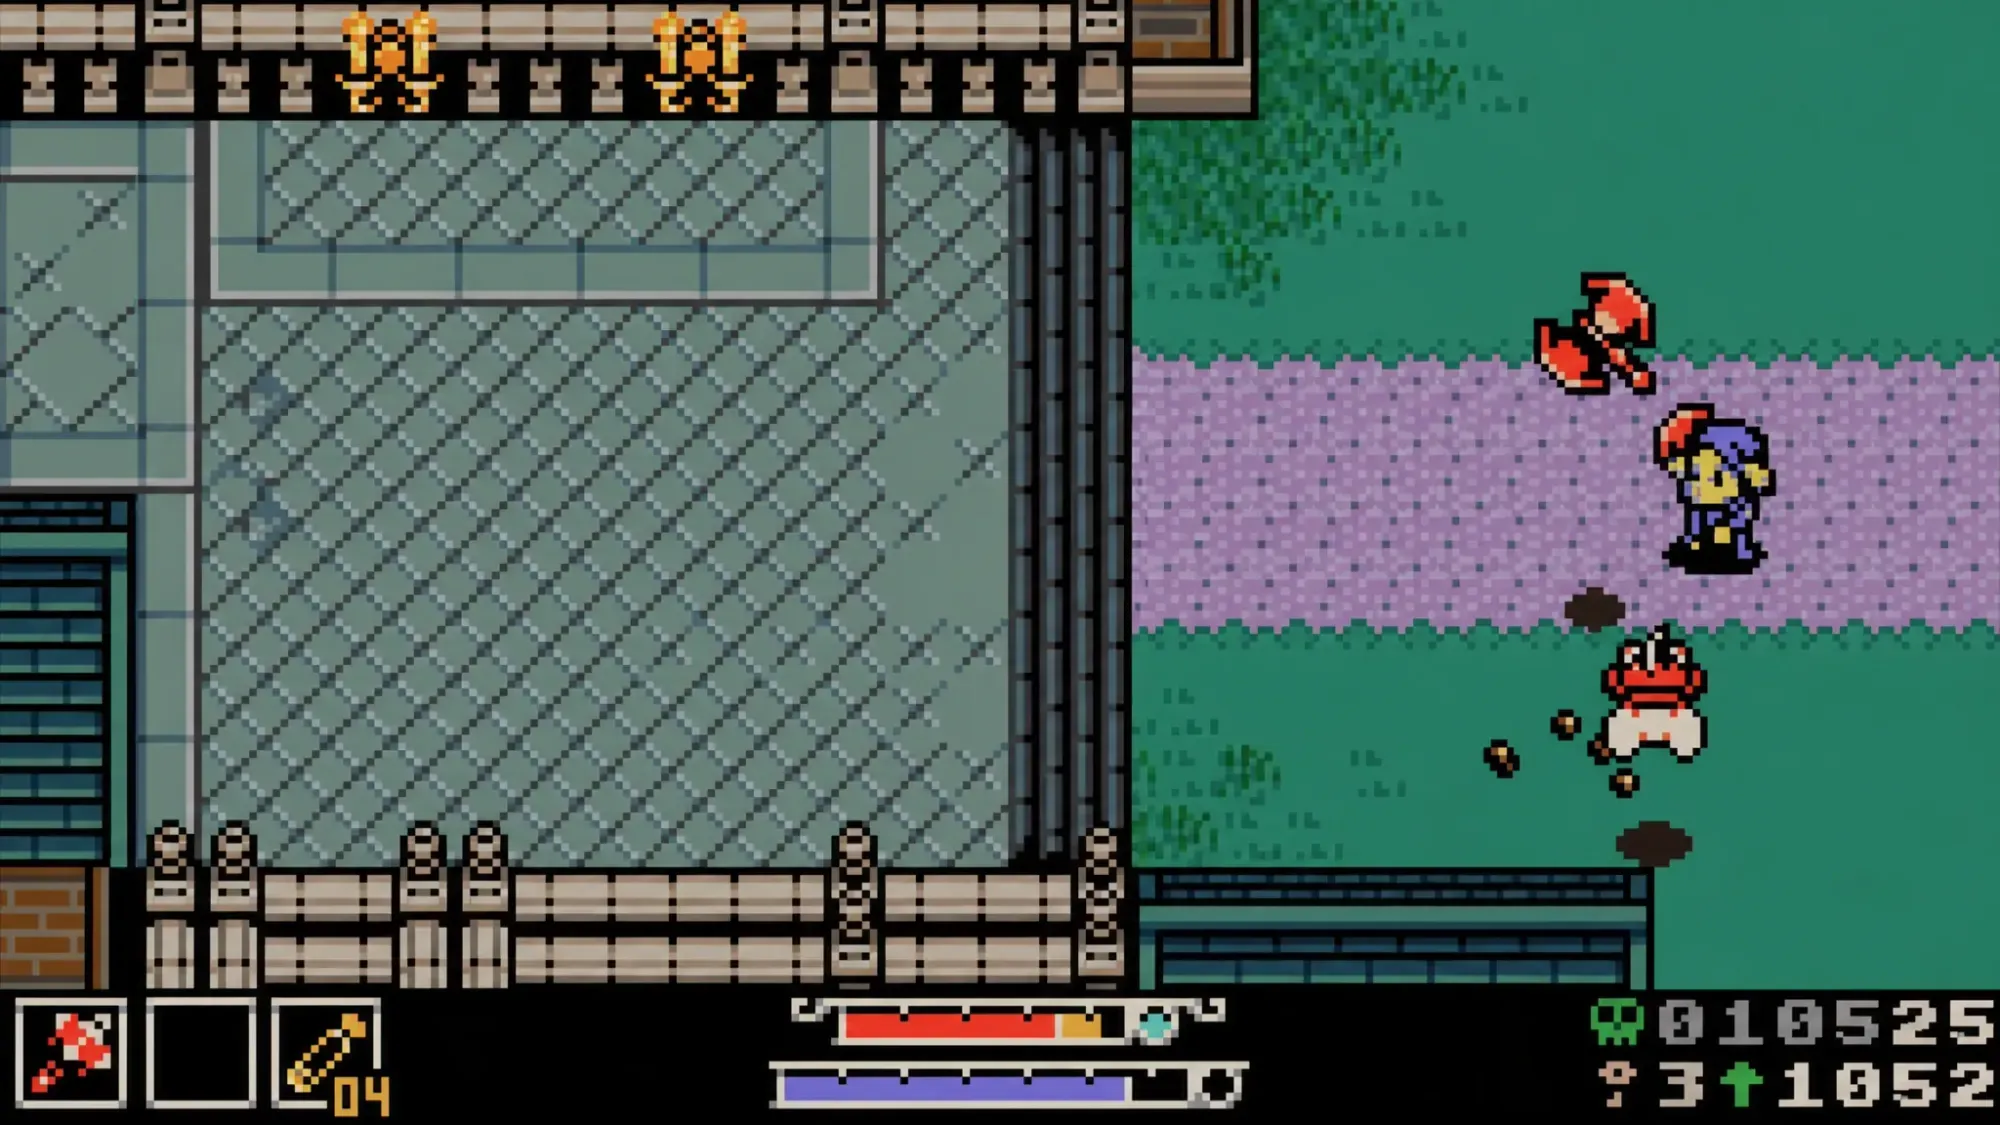
He fights with a stretched version of the Nightstar whip that reaches much farther than yours, plus a projectile, axe throws, and constant hopping. Burrow underground often to slip past the long-range hits, then surface to punish. Beating him nets a Trinket Bag, which lets you equip more than one trinket at a time.
Armand beneath Legovich’s shop
Try to buy a second item from Legovich in Ossex, and you get a letter instead. His brother Armand is refusing to work down in the basement. Dig through the hole in the top-right of the shop to reach his lair, and beating him puts the blacksmith back in business.
Armand has a large health pool, dashes at you with his four legs, and swings a hammer. He resists physical attacks, so the trick is the lava. Burrow and lead a route from the two lava spots at the top of the room toward his path. When he stands in lava he loses that resistance and takes normal damage from every hit. The lava hurts you too, so place it carefully.
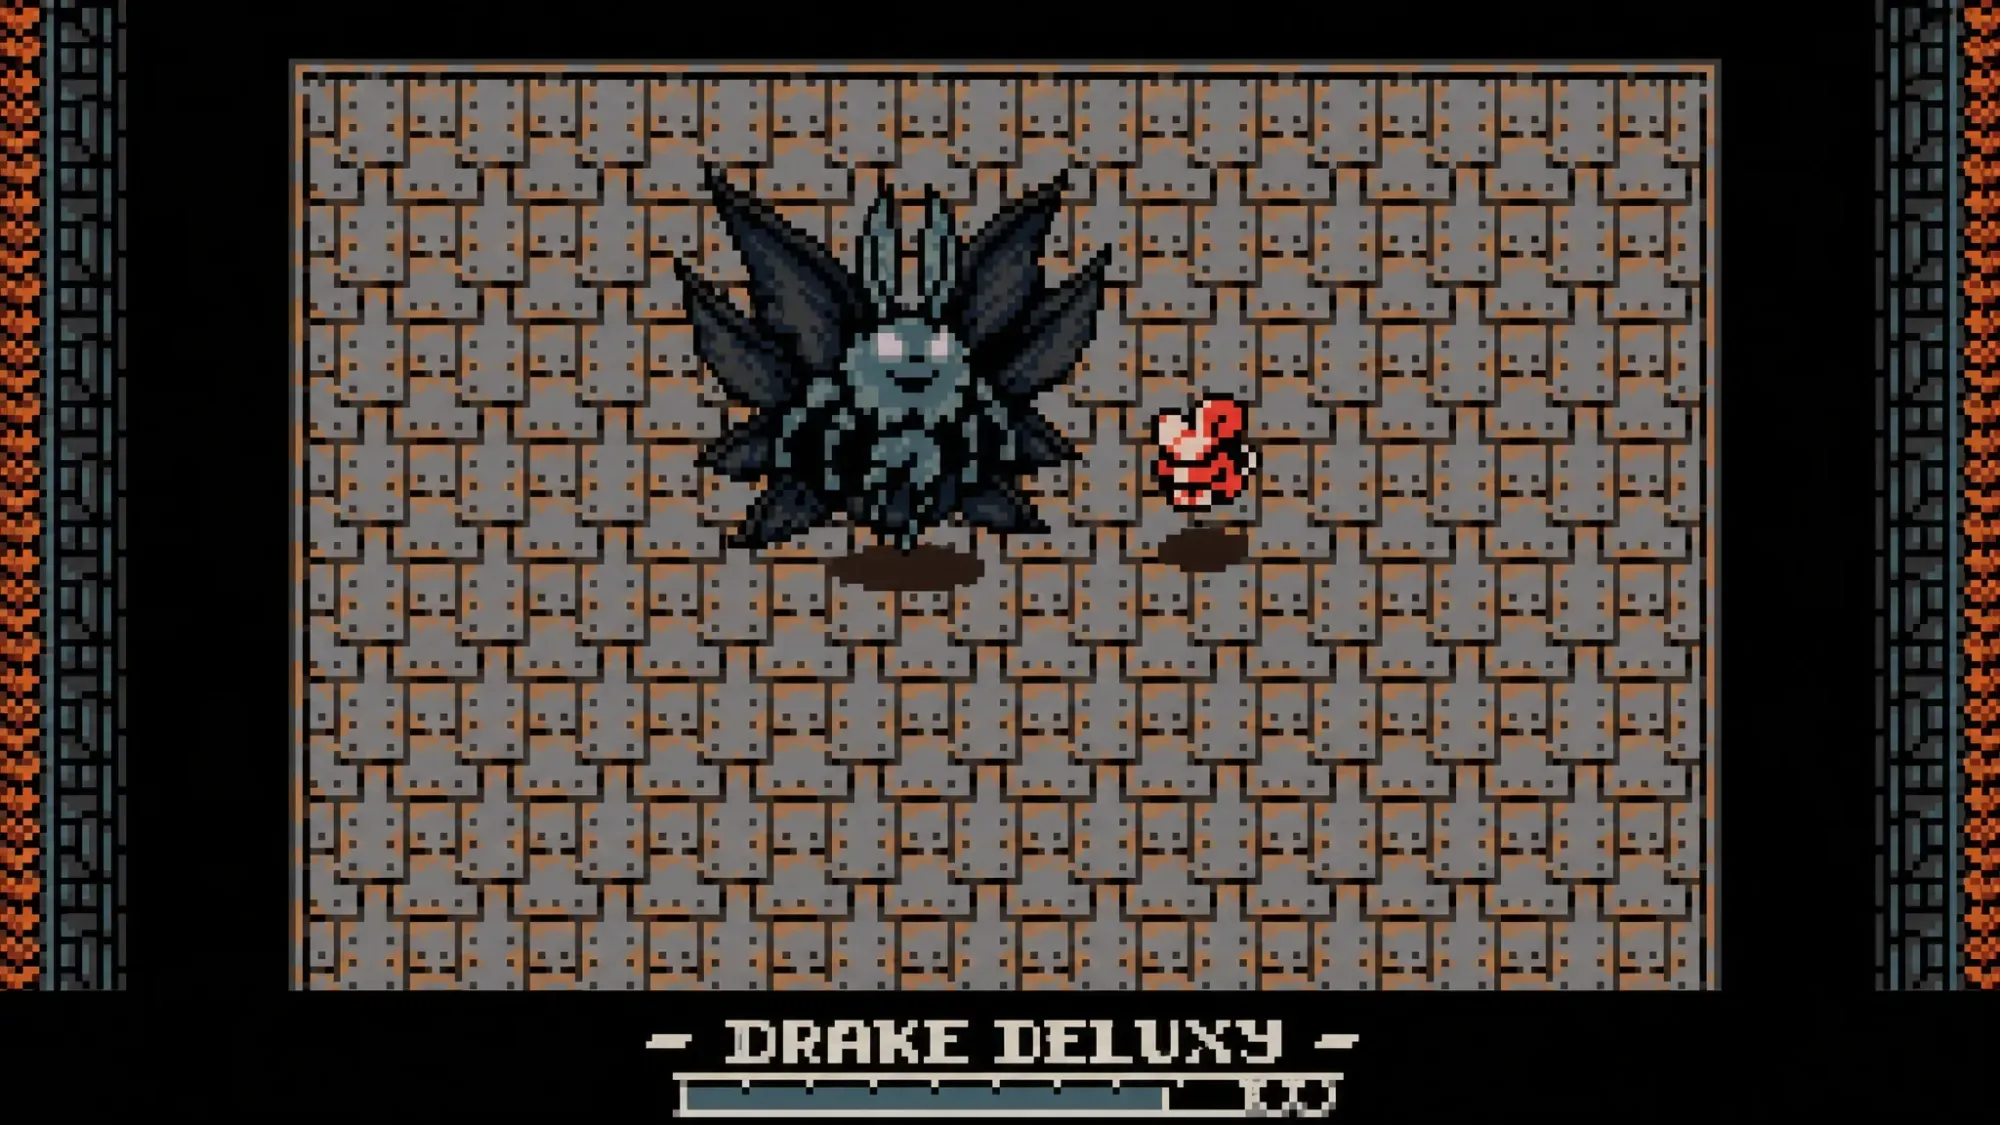
Dugin in the Southern Outskirts or near Backwaters
Dugin needs a bit of luck. After returning from Queensbury Crypt, find the two children, Ack and Dak, on Ossex High Street and talk to them about the mythical Dugin. The creature then spawns randomly in one of two spots, either the Southern Outskirts near the man tanning himself, or the area just before Backwaters in Western Hills.
It first appears as a small rabbit. You have to beat it twice to officially take down the boss and claim the Lace Glove Trinket. If it is not at one location, check the other.
Willis in the Bowery music hall
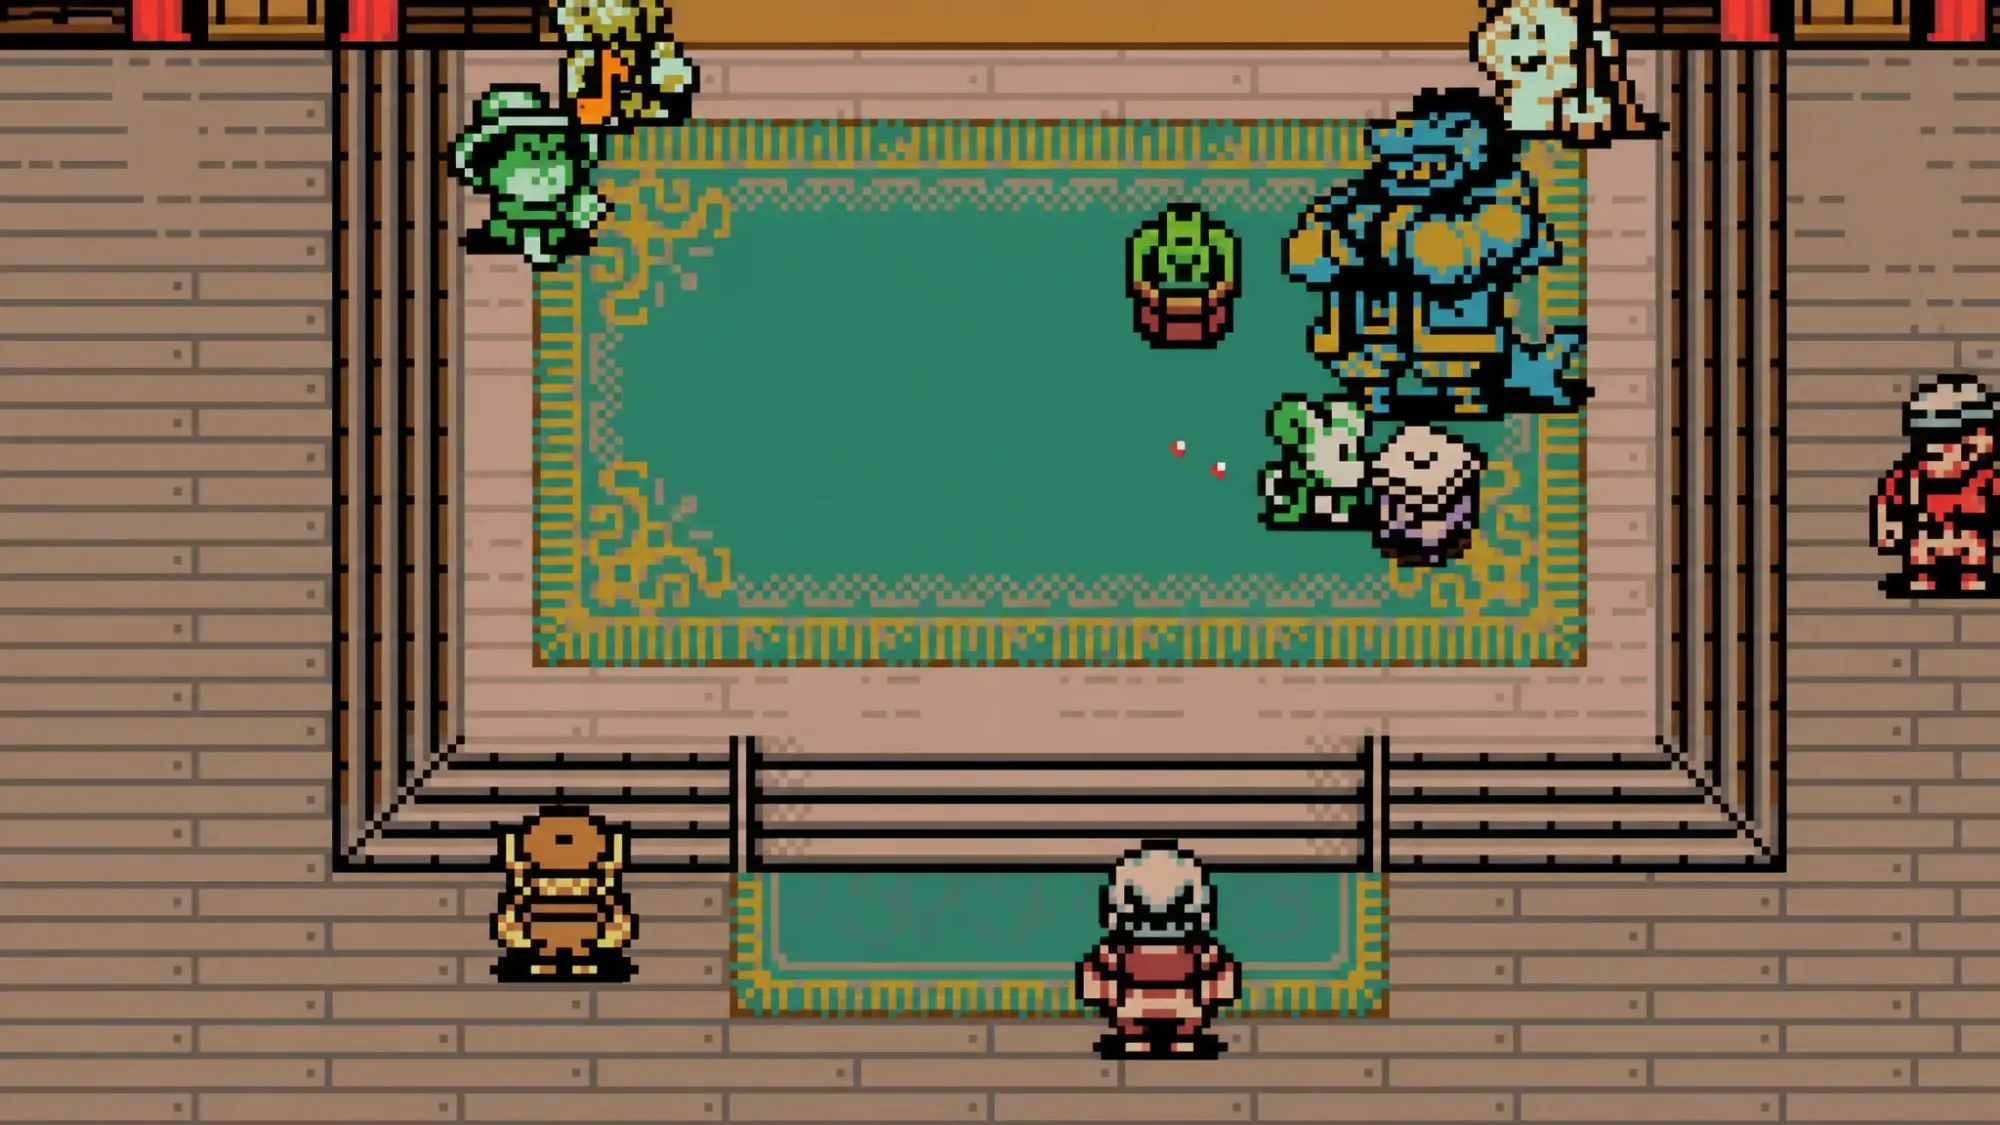
Willis is the payoff of the frog band side quest, and it takes the most legwork of the trinket fights. After defeating the Nox Beast, take the shortcut down, climb the rope, then head left through the waterfall and up to the top-left exit. There you find a frog stuck in a bucket.
The fight is about stamina. Attack to stun Willis, and once he is exhausted, throw him into the crowd to deal real damage. Repeat until he goes down, and he hands over the Pneumatic Armlet Trinket.
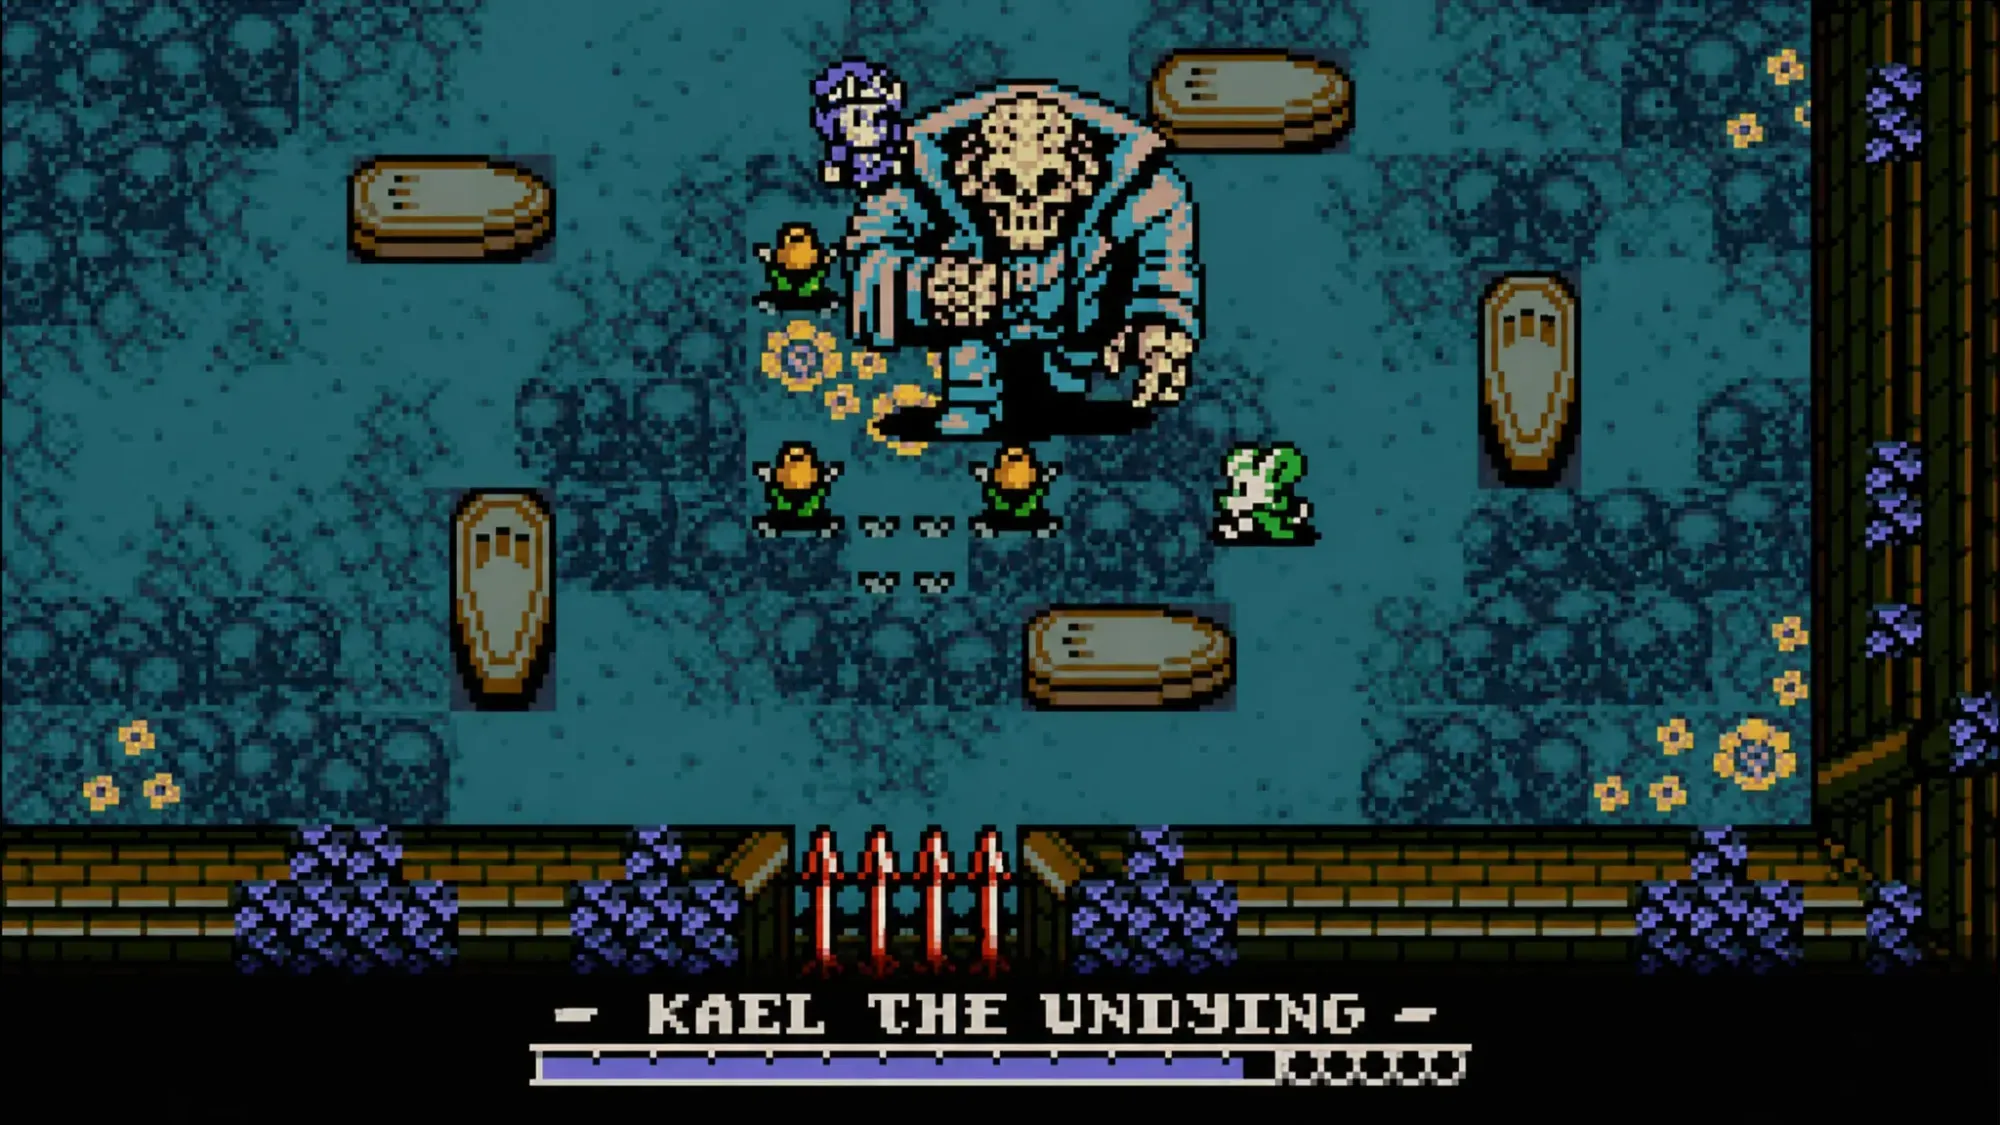
Dark Deluxy at the Windy Generator
This one is gated by two Spark Containers. On the way back from the Windy Generator you pass a door with two Spark slots. Slot them in, then escort the moth Luxy back through the Windy Generator to start the fight.
Dark Deluxy is fast and releases spores that limit where you can move on the field. Slower weapons struggle here, so a fast attack speed helps you trade hits before she repositions. Her movements are predictable once you watch a cycle. After the fight, heal her with a spare Plasma Vial to receive a Spark Container.
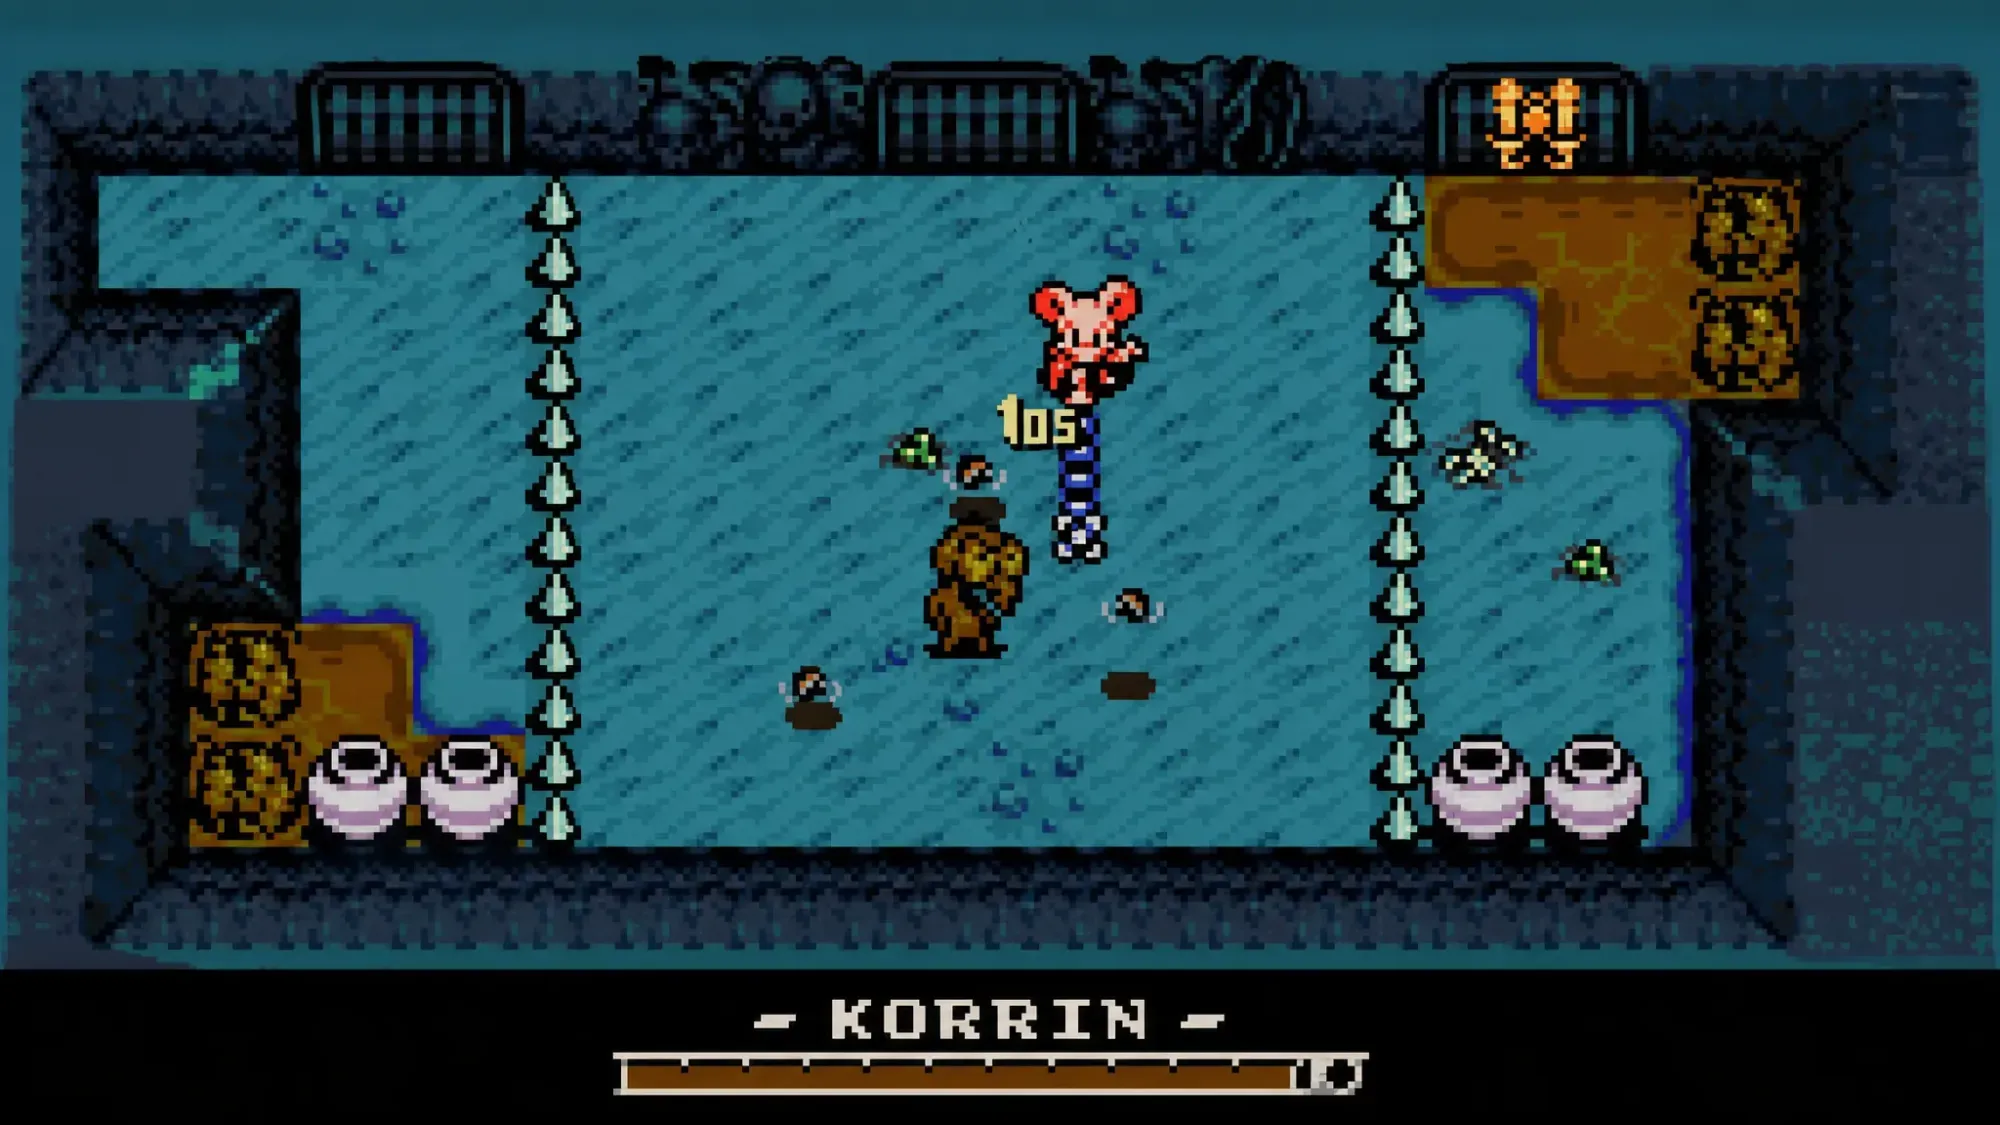
Mirren in Frostbite Woods
Mirren is an icy ghost sitting inside an abandoned carriage in Coltrane Peak: Frostbite Woods. From the Underlab, head right under the ice into the next area. Dig under the ice and use the block with the floating skull to give the larger ice chunk time to recover, then get inside the carriage. Talk to her and pick the option saying you are there to help, which angers her into attacking.
Her dangerous move is cloning herself and diving across the screen, along with will-o’-wisp projectiles. When that happens, stop attacking and focus on dodging and burrowing to the left or right edge. Fight her from the center the rest of the time. Defeating her drops the Blinking Glass Trinket.
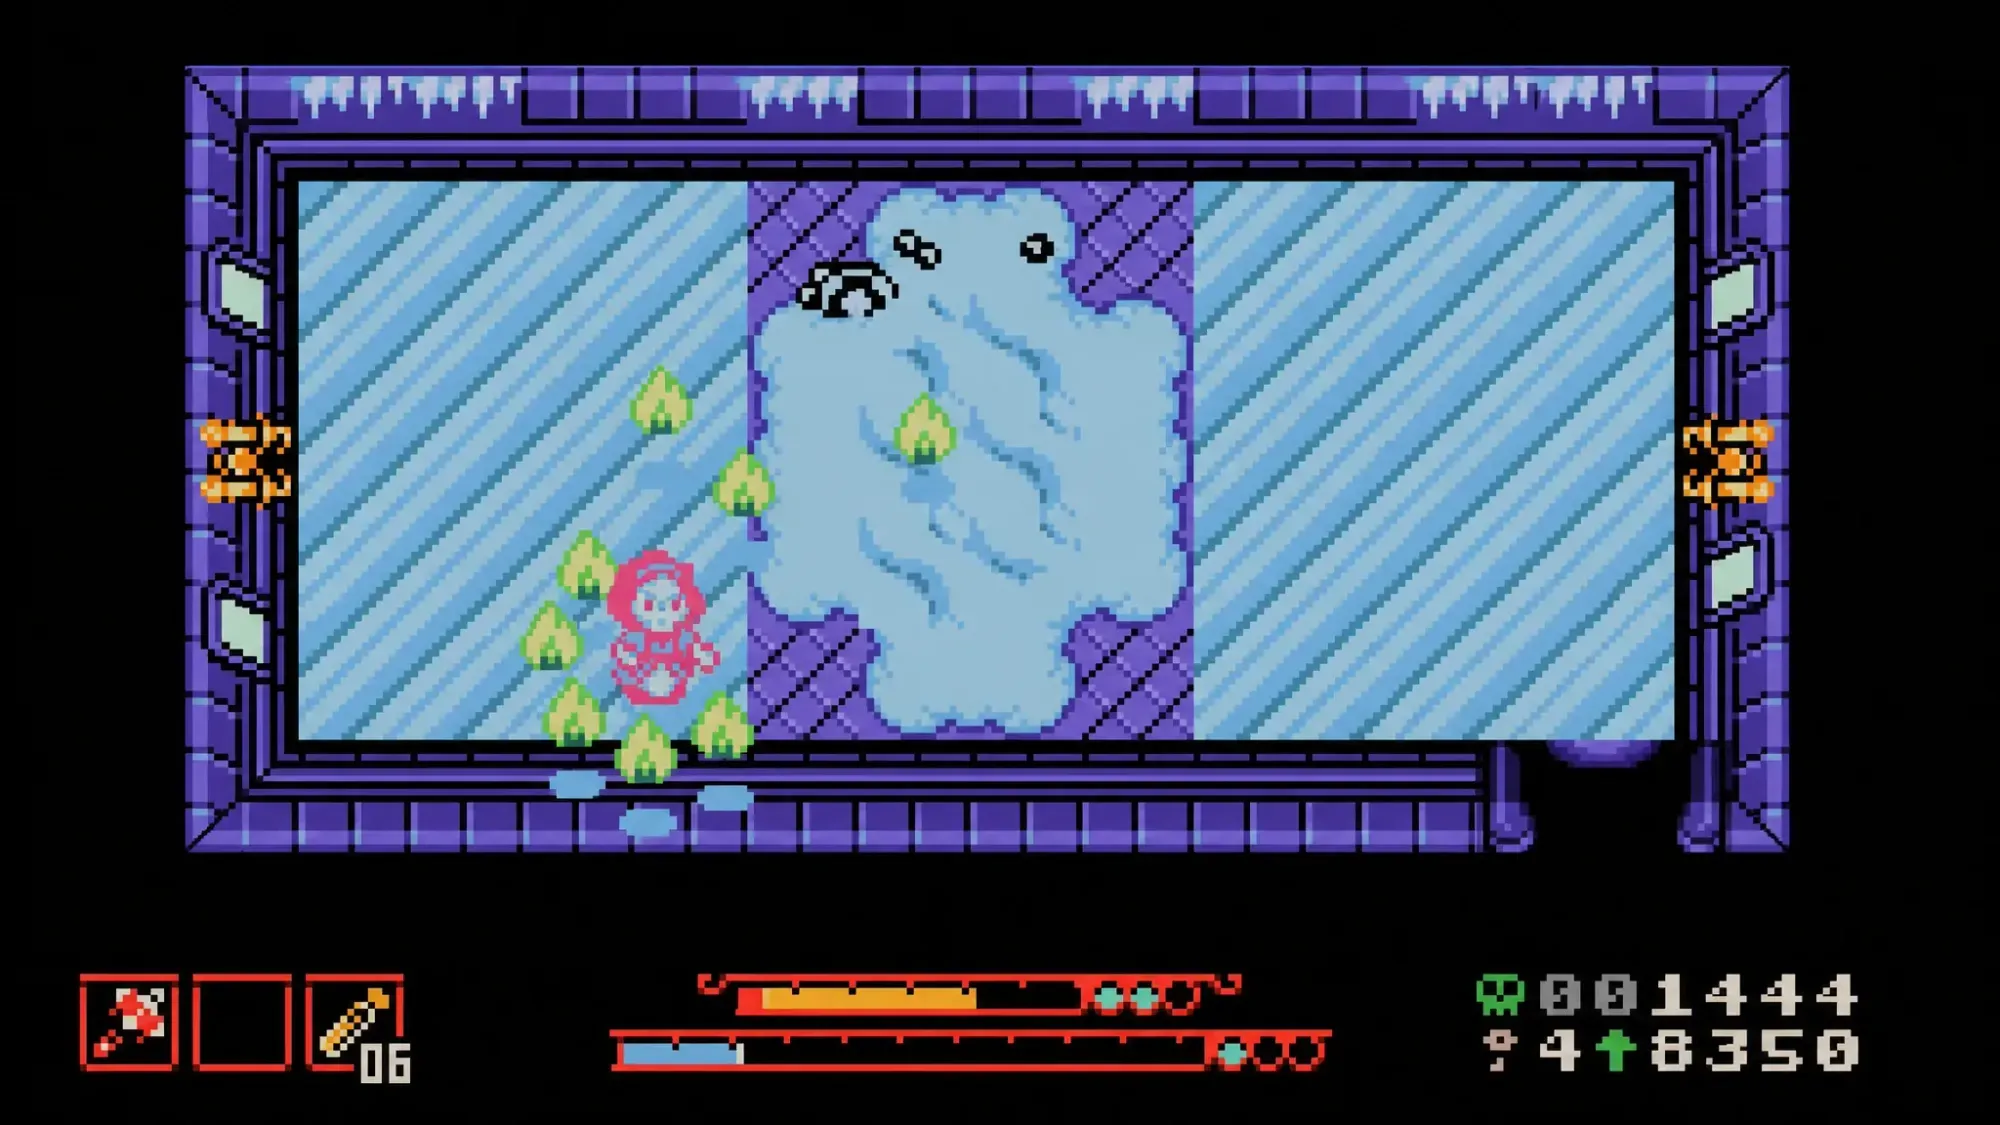
Evra in Goddred’s Grave
Evra is one of the hardest hidden fights, so bring your strongest gear. You want a traversal sidearm such as the Drill Driver, Keri the Wisp bought from a Poppit shop, and the Brisk Brew. Go to the eastern Courtyard, and near the woman with the bone head, chain Burrow Jump, hover, and the Drill Driver to clear the gap. Use the pipe to open a shortcut back for later. Then equip your best combat trinkets and spend three Vials to open the gate on the right, which leads into Goddred’s Grave. Cross the gap to the north and destroy the coffin in the middle to wake Evra.
She charges and fires a stream of skeletons from her mouth that then attack or self-destruct near you, and she rides a massive undead steed that lands devastating body blows. Burrow constantly to escape the mount and the skeletons. Thin out the skeleton numbers so you have more room to dodge the steed safely, and watch for a large homing orb. Beating her grants a Health Rose.
Thalassion at the Backwaters Fishing Hole
Thalassion takes the most setup of any hidden boss. First, get the fishing rod from Irwin and Durwin in the Backwaters. Then catch all 15 fish across the game, leaving the final one in Backwater for last. Return to Irwin and Durwin’s hangout with at least the Fishing Rod and Drill Driver equipped, though the raft can substitute for the Drill Driver.
The arena on the water is small, which makes this rough. The boss circles you, launching water projectiles and charging bite attacks that hit hard. Your window comes when it dives and exposes its tail with the yellow orb. Stay defensive, attack conservatively, and strike only on that opening. Once it falls, talk to Irwin, then return to Durwin for the final fish part. That completes the collection and gives you the Gilded Rod upgrade.
Knock out all nine, and you walk away with a stack of trinkets, a Trinket Bag to equip more of them at once, an extra Spark Container, a Health Rose, and the Gilded Rod. None of these fights are required to finish the game, but the rewards meaningfully widen how you build Mina, and several of the triggers are easy to walk past without ever noticing the boss was there.