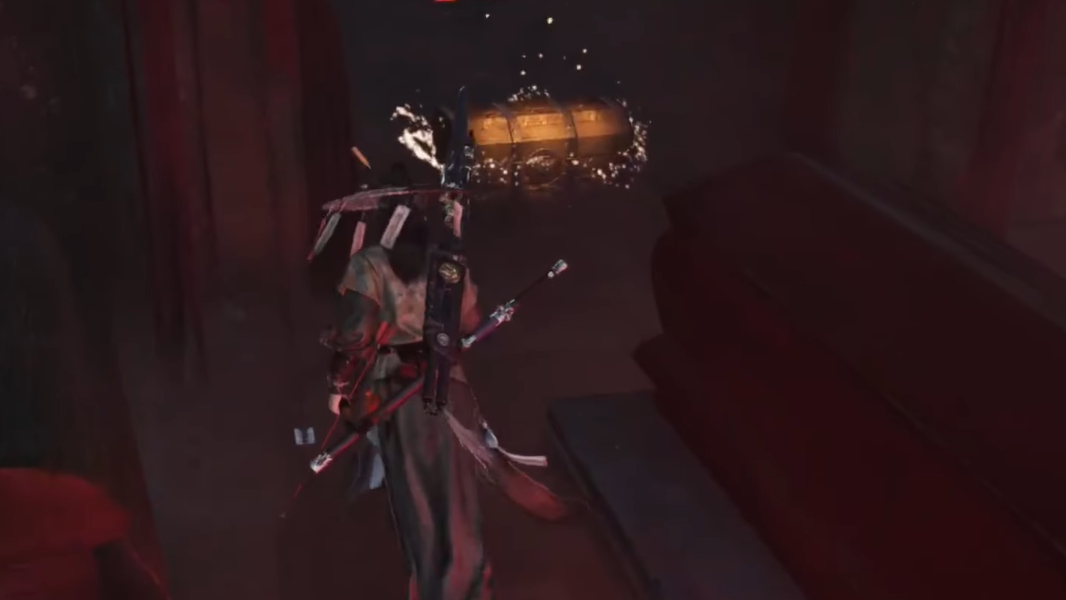
Mist-Shrouded Prison in Where Winds Meet looks like a small side dungeon on the map, but inside it plays like a self-contained horror vignette. The space loops three times, the layout shifts in subtle ways, and a red-robed woman quietly tracks your progress through the prison. On top of that, progression is locked behind six standard chests and a final treasure in a hidden room that only opens after specific actions.
The result is a tomb where many players end up doing laps, convinced they missed a door or that the dungeon has bugged out. It hasn’t. The prison is built to disorient you on purpose, but its logic is consistent once you break it down.
Where Mist-Shrouded Prison is and how to enter
Mist-Shrouded Prison sits in the Mistveil Forest region of Kaifeng, in the poison-swept area on the east side of the zone. The outside mist damages you until you clear it, so you need to finish the related side content before the dungeon is realistically playable.
To prepare and gain access:


From this point on, the usual navigation tools are disabled (“You cannot perceive the surrounding clearly”), and the tomb begins to loop.
How the loops work and how to read the “red lady”
The core trick in Mist-Shrouded Prison is that you are not walking one corridor multiple times. Instead, the game quietly moves you through three almost-identical “layers” of the tomb. Each layer—often called Loop 1, Loop 2, and Loop 3—has small changes, especially in where the red-robed woman appears.
Her position is the most reliable marker of which loop you’re in:
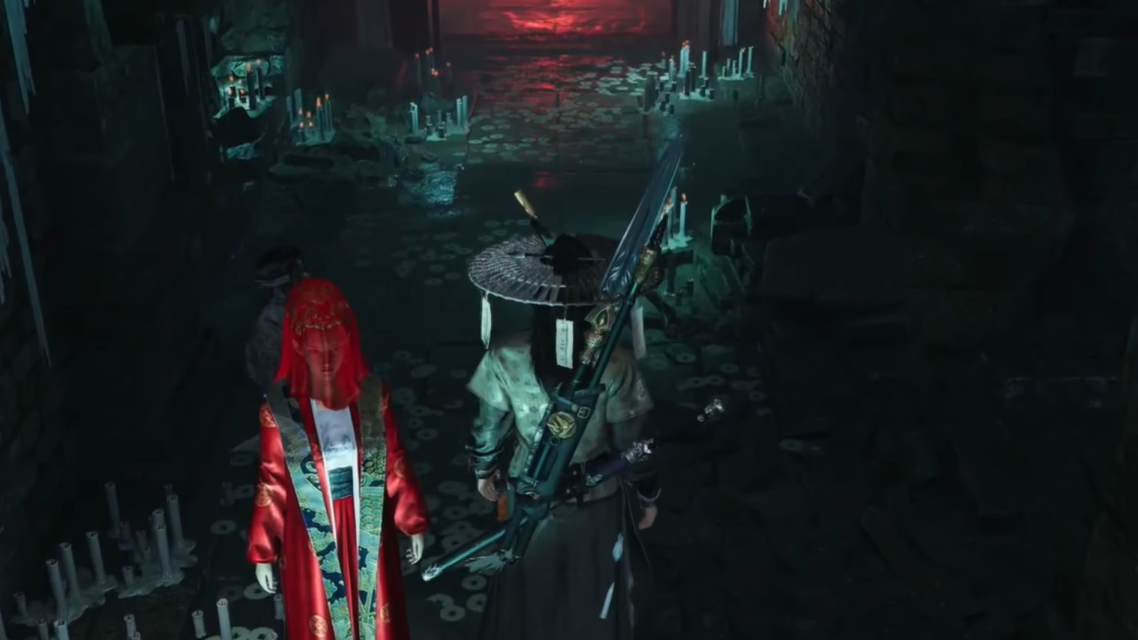
- Loop 1: The red lady stands inside the red-lit room off the initial corridor.
- Loop 2: She relocates to the top of the main ladder, waiting as you climb up.
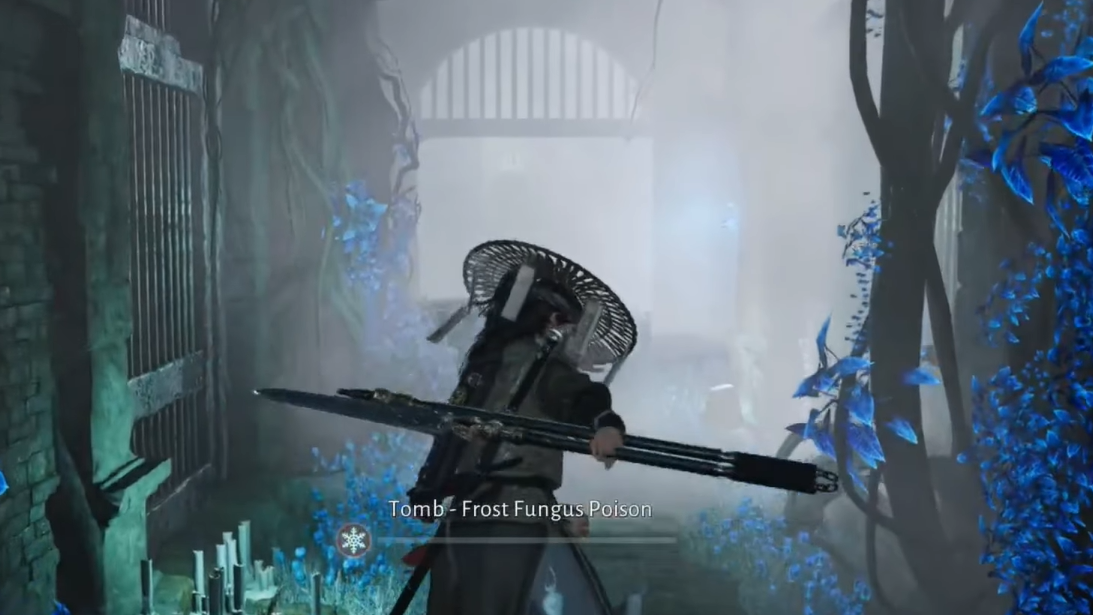
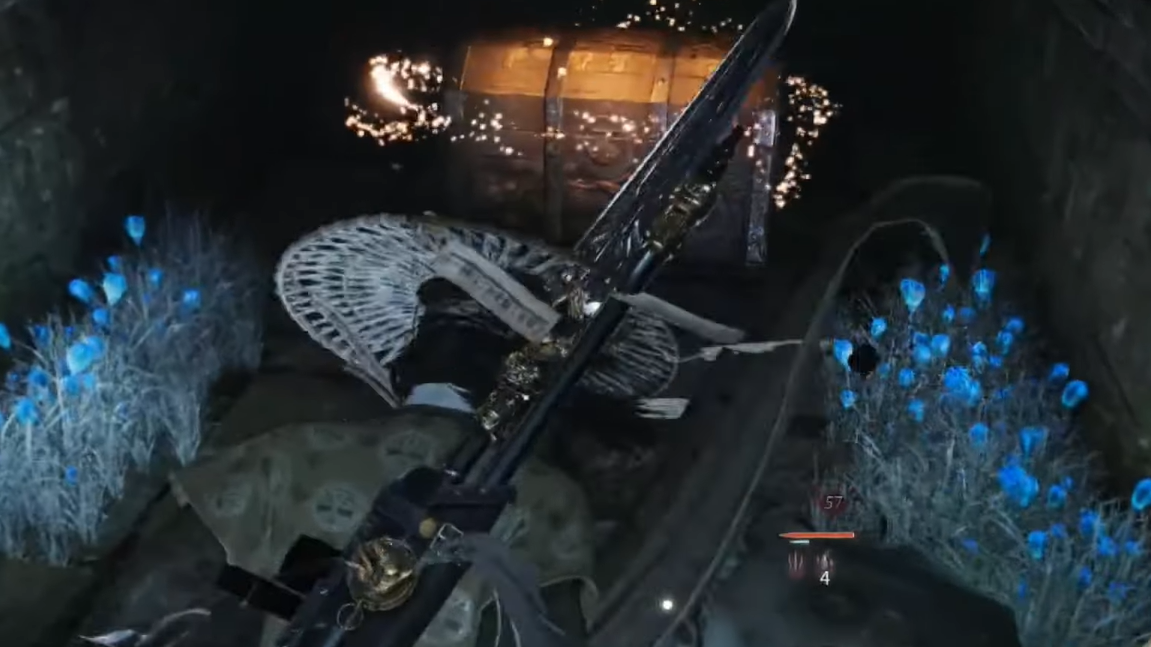
- Loop 3: She appears in the long corridor filled with blue flowers.
Every time you pass through the prison’s core rooms and drop back into what looks like the starting chamber, you’re actually entering the next loop. The geometry is nearly the same, but trap states, flowers, and doors change just enough to open new routes and chests.
Many players get stuck once they reach Loop 3, because the environment still looks familiar, but no obvious new doors have opened. At that point, the dungeon expects you to trust clues hidden in notes and to interact with the traps in unusual ways, like standing on the spikes instead of avoiding them.
All six regular chest locations in Mist-Shrouded Prison
The prison contains six standard chests and one final treasure chest that ends the dungeon. The regular chests are sprinkled through the loops; some are simple, others hinge on the moving spike platforms.
Chest #1 – Red room in Loop 1
Chest #2 – Spike trap room pressure-plate chest
Beyond the red room, the corridor inflicts Frost Fungus Poison, slowing you and chipping away at your health while you push forward. At the far end, a blue bud controls access to the main spike trap room.
Dodging that first slam sets up the next chest.
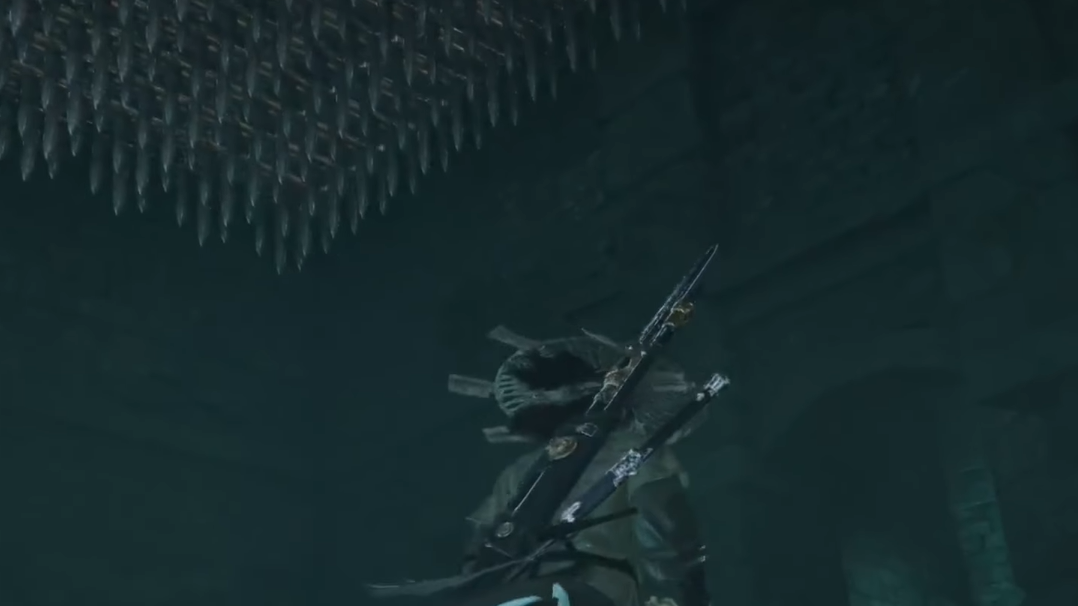
Chest #3 – On the vertical spike platform
The falling ceiling spikes don’t just kill you; they also become a moving platform you can ride.
Once you know this is possible, “having the courage to stand on the spikes” becomes a recurring idea in the tomb’s design.
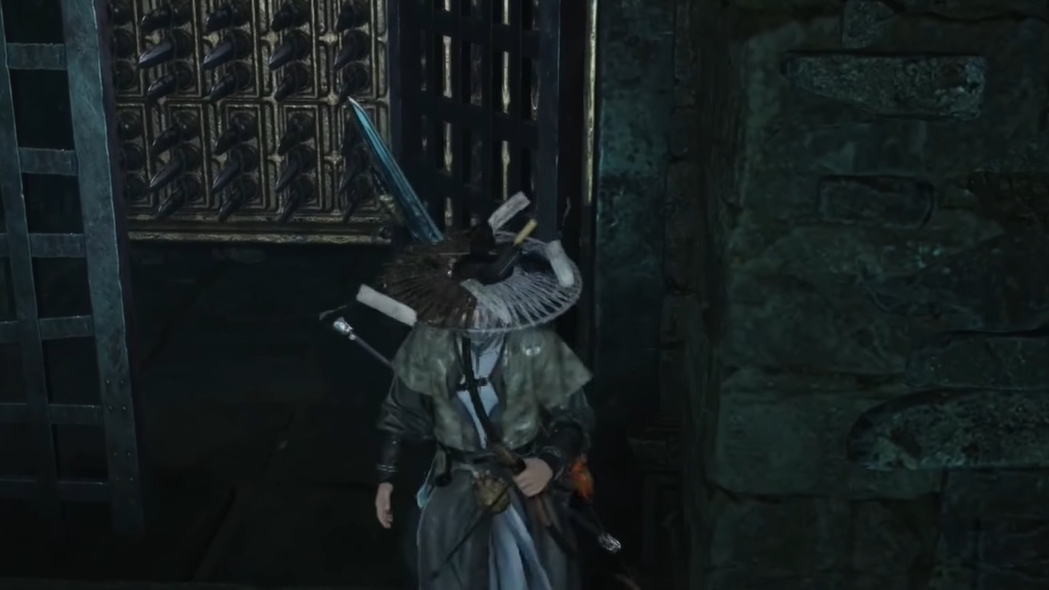
Chest #4 – Behind the horizontal spike wall
On the far side of the same spike room is a ladder leading to the controls for the next major trap.
Players often overlook this chest because the natural reaction is to avoid the trap entirely instead of using it as cover.
Loop transition and Chest #5 – Jail cell corridor
Once you move past the corridor with the horizontal spike wall, you’ll drop down into a chamber that looks identical to the dungeon’s starting room. That is the signal you’ve shifted into Loop 2.
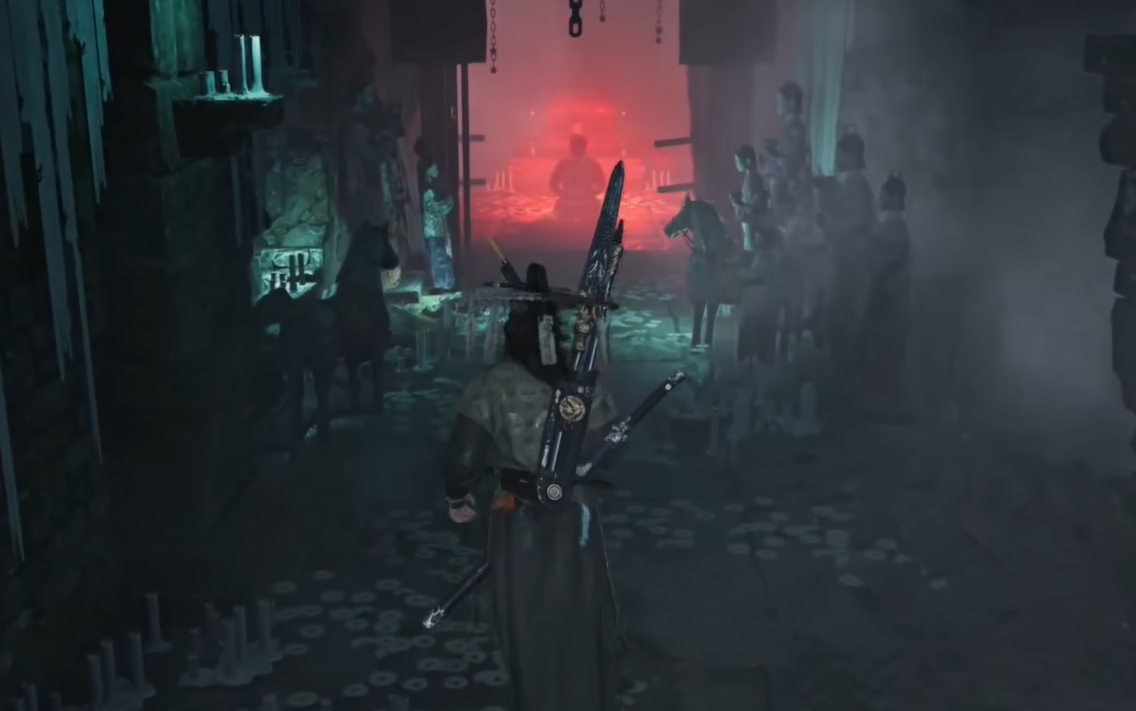
The environment here is denser with smoke and mist, and the sound design ramps up, underlining that you’re in the final iteration of the loop.
Chest #6 – Dropping onto the horizontal spikes from above
The sixth chest ties together the two main traps: the falling ceiling spikes and the sliding hallway spikes. The key is to stop treating the horizontal wall as an obstacle and start using it as a moving floor.
This chest tends to be the last one people find, partly because dropping onto a lethal-looking wall of spikes from above feels counterintuitive.
How to reach and open the final treasure chest
With all six regular chests opened, the dungeon still doesn’t end automatically. The final treasure chest is locked behind another sequence of drops, spikes, and blue flowers that connect all three loops back to the original sealed room near the entrance.
The rough logic is:
- Use the area behind Chest #6 to fall back toward the spike rooms from earlier loops.
- Climb onto the vertical spikes again and move into a small side passage that didn’t exist before.
- Find a hidden blue flower bud deeper in the prison and burn it so that its twin above you also burns, clearing the vines on the original, blocked door.
- Return to the very first room and walk through that now-open doorway to reach the final treasure.
Laid out explicitly, the sequence looks like this.
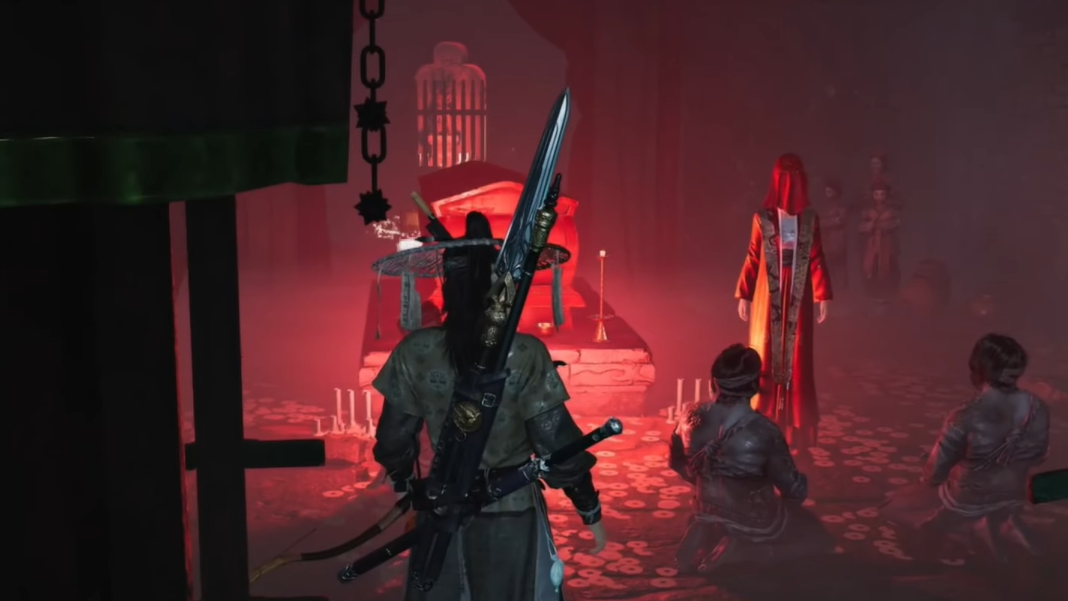
The emotional punctuation is subtle: you confront the red lady one last time, not as a threat but as a ghost being laid to rest. The looping structure, the misdirection with the traps, and the final quiet act of respect all tie the dungeon’s horror mood together.

Why the dungeon feels so disorienting
The design of Mist-Shrouded Prison leans heavily on repetition with variation. Walls, corridors, and props repeat across three stacked versions of the same layout, encouraging you to assume you’re circling the same space. The red lady’s movements, the changing locations of blue flowers, the added smoke in later loops, and the one-off cells and notes are the only visible tells that you’ve shifted layers.
On top of that, the trap behavior goes against typical action-game instincts. Instead of simply dodging danger, you’re asked to:
- Ride a ceiling spike trap as a moving elevator.
- Hide in the shadow of a sliding spike wall to loot a chest.
- Drop onto another spike wall from above to reach a hidden perch.
- Stand on the spikes in a smoky hallway and trust that there’s a way out below.
Every time you choose to step into harm’s way, the dungeon opens another layer. That inversion is why so many players feel “stuck between loops” until they finally act on the in-world hint: “you must have the courage to stand on the spikes.”
Once that mental switch flips, the prison’s layout resolves from confusing horror maze into a tight, logical puzzle box with a clear checklist: six chests, one final treasure, and one uneasy ghost who stops being quite so scary when you understand what the prison is asking you to do.