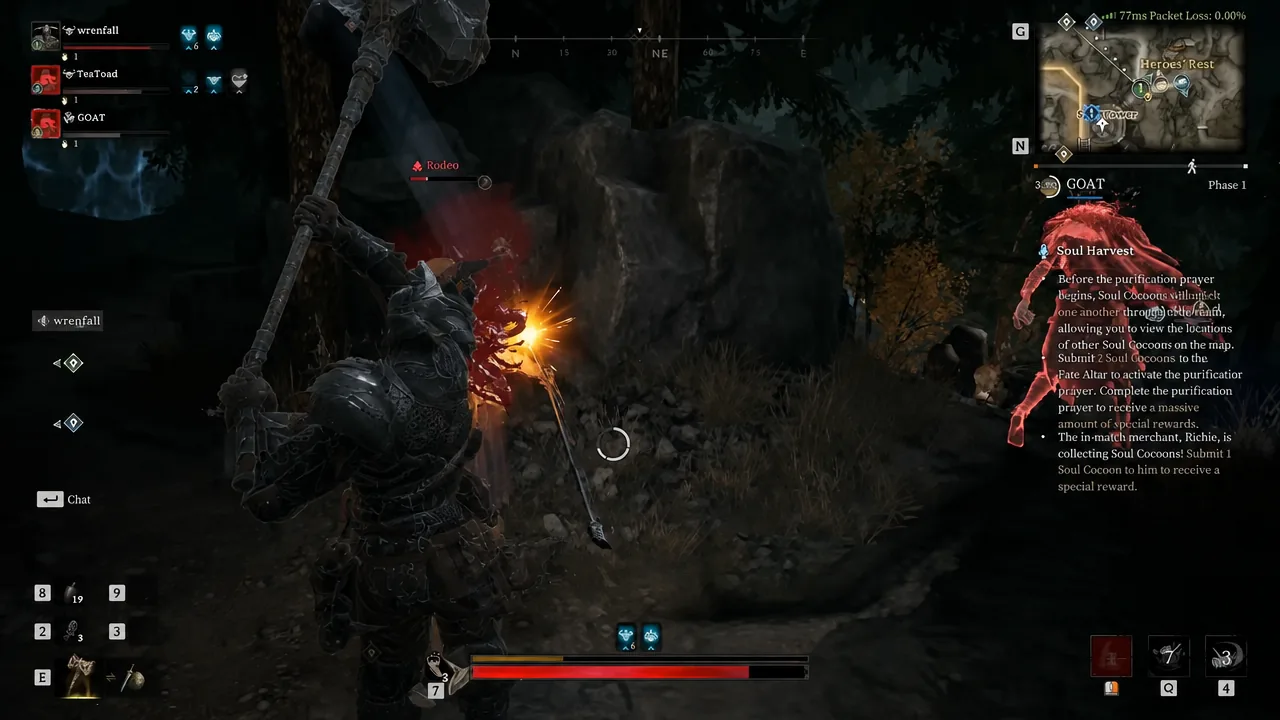
The Mercenary’s hammer branch in Mistfall Hunter is not built around speed. It wins by walking into a fight already stacked with physical resistance, absorbing the opening burst, and then landing one charged swing that ends the trade. The whole setup revolves around a single loop: charge attacks to build defensive stacks, use Super Armor to ignore stagger, and stay close enough that the enemy never gets a clean window to reset.
Quick answer: Slot Earthshaker and Skullcrusher, take Indomitable Will with Resilient Body, and hold charged attacks while moving before contact until you reach 10 stacks of Indomitable Will. Then aim for Aegis 5 and Valor 4 as a minimum affix floor, topping up with Victory Wine before you leave base.
Why the Hammer Mercenary build holds up in fights
Indomitable Will grants a stack of increased Physical Resistance whenever you get hit, and it stacks up to 10 times. On its own that is a reactive talent, which is a problem when the first three seconds of a duel decide the outcome. Resilient Body fixes that by handing you two stacks every time a charge-type skill advances to its next phase.
That means you never have to earn your defense by taking damage. Hold a charged attack until it ticks over to the next phase, release, repeat while you move through the map, and you can be at full stacks before anyone sees you. Layer Hammer of Convergence on top, which spikes Physical and Magic Resistance after a charged skill grants Super Armor, and the class becomes very hard to burst down.
The other half of the build is stagger control. Super Armor lets you keep swinging through incoming hits, and Unstoppable turns a Super Armor Clash from a coin flip into a punish — your Energy is not drained, and the enemy gets stunned for a second or two. In trios, that stun is a free damage window for whoever is standing next to you.
Best Hammer Mercenary skills: Earthshaker and Skullcrusher
Earthshaker is the consistent pick. It covers an area, applies crowd control, and is at its best against grouped enemies or anyone fighting in a corridor. You do not always need the full charge — releasing it at the first charge level gives you a fast, weaker hit that still works as a finisher or a pressure tool when you do not have time to commit.
Skullcrusher is the payoff. It has two different attacks depending on how long you hold it, so you can vary the timing and catch people who have already learned to dodge the long version. When the first hit connects, the follow-up sweep is effectively guaranteed, which is why baiting out a dodge before committing matters so much. Its Level 1 version is quick enough to weave into a normal attack string, and Iron-Clad Body gives that shorter cast Super Armor.
If you would rather have another escape than a nuke, Hammer Dash is the reasonable swap. It is the more mobile choice, and it opens fights well, but you lose the fast Super Armor jab that makes Skullcrusher so annoying to fight against.
Tip: swing while looking upward. Angling the camera up raises the chance of catching the enemy’s head, which is where the hammer’s damage actually spikes.
Talents for charging, mobility, and Super Armor
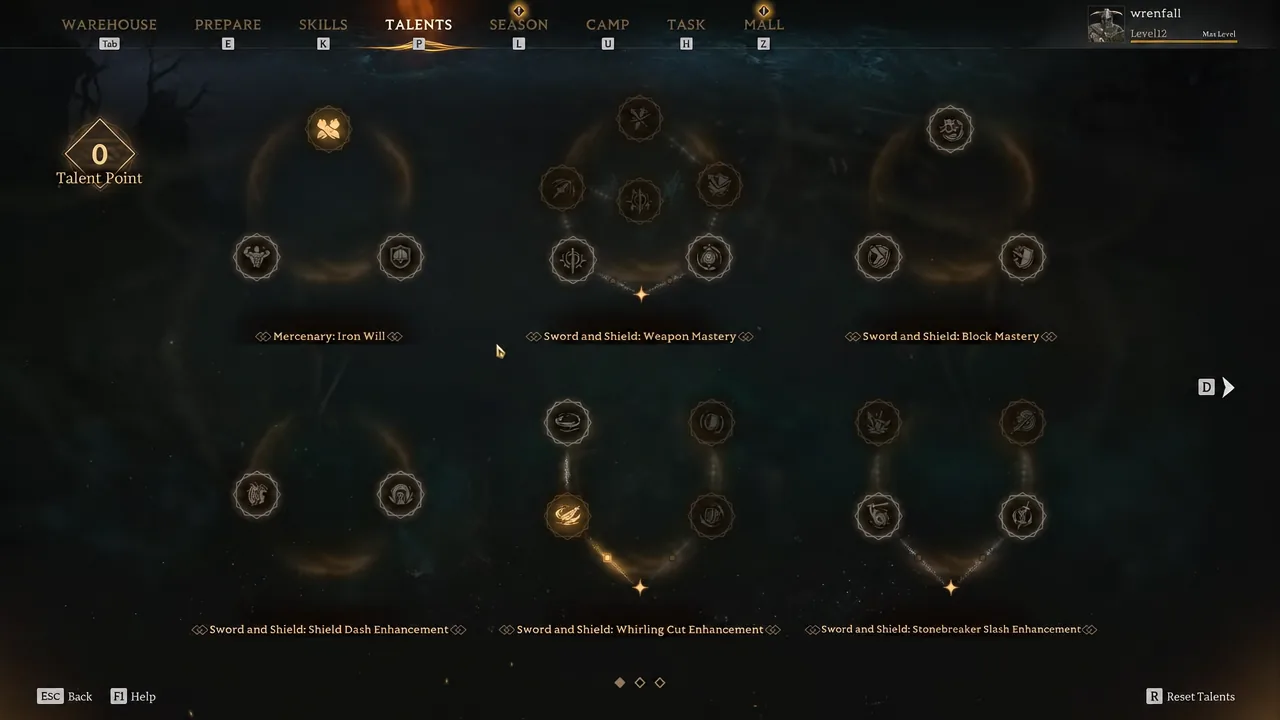
Almost every talent here exists to solve the hammer’s one real weakness: it is slow, and standing still while charging is how you die. Open the Talents tab and prioritize the ones that let you keep moving mid-charge.
| Talent | What it does for the build |
|---|---|
| Indomitable Will | Stacks Physical Resistance when you are attacked, up to 10 stacks. |
| Resilient Body | Grants two Indomitable Will stacks each time a charge skill reaches its next phase. |
| Hammer of Convergence | Large Physical and Magic Resistance boost after a charged skill gives you Super Armor. |
| Unstoppable | Stops Energy loss during a Super Armor Clash and stuns the enemy involved. |
| Relentless Advance | Lets you move and dodge while charging Power Hammer and Punishing Hammer. |
| Dynamic Charge | Lets you move and dodge while charging Skullcrusher, making it far easier to land. |
| Iron-Clad Body | Grants Super Armor during a Level 1 Skullcrusher. |
| Leap Step | Lets you move, jump, and dodge while charging Earthshaker. |
Leap Step is close to mandatory if you are running Earthshaker as your main skill. Without it, anyone with a dash simply walks out of the slam. Fearless is the equivalent enabler on the sword side, since it is what puts the dash on Whirling Cut.
Affix targets by gear tier
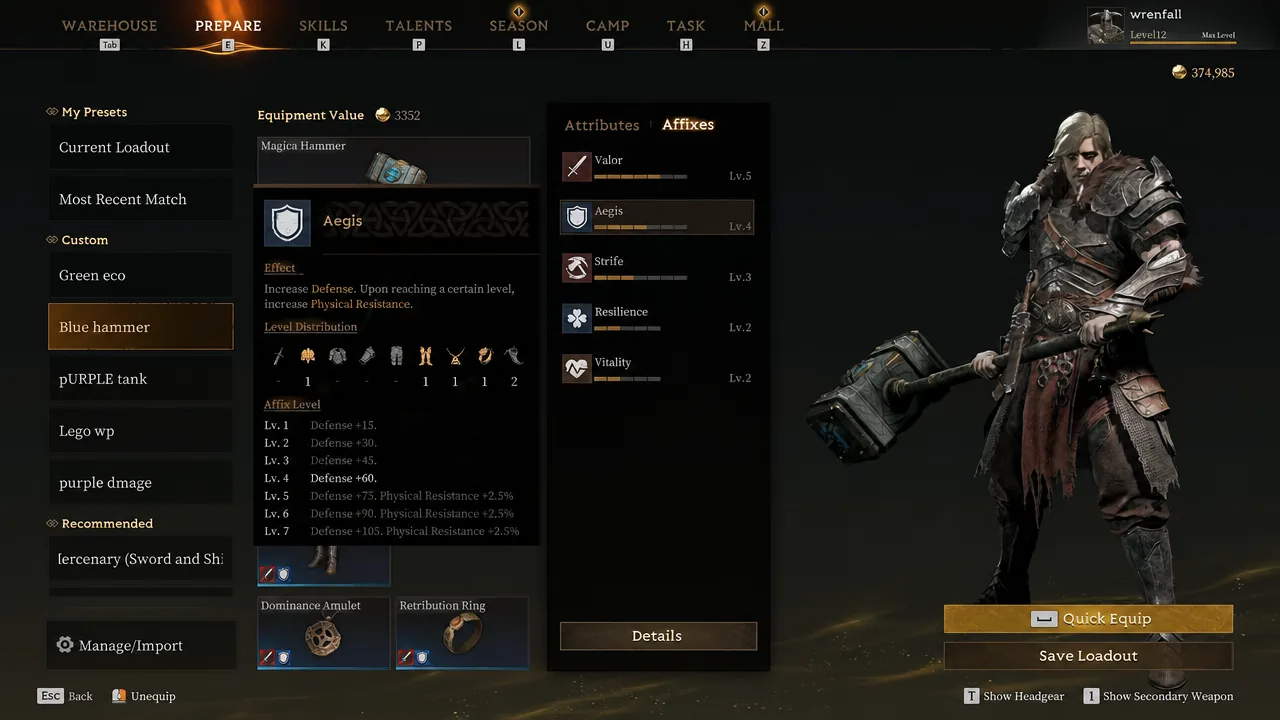
The build scales cleanly, and the cheap version is genuinely playable — green gear with Aegis 4 and Valor 4 will still let you trade with better-equipped players and soak hits from elite PvE enemies. Everything above that is refinement, not a requirement. Check your totals on the Affixes tab in the Prepare screen before every run.
| Gear tier | Affix totals to hit (after Victory Wine) |
|---|---|
| Green | Aegis 4, Valor 4 |
| Blue | Aegis 5, Brotherhood 5, Valor 5, Focused 5, Resilience 4 |
| Purple | Aegis 7, Valor 6, Brotherhood 5, Strife 5, Focused 5, Resilience 4 |
| Gold | Brotherhood 7, Valor 6, Strife 6, Aegis 5, Focused 5, Resilience 4, Elusive 3 |
Aegis is the backbone — a big Defense increase plus extra Physical Resistance, which is what lets you stay aggressive instead of retreating after every exchange. Valor covers the damage side with Attack and Defense Penetration, so the build does not turn into a harmless wall. Strife adds melee damage and a second bonus while enemies are nearby, which is exactly where this build lives.
Focused is the sleeper. It cuts charge time and raises Movement Speed while charging, so it directly feeds the pre-stacking loop and makes chasing viable. Resilience shortens incoming debuffs and, when you are stunned, frozen, or immobilized, temporarily bumps both resistances. Brotherhood pulls double duty in trios since its Defense and Attack bonuses spread to your teammates, and the Attack boost also improves a Seer’s healing and shields.
Using Victory Wine to hit breakpoints
Gear alone rarely reaches every breakpoint, and Victory Wine is what closes the gap. The tiers give different amounts of affix points: Mortal Tonic gives 2, Hero Ale 4, War Blood 6, and God’s Brew 8. On a purple kit that already sits at Aegis 5, Brotherhood 3, Strife 3, and Focused 3, a +2 to each of those four completes the set. On blue gear, spend the points on Aegis, Brotherhood, Focused, and Resilience instead.
Gold gear is the one exception to loading up on Aegis. Because the equipment already carries enough Defense, those points are better spent on Resilience and Elusive, activating the resistance bonus and cutting the Energy cost of dodging.
How to run the fight, from approach to kill
Why the build stops working
There are only a handful of ways this setup falls apart, and they are all self-inflicted. If you let a ranged class create space, you have no answer — the hammer contributes nothing at distance, and every second spent walking is a second of free damage for them. Staying glued to the target is not a stylistic preference here, it is the build.
The second failure is charging without the supporting talents. Skullcrusher without Dynamic Charge and Earthshaker without Leap Step both root you in place, and anyone paying attention will simply step out of the hit. The third is entering a fight cold. If you skipped the pre-stacking loop, you are fighting with a fraction of the resistance the build is balanced around.
You will know the setup is working when you can stand inside an enemy’s combo without getting staggered, and when clashing into an opponent leaves them stunned rather than draining your Energy. That is the Super Armor and Unstoppable interaction firing correctly — and in a trio, it is the moment your teammates get a free window to unload.