Mistveil Prison in Where Winds Meet: How the Rotating Dungeon and All 19 Chests Work
Learn how Mistveil Prison’s spinning layout, Lady in Red encounters, and symbol rotations gate all 18 optional chests and the final reward.
Learn how Mistveil Prison’s spinning layout, Lady in Red encounters, and symbol rotations gate all 18 optional chests and the final reward.
by Shivam Malani
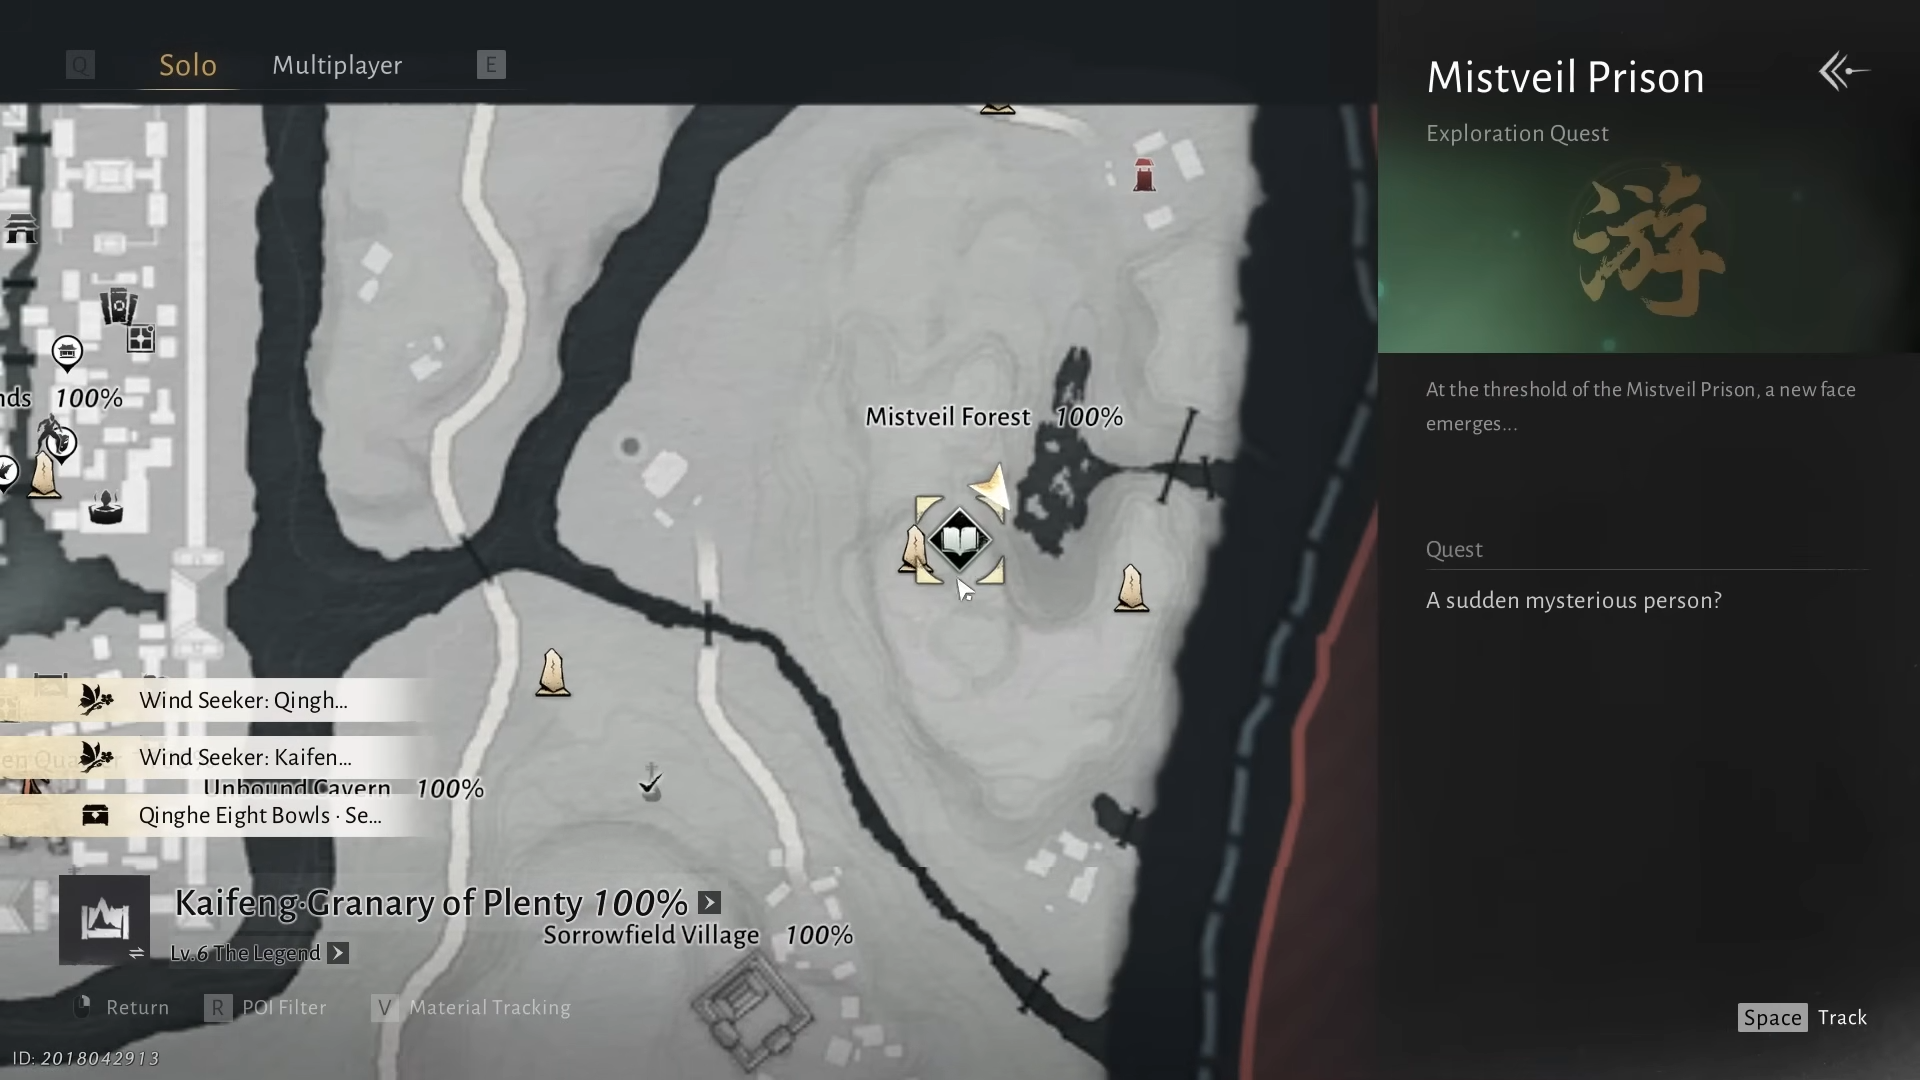
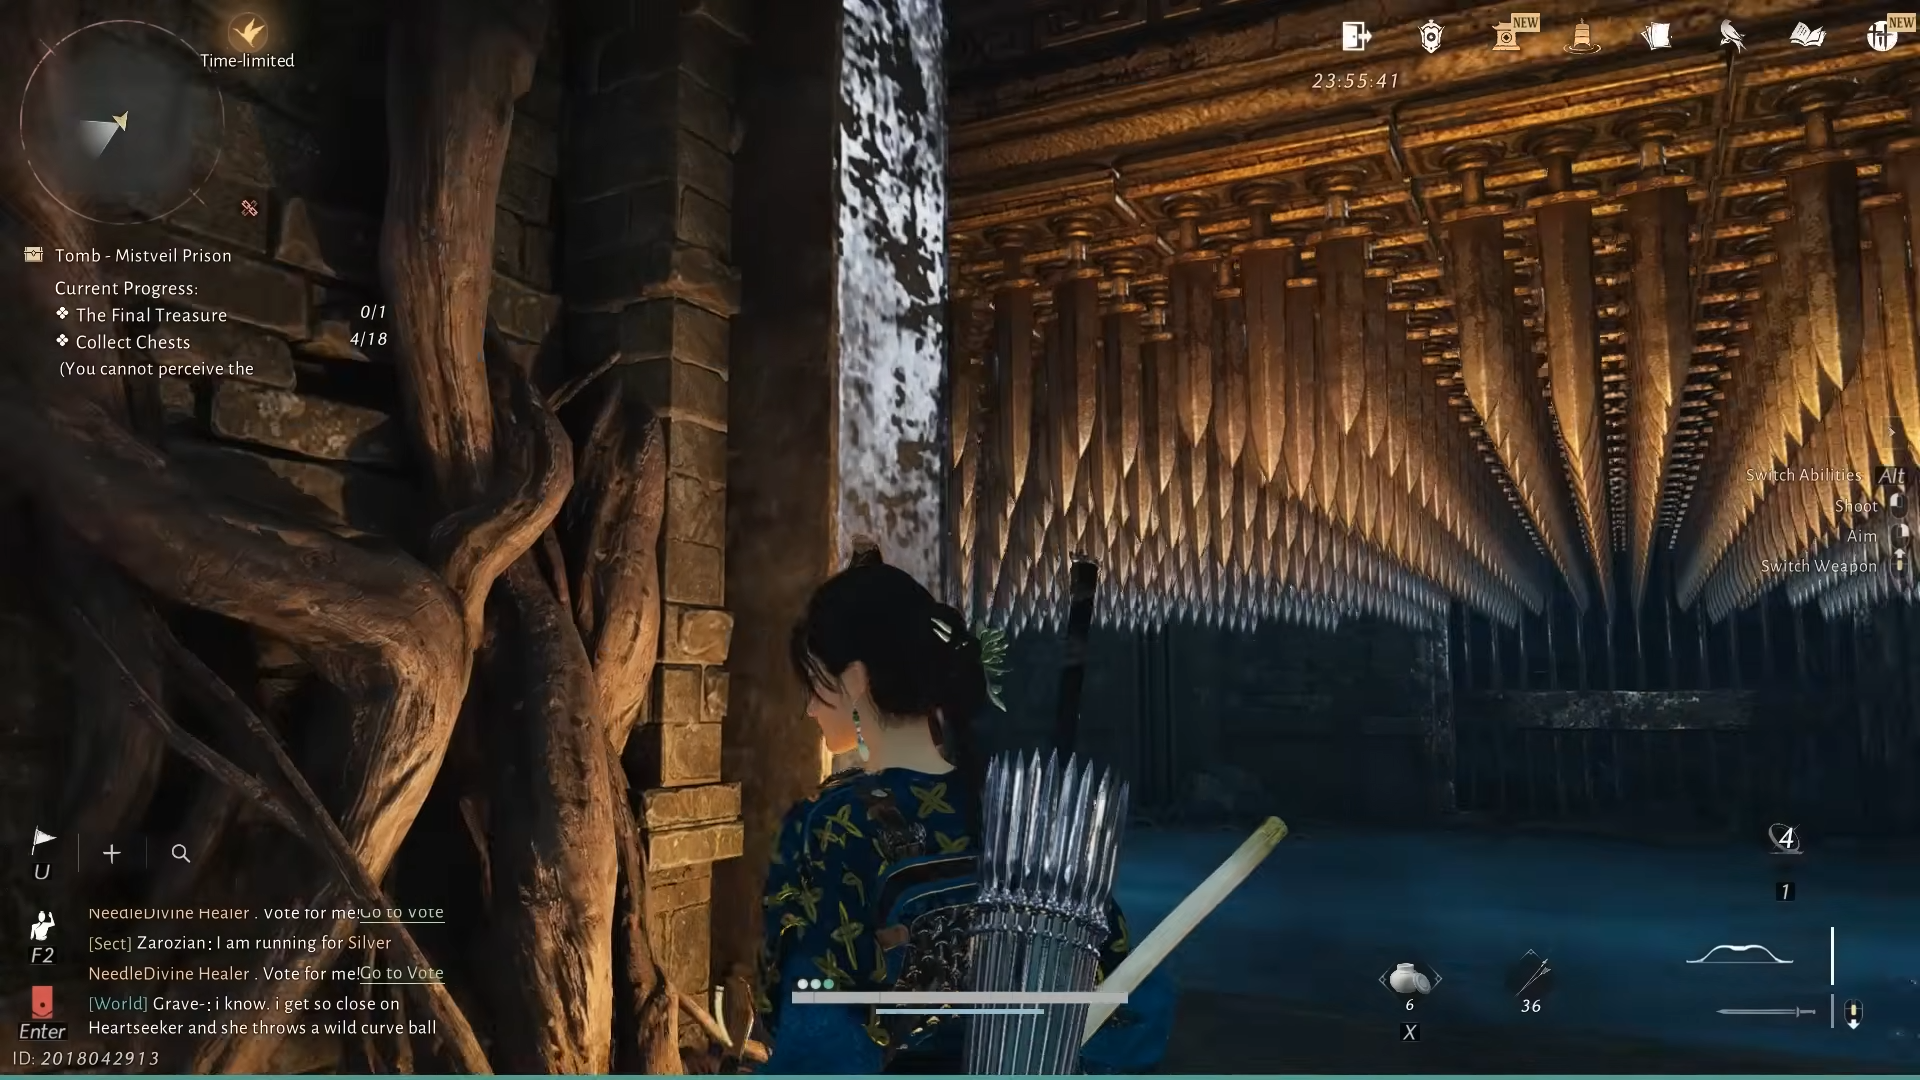
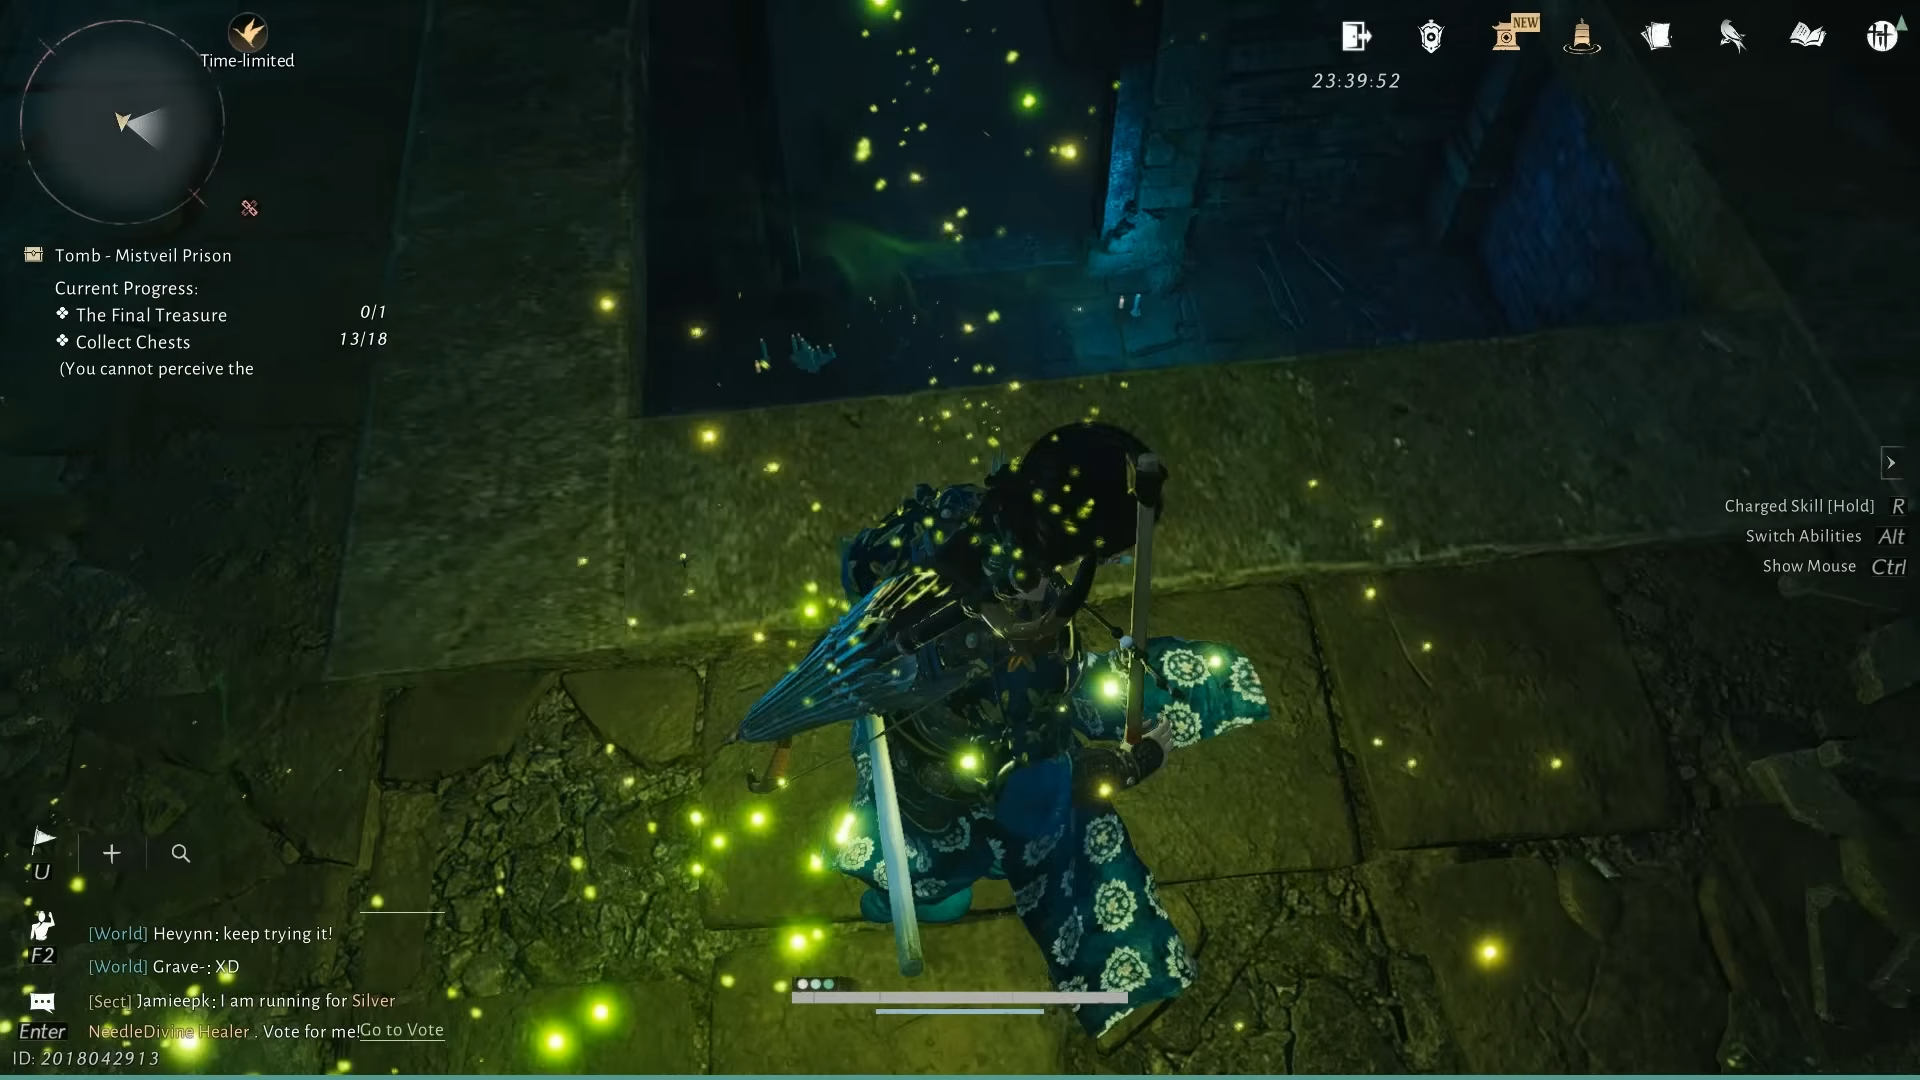
Mistveil Prison is a Divinecraft Dungeon in Where Winds Meet, set in the poisoned Mistveil Forest region of Kaifeng. It is a follow-up to Mist-Shrouded Prison and reuses the same physical space, but with a different logic: a central “spinning” section reconfigures parts of the dungeon depending on which animal or figure is shown on a stone slab. The goal is to reach a final treasure chest while optionally collecting 18 smaller chests along the way.
The dungeon disables Wind Sense and leans on horror elements – tight loops, a stalking Lady in Red, and traps that change behavior as you rotate the level. It also expects solid use of movement skills, so Celestial Seize and Still Waters are recommended before entering.
Mistveil Prison requirements, entry, and basic layout
Mistveil Prison sits inside Mistveil Forest in Kaifeng. The forest itself is covered in poison mist until you complete the Encounter “The Ephemeral Blight”, so that encounter is effectively a prerequisite if you want to explore the area safely.
Image credit: NetEase (via YouTube/@GGChannelX)
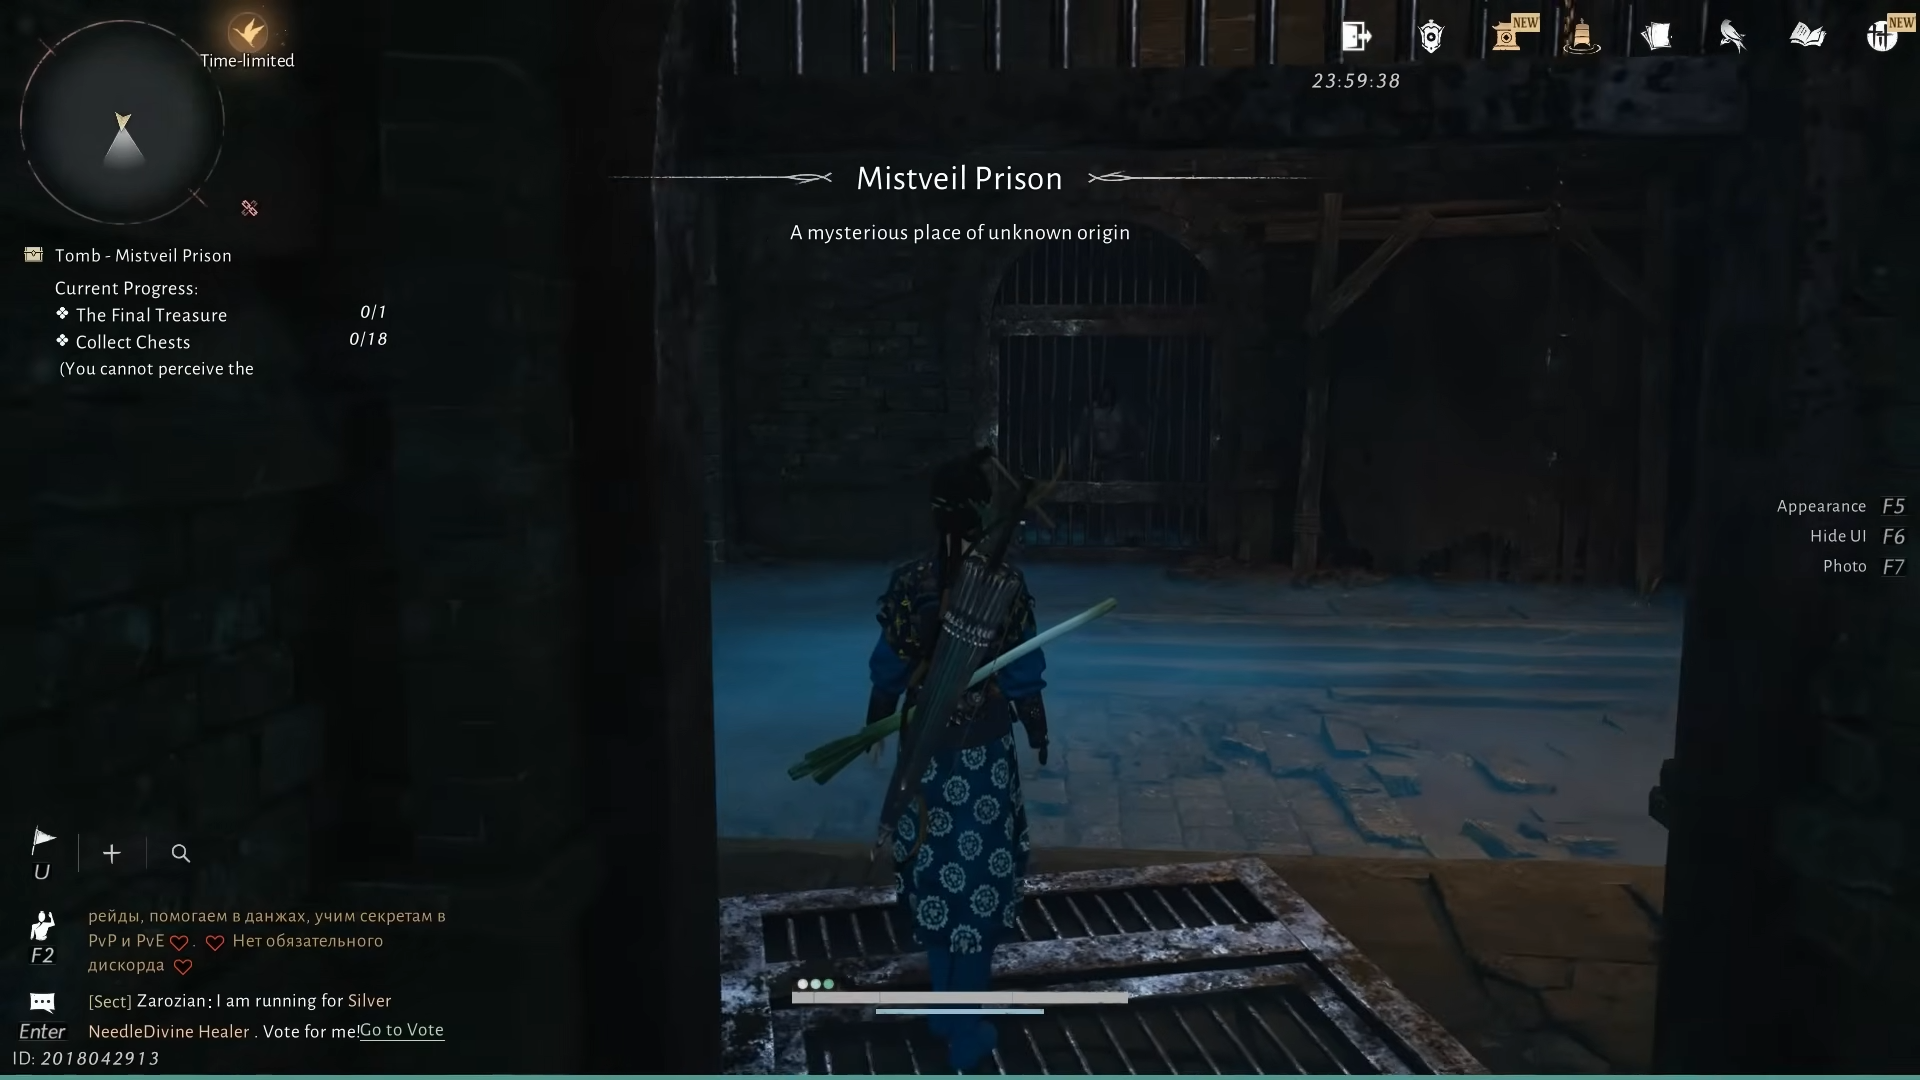
The dungeon also assumes you have already cleared Mist-Shrouded Prison, the earlier Divinecraft Dungeon in the same location. Mistveil Prison begins after you return and interact with the kneeling man at the elevator. Answering “I am not afraid” and then “Face the fear of the unknown” kills you on the spot, but instead of the usual “Heal” prompt, you receive a “Face your fears” option that starts Mistveil Prison and drops you into a cell.
From there, the structure looks like a tangle of tunnels around a few anchor spaces:
he cell block where you wake up and later meet the kneeling men and The Thinker,
Image credit: NetEase (via YouTube/@GGChannelX)
The hanging cages room with suspended wooden cells and multiple vertical layers,
The ceiling spikes hall with alcoves that can be lethal or safe depending on configuration,
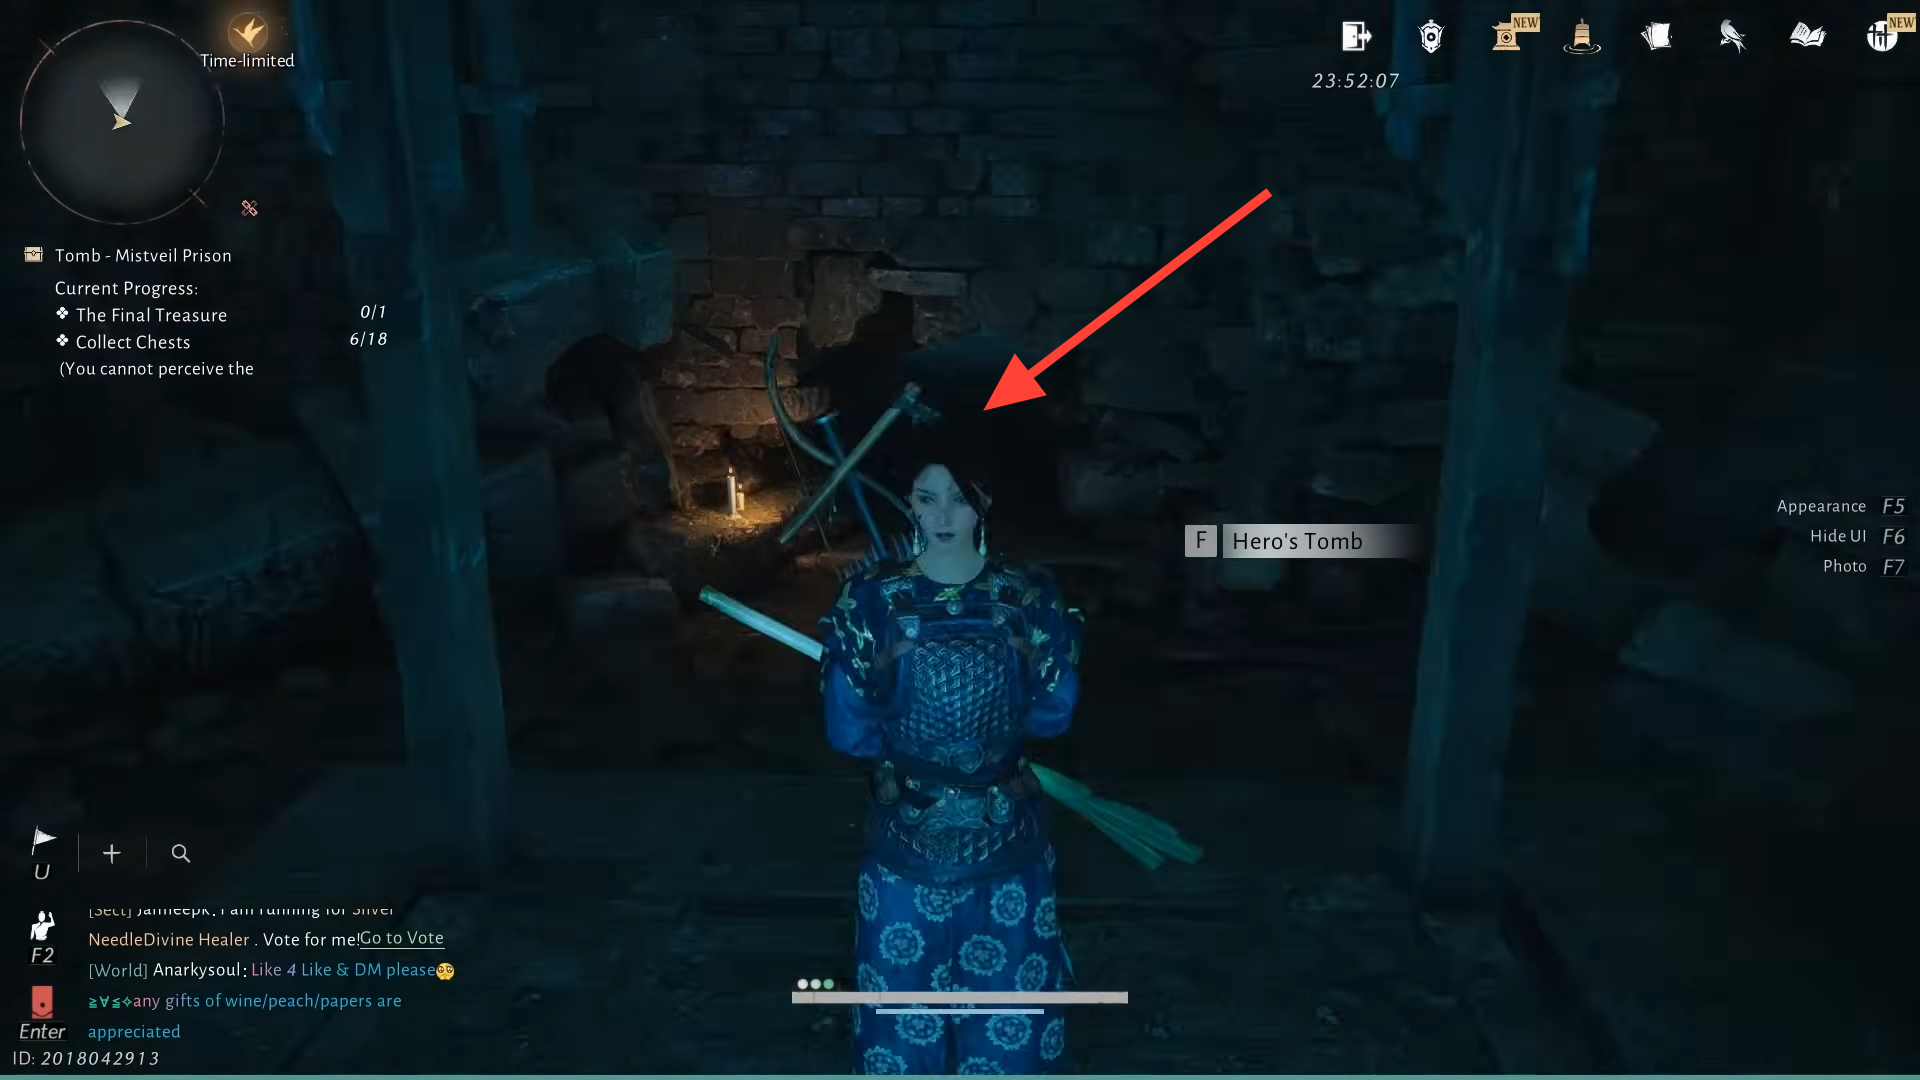
The rotating room hub reached via a lift and a pressure plate near a Hero’s Tomb,
And a red altar / coffin room that shifts roles between chest, drop shaft, and final route depending on the chosen symbol.
The spinning system is the key to progressing and to spawning specific chests.
How the spinning room and symbols change the dungeon
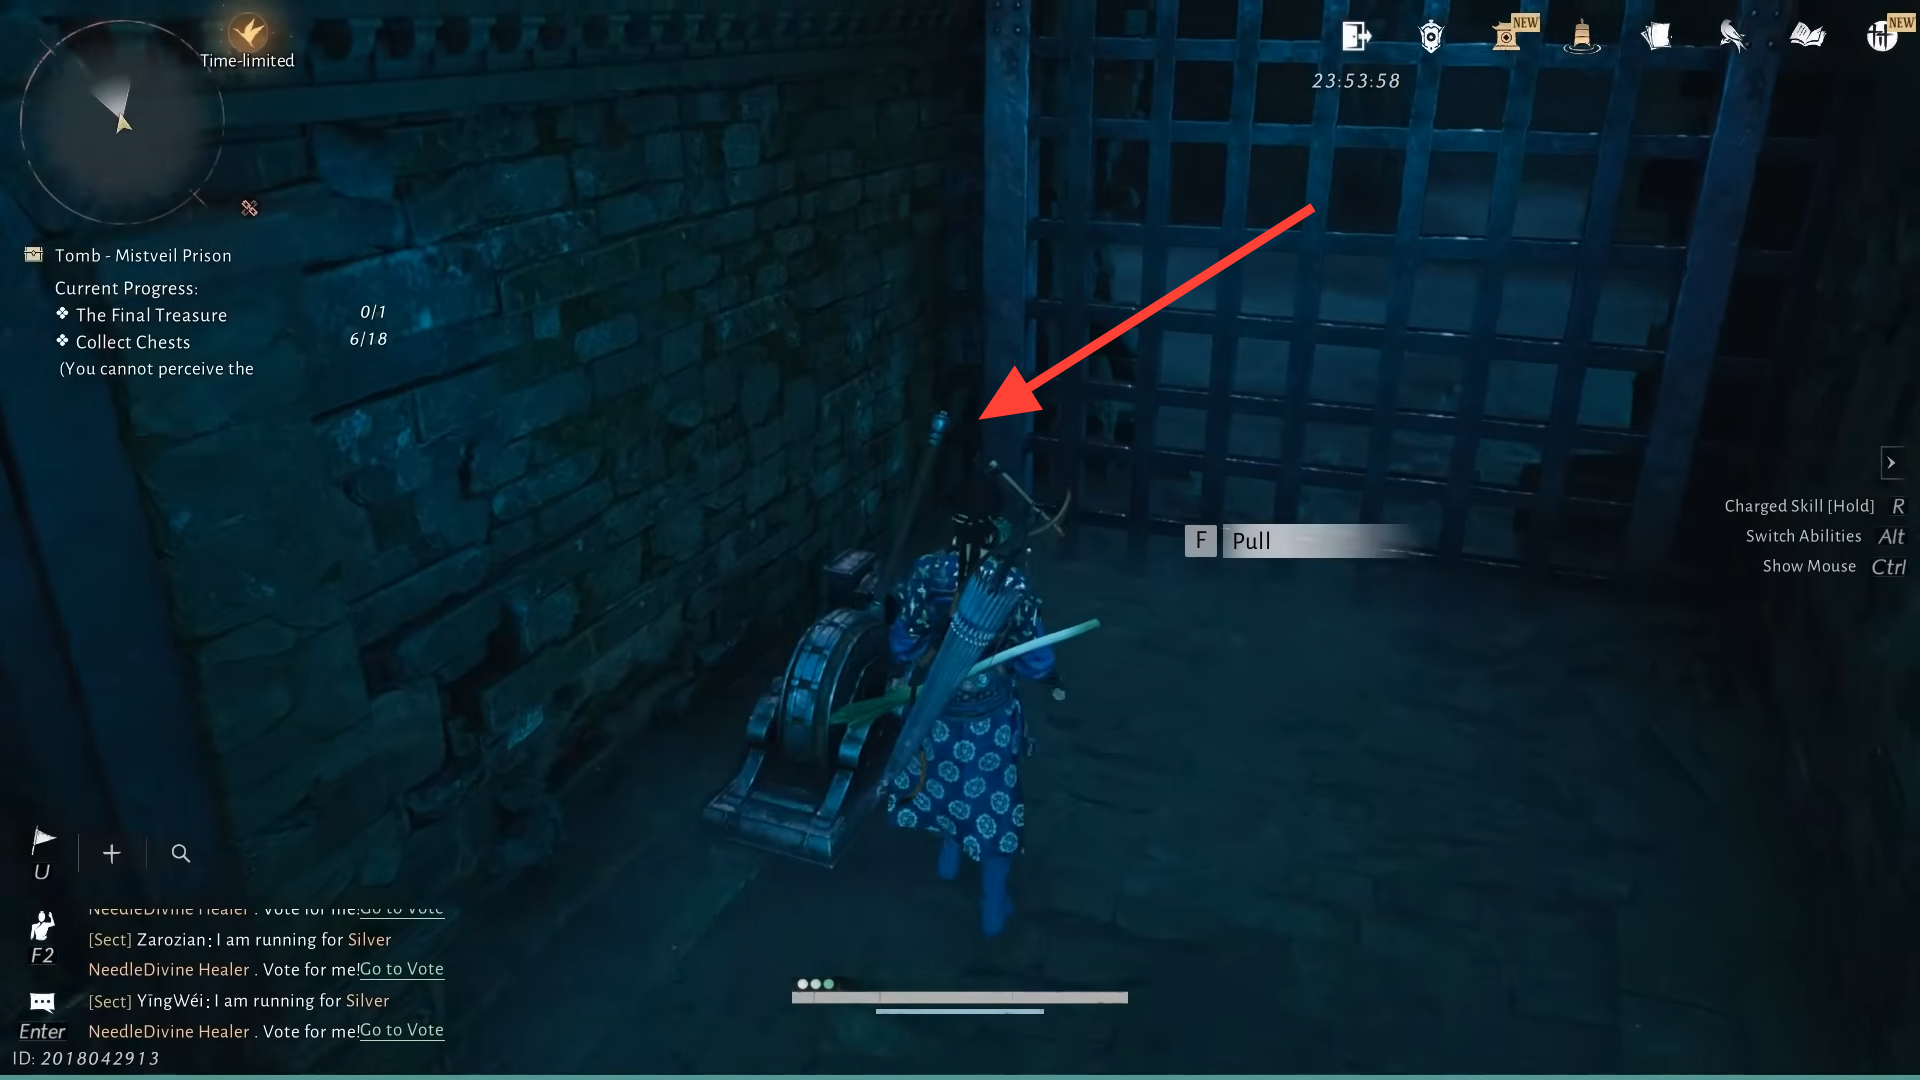
At the top of the large debris room you find a lift that leads to a Hero’s Tomb (a respawn point) and a crawlspace with a pressure plate. Stepping on this plate rotates a hidden mechanism. Each rotation shows a different symbol through a crack in the wall on the rising stone slab. That symbol tells you which variant of the dungeon is currently active.
The important symbols are:
Symbol
Role in Mistveil Prison
Bull / Cow
Spawns a red altar room that initially holds a chest and later serves as an access point for deeper sections.
Walking Man
Reconfigures traps and paths; used for a drop behind the altar and some later chests and notes.
Fish
Enables a “don’t look back” chase, moves kneeling men, and spawns several chests back near the start.
Miner
Unlocks lower lifts and hidden routes leading to the 16th–18th chests and the final treasure route.
Every time you press the plate, two things happen: the symbol cycles and the Lady in Red relocates within the hub, changing where her Fear: The Unknown aura is dangerous. The surrounding rooms reuse the same geometry, but exits, holes in the floor, traps, and chests swap between states tied to the current symbol.
Tip: It is usually better to treat each symbol as a “run” – spin to a symbol, fully explore what it unlocks, then return and rotate again rather than swapping constantly.
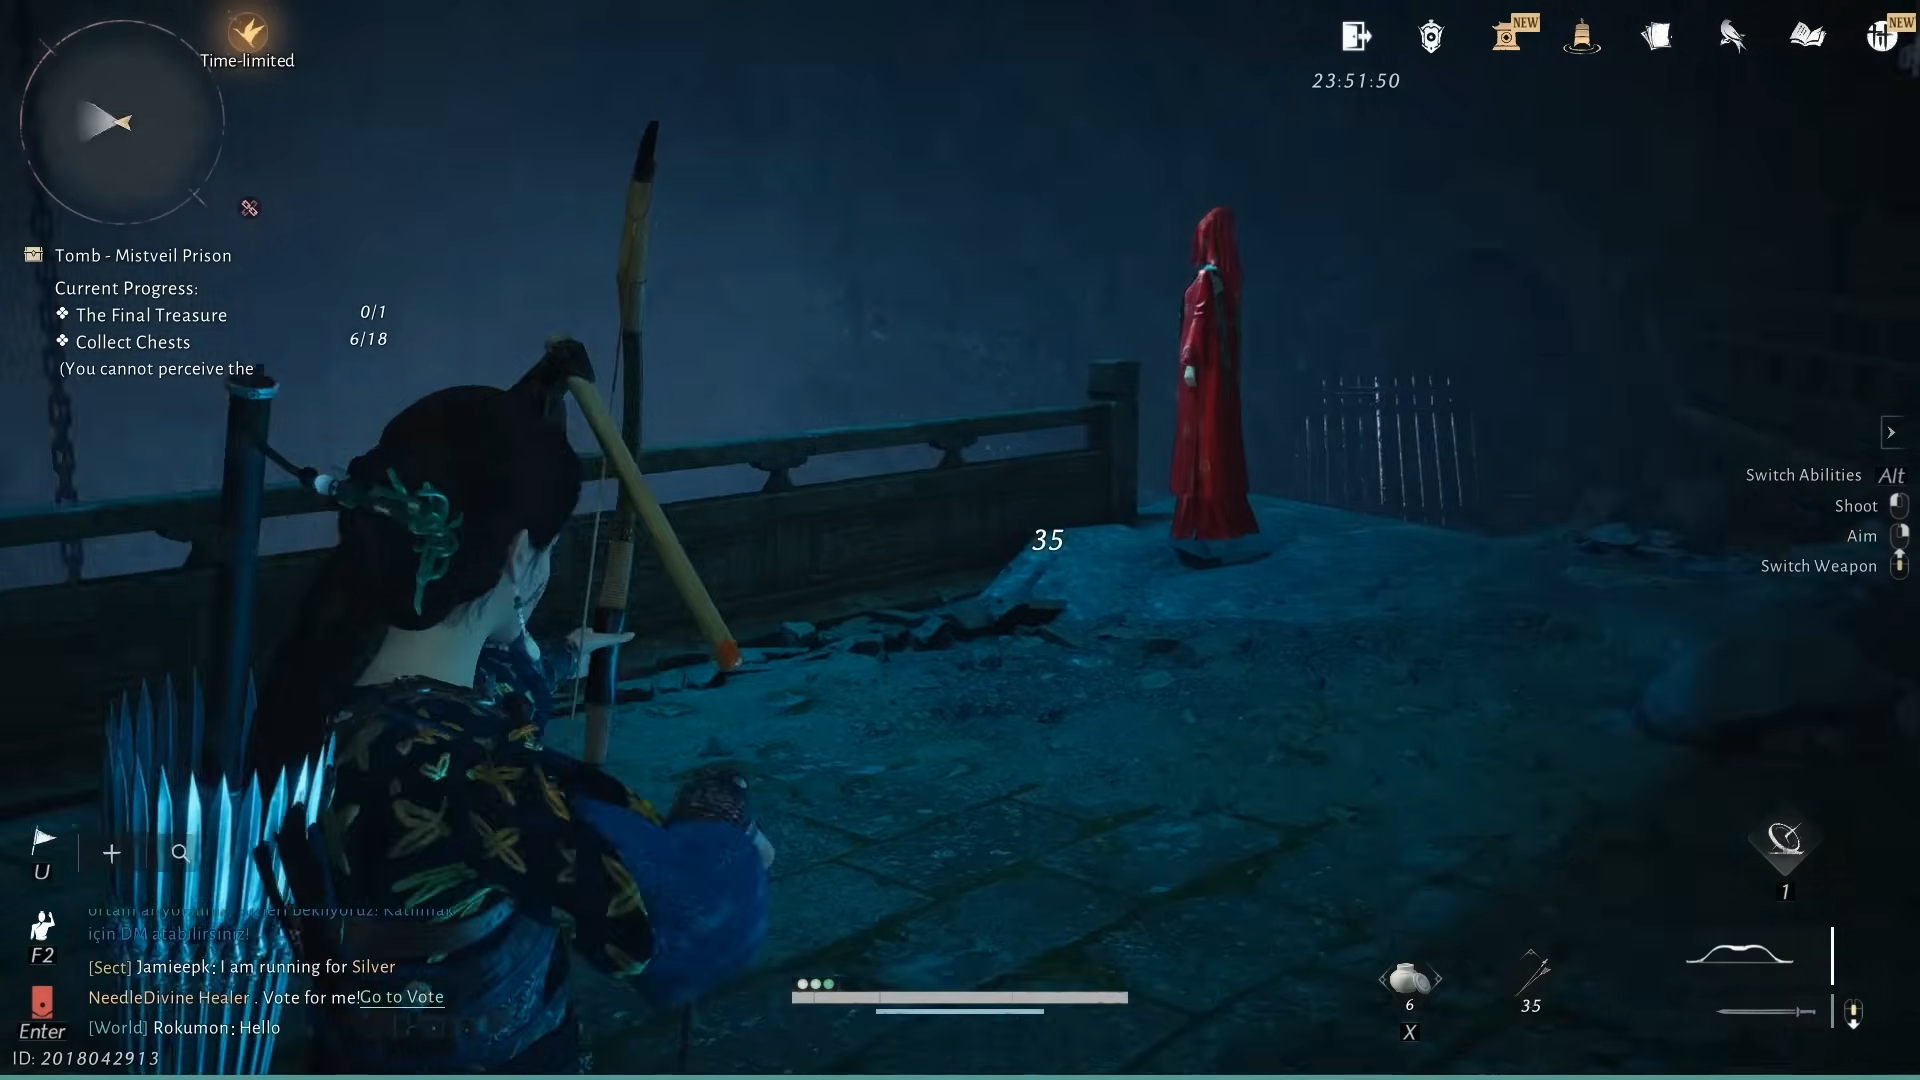
Lady in Red and the Fear: The Unknown debuff
The Lady in Red is a recurring threat once you reach the rotating room. Getting too close raises a meter called Fear: The Unknown. If it fills, she fixates on you and kills you in a single hit. The meter then slowly decays if you manage to put distance between you.
Image credit: NetEase (via YouTube/@GGChannelX)
Her behavior changes with context:
In some corridors she simply stands at the end of a hallway. If you move towards her and periodically look away, she disappears without triggering the fear meter.
In the Fish rotation’s “Don’t look back!” sequence, she stands above a ladder behind you and her aura covers the top of the shaft. Climbing the ladder and looking back guarantees a death.
In altar rooms, looting chests or altars often spawns her directly on top of you, turning a reward interaction into a sudden chase.
Note: The dungeon constantly nudges you to respect line of sight. Reading notes, such as the warning that tells you not to look back before a ladder, is part of the puzzle rather than flavor text.
Early progression and the first six chests
The opening section teaches the dungeon’s vertical loops and basic traps before you ever see the rotating mechanism.
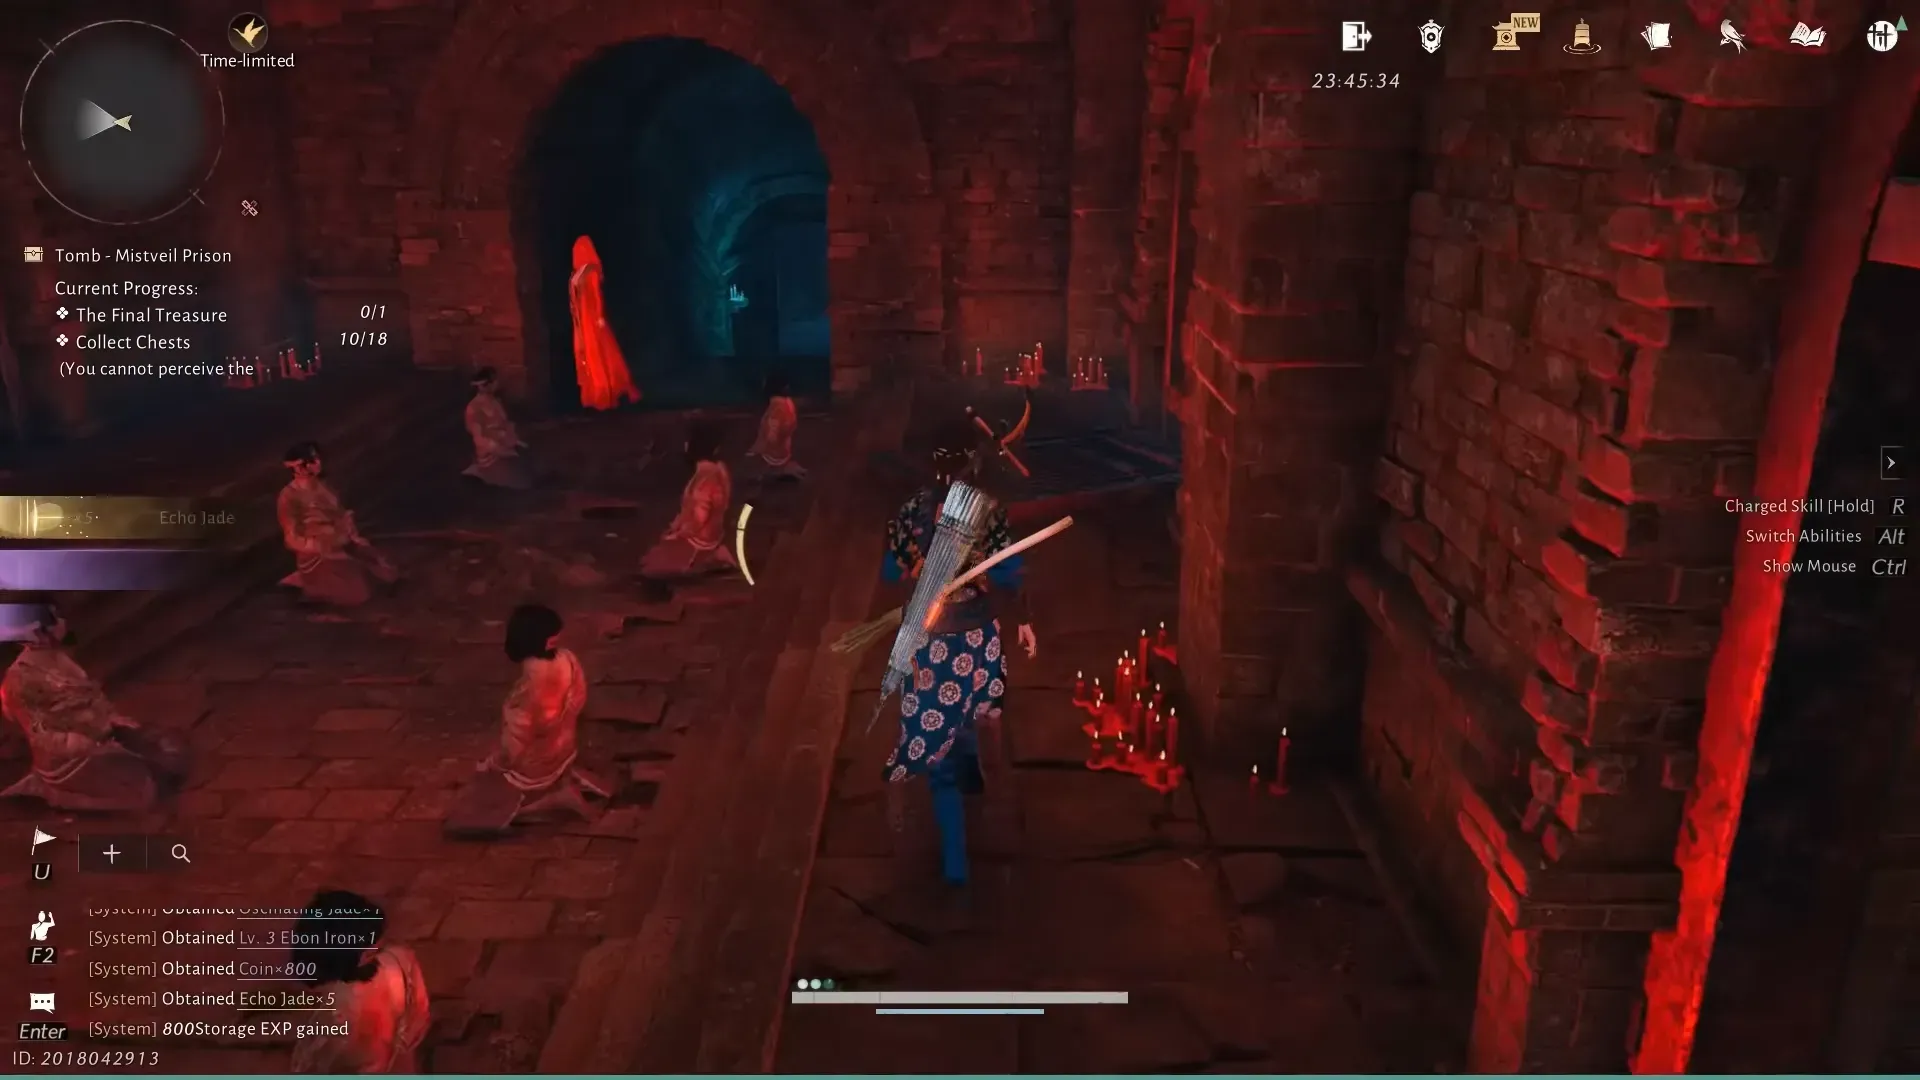
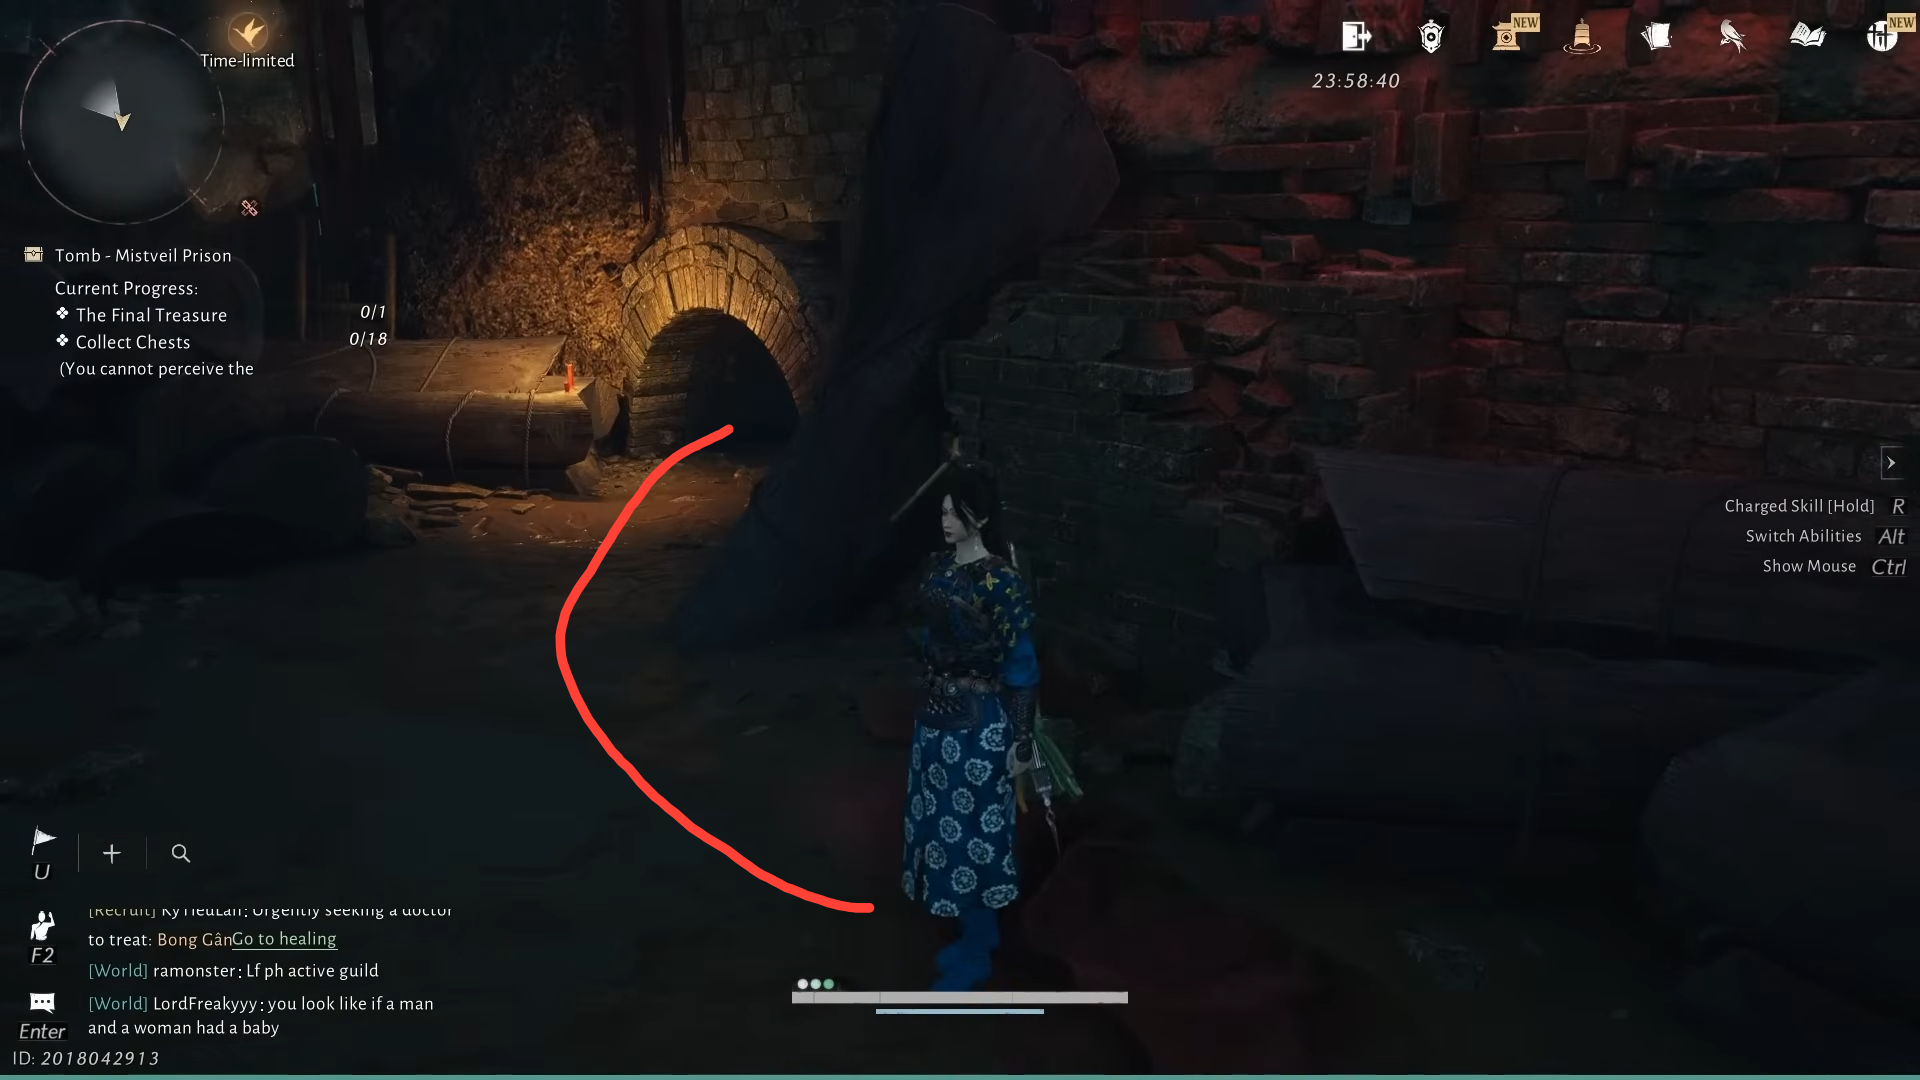
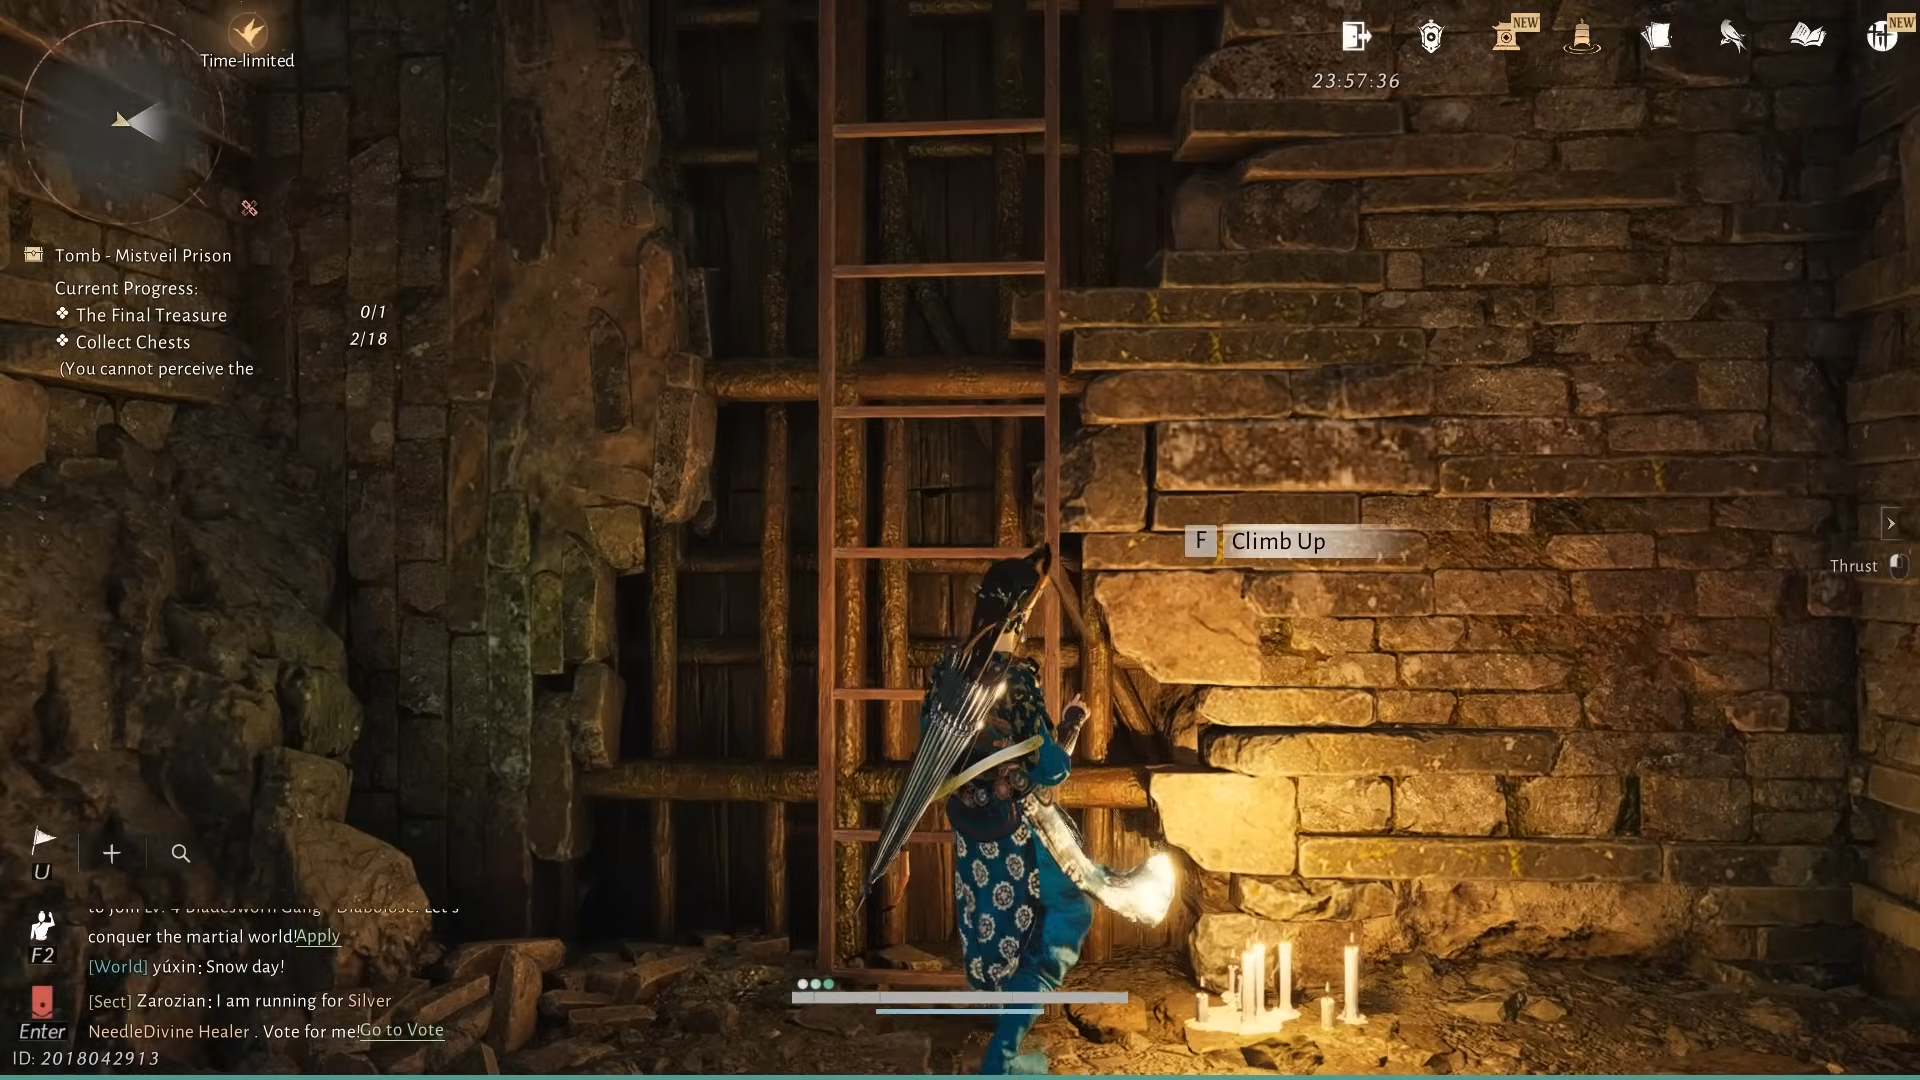
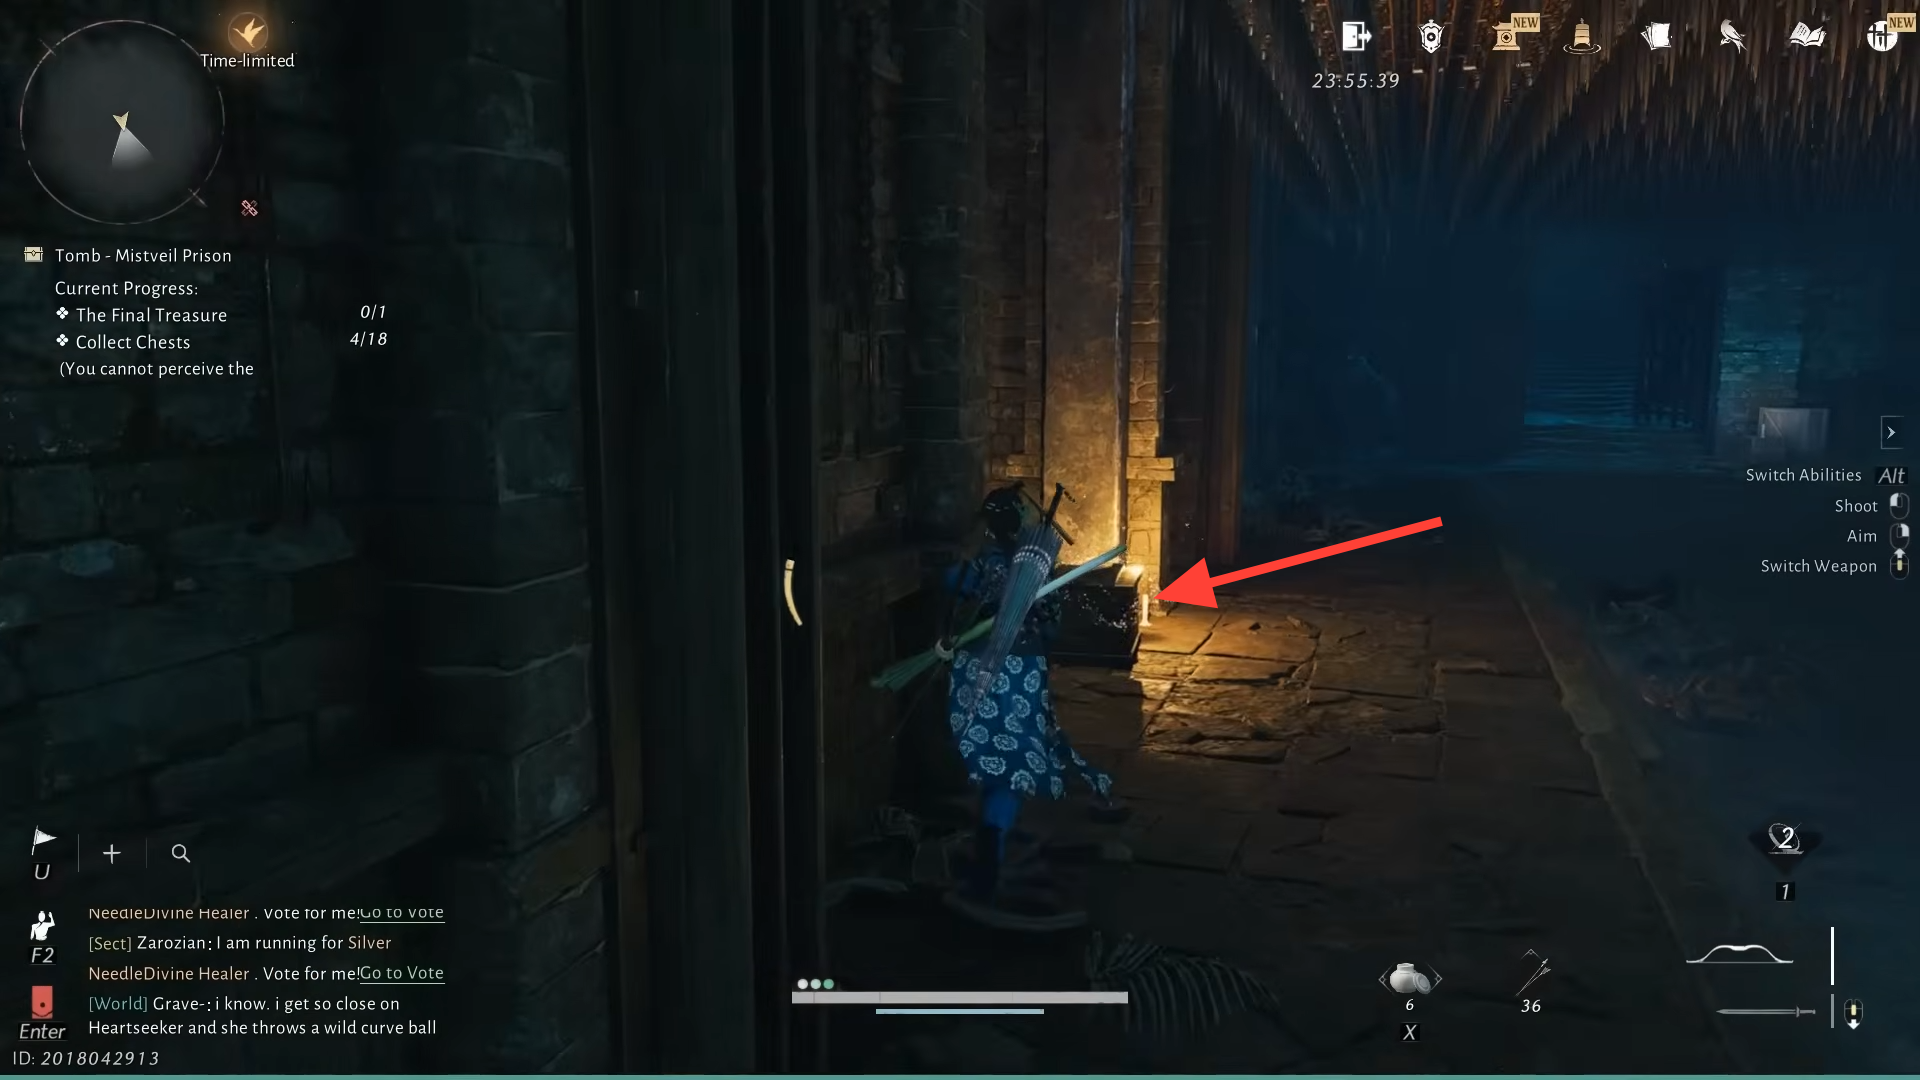
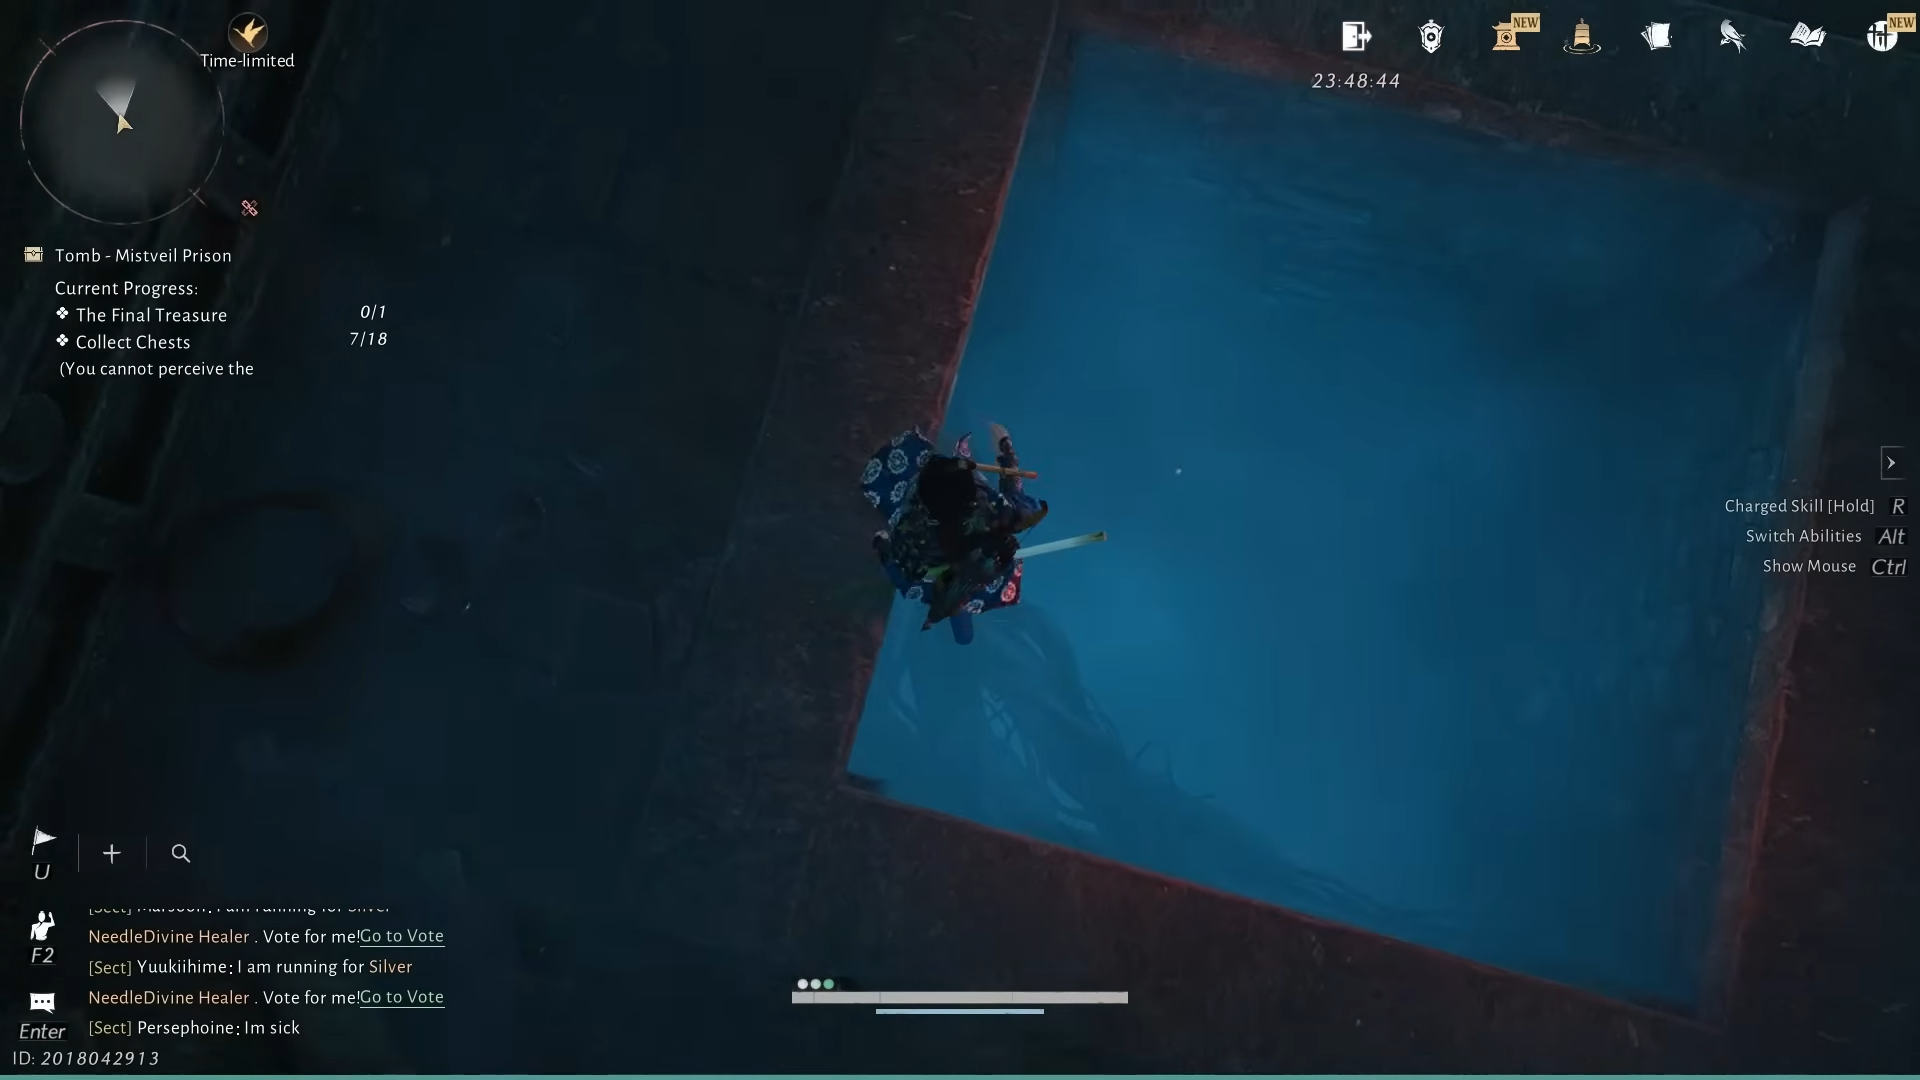
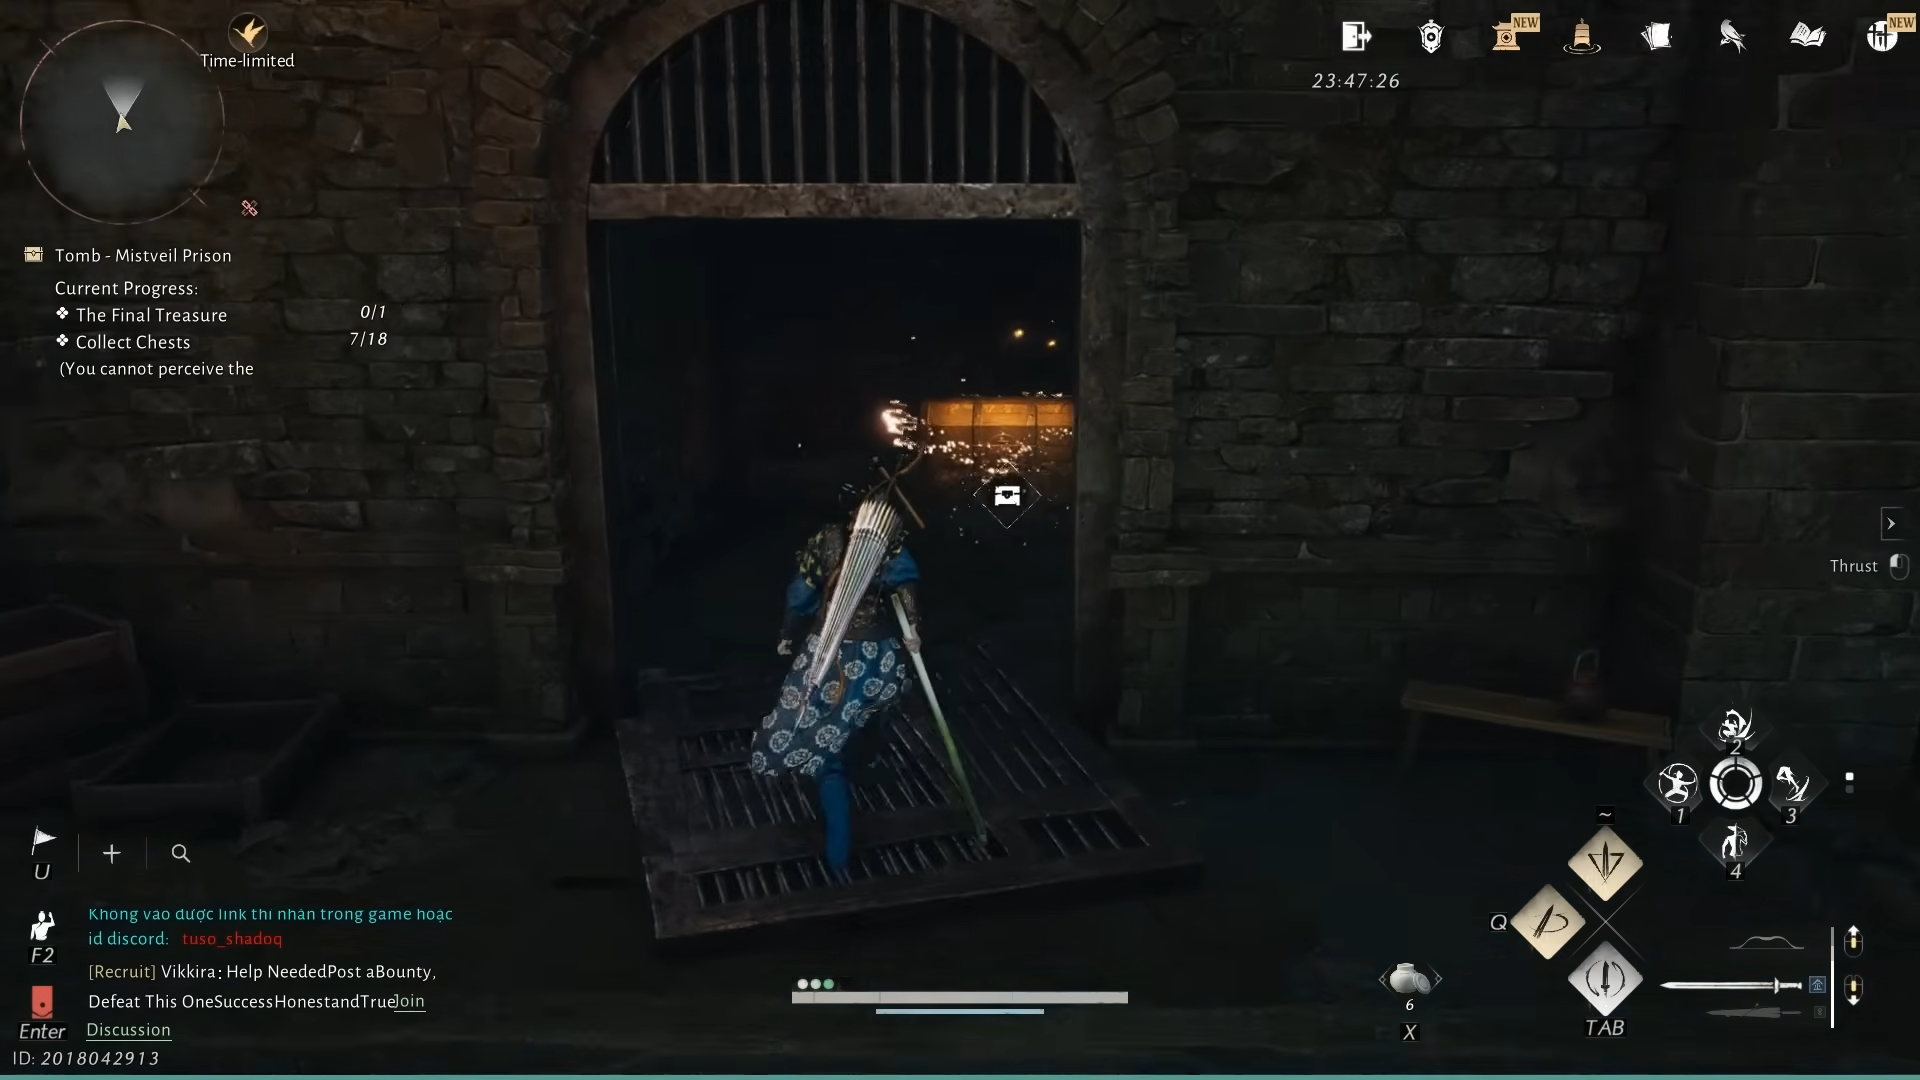
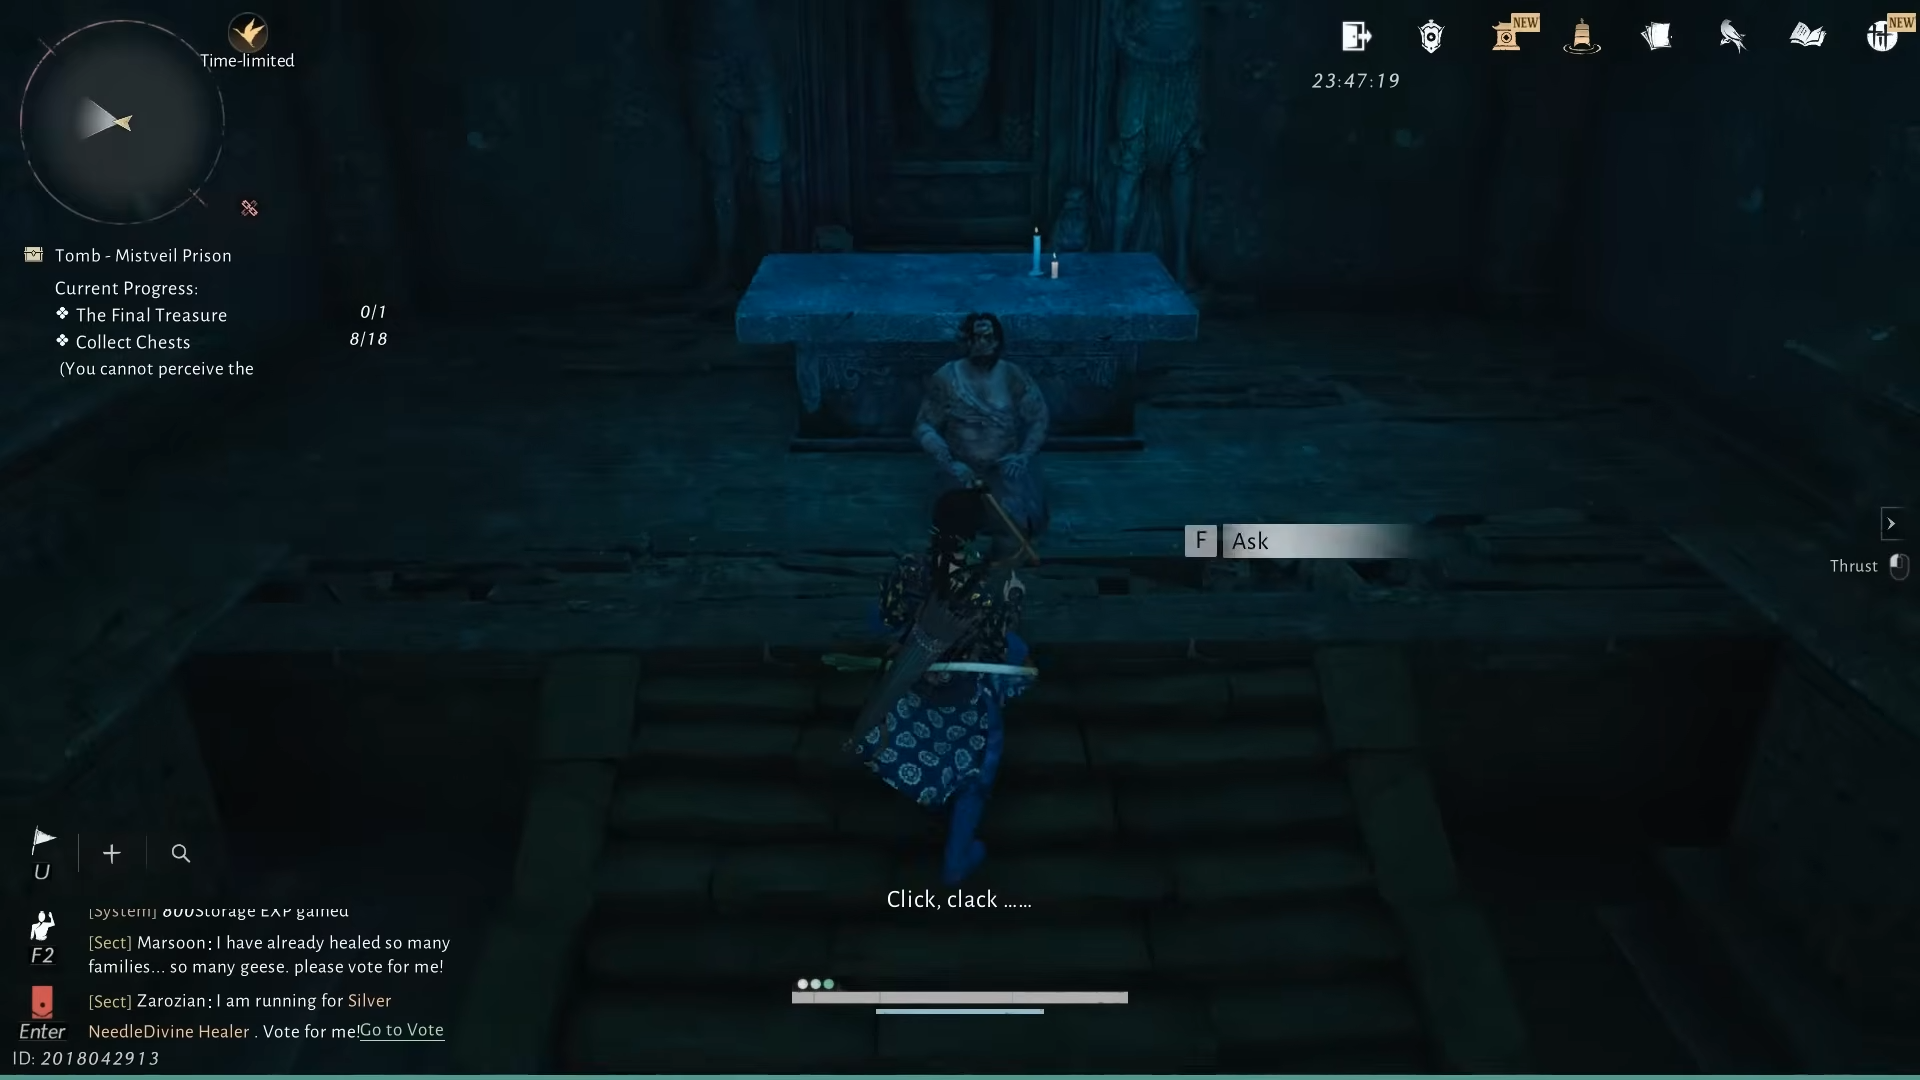
Leave your starting cell, go left to the room with a stone table and a note, then head left again and upstairs to a lift. Ride it down to reach a red-lit hallway lined with statues.
Walk through the red light, drop off the ledge to a lower floorimmediately turn to the side and crouch into a low, half-circle opening. The first chest waits at the end of this crawlspace. As soon as you open it, the floor breaks and you fall into a rat ambush.
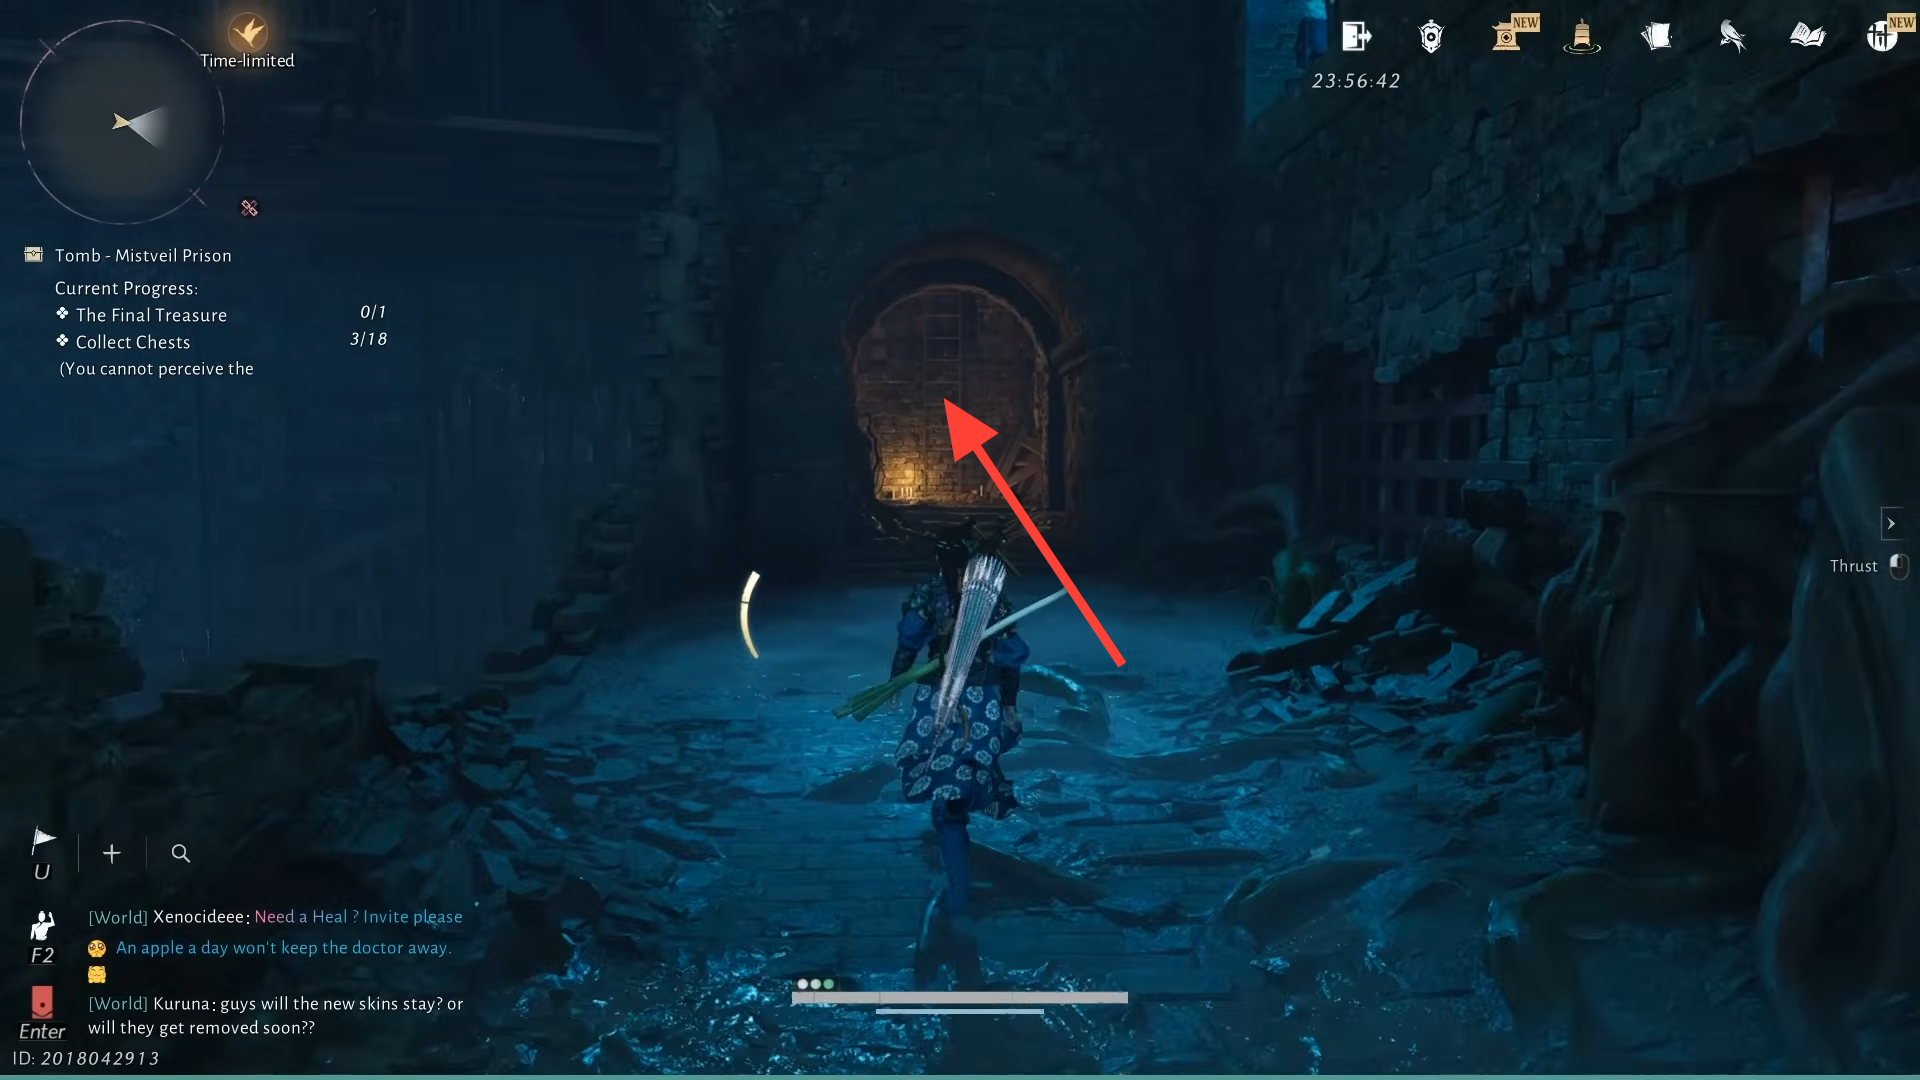
Looking up from the second chest reveals suspended cages above you. Turn back, choose the tunnel that was previously unused, and climb the ladder. From the top, edge along a damaged wall to reach planks that run over the hanging cages. Using these planks, drop carefully onto the correct cage to obtain the third chest.
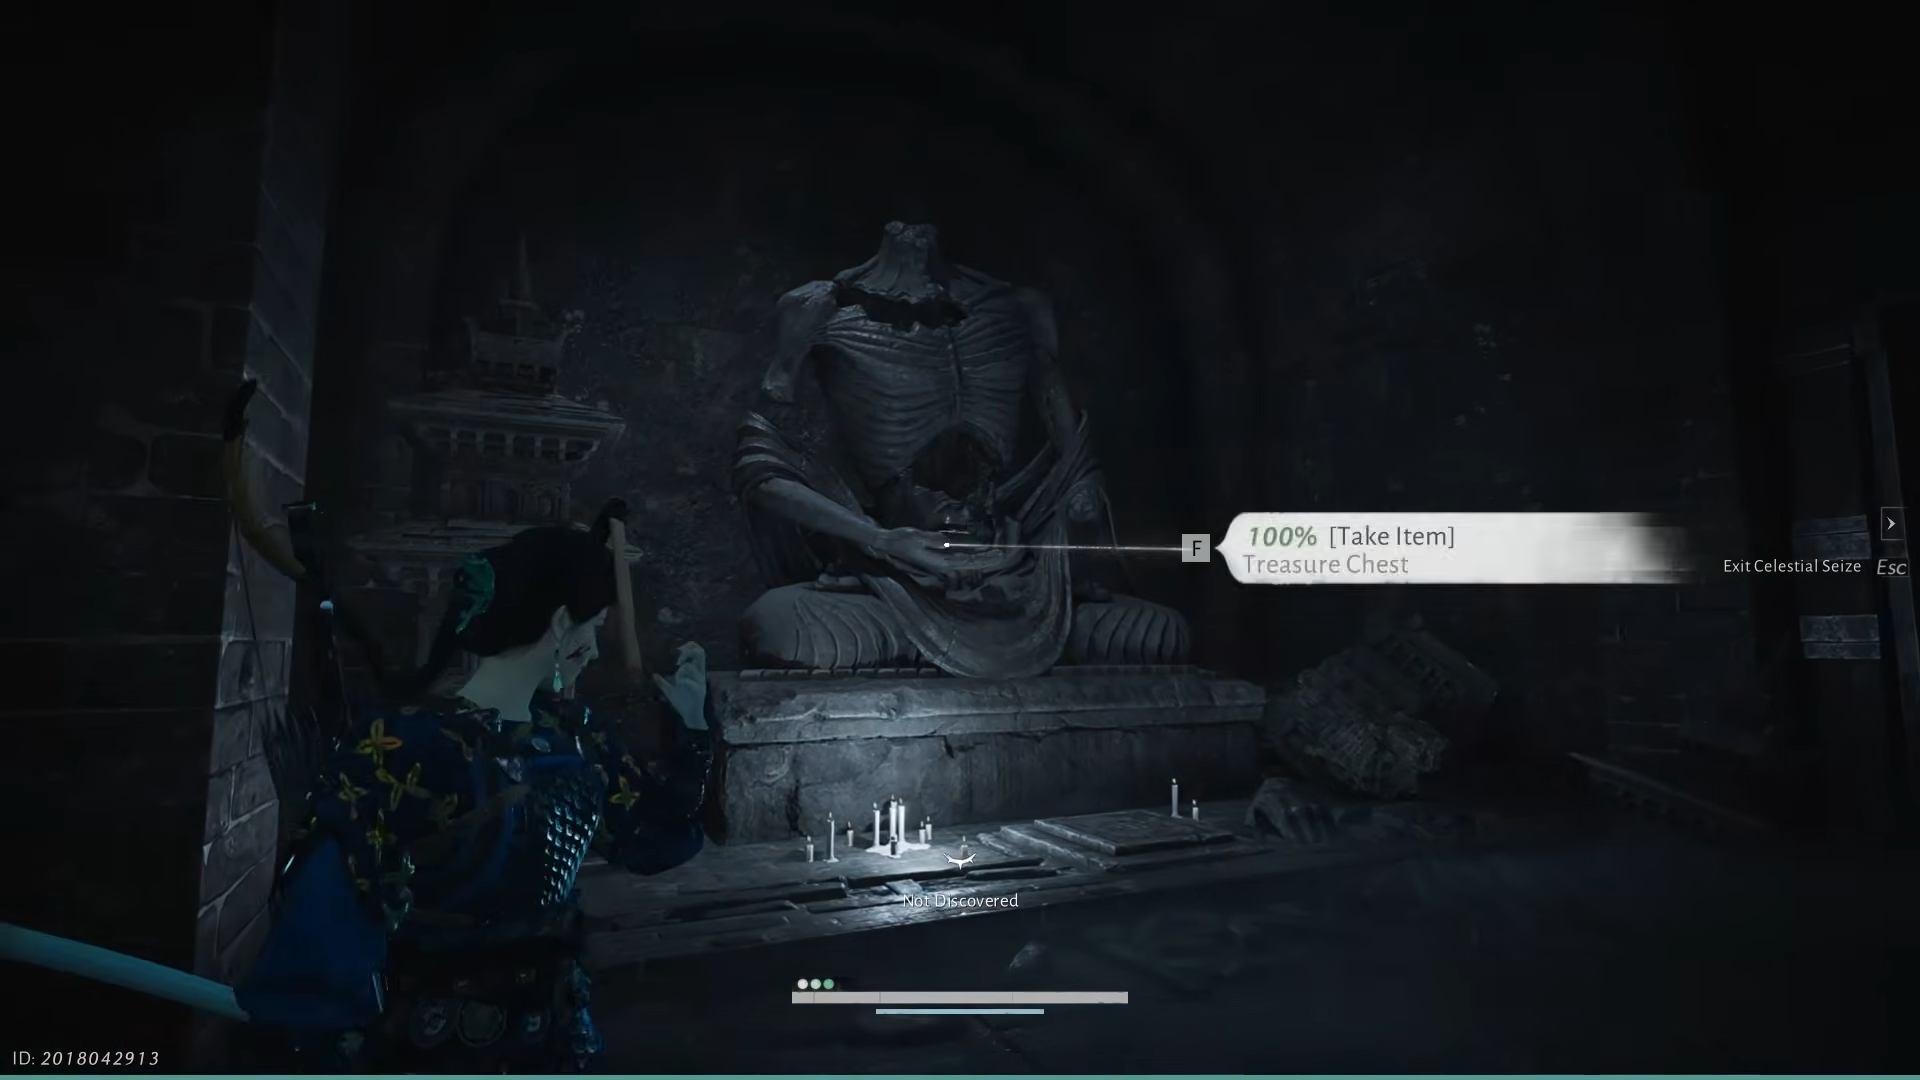
Climb back up from the hanging cages, pass the broken wall entirely, and follow the archway to another ladder. At the top stands a headless statue. There is a pressure plate in front of it that triggers a projectile trap from behind. To grab the fourth chest from the statue’s lap without being hit, approach from the side by jumping onto the broken pillar and then onto the statue’s leg.
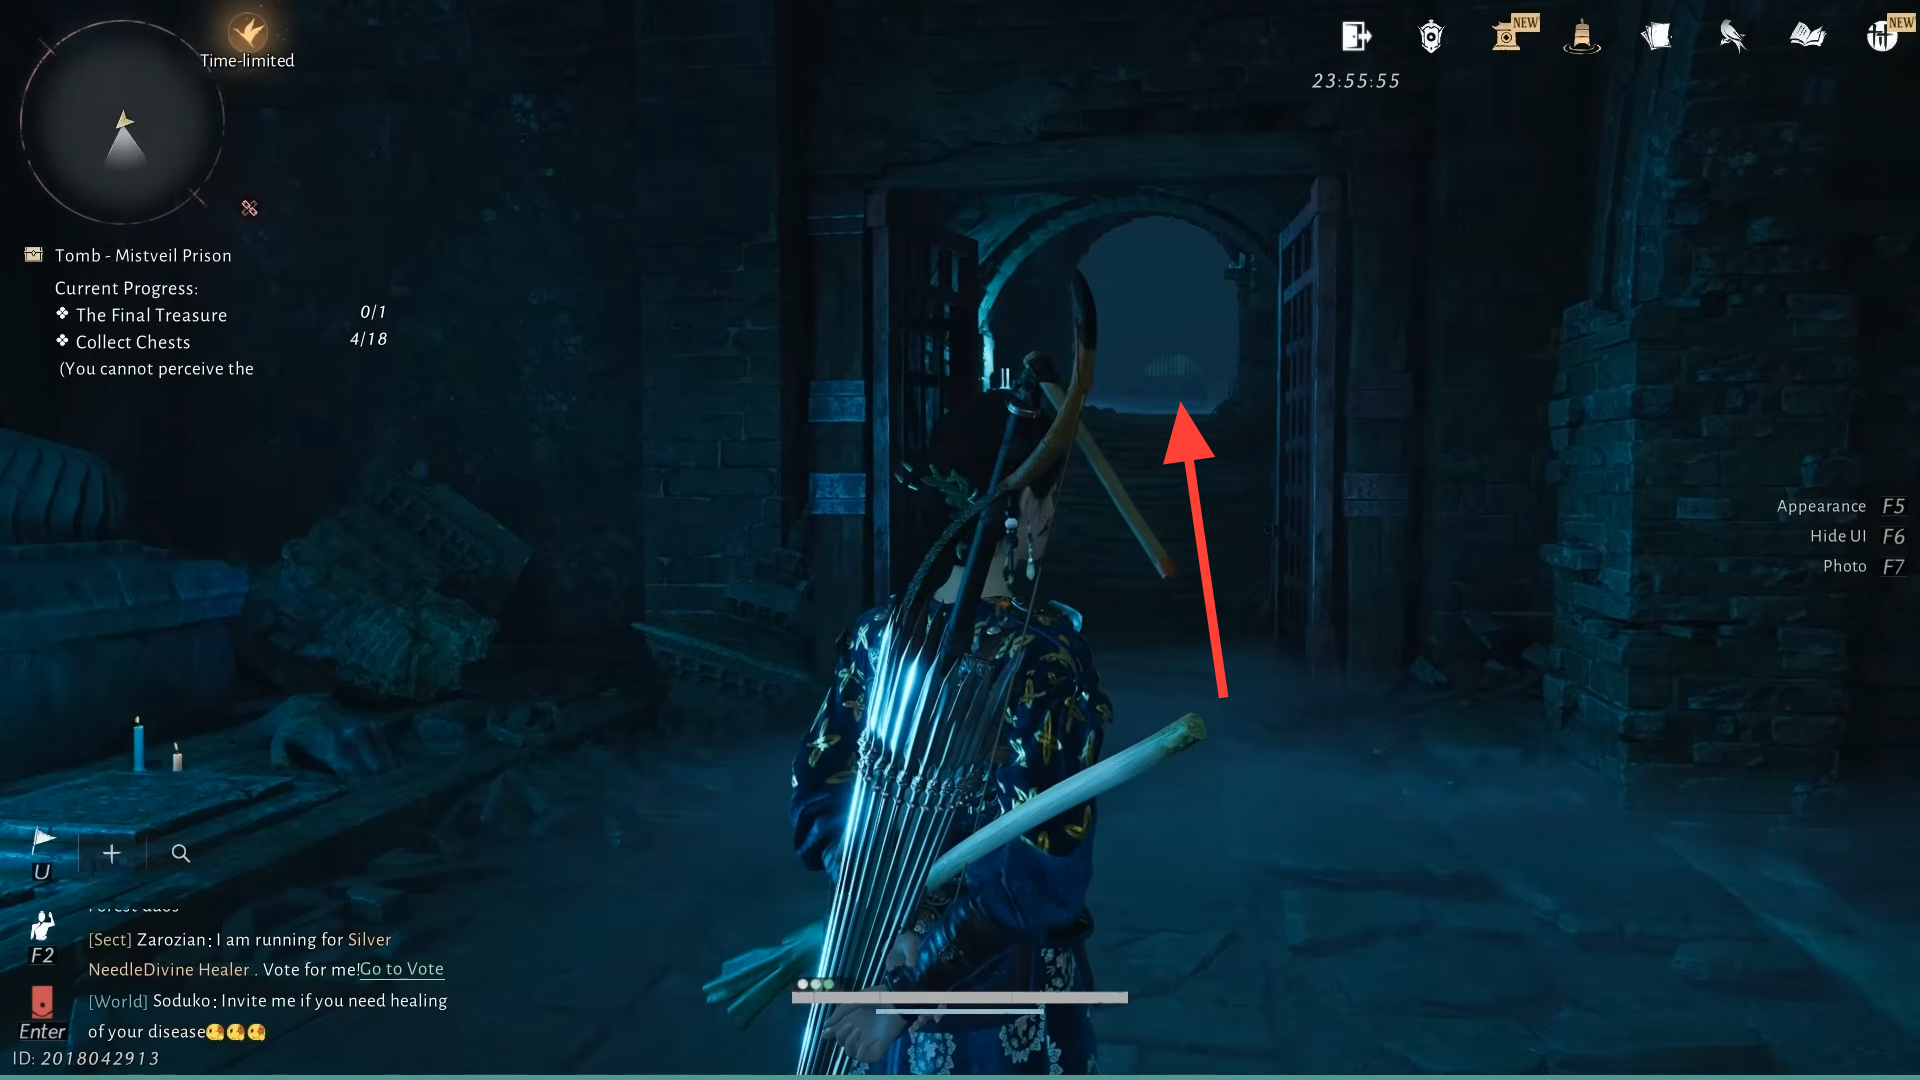
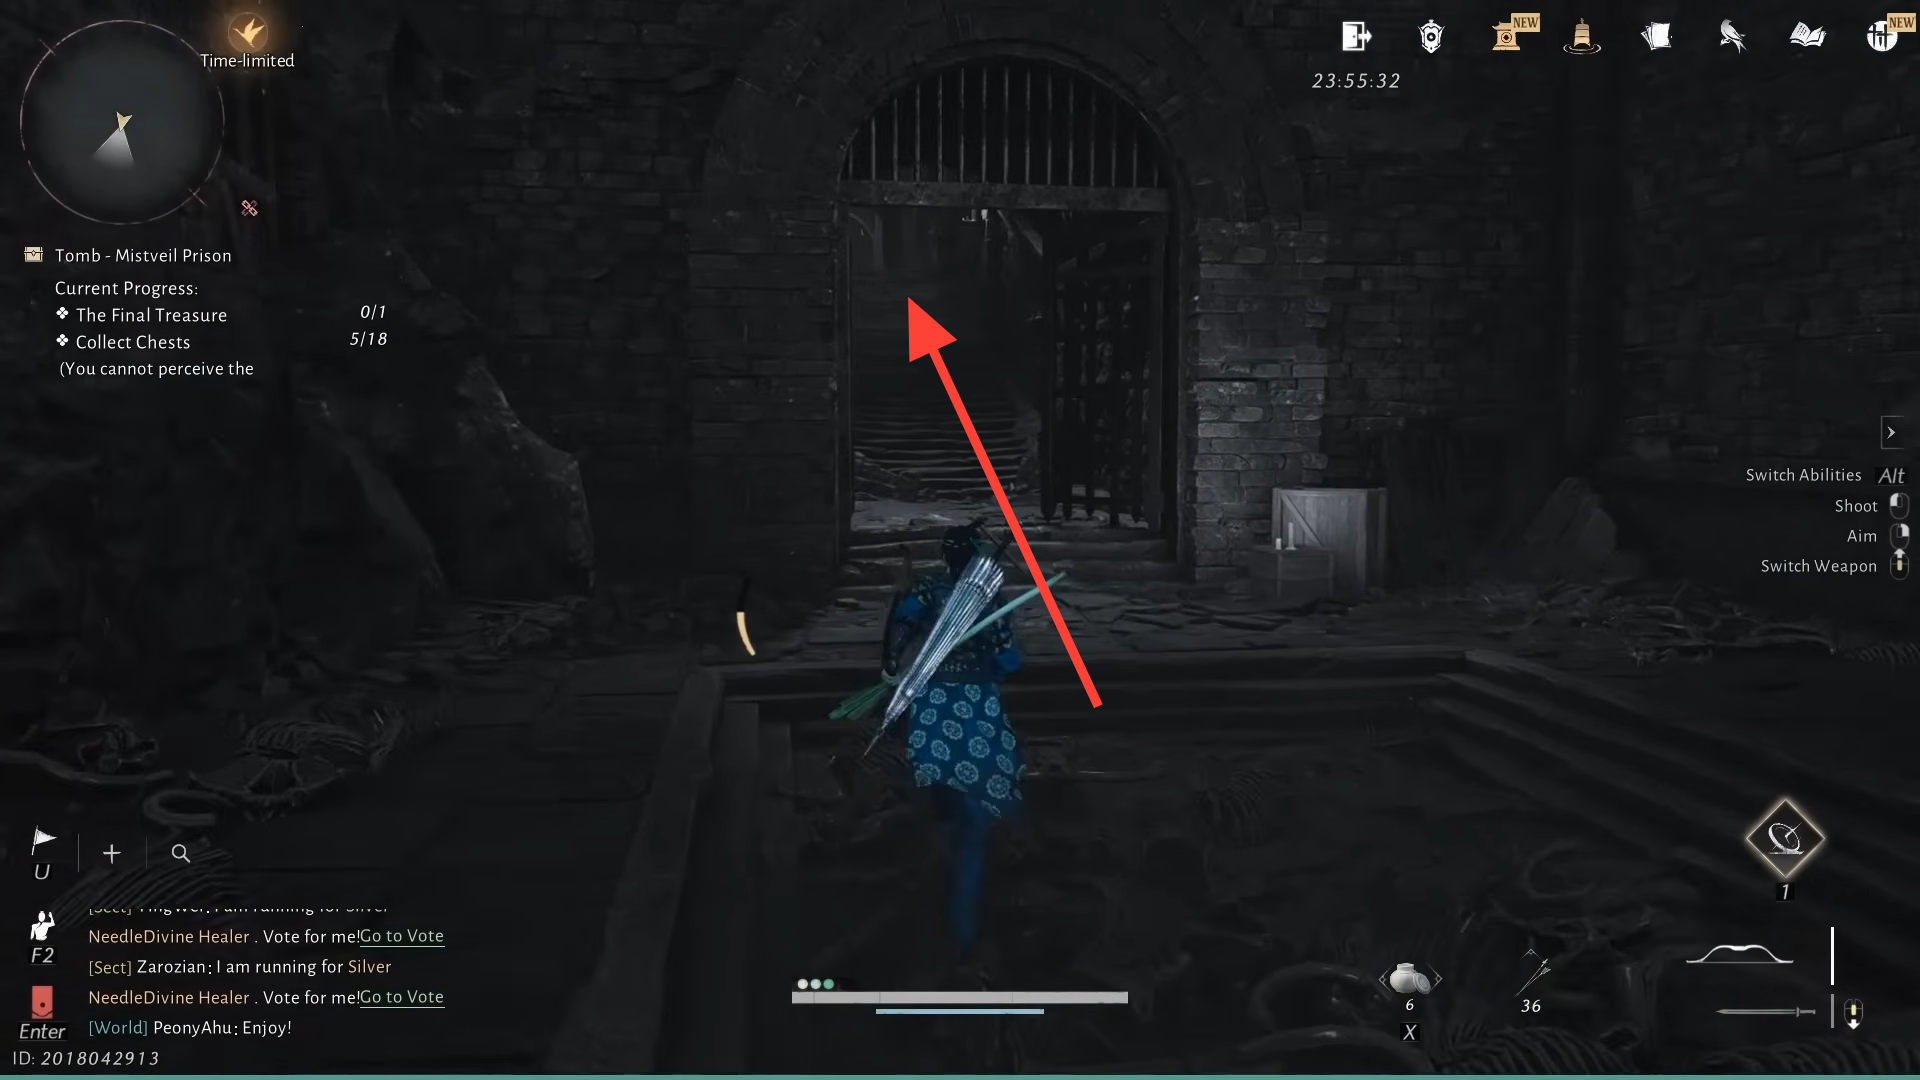
A staircase near the statue leads into a long rectangular hall where the ceiling periodically slams down in spikes. When you first enter, the trap arms, then cycles on its own. Safe alcoves line one side. Time your sprint to reach the lit alcoves and collect the fifth chest from one of them, then repeat your dash sequence to exit the room at the far end. Continuing on brings you past another statue and into a debris-filled hall patrolled by rats, where sharp turns reveal the sixth chest and a hidden rat that lunges as you approach.
At this point, a side path from the debris room loops back to the starting table room via a lever-operated portcullis. Opening this shortcut is useful insurance against deaths, since the dungeon leans heavily on lethal traps.
Image credit: NetEase (via YouTube/@GGChannelX)
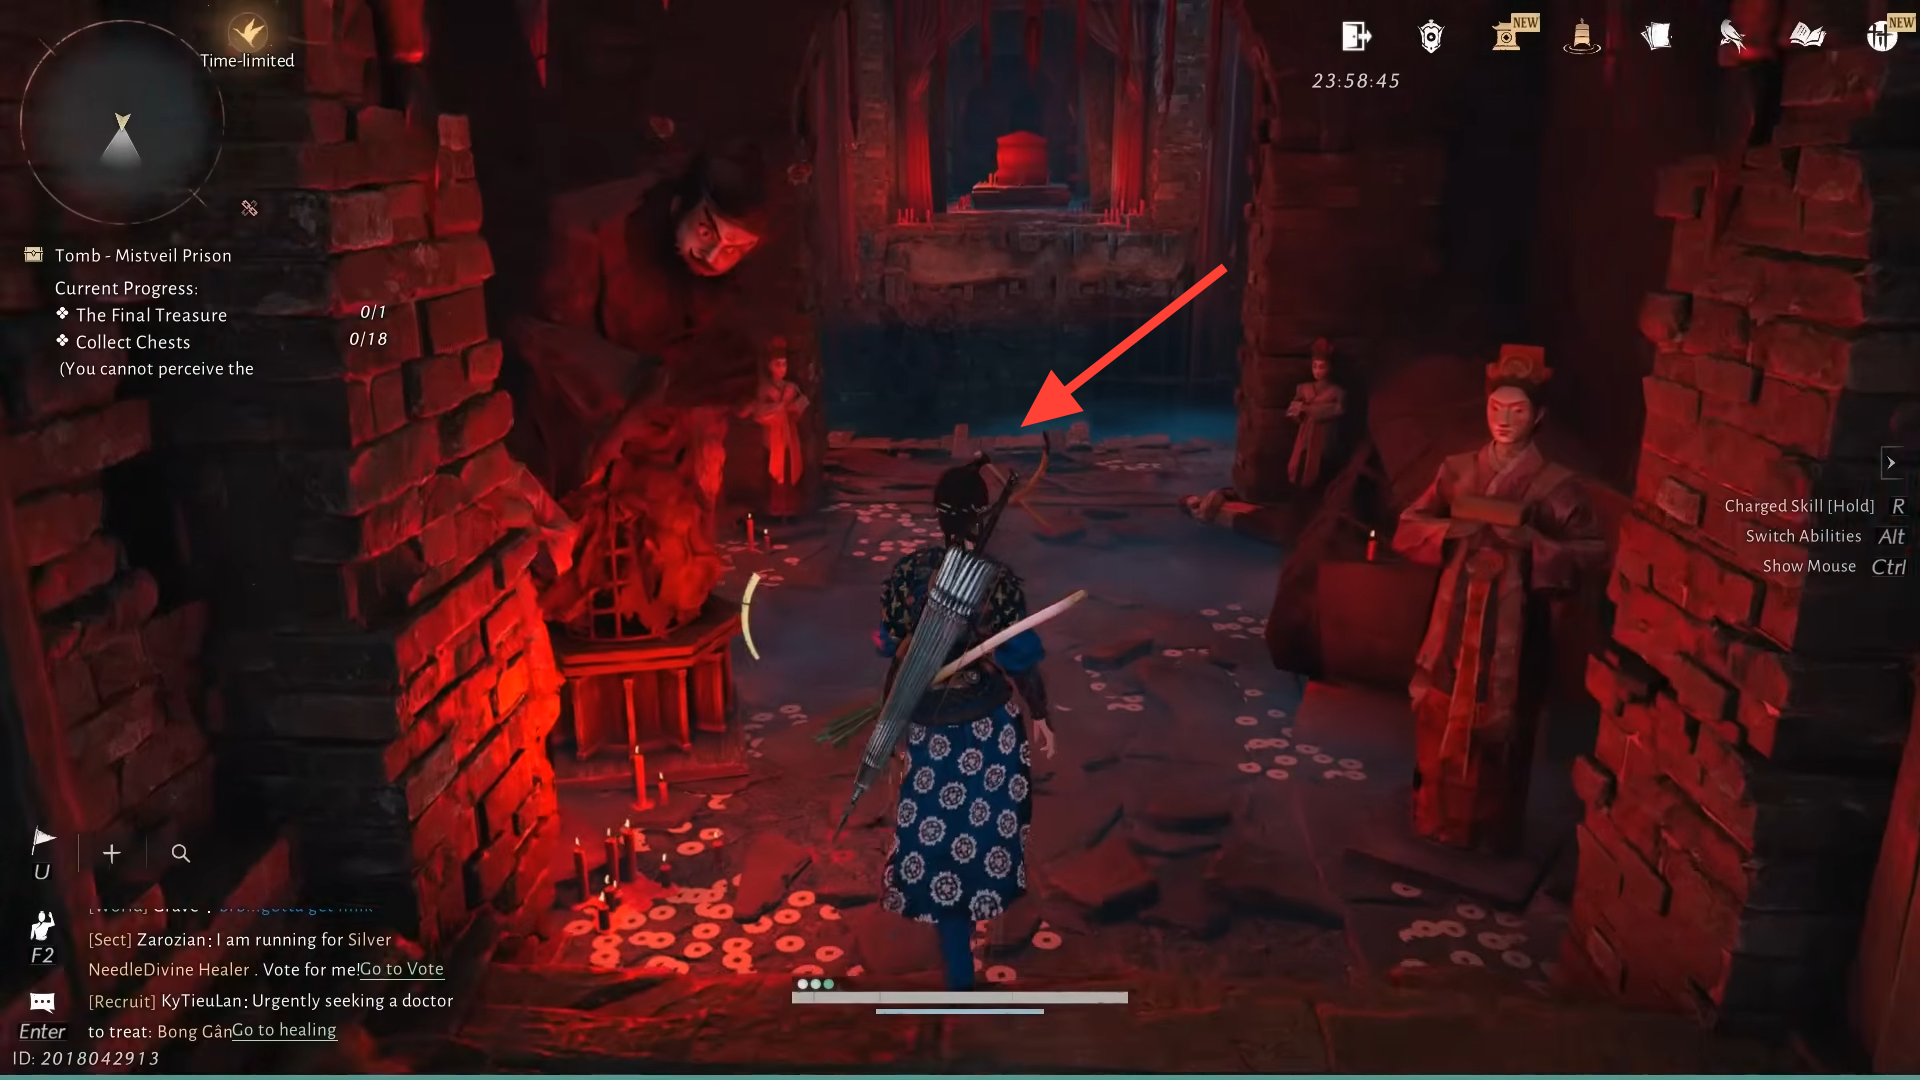
Reaching the rotating room and the Bull altar (7th chest)
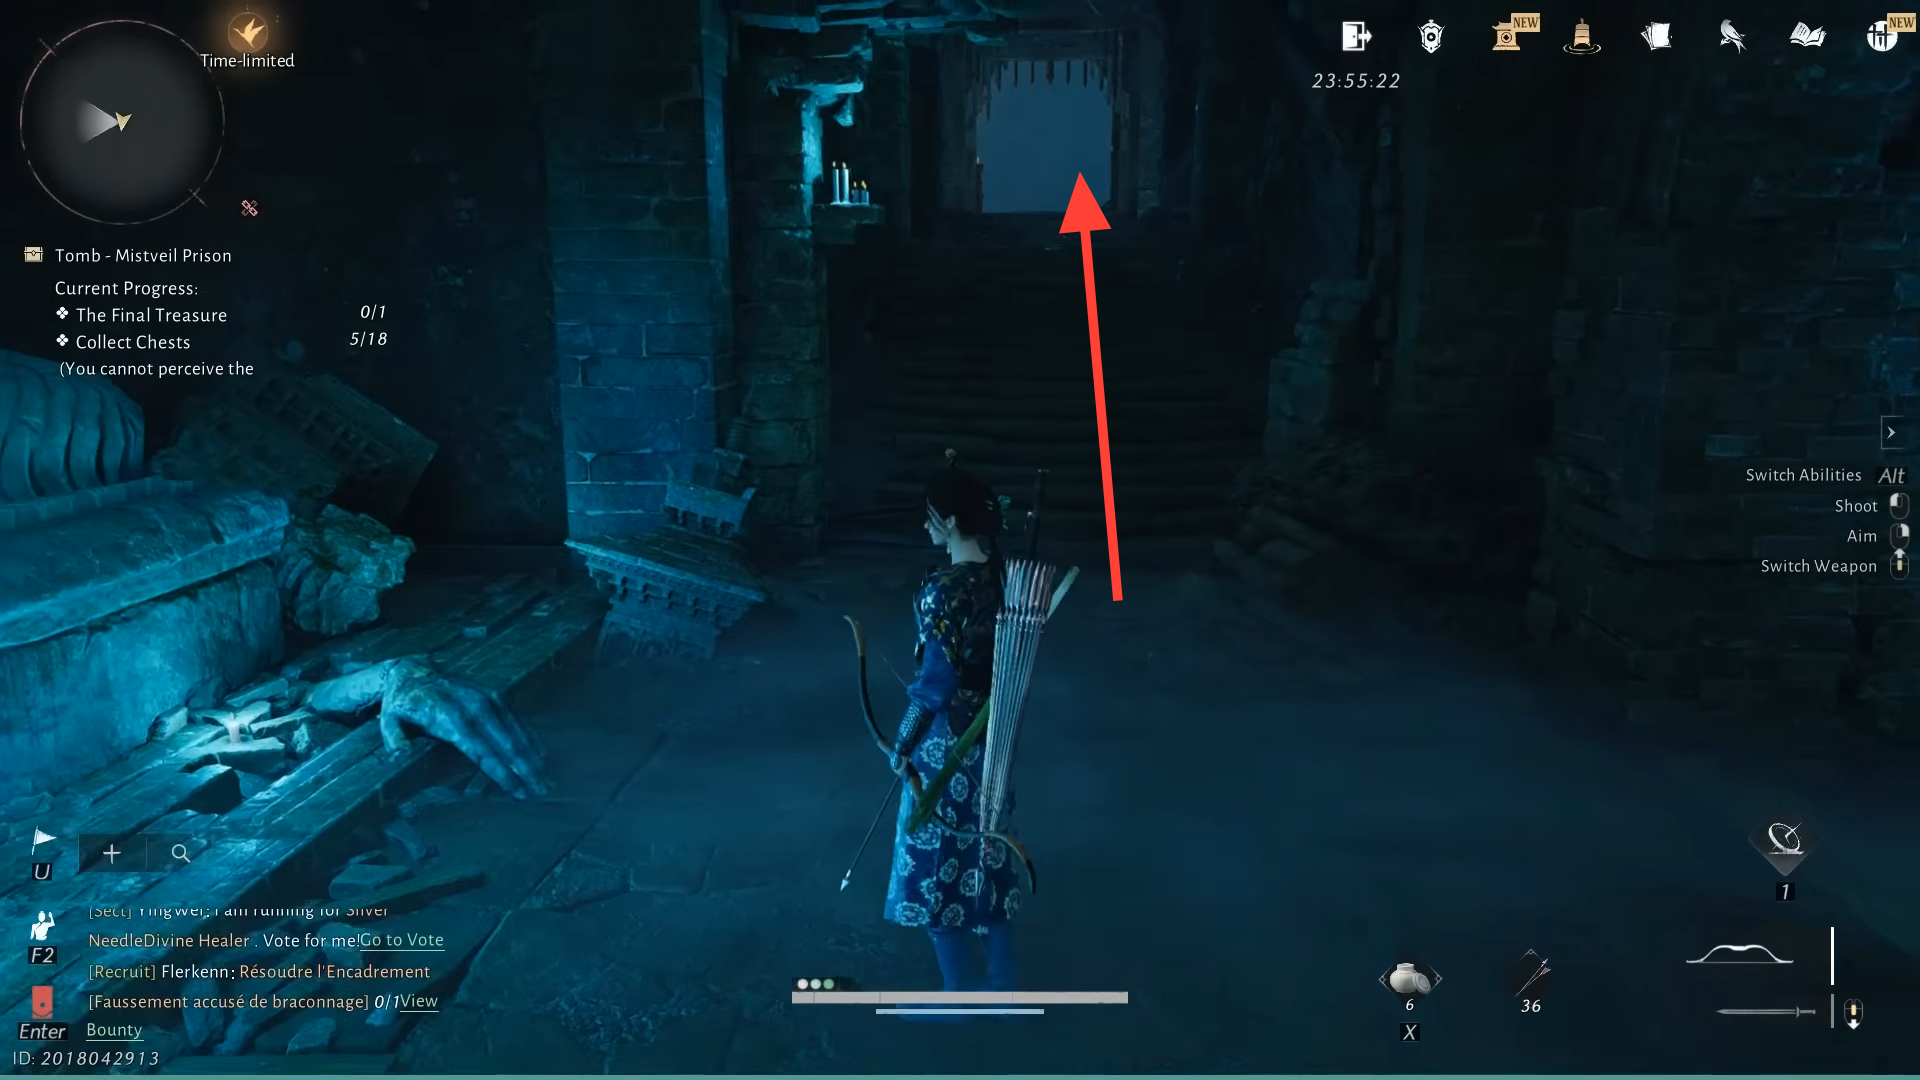
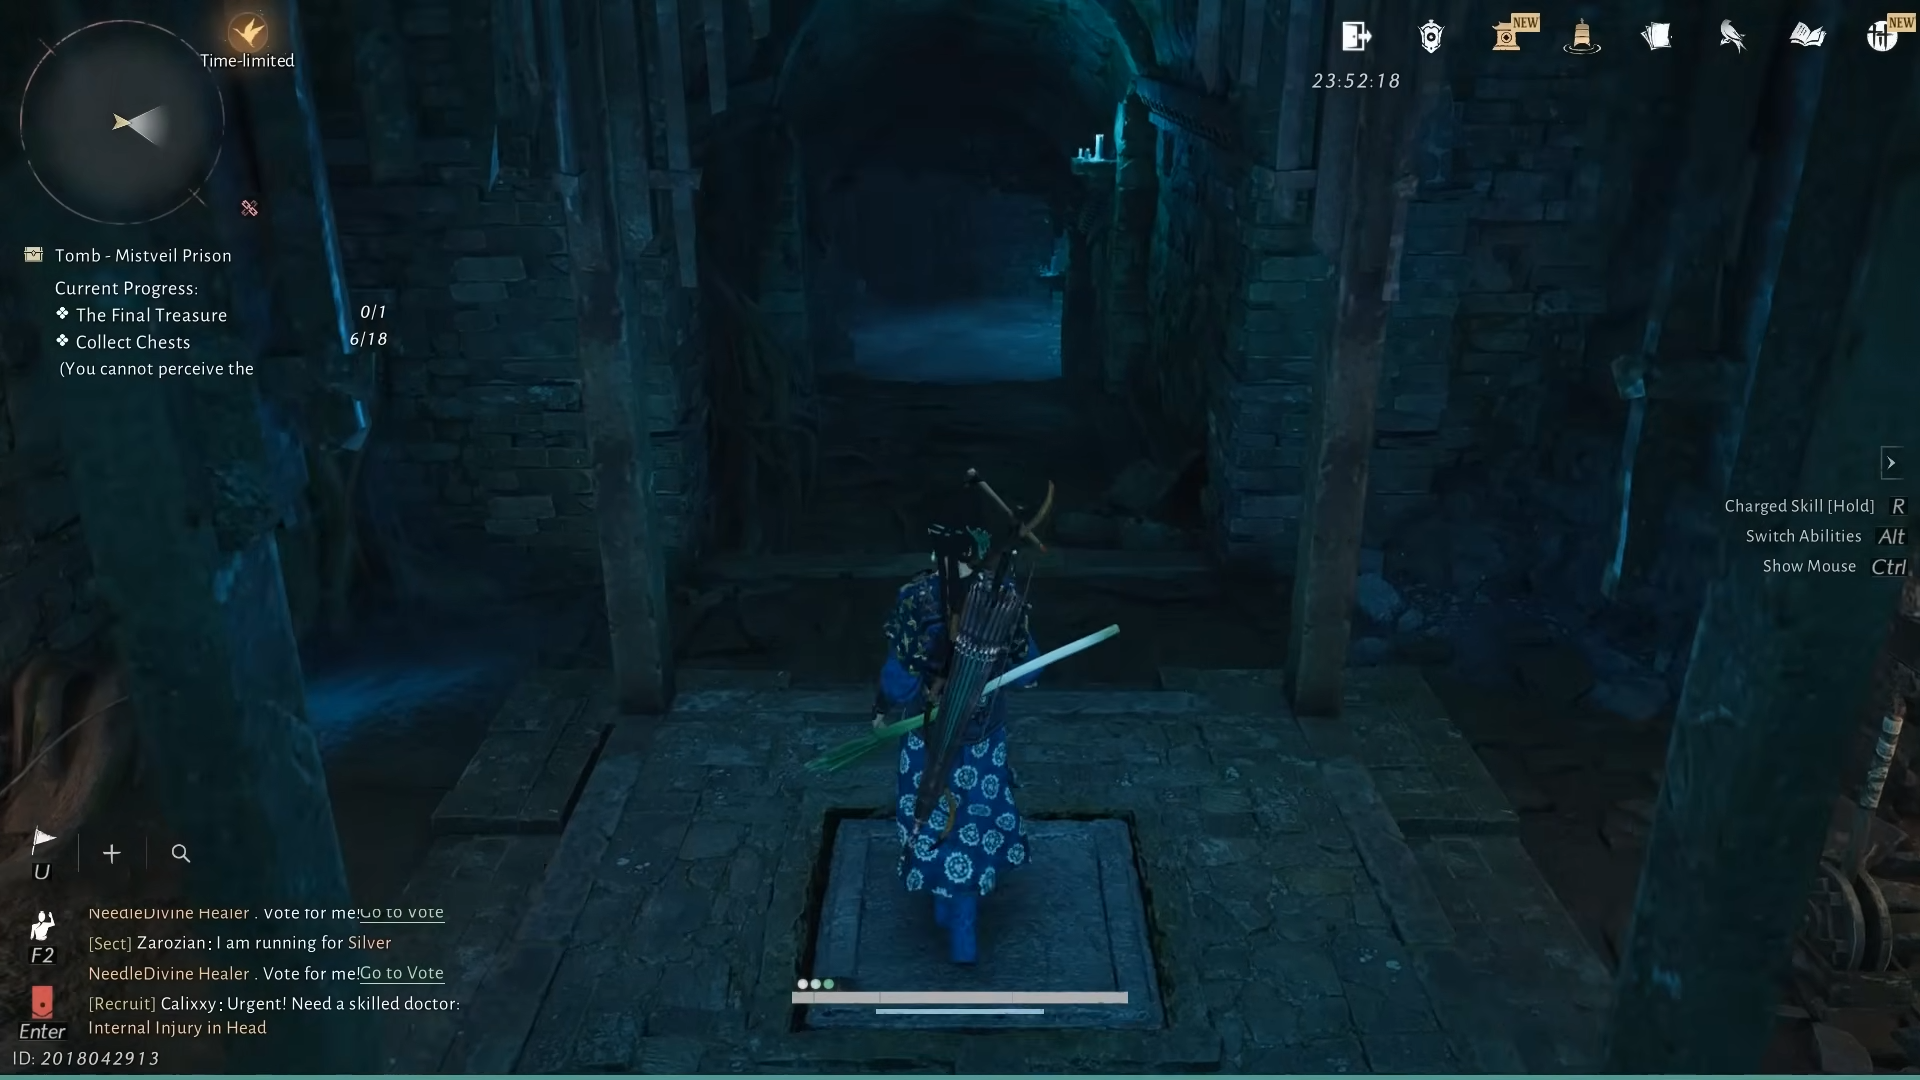
From the debris room, the main route leads up a lift to a small platform with a Hero’s Tomb. Across from it sits the low tunnel containing the critical pressure plate.
Step on the pressure plate once. On the other side of the tunnel the Lady in Red waits somewhere in the chamber. Watch her position and keep your distance while you study the cracked wall along the rocky ramp. Through the crack, a stone slab with a symbol is visible.
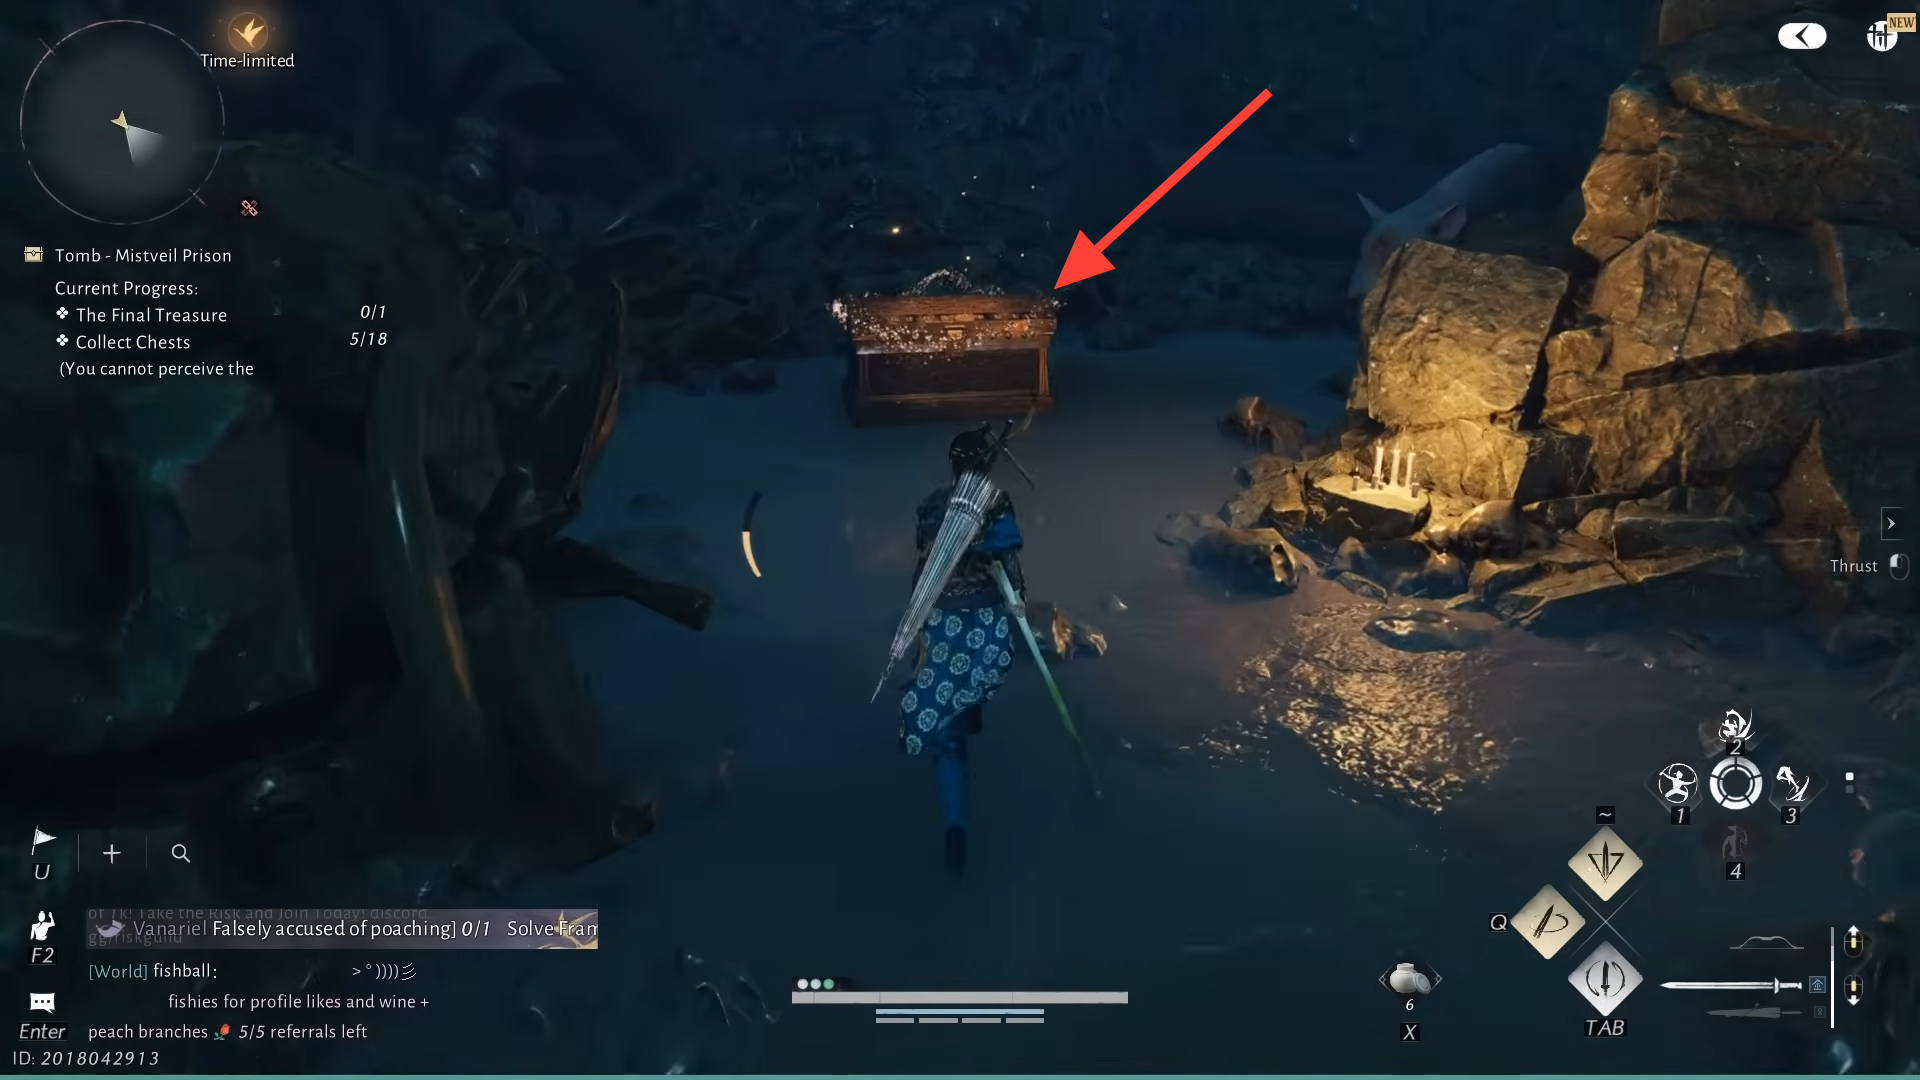
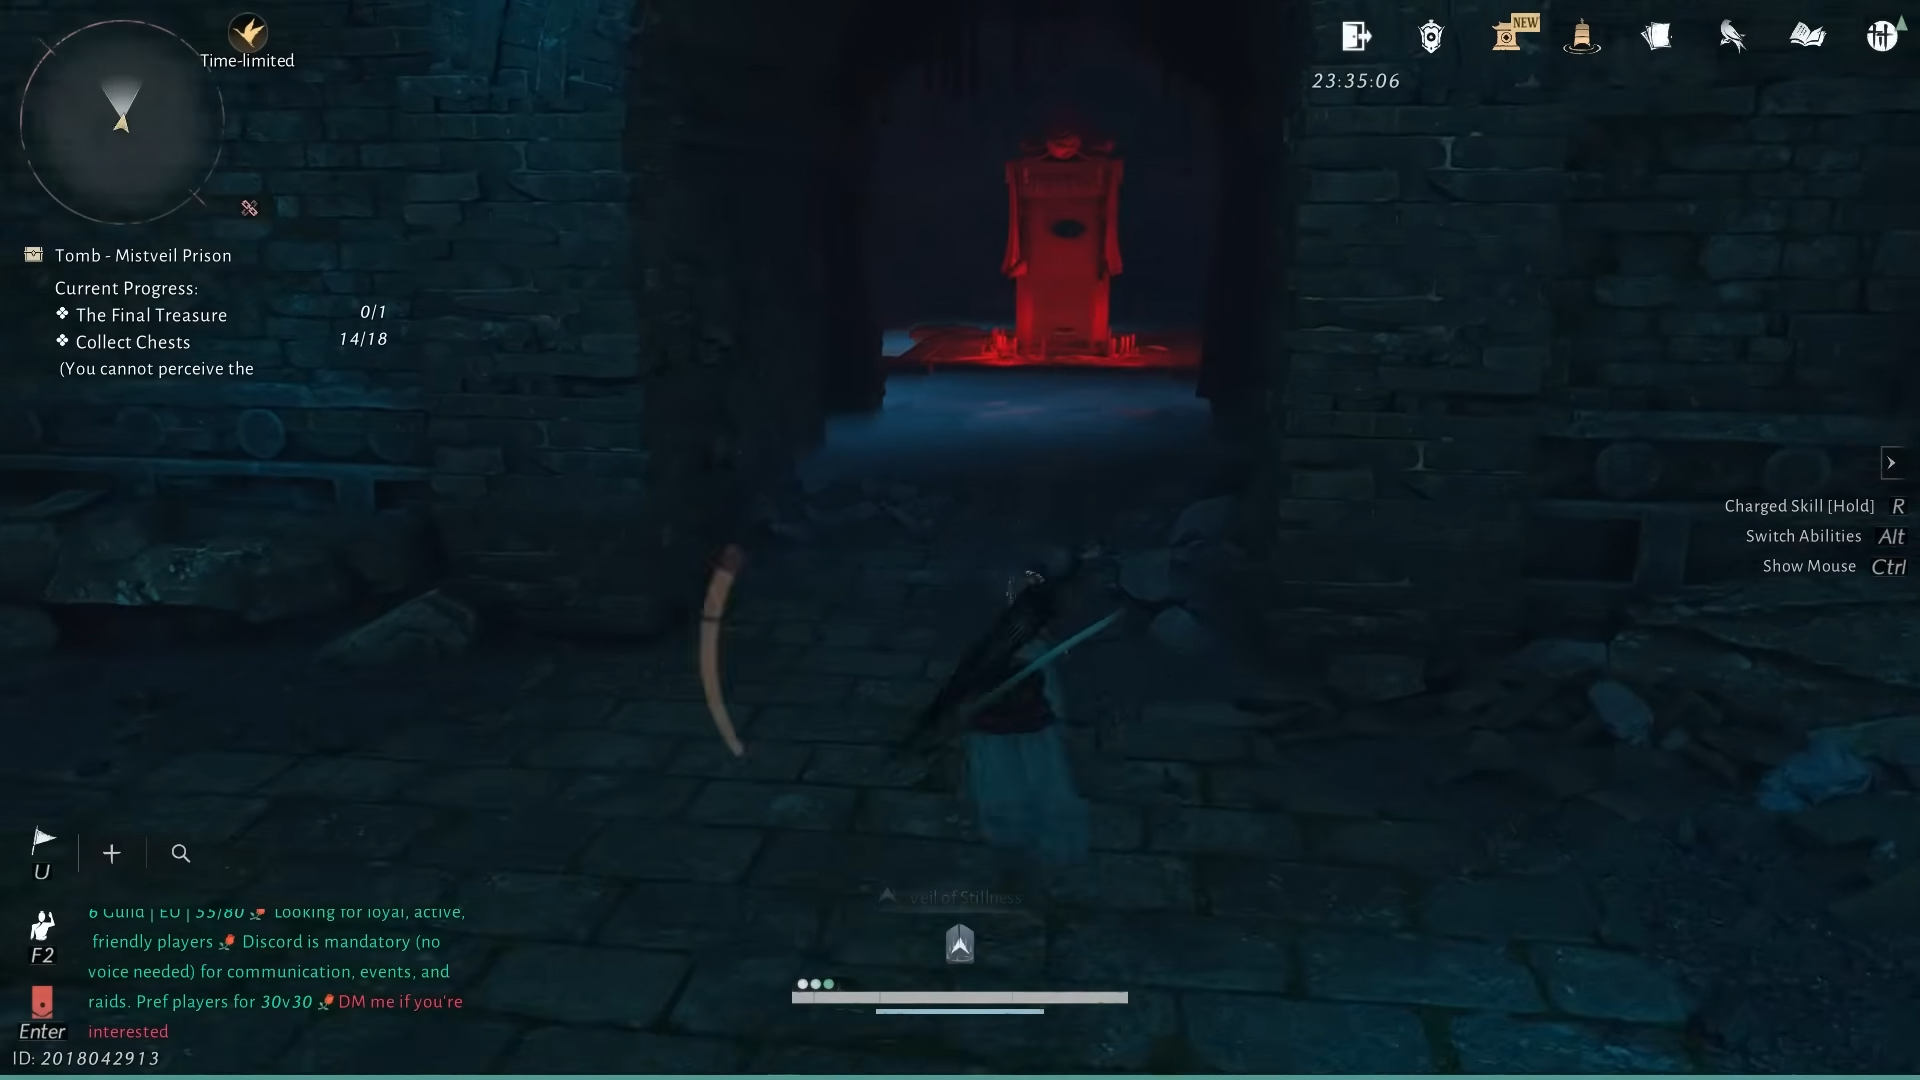
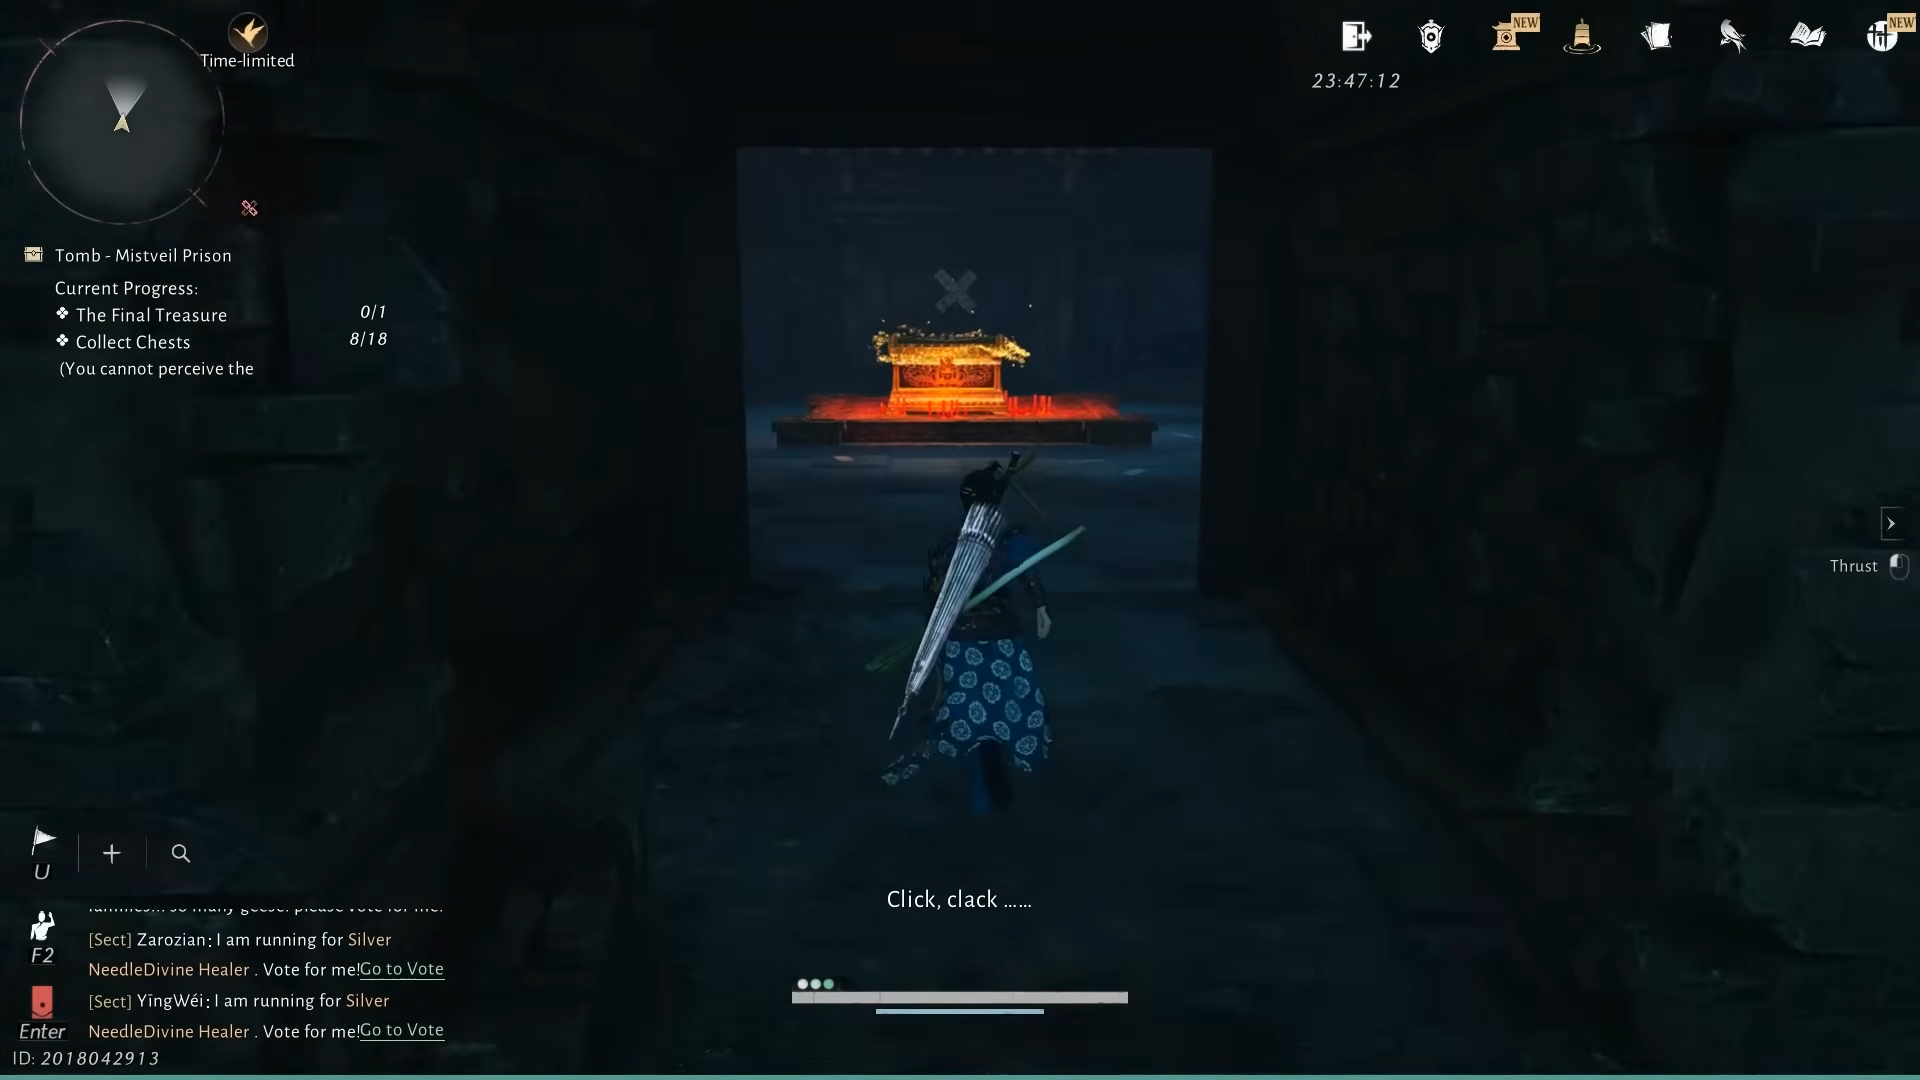
Rotate the slab until the Bull or cow-like symbol appears. This configuration converts a door at the top of the rocky ramp into a red-lit altar room. The seventh chest rests at that altar, but looting it immediately spawns the Lady in Red in the room, forcing a quick retreat.
The altar room later becomes a drop shaft or a lift depending on the symbol, so its contents change several times across the dungeon.
Walking Man and the route to the coffin (8th and related chests)
Swapping the symbol to the Walking Man opens a vertical detour that links the rotating hub, the hanging cages room, and a coffin chamber that anchors multiple later paths.
Spin the room until the Walking Man symbol appears on the slab, then return to the altar doorway used for the Bull rotation. The altar is gone and a vertical shaft has opened instead.
Climb the ladder into a grim corridor lined with upside-down hanging bodies. The Lady in Red waits at the far end but will vanish if you periodically look away as you approach, preventing Fear: The Unknown from filling.
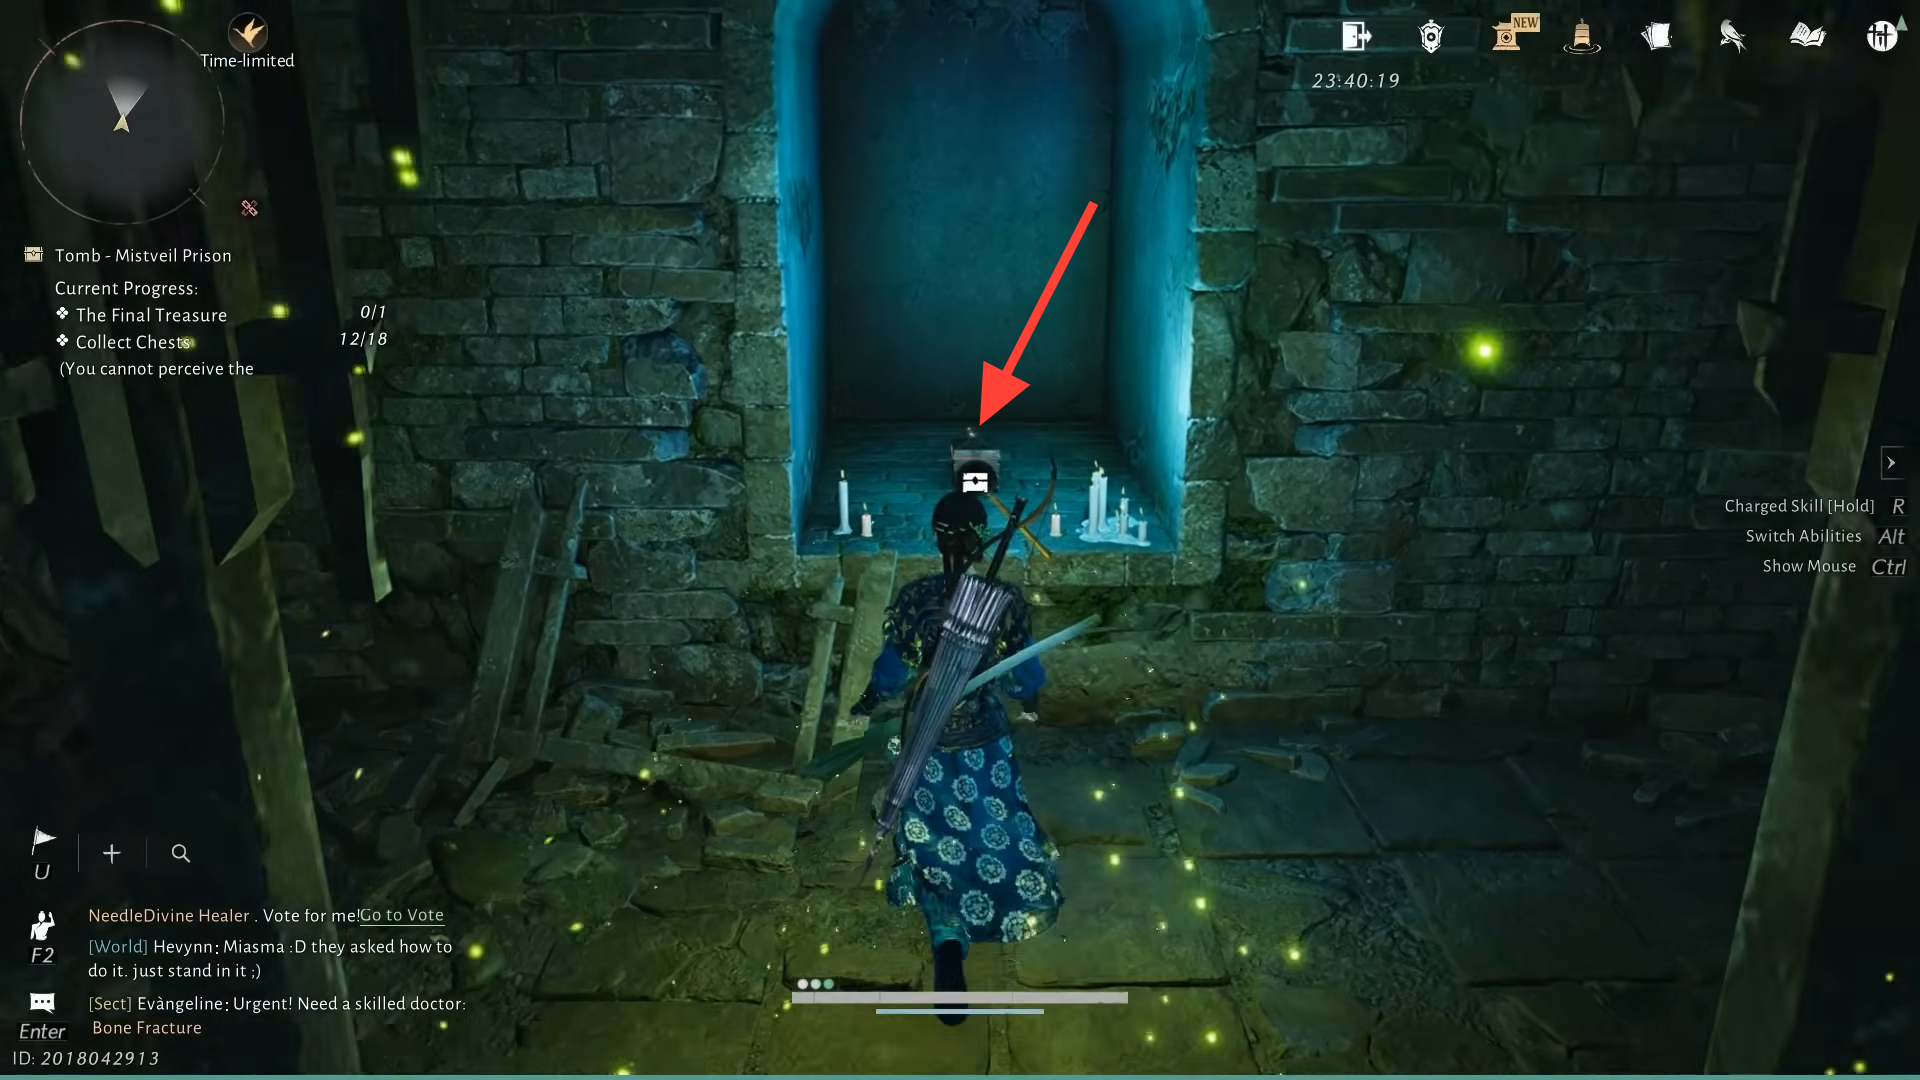
After two left turns, the corridor opens onto a new walkway overlooking the hanging cages room from a different elevation. The coffin room, which previously only contained an open casket, now holds the eighth chest beside that coffin.
Image credit: NetEase (via YouTube/@GGChannelX)
While the Walking Man rotation is active, an additional pressure plate trap appears near the first headless statue, making the route back to the spinning room more dangerous. The new plate is placed awkwardly so it is easy to hit even if you try to jump over it, and it fires a projectile from behind.
Image credit: NetEase (via YouTube/@GGChannelX)
Fish rotation: “Don’t look back”, new chests, and fake treasure
The Fish symbol repurposes the same shaft behind the altar into a chase sequence and moves several NPCs and chests into the opening cell block.
Rotate the slab to the Fish. Return to the altar doorway and drop down again. The geometry is almost identical to the Walking Man run, but a note near the ladder at the end of the hall warns “Don’t look back!”.
Climb the ladder and immediately sprint forward once you reach the hanging-bodies corridor, staying ahead of the Lady in Red’s aura. Looking back on the ladder or hesitating in the corridor risks instant death. At the very end, an enemy waits in ambush where you turn left; you often meet them while still running away from the fear aura.
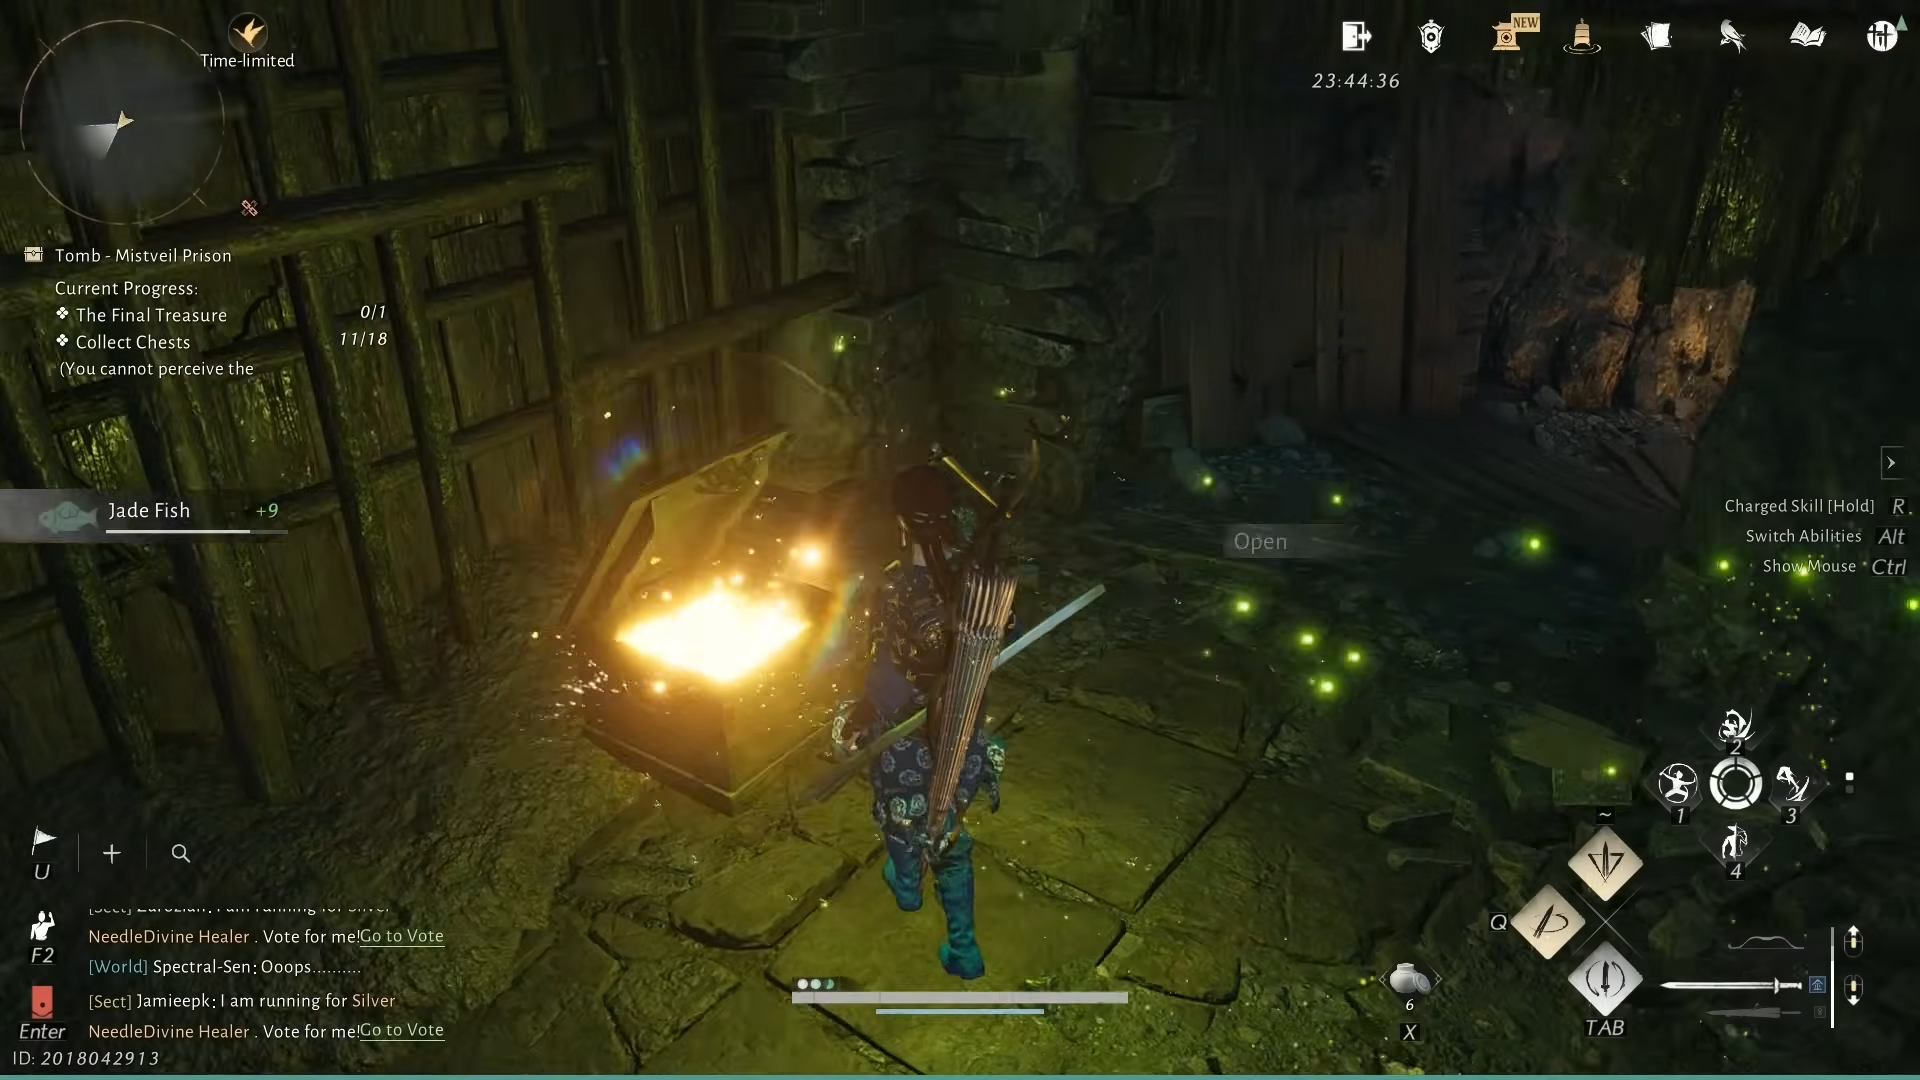
After clearing the ambush, drop back into the hanging cages chamber, then loop all the way back to the starting cell block. Inside your cell, a new chest has appeared – this is the ninth chest and only spawns in the Fish configuration.
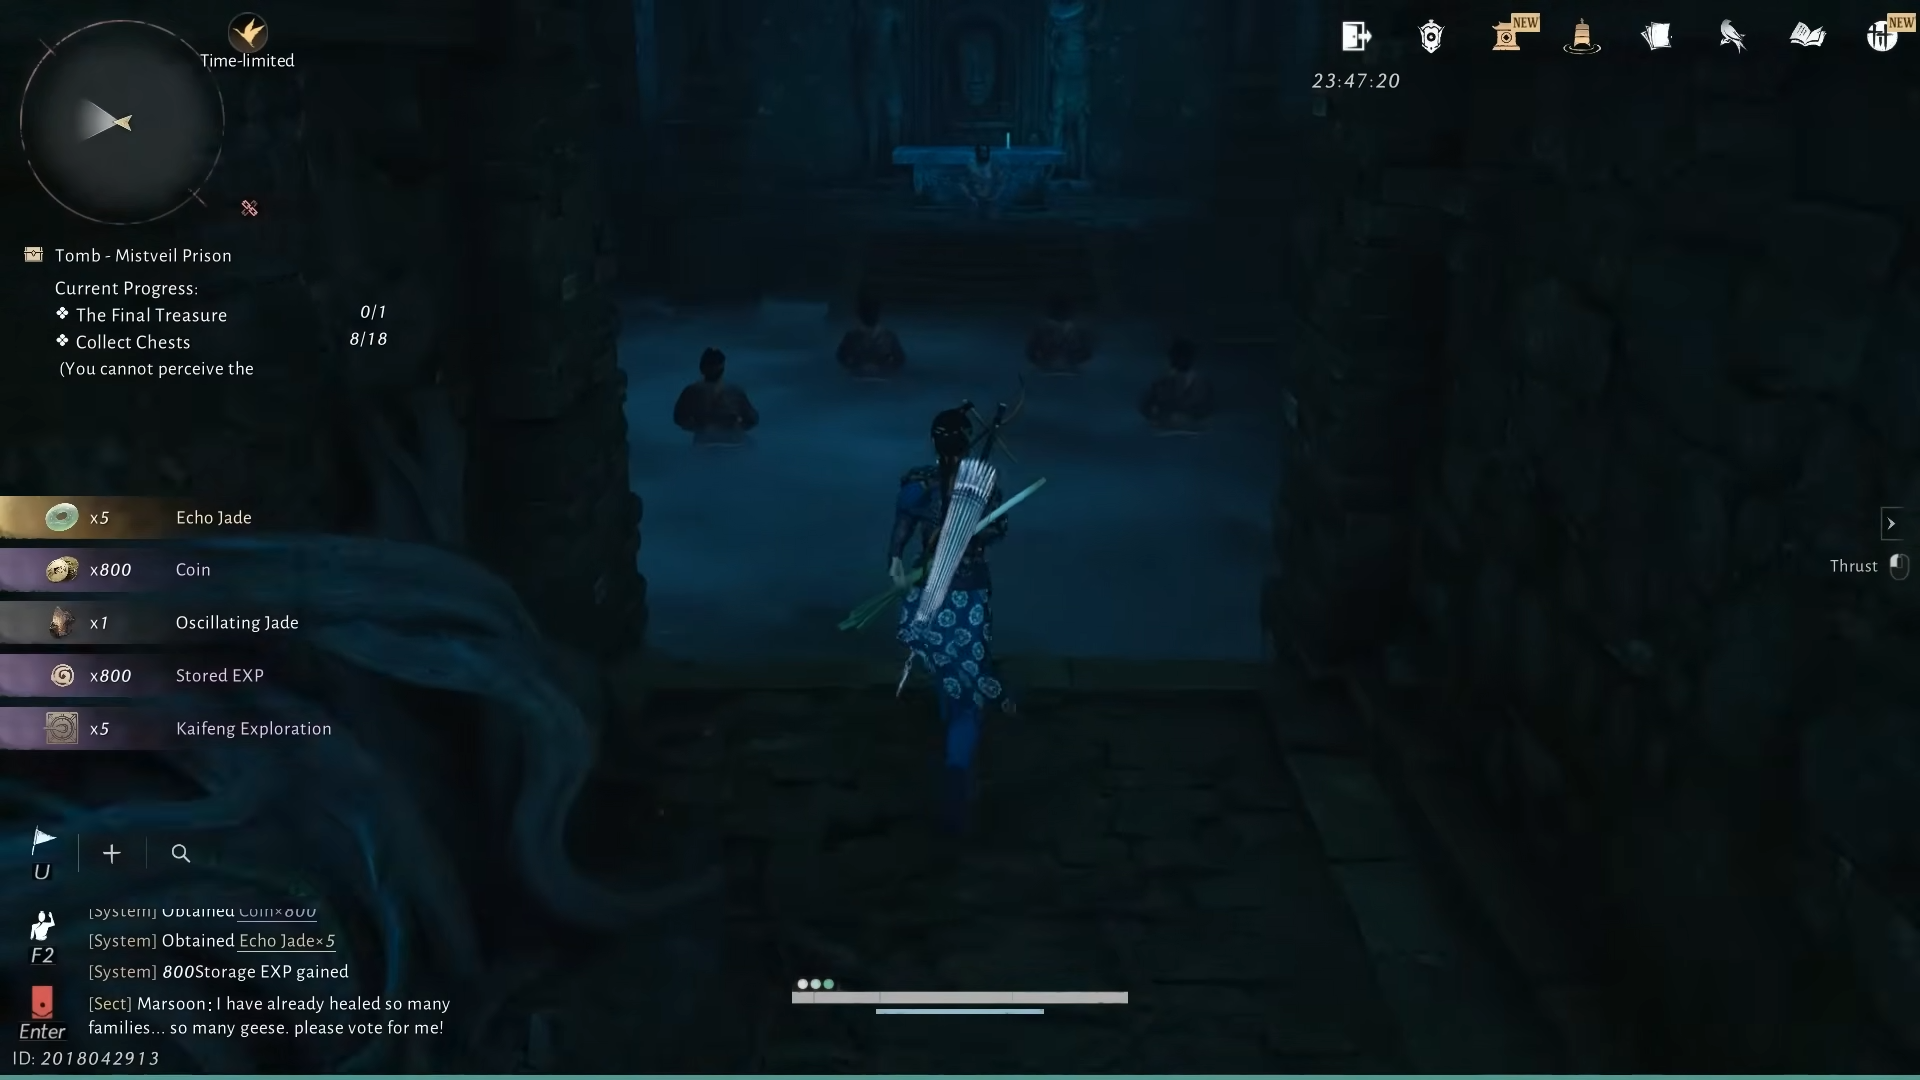
Leave the cell to the right. In the next room, several men kneel before an altar. The front-most NPC, The Thinker, mutters about a “narrow crevice” and searching for a way out “over and over again.” Looking through a hole in the wall shows a glowing golden treasure chest that looks like the final reward, but interacting with it makes it vanish. The far end of that room is sealed, marking this as a deliberate fake-out.
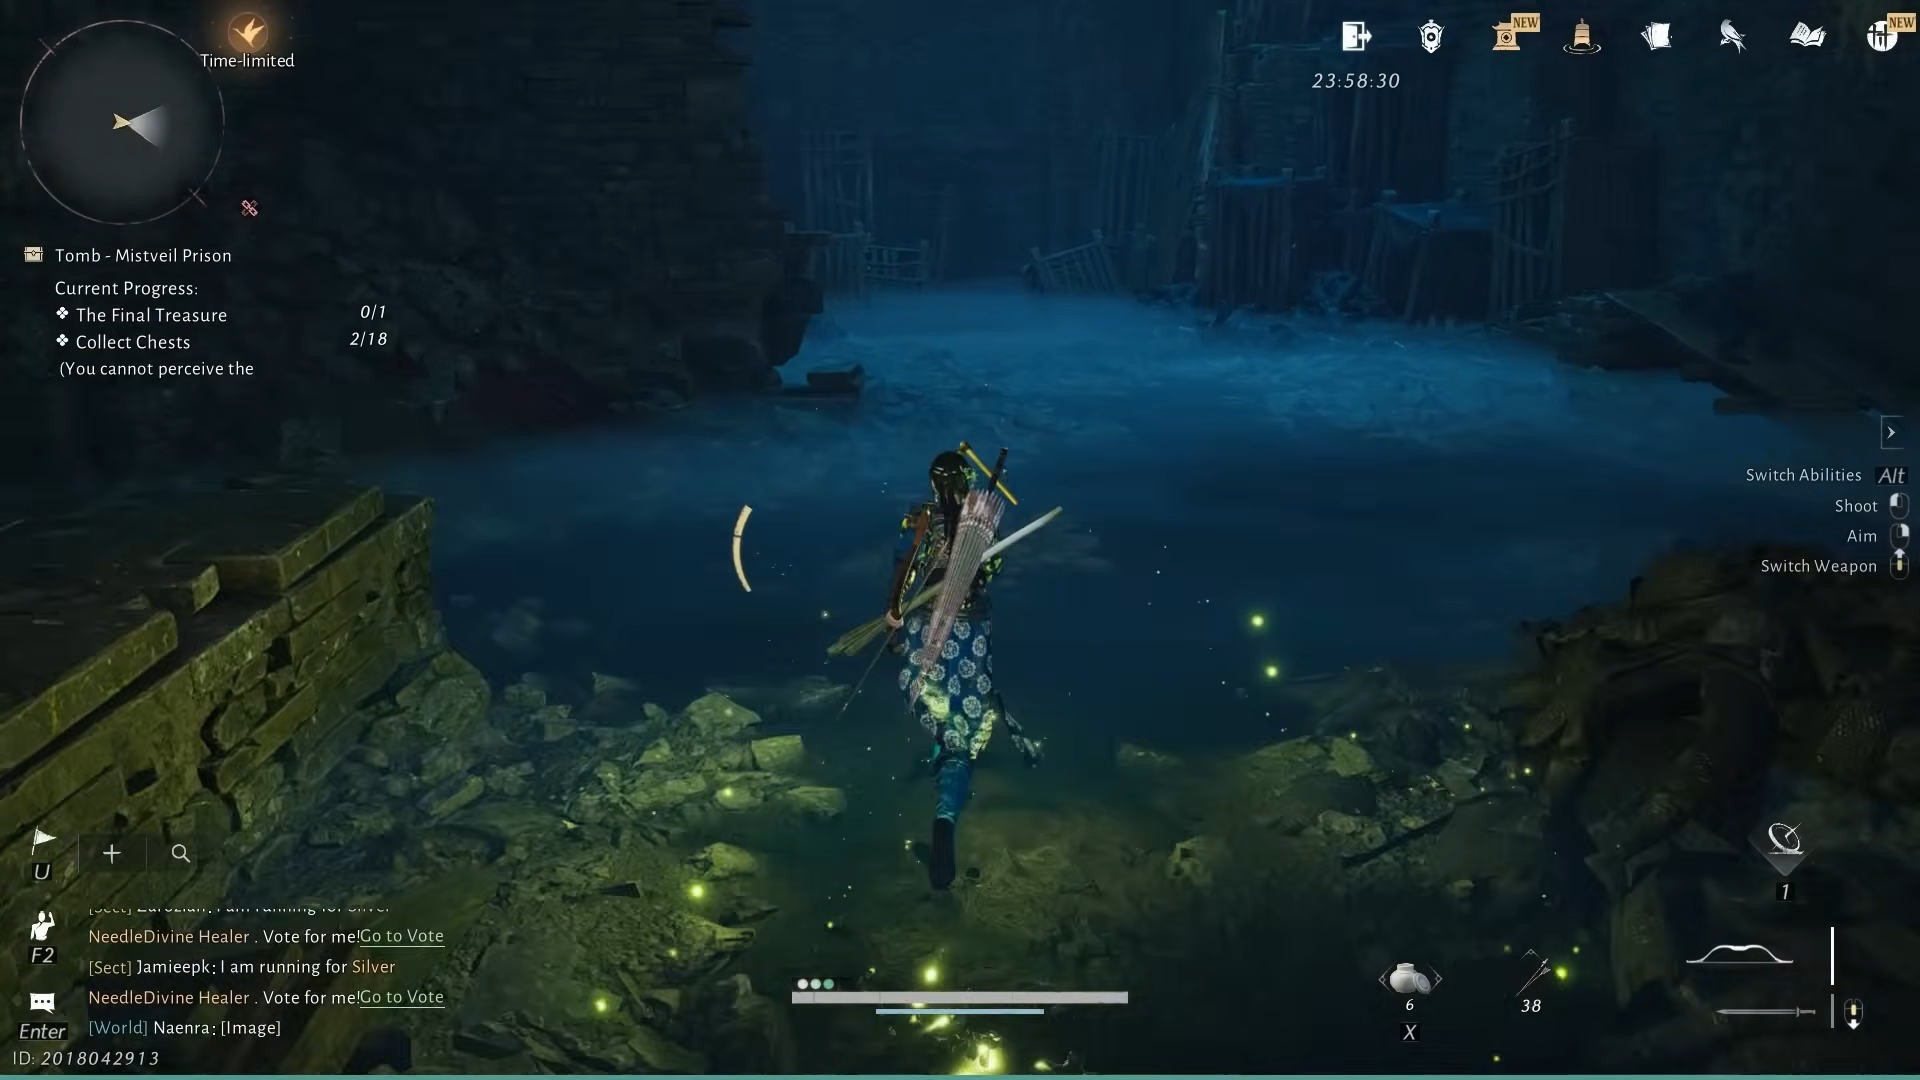
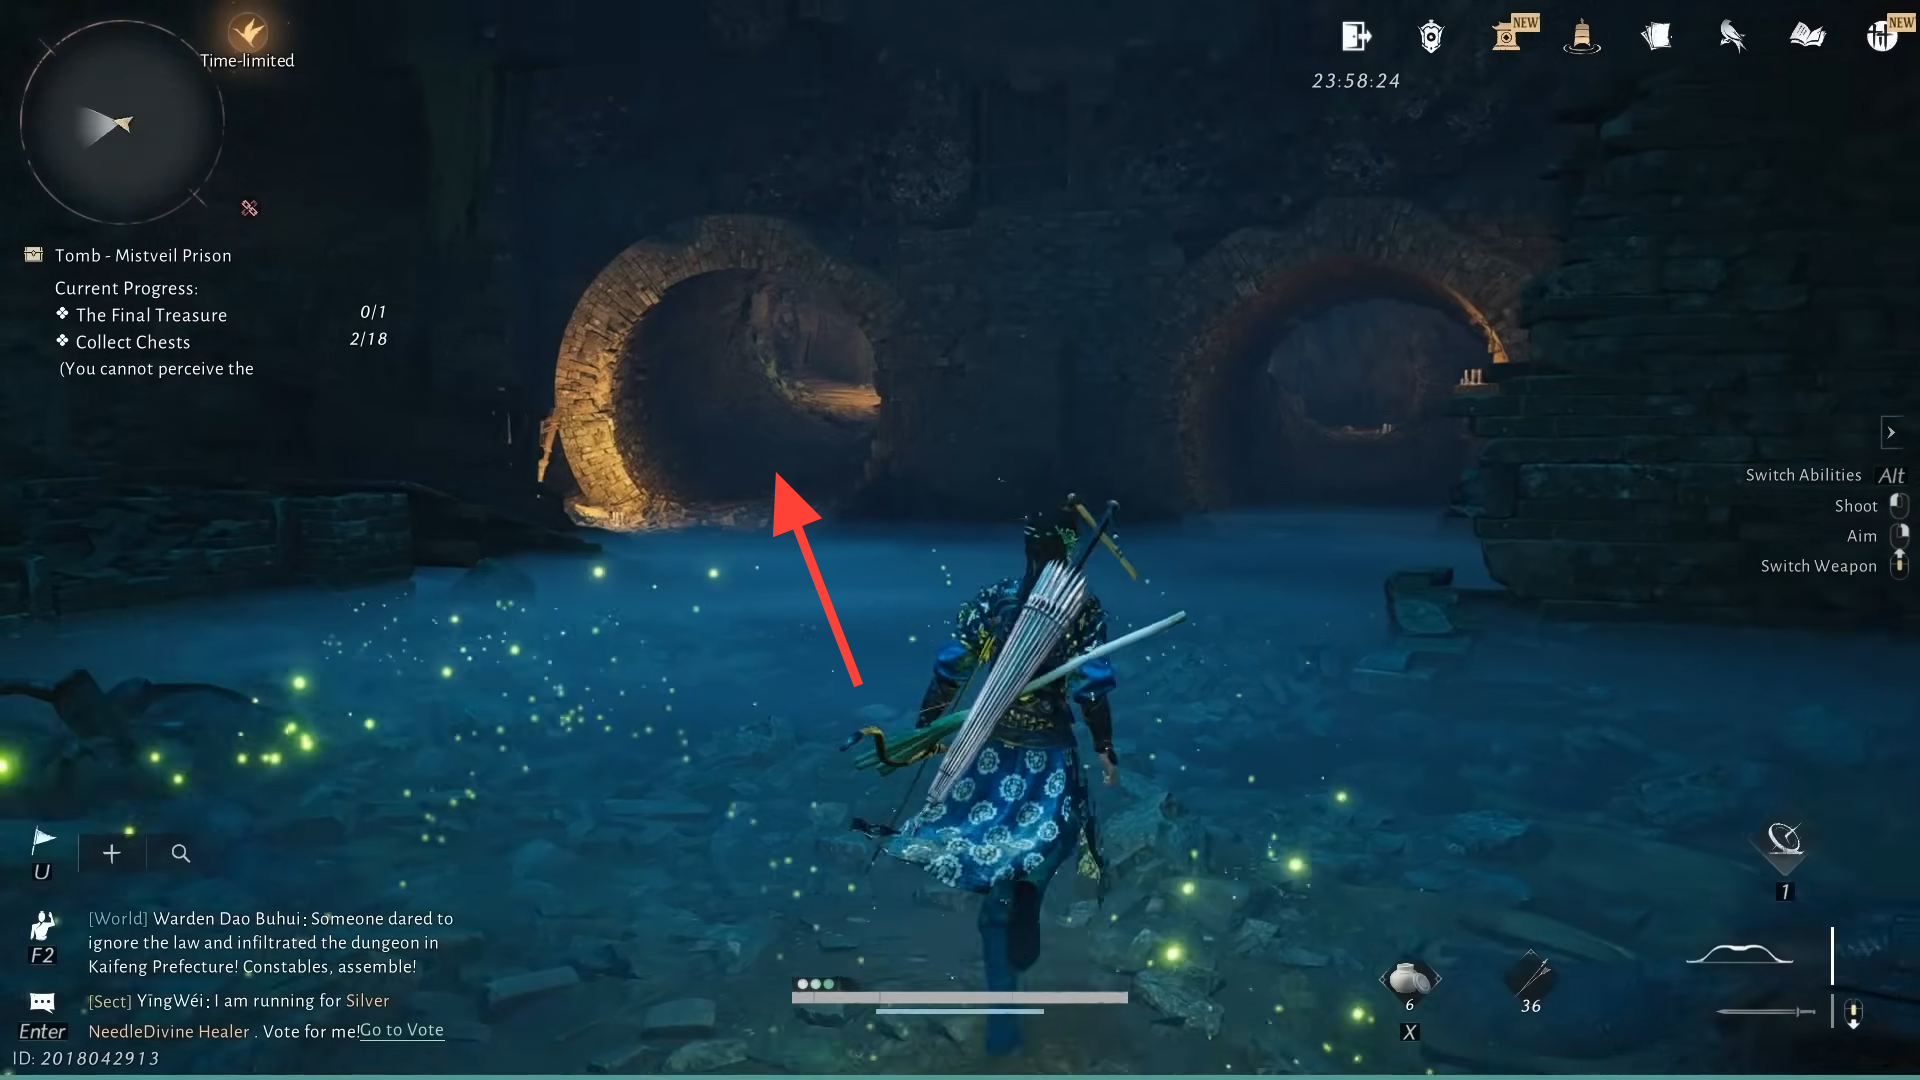
The fish rotation also reuses the very first hidden crawlspace behind the red hallway. Returning to the same crack where the first chest was located now yields the tenth chest instead, and the ladder beneath the cages that once dropped you towards the second chest now hides the eleventh chest at its base. From the cages chamber, the area where the second chest sat collapses into a shaft that leads past a giant rat to the twelfth chest above a bone-filled chamber; grabbing it breaks the floor and shunts you back to a mirrored tunnel in an earlier area, reinforcing the dungeon’s looping nature.
Separately, when the Walking Man variant is active, revisiting the kneeling men’s room reveals it empty. A note on the altar describes “Right, right, right, right… the slab trembles… the same passage leads to different paths, cycling back again and again… only one way out.” Passing through the hole where the fake golden chest used to appear now leads to a real large chest, counted as one of the 18 optionals.
In the Fish variant, the ceiling spikes hall also changes. The kneeling men relocate into a red-lit version of that hall, the spikes disable, and a red altar appears with another chest. Taking this fourteenth chest draws the Lady in Red in from the previous room, forcing a tight dodge through the doorway to escape her aura.
Using Walking Man for the ceiling spikes hall (15th chest)
Walking Man reclaims the ceiling spikes hall as an active trap and adds a new plate-triggered projectile on the approach.
Rotate to Walking Man at the hub, then return toward the ceiling spikes hall from the side with the first headless statue. Be prepared for a pressure plate that fires a projectile from behind; you need to dodge aside immediately after triggering it.
Inside the spikes room, the trap cycles again as in the early run, but this time the fifteenth chest appears on the far side. Use the alcoves and spike timing to traverse the full length of the hall and claim it.
Image credit: NetEase (via YouTube/@GGChannelX)
Miner rotation, hidden lifts, and the last three optional chests
The Miner symbol governs the late-game routing, including small tucked-away chests and the multi-stage descent that ultimately connects back to the coffin and final exit.
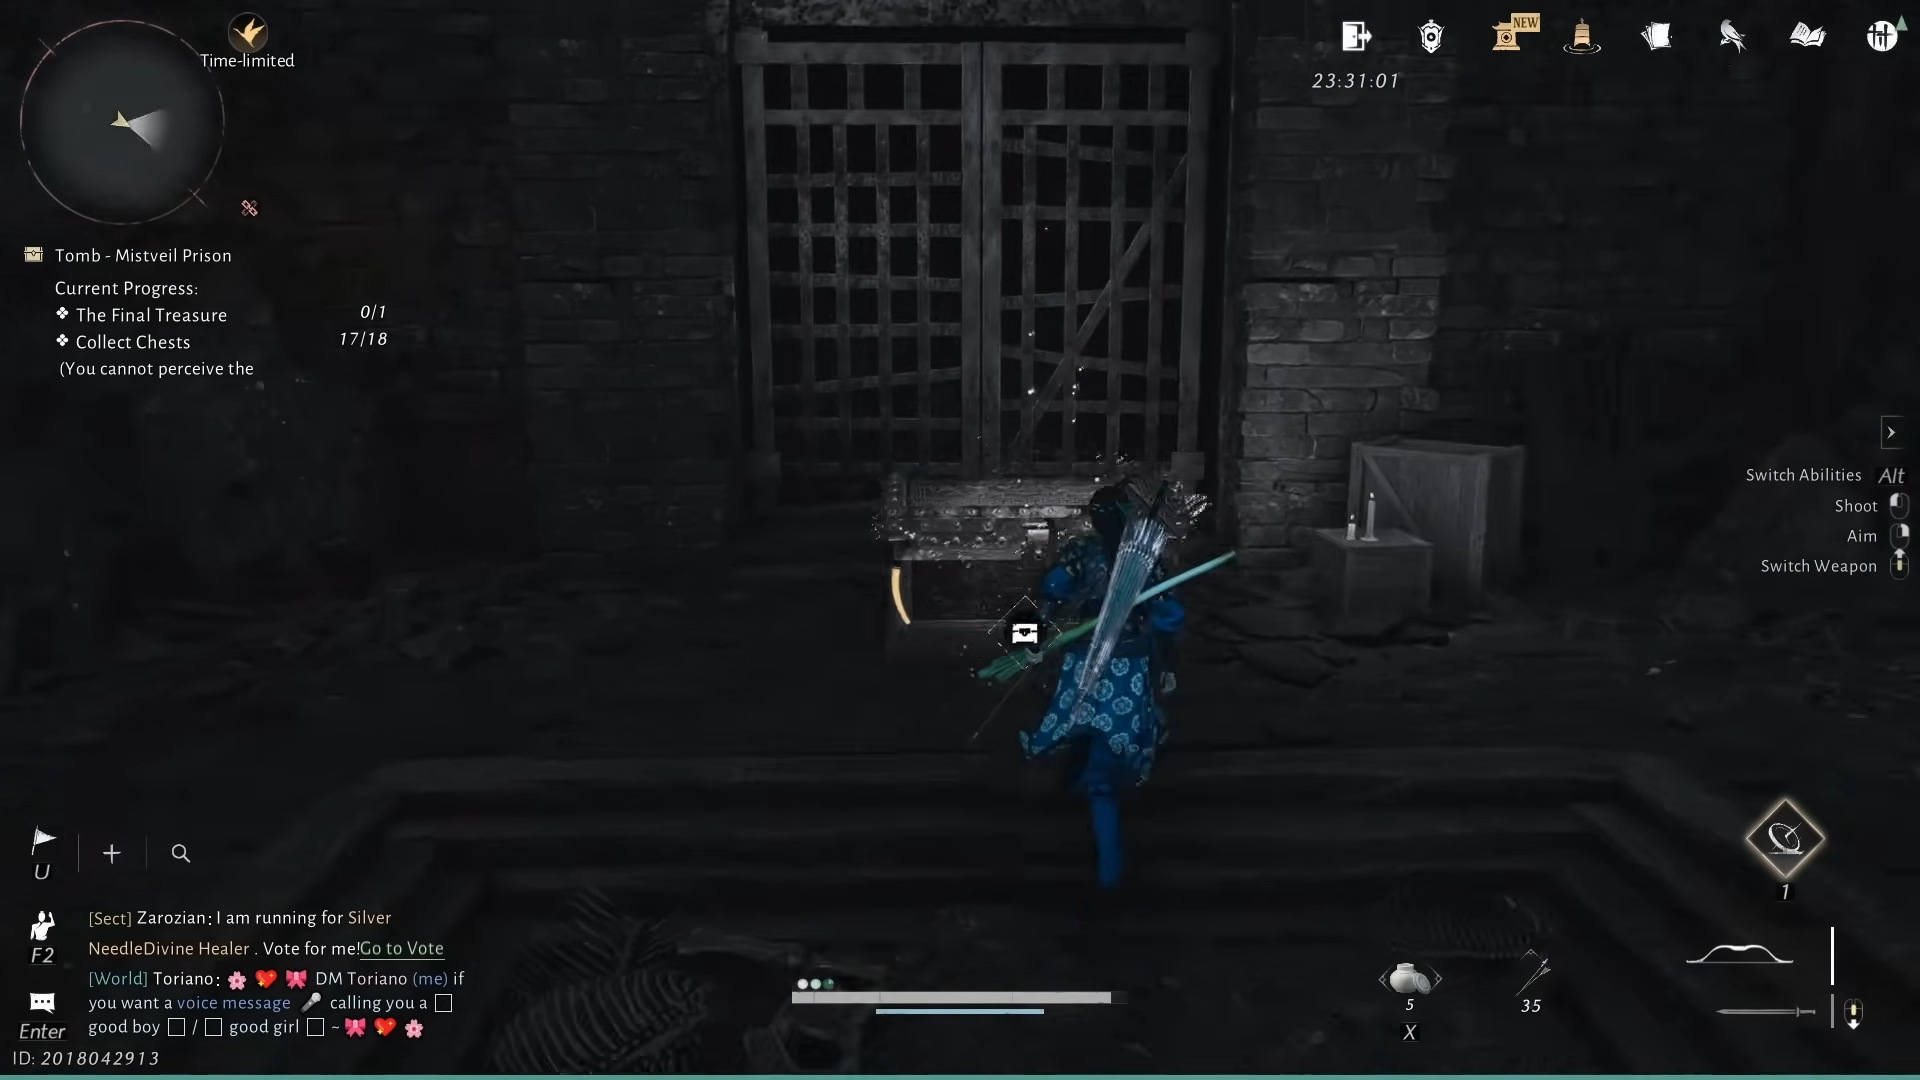
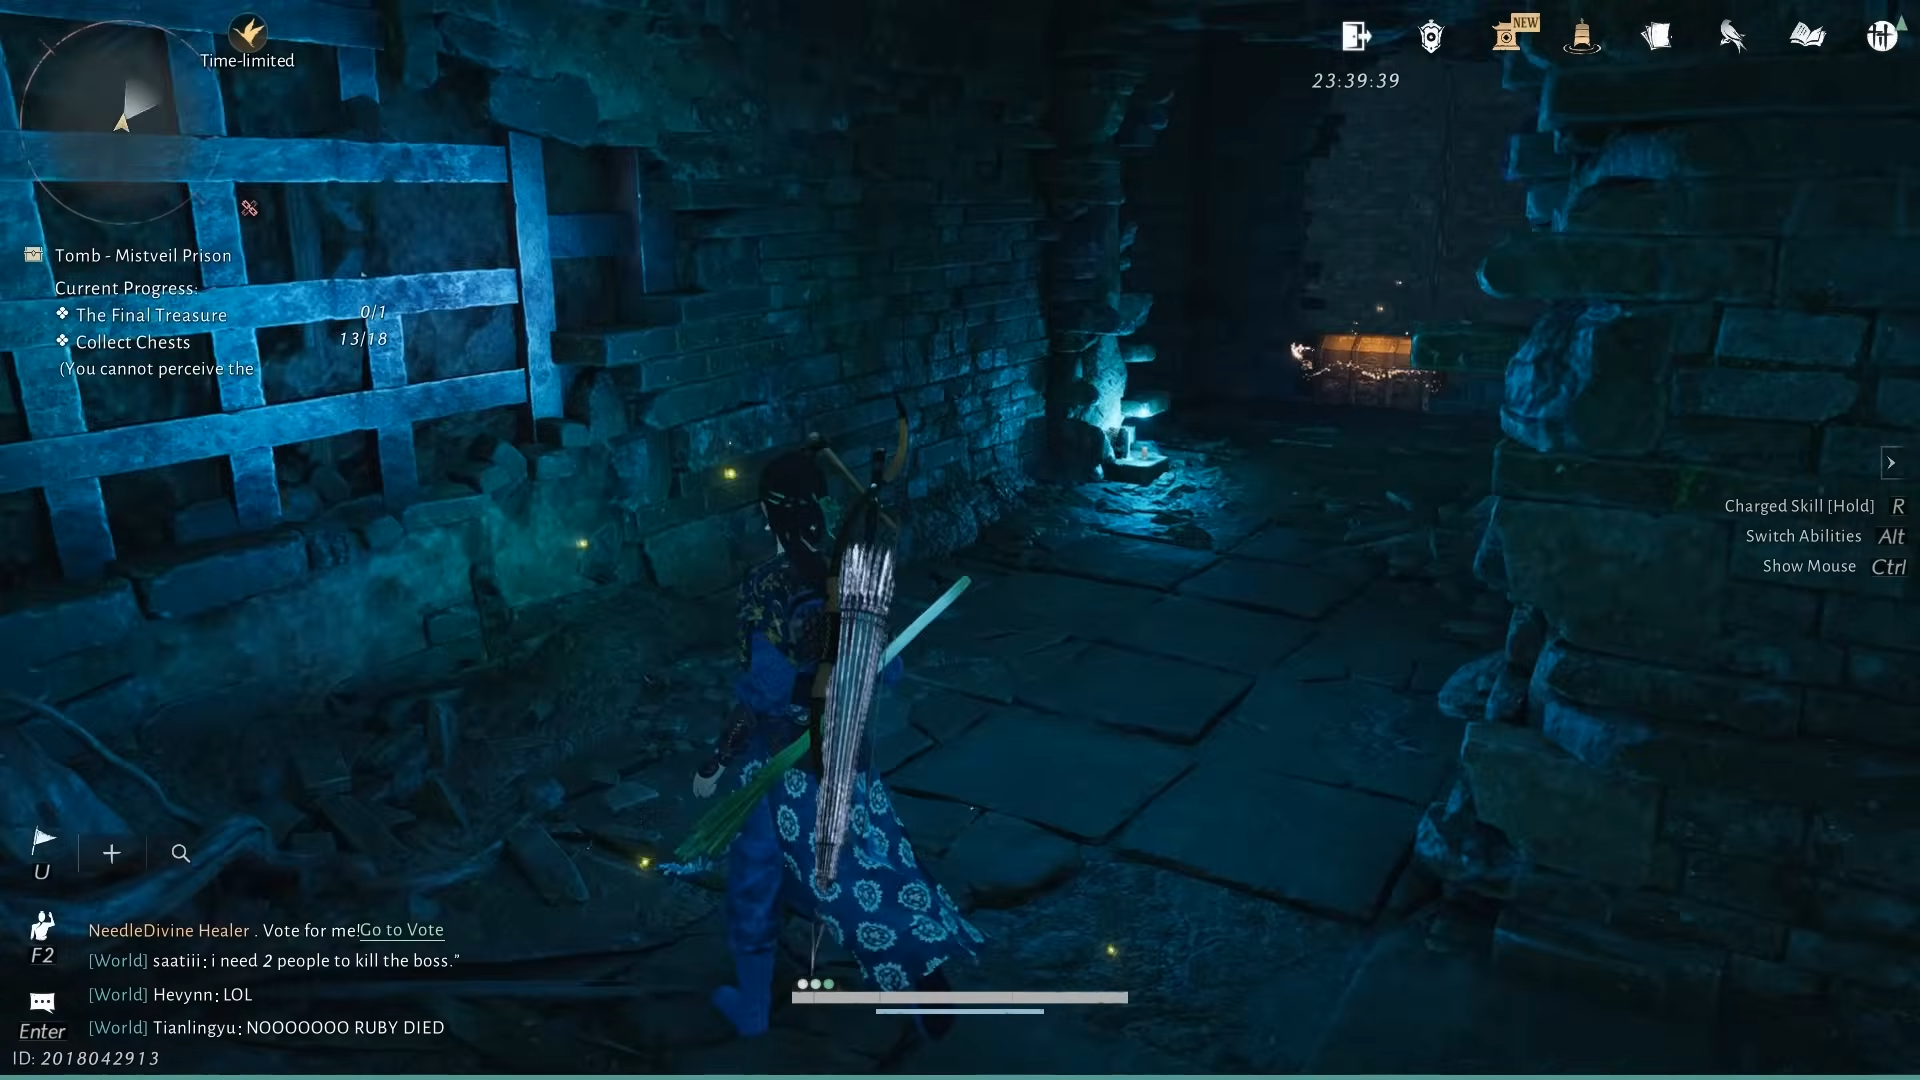
Rotate to Miner while standing on the opposite side of the pressure-plate tunnel from the Hero’s Tomb. Outside the tunnel, a fallen metal grate and broken wall hide a small chest wedged in the rubble. This is the sixteenth chest.
With Miner still active, go to the red altar room again. Instead of an altar or open shaft, there is now a functioning lift. Riding this lift down leads to a small sealed chamber where the seventeenth chest sits directly in front of you.
Press the lift button again but immediately step off so the platform ascends without you. The rising platform exposes a hidden shaft beneath it. Drop into this new opening, follow the corridor, climb down another ladder, and you reach a vantage above the ceiling spikes room. The eighteenth chest is located right in front of you along this upper path and is visible from the spikes room below.
This upper hallway continues beyond the eighteenth chest and eventually feeds back into the hanging cages chamber from a high-level walkway that leads to the coffin room again.
Unlocking the final treasure chest and lifting the mist
The final treasure depends on both the Miner rotation and a specific interaction with the coffin. It does not require that all 18 optional chests be collected, though skipping them sacrifices extra rewards.
Return to the hub and ensure the slab still shows the Miner symbol. From the altar room, ride the lift down and expose the hidden shaft under it again if needed, then follow the path past the eighteenth chest to the final ladder that descends into the hanging cages room’s upper walkway.
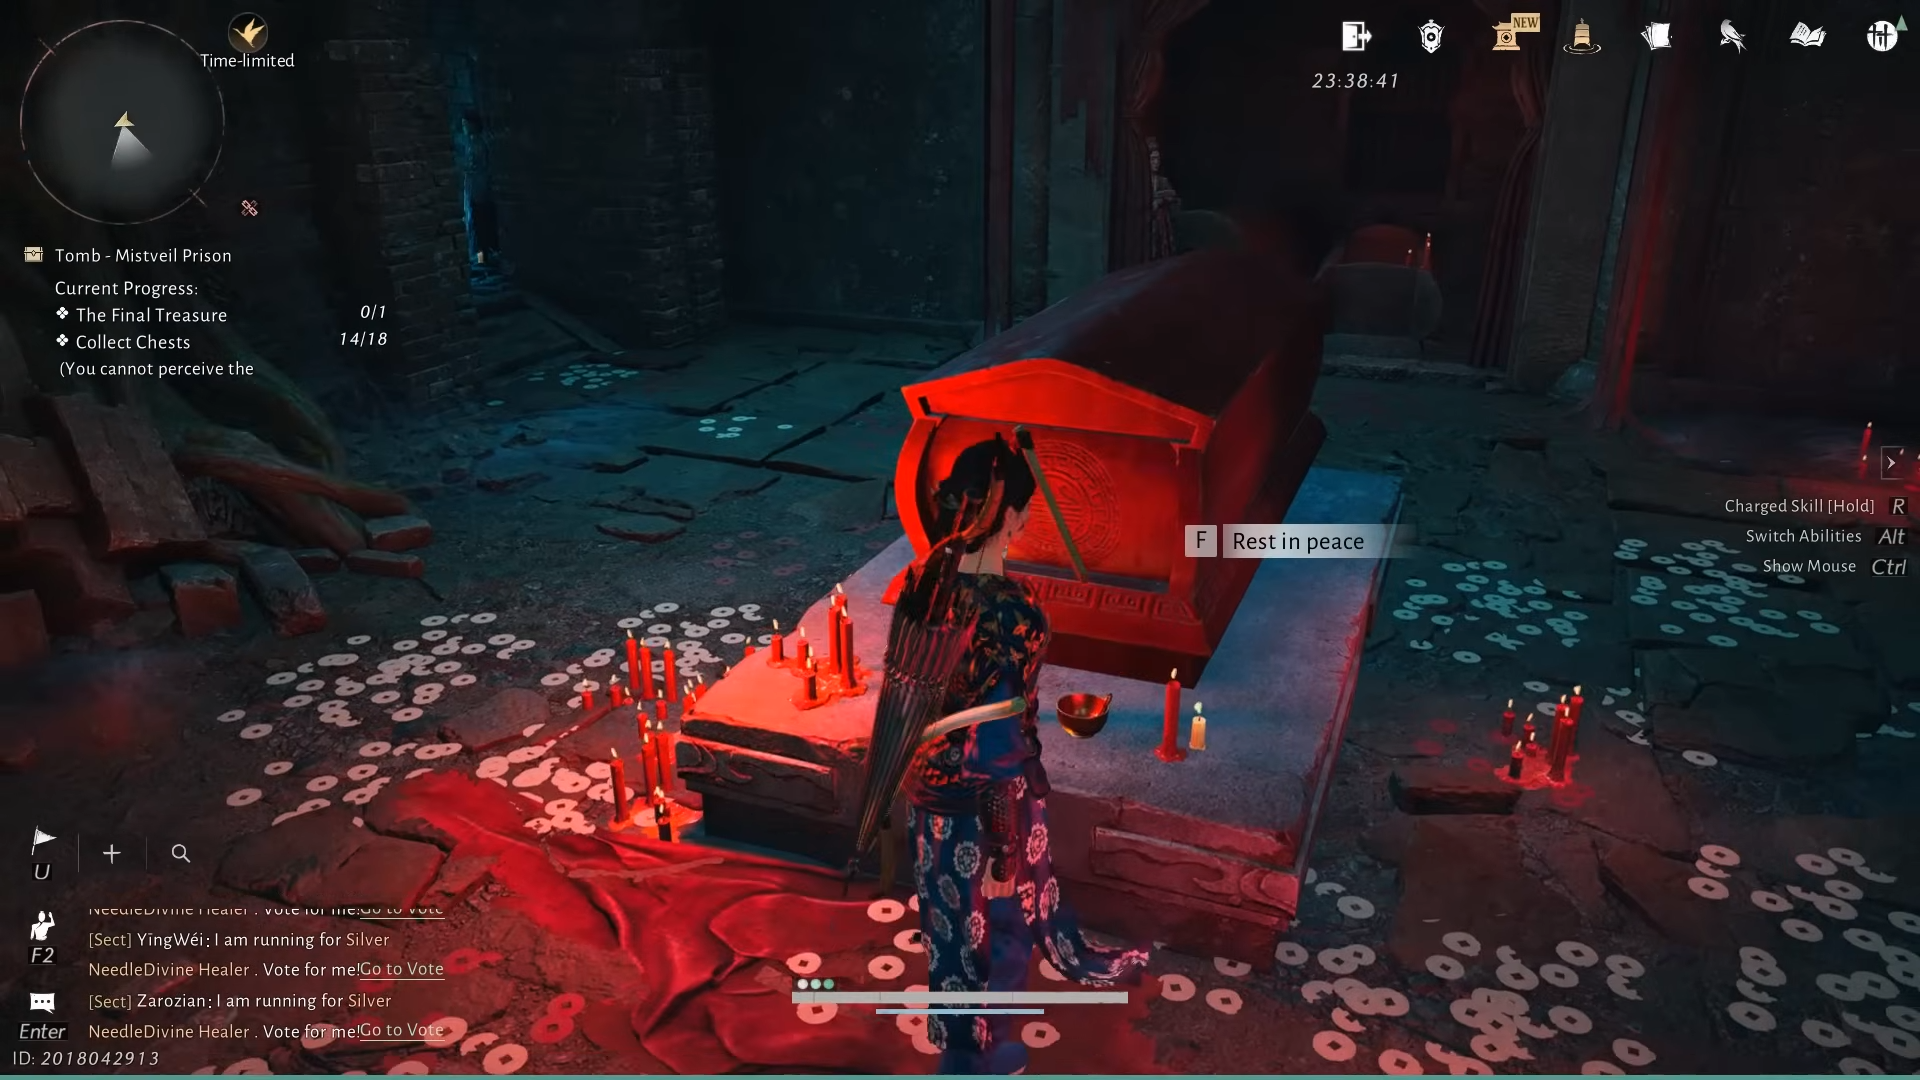
Walk along this upper path toward the red coffin. Unlike earlier visits, the coffin now has a lid. Interact with it and choose the “Rest in peace” option. A progress bar fills, and once complete, a message indicates that mist has lifted somewhere.
Cross back over the gap in the floor to the far side of the hanging cages room. This puts you near the first lift you used early in the dungeon. Ride that lift back up and follow the familiar route toward the original cell block.
Back at the top, the cell block is noticeably less foggy. Take the path to the right of your starting cell, the same direction where the kneeling men and The Thinker gathered earlier. Their meditation room is now empty and the path beyond is clear.
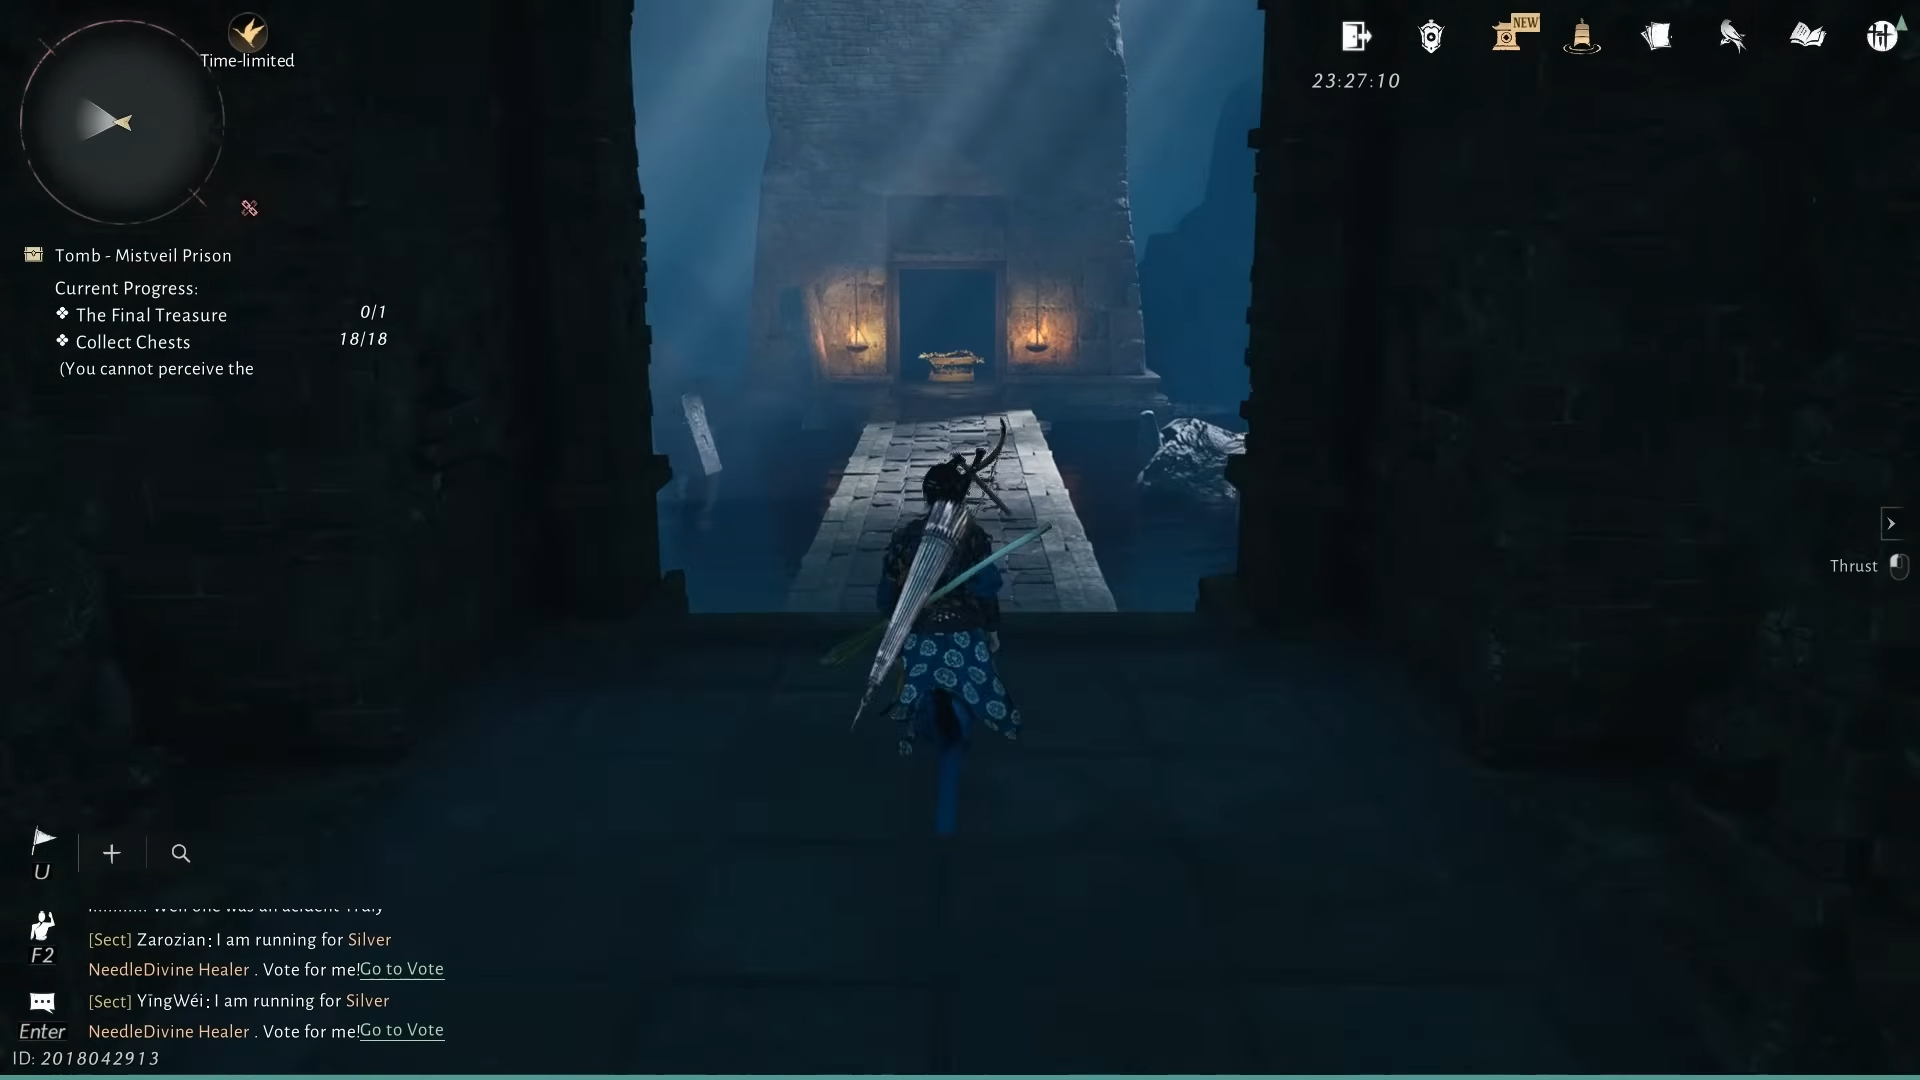
Continue through this new opening, following the stairway and corridor lit by braziers. Deeper in, a previously blocked entrance now stands open. Behind it waits the final treasure chest for Mistveil Prison.
Image credit: NetEase (via YouTube/@GGChannelX)
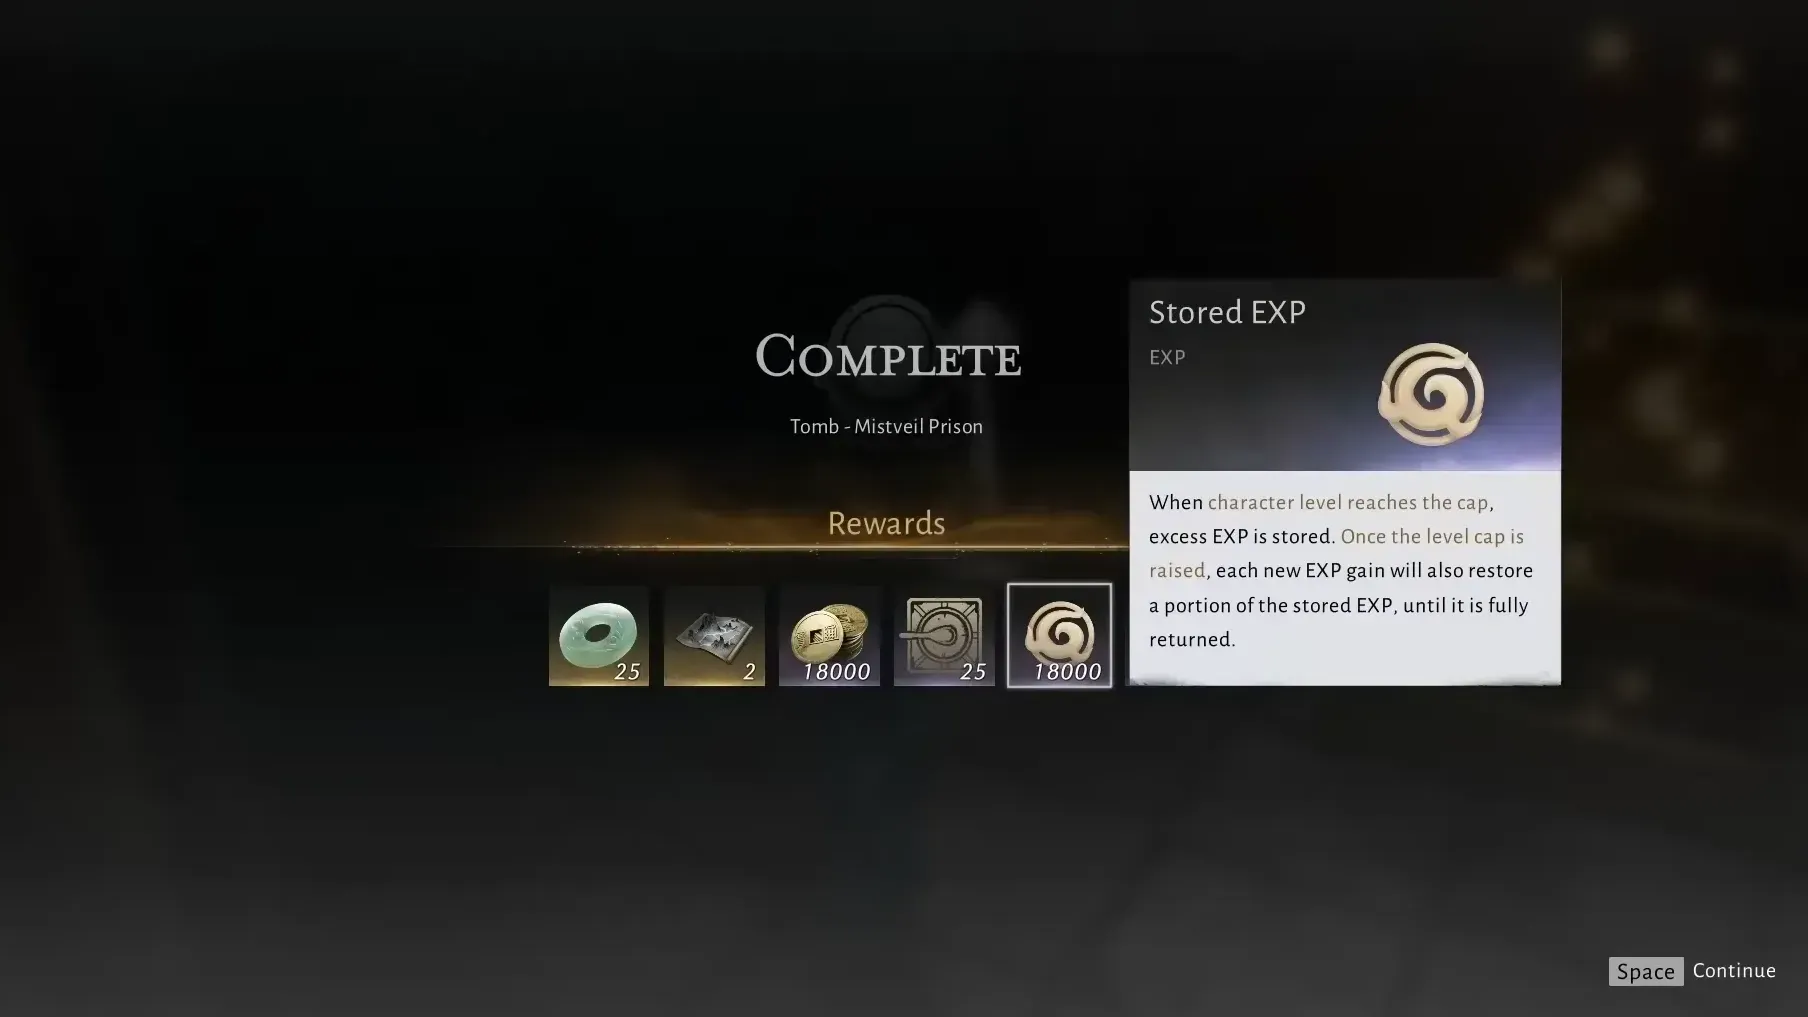
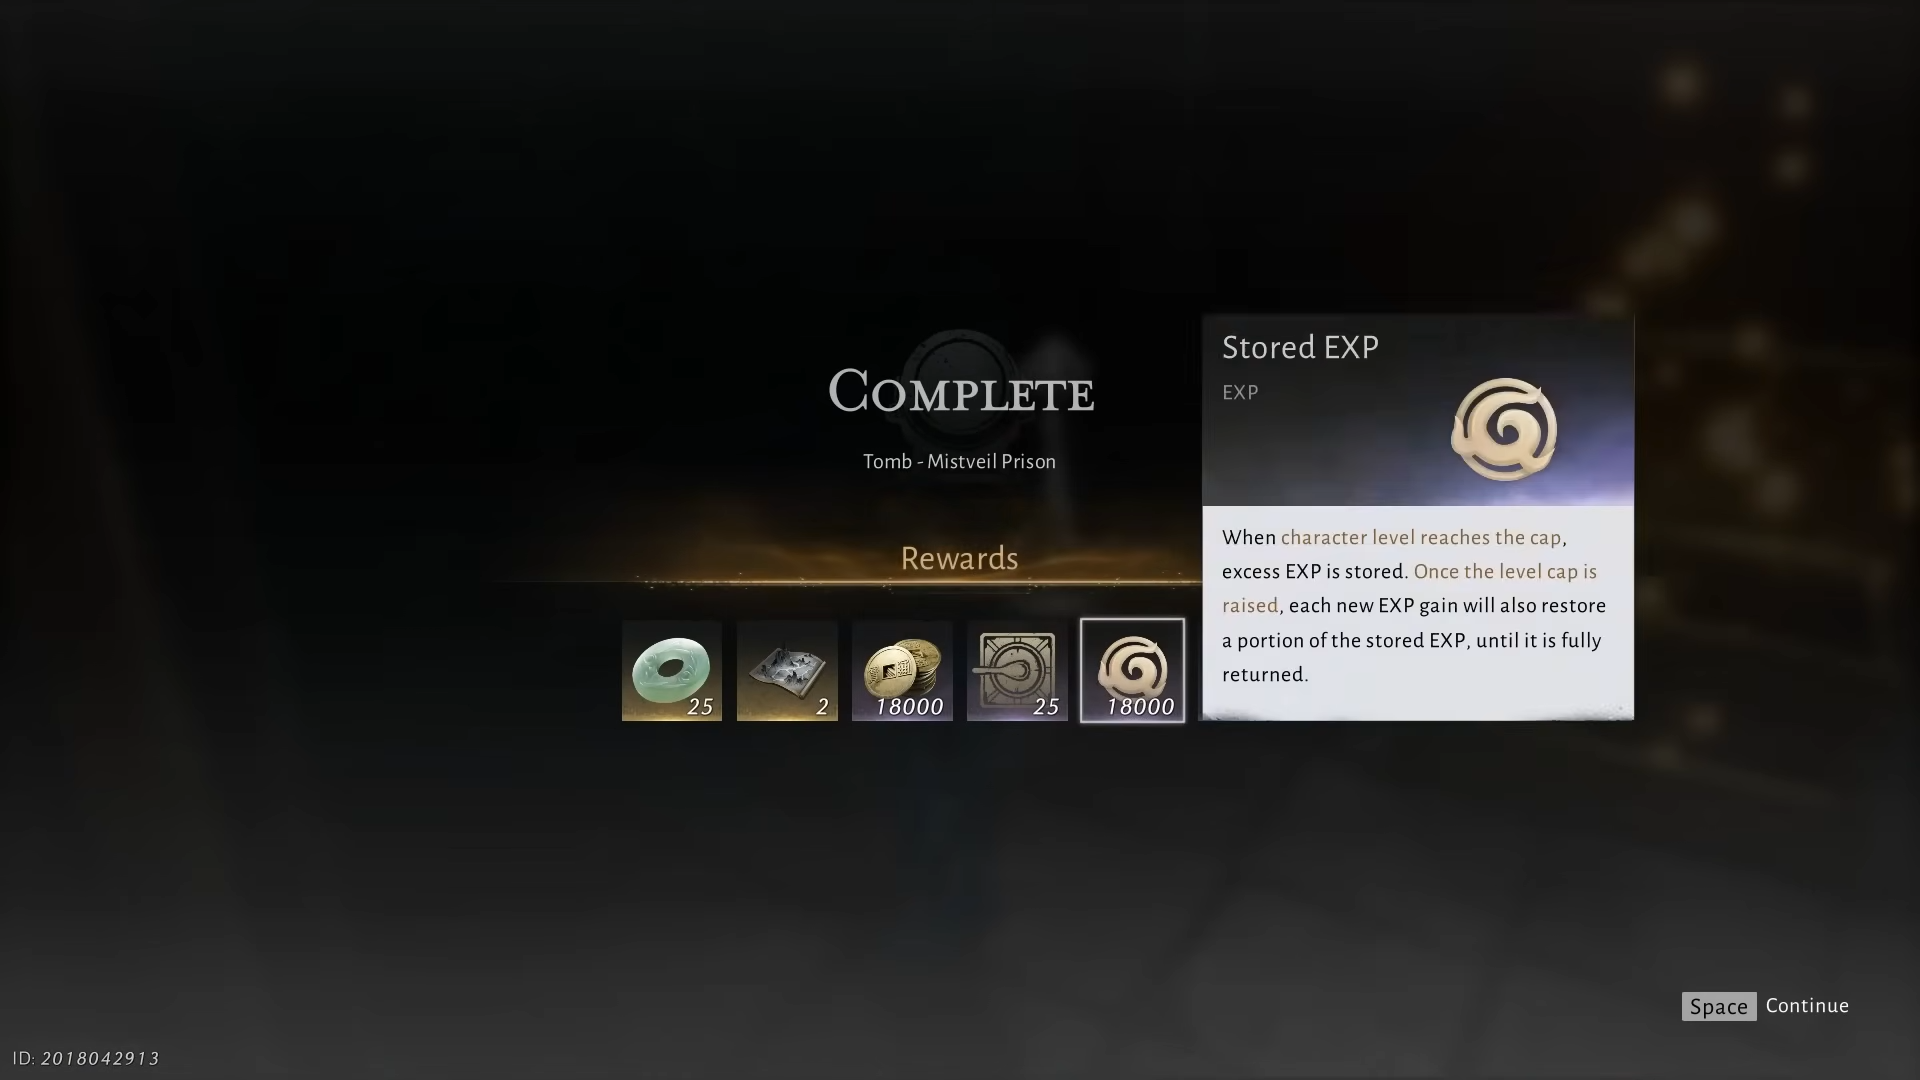
This last chest grants a fixed reward bundle: 25 Echo Jade, 18,000 Coin, 25 Kaifeng Exploration Points, 2 Medicinal Tales, a single Ebony Bone, and a large amount of EXP. The 18 smaller chests scattered through the dungeon provide varied loot and are optional from the perspective of completing the dungeon and clearing the region’s lingering mist.
Image credit: NetEase (via YouTube/@GGChannelX)
Once the final chest is opened and the mist has cleared, Mistveil Prison’s labyrinth of loops, symbols, and specters becomes a solved space – still atmospheric, but no longer opaque. The spinning slab, more than any individual trap, is the dungeon’s real puzzle: each icon is a different answer to the same question of how to escape.