

There are 16 melee weapons and sidearms to collect across the ruined lands of Fallgrim in Mortal Shell 2. Two come from the prologue, six are spread through Fainweald, and the remaining eight are hidden in Mammon. Most are tucked at the end of dungeons or guarded by a miniboss, so knowing the entrances saves a lot of aimless wandering.
Quick answer: You start with The Iconoclast and Naylshotte, then pick up the other 14 by clearing specific dungeons and boss fights. Skip buying maps from vendors and keep your Tarstones for weapon upgrades instead.
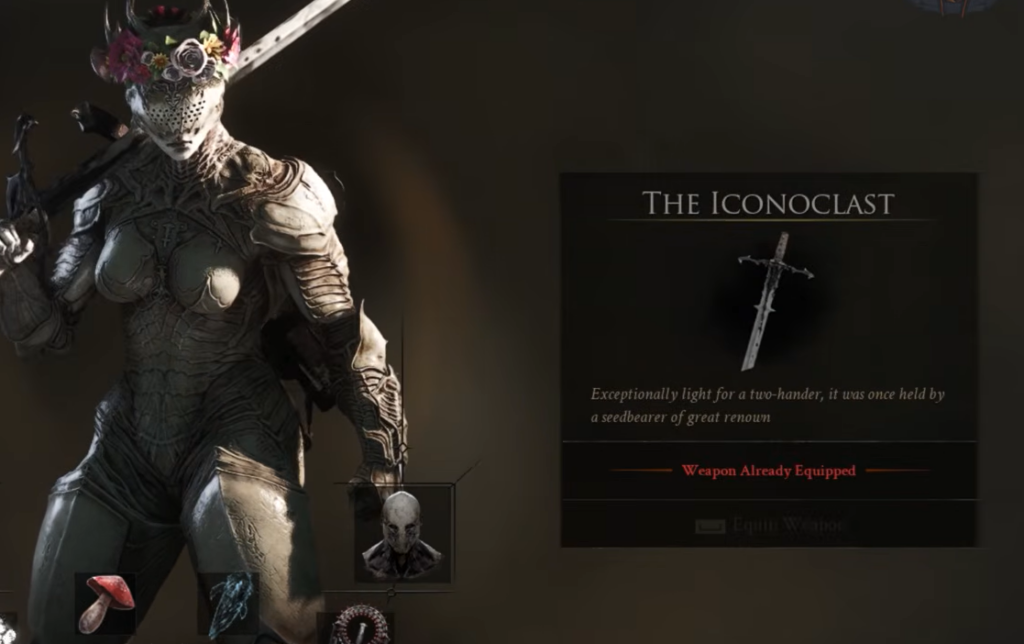
Full weapon and sidearm checklist
Eight of the 16 are full melee weapons and eight are sidearms. Dungeon rewards are always sitting at the very end of their dungeon, so if you enter one, push through to the finish before backing out.
| Gear | Type | Region | Where to get it |
|---|---|---|---|
| The Iconoclast | Weapon | Prologue | Given when you unlock the Harros shell |
| Naylshotte | Sidearm | Prologue | Given when you unlock the Harros shell |
| Forgotten Crossbow | Sidearm | Fainweald | Flooded Village (needs the Damp Key) |
| Veteran’s Battle Axe | Weapon | Fainweald | End of the King’s Crypt |
| Axe & Dagger | Weapon | Fainweald | Shrine of Trials (needs the Chapel Key) |
| Troubadour’s Lute | Sidearm | Fainweald | One-Legged Wolf tavern |
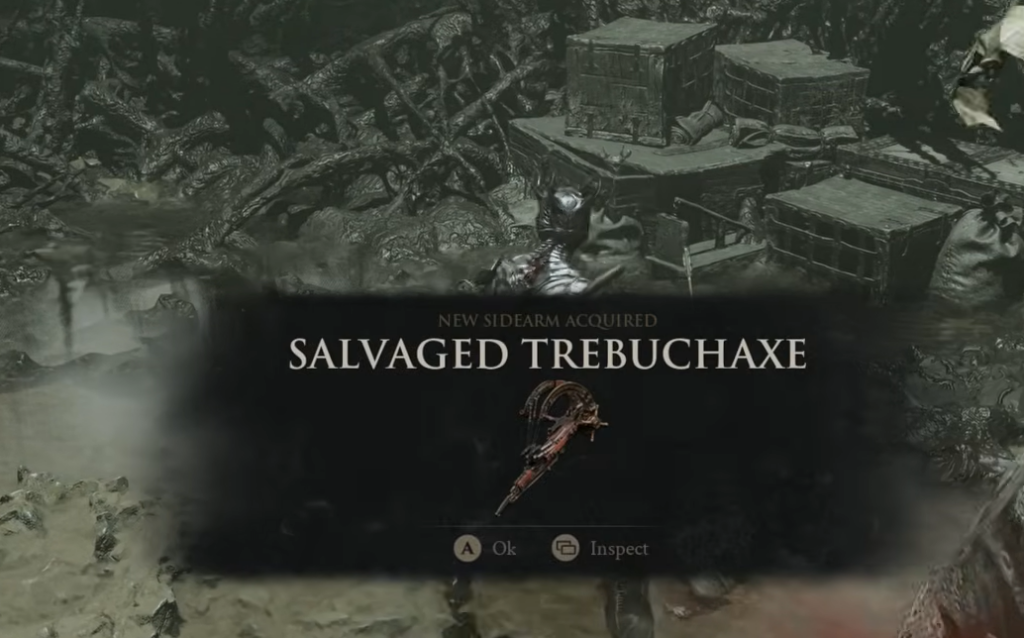
| Salvaged Trebuchaxe | Sidearm | Fainweald | Ravaged Hideout |
| Great Martyr’s Blade | Weapon | Fainweald | End of Martyr’s Prison |
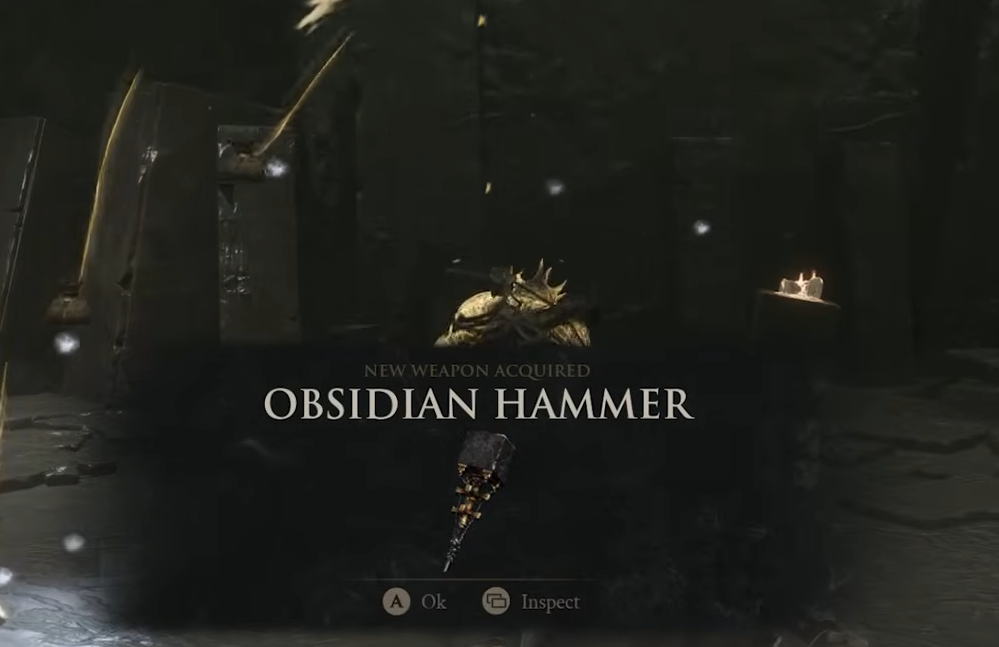
| Obsidian Hammer | Weapon | Mammon | Obsidianite Mines miniboss |
| Ballistazooka | Sidearm | Mammon | Sentry’s Grave miniboss |
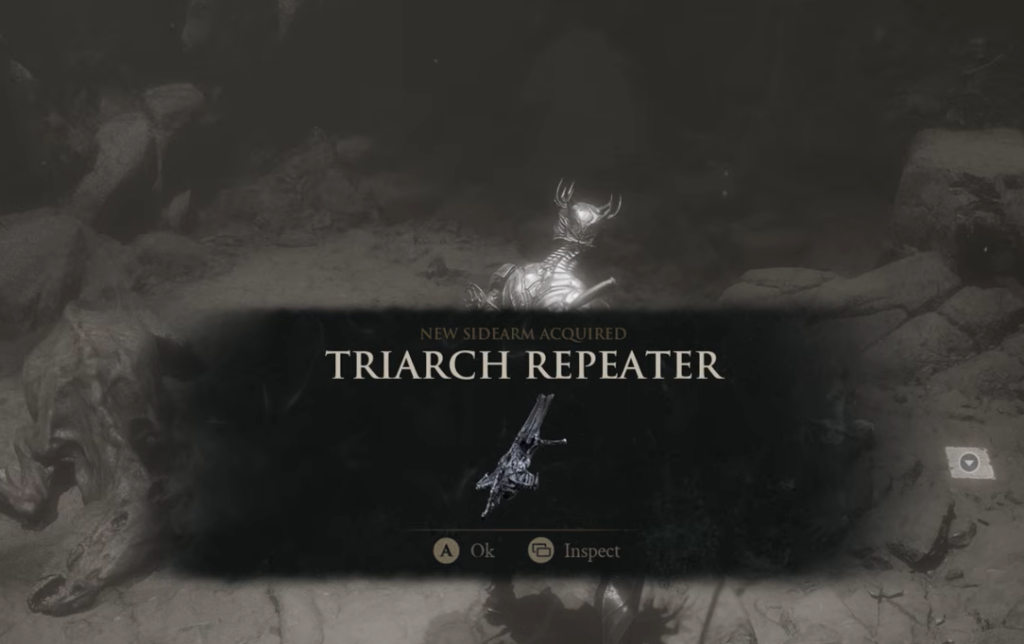
| Triarch Repeater | Sidearm | Mammon | Blackwell Cavern |
| Cursed Child | Sidearm | Mammon | Top altar of the Revered Beacon |
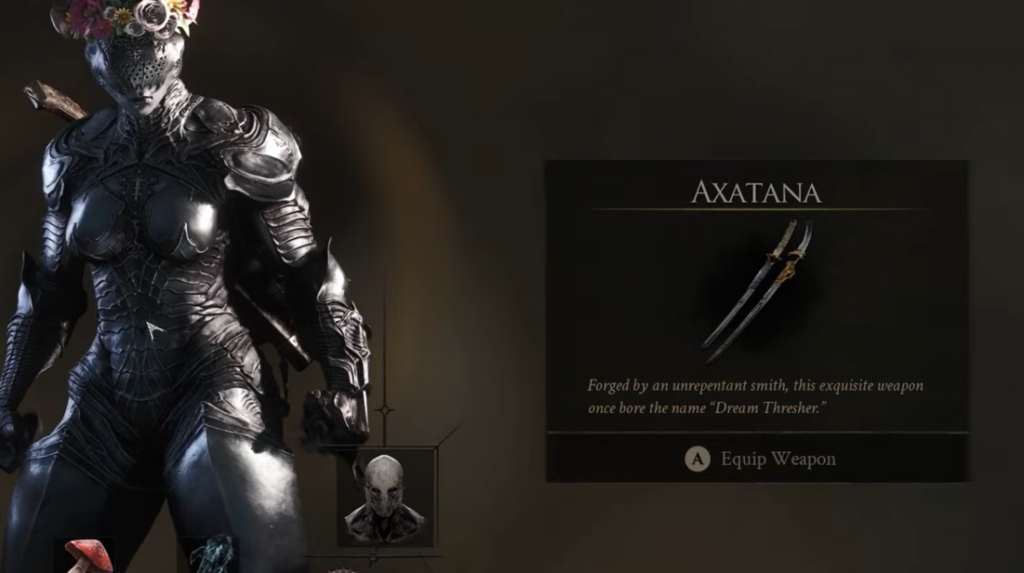
| Axatana | Weapon | Mammon | Forgotten Tower |
| Black Needle | Weapon | Mammon | Stray Sisters boss at Sisters’ Gate |
| Clockwork Scythe | Weapon | Mammon | Sariel, the Endless in the Chamber of Becoming |
| Caged Hystrix | Sidearm | Mammon | Altar just past the Sariel fight |
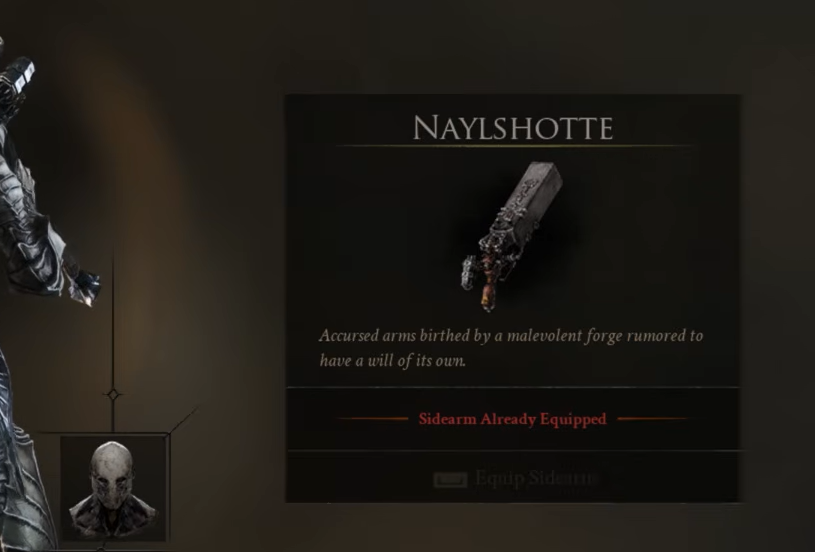
Prologue starting gear: The Iconoclast and Naylshotte
Both of your first two items arrive early in the prologue when you unlock the Harros shell. The Iconoclast is a light one-handed sword, and the Naylshotte is a shotgun-style sidearm that fires a spread of projectiles. You also receive the Untarnished Seal at the same time, which lets you block attacks.
Fainweald weapons and sidearms (6)
Fainweald holds six pieces of gear, most of them within a short trek of the Widow’s Overlook beacon. Two of them are locked behind keys, so grab those first.
Forgotten Crossbow — Flooded Village
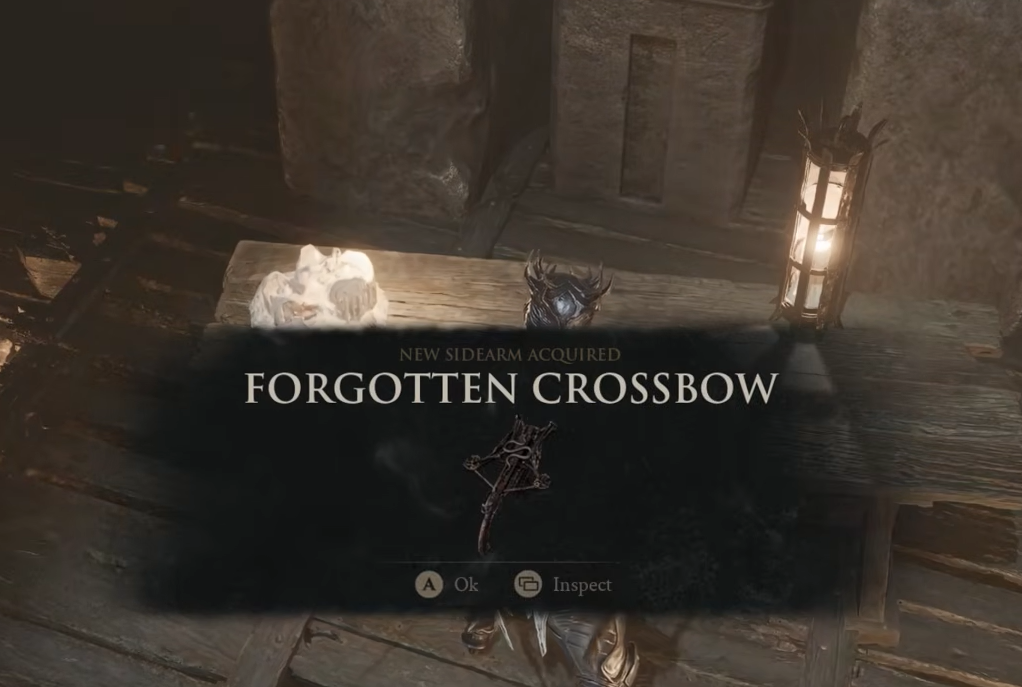
Follow the sloping path from Widow’s Overlook and cross the rope bridges down to the lower crags, where Spear Maidens and Toxic Cultists roam. Look for a stone arch covered by wooden boards, break the boards, and pass through to reach the tower entrance. Press the wall switch to raise the cage, ride the elevator down, and fight your way to the house at the back of the pools to grab the Damp Key. Return to the main structure and open the door to claim the Forgotten Crossbow.
Veteran’s Battle Axe — King’s Crypt
From the spot where you unlock the Proxima shell, follow the dirt path into a cavern. Clear out the enemies and take the axe from the sarcophagus at the end of the King’s Crypt.
Axe & Dagger — Shrine of Trials
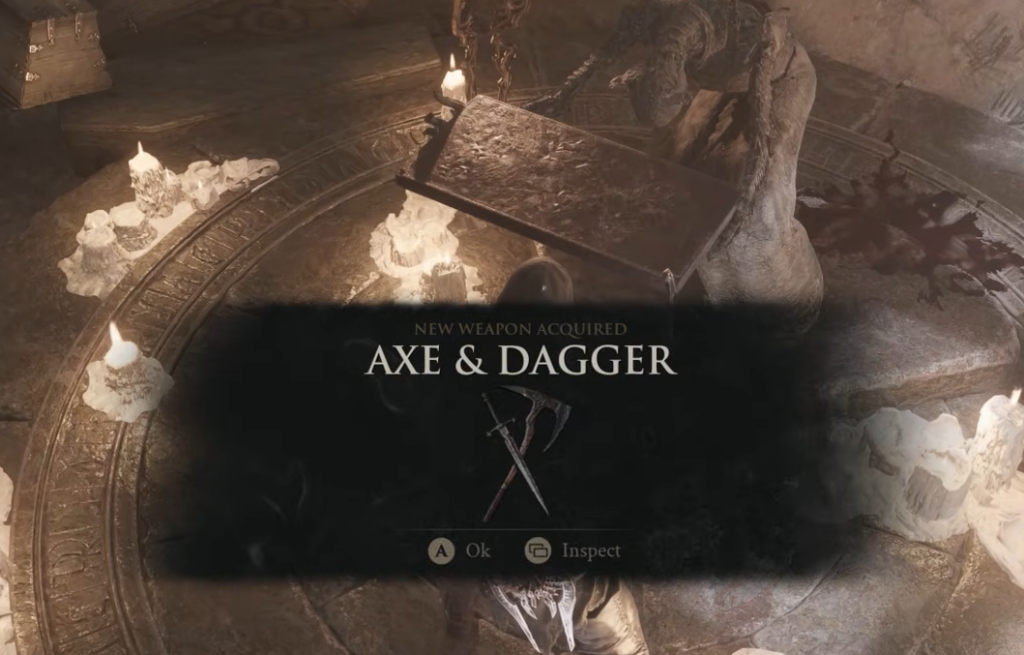
First, find the Chapel Key on a plateau near the Mushroom Village beacon. With it in hand, return to the beacon and head left to a Grisha Hunter encampment, then unlock the tower. Inside, face the king pillar and walk backward to remove the fake wall, strike the stone blocks onto the two pressure plates, then defeat the Armored Knight to grab the Axe & Dagger.
Troubadour’s Lute — One-Legged Wolf tavern
Head to the tavern in eastern Fainweald, north of the Mushroom Village Entrance beacon. You may need to siphon enough Ova to cleanse the corruption blocking the way first. The lute sits on the stage, and it inflicts confusion, which can turn several enemies against each other. The same tavern is where you unlock the Gragu shell.
Salvaged Trebuchaxe — Ravaged Hideout
The Ravaged Hideout sits at the base of the hilly area outside the Citadel of Penance. Defeat the Bloodcursed Lithopod boss that emerges, which also drops an item that permanently opens the Citadel’s gates, then take the Salvaged Trebuchaxe from inside. This sidearm fires axes.
Great Martyr’s Blade — Martyr’s Prison
Martyr’s Prison lies just outside the Citadel of Penance’s eastern walls, reached by passing the well entrance to the Holding Cells and finding the prison entrance behind some wooden boxes. Interact with the mysterious coin pouch to teleport into the prison area, then fight through the tight corridors to the gear at the end.
Mammon weapons and sidearms (8)
Mammon carries half of all the game’s gear. Several of these are boss or miniboss drops, and a few require crossing gaps using jump gates and shooting bells to repair bridges.
Obsidian Hammer — Obsidianite Mines
From the Outskirts of Mammon beacon, head west to a quarry with a large pool of water, then drop down into the pool to enter the mines. Inside, fall down the chasm and land on the ledges below. The Prophet of Profane Infinities miniboss waits at the very end and drops the Obsidian Hammer.
Ballistazooka — Sentry’s Grave
Sentry’s Grave is inside the Lonesome Spire and packed with Ballista Head enemies. In the final chamber you face the Subjugated Guardian, a larger Ballista Head whose projectiles explode. Close the distance and stay on top of it to limit it to head-slam attacks you can block and parry, then take the Ballistazooka.
Triarch Repeater — Blackwell Cavern
Tag the rest area near the Castigator’s Keep beacon, then go down the steps and follow the cliffside path east-southeast. Take the wooden lift down, circle the grassy field, and enter the cave mouth. The cavern is nearly pitch black with visibility limited to a few feet, so move carefully through the tunnels to the Triarch Repeater.
Cursed Child — Revered Beacon
From the Sester’s Gate beacon, go to the courtyard with the Rollerball enemy and look over the walkway edge for a ledge. Drop down, shoot the bell to reveal a path, and continue to the lower abbey to enter the dungeon. A searing spotlight sweeps the area and drains your health, so hide behind walls until it passes. Enemies burn in the light too, so you can lure them into it. Destroy the object at the very top to obtain the Cursed Child.
Axatana — Forgotten Tower
Drop down the ledge past the Rollerball enemy, but instead of entering the abbey, turn left and use the jump gate to cross the ravine into the Forgotten Tower. You can also shoot the bell under the bridge to fully repair the structure. Use another jump gate to reach the far side, press the plate beside the metal door, defeat the Dagger Sester, and take the Axatana from the niche.
Black Needle — Sisters’ Gate
The Black Needle is a spear dropped by the Stray Sisters boss at Sisters’ Gate. Defeat the fight to claim it.
Clockwork Scythe and Caged Hystrix — Chamber of Becoming
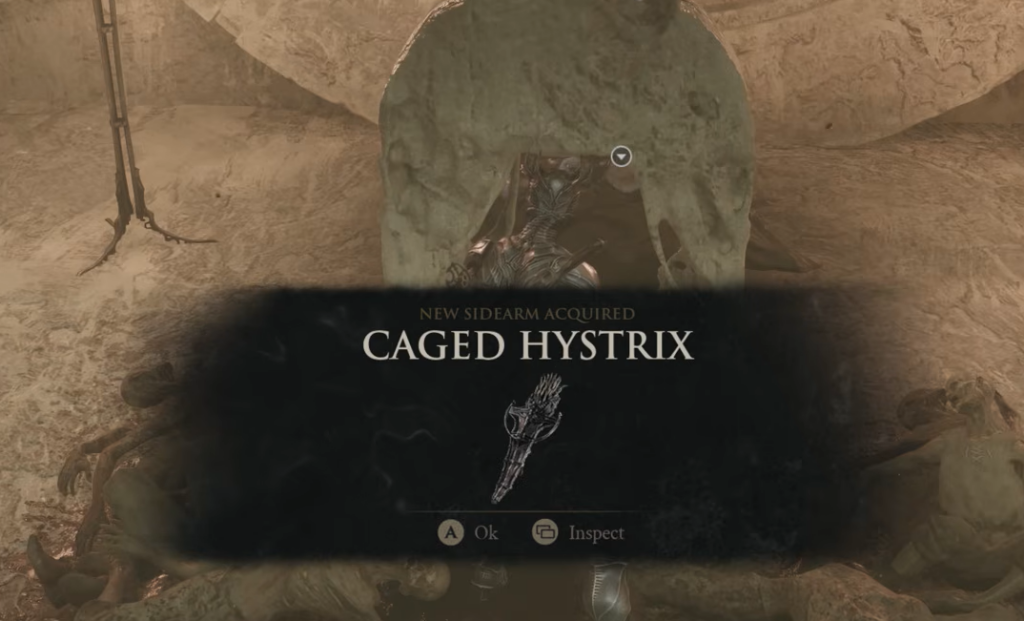
Sariel, the Endless drops the Clockwork Scythe in the Chamber of Becoming. Once the fight is over, grab the Caged Hystrix from the altar directly past the arena. Both pieces are collected in the same trip.
Skip vendor maps and save Tarstones for upgrades
Vendors will sell you maps, but you do not need them to reach any of these 16 pieces. Hold onto your Tarstones instead, since every weapon and sidearm can be improved at the Tarforge in Marrow Keep as long as you have enough coins and smithing-stone materials. Grabbing the gear early gives you more time to build it up before the tougher stretches of Mammon.





