Gaming Guide

Where to Find All Glands in Mortal Shell 2 (Seedbearer’s Scripture)

All three Gland locations, the Night Mode requirement, and the Forgotten Tower offering that hands over the Seedbearer's Scripture.

All three Gland locations, the Night Mode requirement, and the Forgotten Tower offering that hands over the Seedbearer’s Scripture.

Three Glands are scattered across Fallgrim in Mortal Shell 2, and their item descriptions give you almost nothing to work with. Each one sits inside a Corrupt Gate you already have a reason to clear while hunting Ova, so plenty of players end up carrying one or two without ever learning what they are for. They have exactly one use, and it happens in a single spot on the map.

Quick answer: Collect the Depleted, Thawed, and Faded Glands, switch the world to Night Mode by speaking with Thestus at the top of Marrow Keep, then offer all three at the corpse on the upper floor of the Forgotten Tower, west of Sester’s Beacon. The screen fades to black and you receive the Seedbearer’s Scripture.


All three Gland locations in Mortal Shell 2

Every Gland is tied to a Corrupt Gate, and all three sit slightly off the critical path rather than on the route to the gate’s boss. Here is where each one lives before the detailed directions below.

GlandCorrupt GateNearest landmark
Depleted GlandWithered Shoals (southwest)Nameless Pass Beacon
Thawed GlandGate near the Abbey (east)Valley of the Revered
Faded GlandFaded Capital (far south)Citadel Annex Beacon

Note: These are not the same as a Revered Gland. Revered Glands raise the number of Mether’s Pulse charges you carry and are used at a Beacon. They play no part in the offering described here.


Depleted Gland in the Withered Shoals
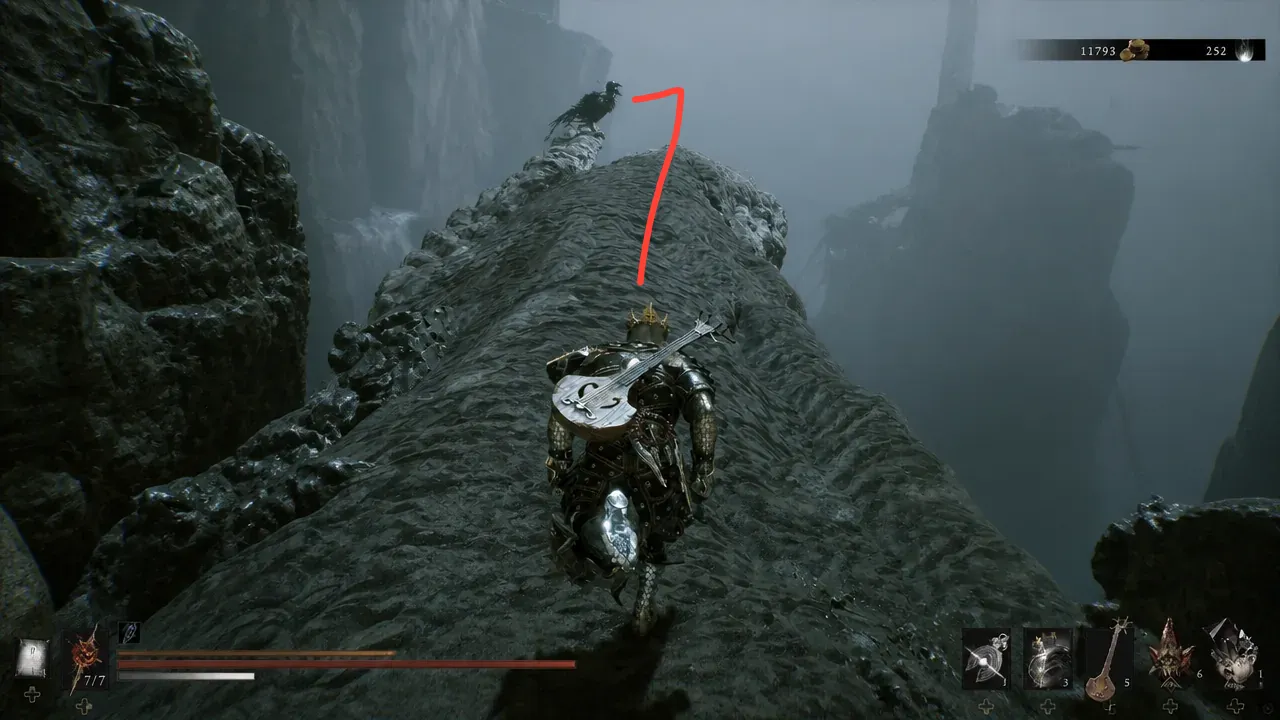
Enter the Withered Shoals in the southwestern corner of the map and push through until you reach the gate’s second Beacon, Nameless Pass. It sits a short distance before the area’s major boss, so you do not need to fight anything big to get the pickup.
From the Beacon, keep moving forward toward Ruk, who is perched on a rock ahead. Speak with him and let the conversation finish.
Player crossing a huge rocky surface in the Withered Shoals toward Ruk perched ahead
Following the rock surface past Nameless Pass toward Ruk in the Withered Shoals. Cold Symmetry
Drop down onto the rock surface below, but resist the urge to carry on forward. Turn around instead and face the end of the path, where a torch is burning. A bone arm next to the torch is holding the Depleted Gland.
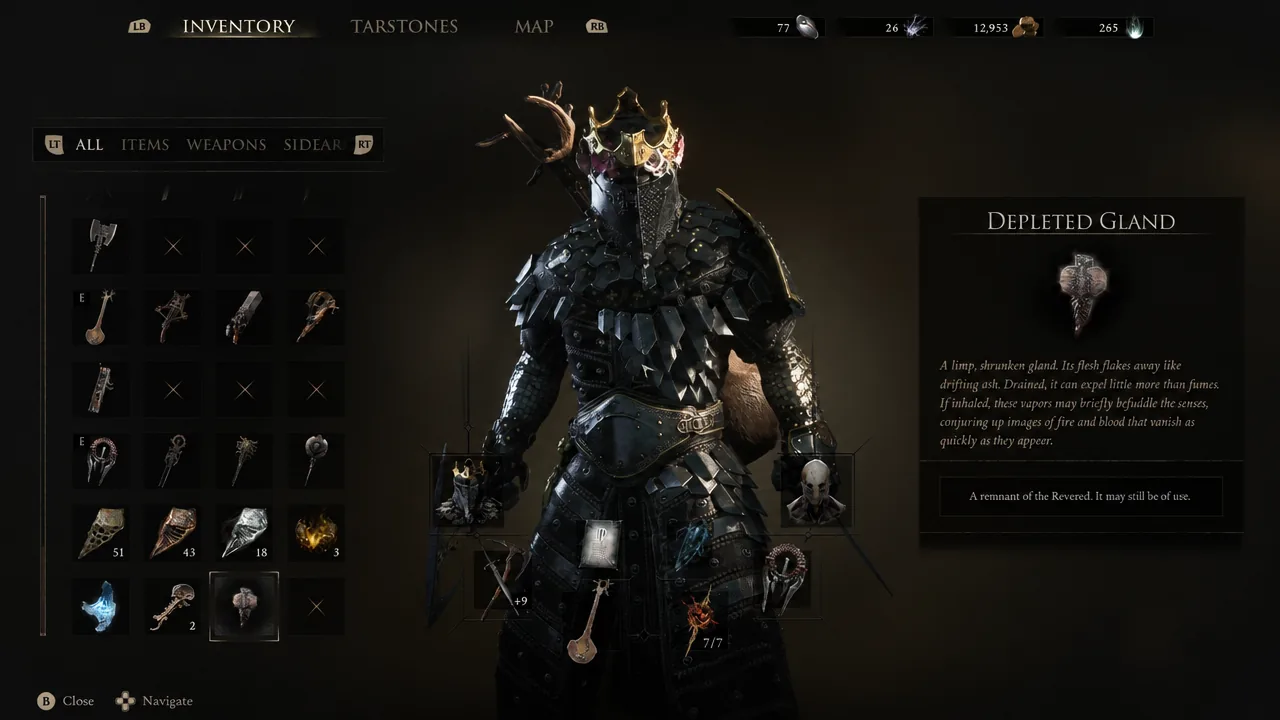
Inventory screen with the Depleted Gland selected and its description shown
The Depleted Gland as it appears in your inventory after the pickup. Cold Symmetry

Thawed Gland in the Valley of the Revered
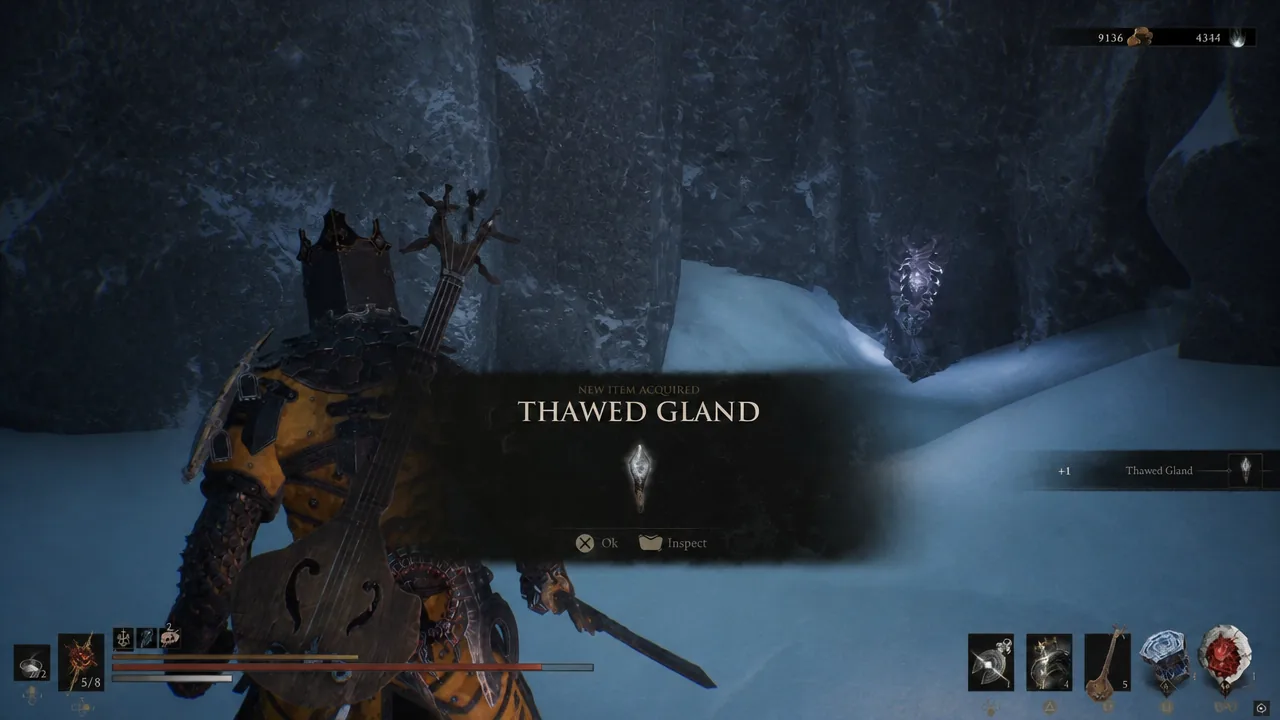
Head to the Corrupt Gate near the Abbey on the eastern side of the map and step inside. The route through the Valley of the Revered is linear, so simply follow it from the entrance.
Watch the walls as you go and stop at the narrow opening you can walk straight through. It is easy to run past while fighting, so slow down once the path starts to close in.
Inside is a room with a statue at the far end and several Martyr’s Ash pickups placed along the pillars. Grab those first, then approach the statue and take the Thawed Gland from the stone pedestal.
New Item Acquired popup showing the Thawed Gland with OK and inspect options
The pickup prompt confirming the Thawed Gland from the pedestal. Cold Symmetry
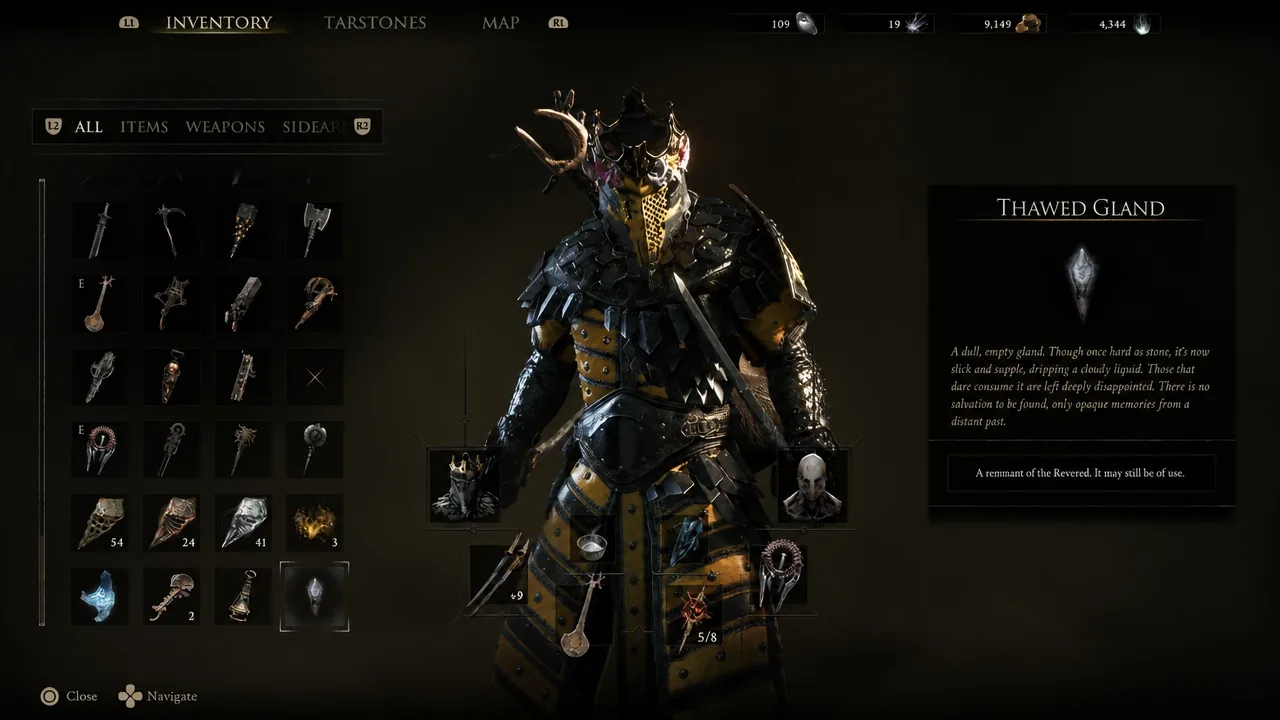
Inventory entry for the Thawed Gland reading 'A remnant of the Revered. It may still be of use.'
The Thawed Gland’s inventory description hints at the offering without naming it. Cold Symmetry

Faded Gland in the Faded Capital

Travel to the Faded Capital, the Corrupt Gate at the very southern end of the map, and make your way to the Citadel Annex Beacon.
Rather than climbing upward from the Beacon, turn around and drop into the area below it. A large pack of dual sword-wielding enemies is waiting down there, and they will swarm you if you try to search while they are alive.
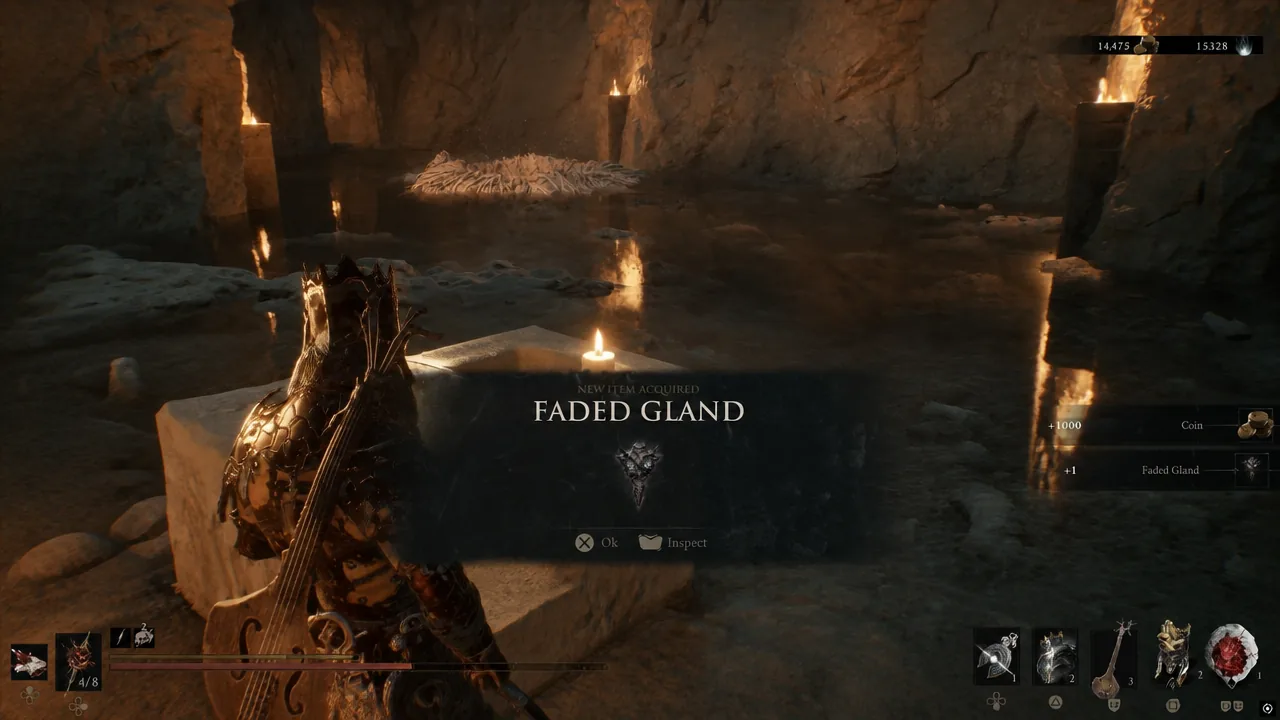
With the area clear, look toward the middle of the space for a well-like structure ringed with candles on top. The Faded Gland is tucked inside it.
New Item Acquired popup displaying the Faded Gland after searching the candlelit well
The Faded Gland recovered from the candlelit well structure. Cold Symmetry

Turn on Night Mode before you offer anything

Holding all three Glands is only half the job. The offering site does not respond during the day, so the world has to be flipped to Night Mode first. Climb to the top of Marrow Keep and speak with Thestus to switch it on.

Night Mode is also the game’s harder setting. Enemies move faster and hit harder while it is active, though they drop more coin and gloom in exchange. Plan the trip with that in mind, especially if the route to the tower takes you past anything you were struggling with in daylight.


Offer the Glands at the Forgotten Tower

With Night Mode running, fast travel to Sester’s Beacon. From there, head west toward the Forgotten Tower, which sits on its own island and is visible on the map.
Go inside and climb the stairs to the top floor. A corpse is waiting up there, and interacting with it brings up the option to make an offering.
Hand over the Depleted Gland, the Thawed Gland, and the Faded Gland. The screen cuts to black once all three are given, and the Seedbearer’s Scripture is in your inventory when it returns.

If the prompt never shows up, there are only two likely causes. Either you are still in the daytime world and need to speak with Thestus again, or you are missing one of the three Glands and still have a Corrupt Gate to comb through.


What the Seedbearer’s Scripture does

The reward is built entirely around Cosmic Disease. It cures the ailment outright and can be slotted in either an active or a passive slot, with different numbers depending on how you equip it.

SlotEffect
ActiveCures Cosmic Disease and grants 50% Cosmic Disease Mitigation for 30 seconds
Passive15% Cosmic Disease Mitigation, always on

That passive line is the reason the detour is worth taking before the endgame. Cosmic Disease pressure is at its heaviest in the final boss fight, and going in with permanent mitigation plus an on-demand cure removes a lot of the scramble. Pick the Glands up as you clear each Corrupt Gate for Ova, and the offering becomes a single night trip rather than three separate ones.