The Black Needle is one of eight melee weapons hidden in Mammon, and it is the longest-reaching spear in Mortal Shell 2. It is not sold, not looted from a chest, and not a random drop. The only way to hold it is to clear a single dungeon in the southeastern corner of the map and beat the Sesters waiting at the bottom of it.
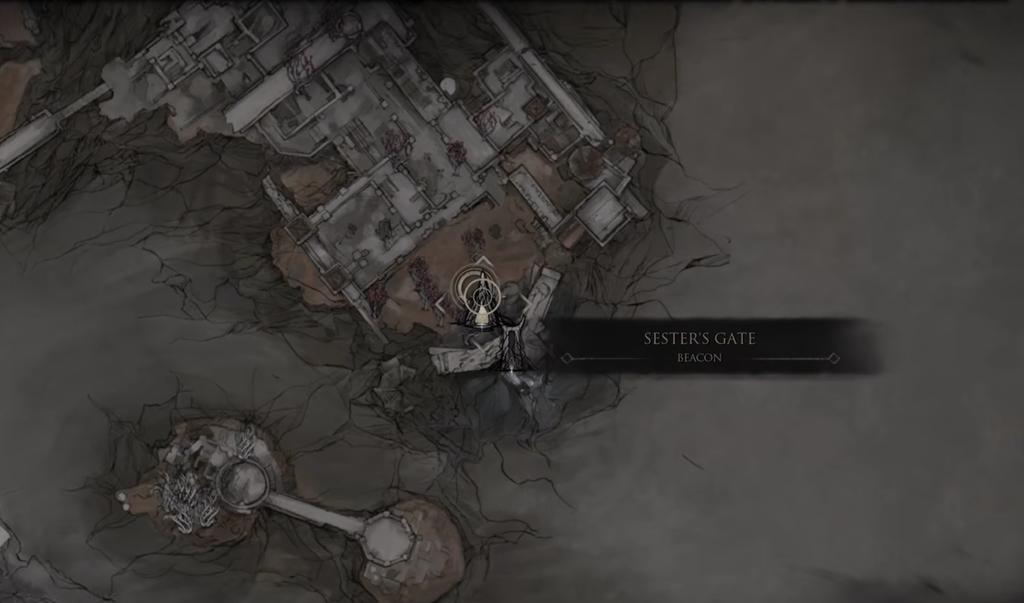
Quick answer: Travel to the Sester’s Gate Beacon out past the Outskirts of Mammon, cleanse the beacon to open Sester’s Bastion, shoot all five bells to raise the stone walkways, then defeat the Twin Sesters and the Stray Sester. The Black Needle is awarded automatically when the last one falls.
Black Needle location and unlock requirements
Everything sits in the same pocket of the map. You leave from Marrow Keep, cross the Outskirts of Mammon, and push east toward the Sester’s Gate Beacon. Cleansing that beacon is what opens the dungeon door, so if you arrive and cannot find an entrance, the beacon is the reason.
| Detail | Answer |
|---|---|
| Region | Mammon, southeastern edge of the map |
| Route start | Outskirts of Mammon beacon |
| Dungeon | Sester’s Bastion |
| Unlock condition | Cleanse the Sester’s Gate Beacon |
| Gear needed | Any sidearm (the bell puzzle is unsolvable without one) |
| Bosses | Twin Sesters, then the Stray Sester |
| Reward | Black Needle spear, Sester’s Crest, Glimpses |
| Trophy | Just the Tip |
Merrick in Marrow Keep sells maps that mark weapon locations, but you do not need to buy one here. The spear is handed over for finishing the dungeon, so the coin is better spent at the Tarforge.
Note: treat this as a mid-game or later trip. Sesters of the Order patrol the approach, and the boss pair hits hard enough to punish an underleveled run.
Route from the Outskirts of Mammon to Sester’s Gate
Almost none of the fighting on the way in is mandatory. Sprinting past patrols saves stamina and health for the two encounters that actually matter, so treat the approach as a running route rather than a clearing job.
Bell puzzle: raising the stone walkways in Sester’s Bastion
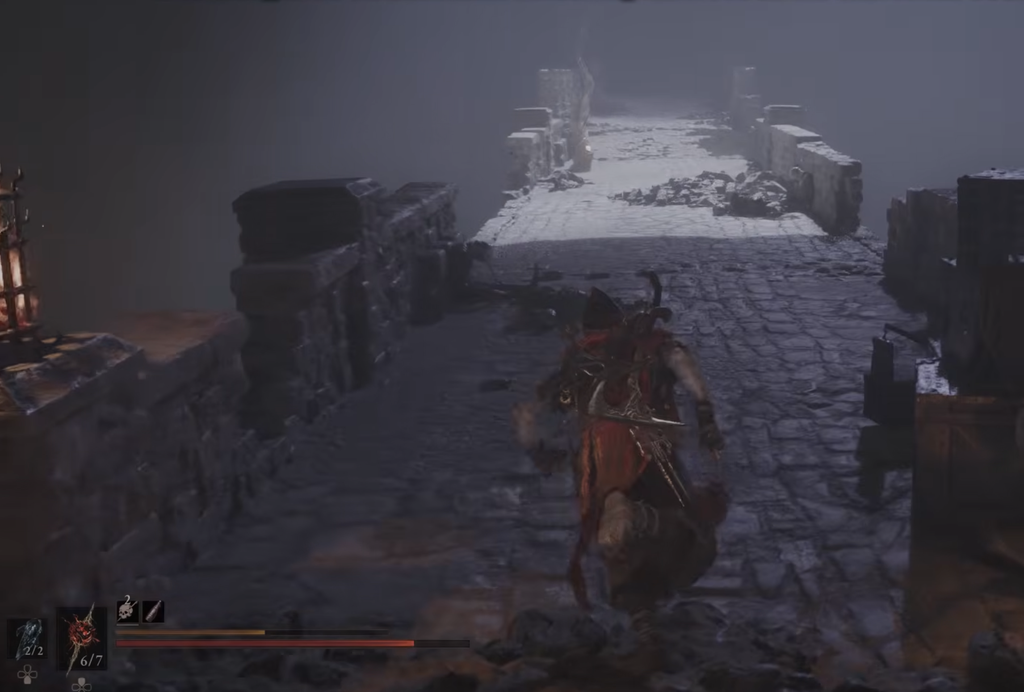
The dungeon is built around suspended bells. Shooting one raises a stone walkway across a gap that otherwise reads as a dead end. There is no melee workaround, so a sidearm is a hard requirement.
The first pair sits right after the drop. Two platforms hang unconnected from yours, with one bell just to your left and another higher up on the right. Ring both and a walkway bridges the gap.
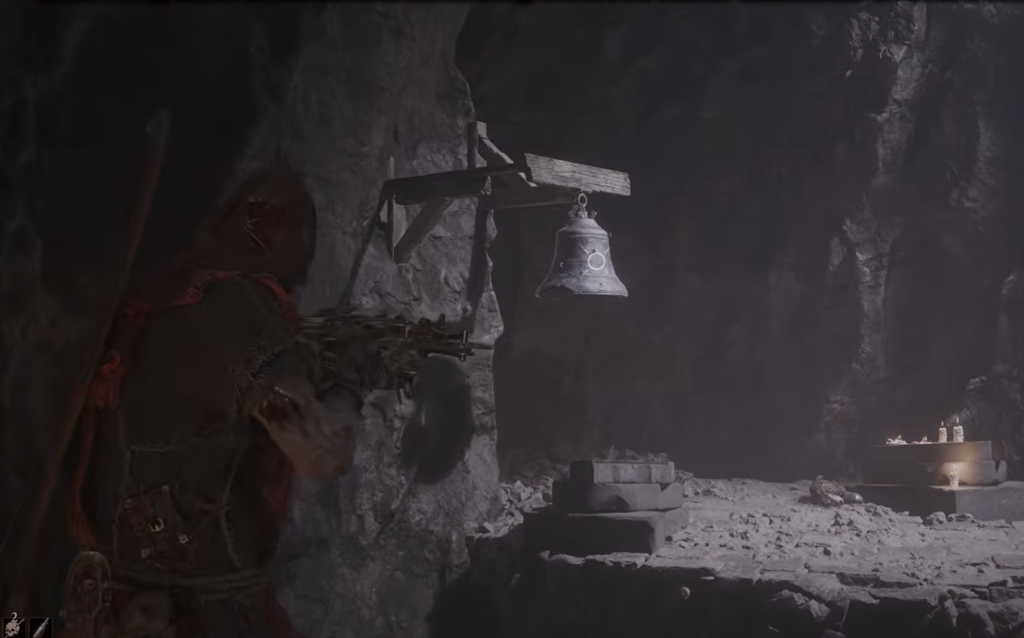
The remaining three are in the larger bridge room deeper in, tucked between the massive stone pillars. Clear the enemy camps and the Faceless Cleric first, because lining up shots while being chased is how runs fall apart. One bell sits at the very back, one roughly mid-room, and the third is hidden beneath the bridge near the far end.
| Bell | Where to look |
|---|---|
| 1 | Ground level, immediately left after the first drop |
| 2 | Mounted high on the wall to the right |
| 3 | Far back of the bridge room |
| 4 | Mid-room, on the opposite side of the bridge — shoot it at an angle rather than crossing |
| 5 | Underneath the bridge near the far end (the one most players miss) |
Firing a sidearm drains resolve. There is a tree up past the bridge you can attack to top it back up if you run dry mid-puzzle, so note where it is before you start shooting.
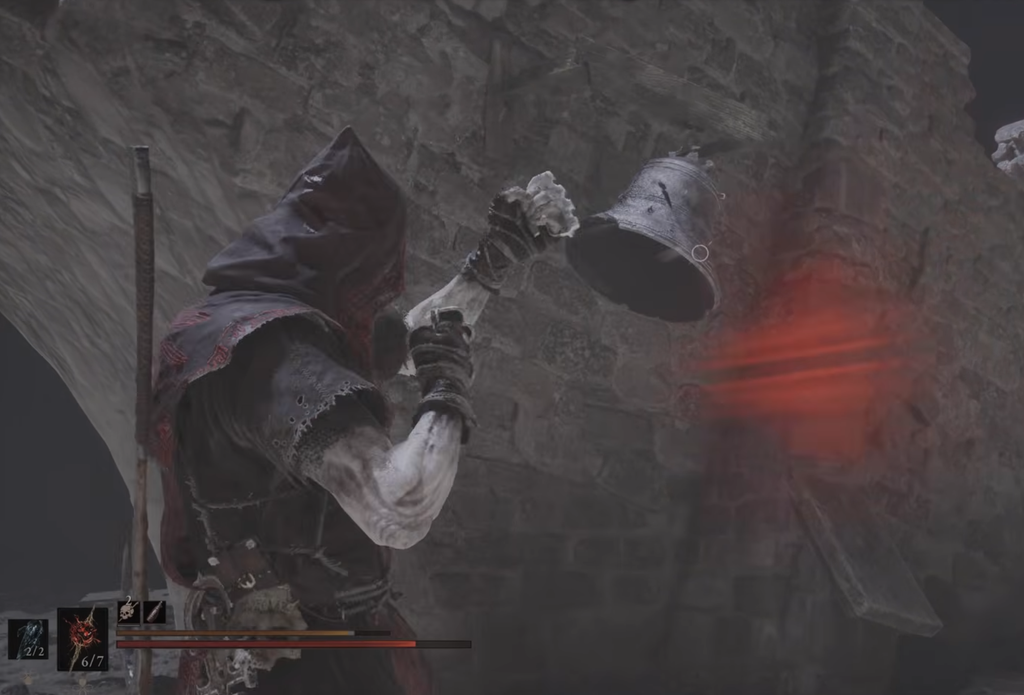
Once all five have rung, the main bridge extends. Cross it, deal with the enemy waiting on the far side, and continue to the geyser at the end. That final spirit stream launches you straight into the boss arena, so make any last preparations before stepping in.
Twin Sesters and Stray Sester boss fight
The arena locks behind you and opens with the Twin Sesters, a two-on-one. One closes in with a rapier while the other pressures you from range with a bow. Bringing down the archer first is the cleaner opening, since it turns the fight into a straight duel.
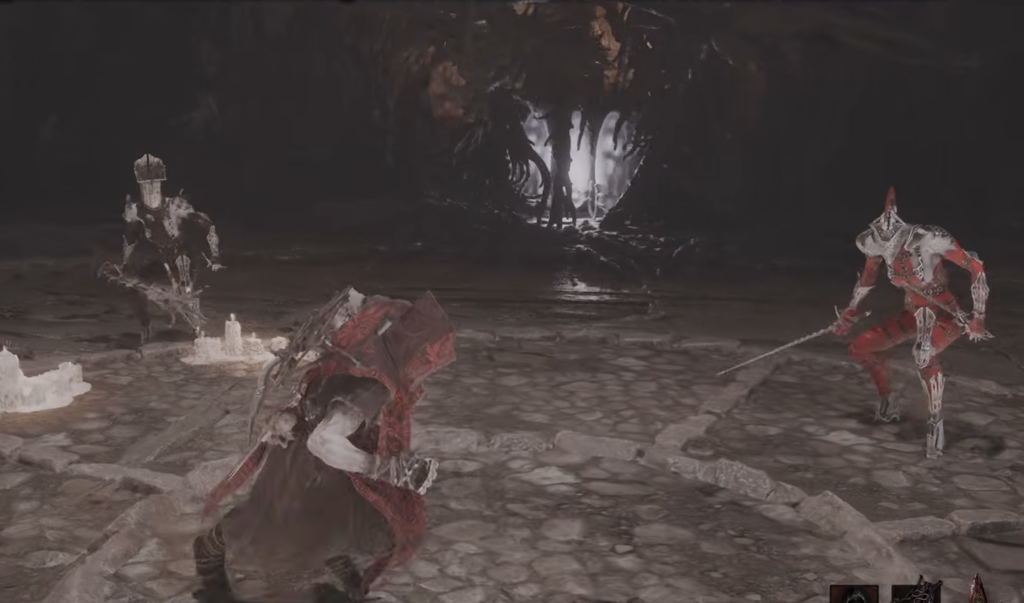
The Genessa shell is a strong pick here. Her clone ability pulls aggro reliably, which buys you clean windows to hit the twins from behind while they commit to the decoy.
Once the pair falls, the Stray Sester enters. She is a tougher, solo version of everything you have fought on the way in, with irregular attack timings that punish memorized dodge rhythms. The tell to respect is her stance — when the spear drops low, a counterattack is coming, so back off instead of crowding her.
Play for spacing. Move in and out of range, punish recovery frames, and use a ranged poke rather than standing in her face waiting for an opening.
Confirming you got the Black Needle
The reward is fixed, not a drop-rate roll. When the Stray Sester dies you get a new weapon notification for the Black Needle, alongside the Sester’s Crest and Glimpses, and the Just the Tip trophy pops. The Sester’s Crest can be traded for 3,000 gold.
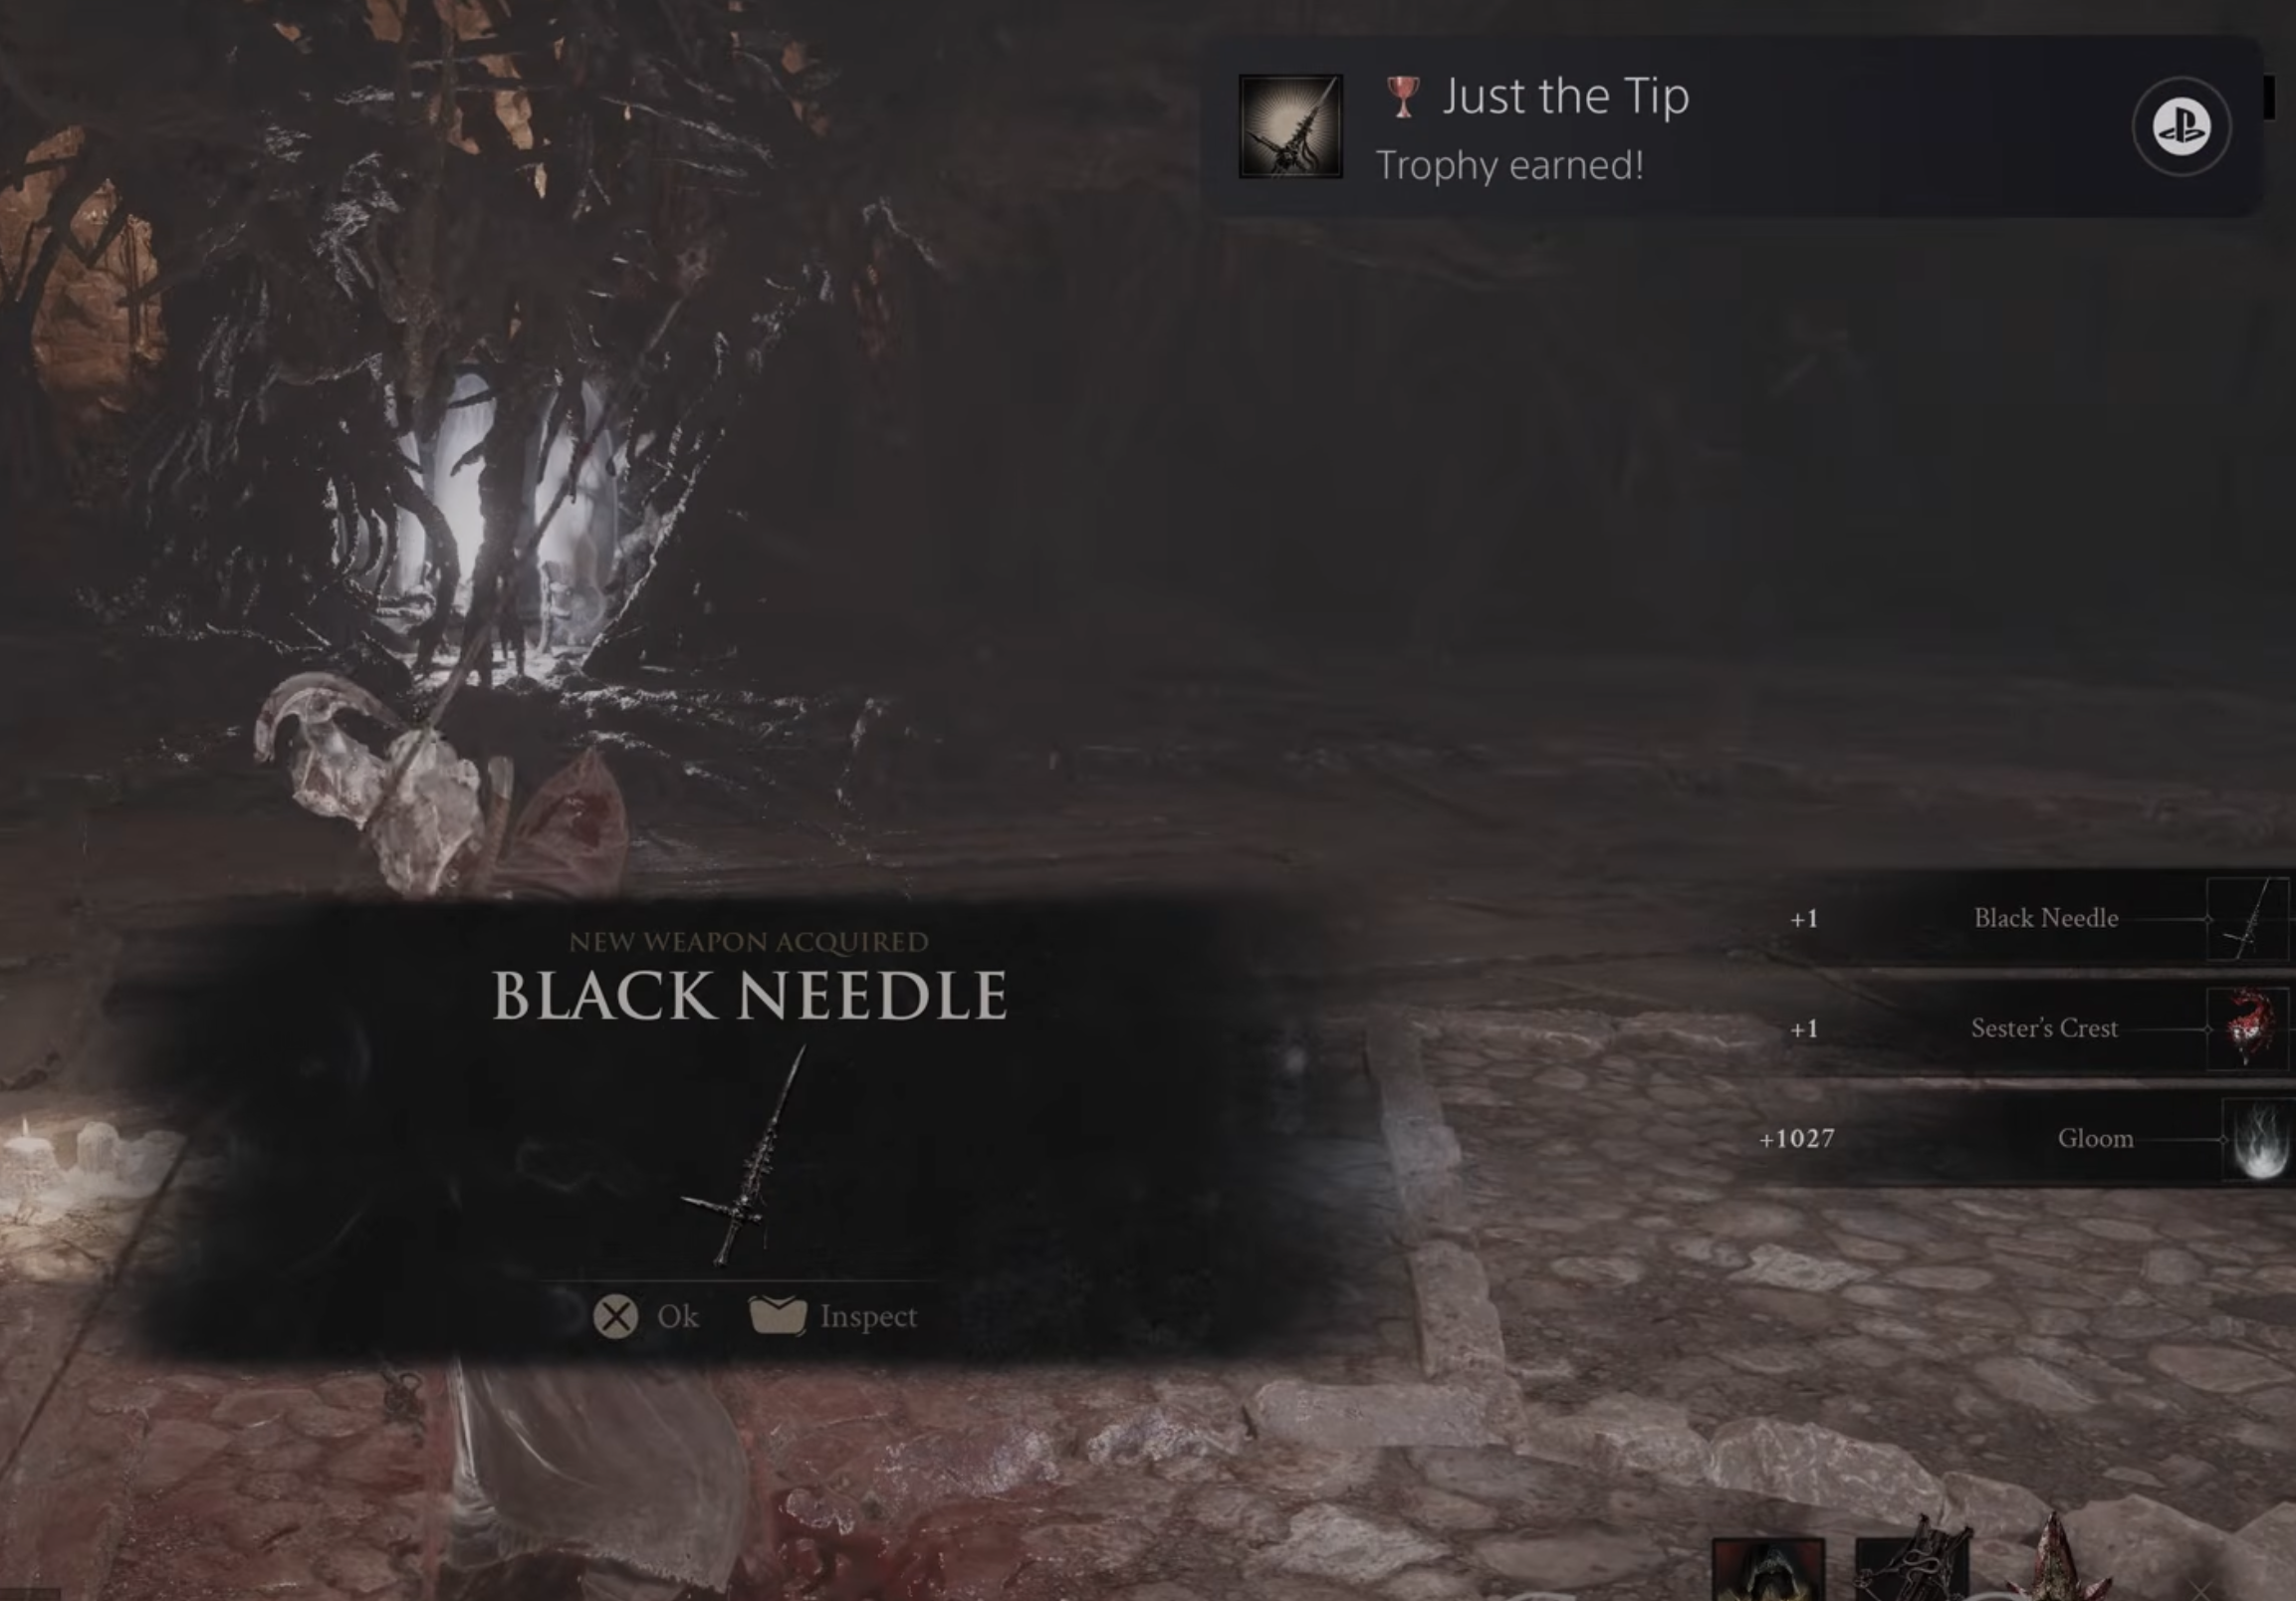
After the fight, cleanse the corruption and collect the three Ova before returning to the beacon. Doing so also clears the corrupted gate behind it, which leads onward to the Conquered Temple and one of the game’s main bosses.
Check your inventory to confirm. The spear’s description reads that it was stolen from the Twiceborn and lets its bearer reach further and move faster than seems physically plausible.
Black Needle stats, ability, and upgrades
The spear is fast, with a reach that outclasses everything else in its speed bracket. Its weapon ability is Needle Storm, a rapid flurry of thrusts that consumes resolve. The playstyle it supports is straightforward — jab from mid-range, then step back out of the counterswing.
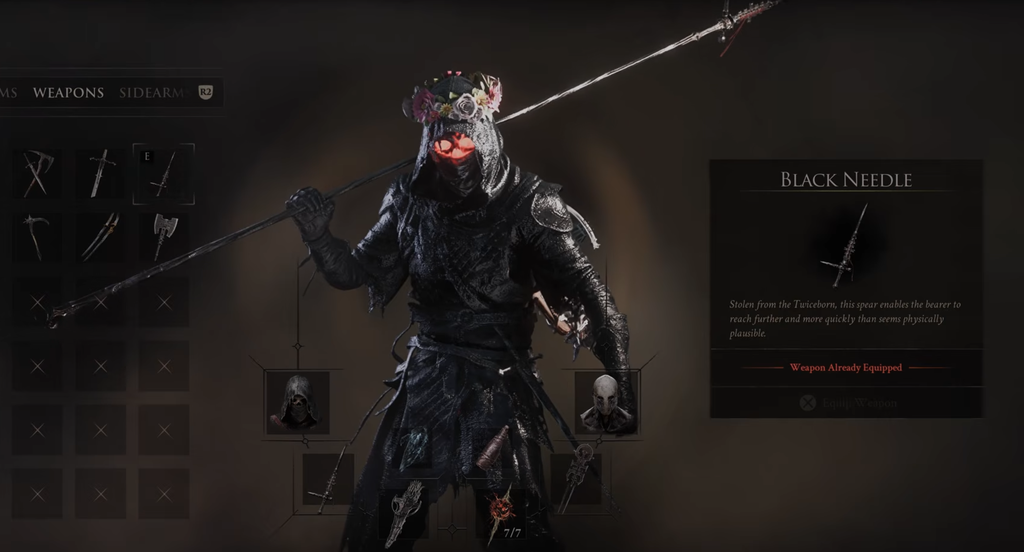
Upgrades happen at the Tarforge in Marrow Keep and run to +16, using Ventrium early, Laterite in the middle band, and Dorsalite at the top end.
| Level | Materials | Damage |
|---|---|---|
| +1 | Ventrium x2, 100 coin | 105% |
| +3 | Ventrium x4, 300 coin | 115% |
| +6 | Ventrium x18, 1,250 coin | 130% |
| +7 | Laterite x2, 2,750 coin | 135% |
| +11 | Laterite x18, 5,000 coin | 155% |
| +12 | Dorsalite x2, 5,750 coin | 160% |
| +16 | Dorsalite x18, 8,750 coin | 180% |
Its unique infusion Tarstone is the Nightgrasp Stone. For combat slots, Thief’s Stone and Zealot’s Stone pair well with the spear’s quick light attacks, and Conqueror’s Reward is a solid ability pick. Wounding Stone also fits, since its Perforation stacks reward the high hit count Needle Storm generates.
Slot it as your main weapon and take a ranged sidearm alongside it — the Forgotten Crossbow covers longer engagements — and you have a build that rarely needs to stand inside an enemy’s swing arc at all.