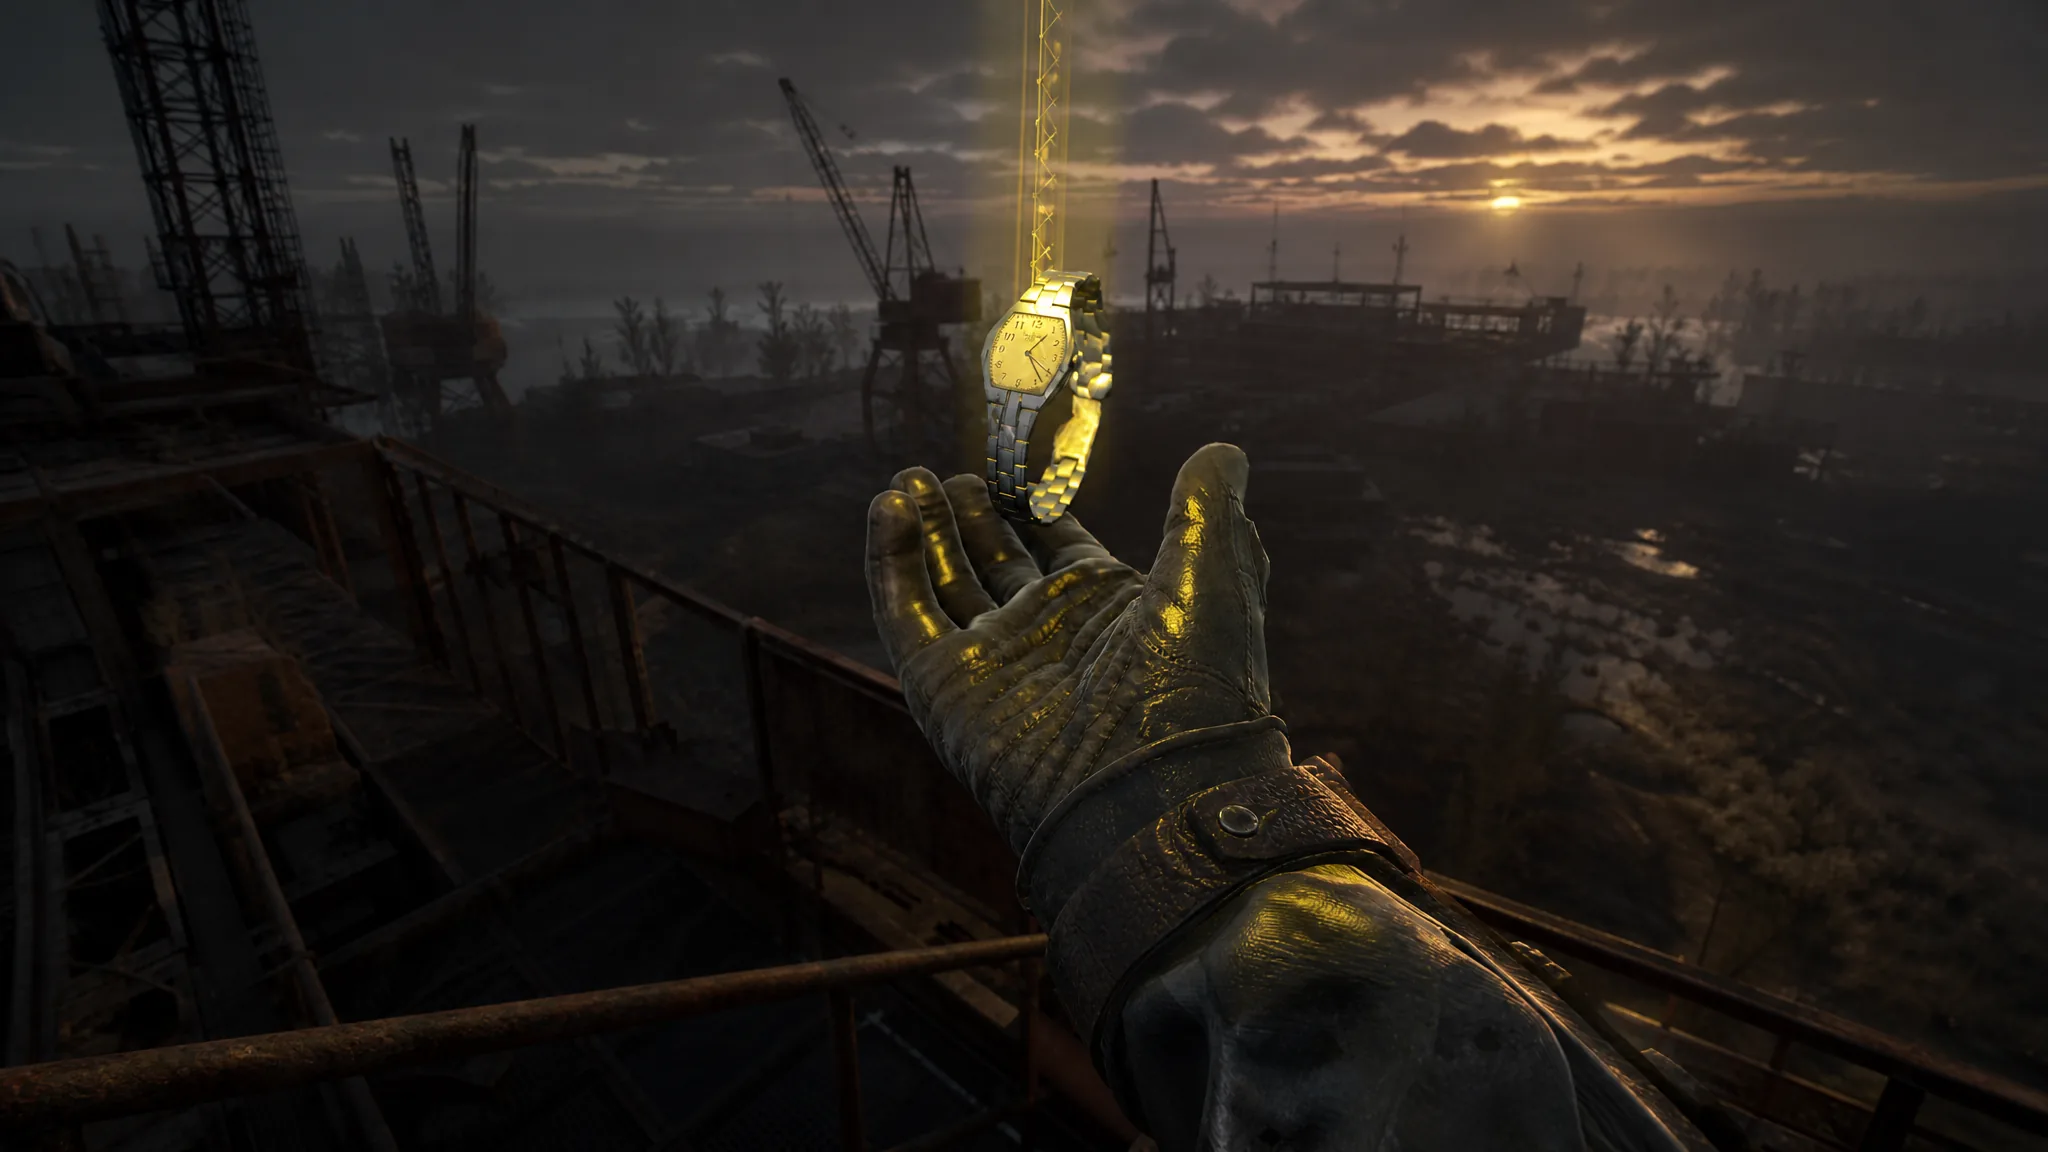
The Cost of Hope expansion for Stalker 2: Heart of Chornobyl adds four unique artifacts you cannot pull out of a random anomaly. Two sit in fixed spots inside the Chornobyl Nuclear Power Plant, and the other two are locked behind The Forgotten side mission, which asks you to assemble five Flickering Flare fragments before you ever see the payoff. Here is exactly where each one is and what it takes to walk away with it.
Quick answer: Take the Heart of a Shadow Chimera off the dead chimera during the Shadow of the Past mission, drop the Water Drop from the ceiling inside DPP-2 at the CNPP, then run The Forgotten to collect five Flickering Flare fragments, build the Flare Time artifact at the water treatment plant, and kill Otter to loot the Flare Light.
All four unique artifacts and their stats
Each of these artifacts fills a specific role. The Heart of a Shadow Chimera is a heavyweight defensive piece, the Water Drop is a carry-weight and stamina tool, and both Flare artifacts stack psi-protection for the deeper CNPP zones.
| Artifact | Weight | Value | Main effect |
|---|---|---|---|
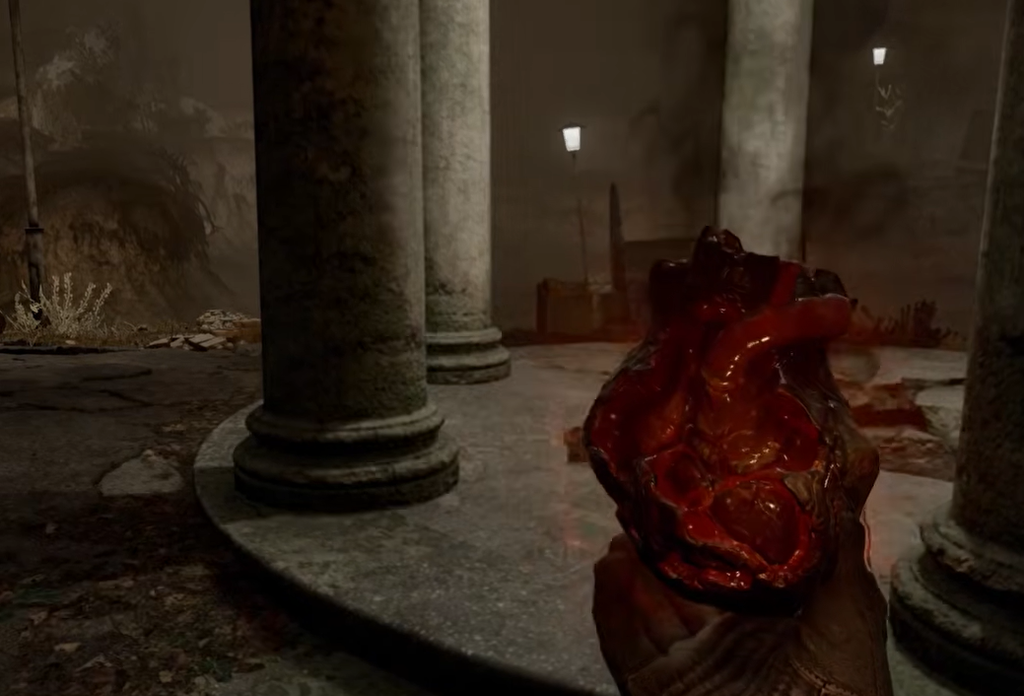
| Heart of a Shadow Chimera | 0.5 kg | 72,000 K | Physical, electrical, thermal, chemical and bleeding protection; raises radiation |
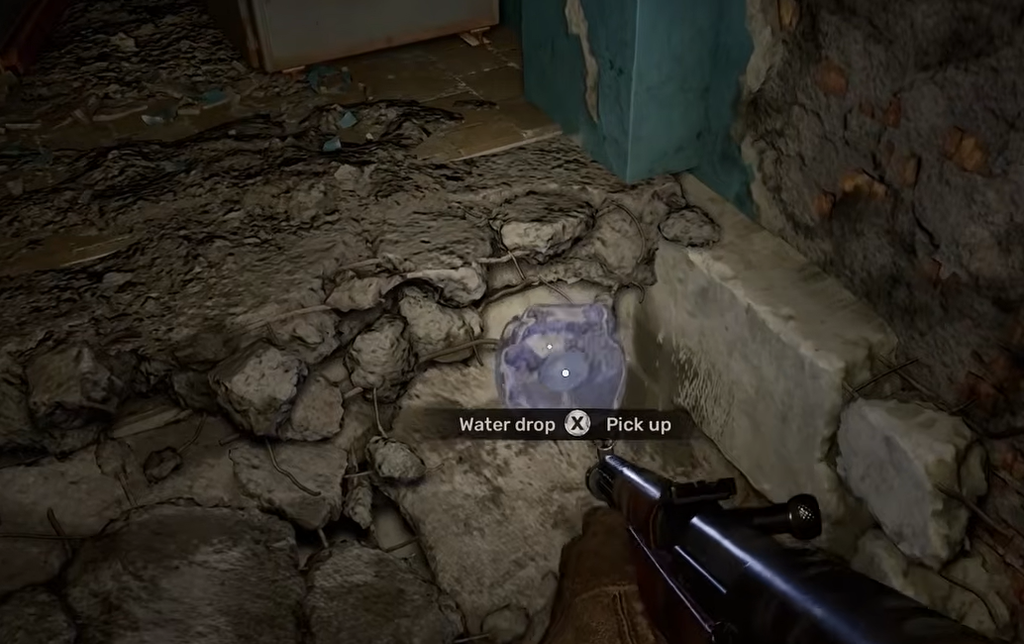
| Water Drop | 0.25 kg | 42,000 K | Endurance and carry weight; raises radiation |
| Flare Time | — | — | Built from six Flare Time shards during The Forgotten |
| Flare Light | 0.35 kg | 80,000 K | Maximum psi-protection |
Heart of a Shadow Chimera location (Shadow of the Past)
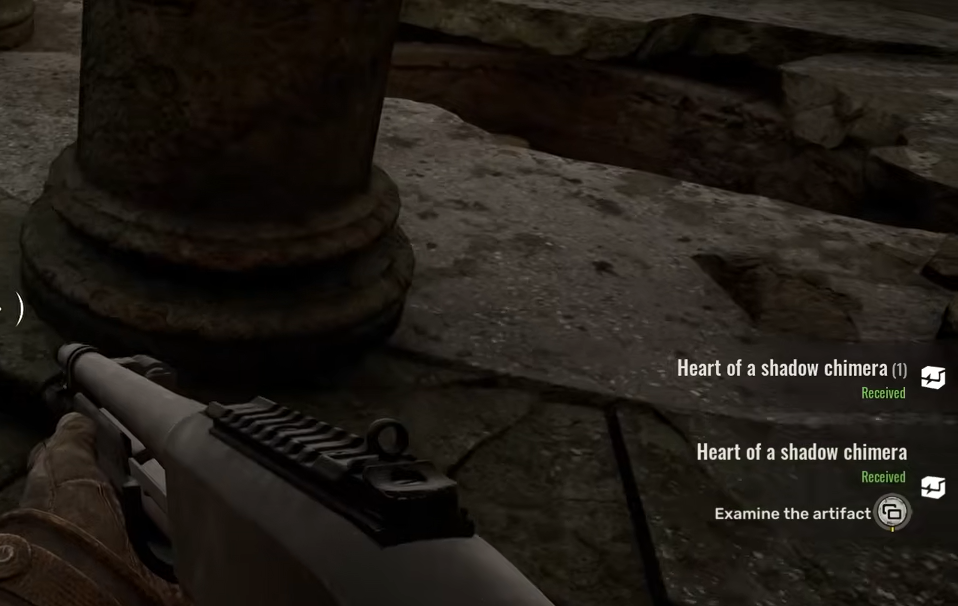
This one comes to you during the main mission Shadow of the Past. As you progress, you will reach a dead Shadow Chimera lying on the ground. Walk up to the corpse and use the search prompt to collect the Heart of a Shadow Chimera, then examine the pulsing red artifact when the game offers the option.
It is a strong all-round defensive artifact, covering physical, electrical, thermal, chemical and bleeding damage at once. The trade-off is a steady radiation increase, so pair it with anti-rad gear or a rad-reducing artifact if you plan to keep it in your belt.
Water Drop location (DPP-2, CNPP)
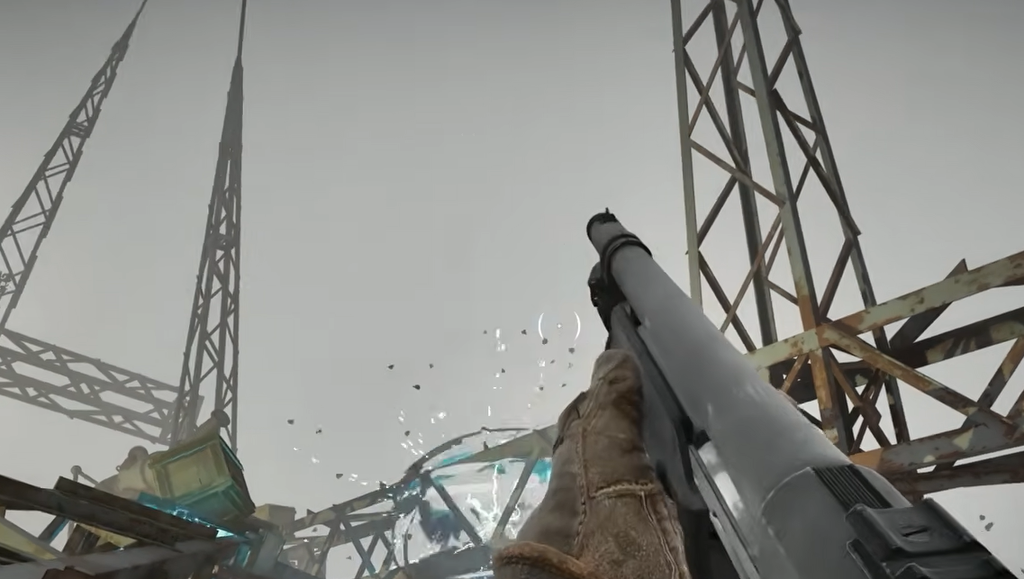
The Water Drop hides inside the DPP-2 building in the CNPP region. It does not sit on the floor waiting for you; you have to knock it loose from the ceiling first.
The Forgotten: Flare Time and Flare Light
The Forgotten is the long chain that hands you the last two artifacts. It begins near the Testing Workshop in the Iron Forest and CNPP area, where you meet a trapped stalker named Otter. He sends you after five Flickering Flare fragments, and only once they are all equipped can you reach the areas that hold the Flare Time and Flare Light.
The five Flickering Flare fragment locations
Each Flickering Flare fragment grants psi-protection on its own, and you need every one before the water treatment safe zone opens up. Here is where they sit.
| Fragment | Area | Where it is |
|---|---|---|
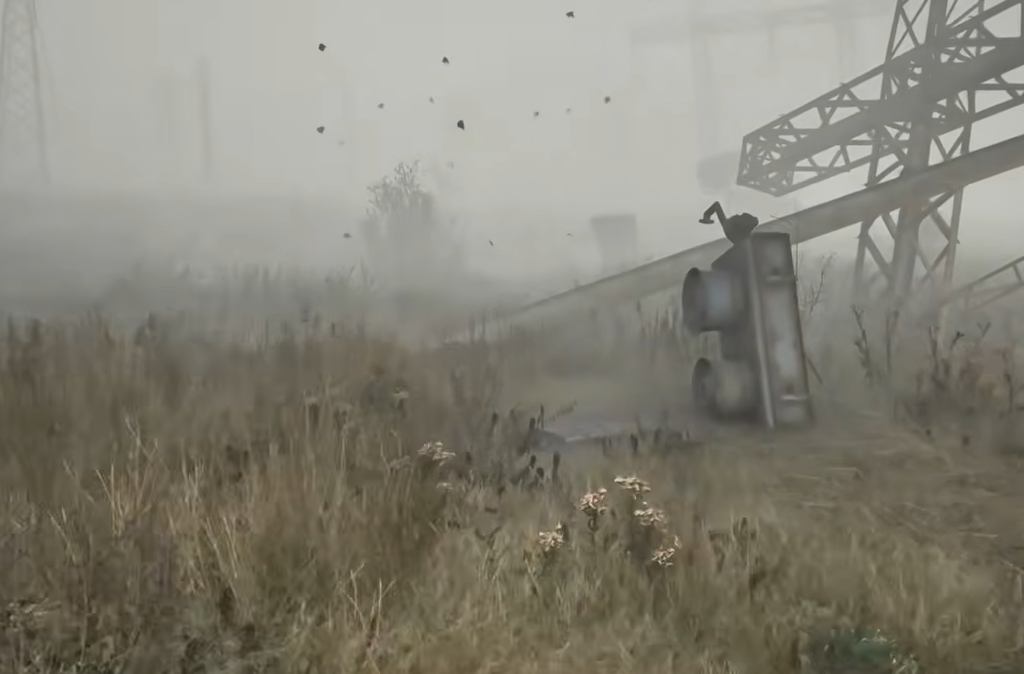
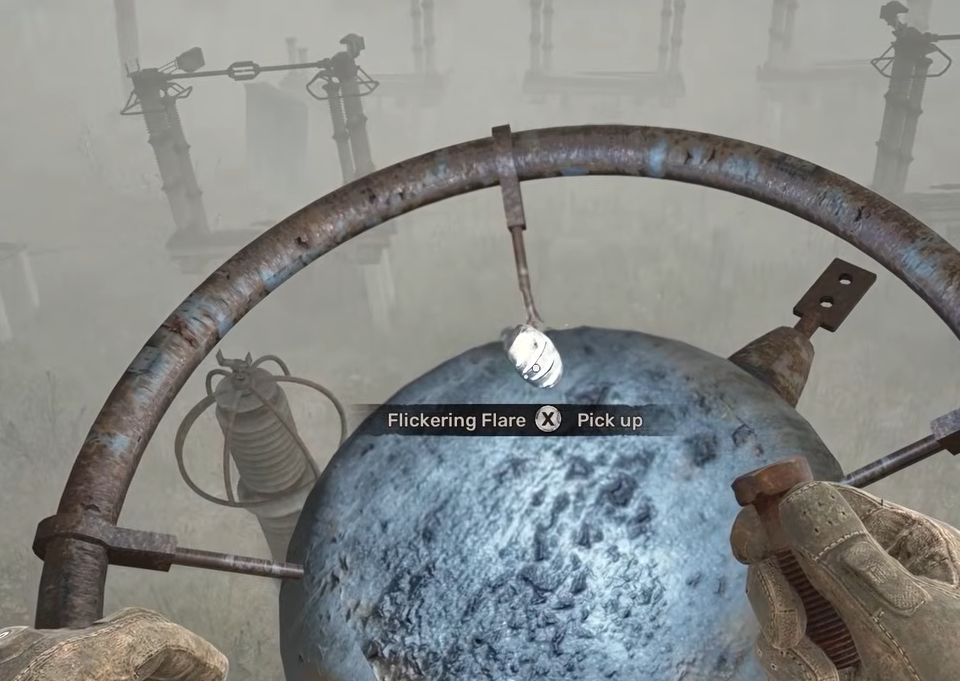
| 1 | Testing Workshop Pylon | Atop the electrical transmission pylons, on the top metal sphere apparatus reached by climbing the steel lattice |
| 2 | Sentry Building | Second floor of the two-story tiled building, on the floor of the shattered room facing the anomaly field |
| 3 | Industrial Site | In the bare tree branches above the rusted yellow tracked crane |
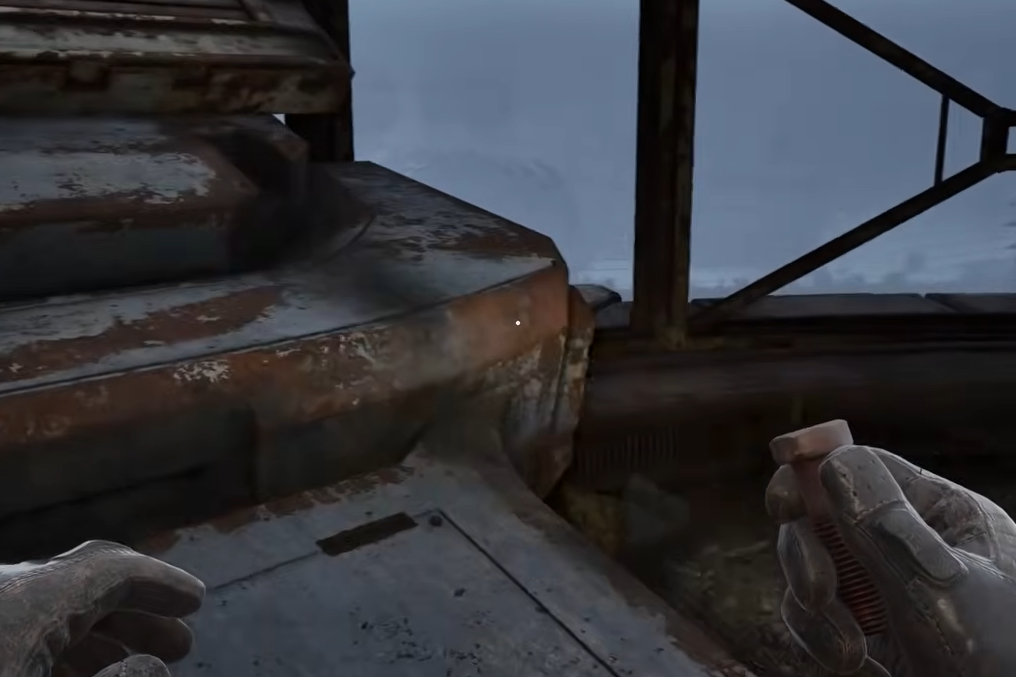
| 4 | Bridge to CNPP | At the edge of the broken concrete slab on the northern canal bridge |
Build the Flare Time at the water treatment plant
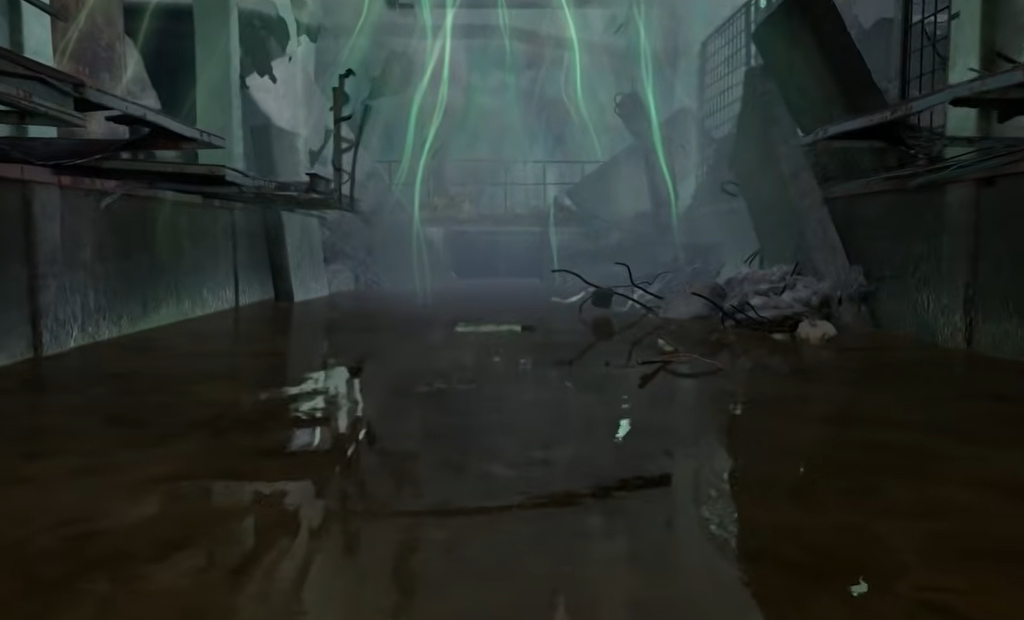
With all five Flickering Flare fragments equipped in your belt slots, you can survive the psi-heavy water treatment safe zone that holds the next artifact.
Kill Otter for the Flare Light
The Flare Light is the reward at the very end, and it means turning on Otter.
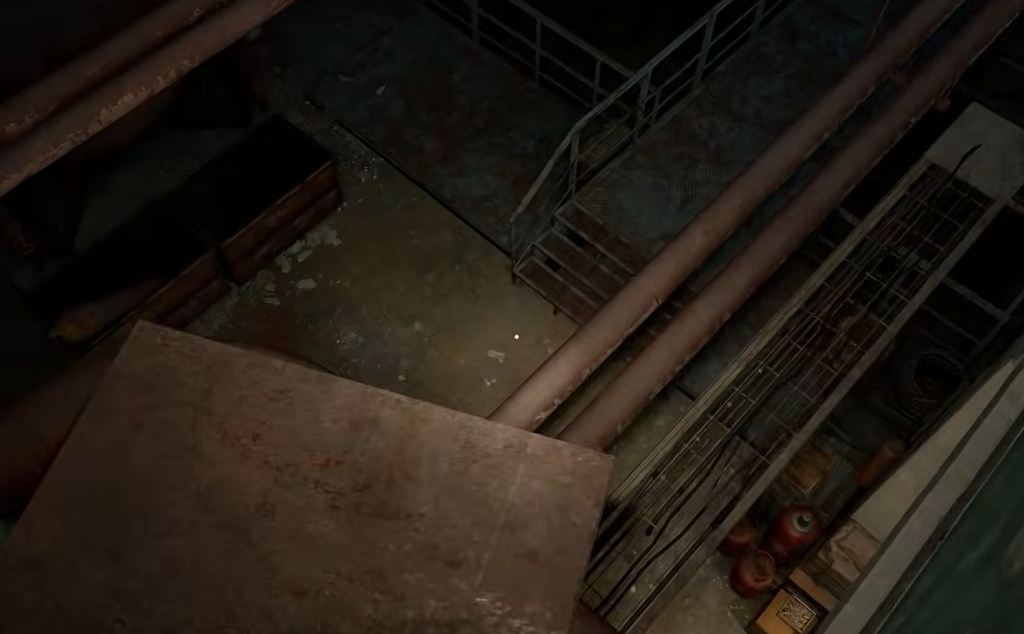
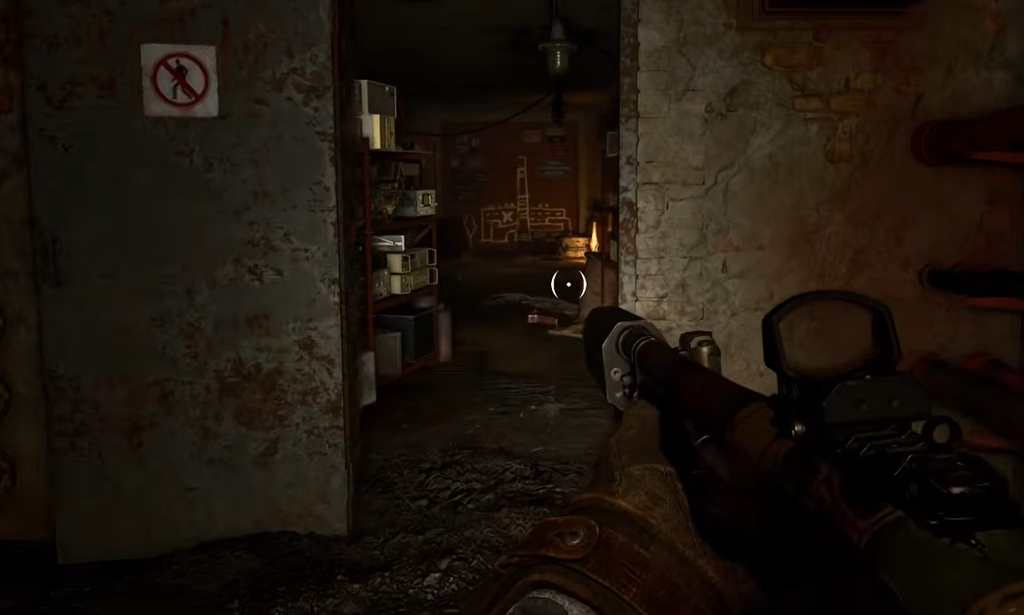
Before you leave, open the blue safe in the corner of the office room. It holds NVG Gen 3A night vision goggles and several coupon vouchers worth 1,500 each.
You will know each artifact is secured the moment its “item acquired” prompt appears and it lands in your inventory. The Heart of a Shadow Chimera and Water Drop can be grabbed independently, but the Flare Time and Flare Light only exist as the tail end of The Forgotten, so hold onto all five Flickering Flare fragments until Otter is dealt with rather than selling or dismantling them early.