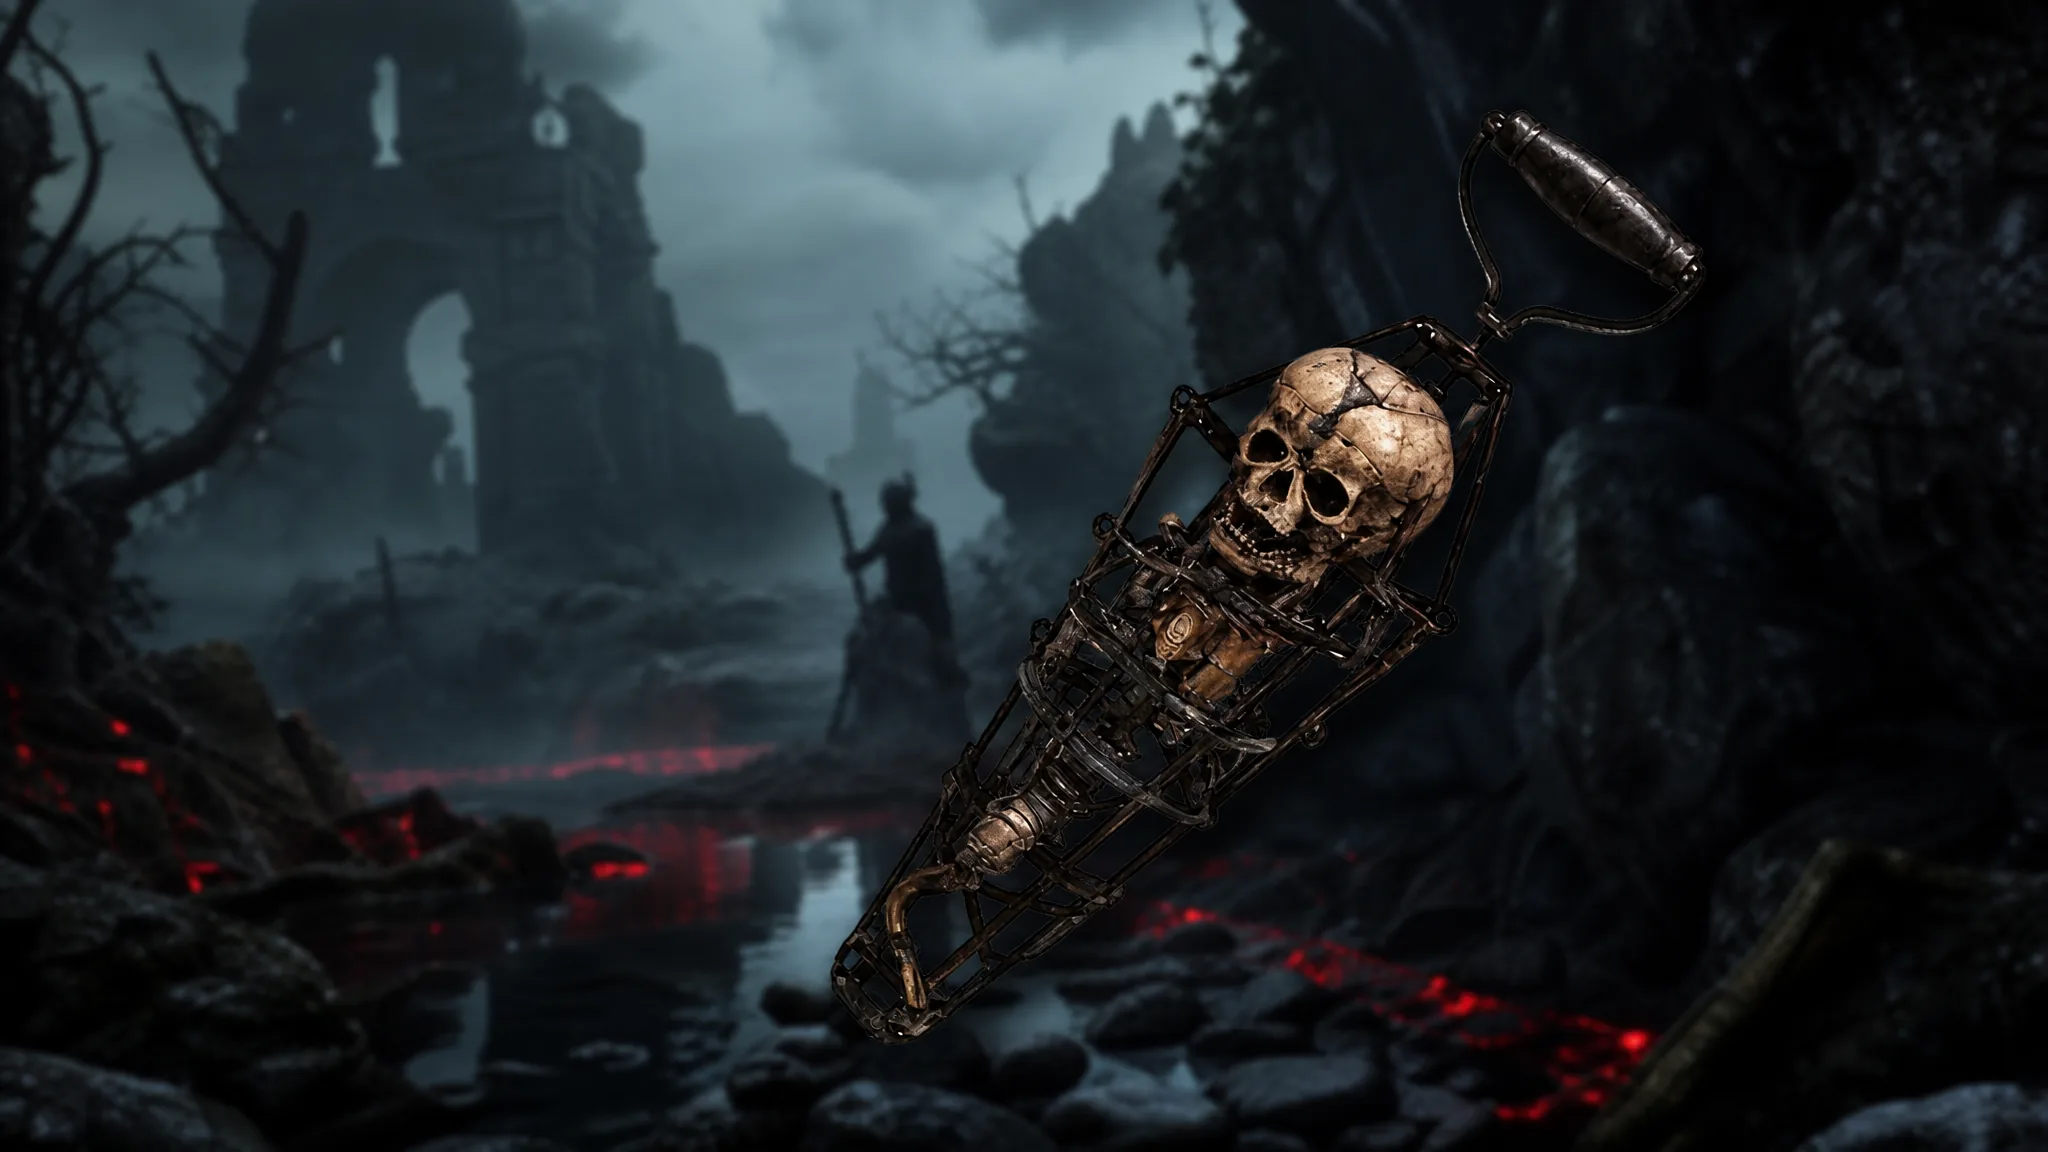
The Cursed Child is one of eight sidearms in Mortal Shell 2, and it behaves less like a gun than everything else in that slot. It functions as a lantern, and its real value comes from what you slot into it rather than raw damage. Getting it means clearing the Abbey and surviving a dungeon built around a rotating searchlight.
Quick answer: Reach the Abbey in the southeastern part of the map, enter the Revered Beacon dungeon, climb to the top of the tower with the miniature sun while staying out of its light, then break the light source and take the Cursed Child from its pedestal.
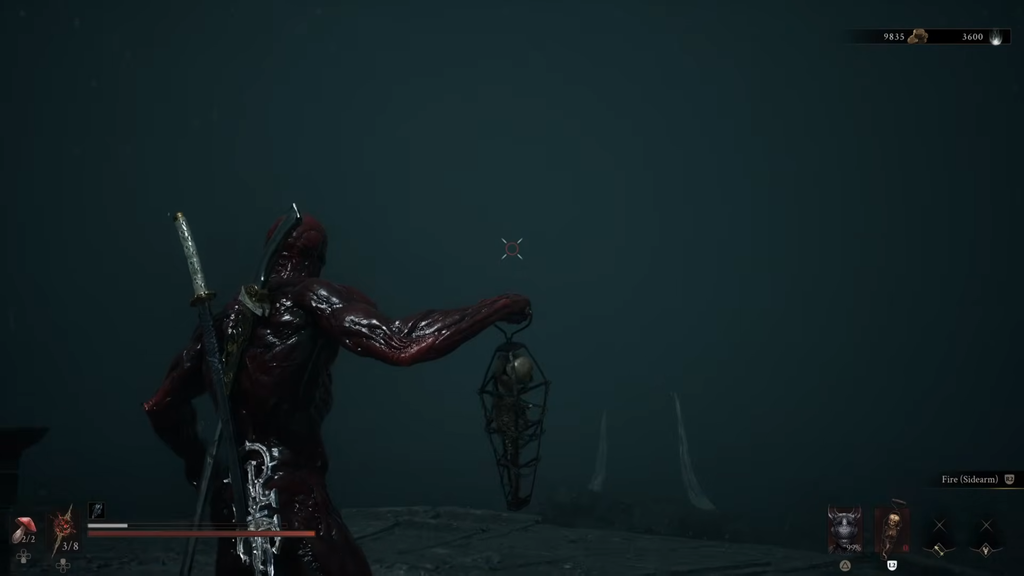
Cursed Child sidearm: What it is and where it sits
The Cursed Child is a one-time pickup, not an enemy drop, so there is nothing to farm and nothing to buy. Its in-game description reads: “Stranded between life and death, this child yearns to be held and will desperately protect its caretaker.”
| Detail | Value |
|---|---|
| Type | Sidearm |
| Location | Revered Beacon dungeon, near the Abbey |
| Route start | Abbey Entrance Beacon (or Sester’s Gate Beacon) |
| Main hazard | Rotating light that drains health over time |
| How to claim | Strike the light source at the tower’s summit, then interact |
| Primary use | Status application and short-range control |
Merrick in Marrow Keep sells an optional map that drops a rough marker for the Cursed Child. It only points at the general area and grants no shortcut or special access, so you can skip it and keep the Coin for weapon and Tarstone upgrades.
Route to the Revered Beacon dungeon
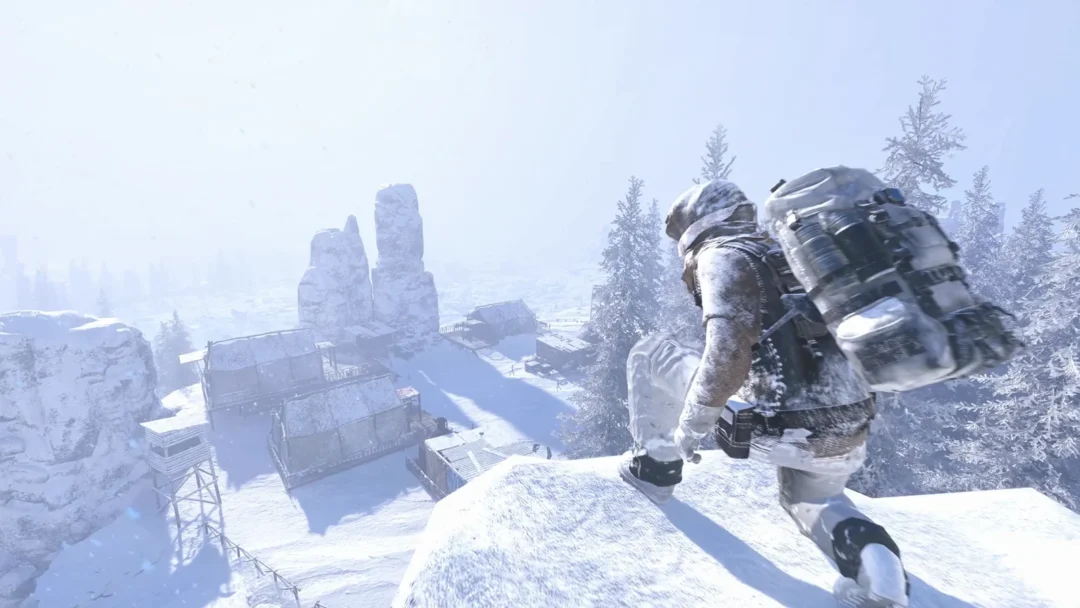
Everything hinges on first reaching the Abbey, which sits in the southeastern quadrant of the world map. You can attempt this run before investing in upgrades, because most of the fights along the way can be skipped with careful movement.
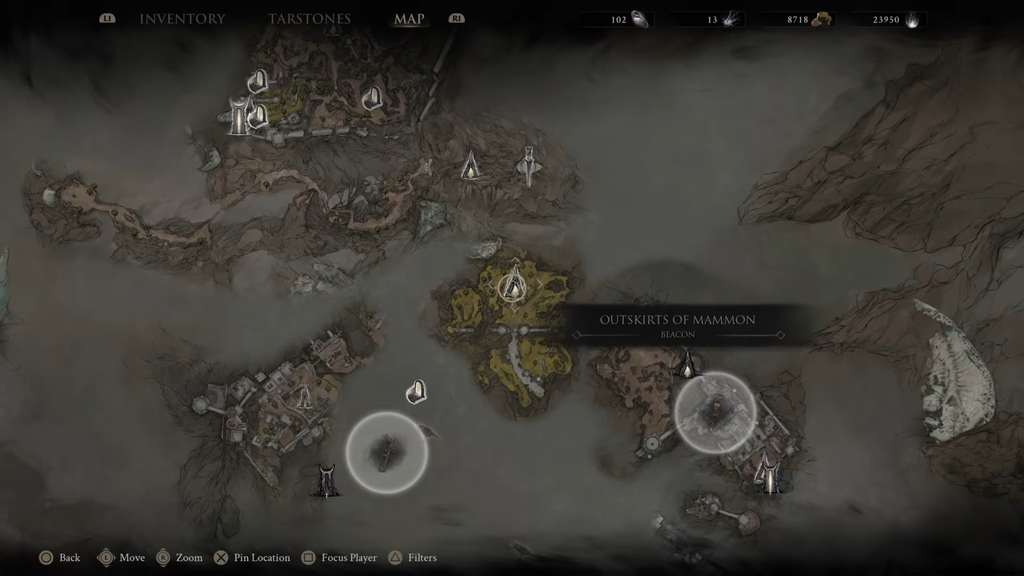
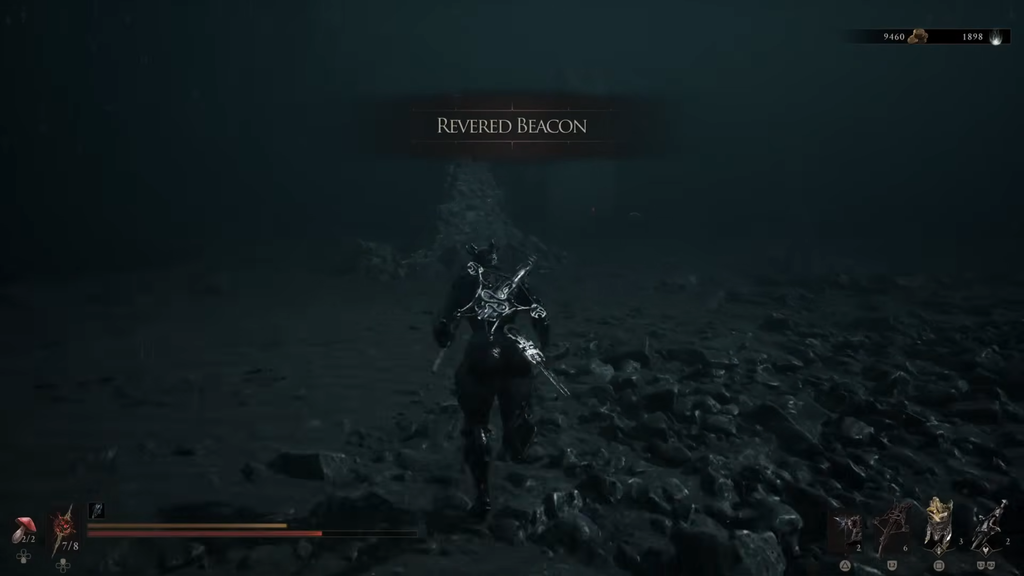
An alternate approach exists from the Sester’s Gate Beacon. Climb the northwestern stairs into the courtyard with the Rollerball enemy, walk onto the western platform, and look under the walkway for a lower ledge near the Bone Gate. Drop down, shoot the bell to open the lower path, then follow it north past the hammer-wielding enemy and watch the right side for the concealed entrance.
Clearing the light puzzle and claiming the Cursed Child
Inside, the dungeon is one long climb toward a tower crowned by a miniature sun. The light rotates and tracks across open ground, and staying in it drains your health steadily. There is no trick beyond reading its sweep and moving in the gaps.
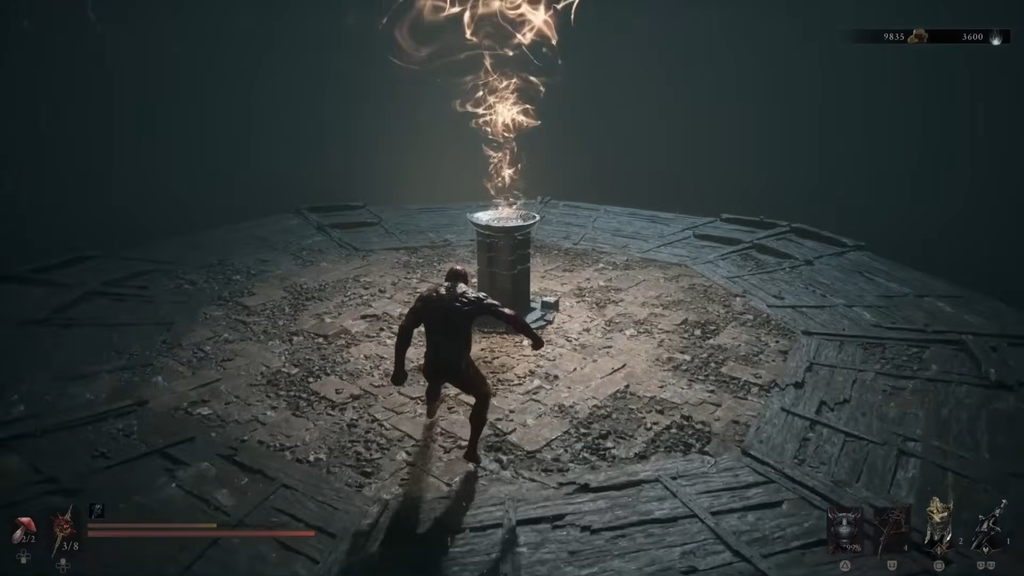
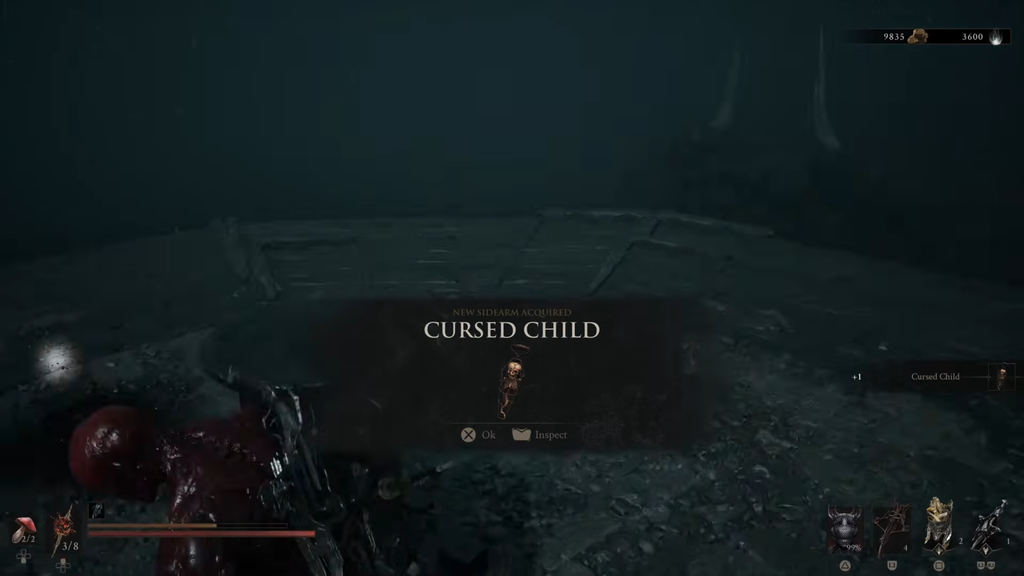
You’ll know it worked when the rotating light stops entirely and the sidearm appears on the pedestal for pickup. If the beam is still sweeping, the light source has not been fully destroyed.
Best Cursed Child Tarstones
Three Tarstones define how this sidearm plays. Two are Infusions that stack status effects, and one is an Ability that turns your last kill into a temporary ally.
| Tarstone | Effect and where to get it |
|---|---|
| Viletongue Hedron (Infusion) | Infuses the sidearm with Bloodcurse for 20 Resolve. Cleanse the Castigator’s Keep Beacon and defeat Viletongue Batushka. |
| Accursed Stone (Infusion) | Infuses the sidearm with Curse for 20 Resolve. Cleanse the Abandoned Outpost Beacon. |
| Summoning Stone (Ability) | Spends 70 Resolve to summon your last slain foe. Found in a chest near the Faded Citadel entrance, past the Gate of Infinity Beacon. |
Both Infusions scale the same way. Level 2 keeps the infusion active for four shots, level 3 stretches it to eight, and level 4 makes it permanent. That last tier matters more than the numbers suggest, because a permanent infusion means you never spend Resolve just to switch the effect on.
The Summoning Stone climbs from a summon that attacks twice at level 2, to five attacks at level 3, to two summoned foes at level 4.
Why the double infusion works
A single blast from the Cursed Child can apply both Curse and Bloodcurse at once. Curse is meant to negate an enemy’s next attack and reflect the damage back at them. Bloodcurse is a standard bleed-style effect that detonates for burst damage once stacks fill.
Note: Curse currently appears to be bugged, with maxed stacks failing to trigger the intended reflection. The Summoning Stone has also produced inconsistent results, summoning a different enemy type than the one last killed.
Other compatible Tarstones worth slotting
Once the two Infusions are maxed, the remaining slots are free for general ranged support. These all work with the Cursed Child.
| Tarstone | Type | Effect at max level |
|---|---|---|
| Spite Stone | Support | Ranged damage up to +160% at 50% health or below |
| Siegebreaker’s Stone | Support | +150% ranged Stagger Damage |
| Marksman’s Stone | Support | +15% ranged Critical Chance |
| Deadeye Stone | Support | +40% ranged Critical Damage |
| Rupturing Stone | Combat | Critical projectiles deal 20 Break Damage |
| Enfeebling Stone | Combat | 7 Fragile stacks per projectile hit |
| Charged Stone | Combat | Sidearm charge speed +50% |
| Confessor’s Keepsake | Ability | 60 Resolve for a charged shot dealing 350% damage |
Rupturing Stone pairs well if you want the sidearm building enemy Break to open Riposte windows. Marksman’s Stone and Deadeye Stone stack cleanly, since more critical hits multiply the value of higher critical damage.
How to use the Cursed Child in combat
Direct damage is not the point. The Cursed Child pushes nearby enemies back and leaves them open for a follow-up, which makes it a spacing tool first. Fire it when a group closes in or when a melee enemy crowds your swing range.
It pairs best with heavy weapons and slow attack strings. Use the knockback to reset your distance, then commit to your main weapon while the target is displaced. In that sense it occupies a similar niche to the Troubadour’s Lute, prioritizing disruption over output. Test its working range before you rely on it in a crowded fight.
If you’re already in the area, the Axatana sits nearby. Head toward the Forgotten Tower from the Revered Beacon and shoot the bells along the way to reveal the bridges. It is an optional detour and has no bearing on claiming or upgrading the Cursed Child.