Gaming Guide

Mortal Shell 2 Duality Stone Location: Best Tarstone for Dual Weapons

Where the Ravaged Tomb chest sits, and why this Tarstone doubles every light attack on the Axatana and Axe and Dagger.

Where the Ravaged Tomb chest sits, and why this Tarstone doubles every light attack on the Axatana and Axe and Dagger.

Dual-wielding in Mortal Shell 2 gets a lot louder once the Duality Stone is slotted in. It is a Combat Tarstone that makes your light attack combo land twice per swing, and it only works with the two dual-wielded options in the game: the Axatana and the Axe and Dagger.

Quick answer: The Duality Stone sits in a stone chest at the end of the Ravaged Tomb dungeon, found in the Ruins of Nochte near the Nochtean Gate. Solve the sliding-slab pressure plate puzzle inside to reach it.


Duality Stone effects and weapon compatibility

The stone equips to your Primary Weapon and adds extra strikes to the light attack chain. Because those extra hits count as real attacks, you also get more rolls for critical hits, faster stagger buildup, and quicker status effect stacking. The number of doubled hits scales with the Tarstone’s level.

LevelEffect on the light attack combo
1The first attack strikes twice
2The first and second attacks strike twice
3Every attack in the combo strikes twice

Compatibility is narrow. The Duality Stone only accepts the Axatana and the Axe and Dagger, so it does nothing for single-handed weapons or Sidearms. Slot it anywhere else and the effect simply will not appear.


Route to the Ravaged Tomb in the Ruins of Nochte

The dungeon sits past the Citadel of Penance, and the run is short once the gate there is open. If you already have the Widow’s Overlook beacon, you can start there instead and run straight through the Outskirts of Nochte into the Ruins of Nochte, then take the gated entrance on the right side of the ruins.
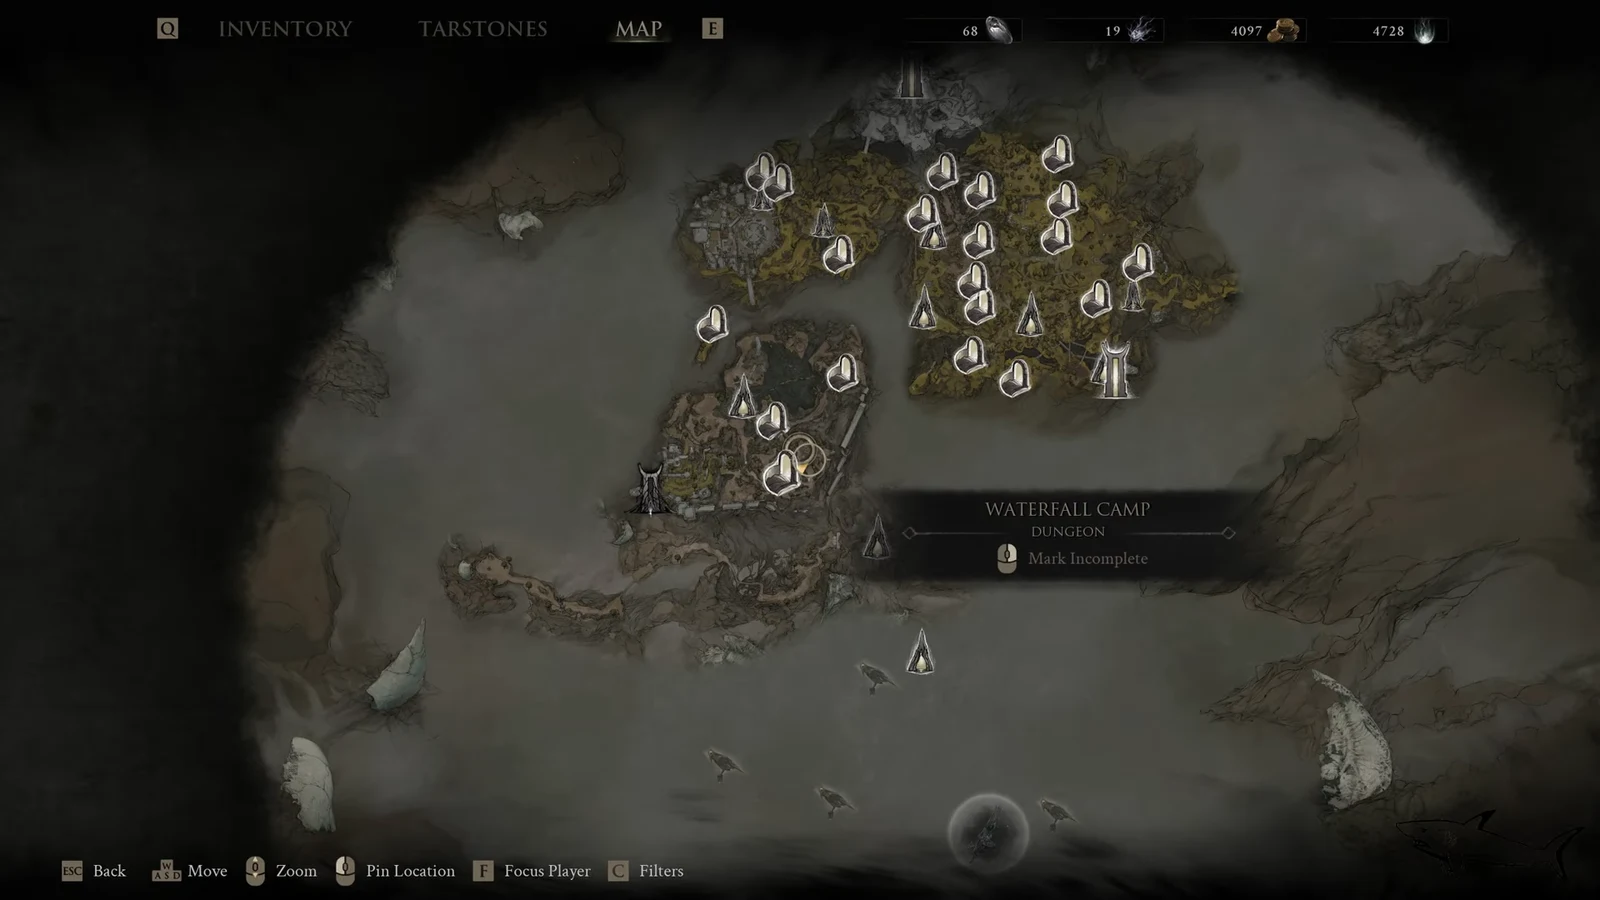
Mortal Shell 2 map screen with a dungeon marker highlighted before setting a route
Check the map for your closest beacon before setting off toward Nochte. Image: Cold Symmetry
If the Citadel of Penance is still sealed, kill the Bloodcursed Lithopod miniboss to get the Citadel Gate Lever. It waits south of the Gloomshade Grove Beacon, reachable by dropping into the pond below and heading toward the Ravaged Hideout dungeon entrance.
Use the lever on the Citadel of Penance gate and follow the path to your left. You will reach a bridge patrolled by stone throwers and halberd knights, which is easier to run past than to clear.
Jump off the ledge on the right side of that bridge. A bone gate at the bottom leads into Baghead’s camp, and a second bone gate past it opens onto the Outskirts of Nochte.
Take the bone gate exit on your right for the fastest line into the Ruins of Nochte. The enemies here hit hard, but the path is wide enough to sprint through most of them.
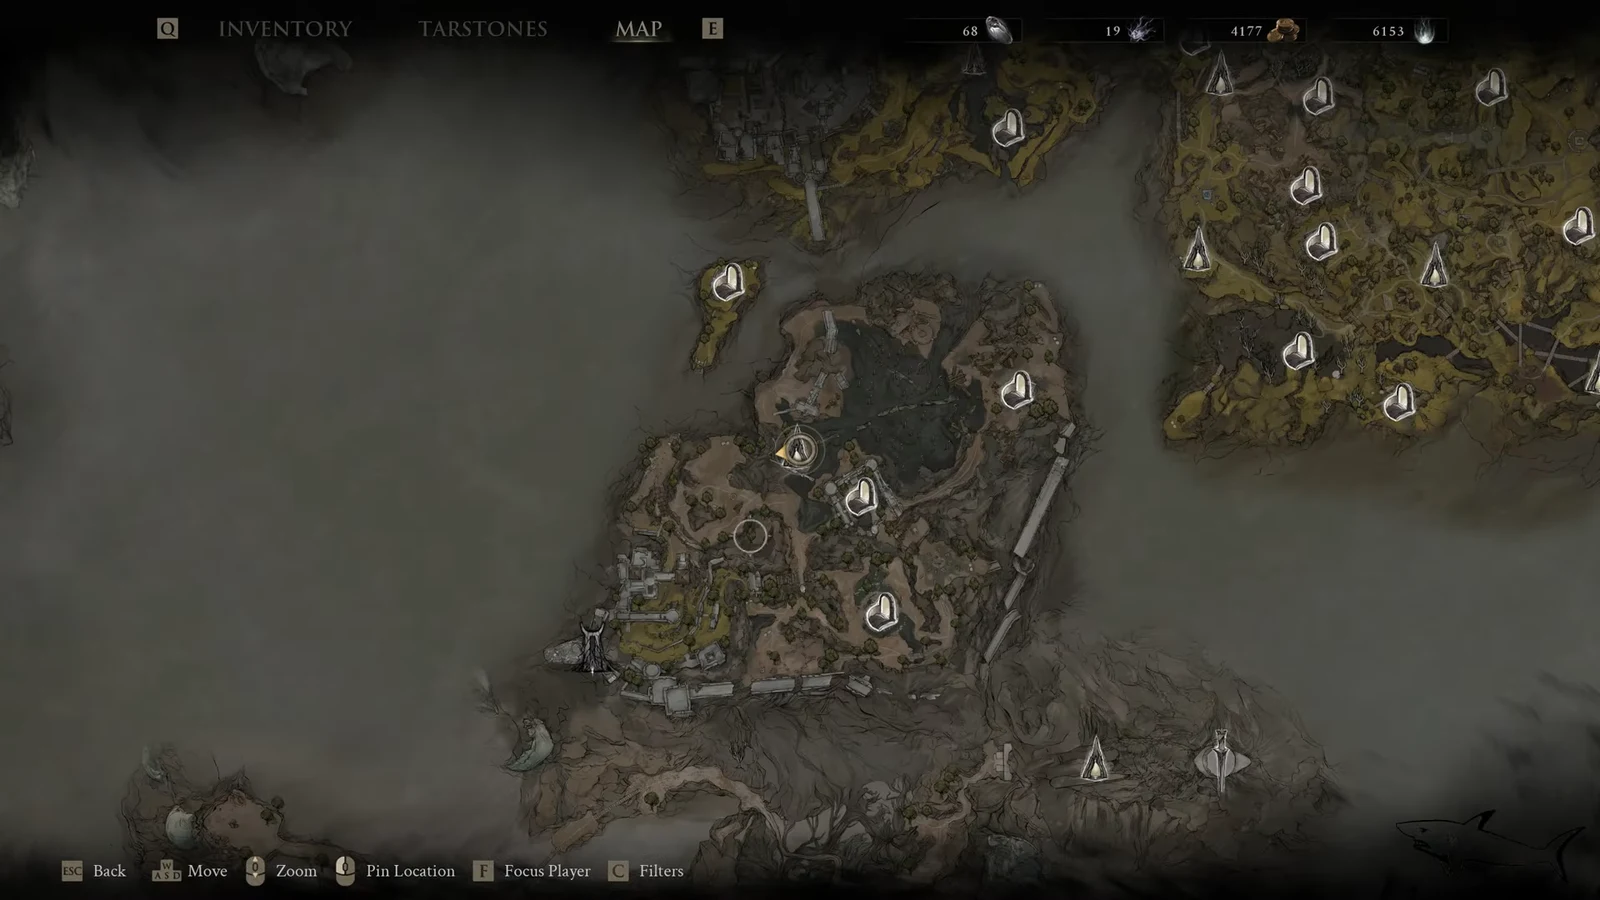
Explored regions and fast-travel markers shown on the Mortal Shell 2 map
The Outskirts of Nochte feed directly into the Ruins of Nochte, where the tomb entrance sits. Image: Cold Symmetry
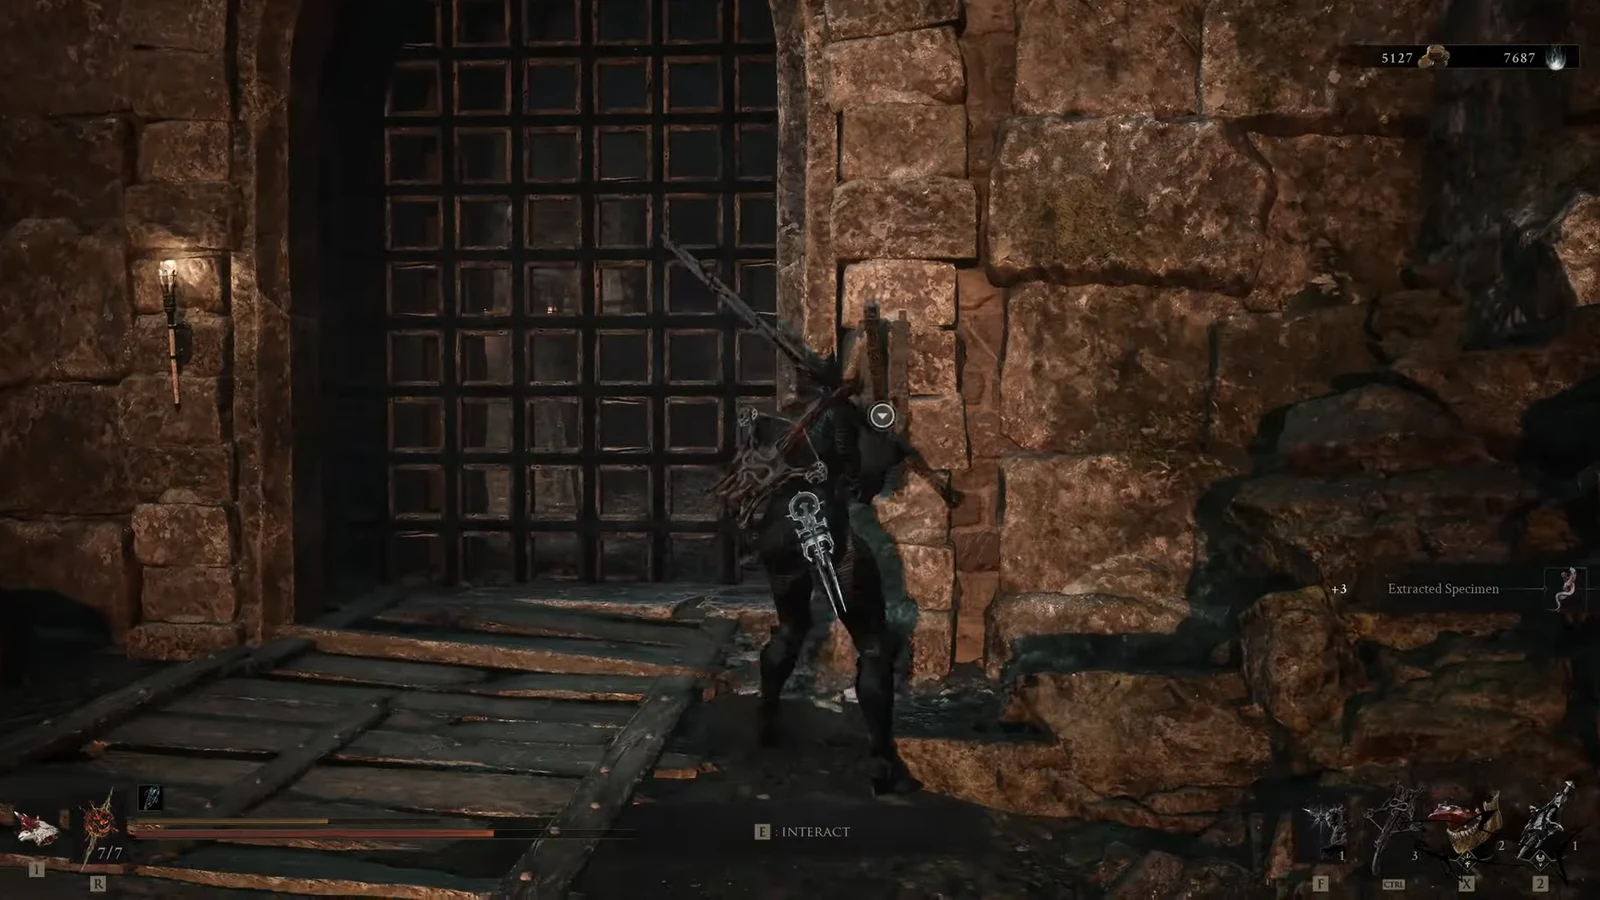
Keep following the main path until you hit a closed gate, then pull the lever beside it. The entrance to the Ravaged Tomb is on your right, and the elevator nearby takes you up to the Nochtean Gate Beacon if you want a save point first.
Interact prompt on a mechanism beside a barred gate in the Ruins of Nochte
The interact prompt on the gate mechanism that opens the way to the Ravaged Tomb. Image: Cold Symmetry

Ravaged Tomb puzzle and the Duality Stone chest

The tomb is one of the simpler dungeons in the game. There is a single gate puzzle in the middle of it, and the chest sits at the far end of the corridors beyond.
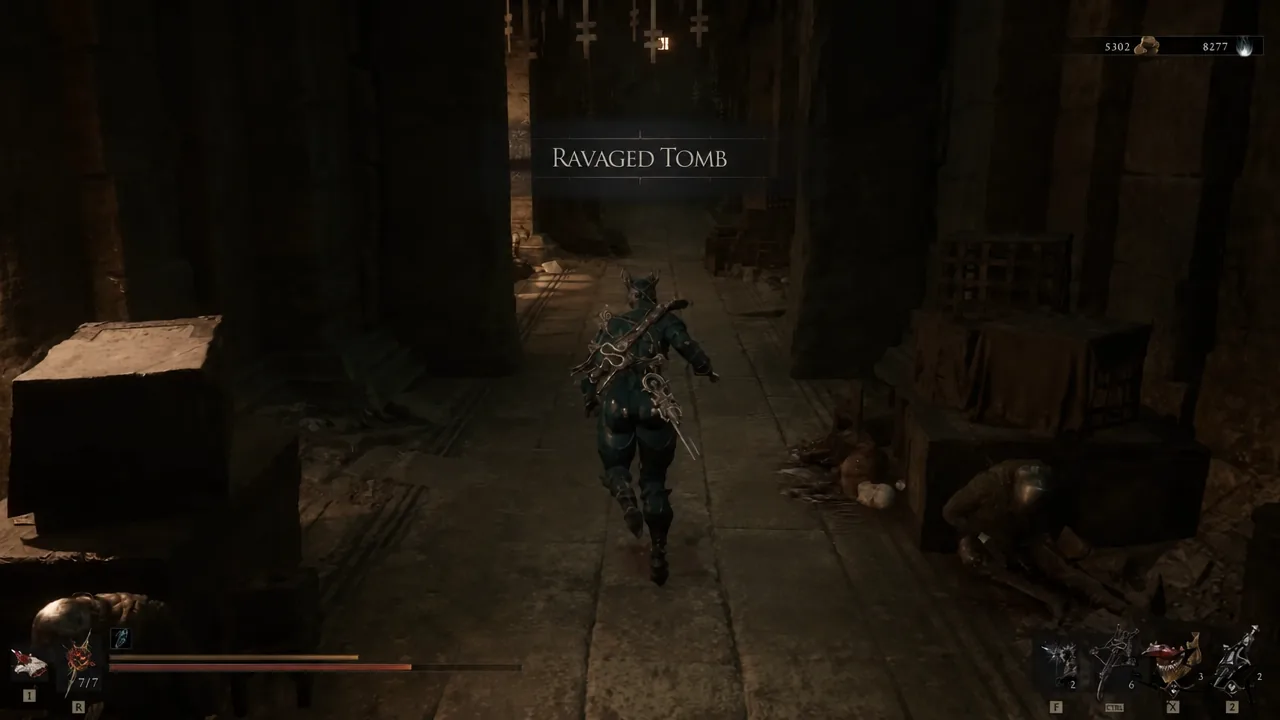
Push forward through the entrance corridor and clear the enemies waiting inside. Keep going until the main path is blocked by a closed gate.
Player character running down a dark corridor inside the Ravaged Tomb
The opening corridor of the Ravaged Tomb, leading to the blocked gate. Image: Cold Symmetry
Look to the right of that gate for a button and press it. The side passage it opens is the whole solution to the puzzle.
Inside, hit the stone slab so it slides across the room. It comes to rest on the pressure pad, which raises the iron gate blocking the main route.
Head through the opened gate and deal with the exploding enemy in the passage beyond, picking up the Laterite on the way. Keep your distance when it starts winding up.
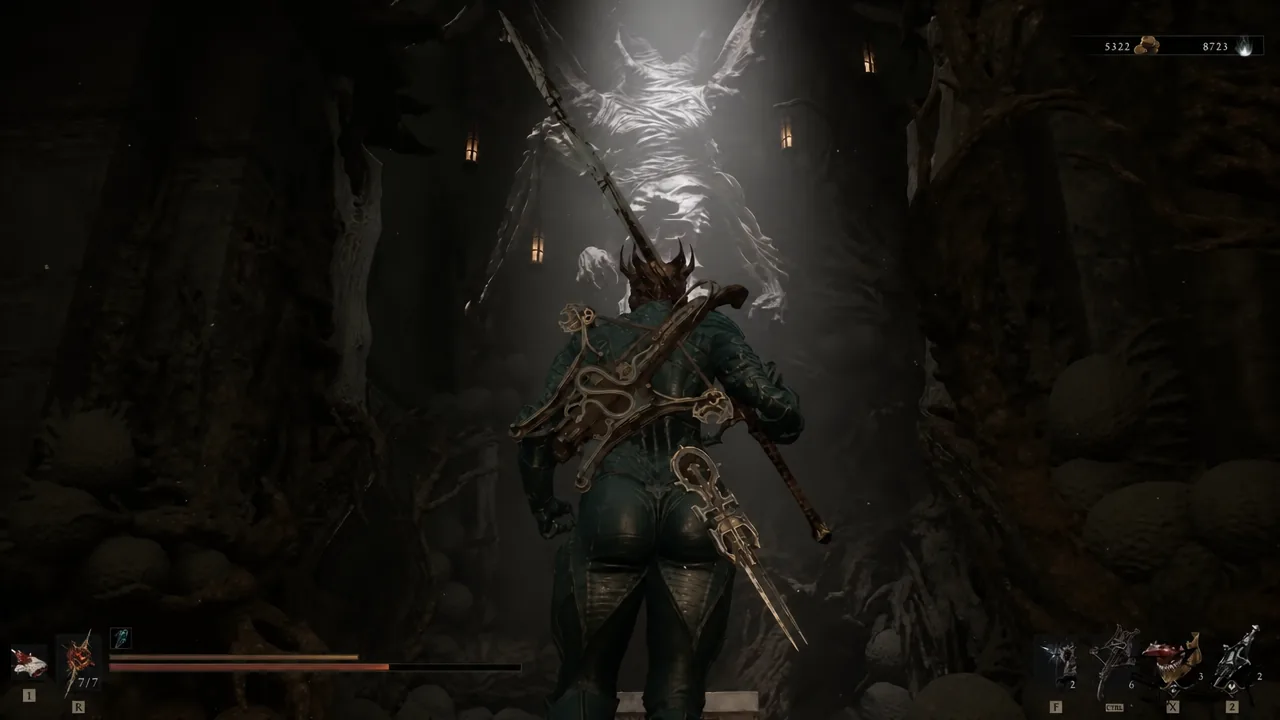
Combat encounter against a tall spectral enemy in a cavern with the HUD visible
Enemies in the deeper tomb corridors guard the run to the final chest. Image: Cold Symmetry
Follow the corridors to the end of the dungeon. The stone chest holding the Duality Stone sits under a hanging monster’s corpse, and opening it hands the Tarstone over immediately.

You will know it worked when the pickup prompt names the Duality Stone and it appears under Combat Tarstones in your inventory. Equip it to your Primary Weapon slot, then swing the Axatana or Axe and Dagger and watch the first light attack land two hits instead of one.


How to upgrade the Duality Stone

Upgrades run through Franz and the Tarforge in Marrow Keep, but he needs the Etching Needle before the options open up. That quest item comes from a bone chest just before the Magdalena, the Lady of the Woods boss fight. When you spot Ruk past the bridge, drop through the opening and turn right before the tunnel to find the small alcove holding it.

After Franz has the needle, the Duality Stone needs experience of its own. Keep it equipped and kill enemies as you explore until its XP bar fills, then return to the Tarforge and pay Coin for each level.
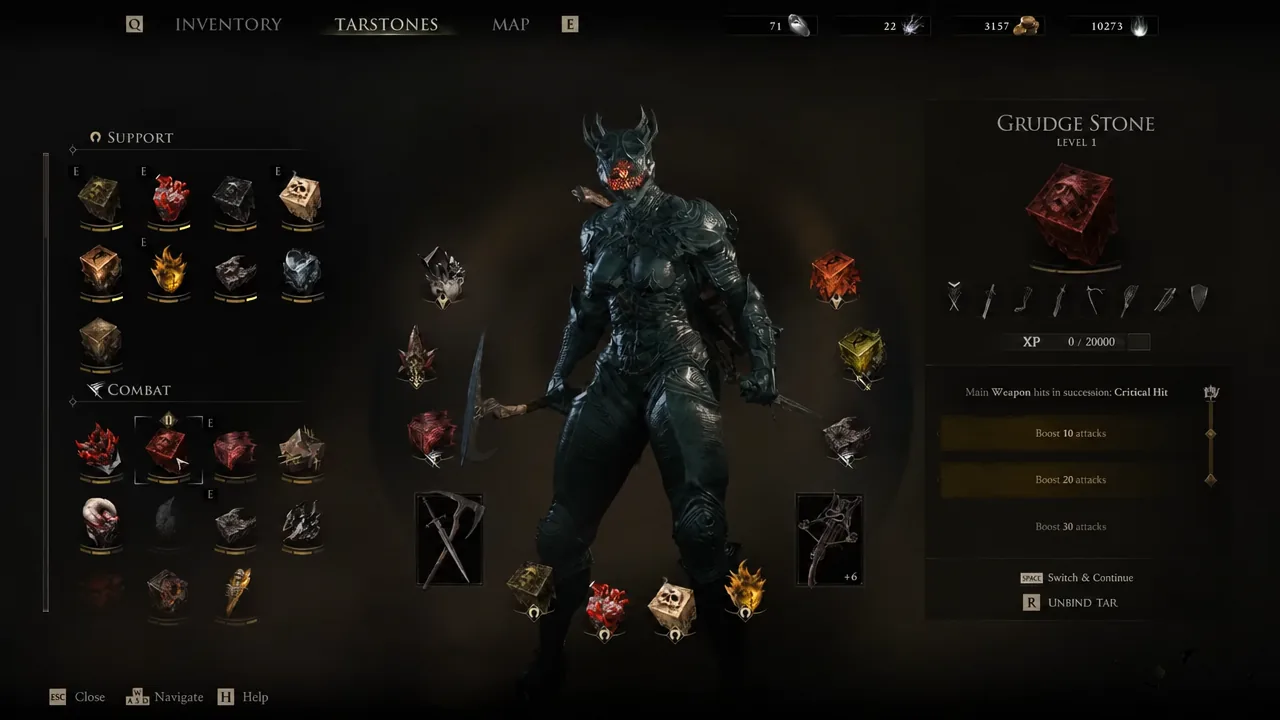
Tarstone details panel showing current level, experience bar, and upgrade milestones
The Tarstone menu tracks each stone’s level, XP, and upgrade milestones. Image: Cold Symmetry

Level 3 is where the stone changes how a dual-wield build feels, since the entire light combo doubles up rather than just the opening hits. Until then, treat it as a strong opener that pairs well with critical chance and critical damage Tarstones, because every extra strike is another chance for those bonuses to fire.