Where the Empty Cradle Beacon sits in The Unfound Path, and every fight, material, and prompt inside the Temple of Finality.
Where the Empty Cradle Beacon sits in The Unfound Path, and every fight, material, and prompt inside the Temple of Finality.
by AllThingsHow Staff · Edited by Pallav Pathak
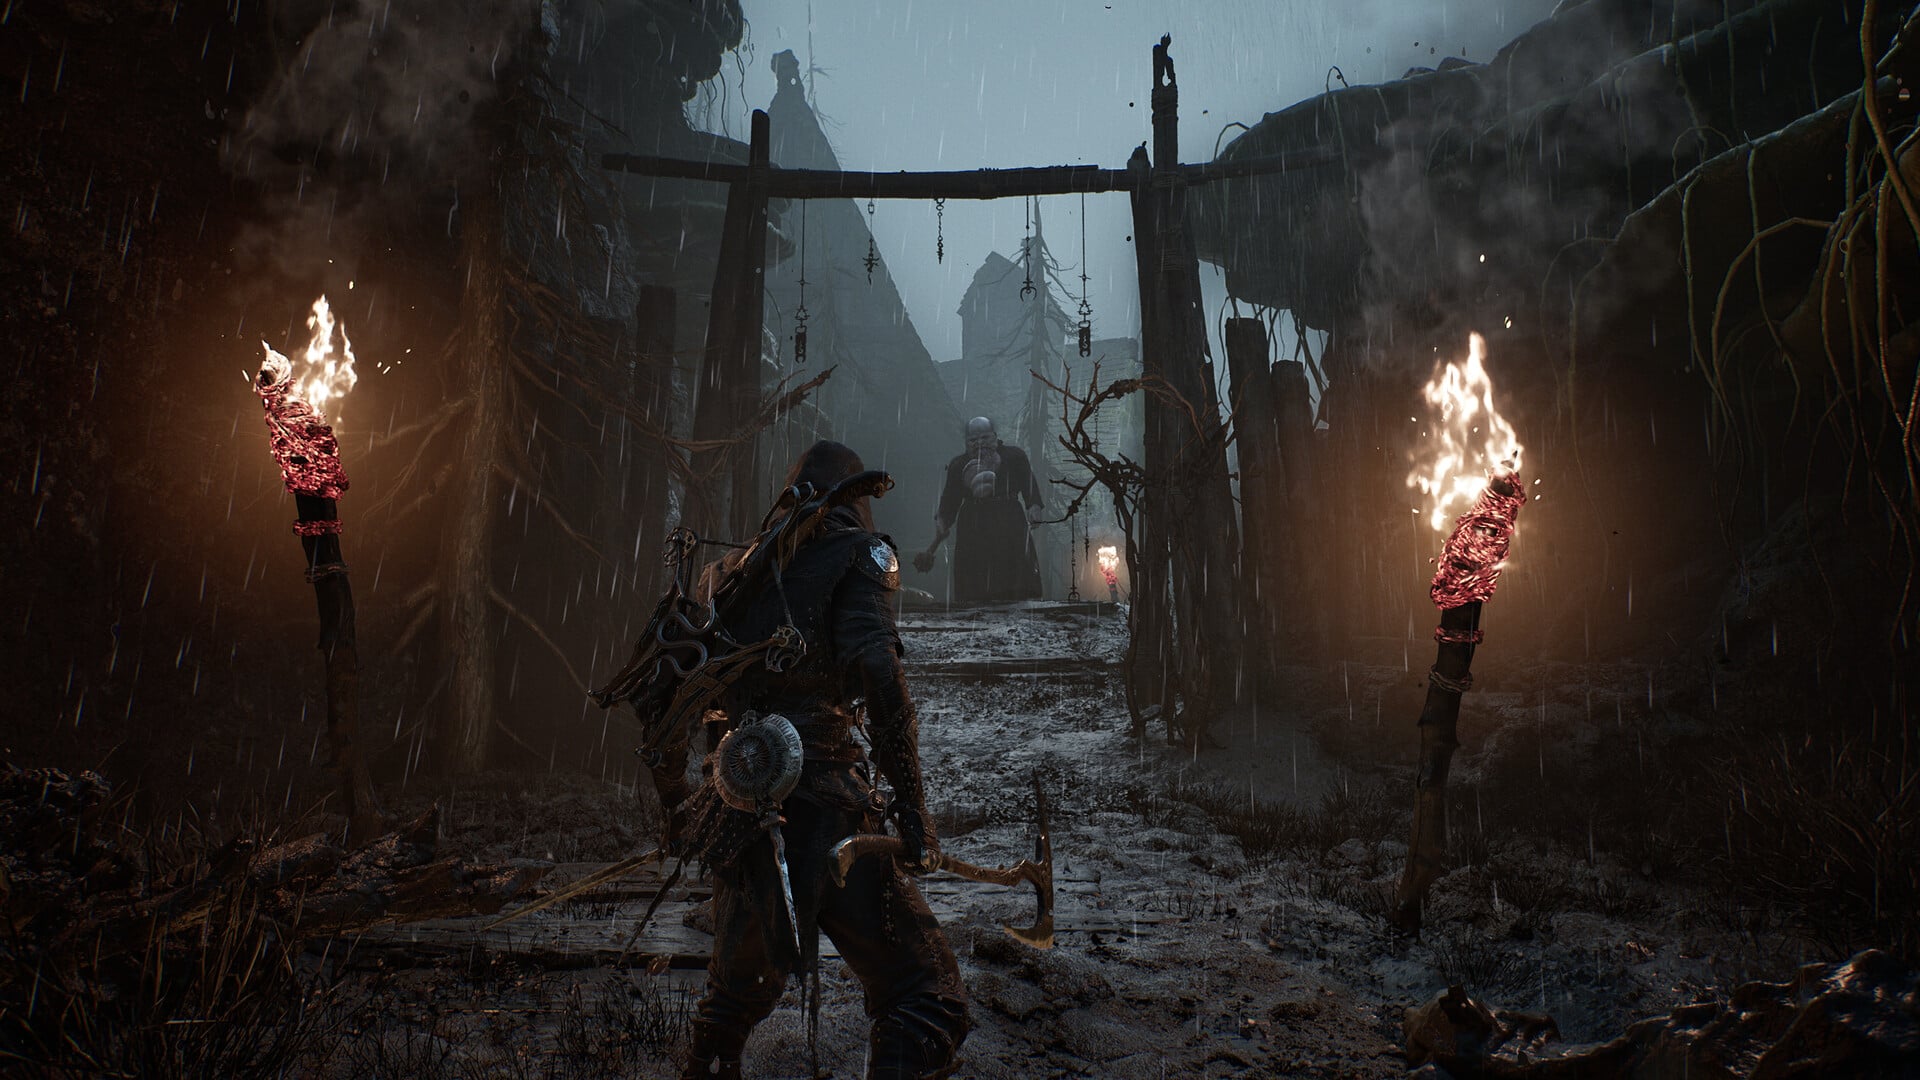
The Empty Cradle Beacon is one of the late-game beacons buried in The Unfound Path, and it starts corrupted like most of them. Cleansing it means dropping into the Temple of Finality, a dark cave run packed with Caerenids, Necrites, and spider spawns, then purifying the corruption sitting at the very end of the path.
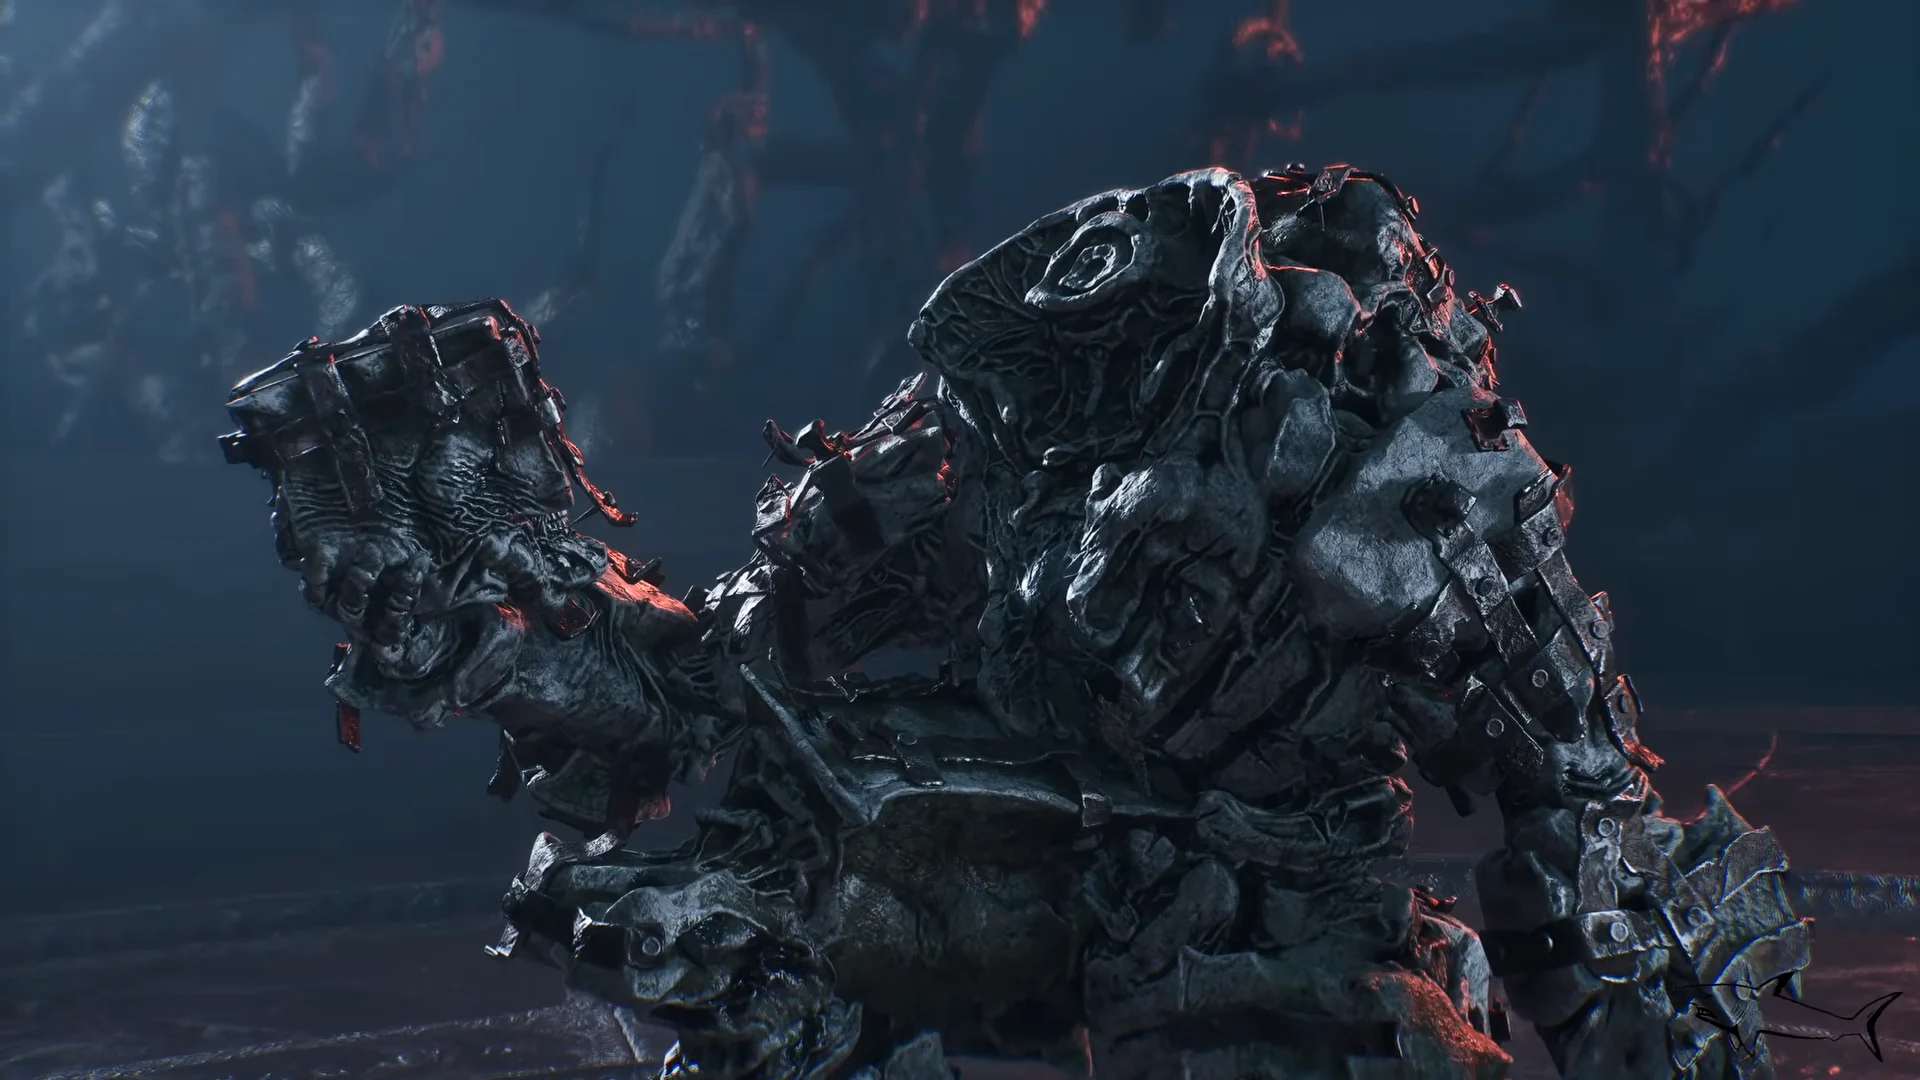
Quick answer: The Empty Cradle Beacon sits beside the Orrem, the Reclaimed arena in The Unfound Path. Rest there, pick Cleanse Beacon, clear the Temple of Finality, and cleanse the corruption at the end.
Empty Cradle Beacon location in The Unfound Path
The Unfound Path only opens once you have handed over 168 Ova in Marrow Keep, so there is no early route to this beacon. From there, the trip is a chain of rift portals, cliff paths, and two other beacons before you reach the arena the Empty Cradle sits next to.
From inside Marrow Keep, run down through the halls into the cavern below and step onto the portal platform. Activating the rift drops you into the foggy, pillar-filled stretch of The Unfound Path.
Take the next portal, pick your way along the rocky ledges, and light the Chamber of the Forsaken beacon. It is the safest checkpoint before the run to the boss arena.
Follow the cliffside path into another traversal rift, which spits you out in a red stone corridor. Kill the spider creature guarding the chamber, then climb the stairs on the far side.
Ride the circular stone platform up to the chamber above and loot the throne-like structures around the rim. The Empty Cradle Beacon is waiting up here — revitalize it before you do anything else.
Temple of Finality walkthrough
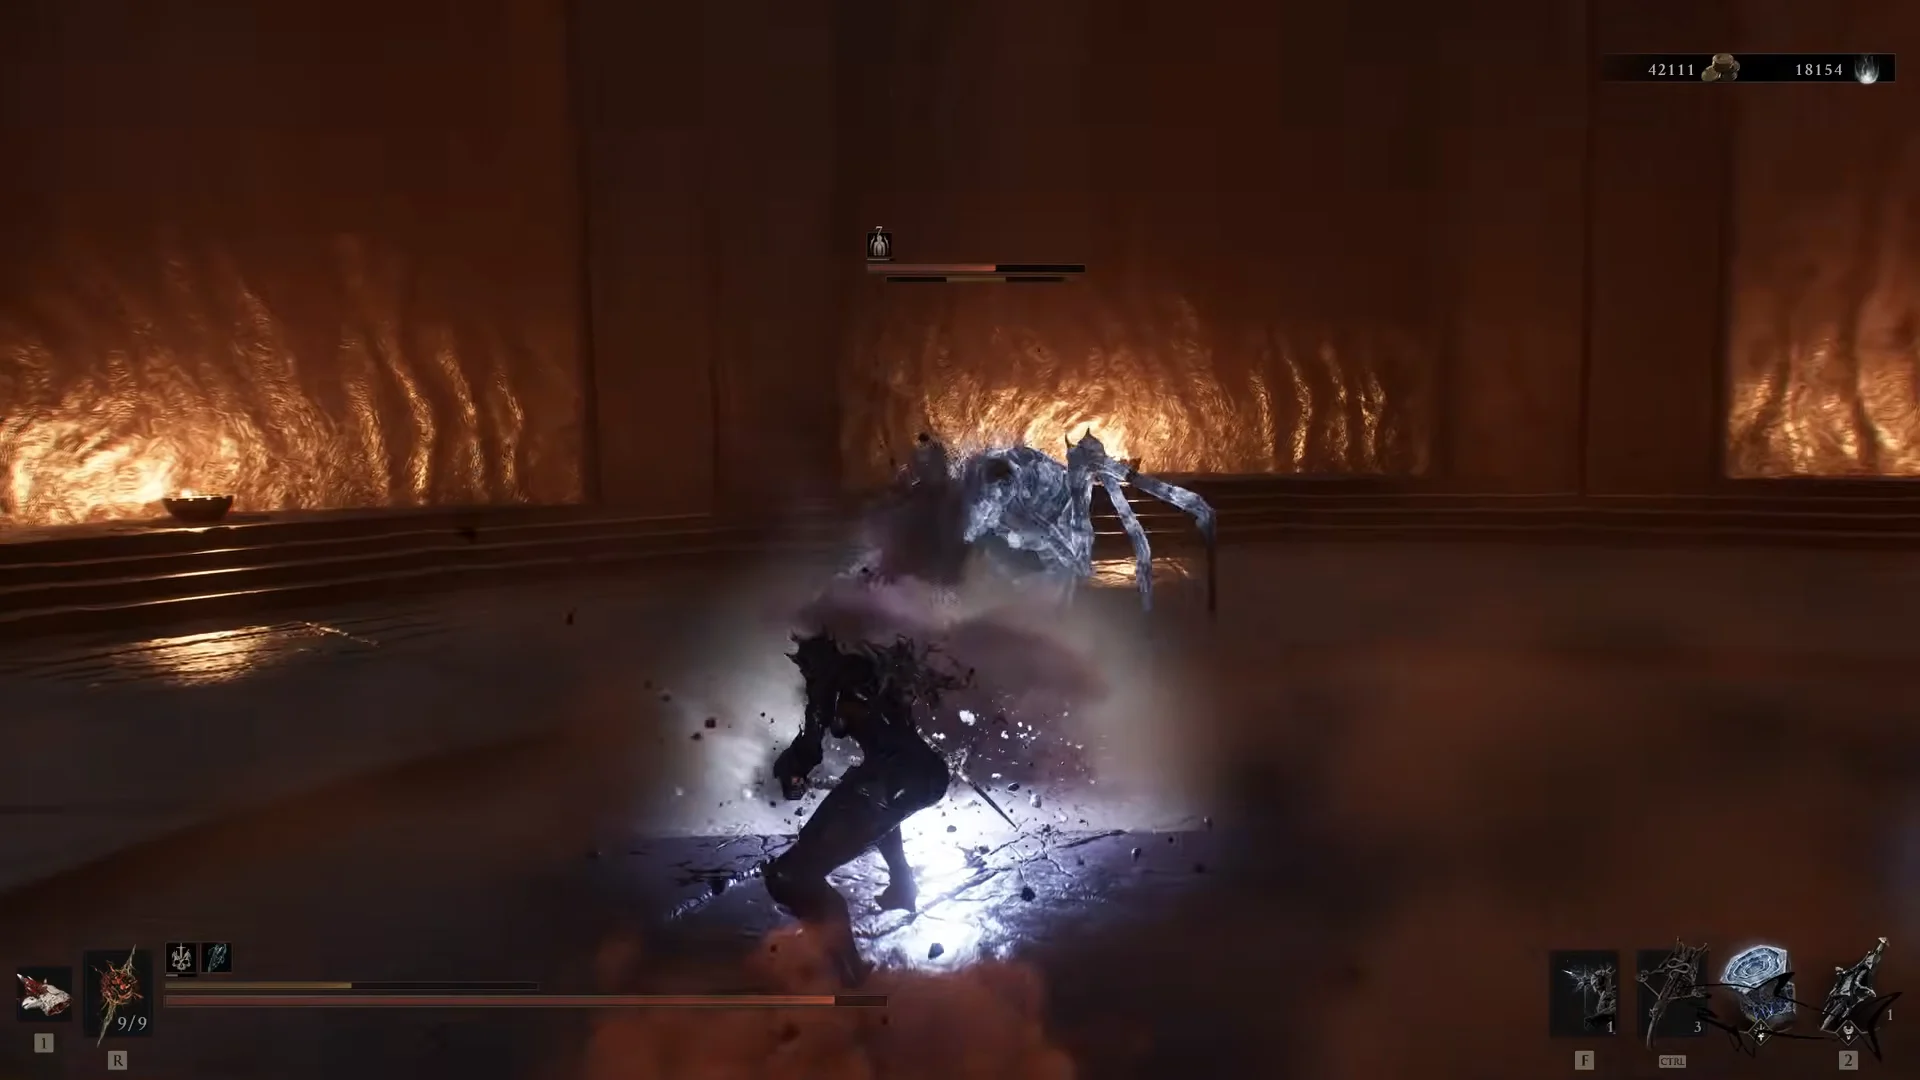
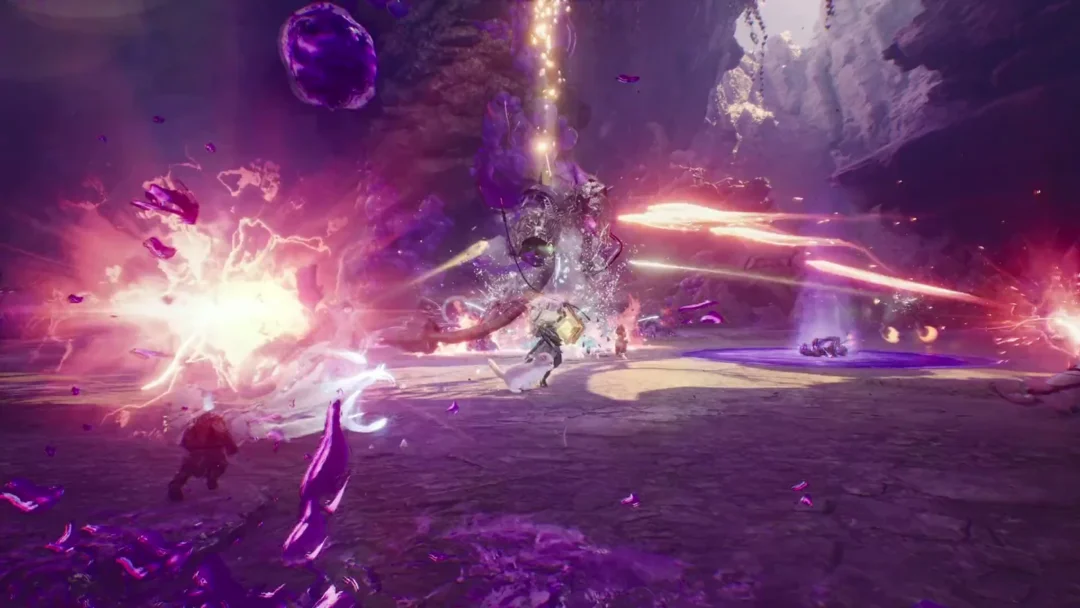
The dungeon is linear but long, and the enemy density spikes in the middle. Clone spells earn their keep here — send one in to split a pack while you work through it, and never let two heavy enemies close in at once.
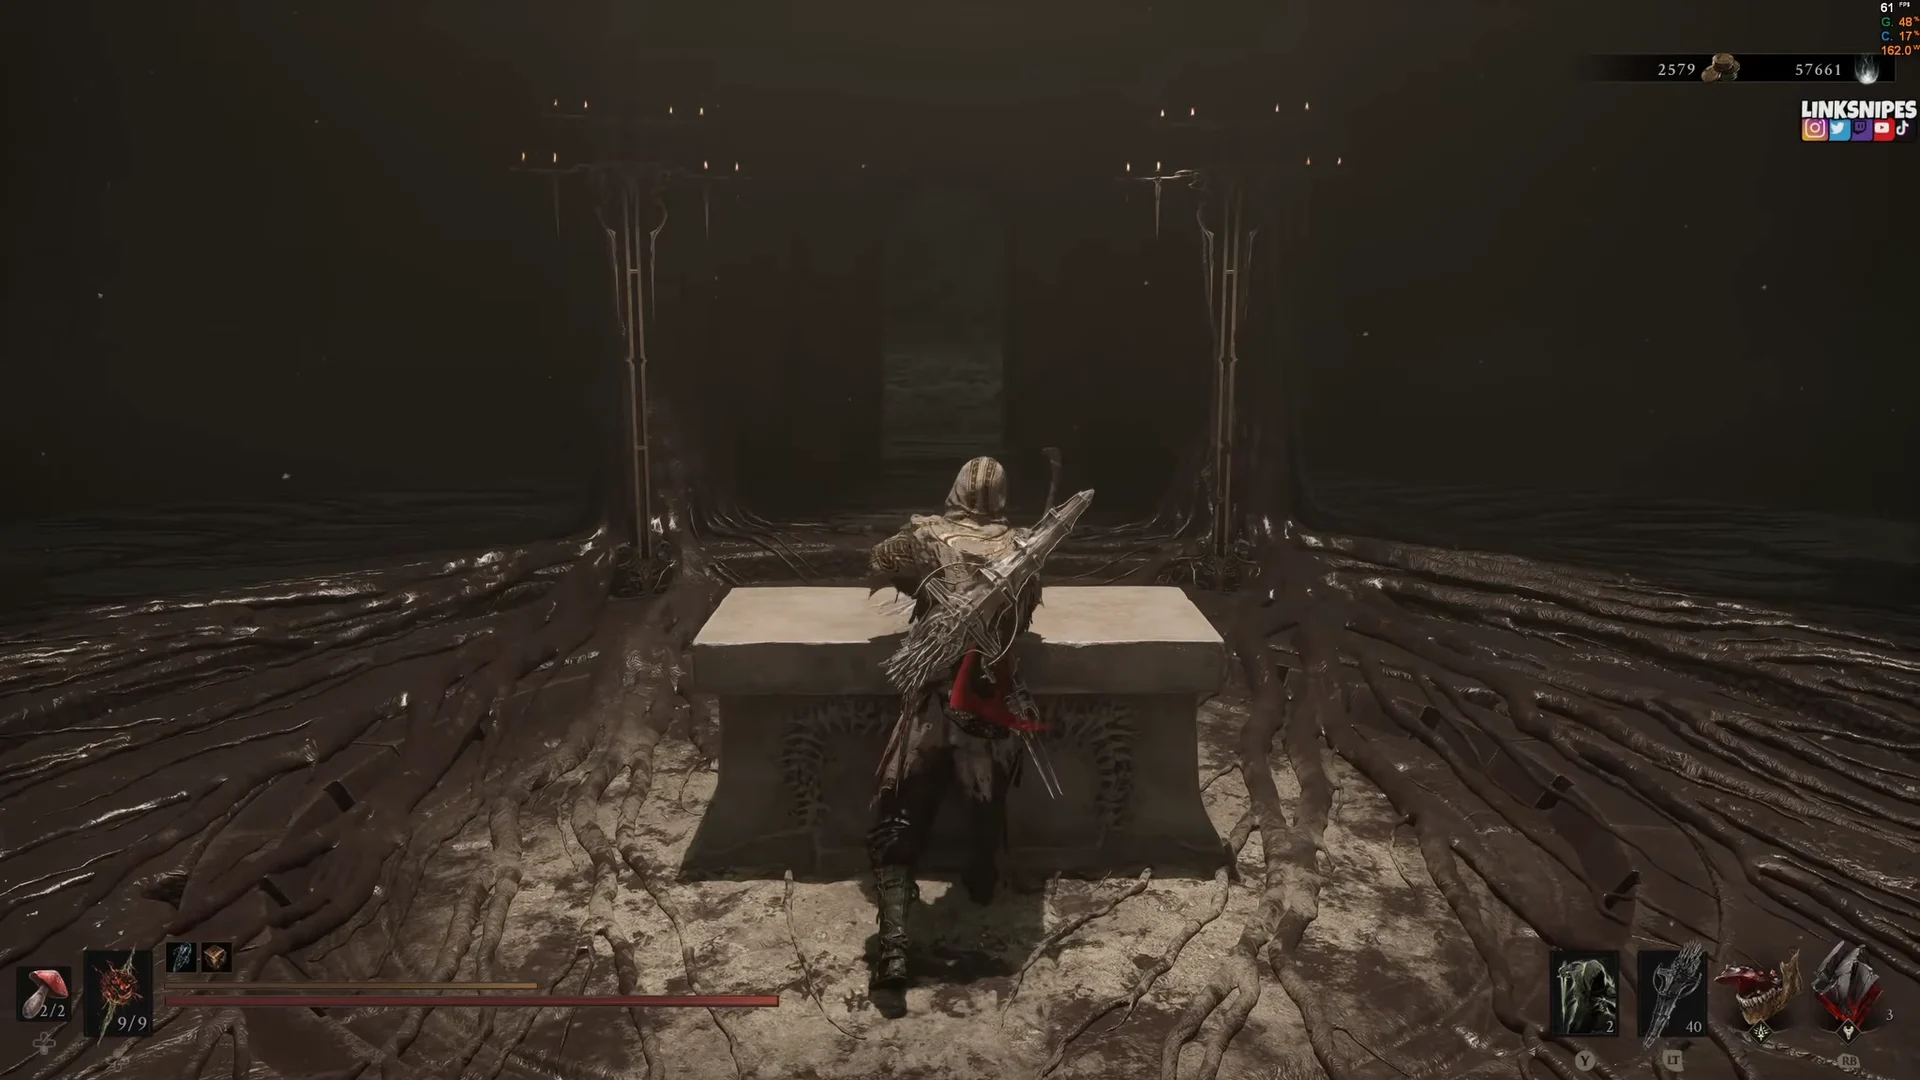
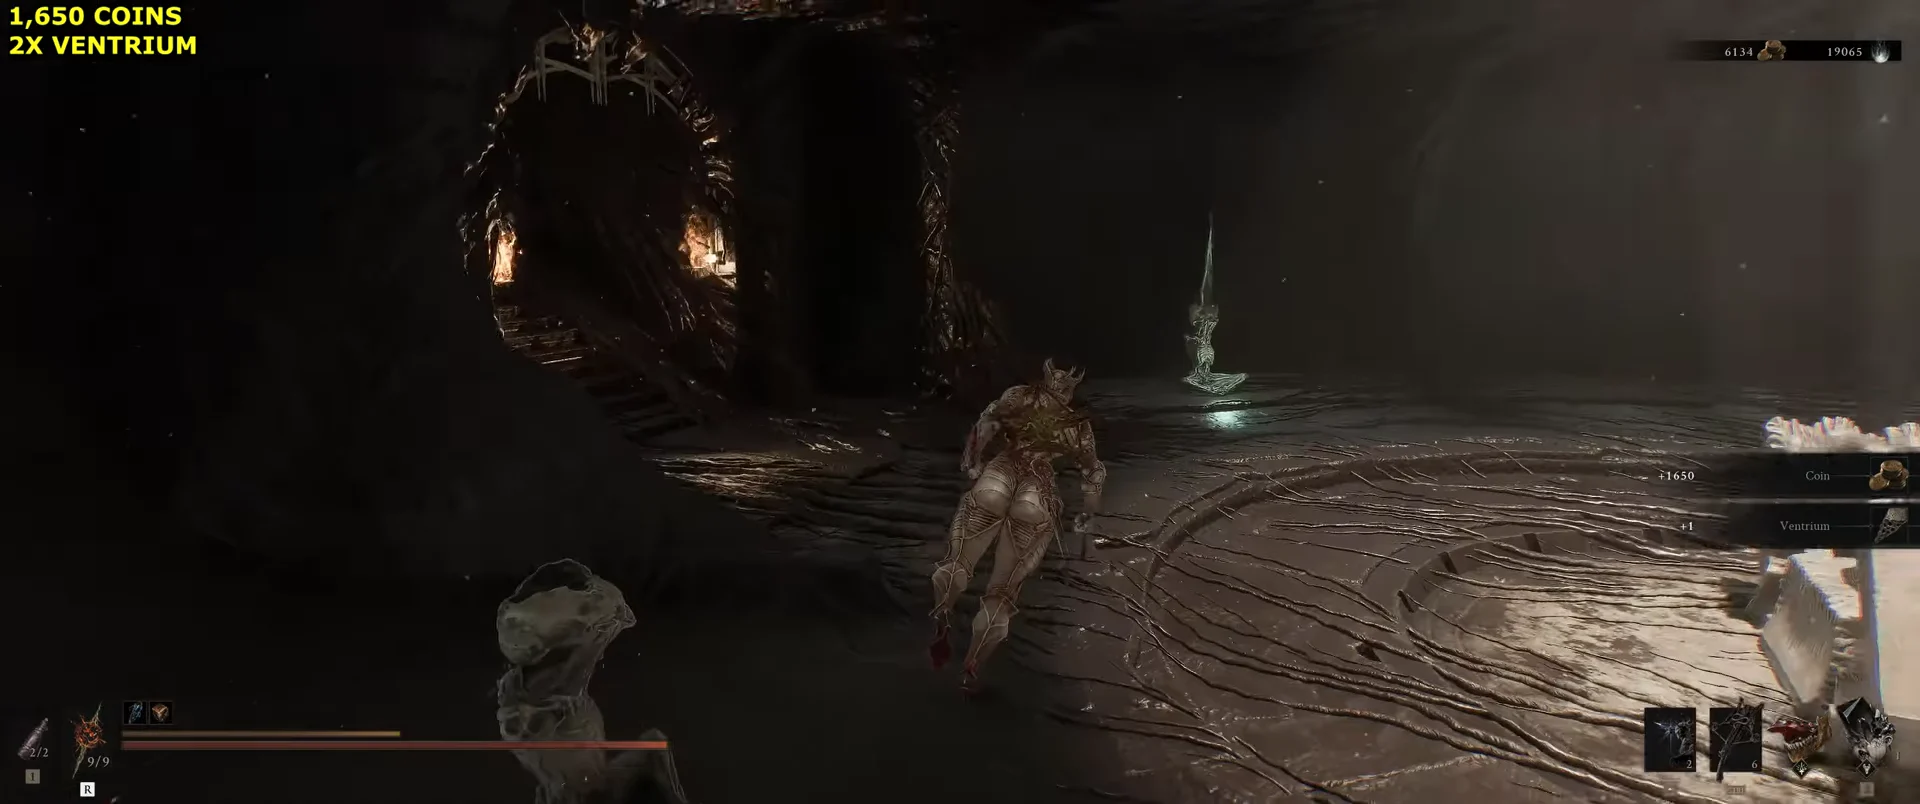
Run through the archway into the first stone chamber and break open the altar chest for 1,650 Coins. It is impossible to miss, sitting straight ahead of the spawn point.
00:16First chest roomThe altar chest in the entrance chamber, opened right after you drop into the dungeon. Shown at 00:16 in Linksnipes’s video. Image: Playstack
Grab the two Ventrium sitting beside the stairs, one on either side. Check them off now, because the path does not loop back here.
00:30First ChestCoins and Ventrium both come from this opening room before the temple proper. Shown at 00:30 in TurboAchiever’s video. Image: Playstack
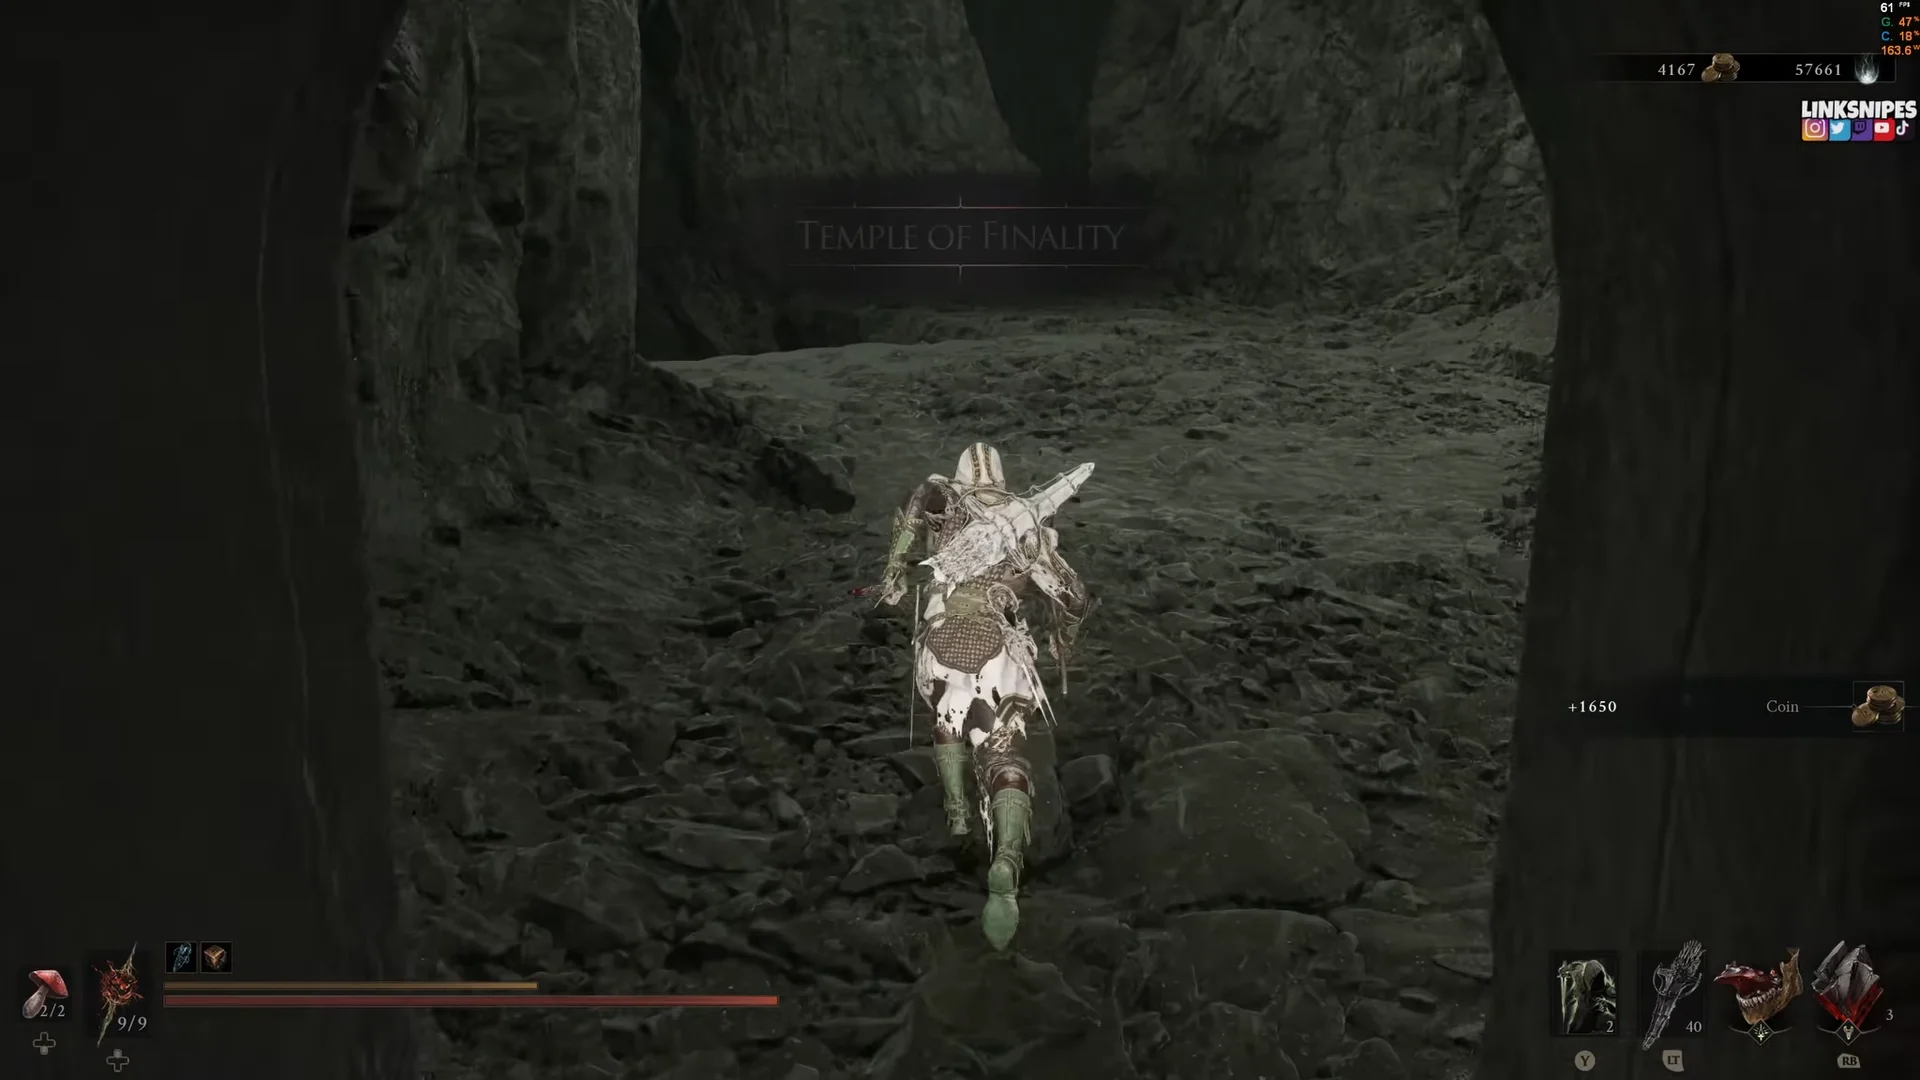
From the chest, move into the cliffside zone and enter the Temple of Finality. Three Caerenids stalk the shadowy rocks; melee combos dispatch them easily.
Follow the path and turn right at the end, where three Roaming Heads float in to meet you. Pick up the Paradoxical Scripture lying nearby once they are down.
Carry on down the path to find Infested Stalkers attacking a Caerenid. Let them soften each other up, then clear the two extra Caerenids waiting behind them.
Use the opening in the rocky wall to your right. Beyond it are three Enslaved Disciples, a Necrite, and egg clusters lining the area — destroy the clusters so the Tarblighted Unborns die before hatching into the battle.
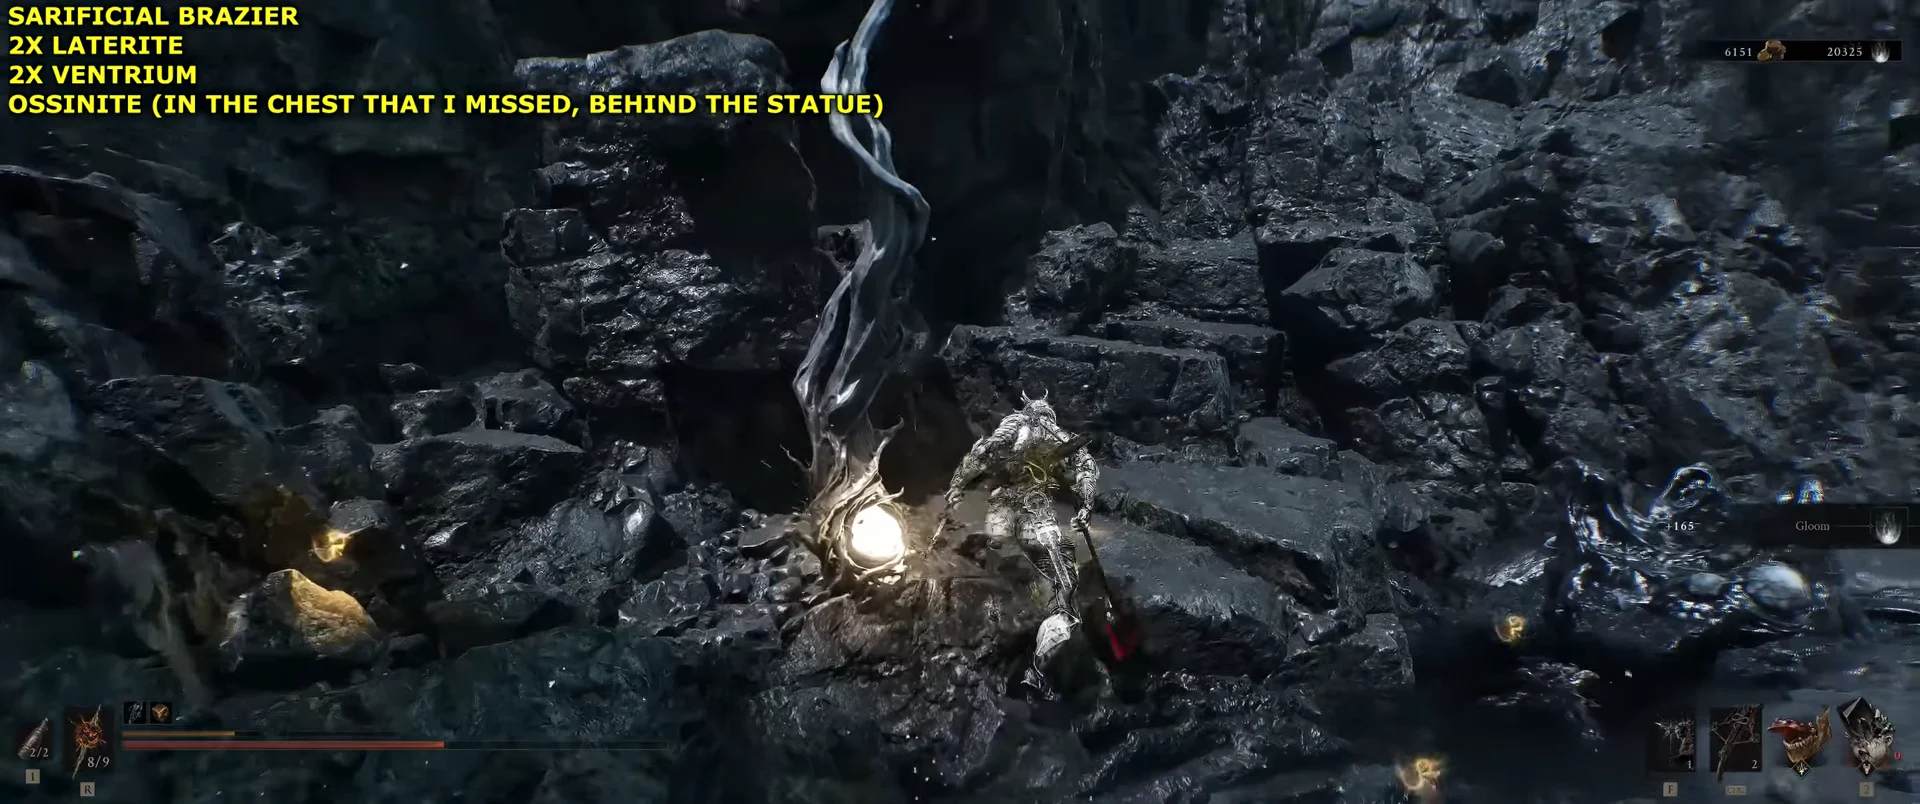
With the area clear, interact with the statue to make the offering. The brazier hands over Ossinite, and two Ventrium and two Laterite sit on the ground behind the statue. Hit the Resolve Tree nearby for extra Resolve.
At the left turn, stay on the path until it ends. A Necrite is positioned above the corruption; defeat it, unlock the ornate stone chest to obtain Glimpse, and pick up the Paradoxical Scripture on both sides of the corruption.
All Temple of Finality loot and rewards
Item
Amount
Where to get it
Coin
1,650
Altar chest in the entrance chamber
Ventrium
4
Two by the entrance stairs, two behind the offering statue
Laterite
2
Behind the offering statue
Ossinite
1
Offering at the statue brazier
Thoracium
1
Growth at the top of the jump pad
Paradoxical Scripture
3
Roaming Heads path, plus both sides of the corruption
Glimpse
1
Stone chest beside the corruption
Ossinite and Thoracium are the two pickups worth slowing down for — both feed the Tarforge for weapon upgrades, and neither is on the critical path to the exit. Paradoxical Scripture cures Stasis and helps mitigate it, so it is worth banking before your next boss attempt.
Cleanse the corruption and confirm the beacon is clean
Accept the Return to Surface? prompt when it appears. The screen reads Beacon Cleansed and pushes you back up top, which is the confirmation that the run registered.
If the Cleanse Corruption option never shows up, you have not reached the structure at the very end of the dungeon yet. Pass the final gate and follow the cave until the path stops, and the interaction becomes available.
The offering statue counts toward the Secret Vault
The statue you light inside the Temple of Finality is the second of three offerings that unlock the Secret Vault in The Unfound Path. The other two sit in the Temple of Obscenity under the Obsidian Vault beacon, and behind the hidden room at the Faithful’s Shelter beacon.
After the three lights are active, approaching the vault near The Unfound Path’s entrance opens it automatically. In the chamber, drop from the edge, turn right at the second corner, and claim the Ossinite and Paradoxical Scripture inside.
Once the corruption is gone, the Empty Cradle behaves like any other clean beacon. It restores Health and Resolve, respawns the enemies around it, and slots into your fast-travel list, which makes the trip back to Orrem’s arena far shorter than the portal chain you took the first time.