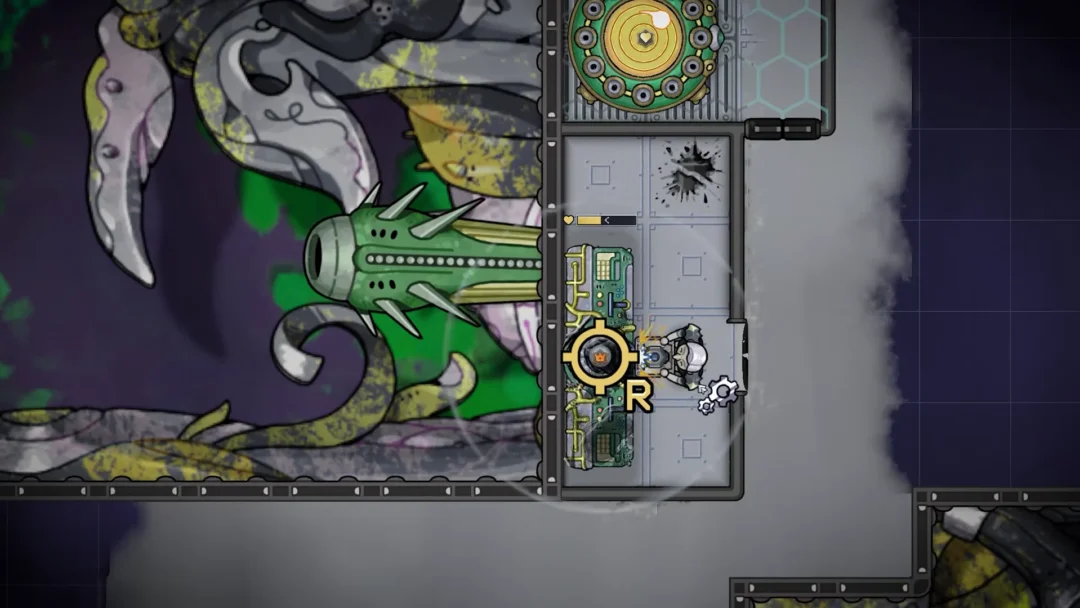
Status effects carry a huge amount of weight in Mortal Shell 2’s combat. Some tick damage straight into an enemy’s health bar, some soften a target so your next hit lands harder, and a few flip the fight entirely by turning an enemy against its own allies. Because there is no armor system to build around, statuses and the Tarstones that apply them are where most of your build actually lives.
Quick answer: Every status effect resolves in one of three ways — it works instantly, it fires once you stack it to 10, or it triggers when the effect expires. Slot an Infusion Tarstone into your weapon or sidearm to apply the specific one you want.
How status effects are applied in Mortal Shell 2
Tarstones are the main delivery system. Your loadout has four Support Slots for passive stones, and your weapon and sidearm each get three more slots split into one Ability, one Combat, and one Infusion Tarstone. Infusion stones are the direct route, since each one imbues a single status onto whatever it is attached to.
Shells are the second source. Several statuses are tied to a specific Shell’s kit and upgrade tree, like Eredrim’s Slaughterer stacks, and those trees also hold perks that nullify incoming statuses outright. Sidearms are worth mentioning too — they stagger, they solve puzzles, and they apply status effects at range, which matters for anything you would rather not stand next to.
Enemies play by the same rules. Poison is the one you will run into constantly in the opening area, and a good number of the Tarstones that let you return the favor are boss rewards rather than chest finds.
Stack thresholds: Instant, 10-stack, and expiry effects
Not every status pays out the moment you land a hit, and knowing which is which changes how you commit to a fight. Instant effects such as Burn and Poison start working on contact and simply get worse as stacks pile on. Threshold effects hold their payload until you hit 10 stacks — Bloodcurse, Frost, Lightning, and Curse all sit here, so a fight where you cannot land 10 applications is a fight where those stones do very little.
The third group waits for the timer to run out. Chaos rolls a random condition when it expires, and Phantom dumps everything it accumulated as splash and stagger damage at the end. With those, backing off to let the duration finish is often better than continuing to reapply.
Any status effect makes the target glow. That is the reliable way to confirm an application landed, and it is the practical answer to enemies that turn invisible — put a status on them and you can see them again.
Damage-dealing status effects
These seven either tick damage over time or detonate for a chunk of it. Break damage builds toward a stagger, which is what opens an enemy up for a critical strike or an execution.
| Status | Effect |
|---|---|
| Burn | Fire damage over time after the first hit. More stacks mean bigger ticks. |
| Poison | Damage over time across a long duration. |
| Lightning | Damage over time, plus a shockwave once it reaches 10 stacks. |
| Bloodcurse | A single burst of damage the moment it hits 10 stacks. |
| Cosmic Disease | Damage over time, and the affected target deals reduced damage. |
| Trauma | Break damage over time, steadily building stagger on the target. |
| Phantom | Releases the splash damage and stagger damage it accumulated when the effect expires. |
Status effects that change damage taken and dealt
This group does not hurt anything on its own. It multiplies whatever you do next, which makes these the stones you pair with a heavy hitter rather than stack on their own.
| Status | Effect |
|---|---|
| Fragile | Target takes bonus damage from Weapon attacks. |
| Perforation | Target takes bonus damage from Sidearm attacks. |
| Execution | Target takes Break Damage from melee attacks. |
| Havoc | Target takes Break Damage from ranged attacks. |
| Weak | Target deals progressively less damage as stacks build. |
Crowd control and disruption effects
Mortal Shell 2 is happy to throw half a dozen enemies at you at once, and this is the category that buys you room. Confusion has a useful failsafe built in — if there is nobody nearby for the victim to attack, it eats severe Break Damage instead.
| Status | Effect |
|---|---|
| Frost | Freezes the target for a short window once 10 stacks land. |
| Stasis | Distorts time to slow the target. More stacks slow it further. |
| Confusion | The victim attacks nearby allies for the duration, or takes severe Break Damage if there are none. |
| Chaos | Inflicts a random condition when it expires. |
| Vomit | Stuns an enemy that is already poisoned. |
Buffs and reactive status effects on the Harbinger
The last eight sit on you rather than on an enemy, or punish an enemy for attacking you. Resolve is the resource that powers your sidearm, Shell skills, and Tarstone abilities, which is what makes Faith more than a minor bonus.
| Status | Effect |
|---|---|
| Faith | Melee attacks regenerate extra Resolve while the state is active. |
| Leech | Stacks gained by killing enemies, each raising Max Health. All stacks are lost on death. |
| Shadow | Makes you invisible and undetectable for the duration. |
| Slaughterer | Each stack raises the health threshold at which enemies can be executed. |
| Warp | Slightly increases Weapon attack speed, improving with more stacks. |
| Pain | Converts health into Gray Health, lost in one hit but restored by landing melee attacks. |
| Curse | At 10 stacks, nullifies the target’s next melee strike against you and reflects it back. |
| Infect | Spreads Poison to any enemy that strikes you. |
Which Tarstone applies which status effect
Infusion Tarstones are the cleanest way to lock a status onto a weapon or sidearm. Several statuses have more than one stone attached to them, which matters because not every Tarstone is compatible with every weapon — if one does not fit your loadout, the duplicate usually will.
| Status | Infusion Tarstone |
|---|---|
| Bloodcurse | Arbiter’s Prize |
| Poison | Serpent Stone |
| Lightning | Voltaic Crown, Voltaic Amber |
| Frost | Warden’s Stone, Frostshard Stone |
| Curse | Curseblood Stone, Accursed Stone |
| Phantom | Nightgrasp Stone, Monarch’s Vestige |
| Stasis | Torpor Stone |
| Trauma | Wretchcaller’s Stone, Hag Stone, Weeping Stone |
| Burn | Inflamed Clawstone, Emberseed Stone |
| Bleed | Viletongue Hedron |
Combat Tarstones apply statuses too, just as a side effect of how they change your attacks. Wounding Stone puts Perforation on melee hits, Enfeebling Stone applies Fragile through projectiles, Thief’s Stone grants you Warp for striking foes, Parasitic Stone feeds you Leech stacks on kills, and Tyrant’s Stone adds a heavy combo finisher that inflicts Weak.
Curing status effects and Shell resistances
Consumables are your immediate answer. Each one has an Active and a Passive effect that you learn by using the item or collecting enough copies of it, and some clear a status on use while passively topping up health. Poison in particular runs its full duration unless you cure it with an item, so keep a slot dedicated to it early on.
The longer-term fix is your Shell. Each one carries a specific elemental resistance — Lazlo to fire, Proxima to electricity, Eredrim to frost — and their upgrade trees contain perks that nullify status effects other Shells cannot touch. Lazlo is the clearest example, since his armor “heat up” ability trades burn damage for raised strength, and speccing into burn immunity removes the cost entirely.
Those tree nodes are gated behind Shell Points, which you earn by spending Gloom to level the Harbinger at Beacons. If an ability shows as unavailable, it is a Shell Point shortfall rather than a missing unlock elsewhere.

The practical takeaway is to build around one trigger type rather than spreading stones thin. A weapon that reliably reaches 10 stacks turns Frost or Bloodcurse into a repeatable opening, while an expiry-based status like Phantom rewards patience instead. Match the status to how you actually fight, and the rest of the loadout tends to fall into place.