

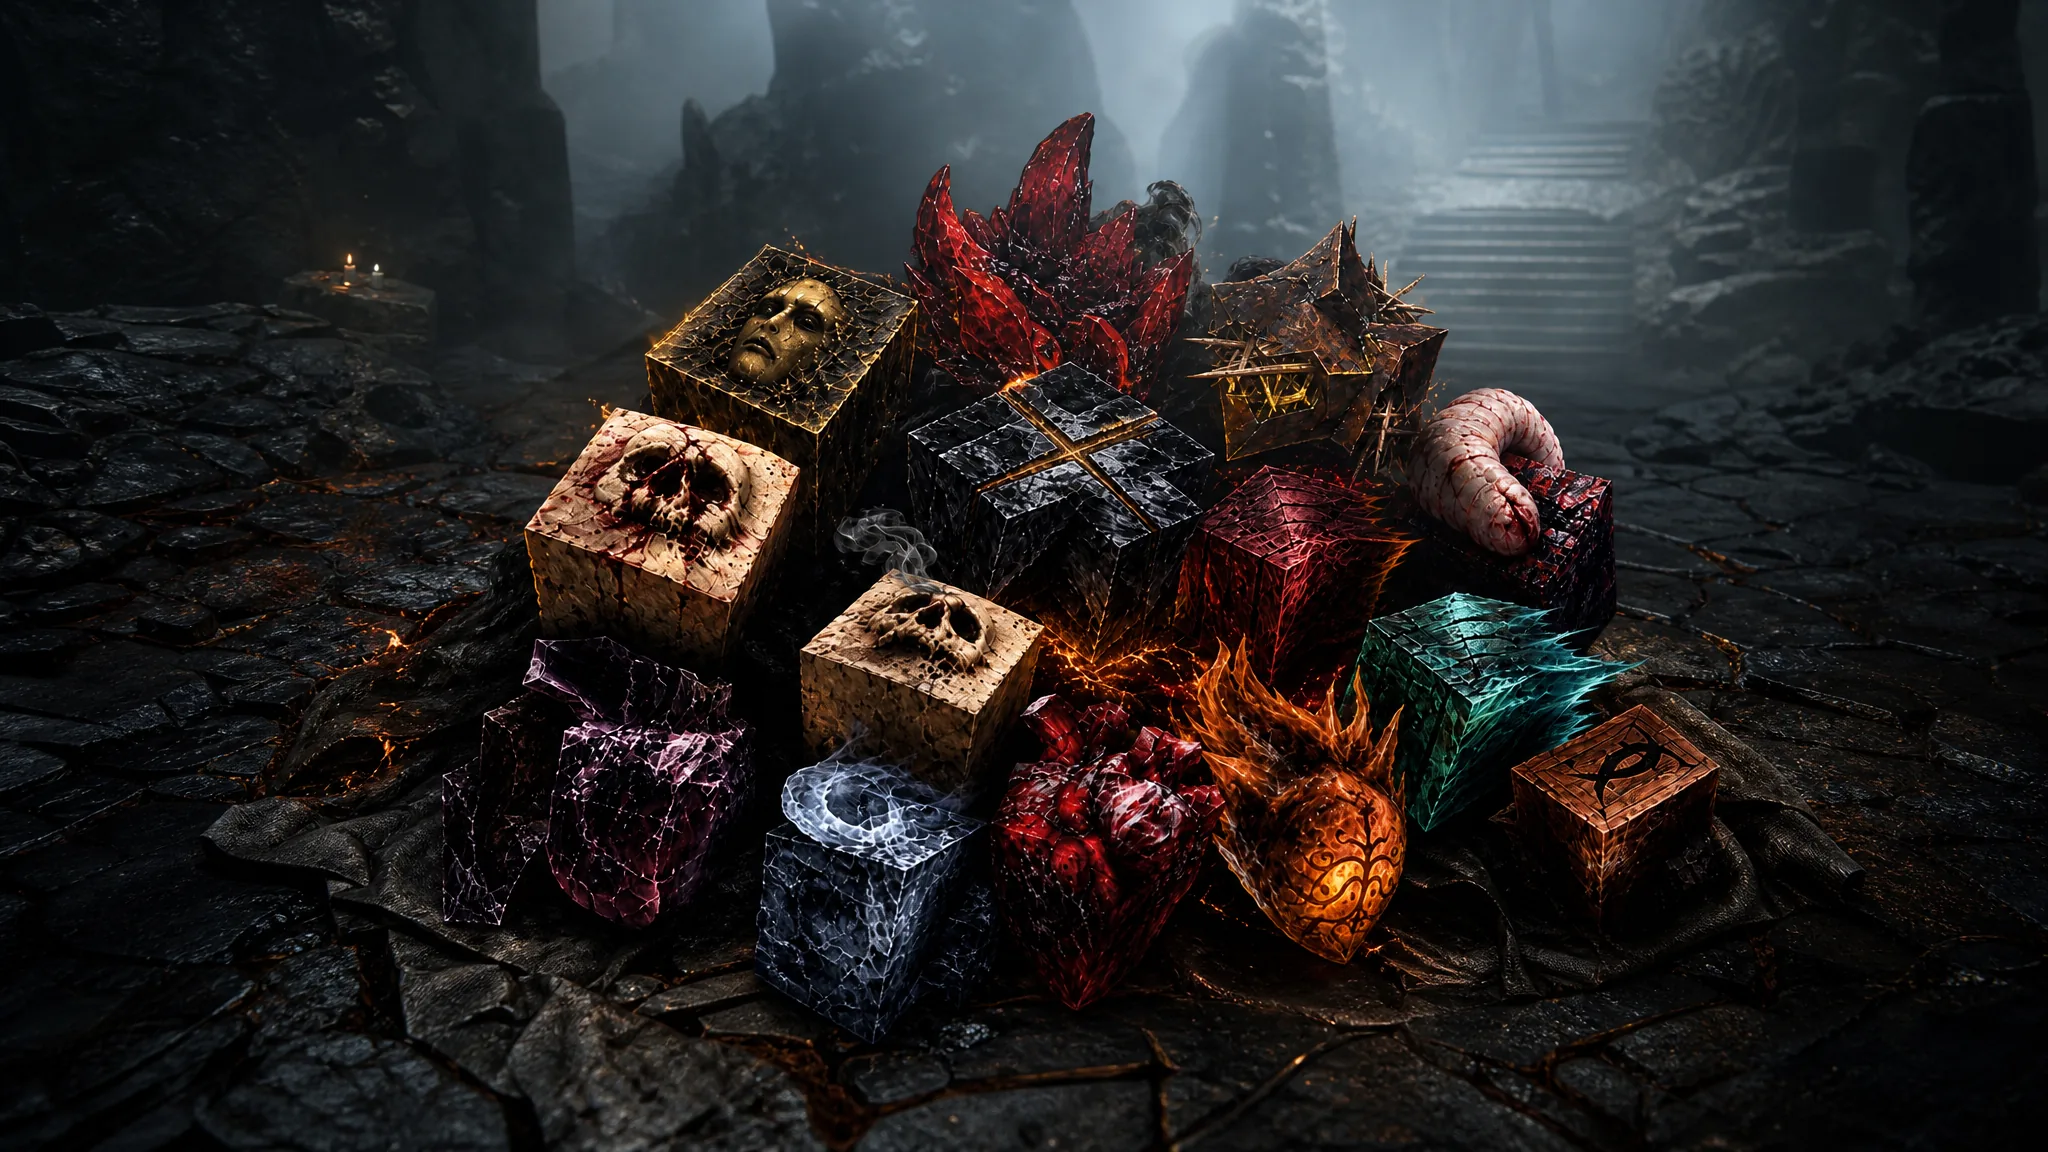
The Stoned trophy in Mortal Shell 2 asks for a complete Tarstone collection. There are 73 Tarstones, fragments, and mementos to gather, and the menu shows two extra empty slots, so a couple of blank spaces at the end is normal and does not mean you missed anything. Almost every stone can be picked up in free-roam after the final boss, but one is tied to a story gate that closes permanently.
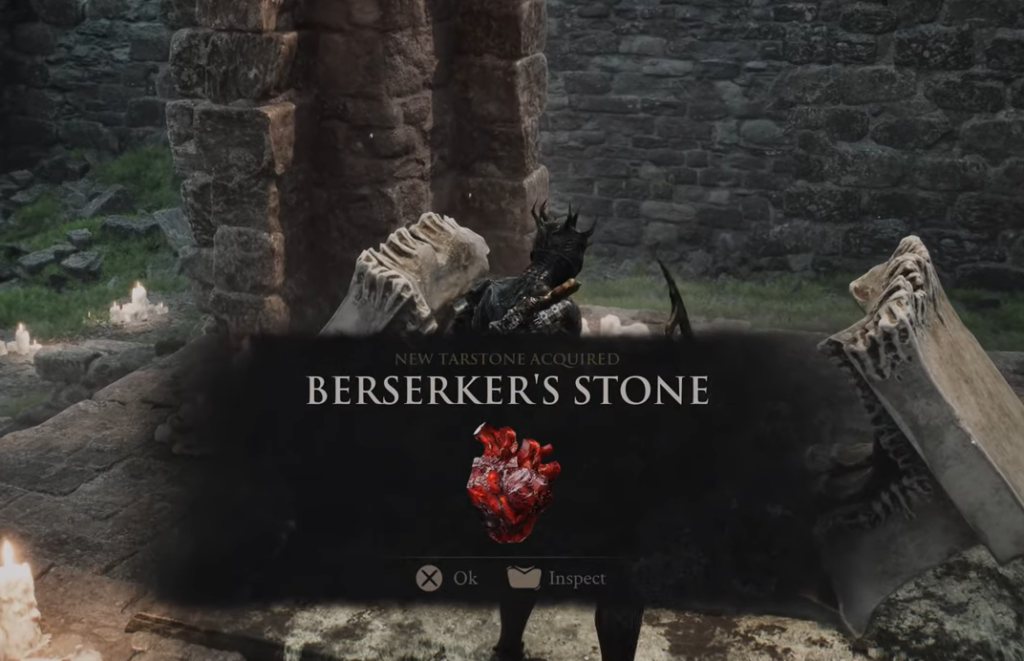
Quick answer: Collect all 73 Tarstones, and the Stoned trophy unlocks the moment the last one enters your inventory. The only stone you can permanently lose is the Berserker’s Stone in the Temple of Vatra, so grab it before you take the Heart of Vatra and leave that area.
Missable Berserker’s Stone in the Temple of Vatra
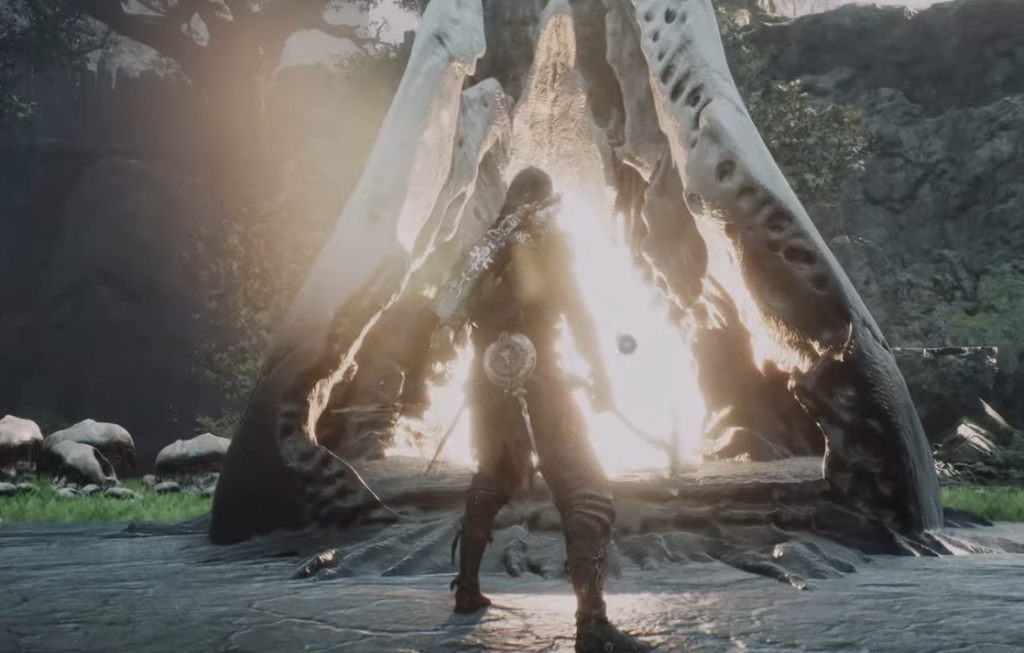
This is the single biggest risk to the trophy. The Berserker’s Stone sits in the Temple of Vatra, in the north part of the map, and the game seals the gates into that zone once you collect the Heart of Vatra and leave. Those gates do not reopen, not even in New Game+, so if you skip the stone you are locked out of it for that save.
To reach it, travel east from the One Legged Wolf Beacon and follow the path through the Bone Gate into the Temple of Vatra. Go up the stairs and look left for the offering chest. Light the two candles on the left and the one on the right inside the statue to open the chest and take the stone. Do this before you interact with the Heart of Vatra.
Because of this closed-gate bug, treat the Berserker’s Stone as your priority pickup for that region and confirm it is in your inventory before progressing the story there.
Tarstones bought from merchants
Several stones are not looted from the world at all. You buy them, and four of them only appear when The Collector is present during the Night cycle at the Abandoned Outpost. Summon Night, then visit the merchant to purchase them.
| Tarstone | Merchant | Where |
|---|---|---|
| Weeping Stone | The Collector (Night only) | Abandoned Outpost |
| Infused Stone | The Collector (Night only) | Abandoned Outpost |
| Fulminant Stone | The Collector (Night only) | Abandoned Outpost |
| Infested Stone | The Collector (Night only) | Abandoned Outpost |
| Acolyte’s Stone | Merrick | Marrow Keep |
| Unwieldy Stone | Merrick | Marrow Keep |
| Hand of Rock | Barkeep | Tavern near One Legged Wolf |
Tarstones found in chests, trials, and dungeons
Most of the collection comes from exploring. Some are simple chests, some come from obelisk trials where you clear waves of enemies, and a few sit behind short puzzles. The table below lists each stone, its area, and how to reach it.
| Tarstone | Area | How to get it |
|---|---|---|
| Auspicious Stone | Mushroom Village | Light the three candles, then open the offering chest |
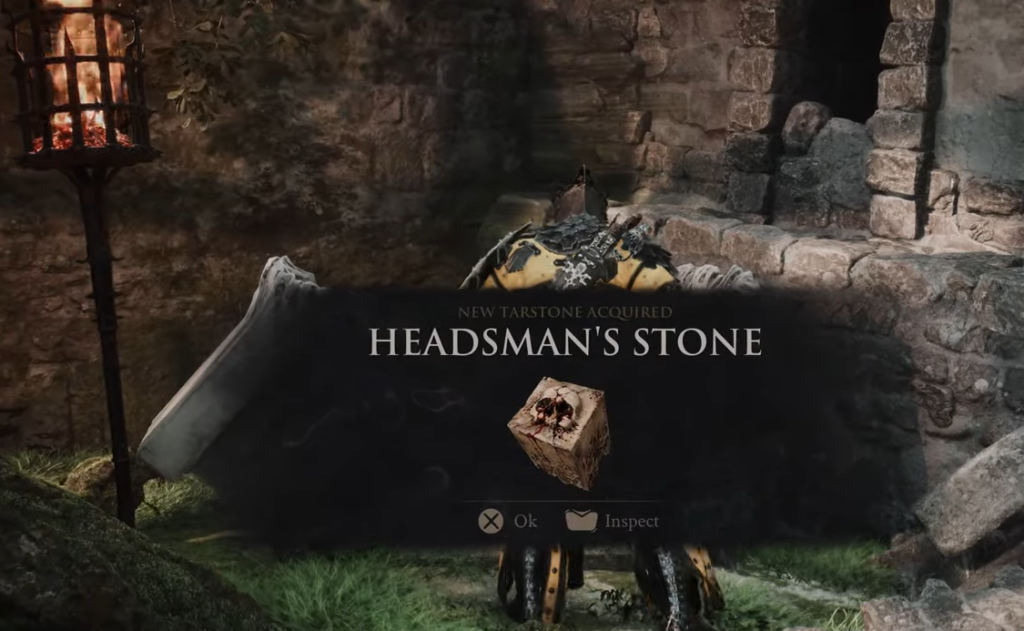
| Headsman’s Stone | Outskirts of Mammon | Sarcophagus under a stone archway in the ruins |
| Devout Stone | Abbey Entrance | Pull the wall switch by the ranged enemies to open the gate |
| Shattering Stone | Collapsed Mine | Chest at the dead-end on the left of the split path |
| Marksman’s Stone | Mushroom Village | Chest guarded by enemies on the upper northeast path |
| Deadeye Stone | Sanguine Caverns (Cleansed Gate) | Chest in the first camp after you drop down |
| Siegebreaker’s Stone | Glutted Mire Gate | Light the three candles around the swamp to open the chest |
| Bulwark Stone | Citadel of Penance | Open the wall gate with a lever, chest at the broken bridge |
| Retribution Stone | Widow’s Overlook | Complete the obelisk trial |
| Gloombound Stone | Shattered Beacon (Stones of Remembrance) | Chest in the central ruined building |
| Justicar’s Stone | Outskirts of Nochte | Defeat the Broodshell Swarm, stone in the cave behind it |
| Wounding Stone | Mushroom Village (Tiel’s area) | Chest around the corner of the first house |
| Grudge Stone | Citadel of Penance | Chest near the beacon |
| Duality Stone | Ravaged Tomb (Nochtean Gate) | Chest beneath the giant hanging body |
| Unyielding Stone | Shattered Beacon | Complete the obelisk trial in the stone circle |
| Parasitic Stone | Martyr’s Tomb | Chest in the back room of the dungeon |
| Thief’s Stone | Gate of Infinity | Complete the obelisk trial on the circular platform |
| Clerk’s Stone | Outskirts of Nochte | Sarcophagus on a high ledge in the swamp |
| Tyrant’s Stone | Abbey Entrance | Break the barricade, chest in the alcove |
| Enfeebling Stone | Outskirts of Mammon | Complete the obelisk trial |
| Shuddering Stone | Illusionist’s Cache (Desolate Peak) | Shoot the hidden target to open the gate |
| Pulse Stone | Mornefrost Grave (Conquered Temple Gate) | Sarcophagus near Winterglass Lake |
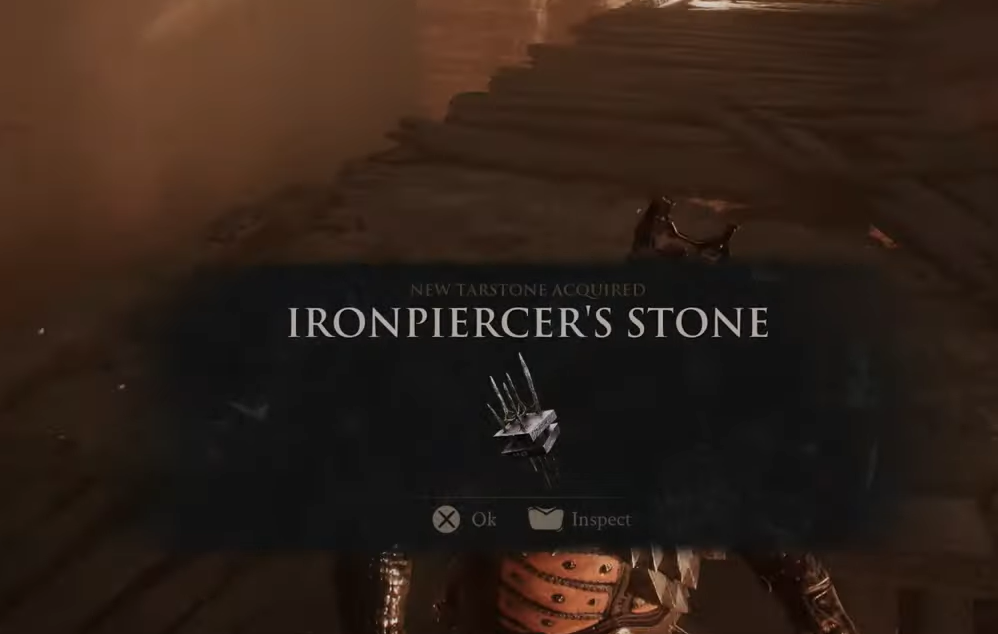
| Ironpiercer’s Stone | Ravaged Tomb (Central Sewers) | Chest behind a gate after climbing the ladders |
| Myriad Stone | Feeding Grounds (Shattered Beacon) | Chest inside a cave |
| Splitting Stone | Gate of Mammon | Chest overlooking the valley at the top of the stairs |
| Rupturing Stone | Cleansed Gate | Chest on a high ledge across a gap |
| Black Blood Stone | Sanguine Caverns (Mawbreak Cavern) | Sarcophagus in the Pulsing Caves |
| Corroded Stone | Sunken Village (Glutted Mire Gate) | Drop down the cliff from Wortbriar Encampment |
| Charged Stone | Odious Crevice (Withered Shoals Gate) | Drop through the hole at Nameless Pass |
| Unstable Stone | Shattered Beacon | Chest on a wooden platform |
| Nightgrasp Stone | Abbey Entrance | Chest inside a stone tower on the cliffside path |
| Torpor Stone | Withered Shoals | Chest near Ossinite Falls |
| Hag Stone | Infested Den (Outskirts of Nochte) | Chest below the wooden platforms |
| Emberseed Stone | Passenger’s Shrine (Mushroom Village) | Drop through the trapdoor to the chest |
| Frostshard Stone | Conqueror’s Hoard (Conquered Temple Gate) | Pray at the statue to freeze the water, cross the ice |
| Accursed Stone | Big Ol’ Hole (Abandoned Outpost) | Chest at the bottom |
| Shrike Stone | Sunken Village (Glutted Mire Gate) | Chest in the village |
| Colossus Stone | Shattered Beacon | Chest at the base of the giant stone statue |
| Barrage Stone | Shattered Beacon | Complete the obelisk trial |
| Summoning Stone | Ashen Sanctum (Gate of Infinity) | Sarcophagus inside the sanctum |
| Clockwork Shardstone | Outskirts of Mammon | Trebuchet puzzle, then the Alchemist’s Workshop |
Tarstones and rewards from bosses
A large group of stones, fragments, crowns, and mementos are handed out only after a fight. Clearing the six Corrupt Gate bosses gives the gate mementos, while several optional bosses guard their own stones. Defeat each one to receive the item.
| Reward | Boss | Where |
|---|---|---|
| Spite Stone | Giant knight | Bellkeeper’s Corner (shoot the bell first) |
| Stillblade’s Stone | Hushed Sanctum boss | Cleansed Gate |
| Zealot’s Stone | Giant knight | Besieged Ruins (High Lord’s Courtyard) |
| Squall Stone | Giant knight | Executioner’s Pulpit (pull the lever first) |
| Volatile Fragment | Vrannic, the Grand Illusionist | Hall of Illusions (Mushroom Village Gate) |
| Arbiter’s Prize | Great Arbiter of Flesh | Widow’s Overlook |
| Serpent Stone | Lucian, the Thirsting Knight | The Hidden Keep (Stonebled Gate) |
| Voltaic Crown | Vrago, Solikar Champion | Abandoned Shrine (Nochtean Gate) |
| Warden’s Stone | Caged Grisha | Winterglass Lake (Conquered Temple Gate) |
| Fusillade Stone | Caged Grisha | Winterglass Lake (Conquered Temple Gate) |
| Curseblood Stone | Gloombound Wraith | Forbidden Archives (Gate of Infinity) |
| Wretchcaller’s Stone | Infested Miner | Burrowkin Dwelling (Gate of Mammon) |
| Inflamed Clawstone | Rabid Grisha Pack | Gloomshade Grove |
| Viletongue Hedron | Viletongue Batushka | Viletongue’s Domain (Castigator’s Keep) |
| Voltaic Amber | Vestige of Infinity boss | Castigator’s Keep |
| Monarch’s Vestige | Bor, the Deluded Monarch | Kingdom of Fools (Abbey Entrance) |
| Tarred Fragment | Tarblighted Stoner | Sanguine Shoreline (Sanguine Caverns Gate) |
| Strange Remnant | Strange Grisha | Withered Shoals (Cleansed Gate) |
| Magdalena’s Memento | Glutted Mire Gate boss | Glutted Mire Gate |
| Captive’s Scabstone | Prisoner’s Domain Gate boss | Prisoner’s Domain Gate |
| Confessor’s Keepsake | Prisoner’s Domain Gate boss | Prisoner’s Domain Gate |
| Conqueror’s Reward | Conquered Temple Gate boss | Conquered Temple Gate |
| Lost Clotstone | The Lost Child | Sanguine Caverns Gate |
| Scholar’s Wormstone | Sir Isaac, the Scholar-Prince | Faded Citadel Gate |
| Solnir Shard | Solnir, the Gloom Seeker | Faded Citadel Gate |
| Hexapod Core | Withered Shoals Gate boss | Withered Shoals Gate |
Multi-step Tarstones that need a puzzle first
A handful of stones stay locked until you complete a short setup. These are the ones most likely to leave you stuck at an empty chest or a sealed door.
Clockwork Shardstone (trebuchet launch)
Pick up the Makeshift Projectile at the Outskirts of Mammon, then load and fire it from the nearby giant trebuchet. Travel to the Alchemist’s Workshop dungeon and take the stone from the impact site.
Curseblood Stone (Grimorium Obscurum)
In the Forbidden Archives, climb the ladders and find the Grimorium Obscurum. Place the book on the pedestal to open the secret passage, then defeat the Gloombound Wraith and cleanse the corruption to claim the stone.
Frostshard Stone (freeze the water)
At Conqueror’s Hoard, pray at the statue to freeze the water. Walk across the ice and open the sarcophagus on the far side.
Inflamed Clawstone (Feeding Room Key)
Loot the Feeding Room Key from a corpse inside the wooden structure in Gloomshade Grove. Unlock the large door, drop into the cage, and defeat the Rabid Grisha Pack for the stone.
Candle offering chests
The Auspicious Stone, Siegebreaker’s Stone, and Berserker’s Stone all sit inside offering chests that stay shut until you light three nearby candles. Search the platforms, pillars, and side paths around each chest, including one candle placed inside a caged enemy area for the Siegebreaker’s Stone.
How to confirm the Stoned trophy unlocked
The trophy pops as soon as the final Tarstone is added to your inventory, so there is no extra step at a beacon or the Tarforge. You only need to own every stone. Upgrading them at the Tarforge raises their effects but is not required for Stoned, so skip the level-ups if you just want the trophy.
If the trophy has not fired after a full sweep, the culprit is almost always the Berserker’s Stone locked behind the Temple of Vatra gates, or one of the four Night-only stones you can only buy from The Collector. Summon Night and check the merchant, and if the Temple of Vatra is already sealed on your current save, the stone can no longer be obtained there. Everything else can be cleaned up in free-roam after the final boss, before you trigger New Game+.





