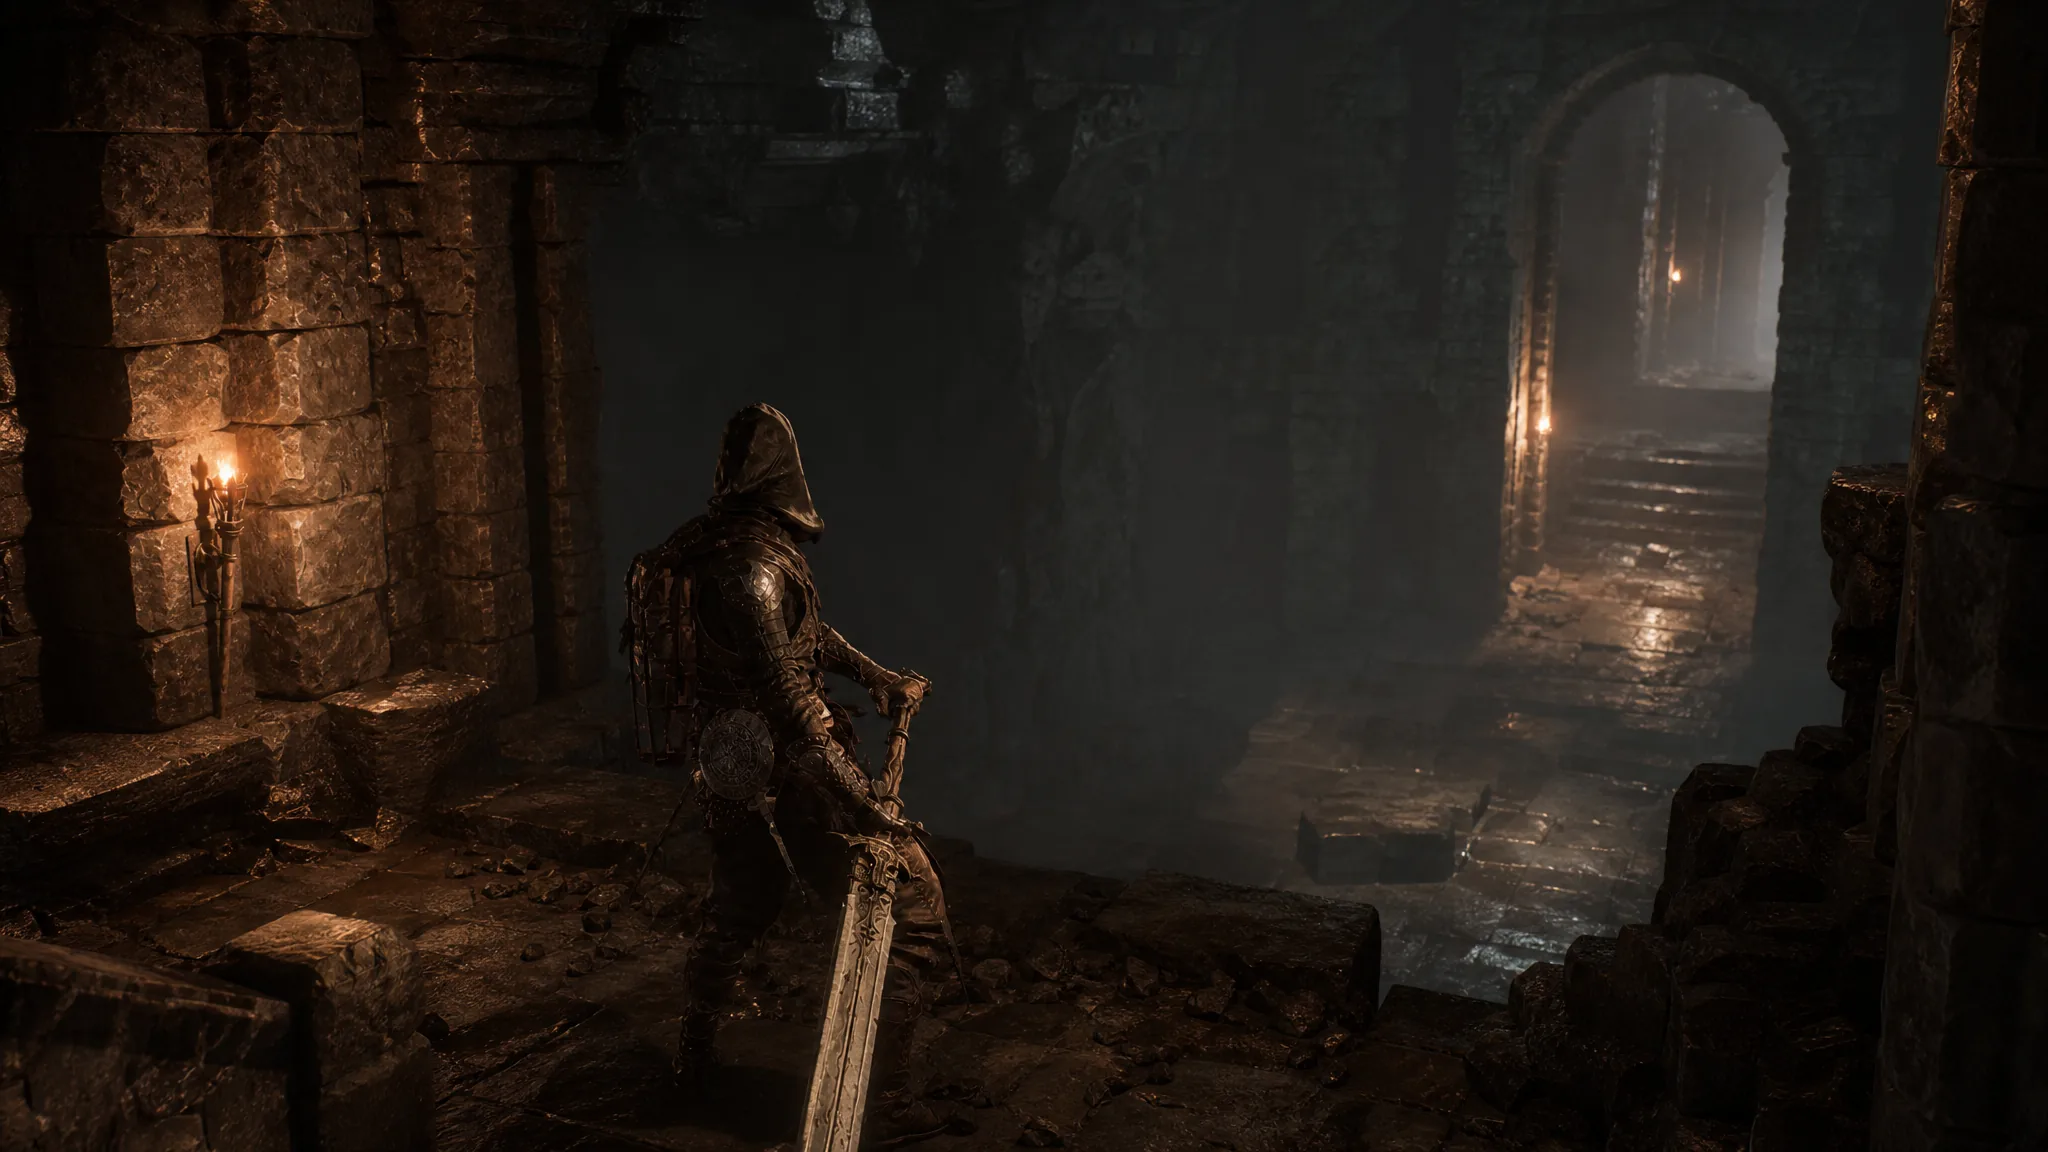
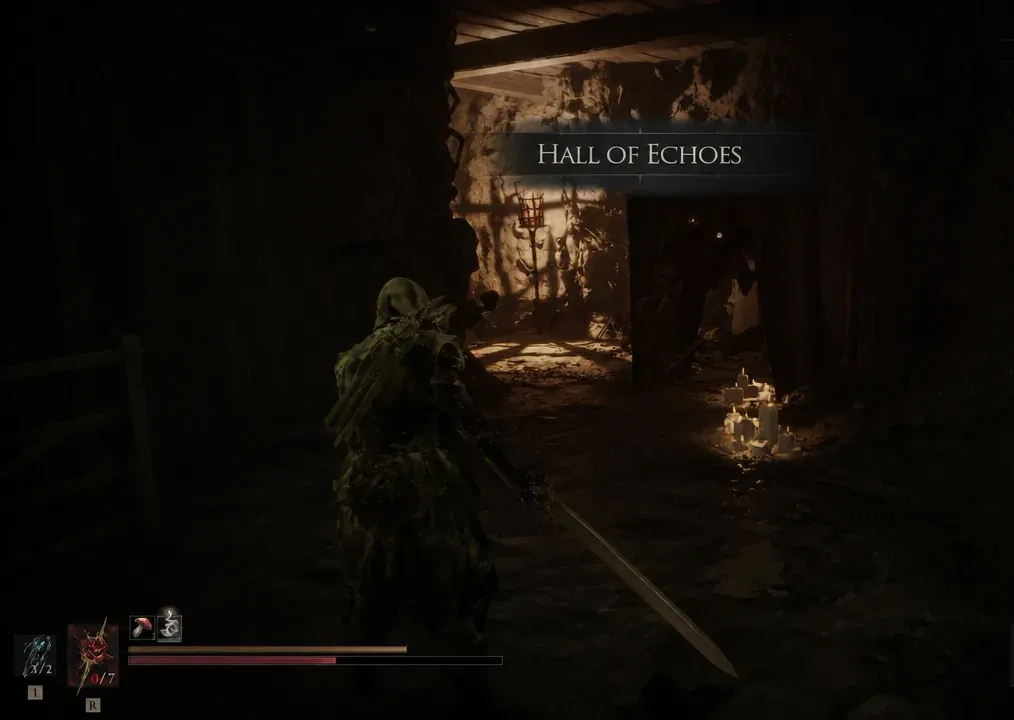
The Hall of Echoes is a hidden dungeon in Mortal Shell 2, tucked into the northeastern part of Fainweald behind a door that only the Crypt Key opens. Its main obstacle is a pillar-and-pressure-plate puzzle that stops most players cold, because standing on the plate lifts a wall that drops again the moment you step off. The trick is to weigh the plate down permanently with a movable pillar sitting across a gap you first have to close.
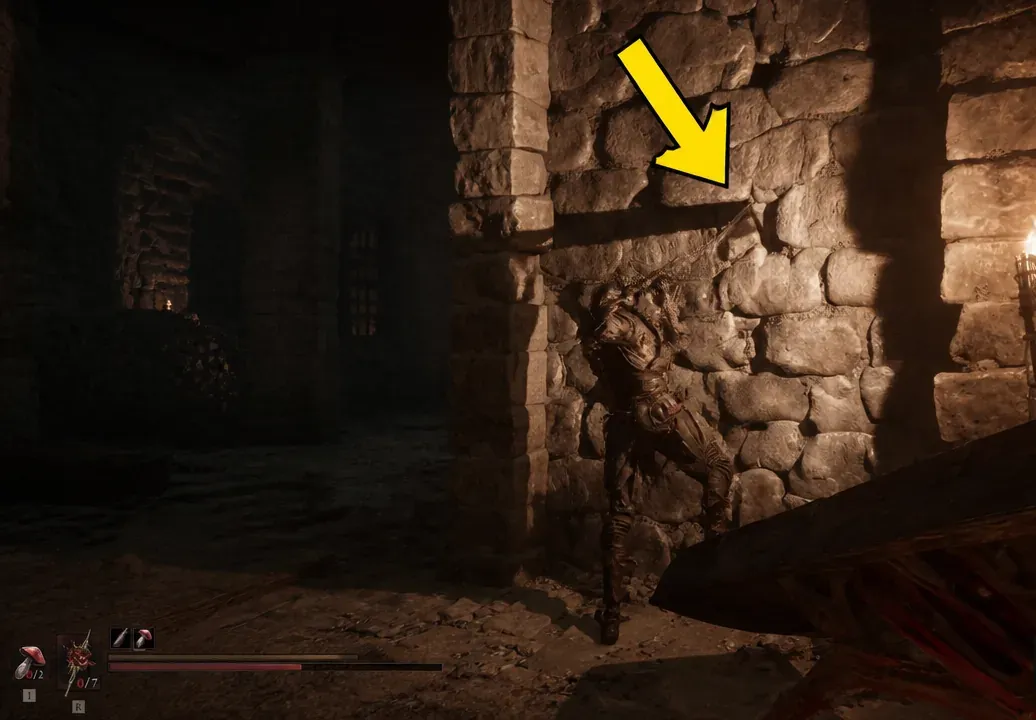
Quick answer: Drop into the hole, take the hidden wall back to the pressure plate, stand on it and shoot the bell with your sidearm to repair the gap, then cross over and strike the movable pillar so it slides onto the plate and holds the door open.
Getting the Crypt Key first
You cannot enter the Hall of Echoes without the Crypt Key. It sits on a shelf in the Desolate Peak area, in the western reaches of Fainweald, right above the entrance to the Illusionist’s Cache dungeon. Pick it up, then travel to the northeastern corner of Fainweald where the locked crypt door waits, north of the Grisha Hunting Grounds and south of the Stones of Remembrance.
Open the door with the key and head down the steps to begin the dungeon.
Clearing the entrance tunnel
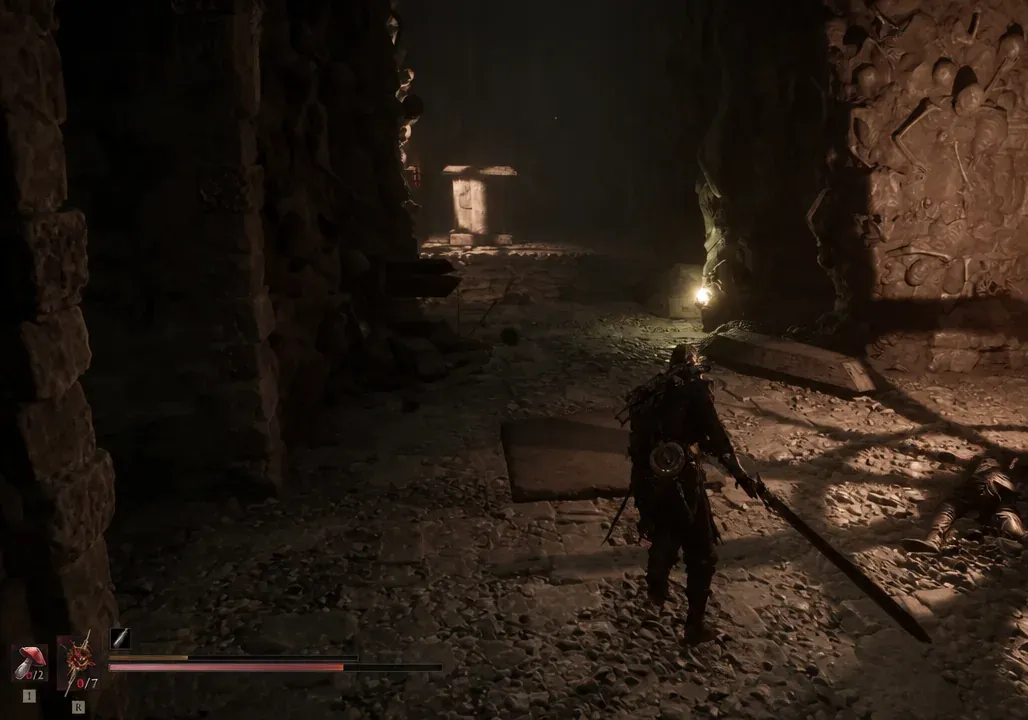
How the pressure plate puzzle works
In the next chamber you will see a pressure plate on the floor that lifts a nearby wall whenever you stand on it. Step off and the wall drops back down, sealing the path again. There is also a hole in the ground beside the plate and a movable pillar on the far side of that hole. The whole puzzle comes down to one goal: get the pillar across the gap and onto the pressure plate so the door stays open on its own.
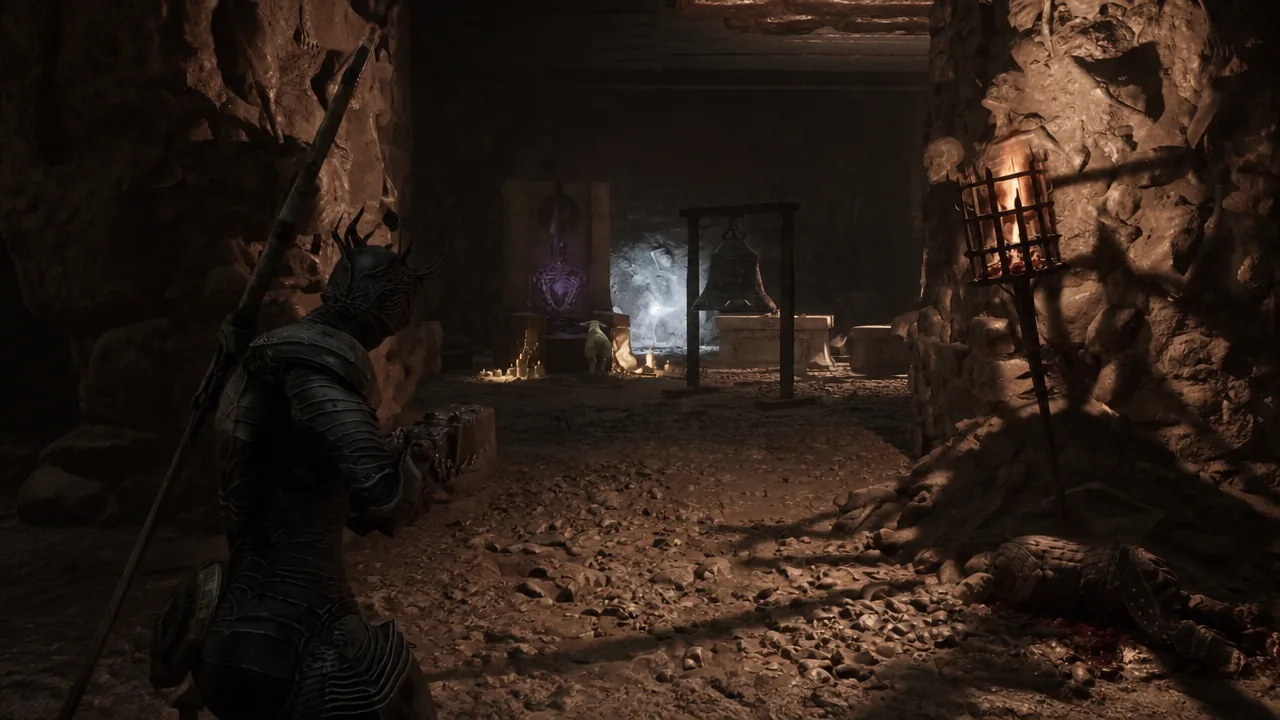
Drop into the hole and take the hidden route back
Ring the bell to repair the gap
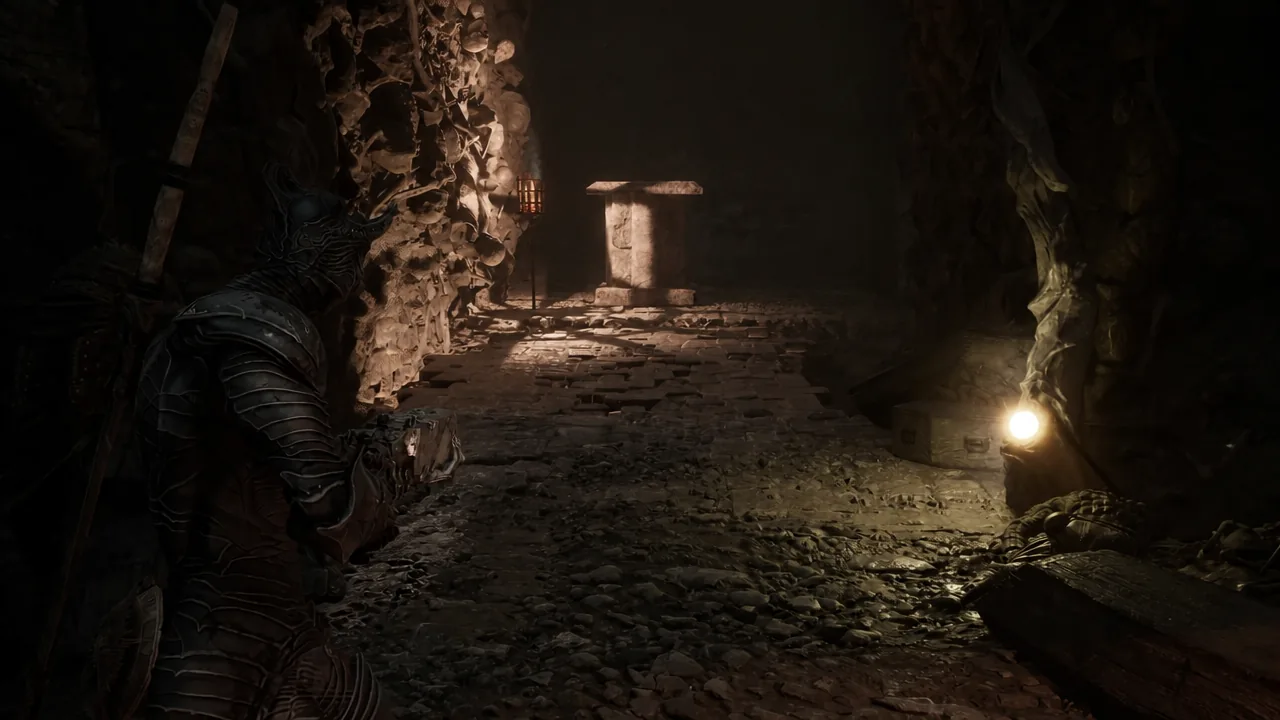
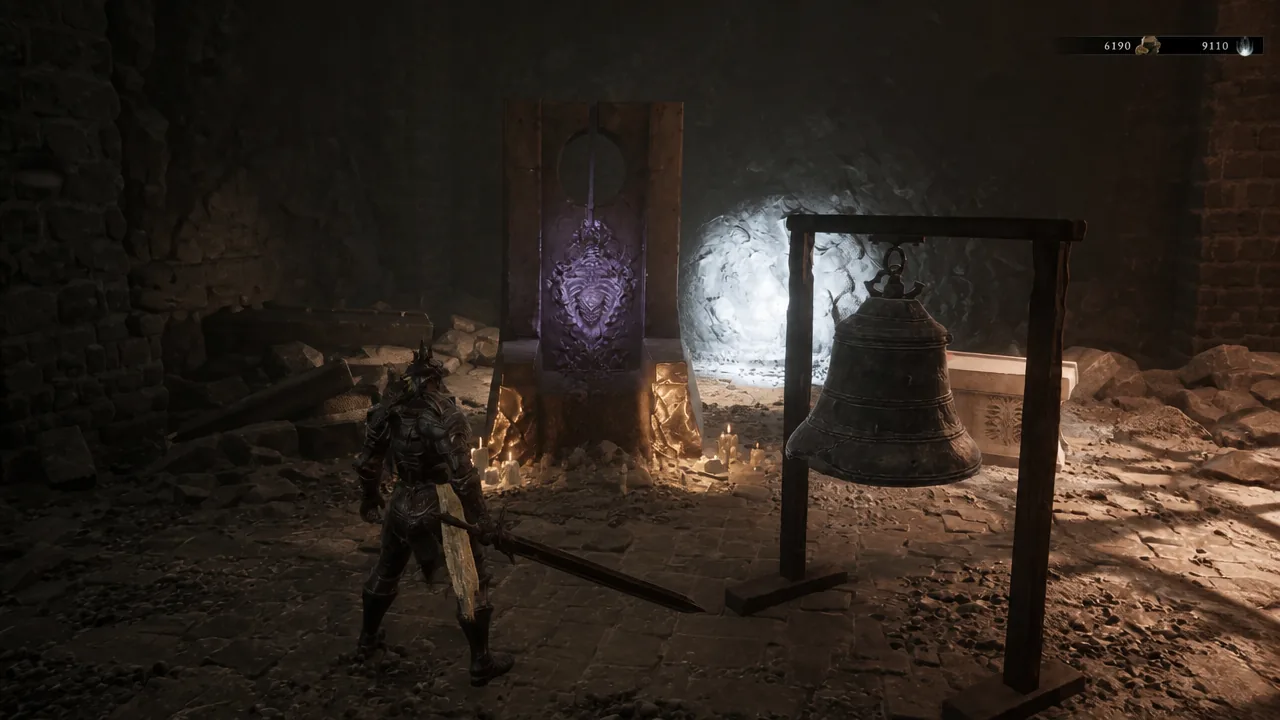
As soon as the bell rings, the hole in front of you repairs itself and connects the two sides of the room.
Push the pillar onto the plate
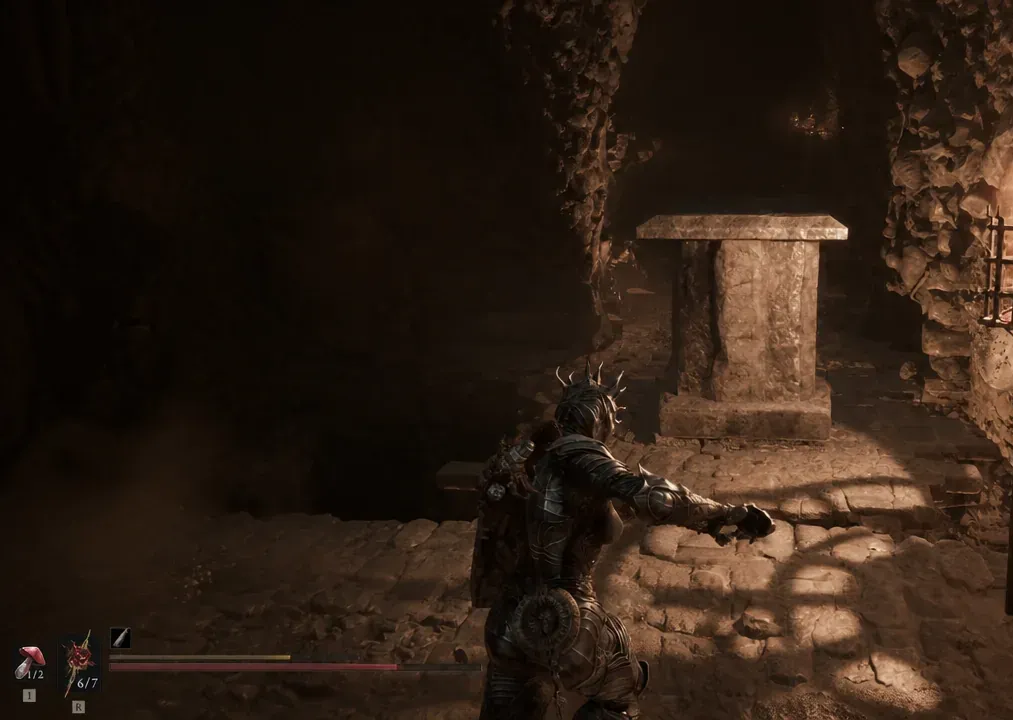
You know the puzzle is solved when the door stays raised without you standing on the plate. Walk through into the chamber beyond.
Rewards inside the sealed chamber
The room behind the door holds three collectibles. Kill the sheep for its totem, interact with the bone chair, and open the chest before you leave.
| Reward | How to get it | What it does |
|---|---|---|
| Sheephead Totem | Kill the sheep in the room | Turns you into a sheep to stay undetectable and slightly lowers enemy maximum health |
| Dorsalite | Interact with the bone chair bearing a skeletal imprint | Upgrade material for weapons and sidearms at the Tarforge |
| Winterglass Gem | Open the chest | Sells to the merchant Merrick for 1,000 coins |
Once you have grabbed everything, interact with the white light in the room. It returns you to the entrance and marks the Hall of Echoes as complete on your map.