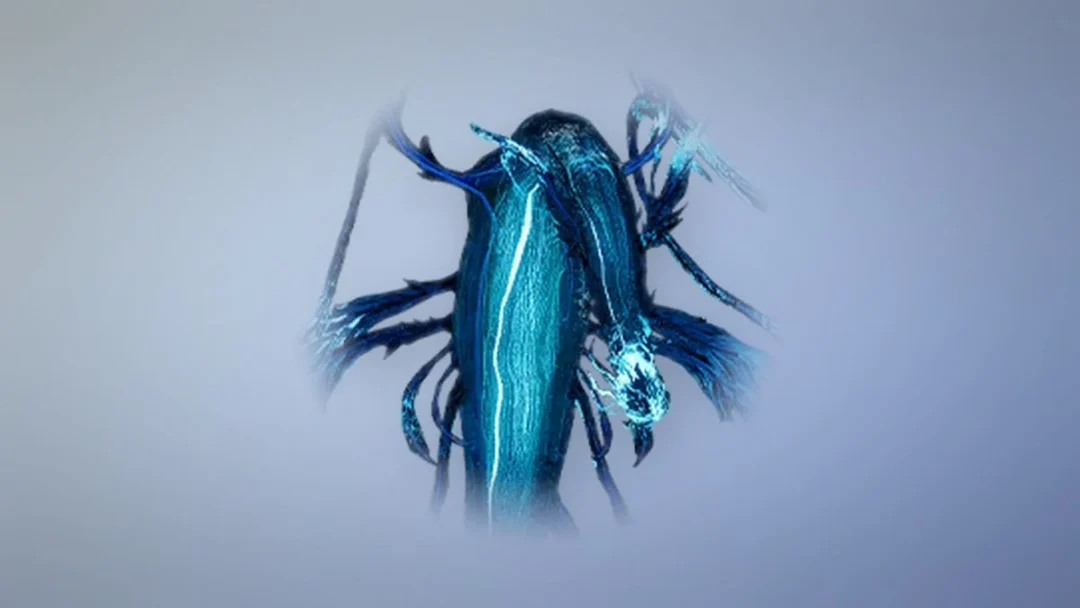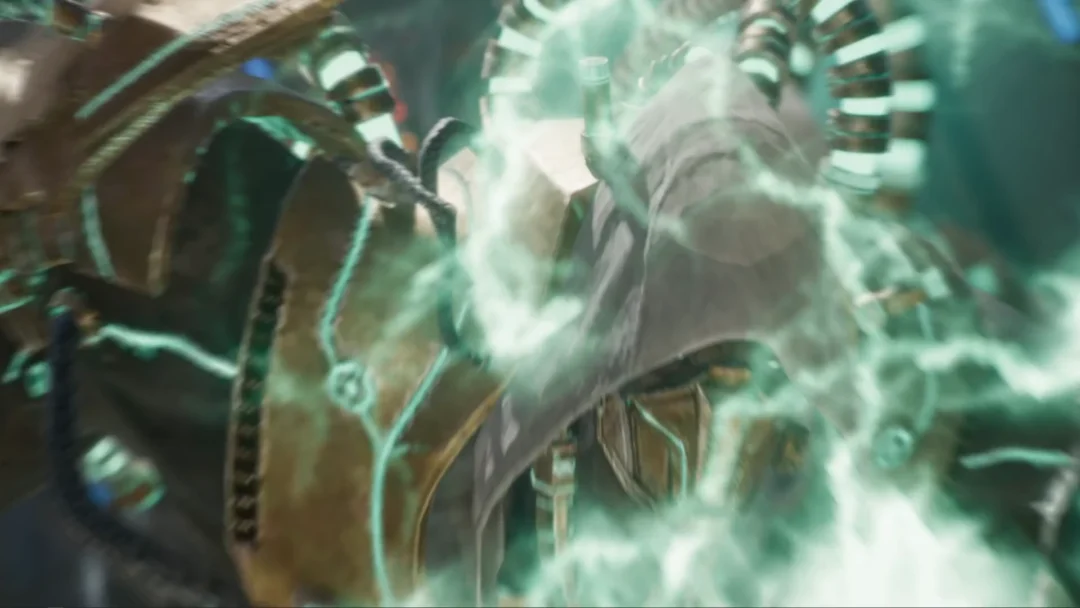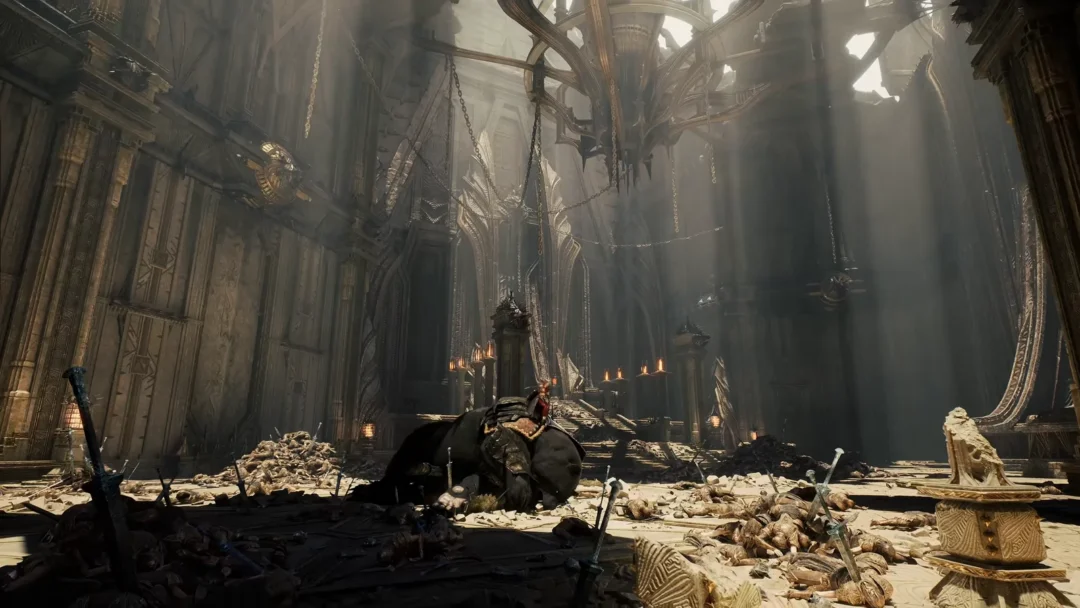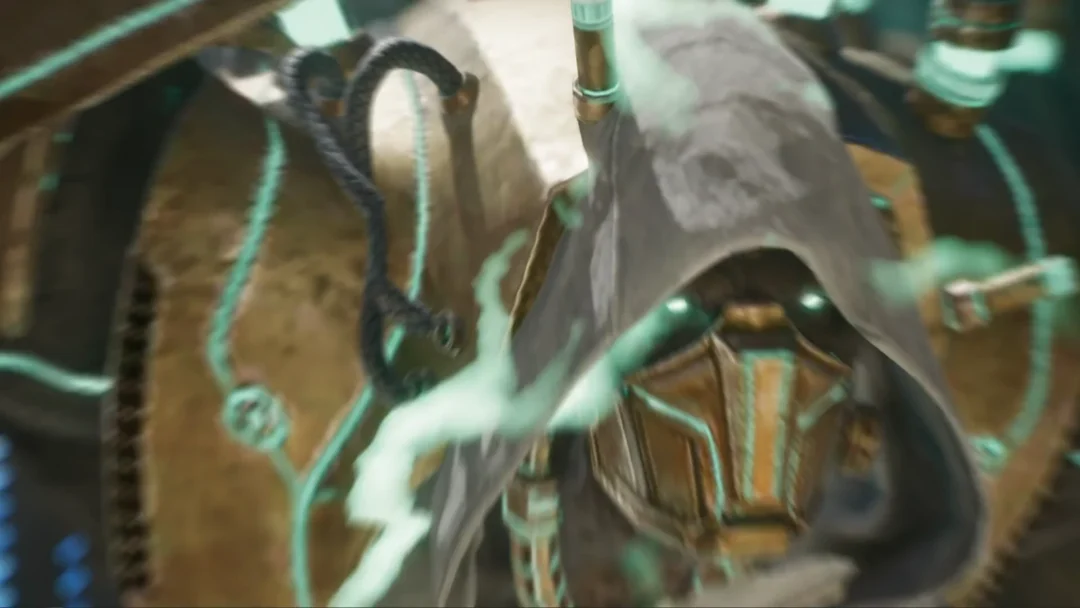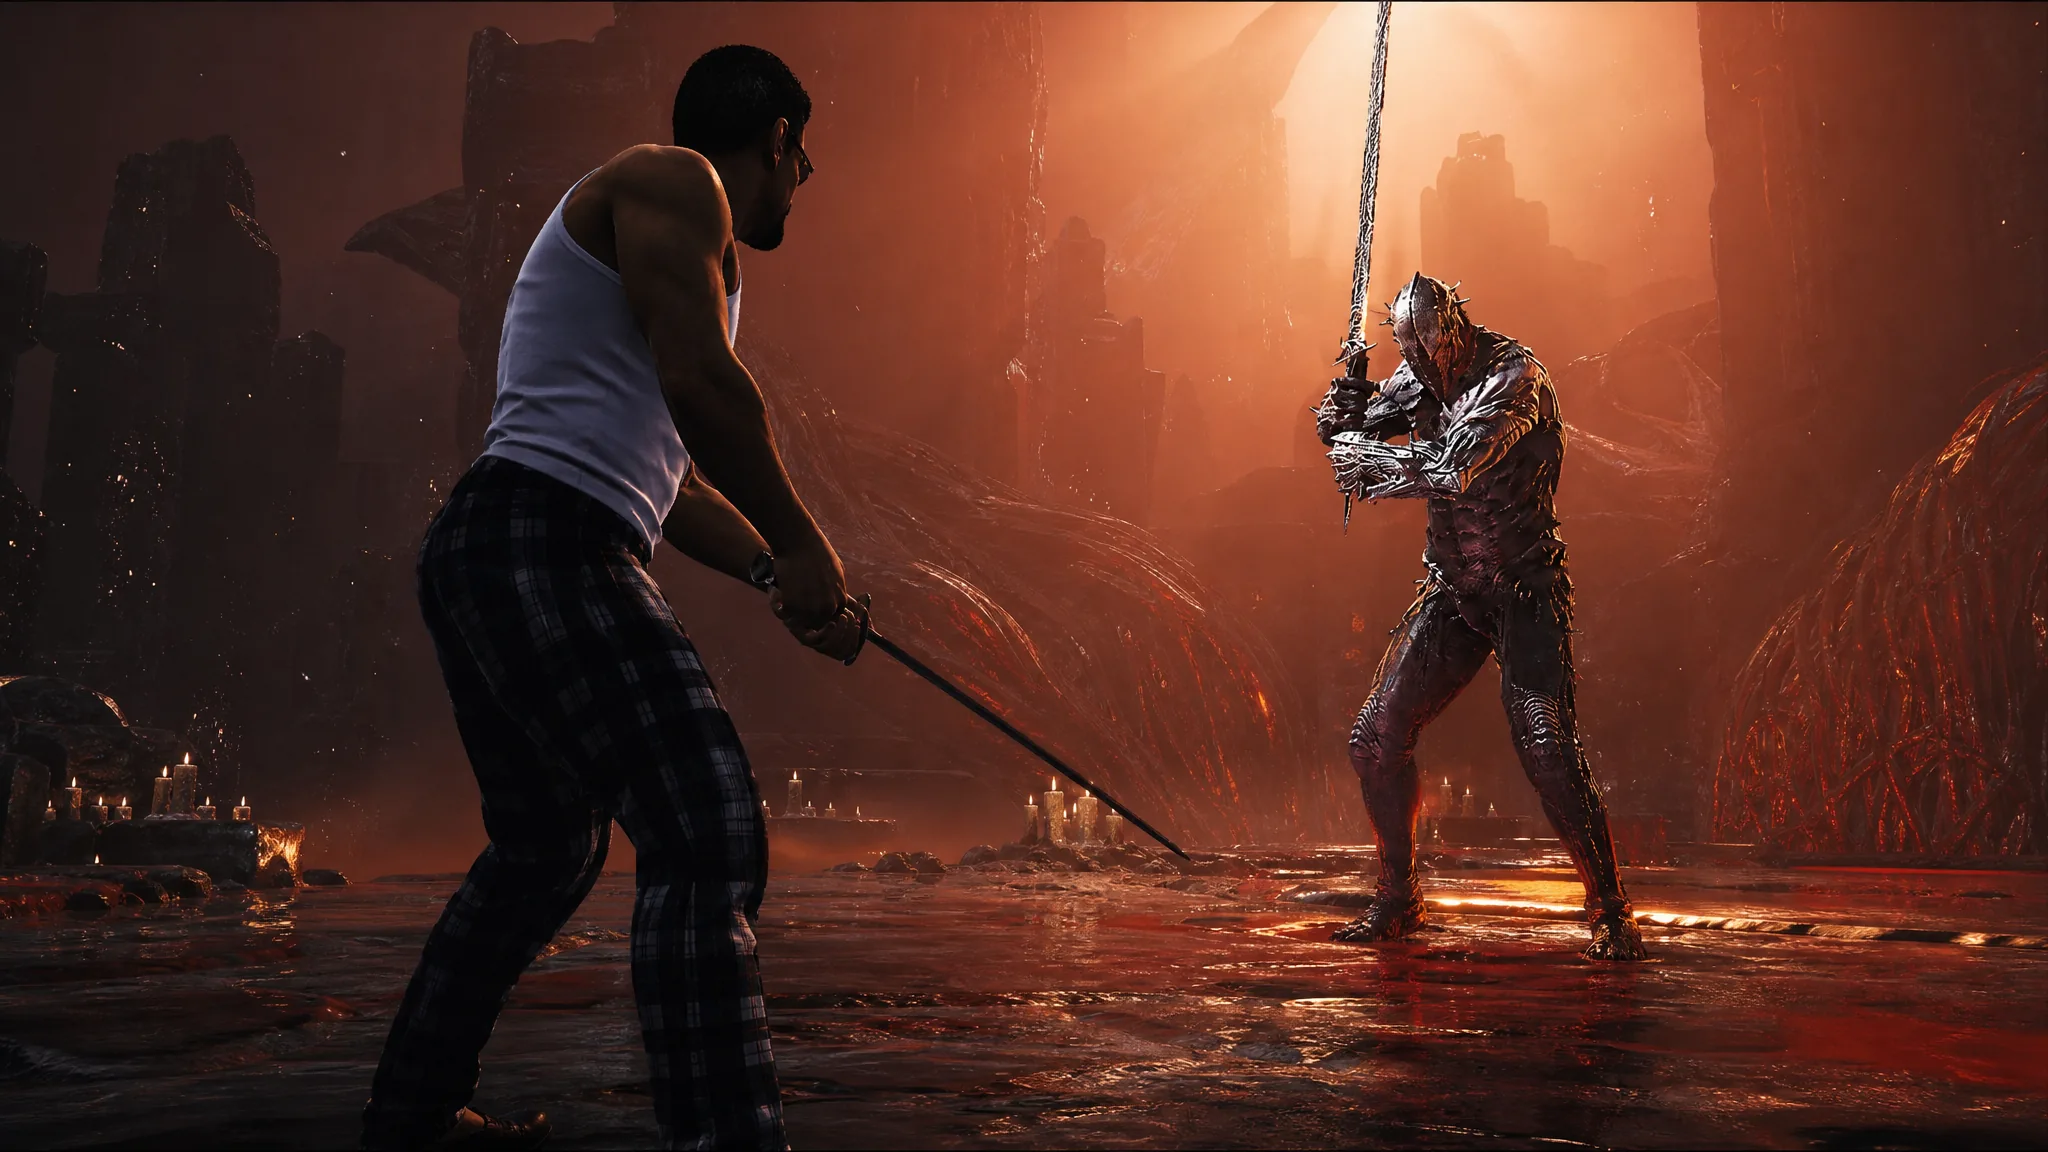
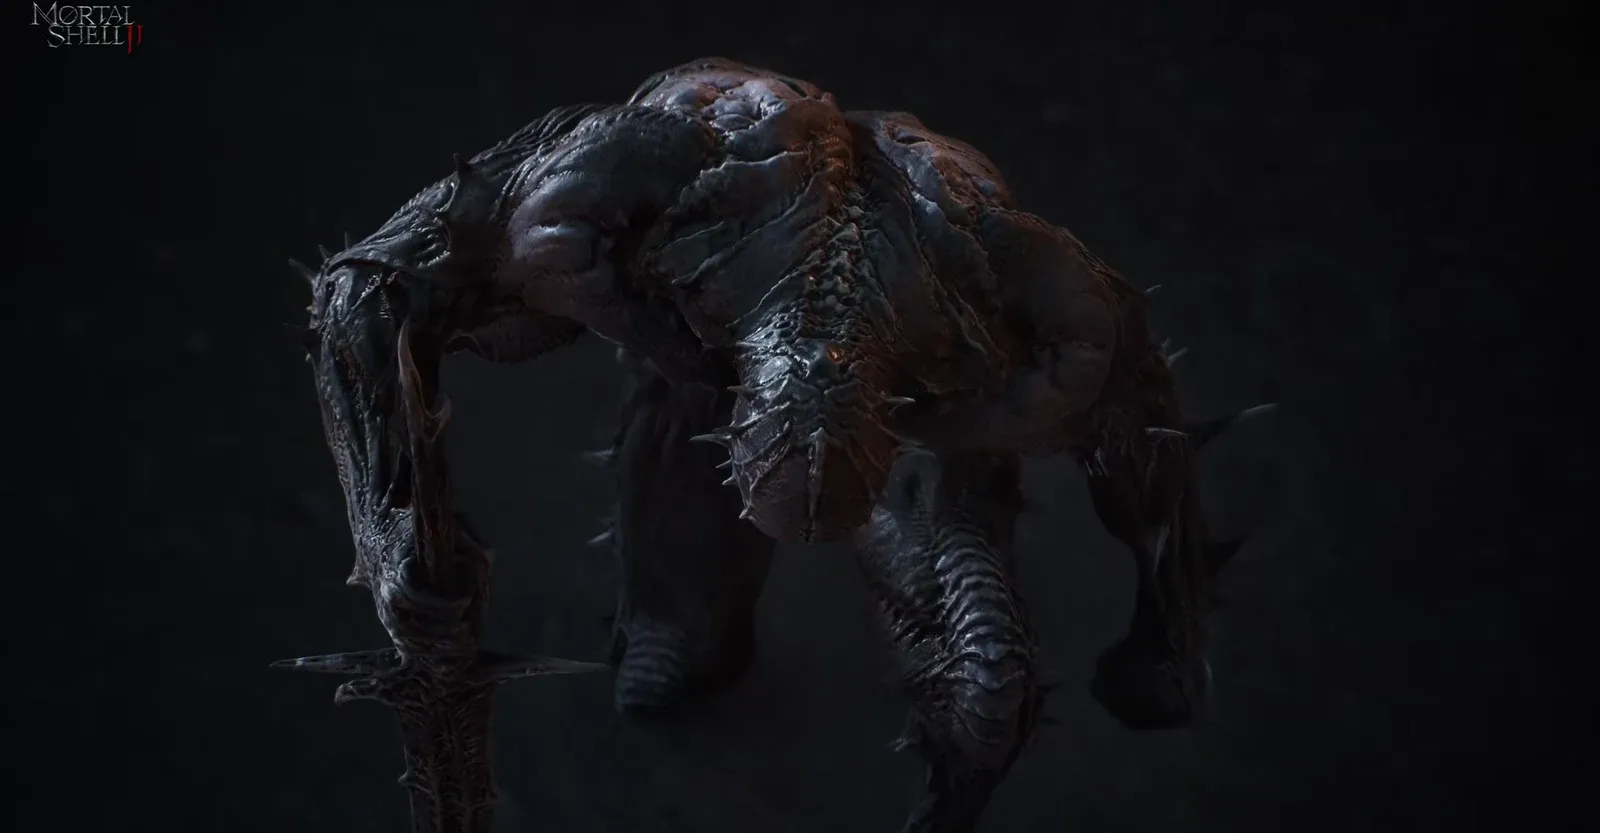
The Malborn Offspring is a corrupted, oversized Harbinger that guards one of the three infected cocoons in the Unfound Path, the endgame dungeon beneath Marrow Keep. It is a mandatory fight before you can reach Zmey, the Unbidden, and it stands out because it has two health bars and blocks you from calling in a spectral shell ally. The cleanest way through it is a heavy melee setup built around stagger, not a defensive frost approach.
Quick answer: Equip the Veteran’s Battle Axe with a maxed Acolyte’s Stone, freeze the boss with your sidearm at the start, then chain charged light attacks to stun-lock it. Counter its red (unblockable) attacks with a shoulder bash, dodge the second-phase Lightning, and summon Grisha remnants whenever you need an emergency stagger.
Where you fight the Malborn Offspring
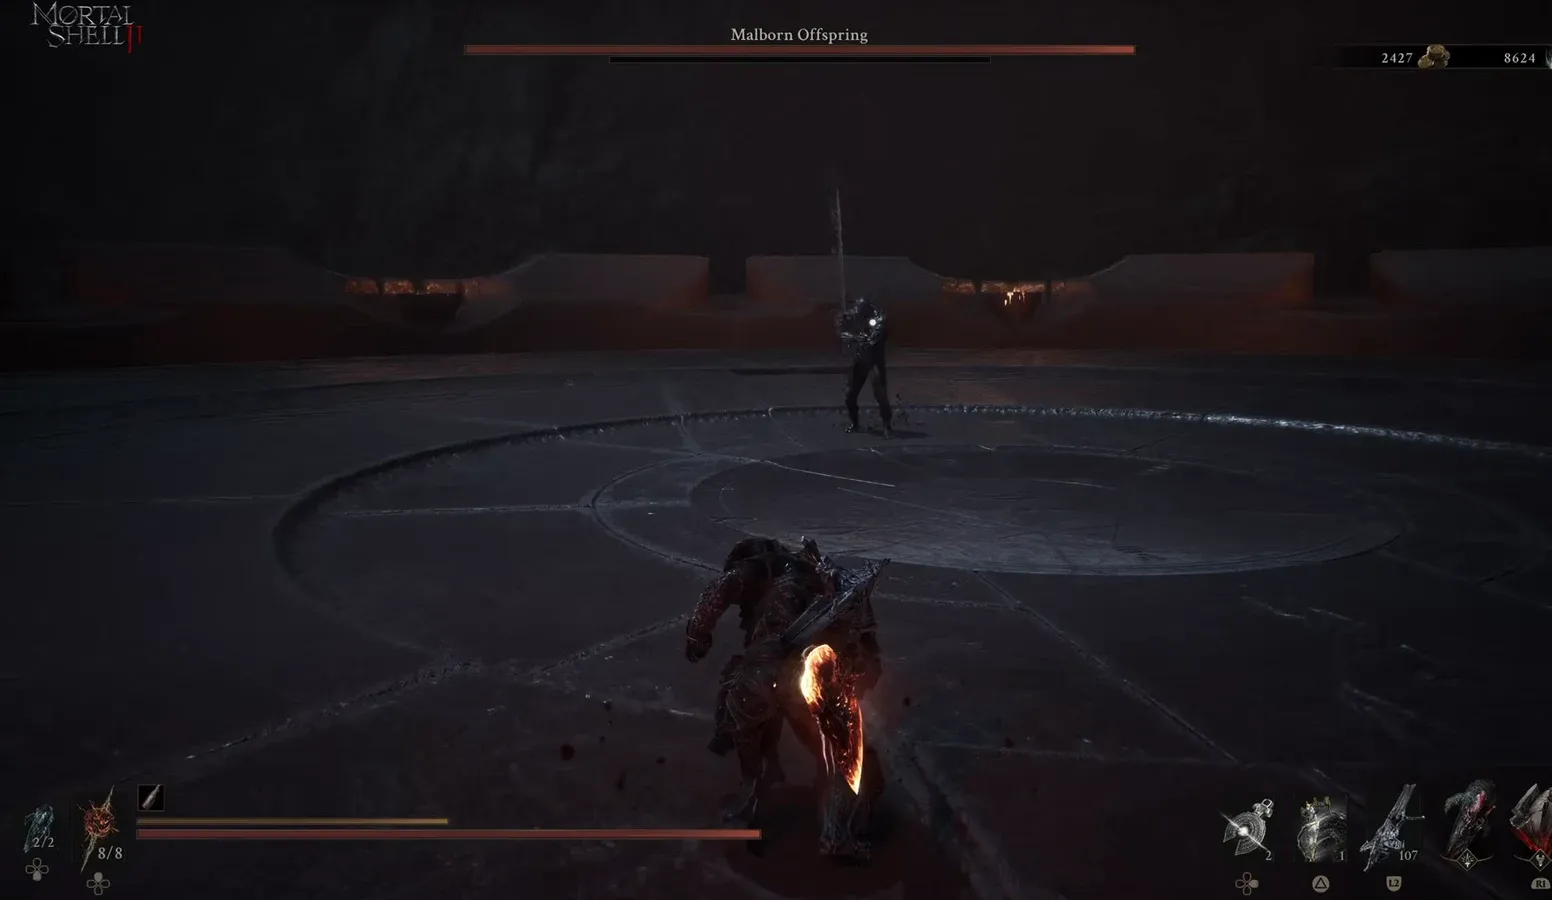
The encounter sits in the Faithful’s Shelter segment of the Unfound Path, the final dungeon that opens once you have collected enough Ova during the campaign. The Malborn Offspring is one of three bosses protecting the tendrils around the central battlefield. You must clear all three before the final boss becomes reachable, and no summoned shell warrior is allowed for this fight, so you go in alone.
Its fighting style mirrors a Harbinger swinging the standard Iconoclast weapon, only faster and harder. It closes distance quickly and mixes blockable and unblockable strikes inside the same combo, which is what makes parrying risky.
How the two-phase fight works
The fight has two distinct phases tied to a single recovery mechanic. When you empty the first health bar, the boss drops but then rises again with roughly half its health restored. During that recovery window you can rush in and land free hits before it stands back up.
The second phase is where the danger spikes. The boss becomes faster and more aggressive, and its sword gains a Lightning infusion. The ground-slam animations look like area-of-effect attacks, but you only take Lightning damage if the blade itself connects. Try to limit healing during the first phase, because you carry the fight straight into the tougher second half with no reset.
Attacks to watch and how to answer them
The Malborn Offspring rotates through several sword combos with unpredictable timing. The key reads are the vertical finishers, which are usually unblockable, and the lunge, which telegraphs a straight charge at you.
| Attack | What it does | Best response |
|---|---|---|
| Triple Slash | Two quick horizontal strikes into a vertical unblockable slash | Dodge to the side on the final vertical hit |
| Kick, Slam, Overhead Slash | Raised knee kick, double vertical slash, then an unblockable overhead | Keep distance, dodge the overhead |
| Heavy Slash, Quick Spin | Slow vertical swing into a heavy slash and spin, all blockable | Block or shoulder bash to interrupt |
| Wild One-Handed Swings | Two fast one-handed slashes into an unblockable vertical drop | Block the early slashes, evade the finisher |
| Medium Spin | Picks the sword off the floor and steps in; only the final slash hurts | Dodge the last spin hit |
| Quadruple Electric Spin (Phase 2) | Four Lightning spins; the fourth is unblockable | Dodge through, do not try to parry the fourth |
When the boss winds up an unparryable lunge, dodge to the side before it pierces you. Wide horizontal swings are best avoided by backing away, while overhead swings are safer to dodge sideways. Its patterns vary enough that reacting to each windup beats memorizing a fixed rhythm.
Recommended Fire/Axe loadout
The Veteran’s Battle Axe paired with a maxed Acolyte’s Stone is the setup that carries this fight. The charged light attacks land repeated stuns, which lets you stun-lock the boss and cut through both phases before it can build long combos. Eredrim’s Shoulder Bash provides the Break Damage you need to interrupt its red-flagged attacks.
| Slot | Setup |
|---|---|
| Shell | Eredrim, the Venerable (Harbinger), around Level 61 |
| Weapon | Veteran’s Battle Axe |
| Shell upgrades | Apathy and Consecration |
| Core Tarstone | Acolyte’s Stone (Level 3, maxed) |
| Support Tarstones | Inflamed Clawstone, Retribution Stone, Berserker’s Stone (all maxed), plus Thief’s Stone, Deadeye Stone, and Auspicious Stone |
| Emergency tool | Grisha Remnant for manual stuns |
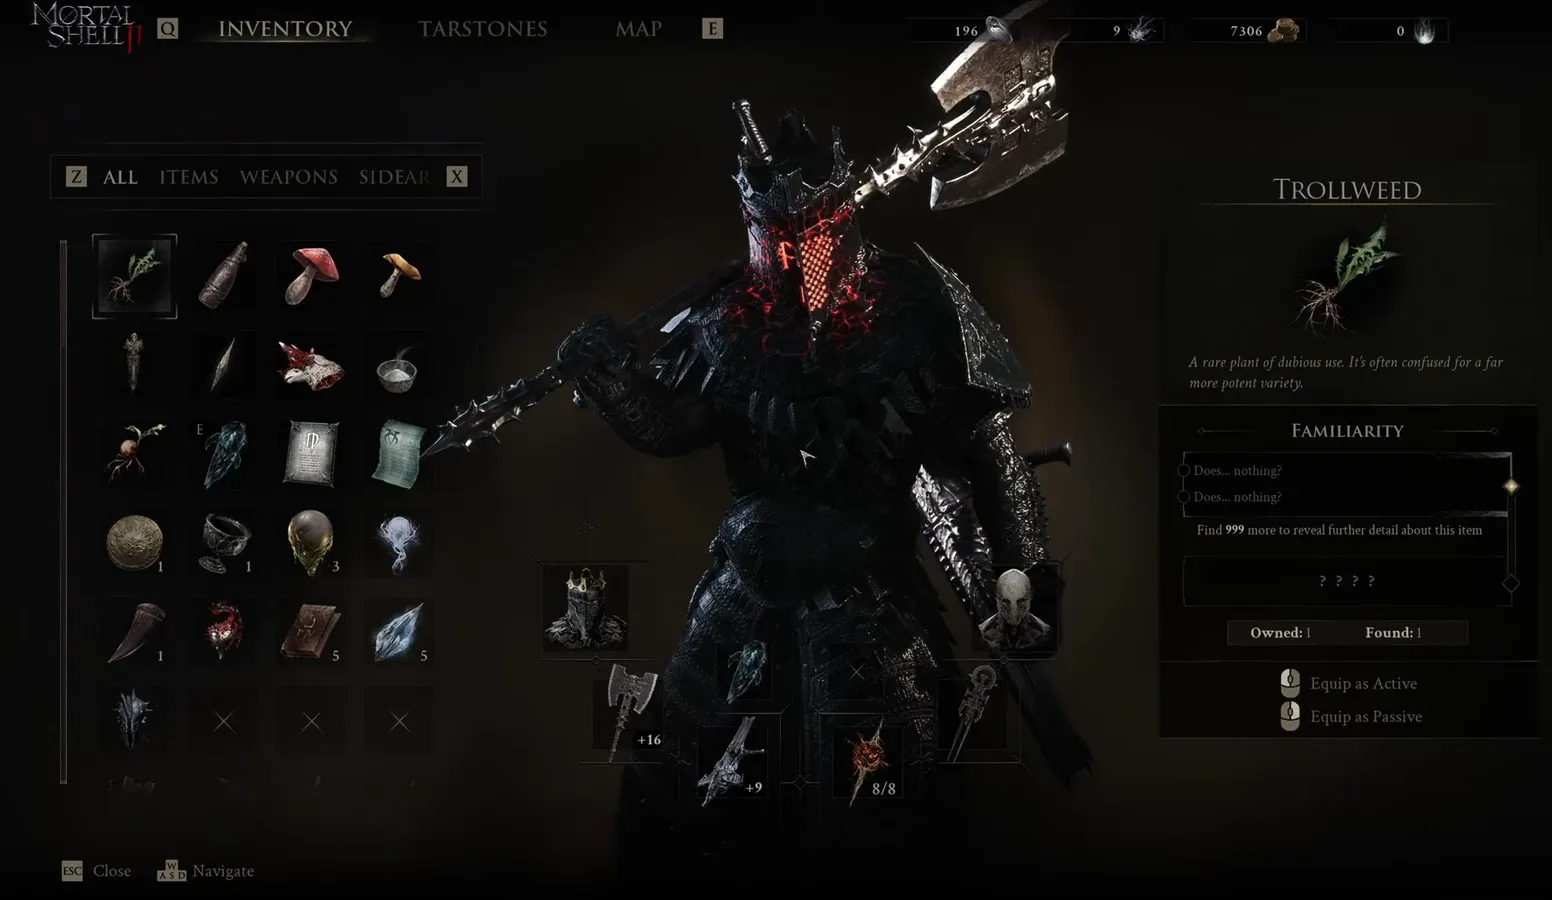
Before you commit, rest at a Beacon to apply the Eredrim upgrades. Apathy and Consecration are the two nodes that matter most here, and they should be slotted before you head into Faithful’s Shelter.
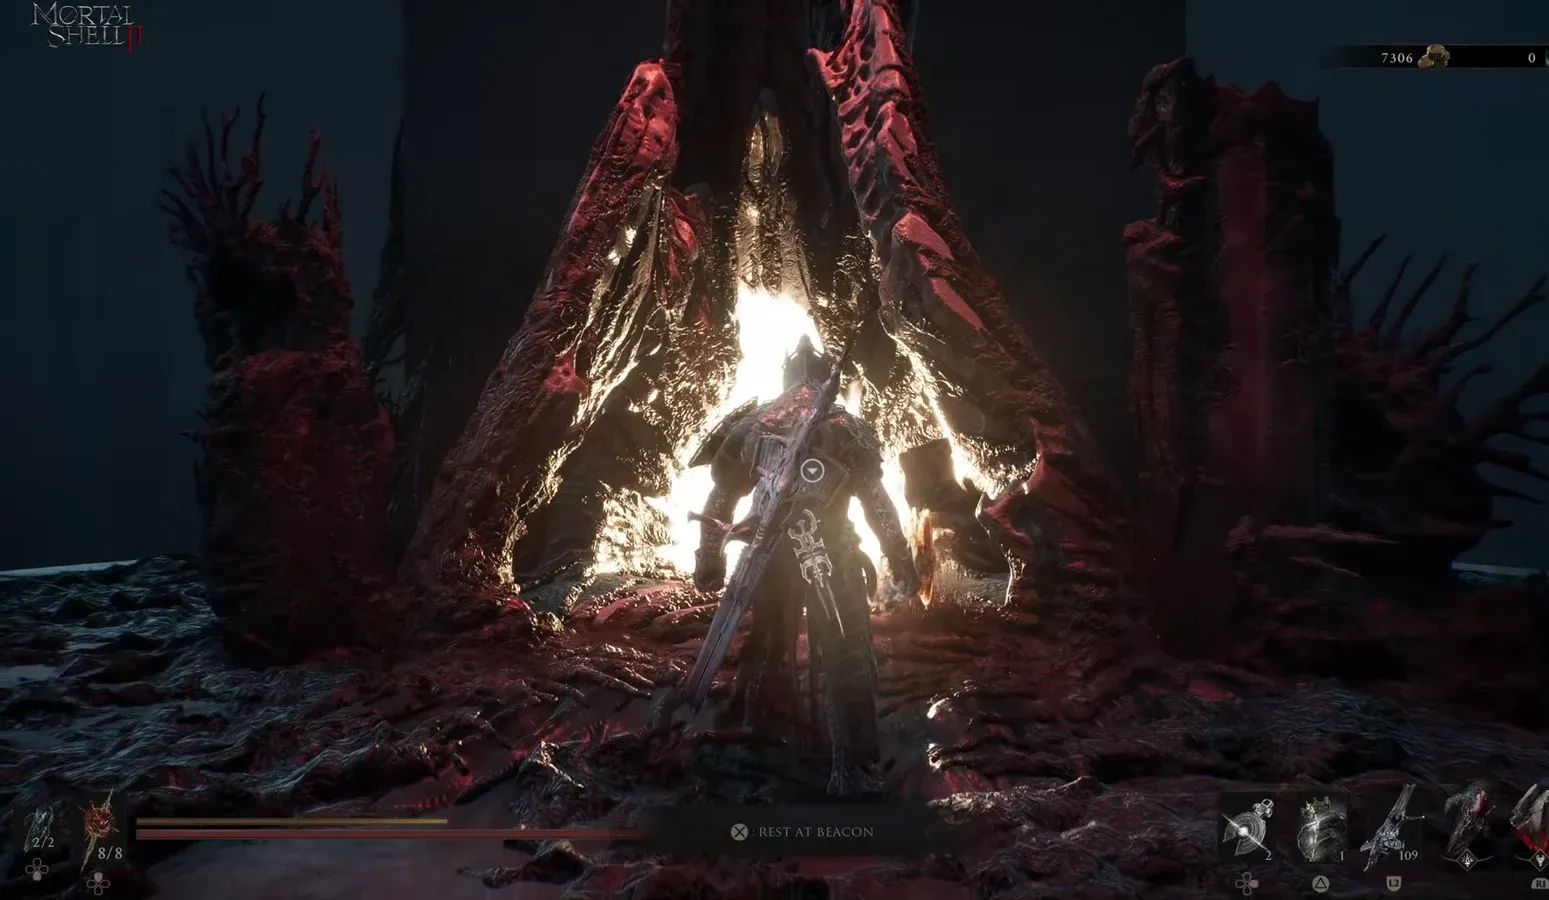
Fire/Axe fight strategy
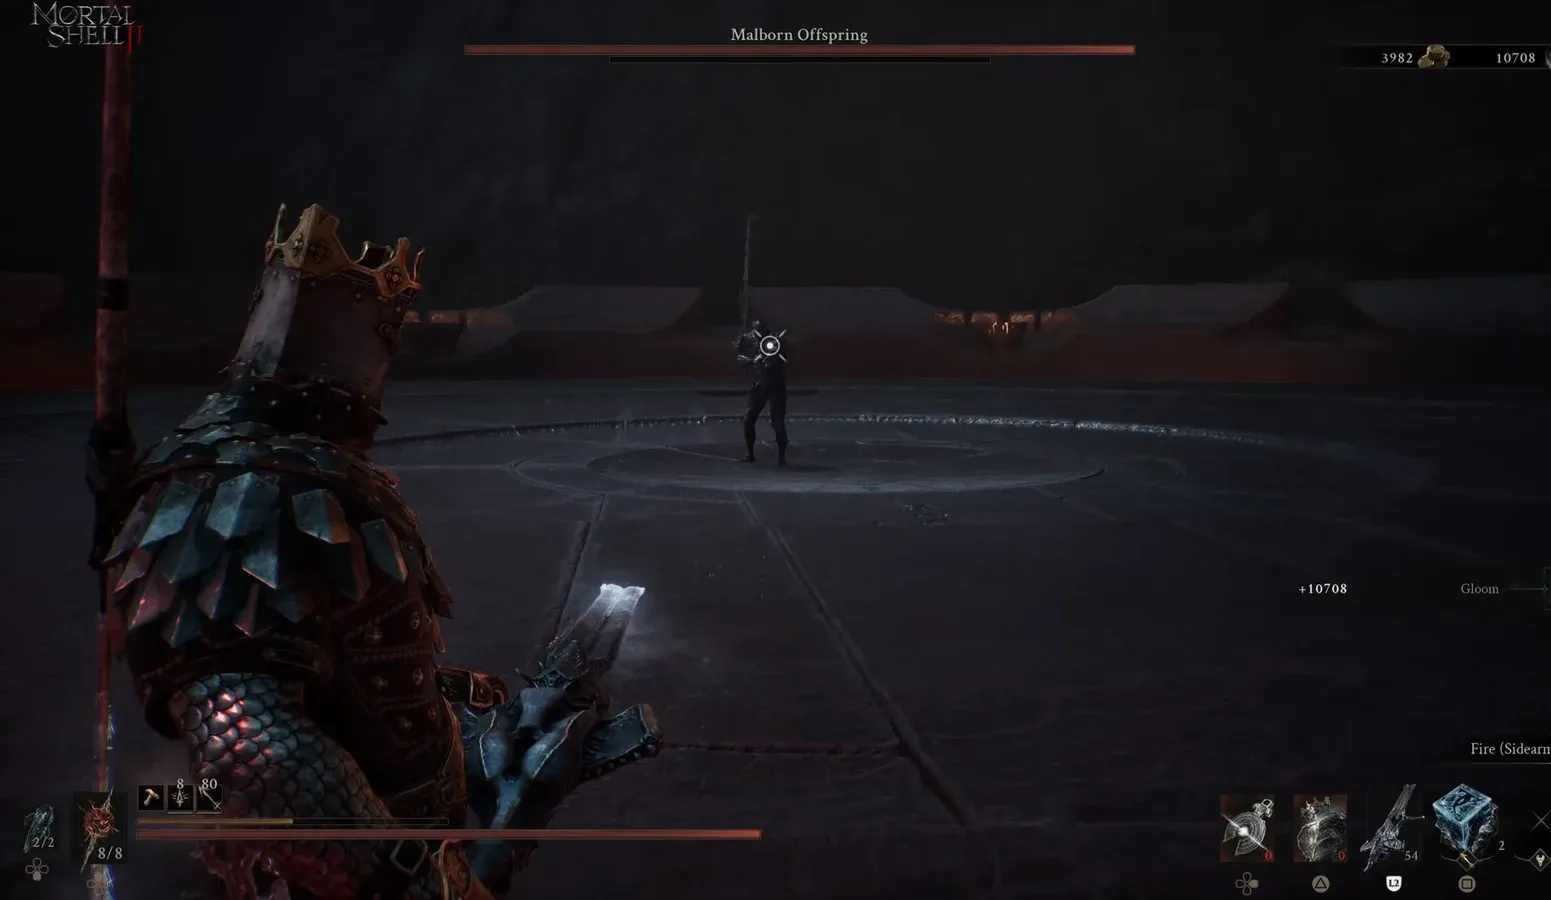
Handling the Lightning phase
If you would rather mitigate the Lightning than out-pace it, equip the Galvanic Shard as either an active or passive before the second phase. You do not need it for the first phase at all, since the boss only gains Lightning-infused attacks after it revives. Dodging to the boss’s side remains the safest option, because you can slip behind it and strike while it is committed to a swing.
Note: The Quadruple Electric Spin ends on an unblockable fourth hit. Treat the first three spins as your cue to start evading and roll clear before the finisher, rather than trying to parry your way through the string.
Why the frost build underperforms
A Frost setup using the Great Martyr’s Blade is playable, but it is weaker here. The Warden’s Stone at Level 2 does not grant permanent frost infusion, which forces you to manually charge the effect. That charging window leaves you exposed to the boss’s fast combos, and it lacks the consistent stagger that makes the Acolyte’s Stone axe build so reliable.
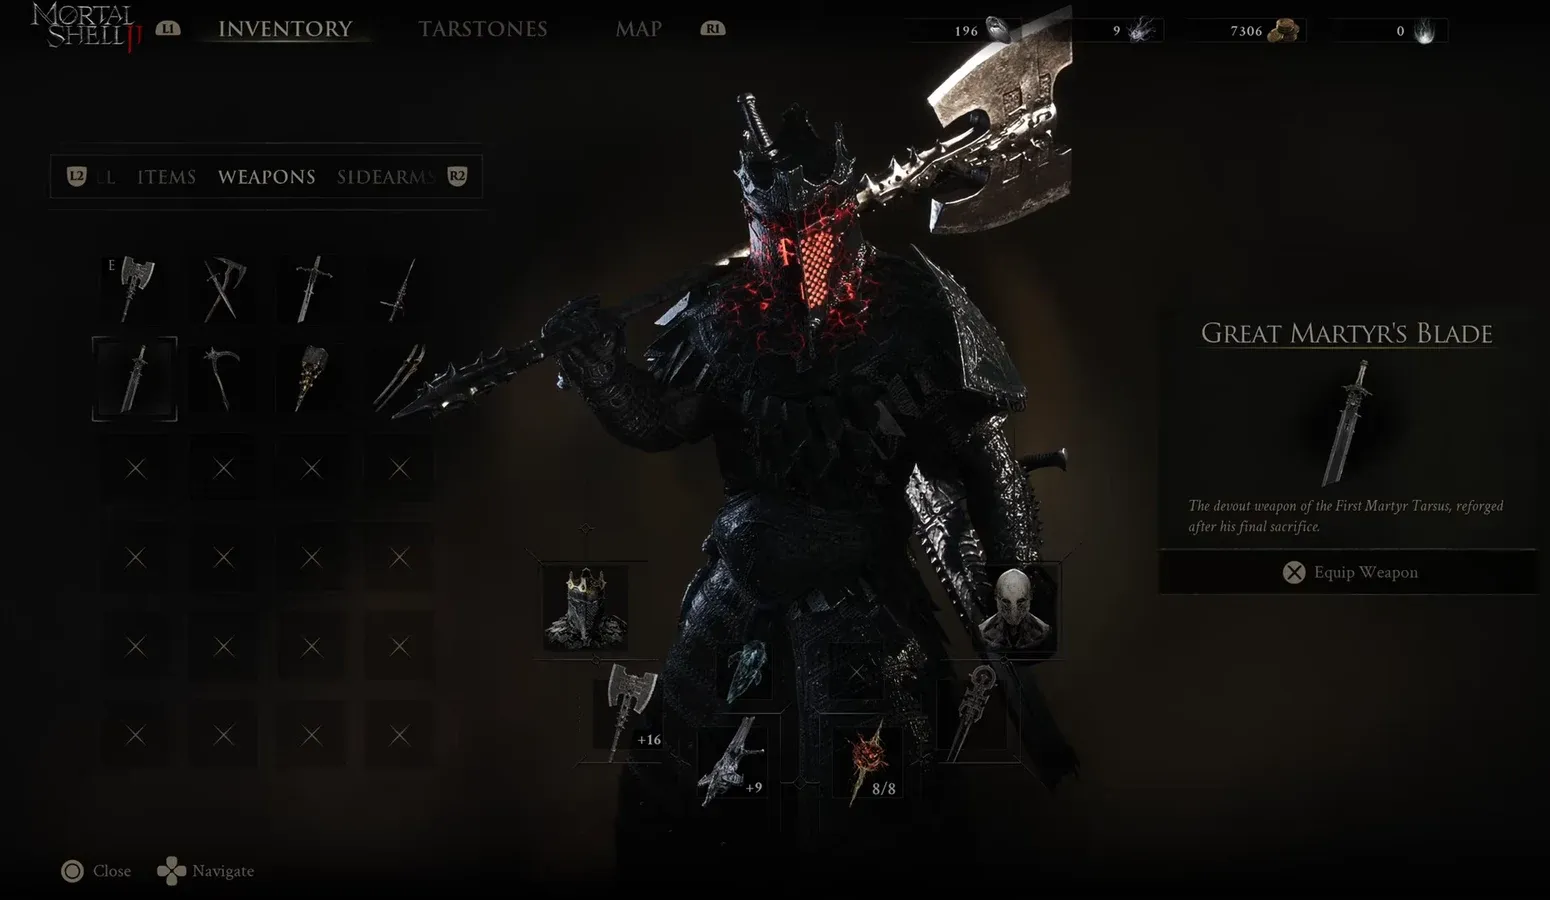
If you prefer an evasion-first playstyle, Tiel is a strong alternative shell. Shadow Dodge lets you turn invisible and reposition, then Shadow Strike from behind lands bonus damage while the boss is mid-combo. Either way, patience with your openings beats trying to parry every swing, since the boss chains blockable and unblockable hits too quickly to punish safely.
Confirming the win and your reward
You know the fight is over when the boss falls for good and the NEW ITEM ACQUIRED notification hands you the OFFSPRING TROPHY, alongside Glimpse and Tar rewards. The Offspring Trophy shows up in your inventory, and you can sell it to the merchant at Marrow Keep for a solid payout. Clearing the boss also destroys the tendril it was protecting, moving you one step closer to Zmey, the Unbidden.
Mortal Shell 2 is available on PS5, Xbox Series X|S, and PC, and the Fire/Axe approach works the same across all three once you have Eredrim, the Veteran’s Battle Axe, and a maxed Acolyte’s Stone in hand.