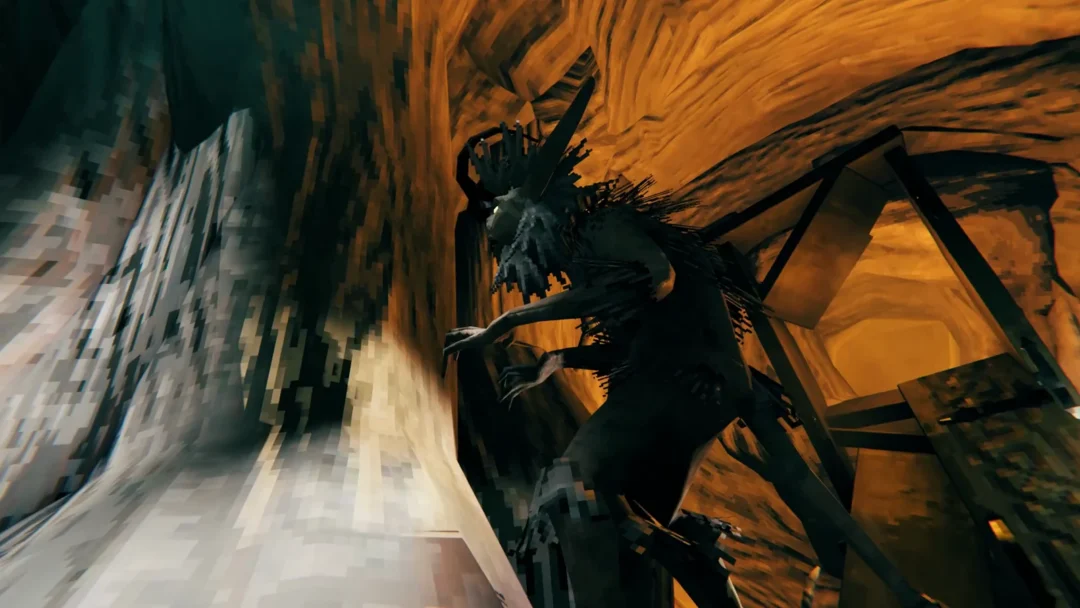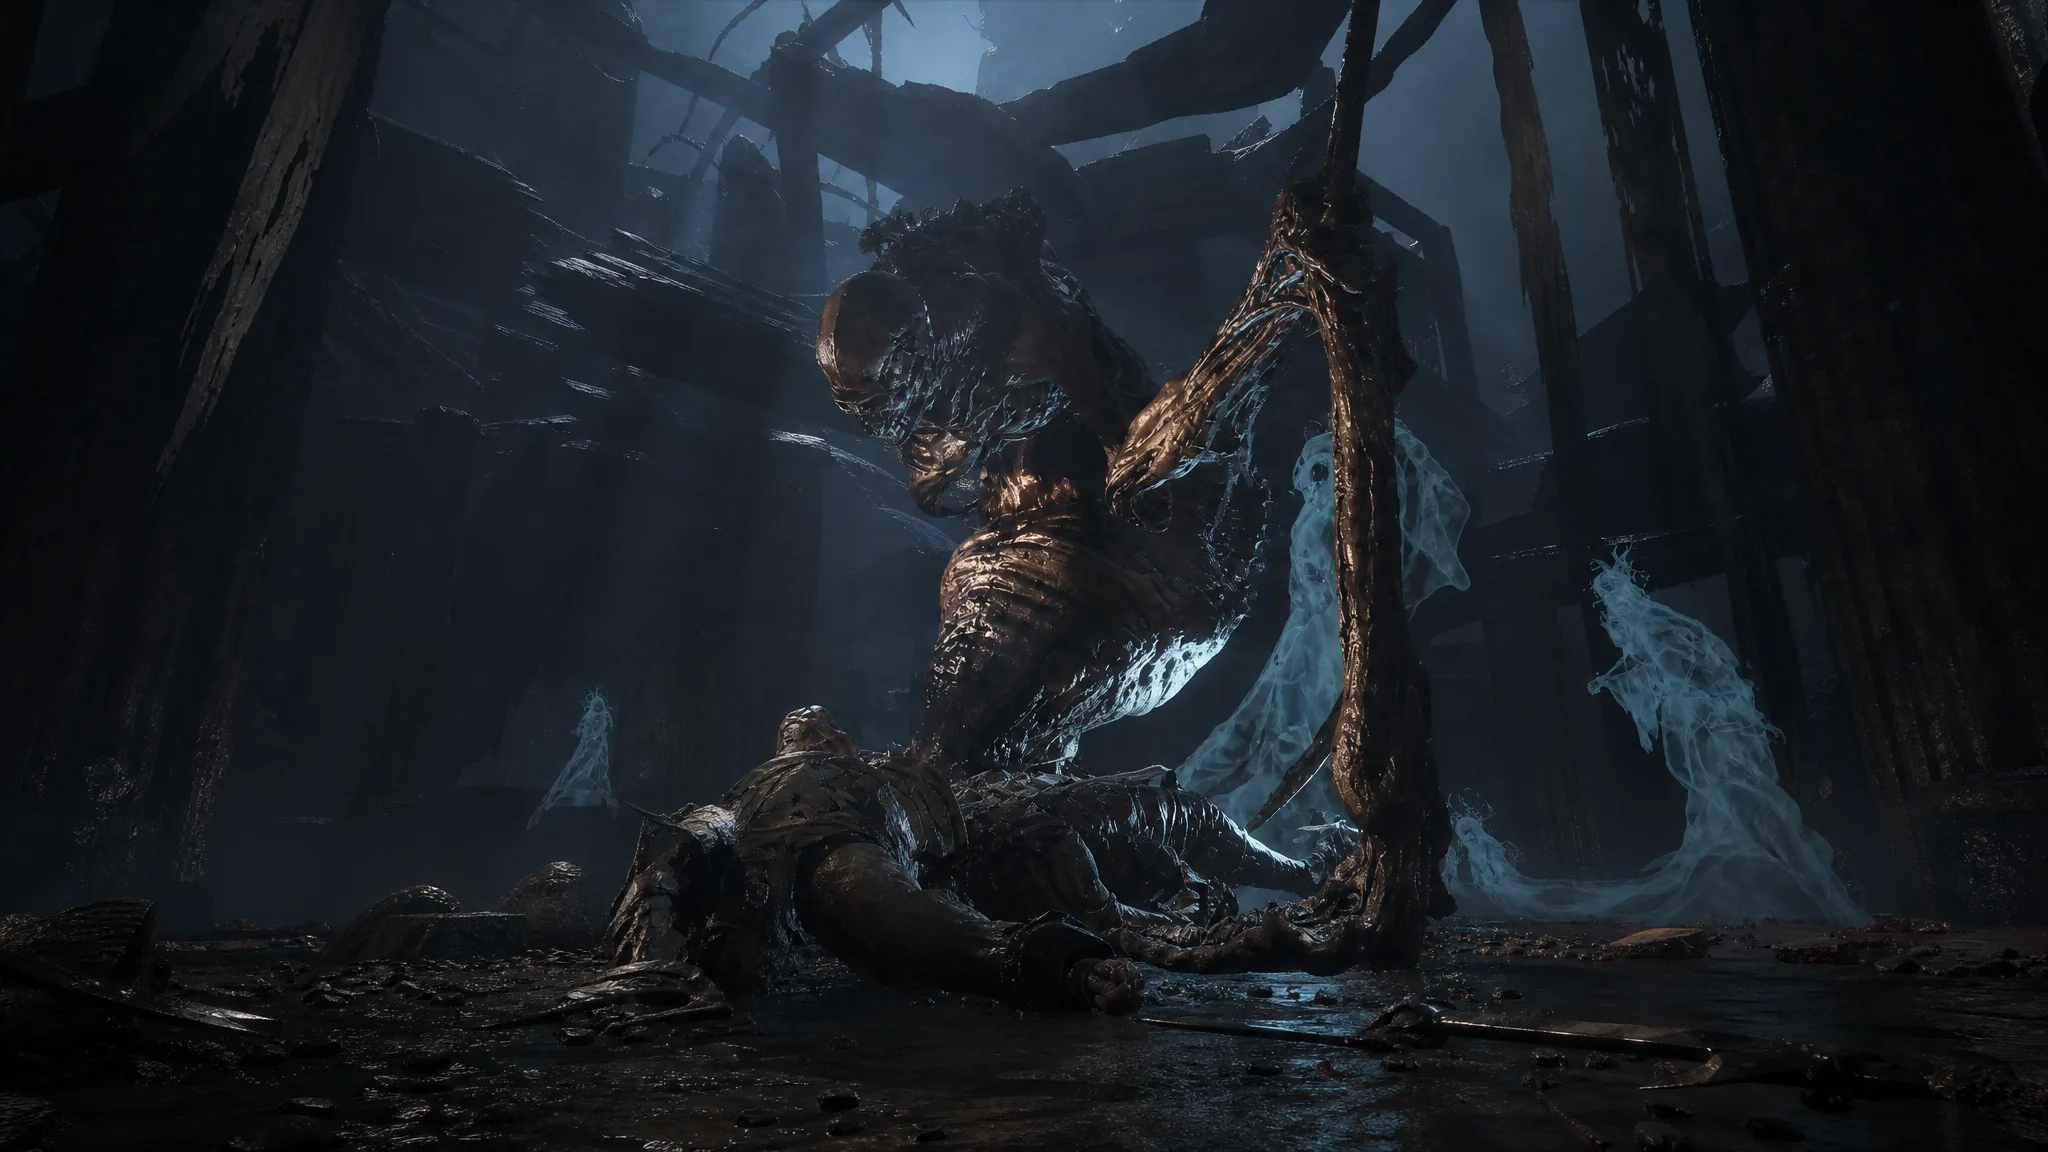
The Unfound Path is the last major area in Mortal Shell 2, and it is built around a single obstacle. A large platform sits in the middle of the dungeon, and you cannot step onto it when you first arrive. To open it, you work through three separate segments, each sealed by a tendril, and each tendril protected by a boss. Only after all three fall does the way to the final fight open.
Quick answer: Defeat Orrem at the Bridge of Procession, the Monolith at the Obsidian Vault, and the Malborn Offspring at the Faithful’s Shelter to destroy all three tendrils. The central platform then becomes reachable, leading to the final boss, Zmey the Unbidden.
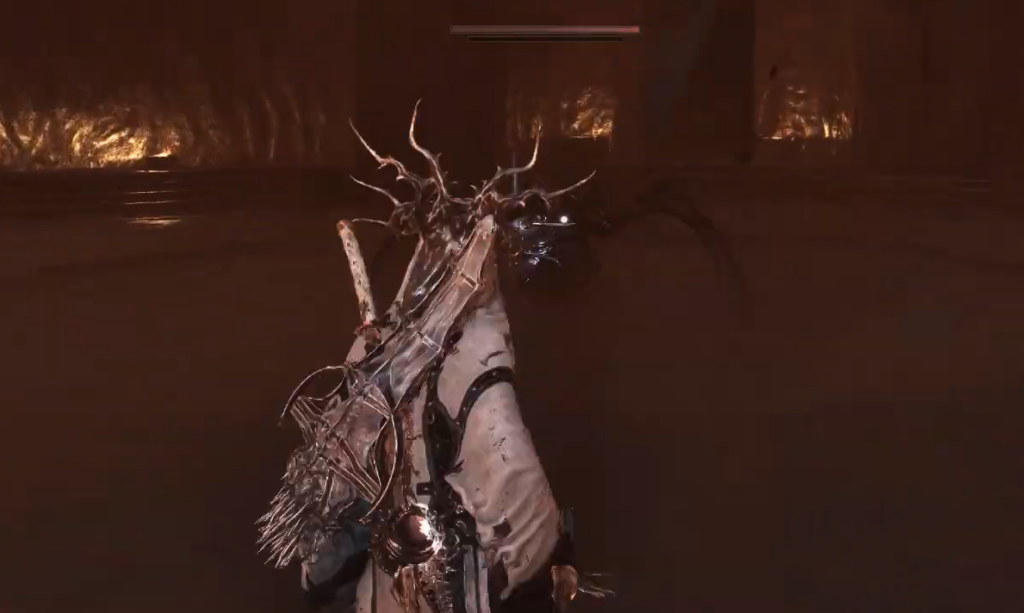
How to unlock the Unfound Path
The Unfound Path opens later in the campaign, after you have gathered enough Ova. Ova come from the game’s Corrupted Gate dungeons. Each major boss you defeat inside those gates spawns a beacon holding 26 Ova, and those totals are what carry your story progress forward.
There are six Corrupted Gate dungeons across the two main regions. In Fainweald you have the Glutted Mire, Sanguine Caverns, and Prisoners’ Domain. In Mammon you have the Conquered Temple, Withered Shoals, and Faded Citadel. Working through these and collecting their Ova is what makes the Unfound Path available.
You do not have to rush the Corrupted Gates. Most of Fainweald and Mammon can be explored first for loot, upgraded gear, and better Tarstones, which makes the closing bosses far more manageable.
The three tendril bosses
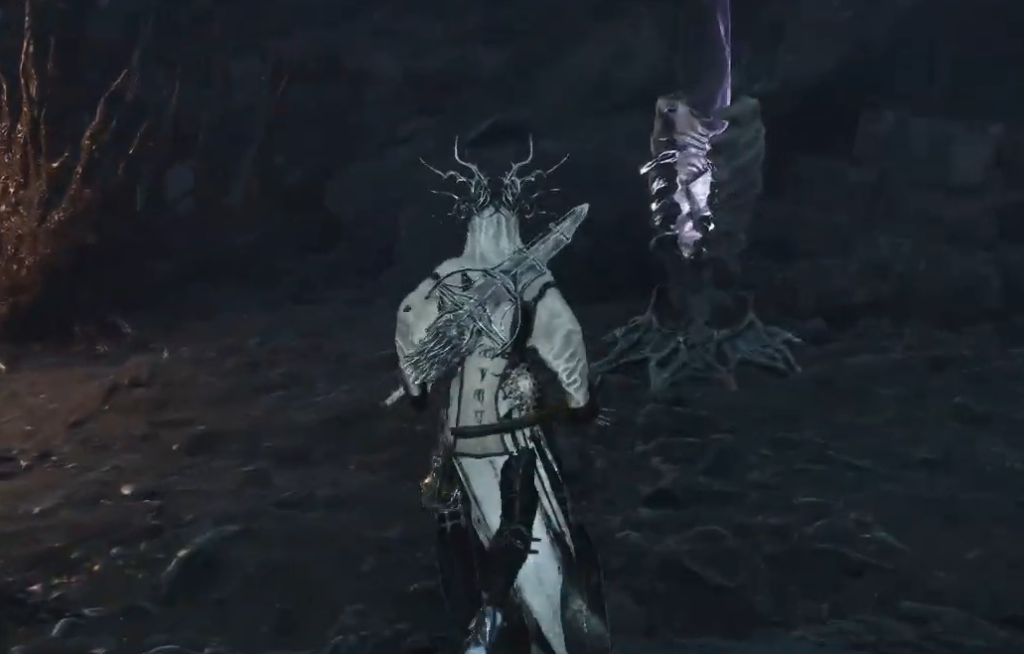
Each segment of the dungeon has a tendril that blocks progression, and you must clear the enemy guarding it before you can destroy that tendril. The three encounters are listed below, along with the shell ally you can summon and the reward each drops.
| Segment | Boss | Shell summon | Reward |
|---|---|---|---|
| Bridge of Procession | Orrem, the Discarded Golem / the Reclaimed | Sariel | Orrem’s Head (trade for 5,000 coins) |
| Obsidian Vault | The Monolith | None | Monolith Fragment (trade for 5,000 coins) |
| Faithful’s Shelter | Malborn Offspring | — | — |
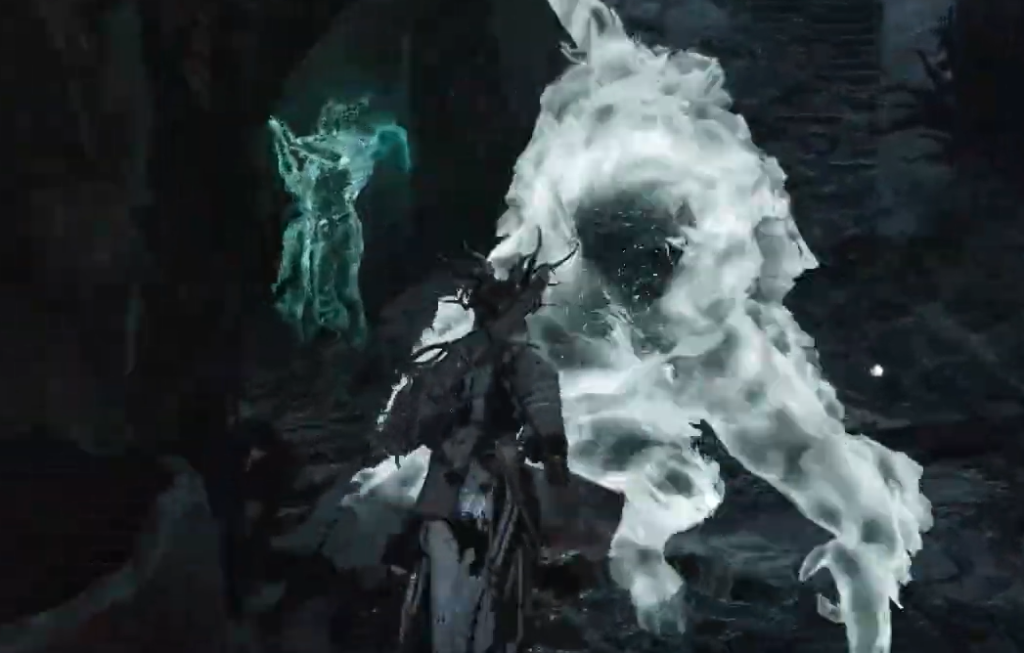
Several boss encounters let you permanently summon a spectral shell warrior as an ally, but the unlock costs one Glimpse. Spend it before the fight if you want the extra help.
Orrem at the Bridge of Procession
Orrem is a supercharged Tar Golem and a two-phase fight, so manage your healing carefully across both stages. In the first phase, Orrem follows its melee combo with Cascading Fire, creating flame explosions around you, and it periodically leaps high before slamming back down.
Once you drain its health, the golem grows a tail and shifts into its second form, Orrem the Reclaimed. It moves around the arena more, lashes with the tail, and sets off flame explosions from range. Keep some flasks in reserve for this stage rather than burning them all early.
The Monolith at the Obsidian Vault
The Monolith is a huge stone block with a very large health pool, so expect a long fight. Early on it attacks mostly by jumping and dropping down to crush you, which is easy to sidestep once you read the timing.
After you take out half of its health bar, it starts firing beams and spins in place while they are active. Keep moving around the arena and time your dodges to slip past the pulsing beams instead of trying to tank them.
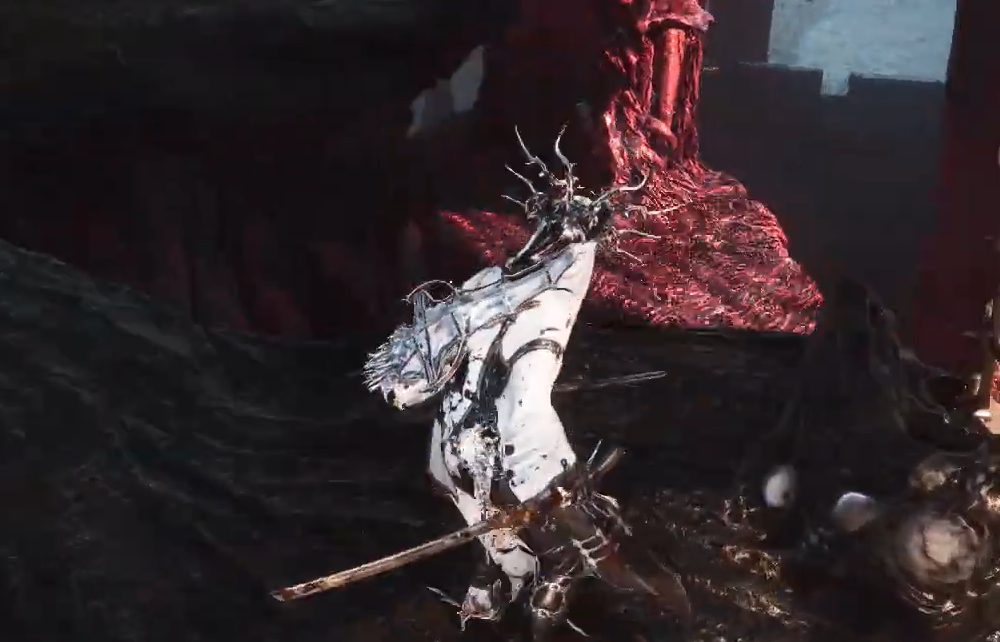
The Malborn Offspring at the Faithful’s Shelter
The Malborn Offspring is the hardest of the three tendril guardians. It is a two-phase encounter with attacks that are difficult to predict. Its cleaving combos chain five or six hits together, each with different animation speeds and delays, which makes committing to a full punish risky.
Because the timing shifts within a single string, favor short, safe punishes and reset your spacing between combos rather than trading blows. Save this boss for last if your build still needs upgrades, since it will test your patience more than the other two.
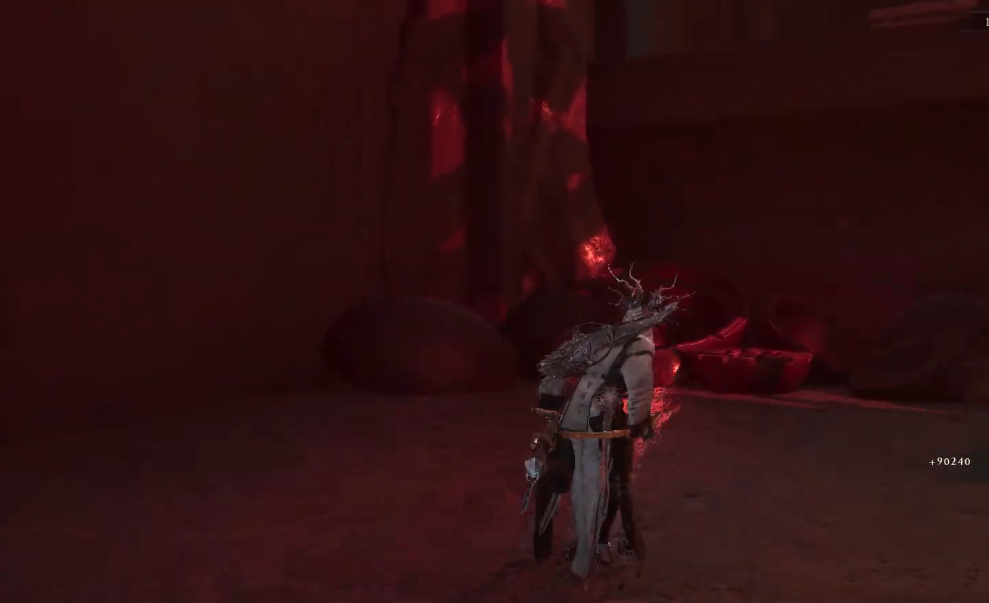
Reaching Zmey the Unbidden
With all three tendrils destroyed, the central platform you could not reach at the start becomes accessible. Stepping onto it commits you to the last fight of the game against Zmey the Unbidden. Once “Walk the Unfound Path” is your objective, you are firmly in endgame territory, so tidy up anything you still want before you commit.
You know the dungeon is cleared when each segment’s tendril is gone and the platform opens, and the story concludes once Zmey falls. After the final boss, you can still return in free-roam and finish any remaining overworld dungeons before starting New Game+. Note that the areas behind the Corrupted Gates and the final area itself contain no side dungeons, so nothing is missable inside the Unfound Path.
Should you tackle it in Night Mode?
Night Mode raises the challenge of encounters and is best treated as an optional harder pass rather than the default route to the ending. The practical rule is to progress and learn in Standard, then switch to Night only once your route and build are stable enough that the added difficulty is worth the extra rewards. Clearing the Unfound Path is demanding enough on its own, so there is no need to layer Night Mode on top unless you specifically want the tougher run.