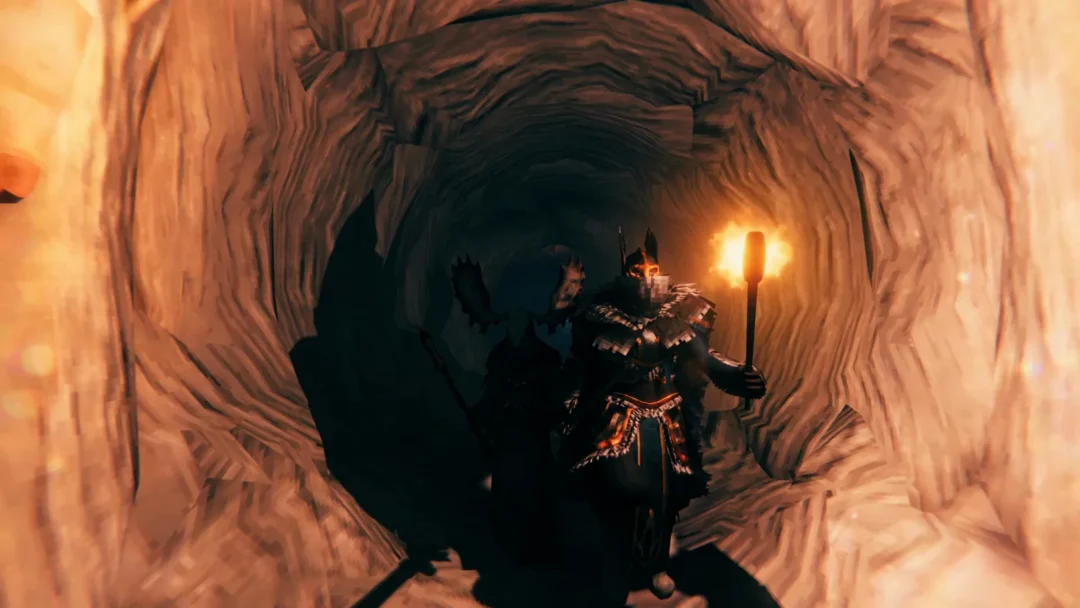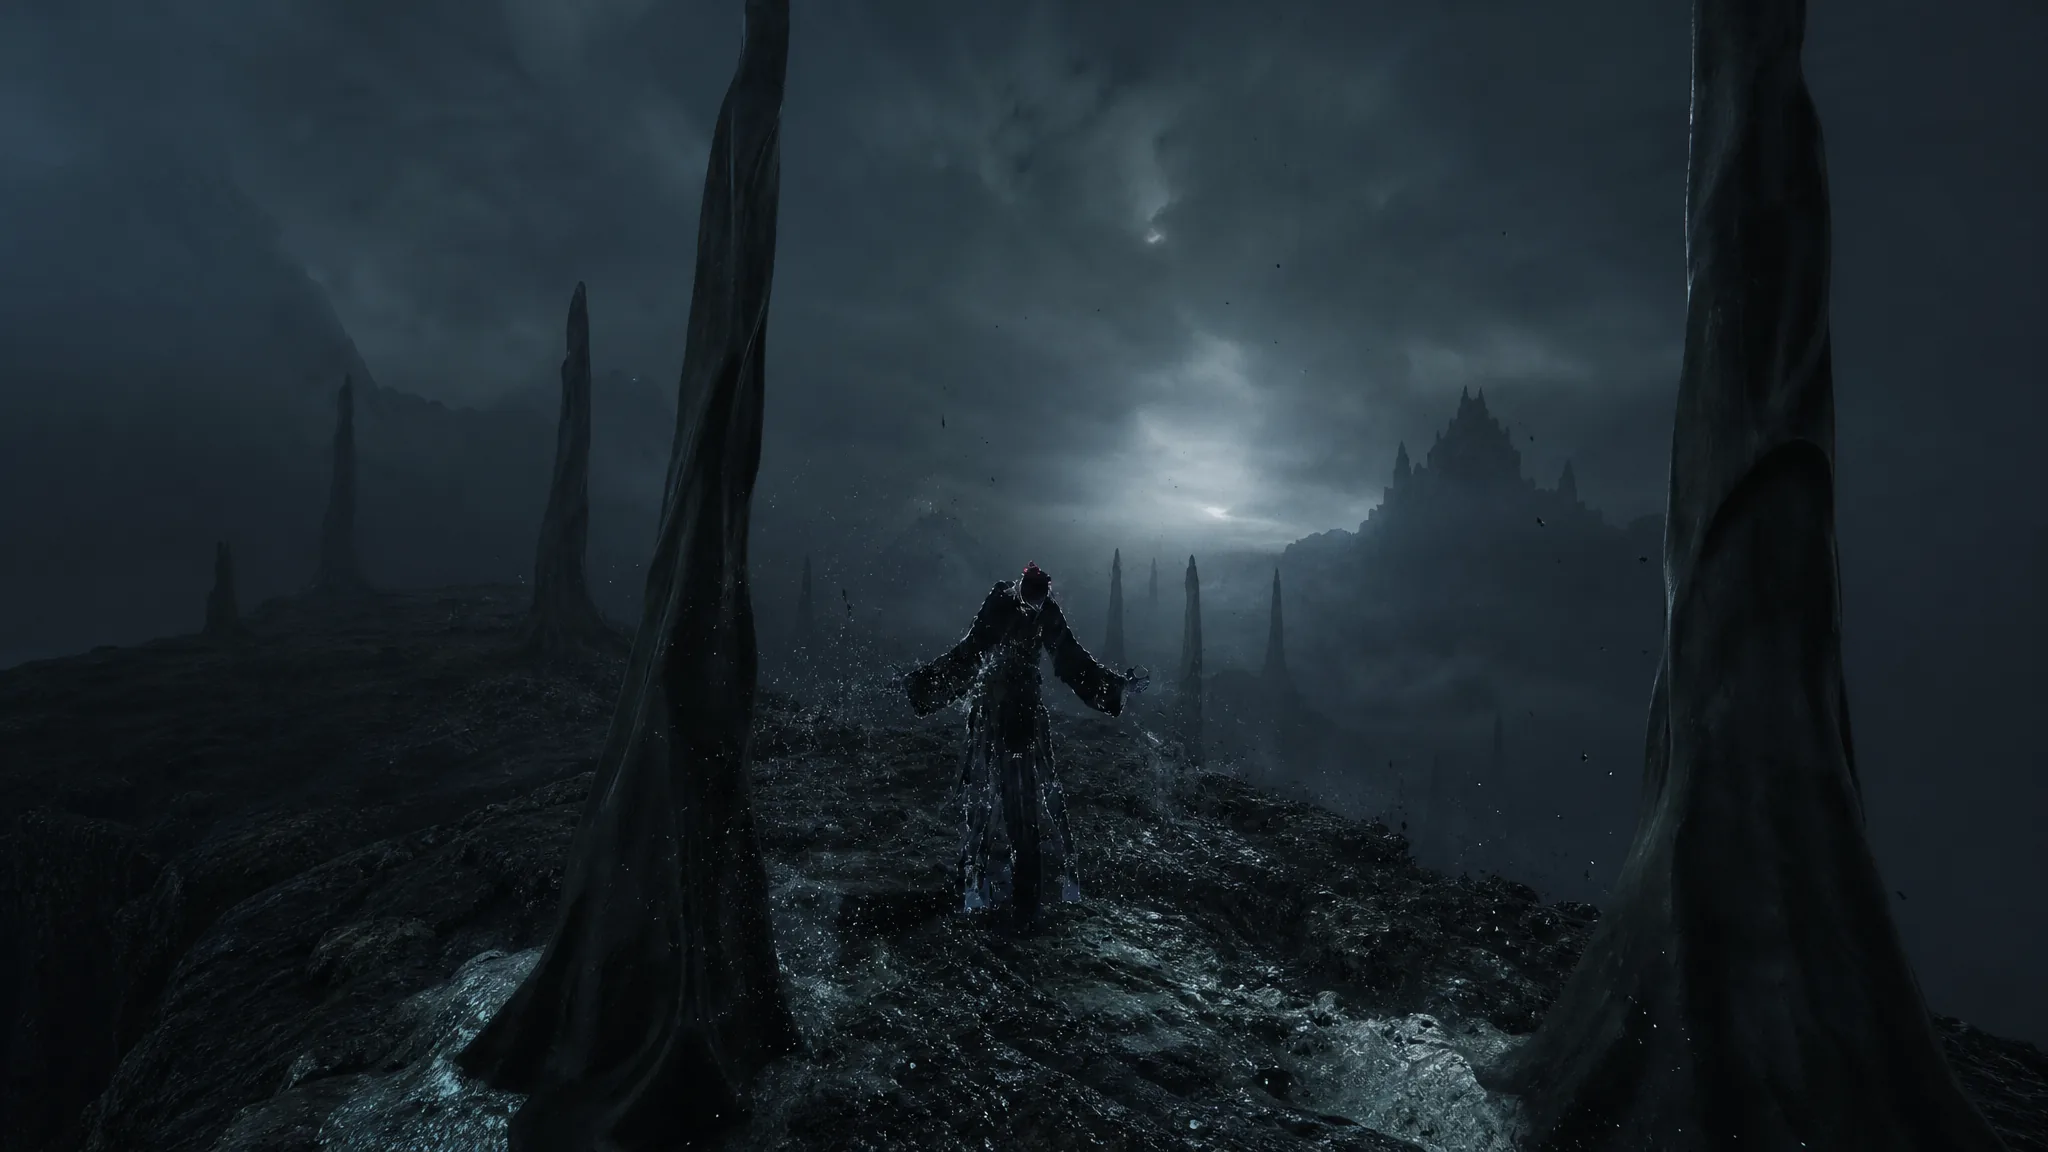
The Bridge of Procession is one of the three story segments inside The Unfound Path, the last dungeon in Mortal Shell 2. Cleansing its beacon sets a checkpoint deep in the area and opens the character menu you need before the run toward the final boss. The route is linear once you know it, built around a vertical drop and three teleportation platforms.
Quick answer: Enter The Unfound Path through the hole that opens in Marrow Keep after you collect 150 Ova, follow the segment down a shaft and across its three teleporters, then interact with the red structure at the top of the final staircase to summon Sariel and cleanse the Bridge of Procession Beacon.
How to unlock The Unfound Path
The Unfound Path becomes available late in the campaign. A hole opens in the floor of Marrow Keep once you have gathered 150 Ova, and dropping through it takes you into the final dungeon. Ova come from the beacons that spawn after you clear the Corrupted Gate dungeons across Fainweald and Mammon, with 26 Ova found inside each of those boss beacons.
The dungeon is built as a central circular structure with three story paths branching off it. Each path holds two beacons on its main route. The Bridge of Procession is one of those three paths, so you clear it as a self-contained segment before returning to the middle.
Route to the Bridge of Procession Beacon
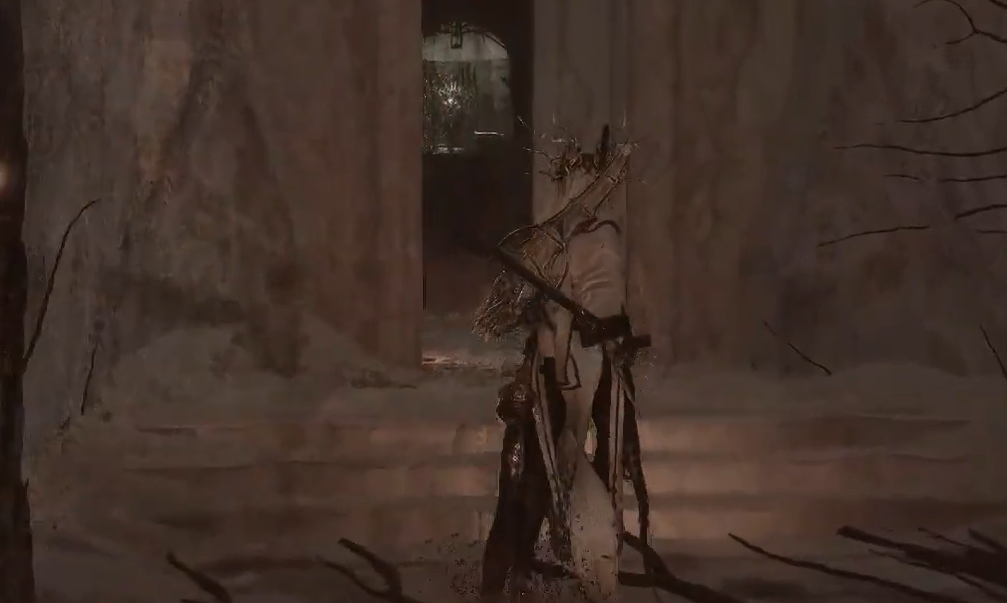
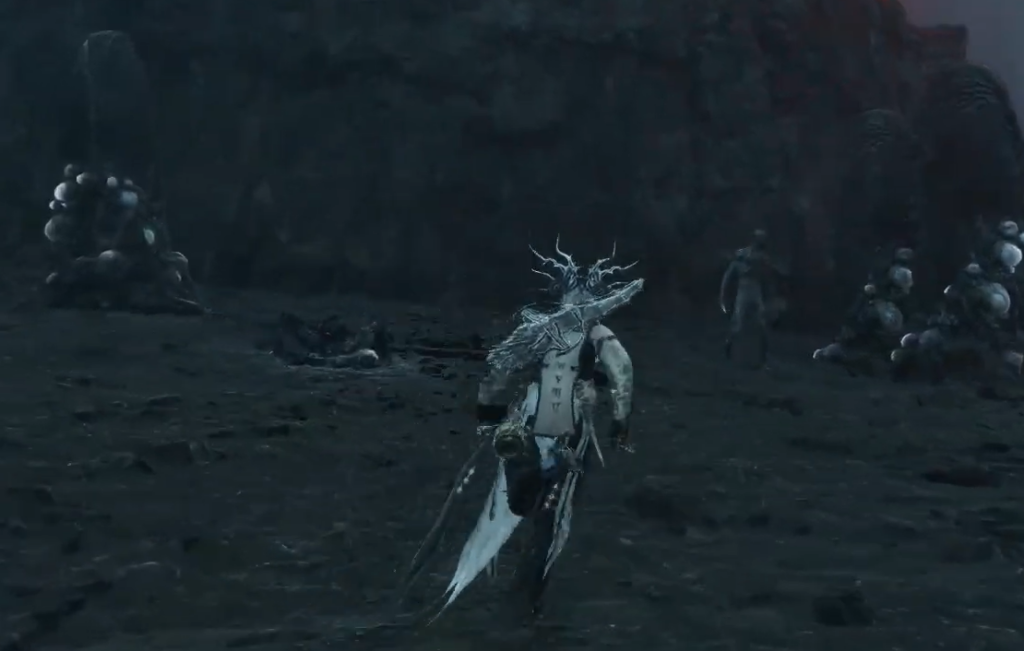
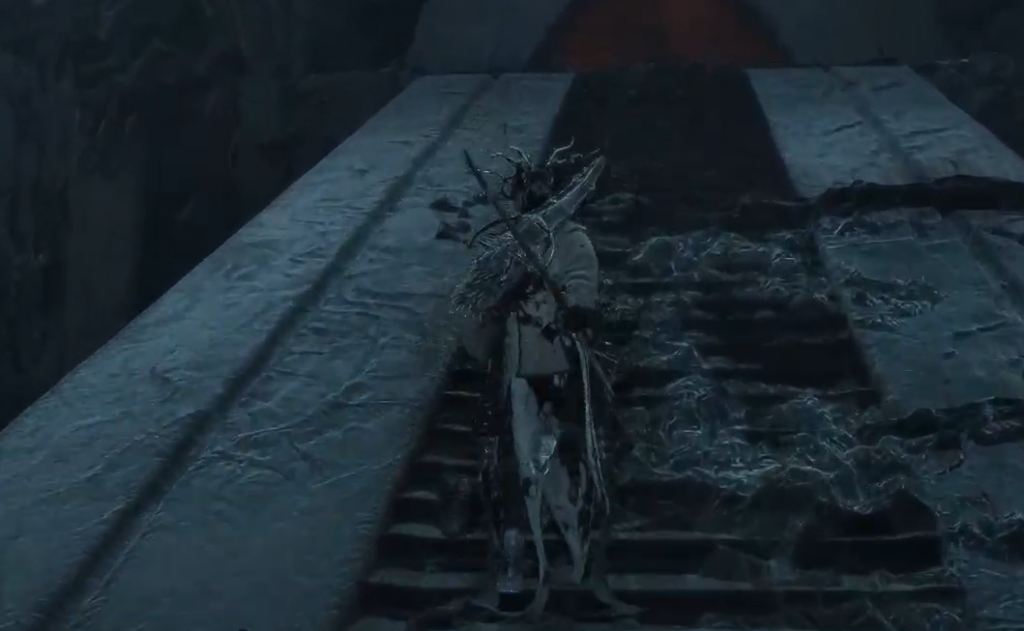
The materials you can pick up along this stretch are worth grabbing as you pass, since the path does not loop back easily.
| Item | Where you find it |
|---|---|
| Dreadium | Ribcage structures in the watery cave after the shaft |
| Voidstone | Foggy exterior after the first teleport |
| Lanolite | Red-lit corridor after the third teleport |
| Prohibited Scripture | Along the segment’s route |
Orrem, the guardian of this segment
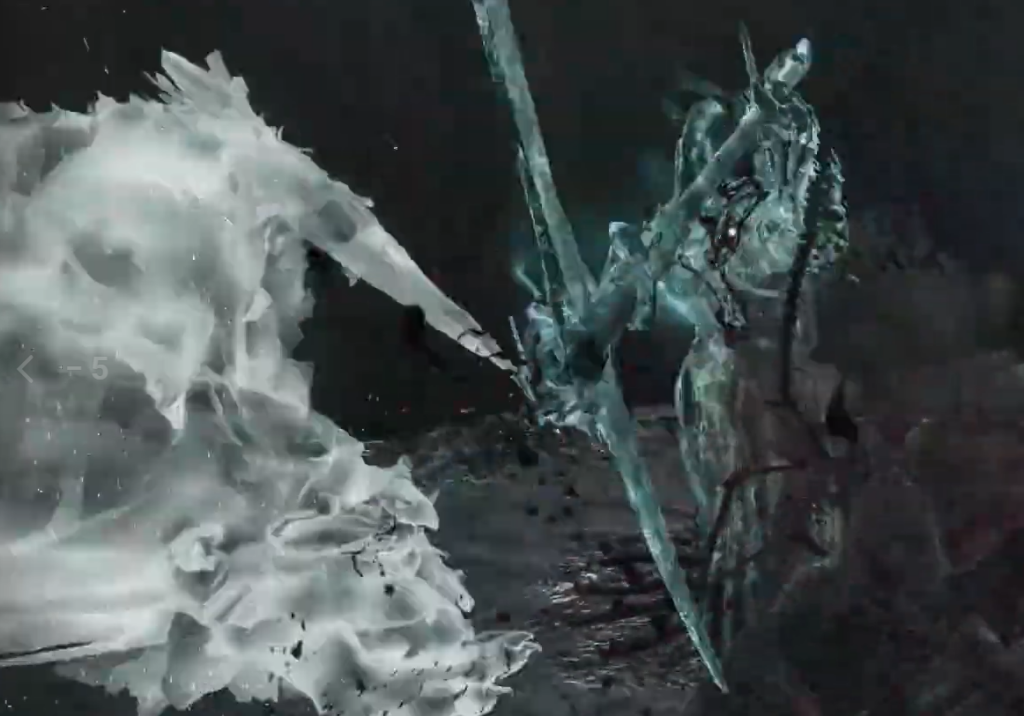
Each of the three story paths is blocked by a tendril, and you must defeat the enemy guarding it before you can destroy that tendril and progress. The Bridge of Procession is guarded by Orrem, the Discarded Golem, a beefed-up Tar Golem that shifts into a second phase called Orrem, the Reclaimed.
In the first phase, Orrem sets off flame explosions with its Cascading Fire attack after a melee combo and periodically leaps high before slamming down. Once its health is depleted, it grows a tail, scurries around faster, lashes with the tail, and triggers flame explosions from range. You can spend 1x Glimpse to summon the shell warrior Sariel as a spirit ally for the fight. Defeating Orrem drops Orrem’s Head, which can be traded for 5,000 coins.
The encounter runs across two phases, so keep at least one healing flask in reserve for the tail phase.
Cleansing the beacon and confirming it worked
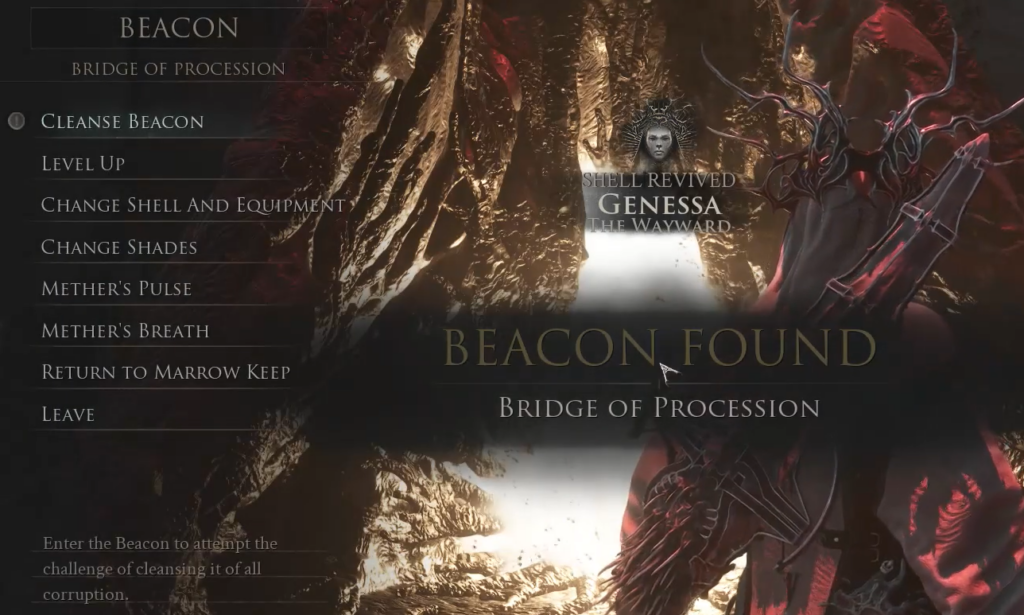
At the top of the final staircase, interact with the red structure. The prompt reads BEACON FOUND, the location displays as BRIDGE OF PROCESSION, and Sariel is summoned as you activate it. Select CLEANSE BEACON to lock in the checkpoint. Once cleansed, the beacon works as a full rest and management point.
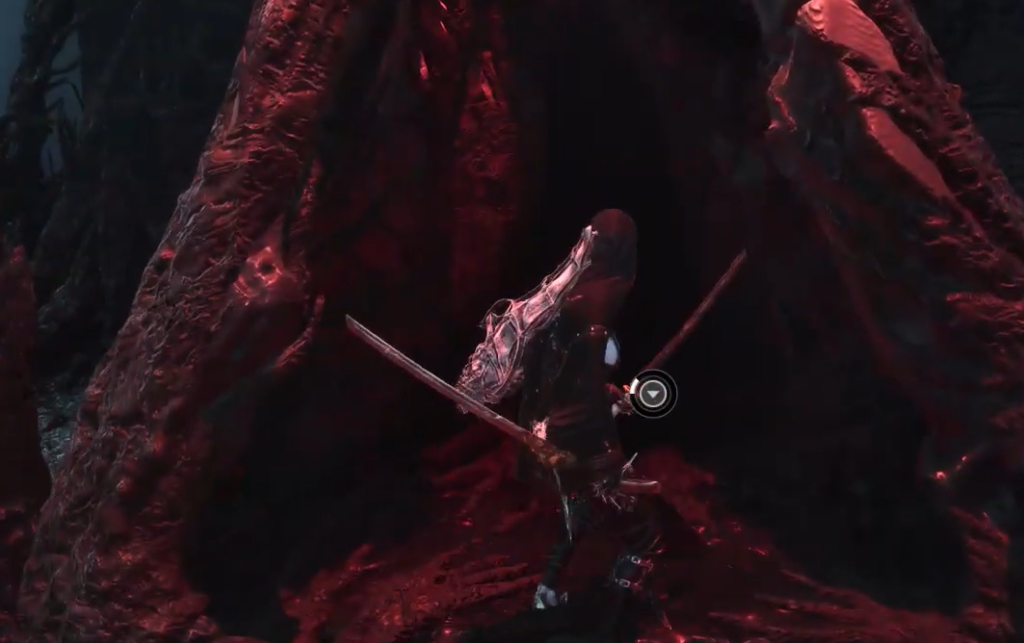
From the beacon menu you can use the following options.
| Menu option | Purpose |
|---|---|
| Level Up | Spend resources to raise your character |
| Change Shell and Equipment | Swap your active shell and gear |
| Change Shades | Adjust shell color schemes |
| Mother’s Pulse | Beacon utility function |
| Mother’s Breath | Beacon utility function |
| Return to Marrow Keep | Fast travel back to the hub |
| Leave | Exit the beacon menu |
Clearing this segment is only one part of finishing the dungeon. There is a final beacon around the central circular structure that can only be cleansed after all three story paths, including the Bridge of Procession, are done. That last cleanse is what opens the road to Zmey the Unbidden, so treat the Bridge of Procession Beacon as your reliable rest stop while you work through the remaining tendrils.