

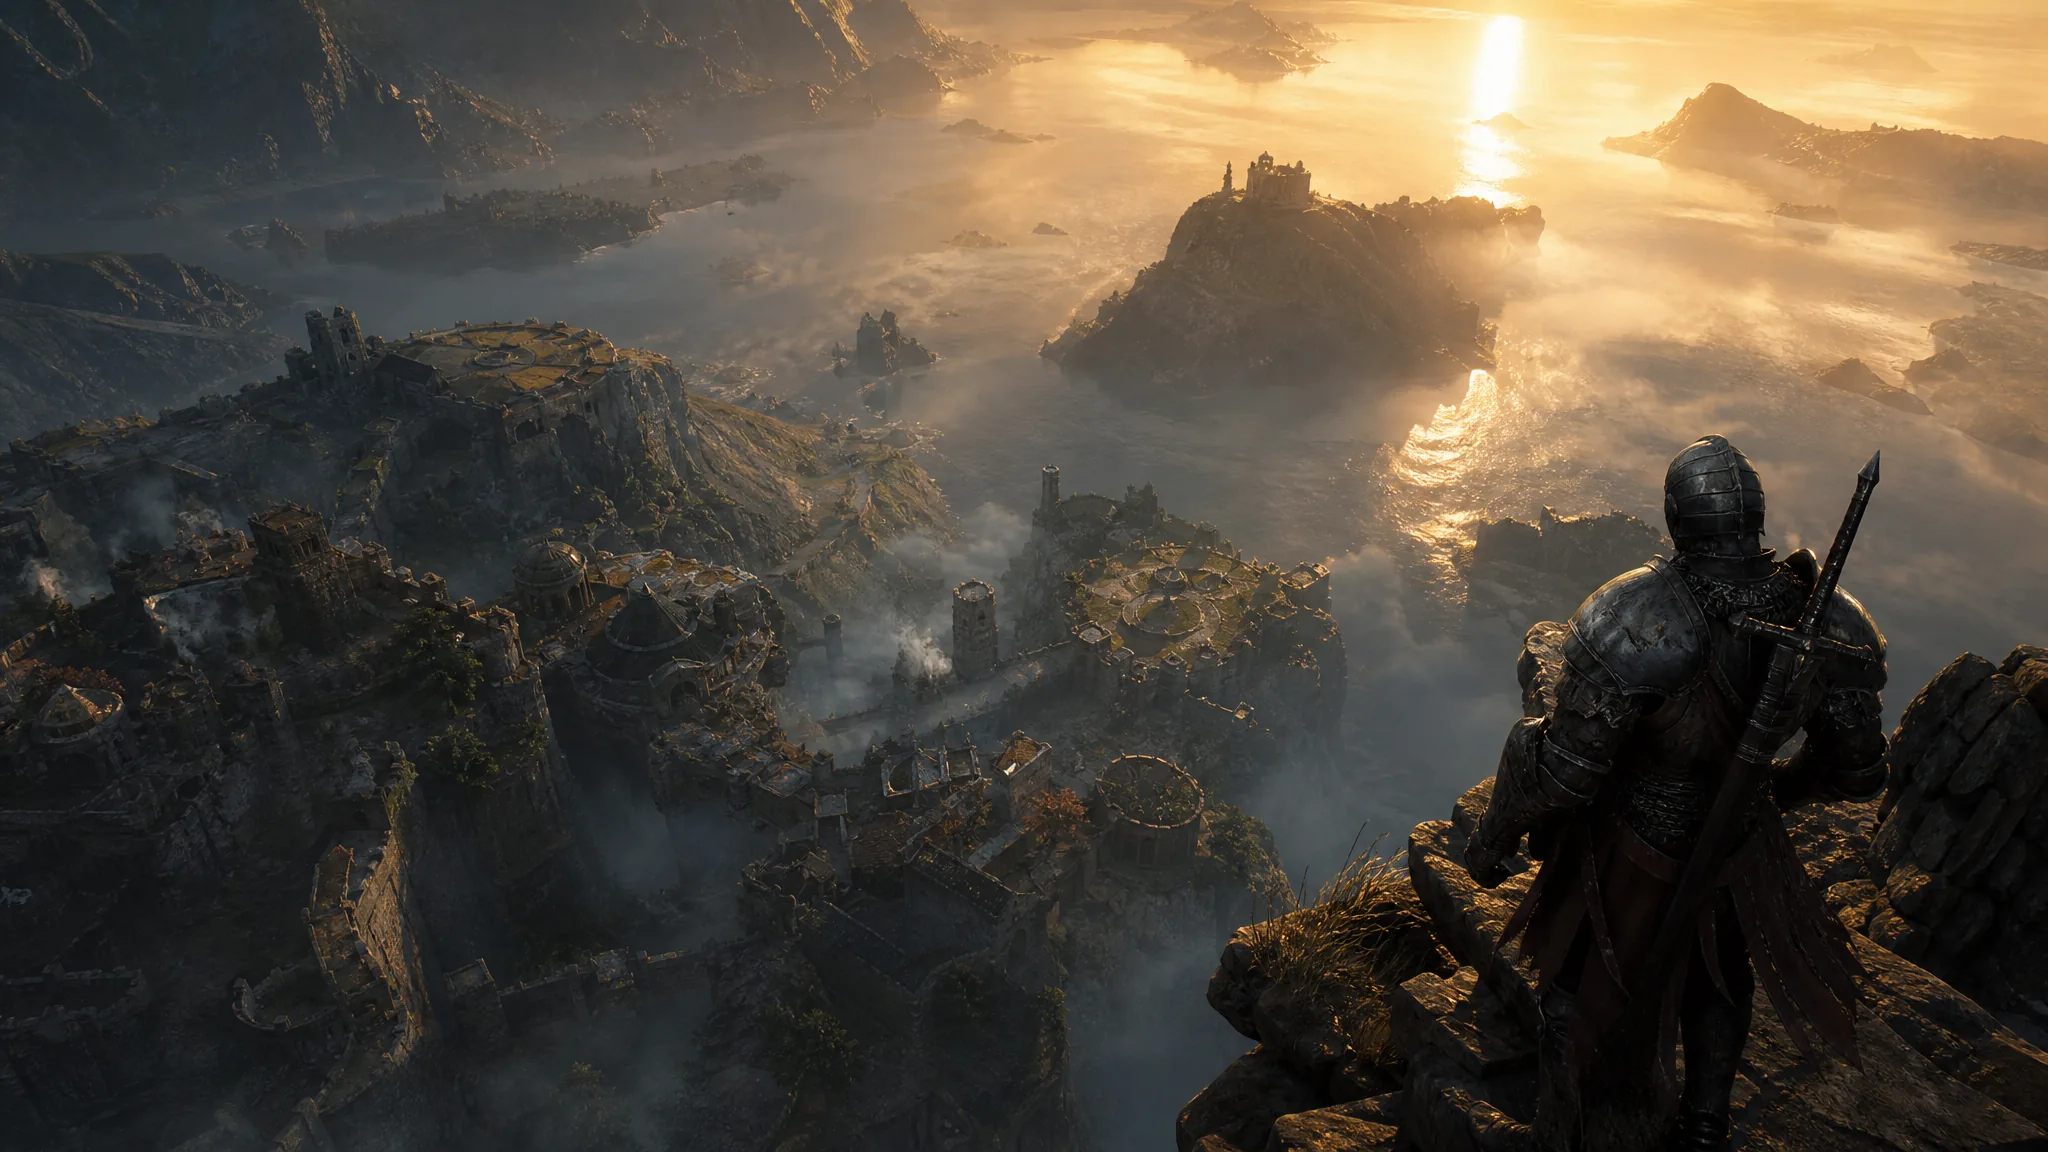
Mortal Shell 2 hands you a world map, but it starts buried under fog, and no amount of walking will burn that fog away on its own. The fog only lifts when you find the map fragments scattered across the world, each one handed over by Ruk, the oversized raven who perches on statues waiting for you to catch up. There are 11 fragments in total, split between the Fainweald and Mammon regions.
Quick answer: Look for the crow icons on your map, travel to each one, and interact with the pedestal where Ruk is sitting to claim that region’s map fragment. Grab all 11 to fully clear the fog and unlock the Sat Nav trophy.
How map fragments work
Most soulslikes skip the world map entirely. Mortal Shell 2 is different because it plays out across an open world, so it gives you one, but leaves it covered until you do the legwork. Simply covering distance in an area does nothing to the fog. You need the physical fragments.
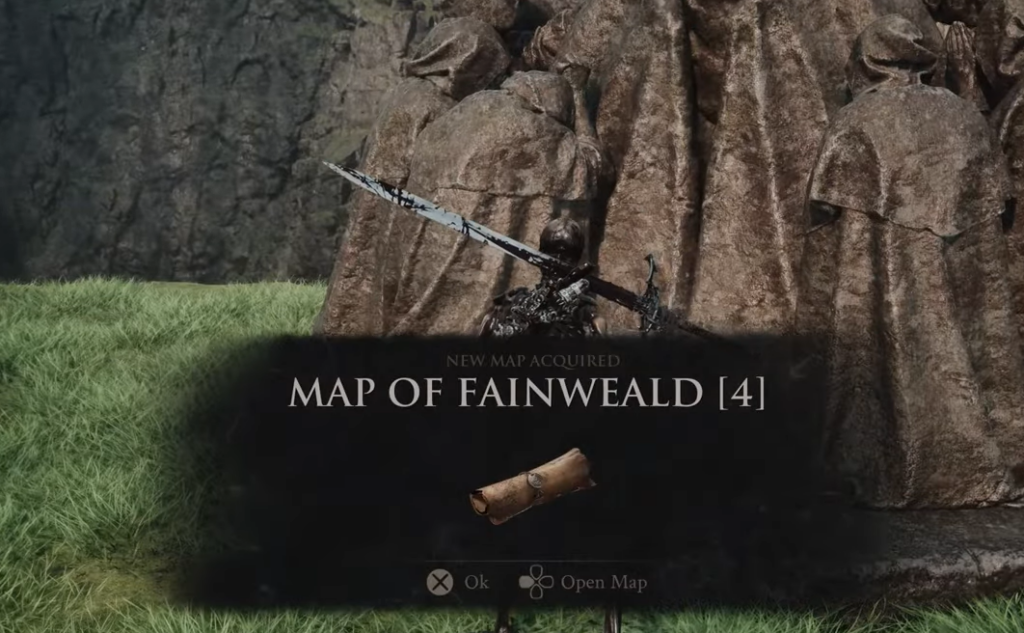
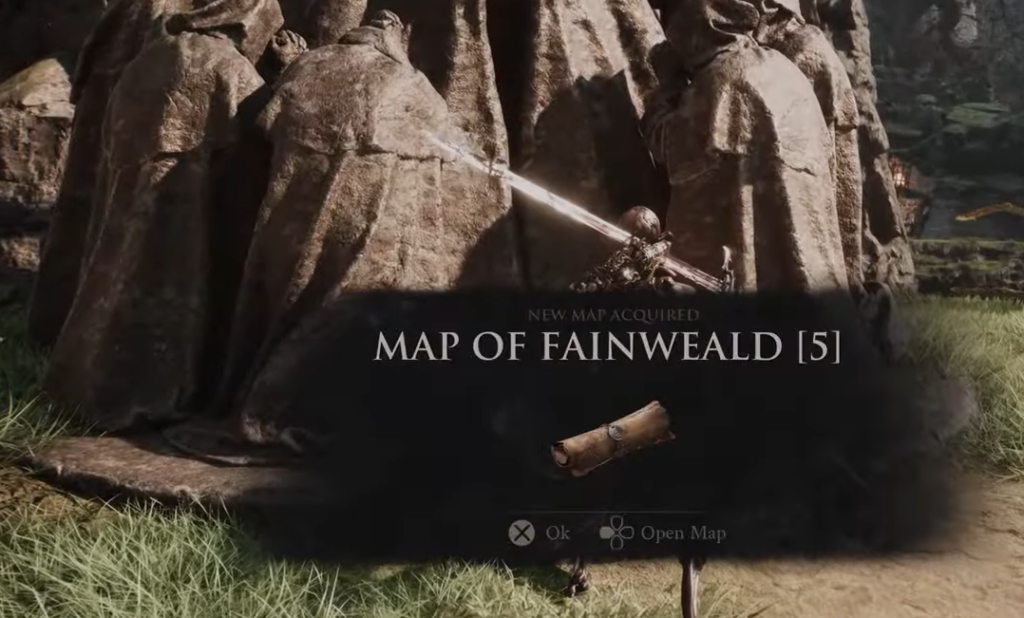
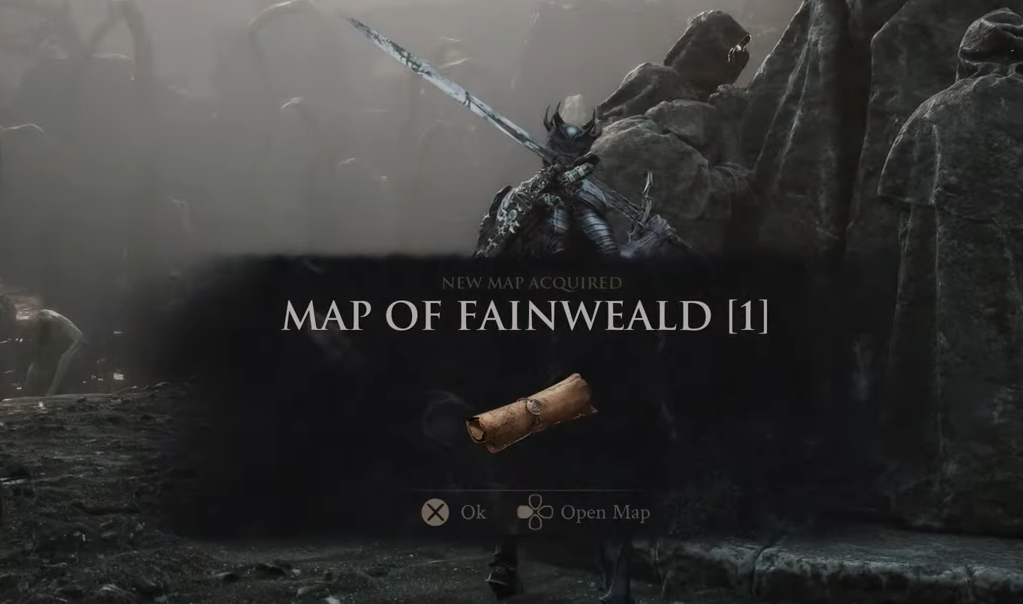
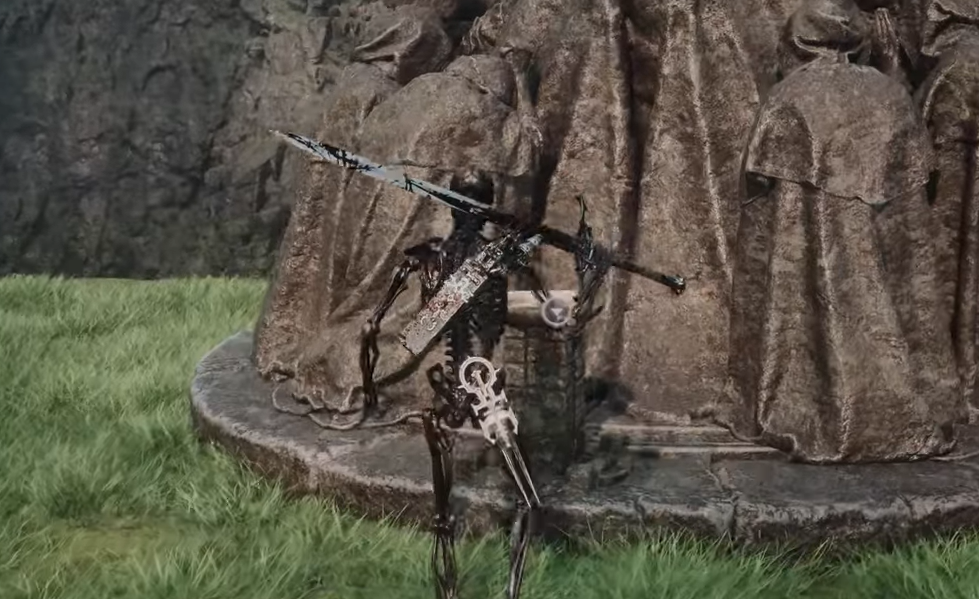
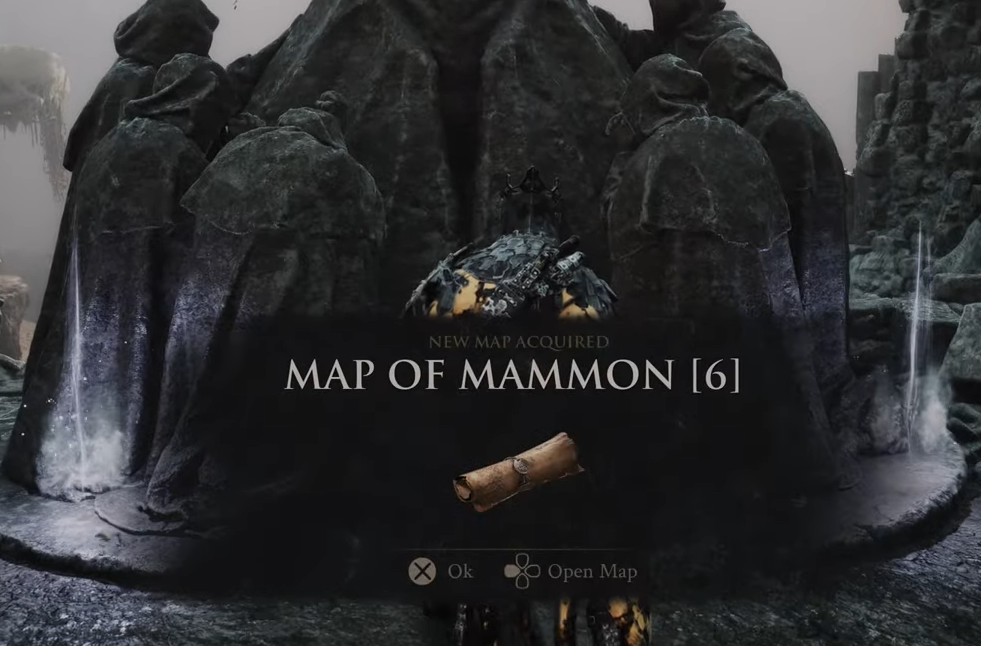
Once you finish the prologue, crow markers appear on your map. Each marker points to Ruk, who is sitting on a statue with a map item resting on a pedestal in front of him. Travel to the marker, grab the item, and that chunk of the region clears instantly.
The very first Fainweald map you pick up does more than clear fog. Collecting it also marks three Corrupt Gates on your map. Those are locations with powerful bosses guarding Beacons, and cleansing those Beacons rewards a chunk of Ova.
Some statues sit across large chasms, so you will need to use teleport pillars and Bone Gates to reach them. A few are also guarded by enemies, and one sits at the top of a stone fortress you have to fight and ride an elevator through.
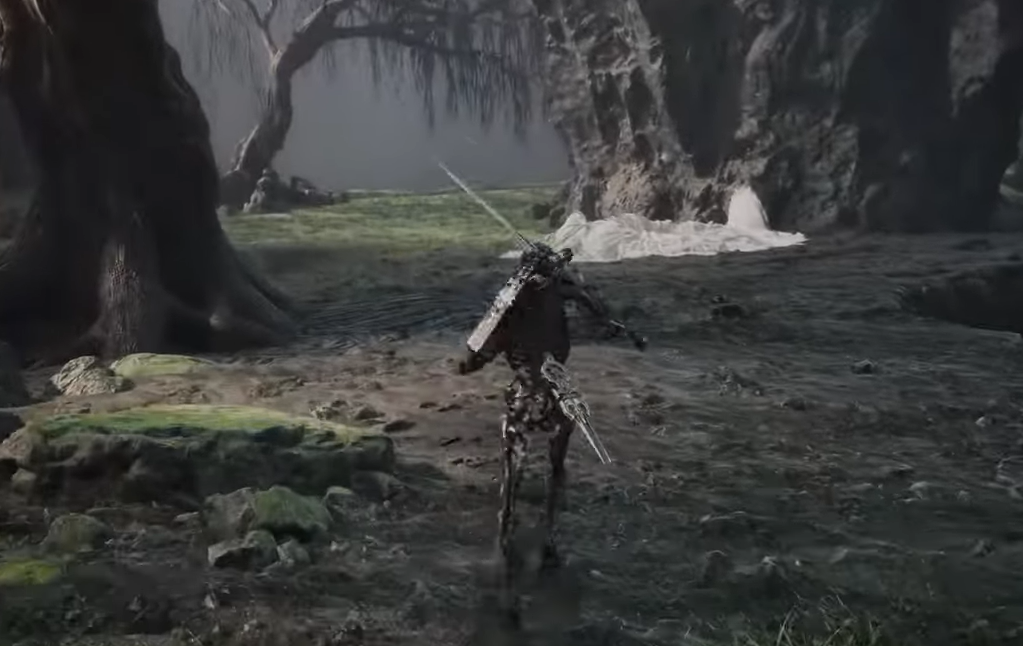
Your first map fragment from Widow’s Overlook
Most players head to the Widow’s Overlook Beacon first, and that is where the earliest and easiest fragment lives. It reveals the surrounding Fainweald region.
All map fragments by region
The fragments are numbered within each region and are reached from a handful of key Beacons. Here is how they break down across the statues in Fainweald and Mammon.
| Map item | Region | Starting Beacon |
|---|---|---|
| Map of Fainweald (first) | Fainweald | Widow’s Overlook |
| Map of Fainweald [4] | Fainweald | Widow’s Overlook |
| Map of Fainweald [2] | Fainweald | Widow’s Overlook |
| Map of Fainweald [1] | Fainweald | Widow’s Overlook |
| Map of Mammon (reveal) | Mammon | Outskirts of Mammon |
| Map of Mammon [3] | Mammon | Outskirts of Mammon |
| Map of Mammon [4] | Mammon | Outskirts of Mammon |
| Map of Mammon [6] | Mammon | Gate of Mammon |
| Map of Mammon [1] | Mammon | Gate of Mammon |
| Map of Mammon [2] | Mammon | Hall of Murmurs |
Fainweald fragment routes
All of the Fainweald statues run out from the Widow’s Overlook Beacon, so use it as your anchor and fast travel back between pickups.
Mammon fragment routes
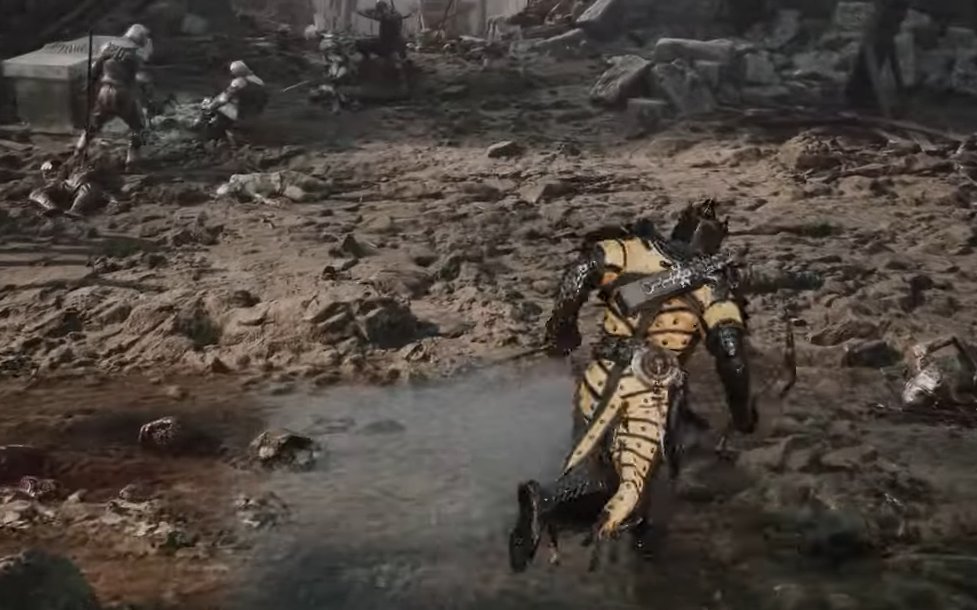
The Mammon fragments are spread across three Beacons, so you will be jumping between the Outskirts of Mammon, the Gate of Mammon, and the Hall of Murmurs to sweep them all.
Confirming you have every fragment
Each fragment takes effect the moment you interact with the pedestal. That section of the world map switches from fog to a visible layout, so you get instant confirmation every time.
Once all 11 fragments are collected and the fog is fully gone, the Sat Nav achievement or trophy pops. If it has not triggered yet, open your map and look for any remaining fogged patches, then follow the crow markers still pointing to a Ruk you have not reached. Tracking down every Ruk location is the only way to remove the fog completely and finish the set.





