Gaming Guide

Mortal Shell 2: How to Get Seedbearer’s Scripture Before the Final Boss

Track down all three Glands, switch to night, and trade them at the Forgotten Tower for Cosmic Disease mitigation.

Track down all three Glands, switch to night, and trade them at the Forgotten Tower for Cosmic Disease mitigation.

Zmey the Unbidden, the final boss of Mortal Shell 2, deals a damage type that most players never see anywhere else in the campaign. It applies Cosmic Disease, a status that drains health over an unusually long window and rips you straight out of your Shell the moment the meter fills. Every other damage type in the game has a permanent pickup that blunts it. Cosmic Disease has one too, but nothing in the world points you toward it.

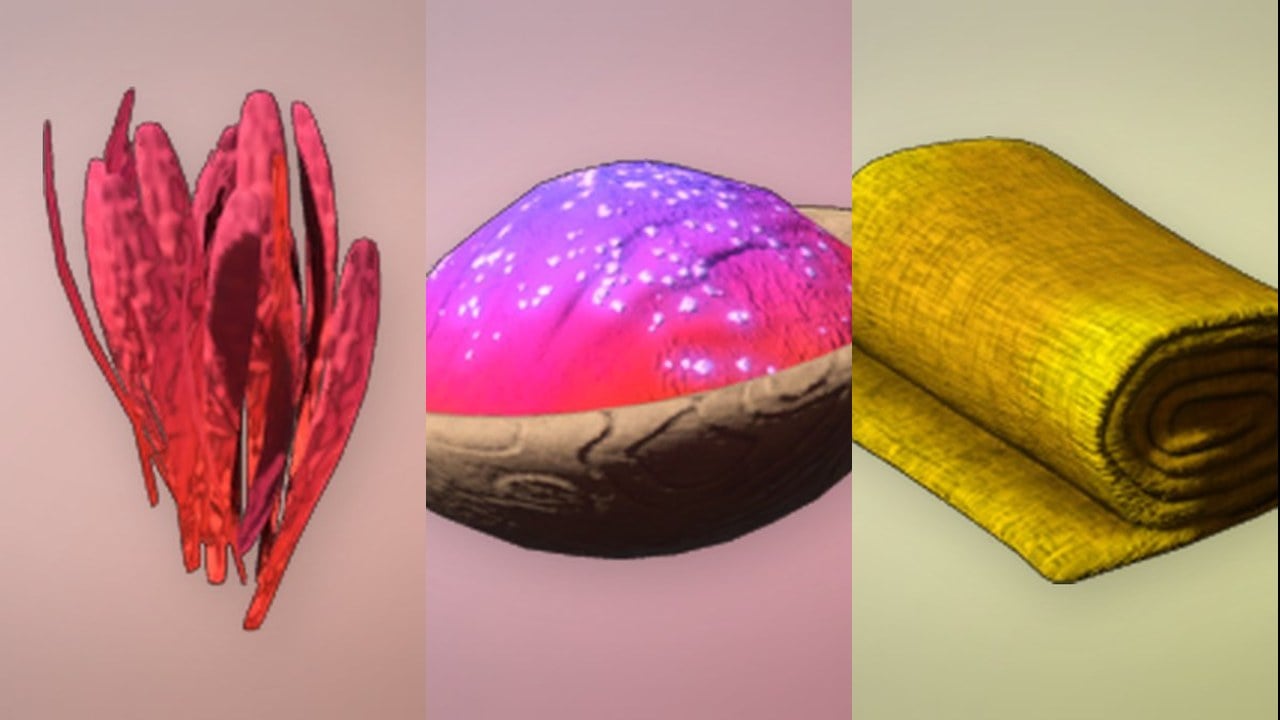
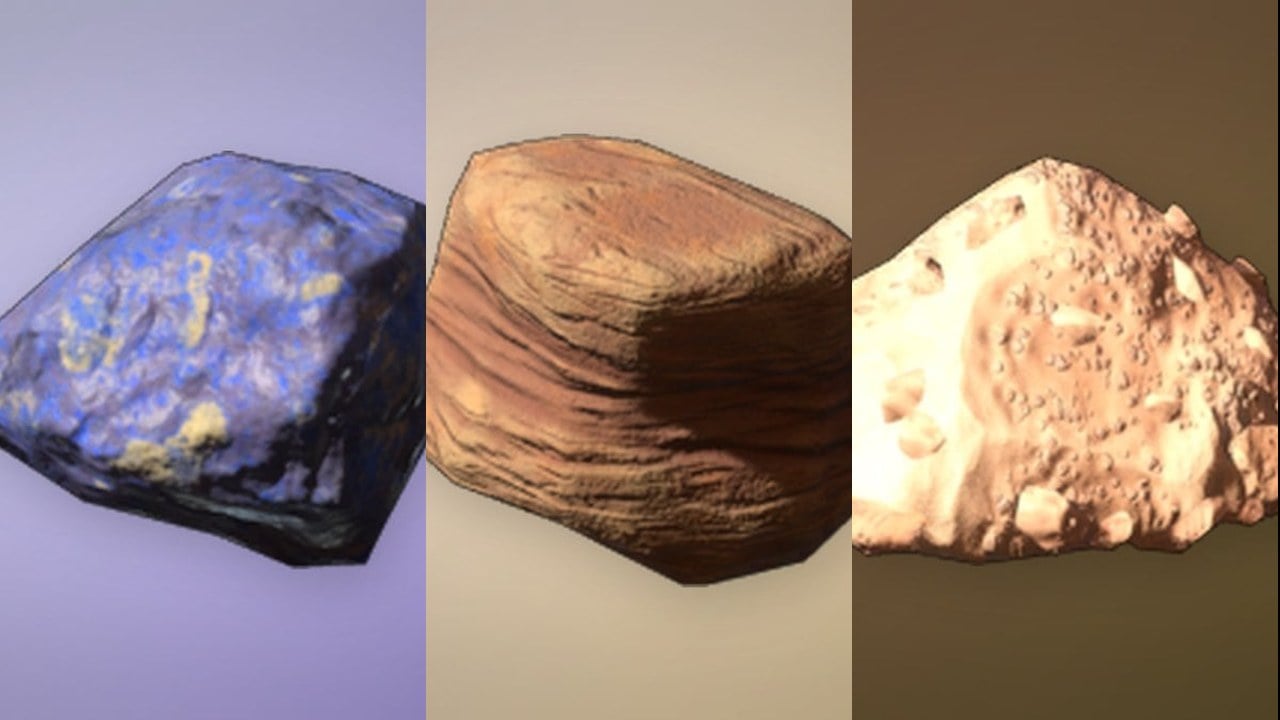
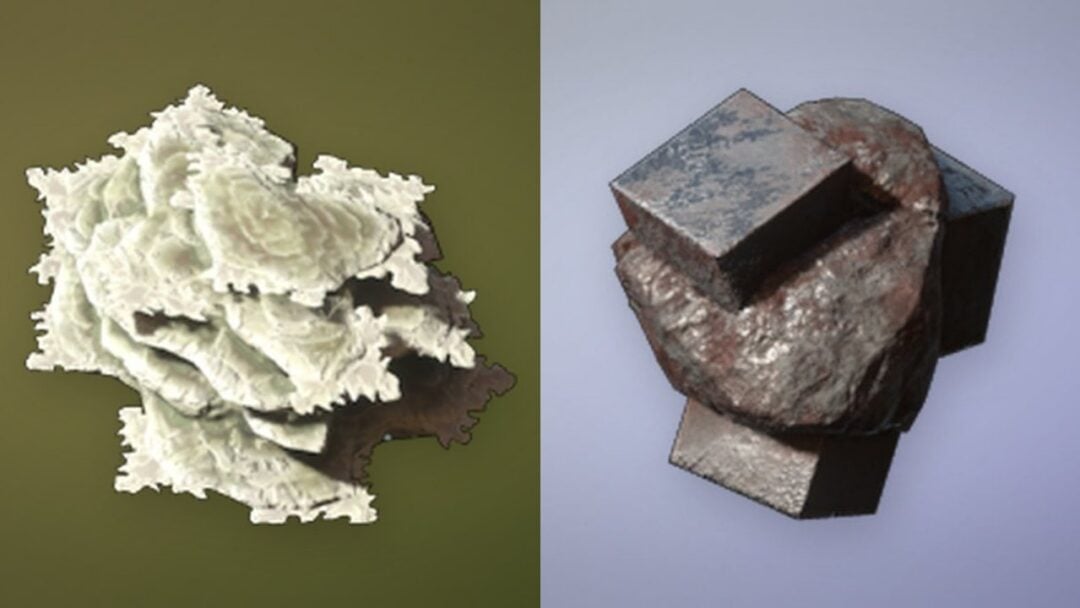
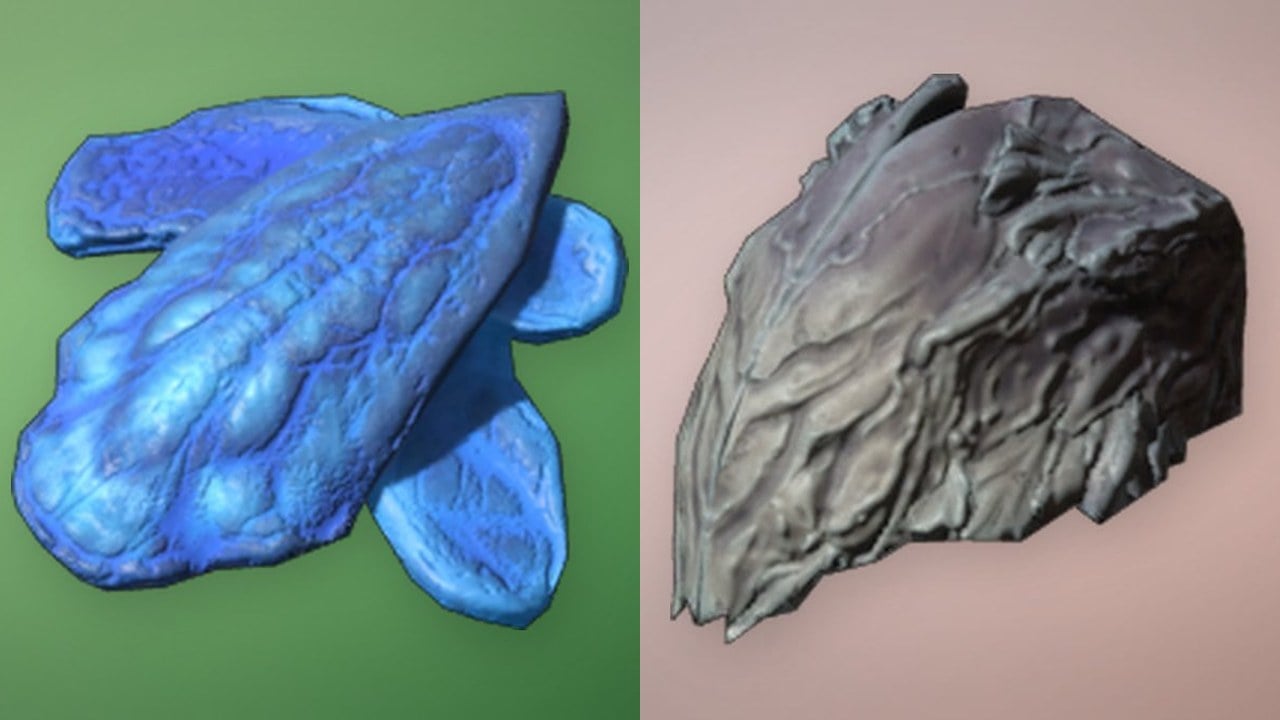
Quick answer: Collect the Thawed Gland (Conquered Temple), Depleted Gland (Withered Shoals), and Faded Gland (Faded Citadel), switch the world to night by talking to Thestus at the top of Marrow Keep, then offer all three at the corpse inside the Forgotten Tower south of the Sester’s Gate Beacon to receive the Seedbearer’s Scripture.


What the Seedbearer’s Scripture does

The Scripture is a permanent pickup, so it never gets consumed. How much it helps depends on which slot you put it in, and it can be used either as a cleanse or as a flat resistance buff.

SlotEffect
Active itemCures Cosmic Disease and grants 50% Cosmic Disease mitigation for 30 seconds
Passive item15% Cosmic Disease mitigation, always on

Because Cosmic Disease only shows up in the endgame, there is no reason to hunt this down early. There is also no reason to skip it. Pick it up before you commit to the Unfound Path‘s central platform.


All three Gland locations

Each Gland sits inside one of the three Corrupted Gates in the southern half of the map, so you will pass close to all of them while chasing Ova. None of them are on the critical path, and none of them require you to beat the dungeon’s boss first.

GlandCorrupted GateNearest landmark
Thawed GlandConquered TempleSecond indoor area, large stone head
Depleted GlandWithered ShoalsNameless Pass Beacon, tube structure
Faded GlandFaded CitadelCitadel Annex Beacon, stone dish below

Thawed Gland in the Conquered Temple

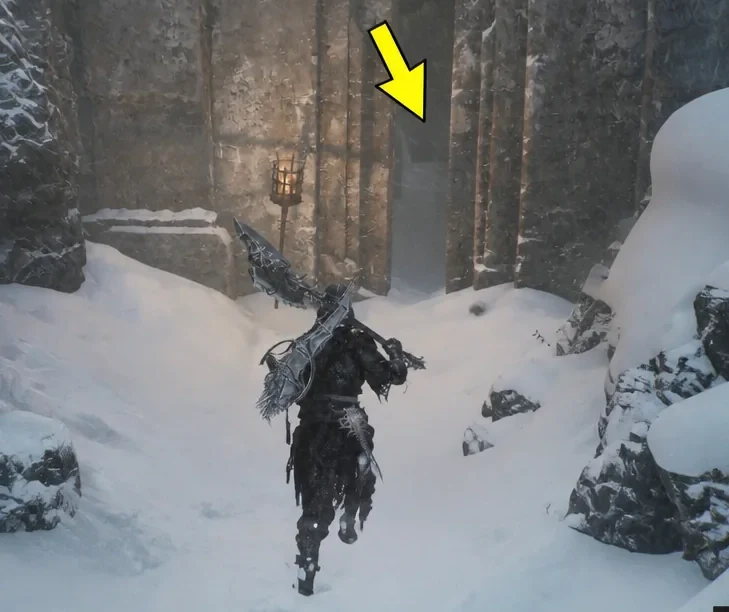
Enter the Conquered Temple and push forward along the linear route through the snow until you reach the second indoor area. You will have cleared a couple of enemies by this point.
Armored Harbinger walking toward a stone doorway through a snowy passage in the Conquered Temple
The snowy approach into the Conquered Temple’s second indoor area. Cold Symmetry
Take the branch to the left instead of continuing straight, moving past the first pair of enemies. The chamber ahead has a large stone head at the far end with Martyr’s Ash scattered around the pillars.
Walk up to the pedestal directly in front of the stone head and take the Thawed Gland.

Depleted Gland in the Withered Shoals
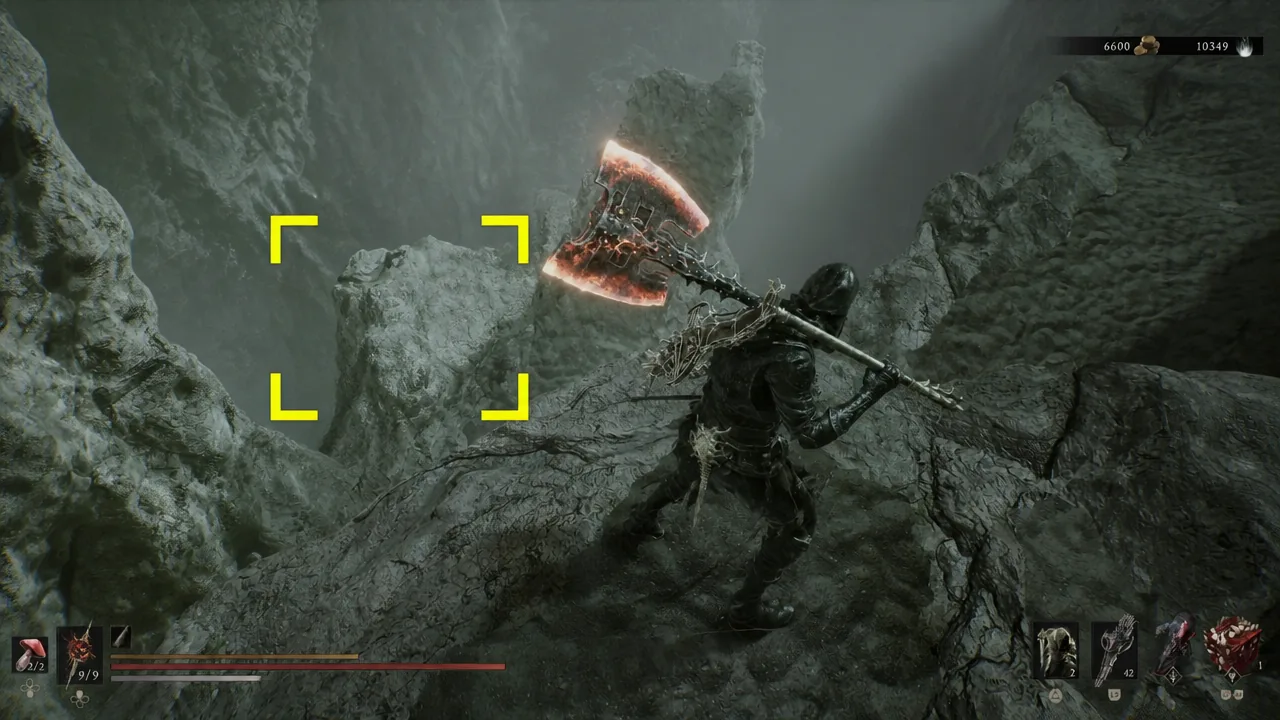
Travel to the Nameless Pass Beacon, the second Beacon in the Withered Shoals, which sits shortly before the Hexapod arena. Ruk is perched on a rock ahead if you want to talk first.
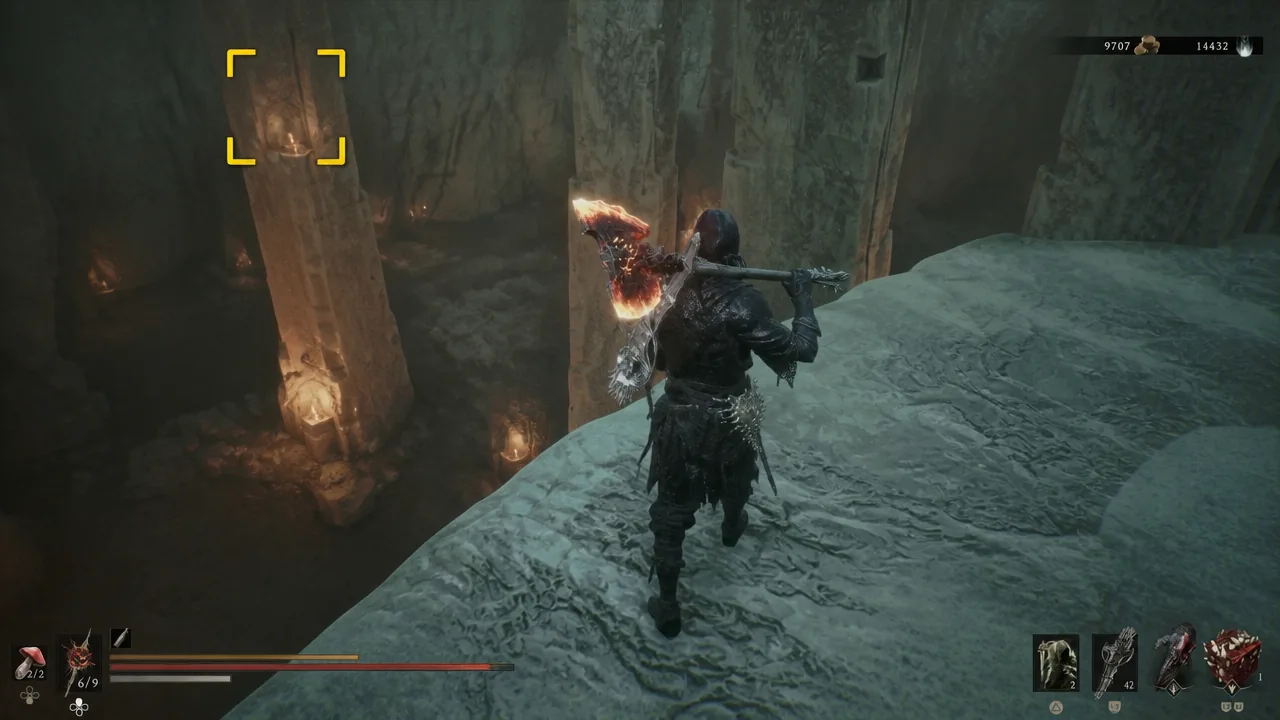
Head toward the drop that leads into the boss room, but only descend one level, landing in the middle of the tube structure. Going any further commits you to the fight.
Player holding a glowing greatsword with yellow targeting brackets on screen inside the Withered Shoals
The single drop into the tube structure in the Withered Shoals, one level above the boss arena. Cold Symmetry
Turn around and walk to the back end of the path, toward the torch. The Depleted Gland is resting on a bone arm among the remains there.

Faded Gland in the Faded Citadel

Rest at the Citadel Annex Beacon in the Faded Citadel, then turn around rather than climbing toward the usual route.
Drop down into the open area below. A sizable group of dual-sword enemies patrols this space, and fighting them one at a time near the edge is safer than dropping into the middle of them.
The lower courtyard below the Citadel Annex Beacon in the Faded Citadel
The lower area you drop into after turning away from the Citadel Annex Beacon. Cold Symmetry
Once the area is clear, look to the center for a well-shaped stone dish ringed with candles. The Faded Gland sits inside it.

Switch to night, then offer the Glands at the Forgotten Tower

Holding all three Glands does nothing on its own. The offering site only opens while the world is set to night, which also raises enemy difficulty across the map, so expect a harder trip than usual.
Go to the top of Marrow Keep and speak with Thestus to summon night. Do this after you already have all three Glands in your inventory to avoid a second run.
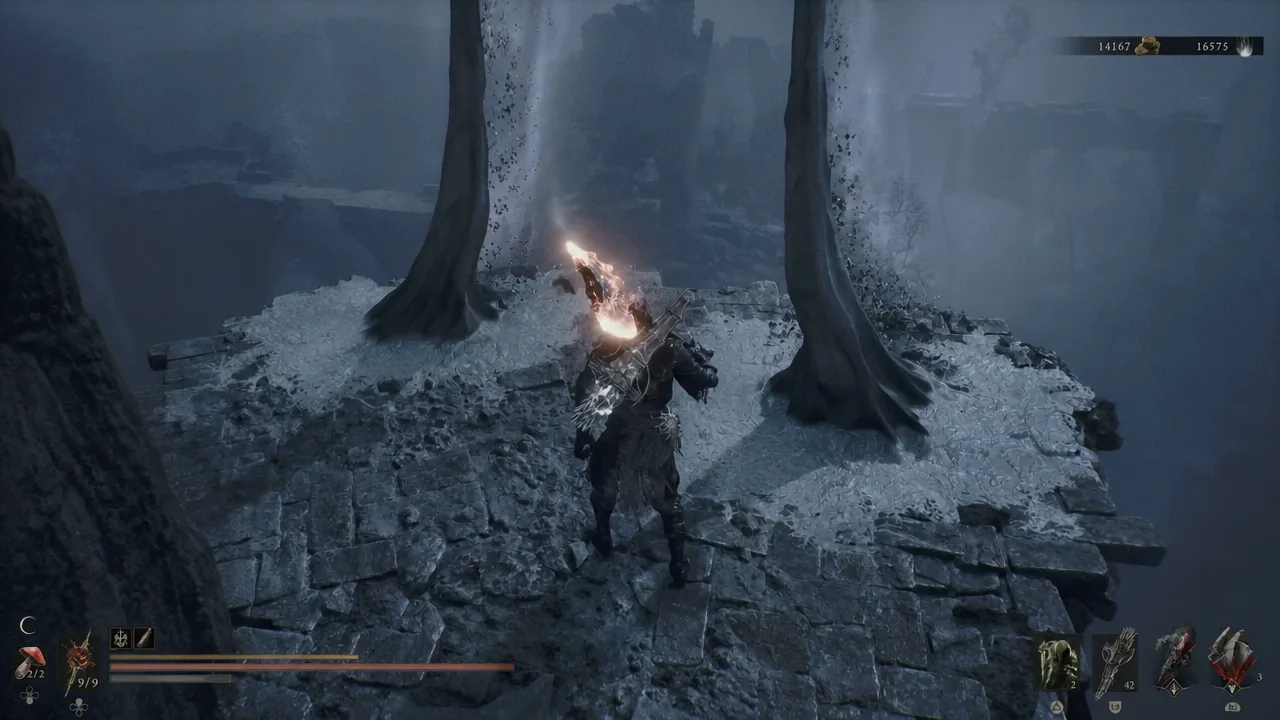
Fast travel to the Sester’s Gate Beacon. Head southwest and drop to the lower level, where a Bone Gate opens onto the path toward the tower on the small island to the south.
Harbinger swinging a flaming weapon on a stone platform on the route to the Forgotten Tower
Clearing the stone platforms past the Bone Gate on the way to the Forgotten Tower. Cold Symmetry
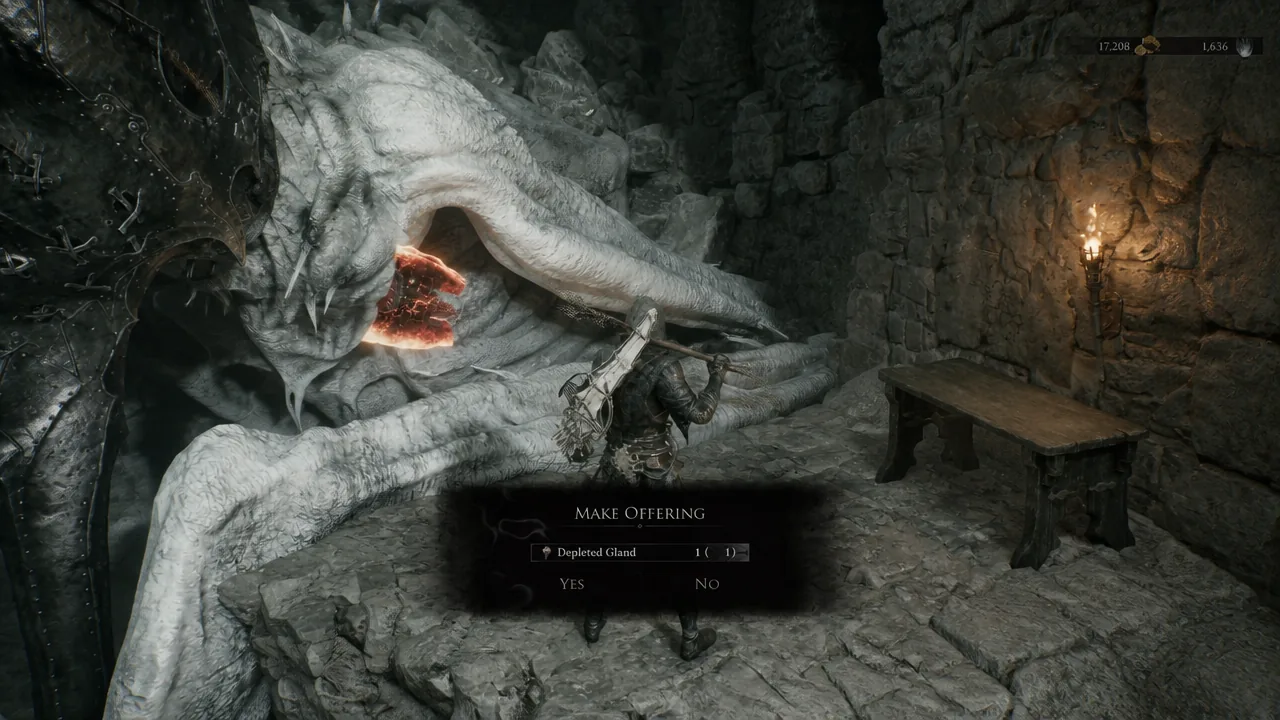
Enter the Forgotten Tower and climb the stairs to the top. Waiting there is the corpse of the first game’s final boss, which gives you a Make Offering prompt.
Offer the Depleted Gland, Thawed Gland, and Faded Gland. The screen fades to black, and the Seedbearer’s Scripture lands in your inventory afterward.
MAKE OFFERING confirmation menu with the Depleted Gland selected at the corpse in the Forgotten Tower
The Make Offering prompt at the corpse, with the Depleted Gland selected. Cold Symmetry

If the offering prompt does not appear

You know the pickup worked when the fade-to-black plays and the Seedbearer’s Scripture shows up as an equippable item that can be slotted actively or passively. If you reach the corpse and nothing happens, there are only two realistic causes. The world is still set to day, or you are missing one of the three Glands.

Note: all three Glands must be handed over in the same interaction, so check your inventory before making the trip rather than at the top of the tower.

Slot the Scripture passively for the walk into the Unfound Path and keep the active use in reserve for the final encounter, where a single cleanse plus 30 seconds of halved Cosmic Disease damage can be the difference between holding your Shell and losing it mid-fight.