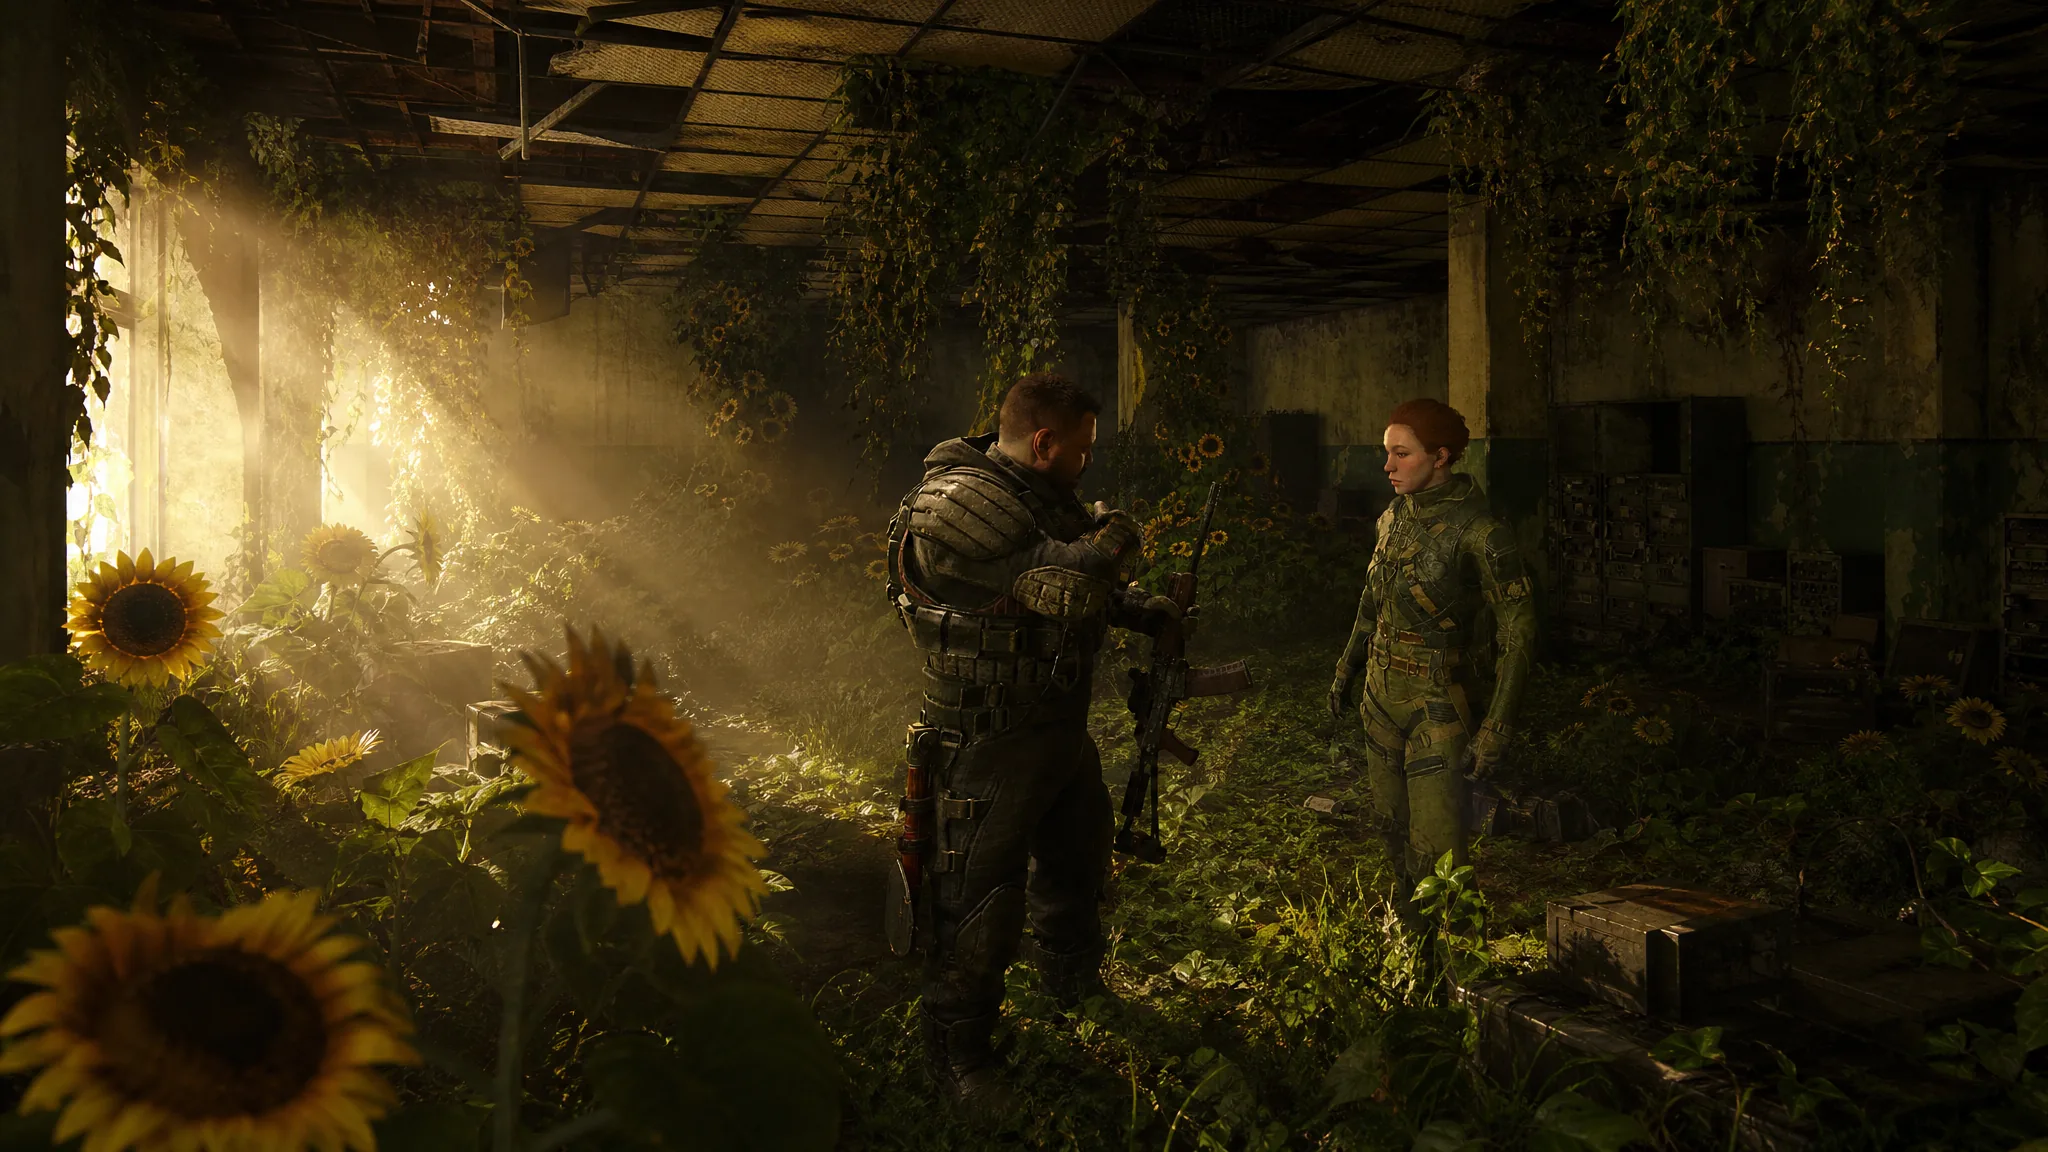
The Cost of Hope expansion for Stalker 2: Heart of Chornobyl closes on one of two endings, and neither is decided by a last-minute prompt. The whole thing hinges on a single decision made roughly halfway through the story, when Duty and Freedom stop cooperating and force you to declare a side. Everything after that is consequence.
Quick answer: During the Destructive Power of the Mind quest, side with Zulu to lock in the Duty ending, or side with Mavka to lock in the Freedom ending. There is no later chance to change course.
Both Cost of Hope endings and what triggers each one
The base game shipped with four endings. The expansion narrows that down to two, each named after the faction you back. Both are locked by the same moment.
| Ending | How you trigger it | Outcome for Skif |
|---|---|---|
| Duty | Side with Zulu during Destructive Power of the Mind | The mutants are treated as a threat and dealt with |
| Freedom | Side with Mavka during Destructive Power of the Mind | Mavka turns on you and kills you during Price of the Miracle |
Destructive Power of the Mind: The choice that locks your ending
This quest lands midway through the expansion and sends you into the X16 laboratory to recover technology that Nord and his mercenaries stole. It is the one point in the story where Duty and Freedom operate together, and that truce falls apart the moment the objective is in sight.
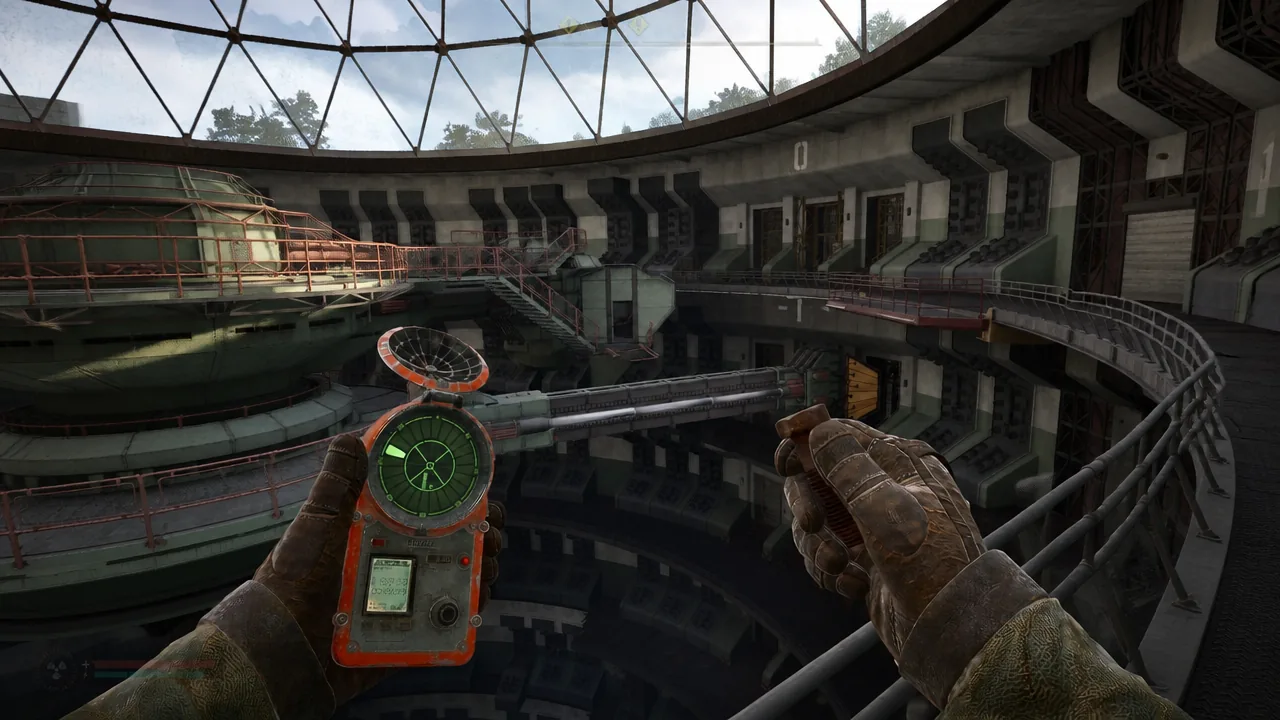
Note: The consequences of this choice do not show up immediately. They surface later, during the Price of the Miracle quest, which is where the ending actually plays out.
Freedom ending: How siding with Mavka plays out
Choosing Mavka means protecting the mutant. You spend the back half of the expansion aligned with Freedom, and the bill comes due in Price of the Miracle.
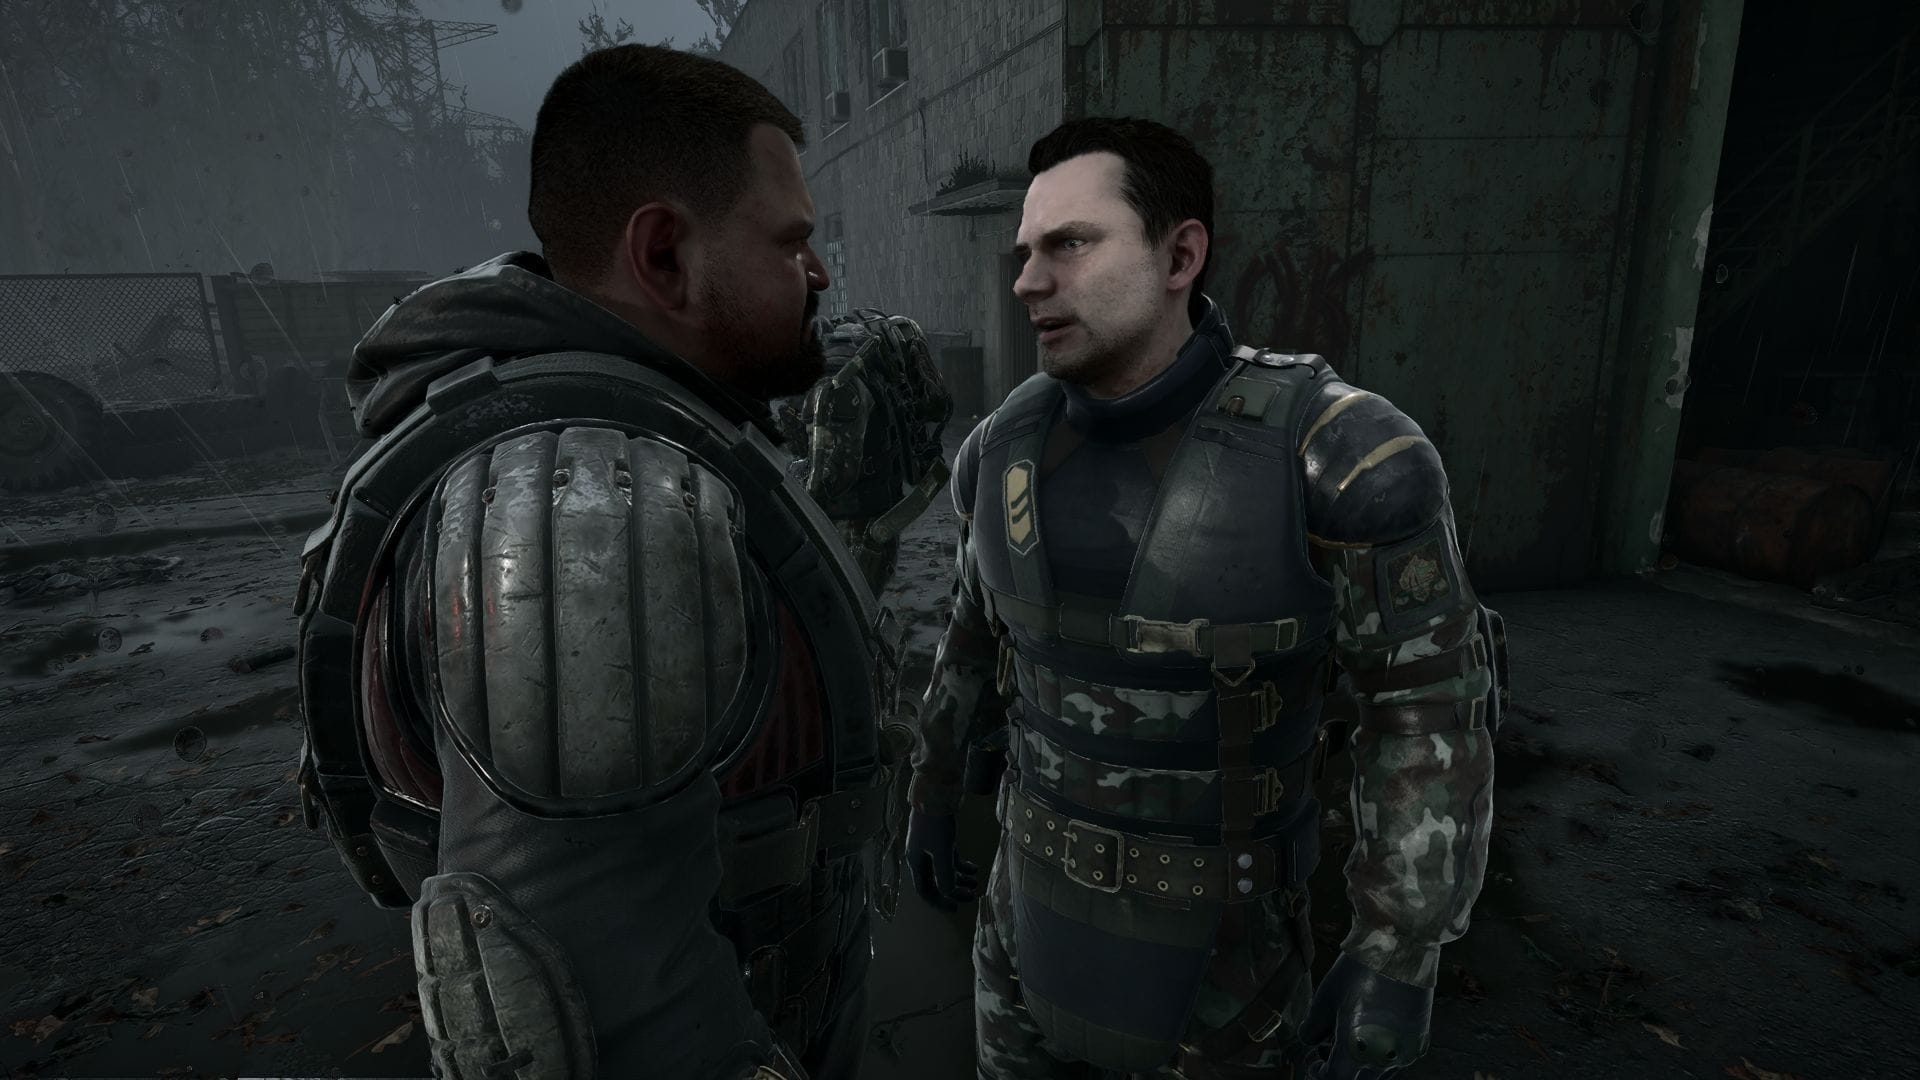
When you go to meet Mavka after dealing with Duty, Zulu has already slipped in to destroy the mutants. Mavka orders you to hold him at gunpoint, but he uses a grate as cover and gets clear, which starts a boss fight against the Duty general.
Beat him and a cutscene takes over. Zulu goes down, and with his last breaths he begs the pair of you to destroy the mutants, insisting the Zone only ever produces suffering. He bleeds out.
Mavka reads his death as confirmation of something larger, tying back to Lukash’s earlier message. Then she turns on you, exactly as Zulu had warned. She stabs you in the gut, cradles you, and sings a lullaby while you die. The closing montage shows her wielding the mutants’ power, and it ends with your consciousness being moved into one of them.
Duty ending: How siding with Zulu plays out
Backing Zulu at the standoff commits you to Duty’s position that the mutants are too dangerous to exist. Zulu’s entire arc is built around shielding people from what the Zone produces. He has seen the damage firsthand and concludes that killing the mutants is the only responsible option, so the ending follows that logic through.
You will know the branch took hold because Zulu remains an ally rather than a boss. If you find yourself fighting the Duty general during Price of the Miracle, you are on the Freedom path instead.
Which Cost of Hope ending is the best one
The Duty ending is the stronger outcome. Mavka’s belief in the Zone’s potential curdles into something violent, and the Freedom path ends with her killing you rather than sharing whatever future she was promising. She believes in hope but never accounts for its price.
That is also the practical argument. Choices made in Cost of Hope can permanently change the state of the Zone, and GSC Game World has framed the expansion as the middle chapter of a longer arc rather than a self-contained side story, with a second expansion still to come.
How to see both endings without replaying the expansion
Because a single decision drives the split, a manual save made before the X16 standoff is enough to view both conclusions. Load it back after finishing one branch, pick the other character, and play forward through Price of the Miracle again.
If you are jumping straight into the expansion rather than continuing a long campaign, Advance Start drops you into a prepared save. You will still be asked to make one major campaign decision before the DLC content opens up. Cost of Hope slots into the main story at around the quarter mark and wraps up roughly three-quarters of the way through, so it is built for players who are already well into Heart of Chornobyl.
Neither ending is a clean win, which is the point. The expansion sets up Duty and Freedom as two coherent readings of the same catastrophe, then makes you close the argument yourself, and both answers cost something.