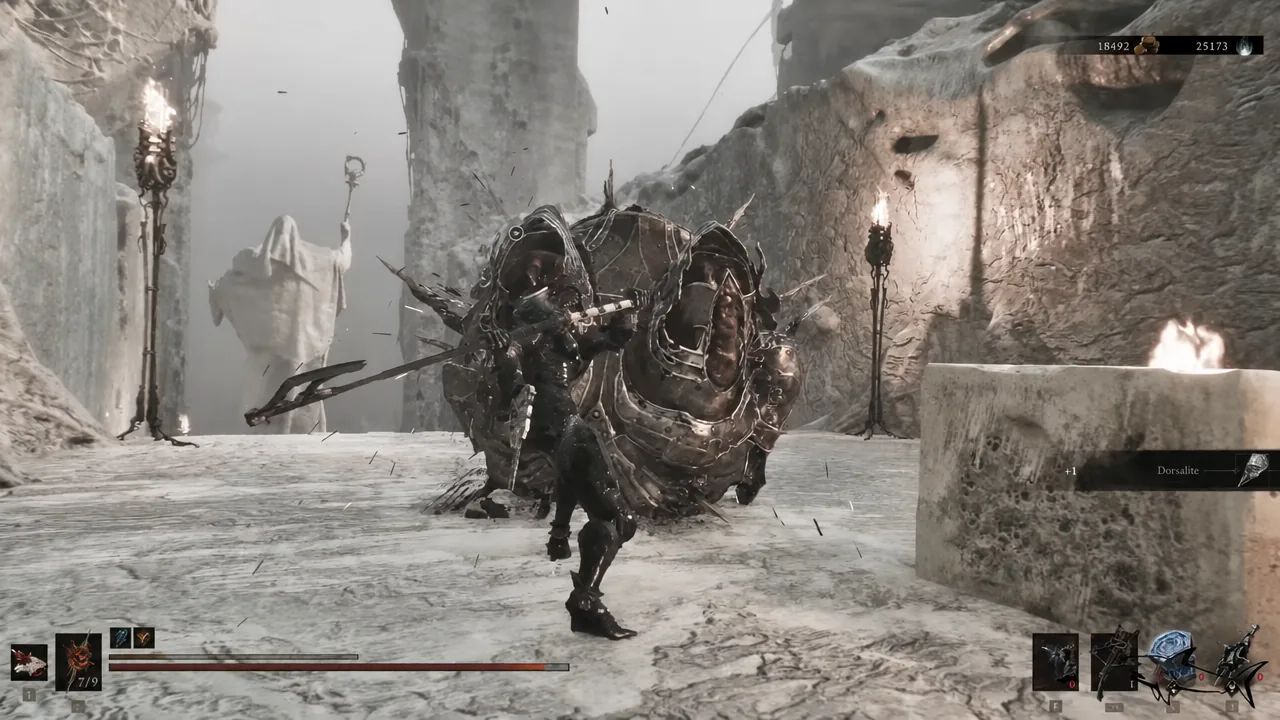
The Clockwork Scythe is a melee weapon in Mortal Shell 2 with a curved blade on one end and a chainsaw mechanism on the other. It isn’t sitting in a chest or sold by a merchant as a finished weapon. You take it off Sariel, the Endless, and Sariel only stays dead if you break the room before you break him.
Quick answer: Reach the Chamber of Becoming dungeon near The Silent Steps Beacon in the Ruins of Mammon, destroy all four glowing stones in Sariel’s arena, then kill him. The Clockwork Scythe drops on his defeat.
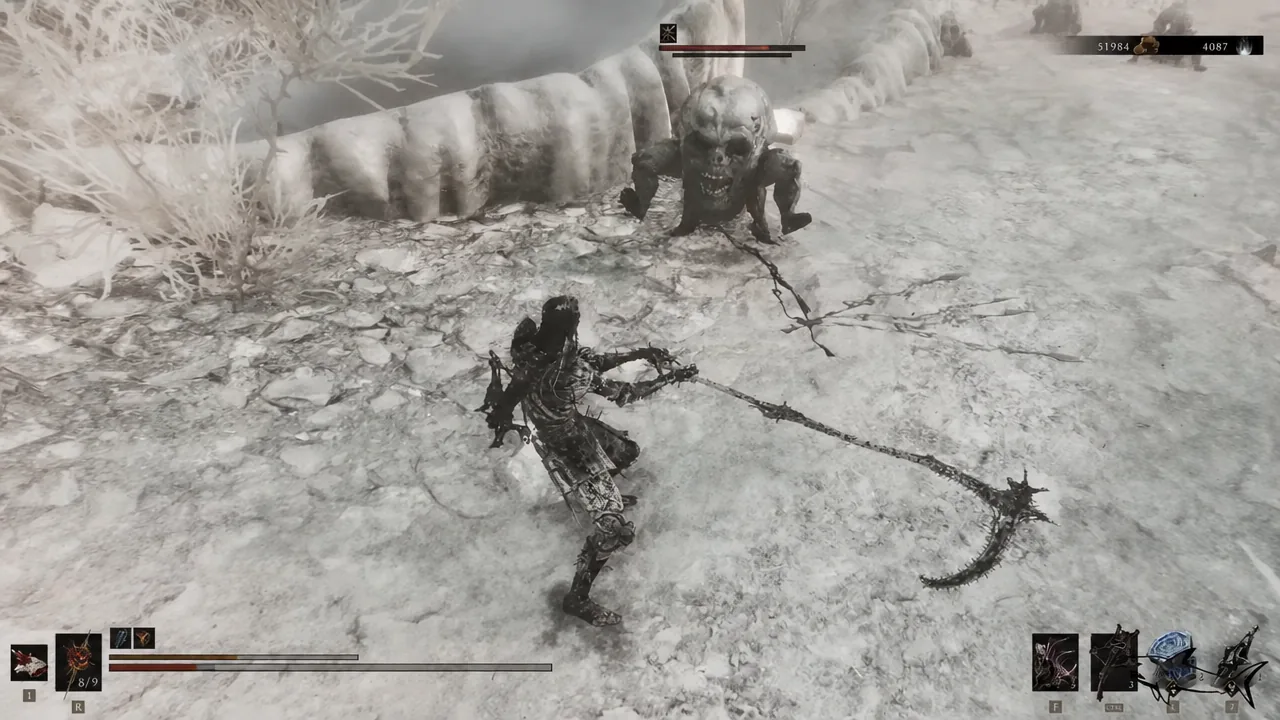
Clockwork Scythe location and requirements
The weapon sits at the end of a dungeon in the southern stretch of Mammon. Nothing else gates it beyond reaching that area and surviving the fight, so a mid-game character with a reliable shell is enough. One piece of gear matters more than the rest: Sariel applies Lightning damage with almost every hit, and the Galvanic Shard mitigates it whether you run it as a passive or an active effect.
| Detail | Value |
|---|---|
| Region | Ruins of Mammon, Silent Steps area |
| Dungeon | Chamber of Becoming |
| Nearest beacon | The Silent Steps |
| Boss | Sariel, the Endless |
| Also found here | Caged Hystrix sidearm, Sariel shell |
| Weapon ability | Clockwork Chainsaw |
| Map marker | Sold by Merrick at Marrow Keep for 3,000 coins |
Note: buying the map from Merrick only places the marker on your world map. It does not give you the weapon, and you do not need it if you already know the route.
Route to the Chamber of Becoming from Outskirts of Mammon
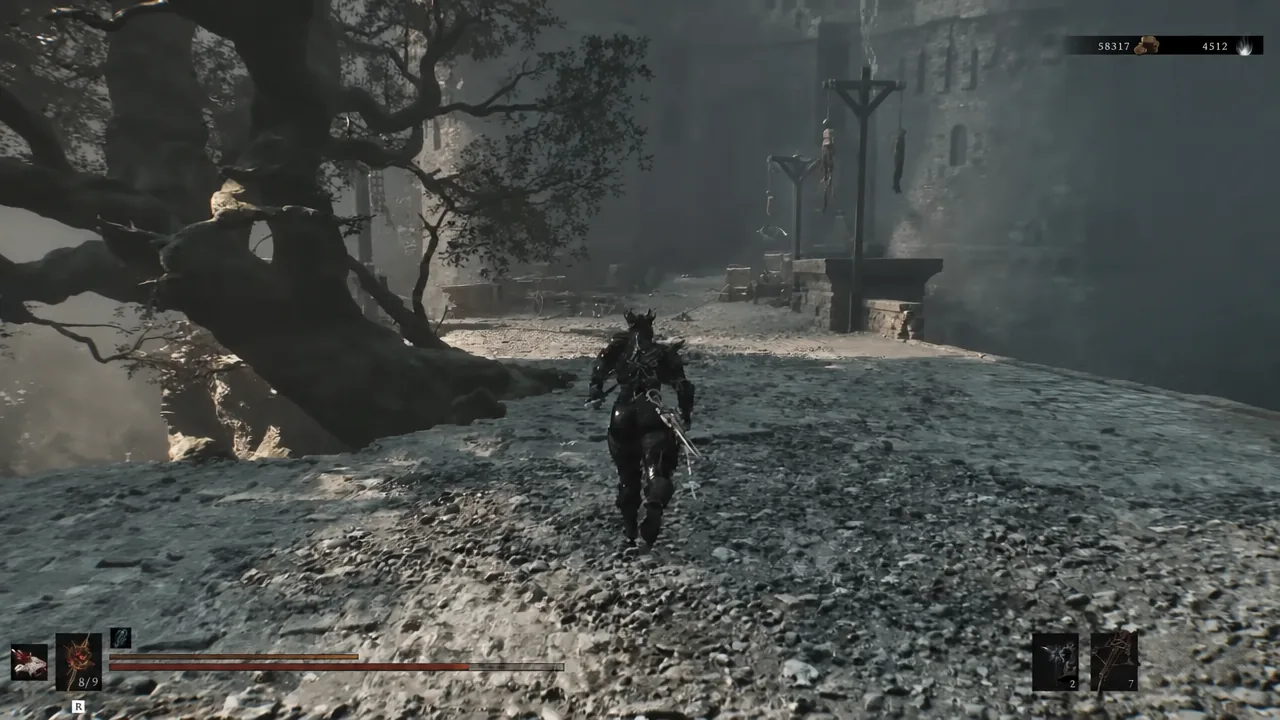
If you have already cleansed The Silent Steps Beacon, skip ahead and fast travel there. Otherwise, the cleanest approach chains three beacons together, each one a checkpoint you will be glad to have if the boss goes badly.
The first Sariel encounter on the open platform
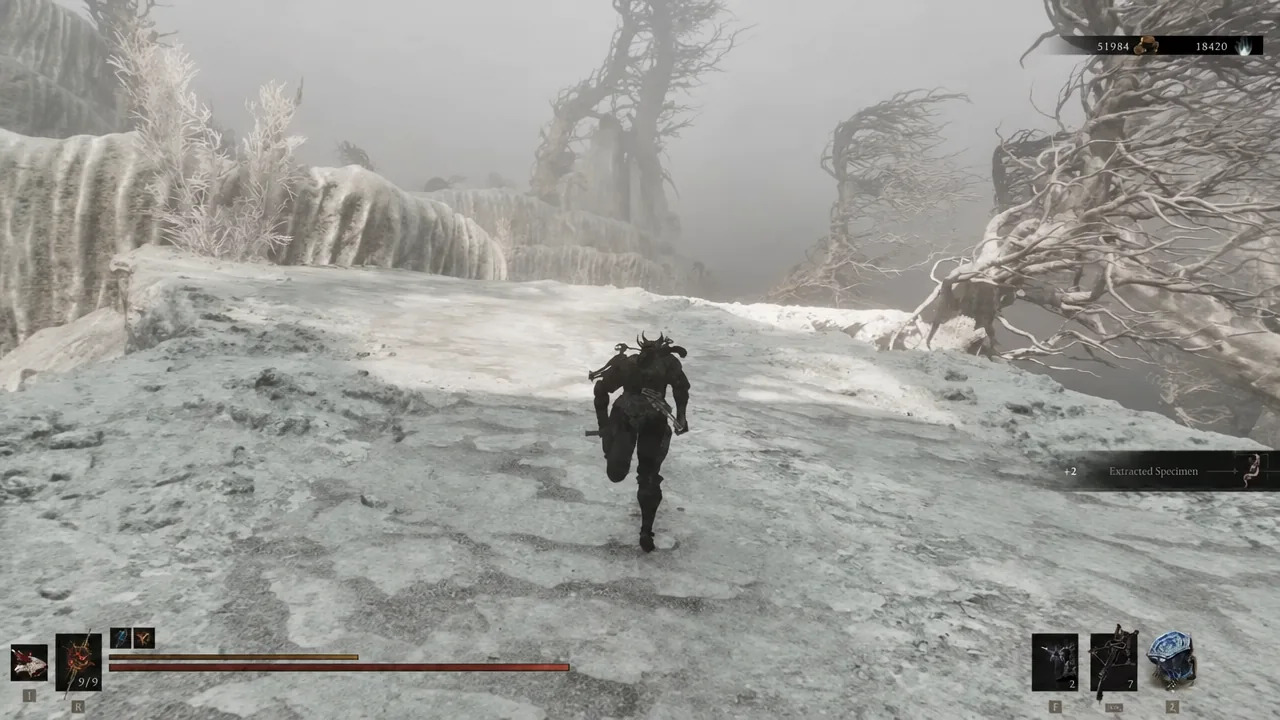
From The Silent Steps Beacon, take the transporter up to the tall white fortress and walk to its central extension. Sariel appears here as a mini-boss on an exposed rooftop platform.
This round is short. The platform has open edges, and knocking Sariel off ends the encounter almost immediately. Fighting him normally works too, since he retreats once you take him low enough. Either way, he vanishes and the stone doors behind the area open.
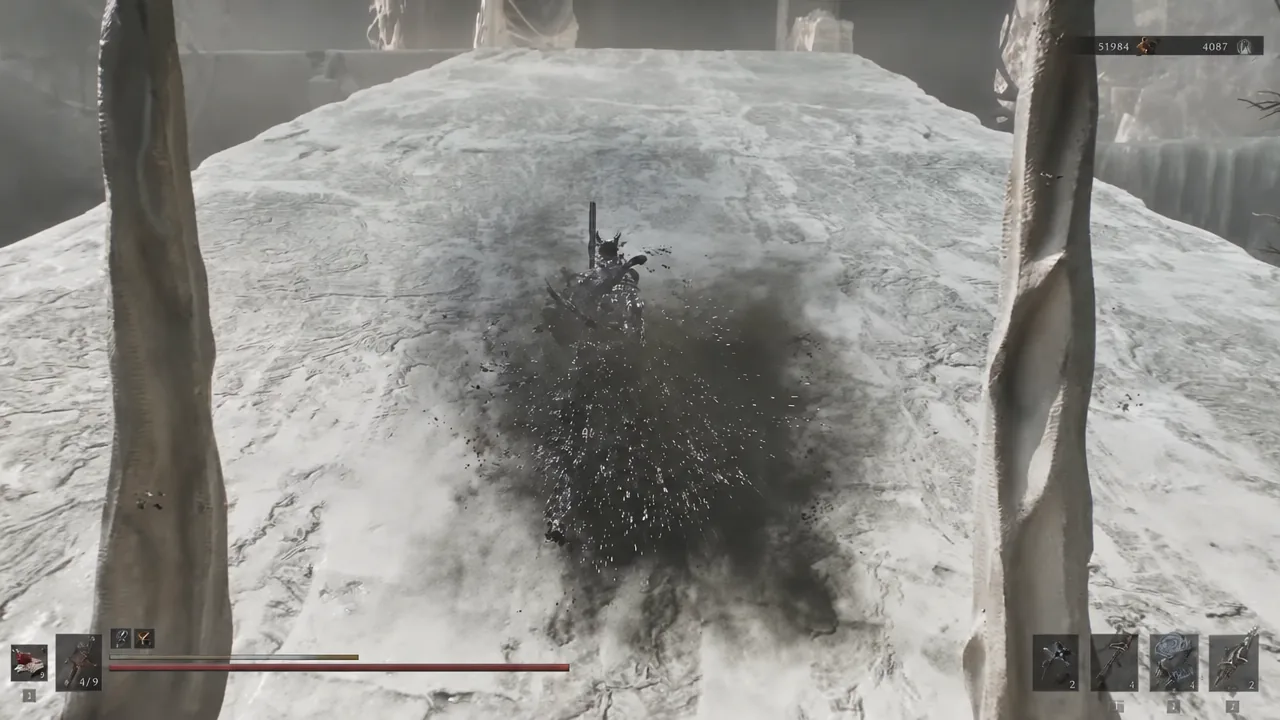
Head up the long stone stairs behind the platform. A large armored Knight of Mammon guards the way and rolls at you with spikes out. You can kill it or simply dodge and keep climbing. Past the massive statue at the top, the dungeon entrance drops away below. Go down the opening and ride the lift to reach the Chamber of Becoming.
How to kill Sariel, the Endless for good
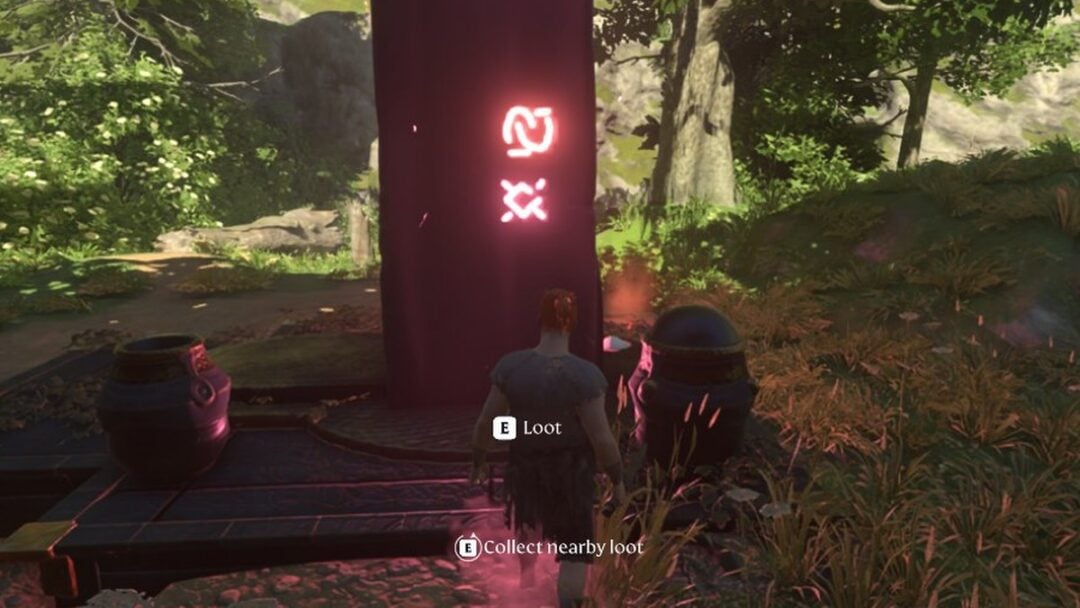
Sariel earns his title in the final room. Beat him without preparation and he resurrects at full health in the centre of the arena, over and over. Four lit stone pillars in the corners are tied to the sigil on the floor, and they are what keep bringing him back.
Tip: if a heavy sidearm ability is available, saving it for the corridor encounter can push Sariel to his next phase quickly and keep your health topped up for the real fight.
Confirming the drop and clearing the rest of the room
A “NEW WEAPON ACQUIRED!” banner for the Clockwork Scythe appears the moment Sariel goes down. To verify it landed, open your inventory and check the Weapons tab. The entry carries the description: “The ambitious instrument of a madman, or a genius; perhaps he was in fact both.”
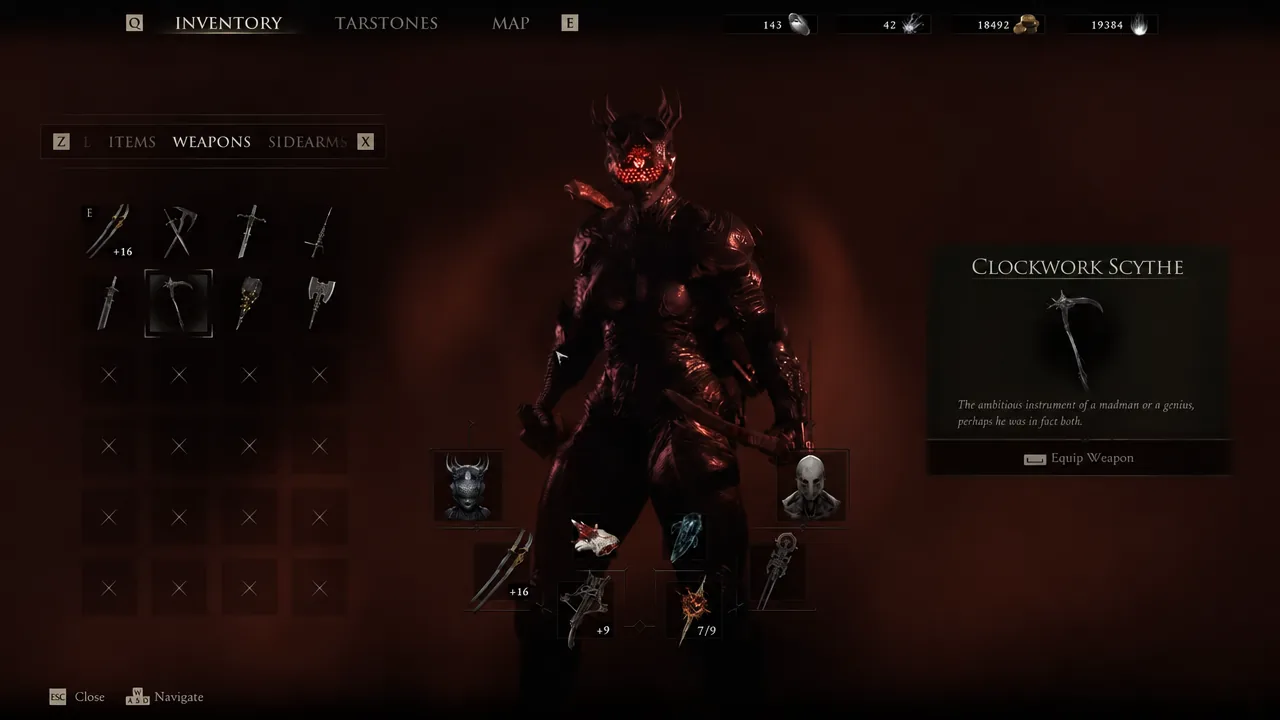
Do not leave yet. Two more pickups sit in the same dungeon, and walking out early means a return trip.
- Sariel’s body lies on the floor of the arena. Interact with it, choose “YES” at the INHABIT UNKNOWN SHELL prompt, and a flashback sequence begins. Follow Rickart through the icy cave to the unhatched Ovum and use the Extraction Saw to open it. That unlocks Sariel as a playable shell, with the abilities Exodus of Thorns and Purge.
- The Caged Hystrix sidearm rests on an altar in the adjacent room. Grab it before you take the exit.
Upgrading the Clockwork Scythe at the Tarforge
The weapon takes ten upgrade levels at the Tarforge in Marrow Keep. Ventrium covers the first six, Laterite the last four, with coin costs climbing sharply at the back end.
| Level | Damage | Materials |
|---|---|---|
| 1 | 105% | Ventrium x2, 100 coin |
| 2 | 110% | Ventrium x2, 100 coin |
| 3 | 115% | Ventrium x4, 300 coin |
| 4 | 120% | Ventrium x9, 500 coin |
| 5 | 125% | Ventrium x13, 1,000 coin |
| 6 | 130% | Ventrium x18, 1,250 coin |
| 7 | 135% | Laterite x2, 2,750 coin |
| 8 | 140% | Laterite x4, 2,750 coin |
| 9 | 145% | Laterite x9, 3,500 coin |
| 10 | 150% | Laterite x13, 4,250 coin |
The scythe’s unique ability, Clockwork Chainsaw, unlocks through upgrading. For Tarstones, the Thief’s Stone suits it as a combat slot, the Clockwork Shardstone and Scholar’s Wormstone feed its ability, and the Voltaic Crown or Arbiter’s Prize work well as infusions.
One last thing worth knowing before you head back to the surface: the Chamber of Becoming has no second visit requirement. Everything in it is a one-time pickup, so clear the arena, the altar room, and the shell prompt in a single run and the Silent Steps area is done.