Parasitic Stash is a short, combat-heavy dungeon tucked into the Ruins of Mammon, near the Silent Steps. It funnels you through a hall of creature-type enemies, a floor-drop puzzle, and a single elite fight before dropping you into a chamber with a deceptively empty chest. The valuable pickups are scattered around that final room, not inside the sarcophagus.
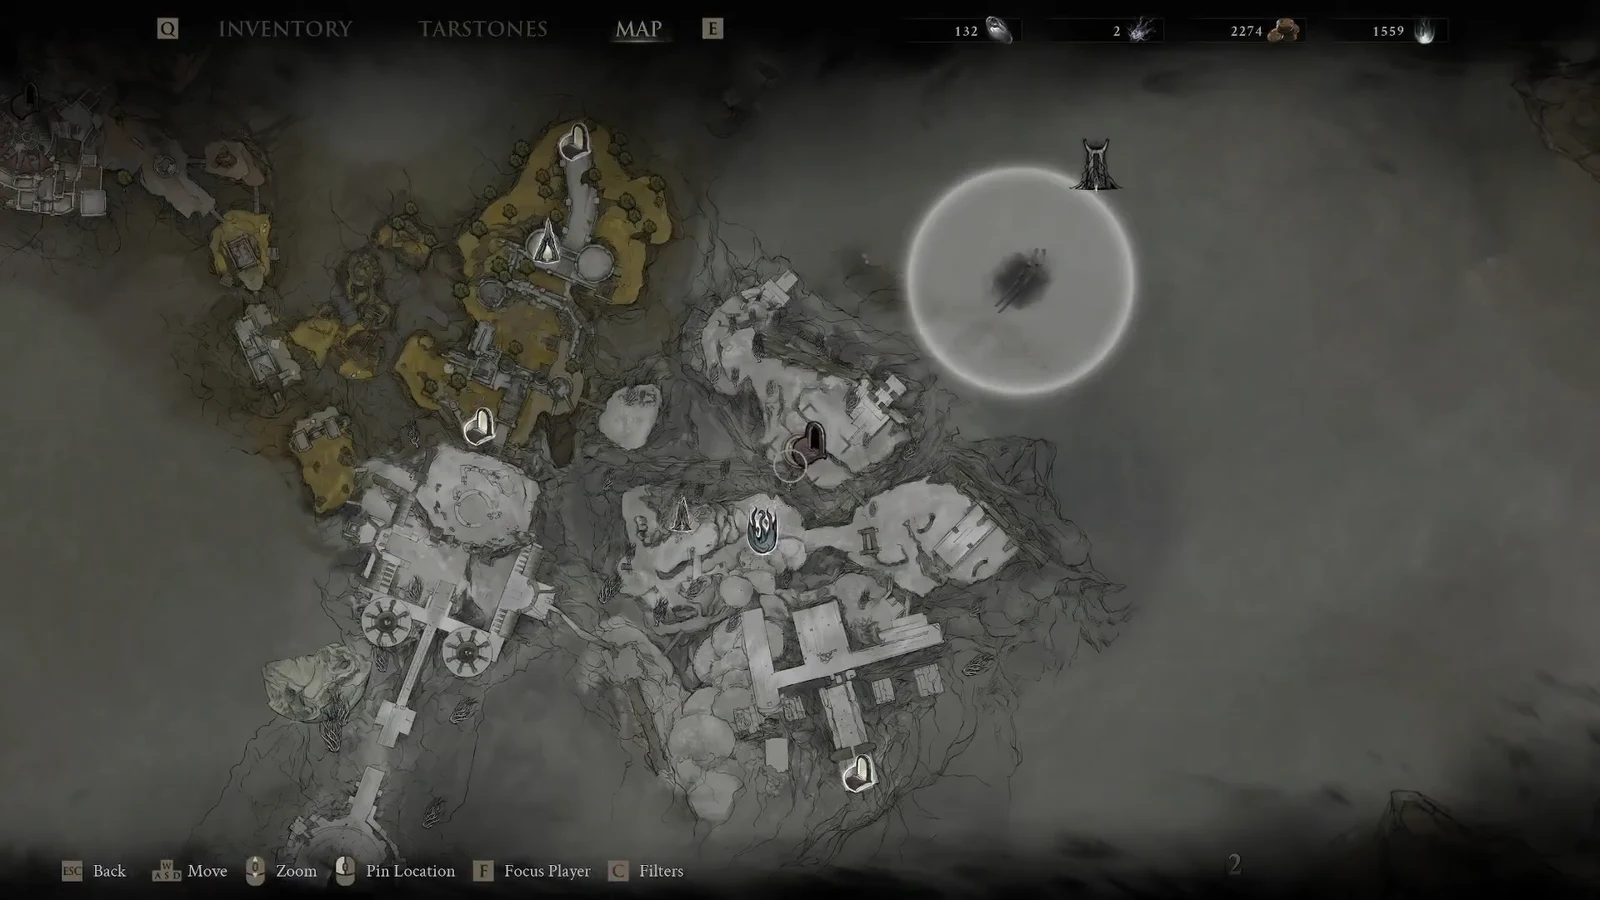
Quick answer: Enter northwest of The Silent Steps Beacon by dropping to the lower level past the wooden bridge, clear the roaming heads and Foul Knights in the main hall, press the wall plate in the left side room to open the floor grate, drop down and kill the elite guarding the chest, then collect the loot spread around the chamber corners and the hidden room. The sarcophagus itself holds nothing.
Parasitic Stash location and entrance
The dungeon sits northwest of The Silent Steps Beacon. From the beacon, follow the path toward the eastern platform, then work your way down to the lower level. The entrance is the one blocked off by a wooden bridge, and like other dungeons in the game it drops you underground through a descent rather than a normal doorway.
To go in, step into the pool of black liquid at the entrance and ride the elevator down. That descent counts as entering the dungeon, so there is no separate loading door to interact with.
Enemies inside Parasitic Stash
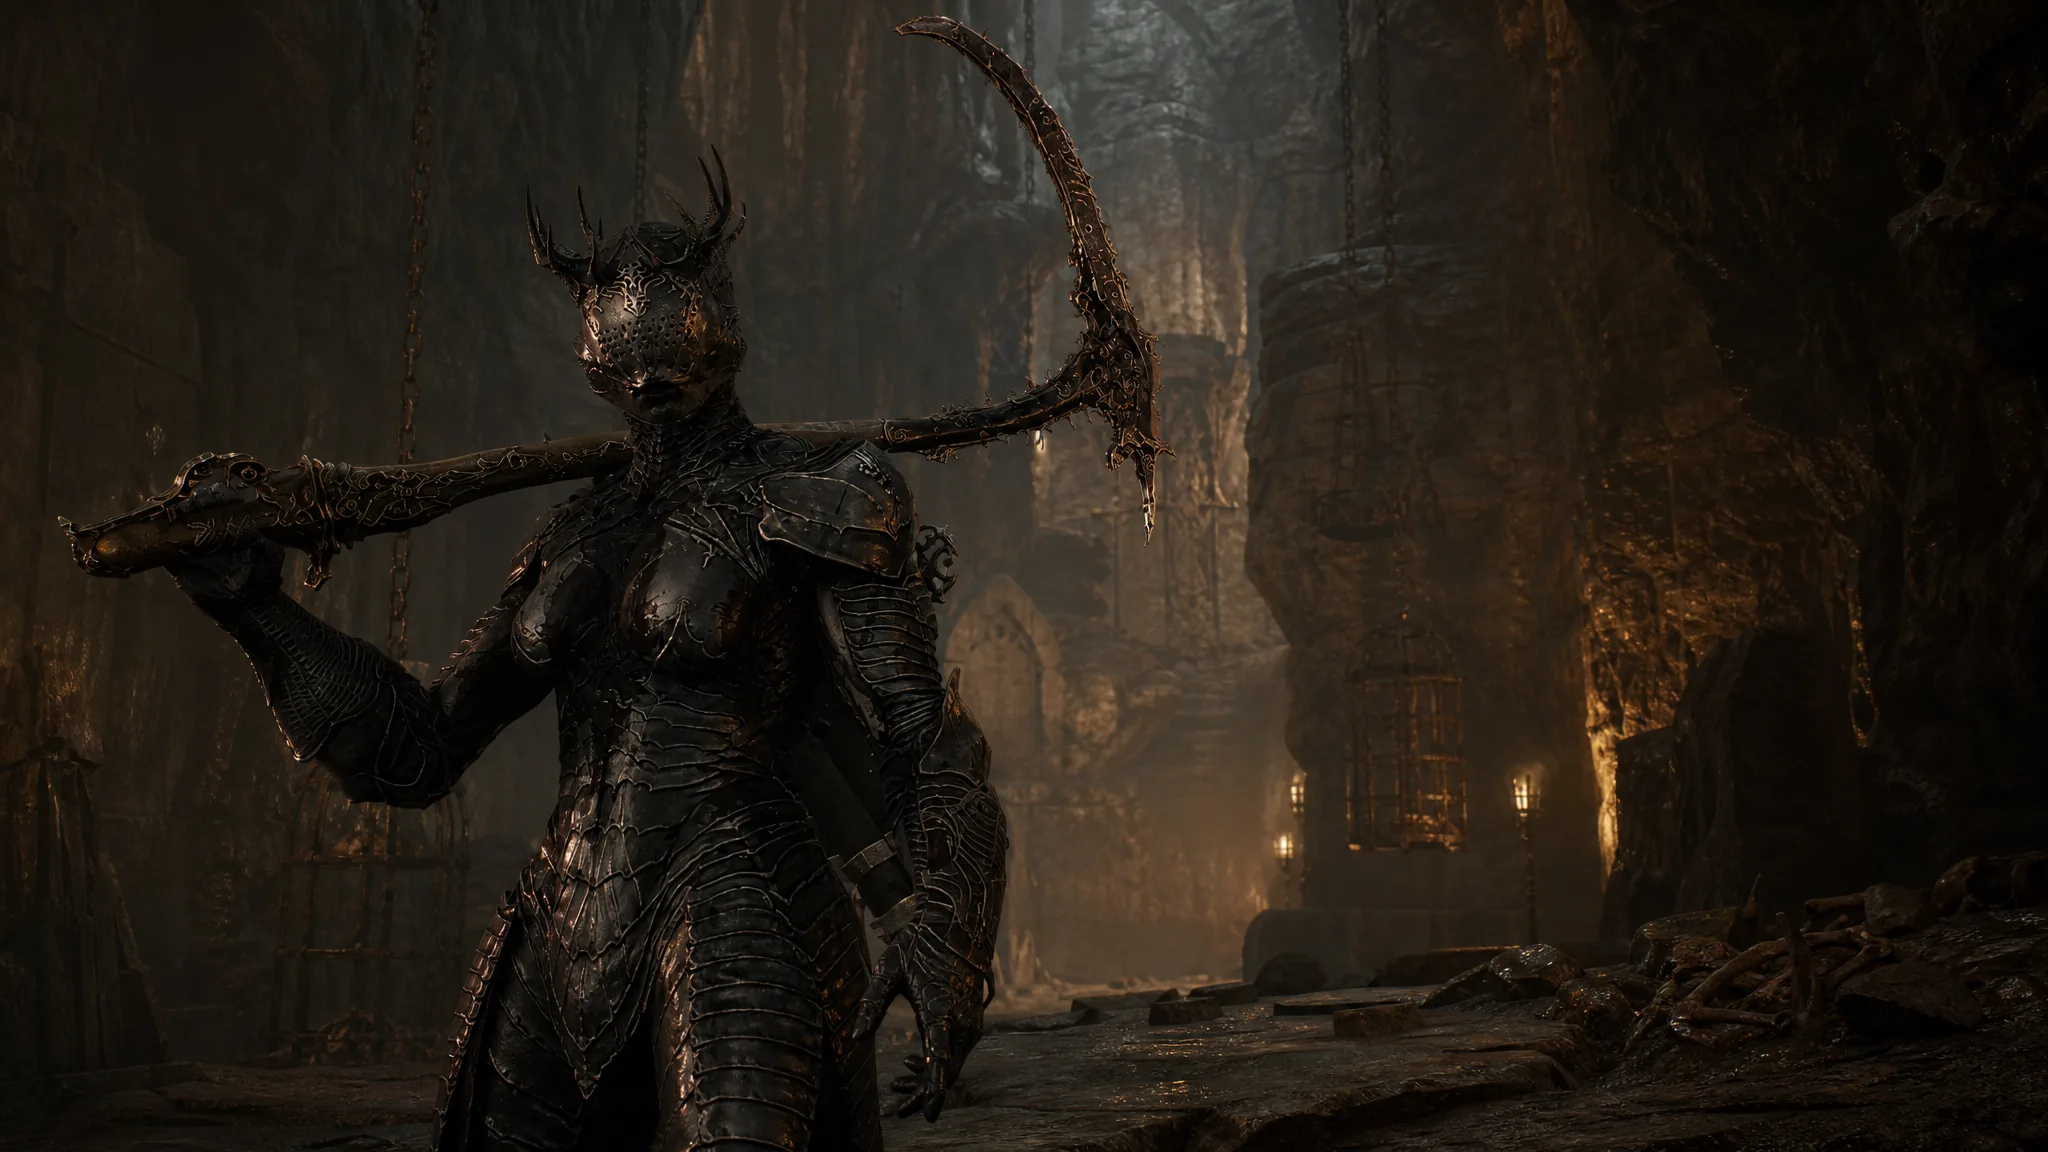
The dungeon places six enemies across two levels. Most hit hard and cluster together, so a ranged weapon lets you thin them out before they close in.
| Area | Enemies | How to handle them |
|---|---|---|
| Opening descent | Two roaming heads and an infested stalker | Open with a crossbow, then finish with a two-handed weapon |
| End of the main hall (left side) | Two Foul Knights | Both must die to proceed; take them one at a time |
| Lower chamber | A single fast, high-damage elite (gloom seeker) | Keep distance and use ranged attacks; it moves quickly and punishes greedy swings |
Step-by-step walkthrough
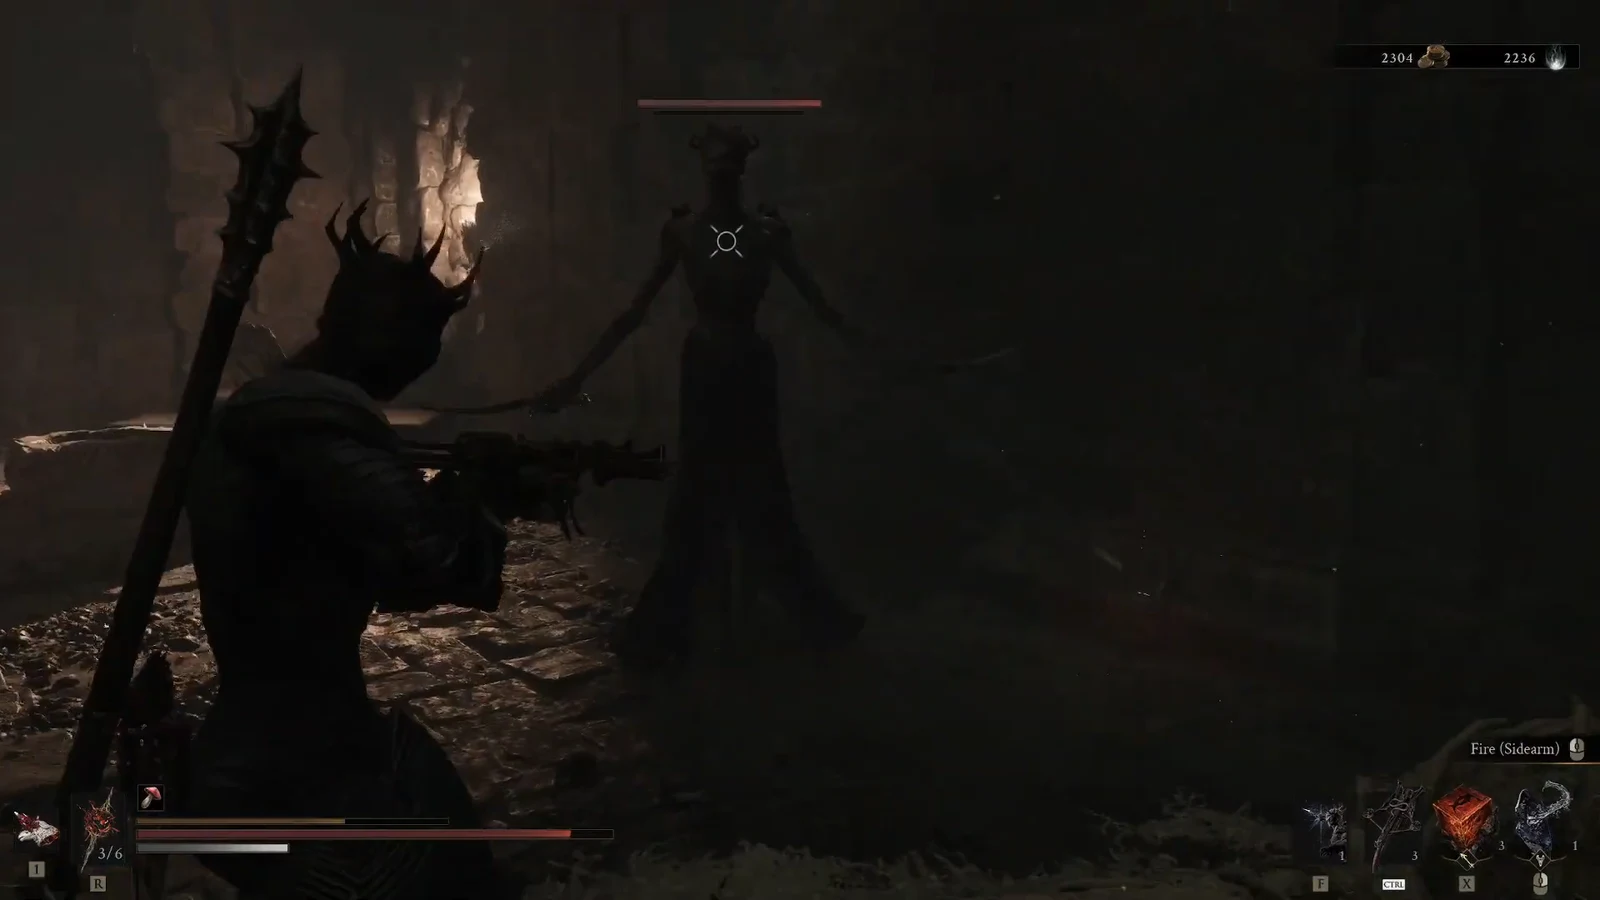
Where the loot actually is
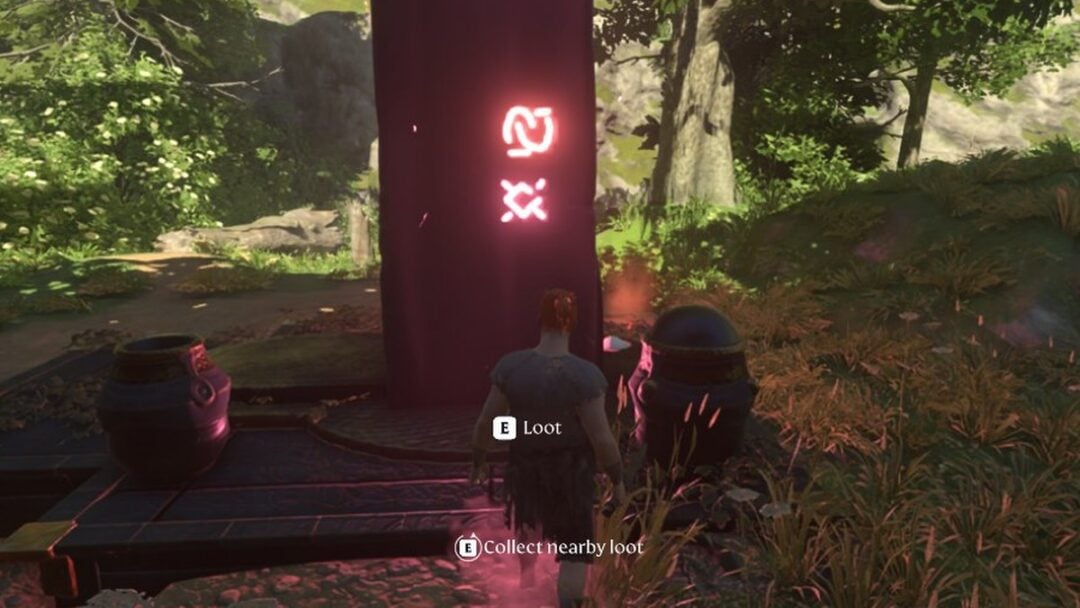
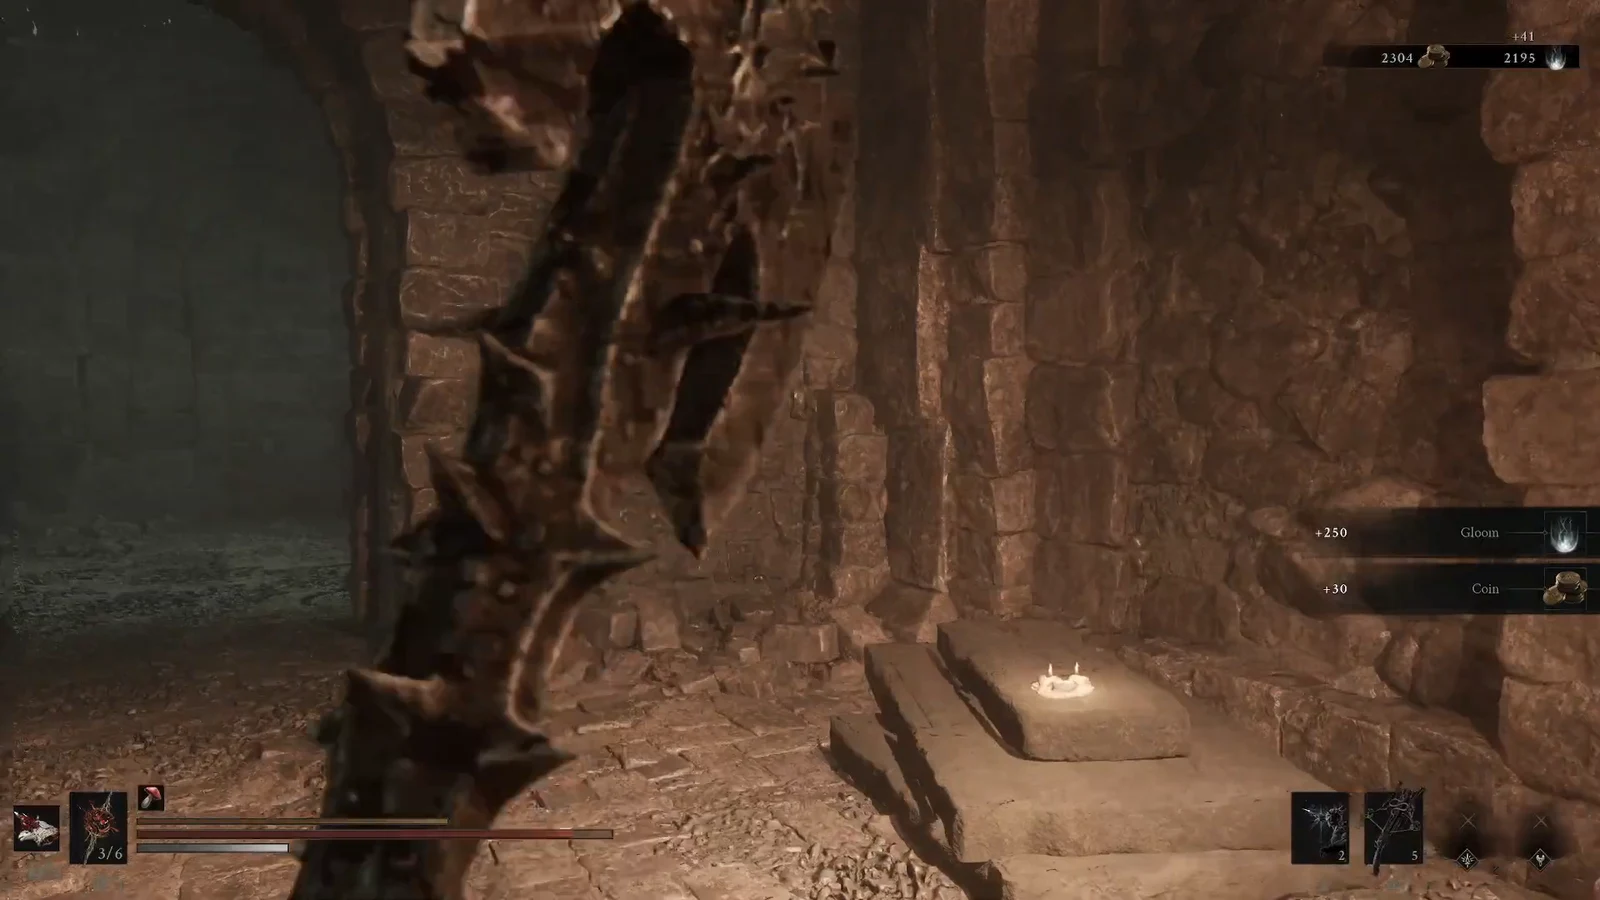
The chest at the center of the chamber is empty, which is the point of the trap. Once the elite is down, turn away from the sarcophagus and check the room instead. The pickups sit around the edges and inside a small hidden room off to the side.
| Reward | Where to find it |
|---|---|
| Ventrium x2 | In the corners of the lower chamber, behind you as you face the open chest |
| Dorsalite x1 | Inside the hidden room off the chamber |
Sweep the corners first so you do not miss the Ventrium, then find the hidden room for the Dorsalite. On exiting the dungeon you also receive an Extracted Specimen.
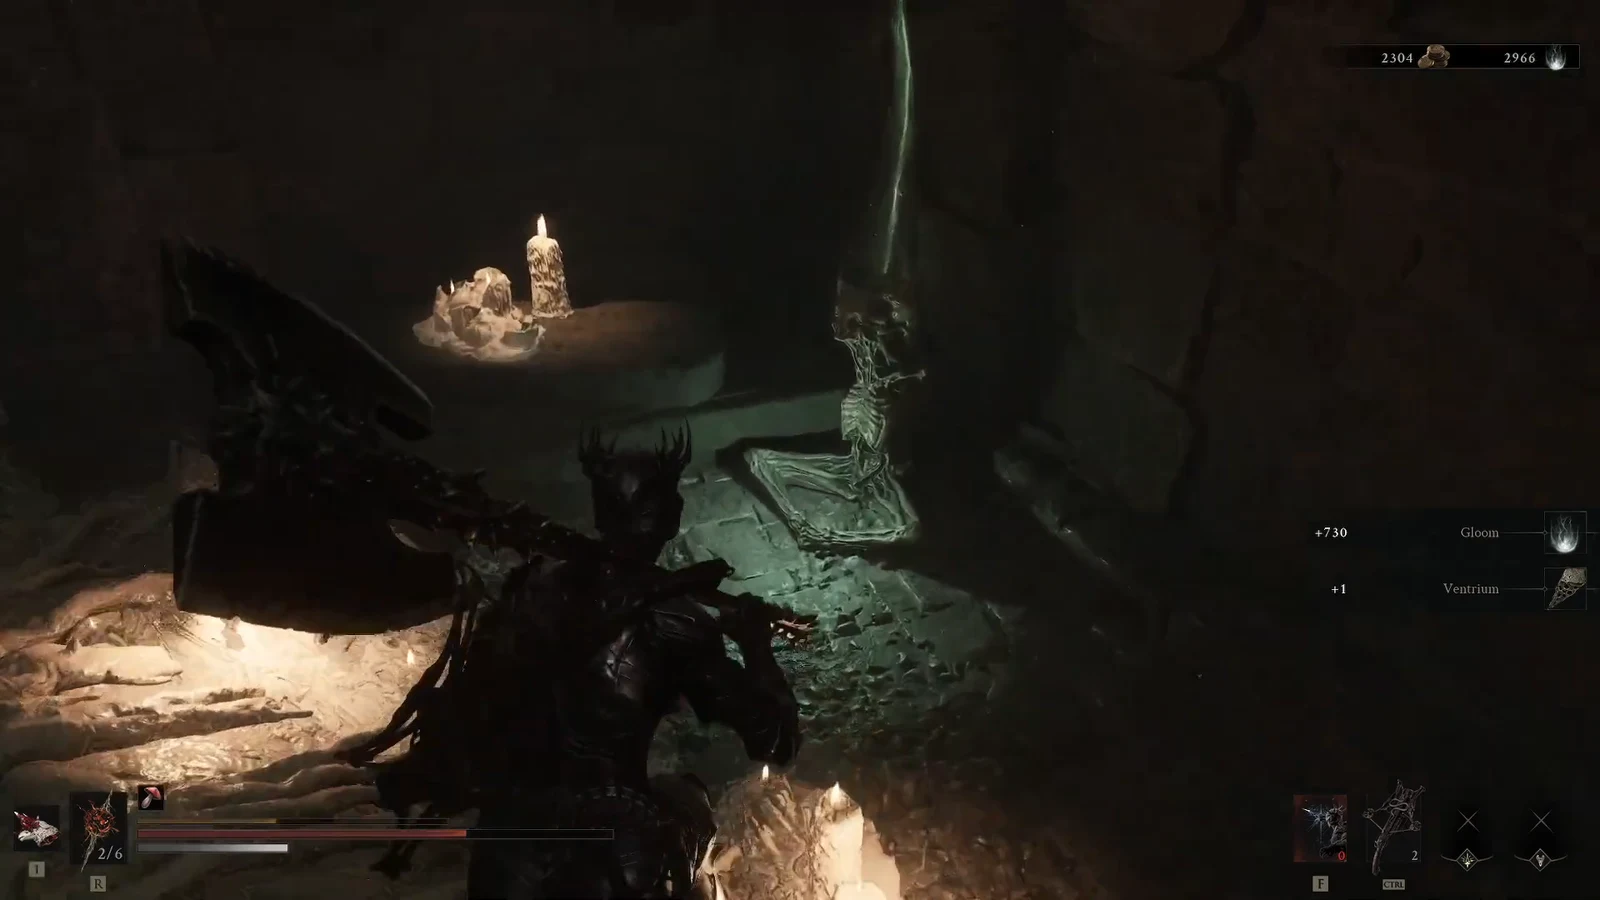
How to know the dungeon is finished
Parasitic Stash is done once the lower-chamber elite is dead and you have grabbed everything around the room. When you leave, the Extracted Specimen reward confirms the clear. None of the dungeons in the game mark themselves as complete automatically, so if you want to track it, move the cursor over the entrance on the map and switch its icon manually.
If it feels like you are missing loot, the usual reason is checking the sarcophagus and leaving. It is empty by design. The real pickups are the Ventrium in the corners and the Dorsalite in the side room, so clear both before you head back up.