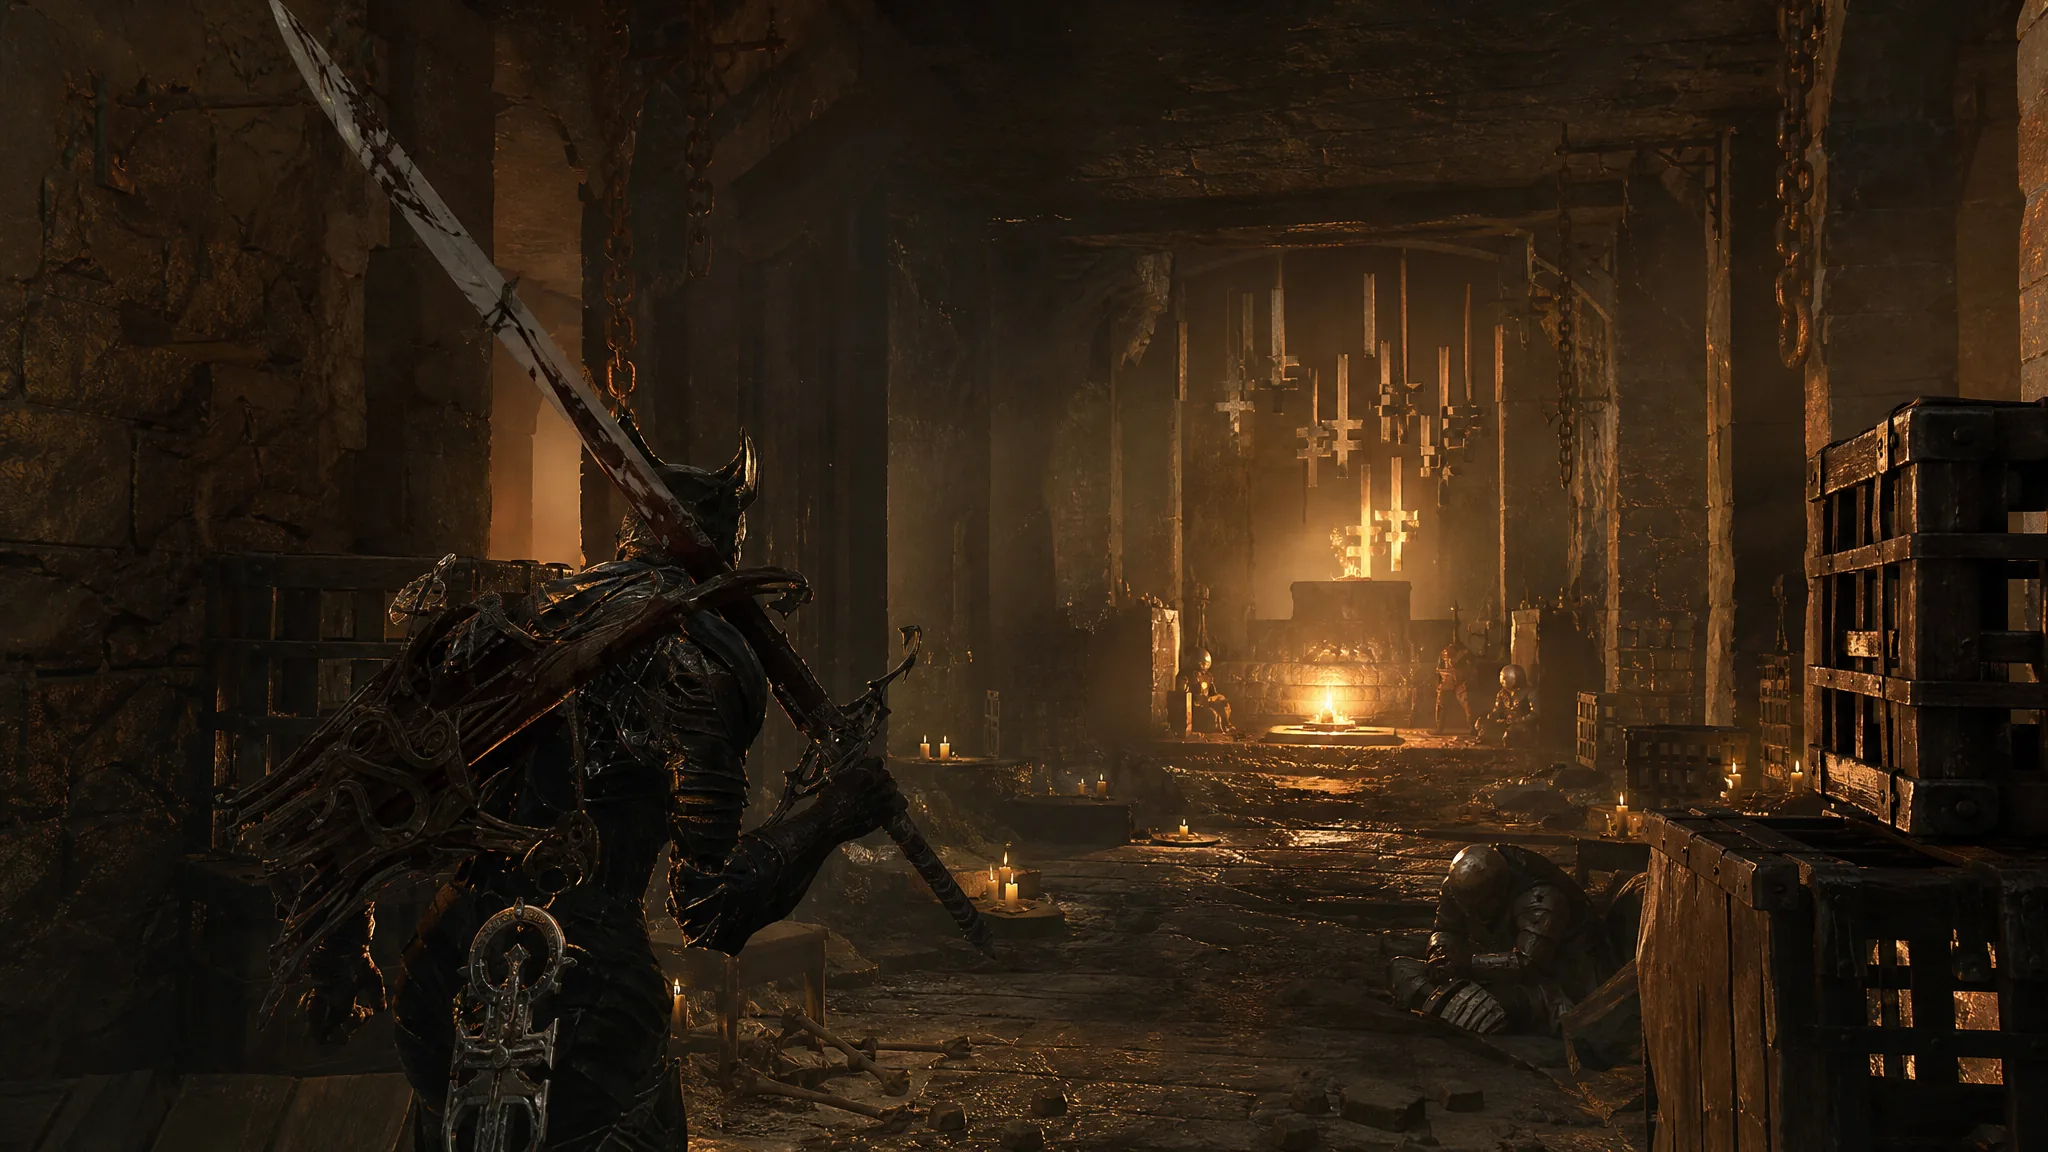
The Ravaged Tomb is one of the shorter dungeons in Mortal Shell 2, tucked into the Ruins of Nochte near the Nochtean Gate Beacon. It exists for one reason: the Duality Stone, a Combat Tarstone that makes light attacks from the Axatana and the Axe & Dagger hit twice. The dungeon takes only a few minutes to clear once you know where the wall switch is, but the single pillar puzzle in the middle stops a lot of players cold.
Quick answer: Take the elevator down from the Nochtean Gate Beacon to reach the tomb entrance, climb the ladder past the pillar room and hit the wall switch to lift the gate, then strike the stone pillar so it slides onto the pressure plate. The Duality Stone sits in the bone chest under the hanging corpse near the stairs, just before the final gate.
Ravaged Tomb location and how to reach the entrance
The tomb sits east of the Nochtean Gate Beacon, below ground level. If you have already cleansed that beacon, the trip is two elevator rides and nothing more.
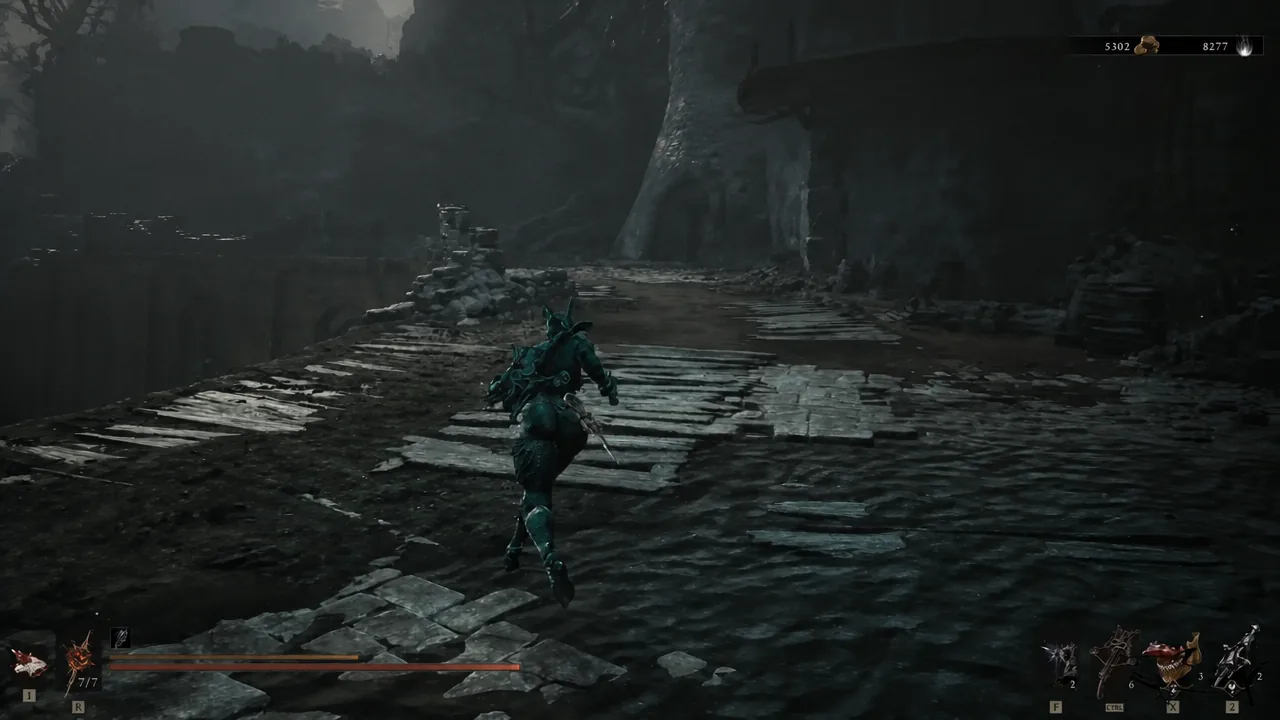
If you have not unlocked the beacon yet, the approach runs through the Citadel of Penance instead. That means picking up the Citadel Gate Lever from the Bloodcursed Lithopod, a miniboss south of the Gloomshade Grove Beacon — drop into the pond below the beacon and head toward the Ravaged Hideout entrance. With the gate open, follow the path to the bridge patrolled by stone throwers and halberd knights, drop off the ledge on the right, and take the right-hand bone gate exit to pop out in the Ruins of Nochte. Keep to the main path until you hit a closed gate, pull the lever beside it, and the tomb entrance is on your right.
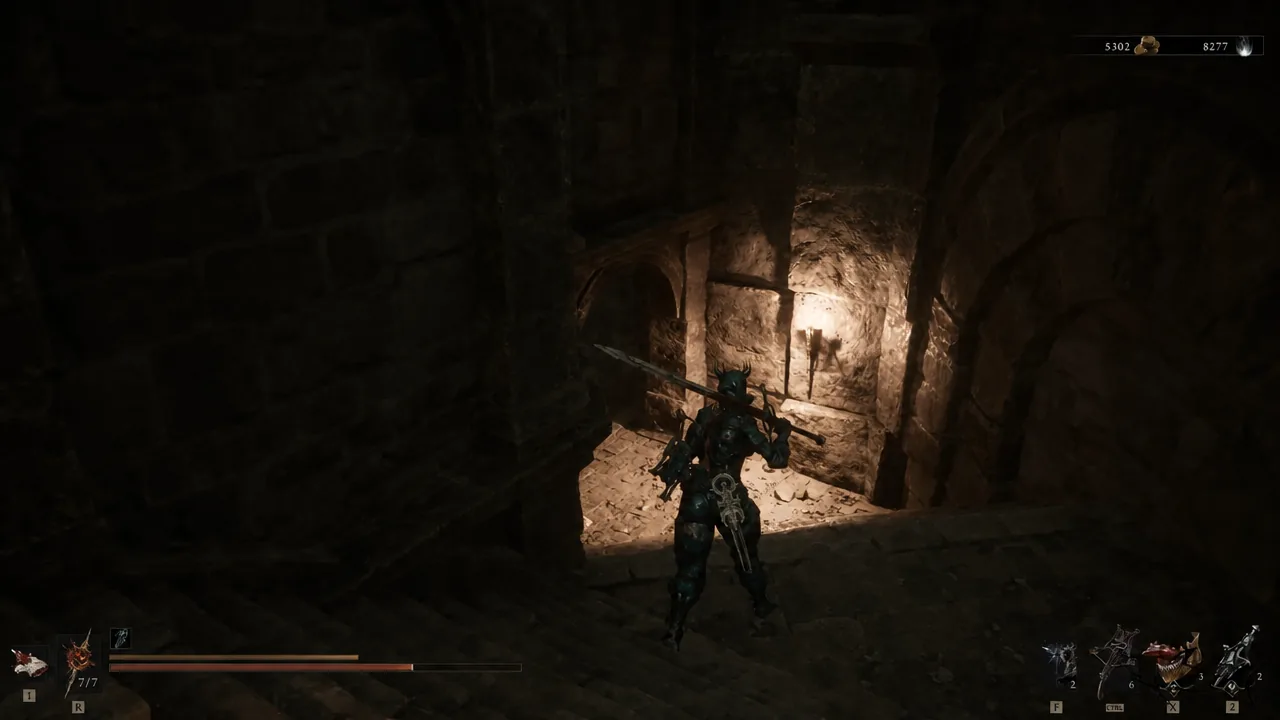
Note: the in-game map is disabled inside the dungeon, so you will see a “MAP UNAVAILABLE FOR THIS AREA” message if you open it. Landmarks are the only navigation you get down here.
Pillar and pressure plate puzzle solution
Past the entrance you fight through a handful of basic enemies before reaching a room with a large stone pillar sitting on a track. The pillar is lined up with a pressure plate on the far side, but a gate blocks its path. Pushing it before you deal with that gate does nothing.
Lower path: exploding enemy and materials
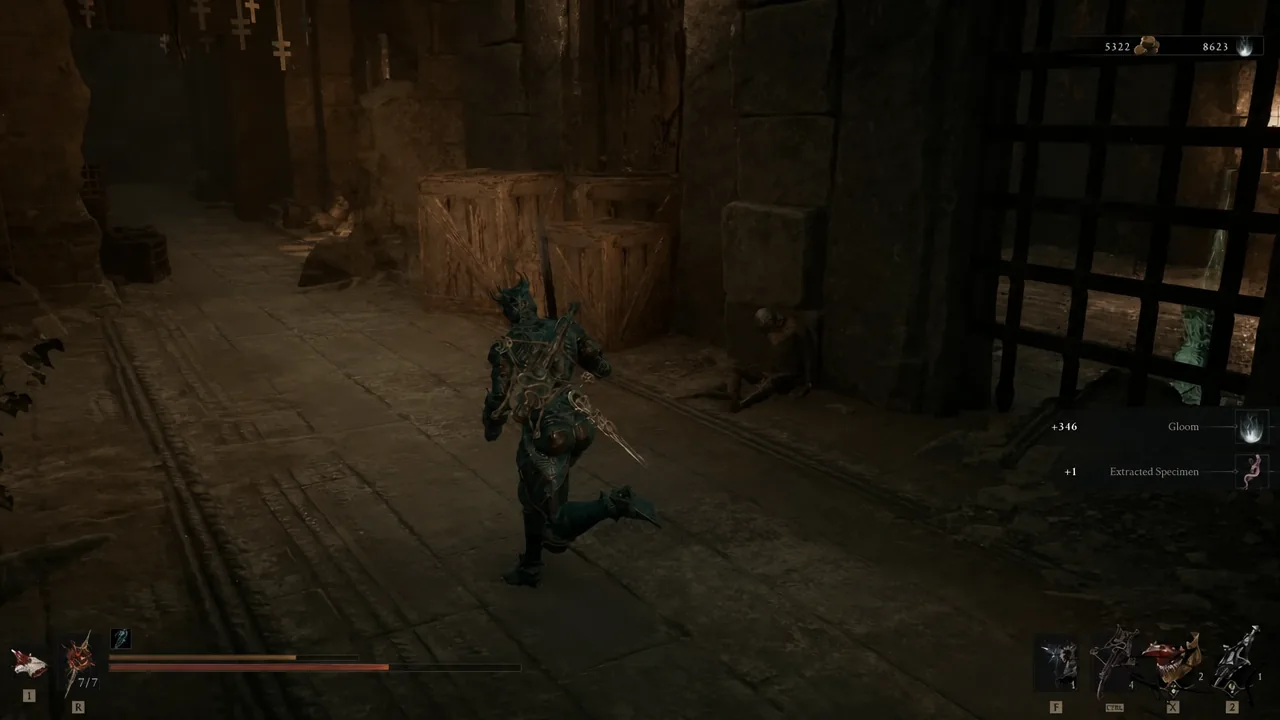
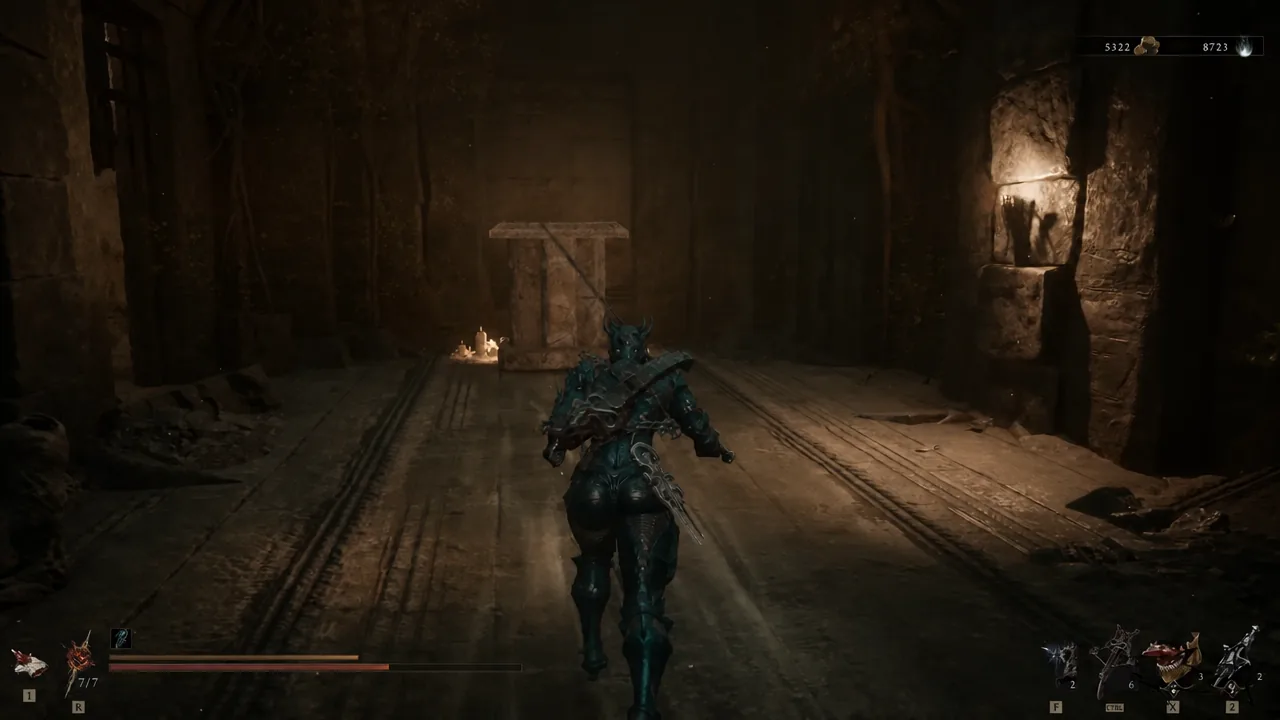
Drop down through the newly opened path and break the barrier at the bottom. The one thing that will kill you here is the exploding enemy guarding the corridor. Trigger its fuse with a hit, then immediately back off and let it detonate at a safe distance instead of trading swings with it. There is Lutervite to pick up along this stretch.
Duality Stone chest location
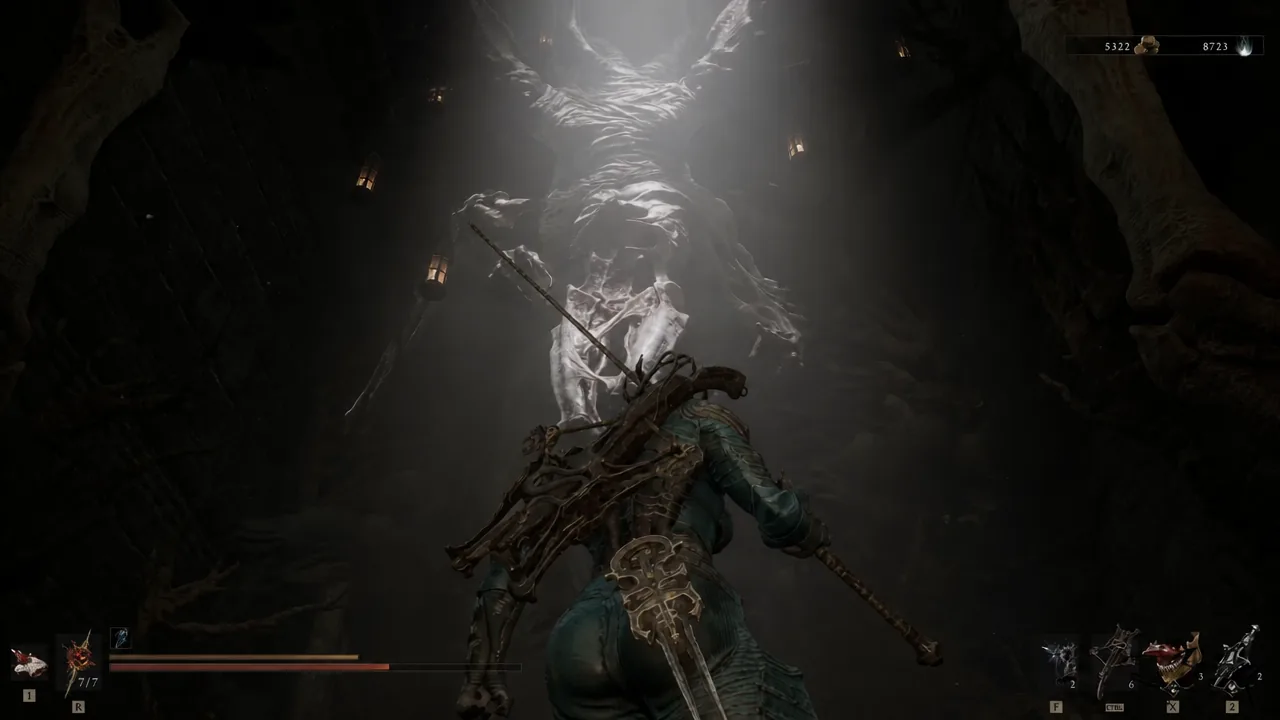
The corridor opens into the main tomb chamber. Near the stairs, directly beneath a giant hanging corpse, sits a bone chest shaped like a sarcophagus. Open it to receive the Duality Stone, which is flagged as an Immovable Tarstone in your inventory. This is the only item the dungeon exists to hand out, and you get it before opening the final gate — so if the fight ahead goes badly, the stone is already yours.
Spiked beast fight at the exit gate
Opening the exit gate wakes up a large spiked beast that rolls at you across the chamber. Its charge covers ground fast in a straight line, so sidestep the roll rather than trying to block it, and punish during the recovery. The Shrike Stone skill makes this considerably shorter — its jumping attacks land heavy damage on the beast between charges.
How to confirm the dungeon is complete
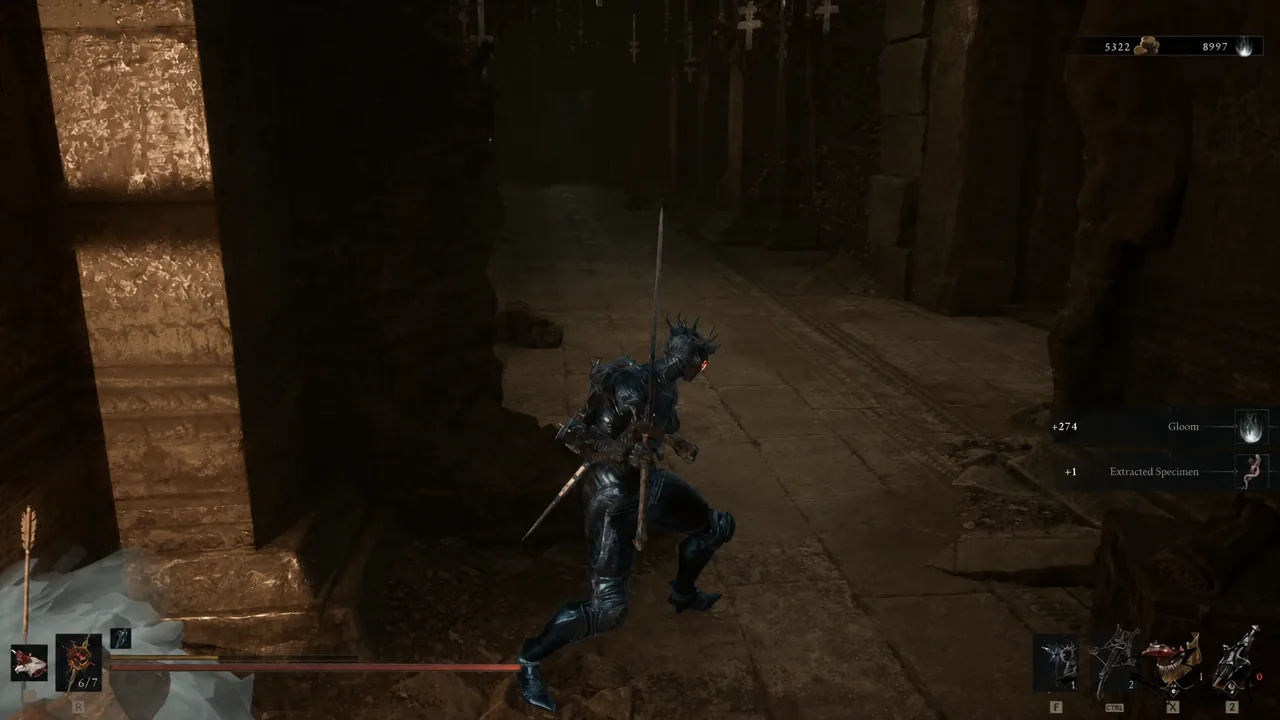
With the beast down, run back through the tomb and take the elevator up to the upper level, then return to the Nochtean Gate Beacon. Cleanse it, open the world map, and the Ravaged Tomb will show as complete in the location list. That marker is the check that you did not leave anything behind — if the tomb is still listed as unfinished, you skipped the exit gate.
Duality Stone effects and weapon compatibility
The Duality Stone is a Combat Tarstone that gets infused into your primary weapon. Its effect is simple: your light attack combo strikes twice. That extra damage instance also means twice as many chances for a critical hit, faster stagger pressure, and more frequent status effect triggers, which is why it suits fast dual-wielding builds far more than heavy-swing setups.
| Level | Effect |
|---|---|
| 1 | Your weapon’s light attack combo strikes twice |
| 2 | First attack only |
| 3 | First and second attacks |
| 4 | All attacks |
It only works with two weapons, so there is no point picking it up for anything else:
- Axatana
- Axe and Dagger
Upgrading the Duality Stone at the Tarforge
Higher Tarstone levels are locked behind the Etching Needle, a quest item you hand to Franz to expand the upgrade options on the Tarforge in Marrow Keep. The Etching Needle is in a bone chest just before the Magdalena, the Lady of the Woods boss fight — when you spot Ruk past the bridge, drop through the opening and turn right before the tunnel to find the small side area holding the chest.
After that, upgrades run on experience rather than materials. Keep the Duality Stone equipped and kill enemies until its XP bar fills, then take it back to Franz and pay Coin for each level.
Because the tomb sits so close to a beacon and the puzzle resolves in a single switch and a single sword swing, this is one of the earliest meaningful power spikes available to an Axatana or Axe & Dagger build. Grab it the moment the Ruins of Nochte open up.