Gaming Guide

Mortal Shell 2: Splitting Stone Location and Multi-Shot Effect

The Lonesome Spire chest that lets your sidearm fire up to four projectiles per shot without spending extra Resolve.

The Lonesome Spire chest that lets your sidearm fire up to four projectiles per shot without spending extra Resolve.

The Splitting Stone turns any compatible sidearm into a shotgun. Instead of one bolt, one dart, or one blast, your shot splits into several projectiles that all leave the weapon at once — and the extra pellets cost nothing. Resolve consumption stays exactly the same as a normal shot, which is what makes this Tarstone worth the detour into the Ruins of Mammon.

Quick answer: The Splitting Stone sits in a stone chest at the top of the Lonesome Spire, the building east of the Gate of Mammon beacon. Fast travel to that beacon, climb the wooden stairs into the Spire, clear the enemies guarding the cliff edge, and open the chest.


What the Splitting Stone does to your sidearm

The tooltip is short and literal: your sidearm fires multiple projectiles without consuming additional Resolve. Each individual projectile deals a reduced percentage of the weapon’s normal damage, and the more projectiles you add through upgrades, the lower that per-projectile figure drops.

TierProjectiles per shotDamage eachCombined damage
First255%110%
Second340%120%
Third435%140%

Two things follow from those numbers. Total damage climbs with every upgrade, so a fully invested Splitting Stone hits harder than an unmodified shot even after the per-projectile penalty. But that damage is spread across a spread pattern, so you only bank the full amount when every projectile connects — point-blank shots and large enemies get far more out of it than long-range poking.

Note: the level numbering shown in menus varies depending on whether the base “fires multiple projectiles” line is counted as its own tier. The projectile counts and damage percentages above are what matters in practice.


Sidearm compatibility and slot type

This is a Combat Tarstone, and it slots into your sidearm rather than your primary weapon or your Shell. That means it competes with other combat stones for the single sidearm combat slot — you cannot stack it alongside another projectile modifier on the same weapon.

It fits the following sidearms:

  • Forgotten Crossbow
  • Caged Hystrix
  • Troubadour’s Lute

The Forgotten Crossbow is the cleanest showcase for it. A single bolt becomes a fan of bolts, and against a staggered enemy the whole cluster lands in one place.


Splitting Stone location: full route to the Lonesome Spire

If you already have the Gate of Mammon beacon unlocked, skip to Step 6. Everything before that is the overland path from the region’s entry point for anyone who has not opened those beacons yet.

Start at the Outskirts of Mammon beacon. This is your anchor point for the whole run, so light it before you push any further into the region.
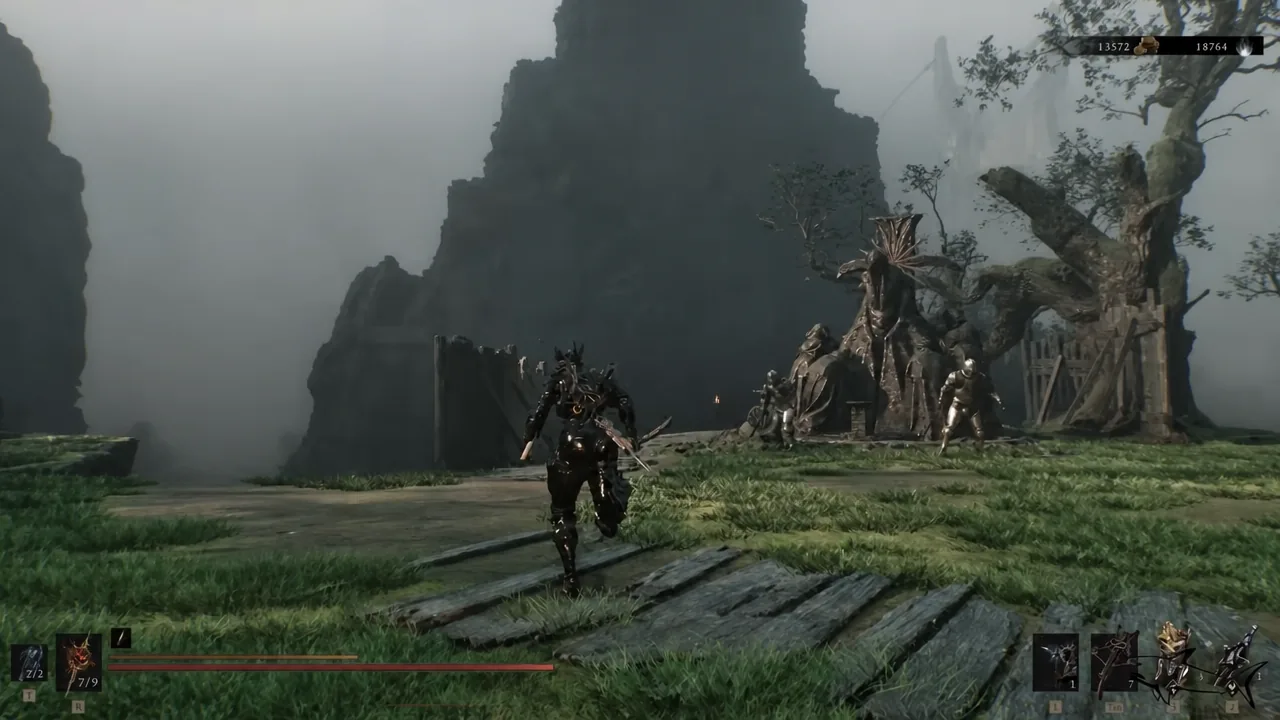
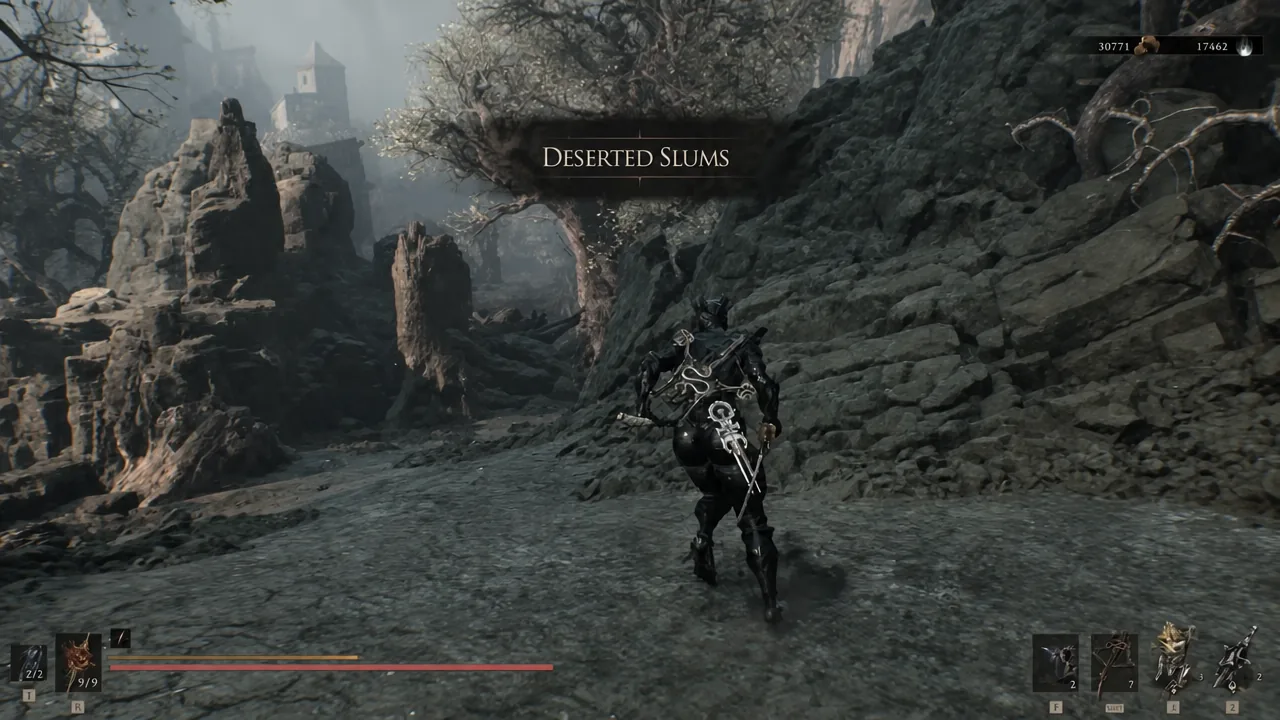
Head through the Deserted Slums until you reach the Abandoned Outpost beacon. The Slums are dense with enemies, but nothing here needs to be cleared — you can run the corridor if you are only after the chest.
The Harbinger pushing through the ruined streets of the Deserted Slums with the combat HUD visible
Cutting through the Deserted Slums on the way to the Abandoned Outpost beacon. Image: Cold Symmetry
From the Abandoned Outpost, continue on to the High Lord’s Terrace beacon. Mounted travel makes this leg quick, and most of the roaming enemies along the path can be outrun.
Riding along a rocky path toward a pale creature between beacons in the Ruins of Mammon
The ride between beacons on the way to the High Lord’s Terrace. Image: Cold Symmetry
Push forward from the Terrace to reach the High Lord’s Courtyard beacon. Light it, because it is the last convenient checkpoint before the final stretch.
Map screen with the High Lord's Courtyard beacon highlighted as the travel destination
The High Lord’s Courtyard beacon selected on the map screen. Image: Cold Symmetry
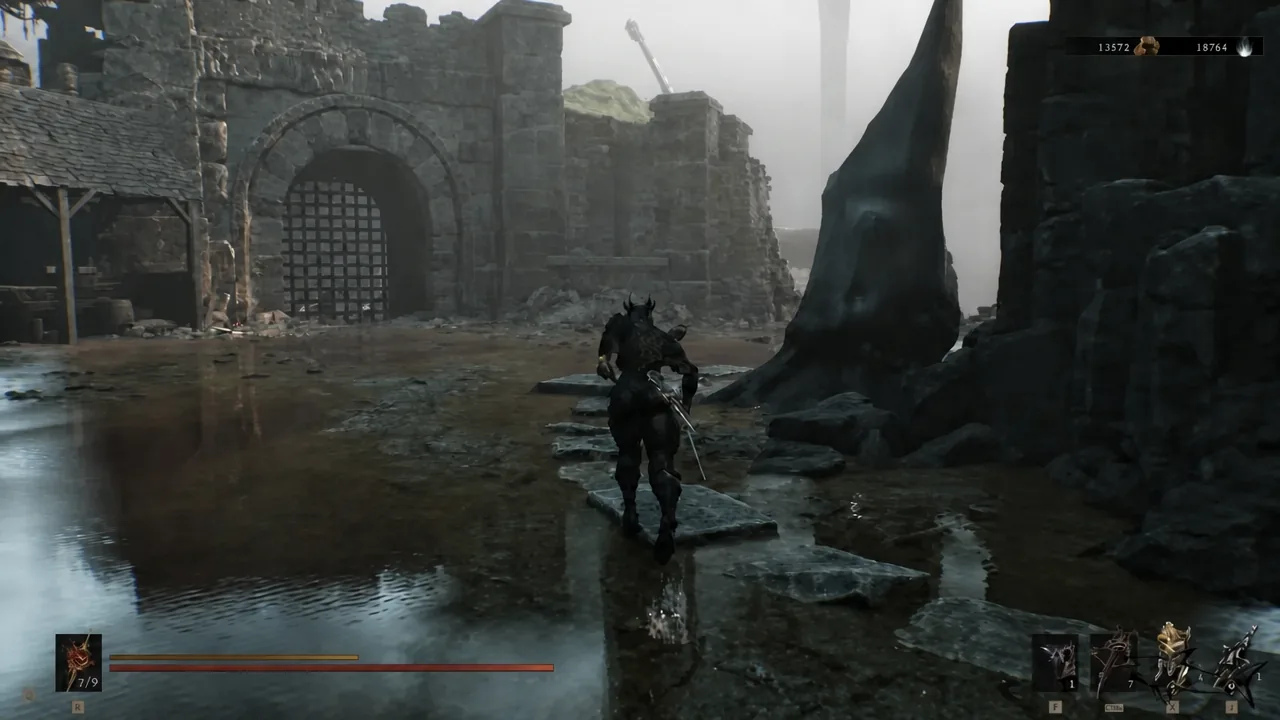
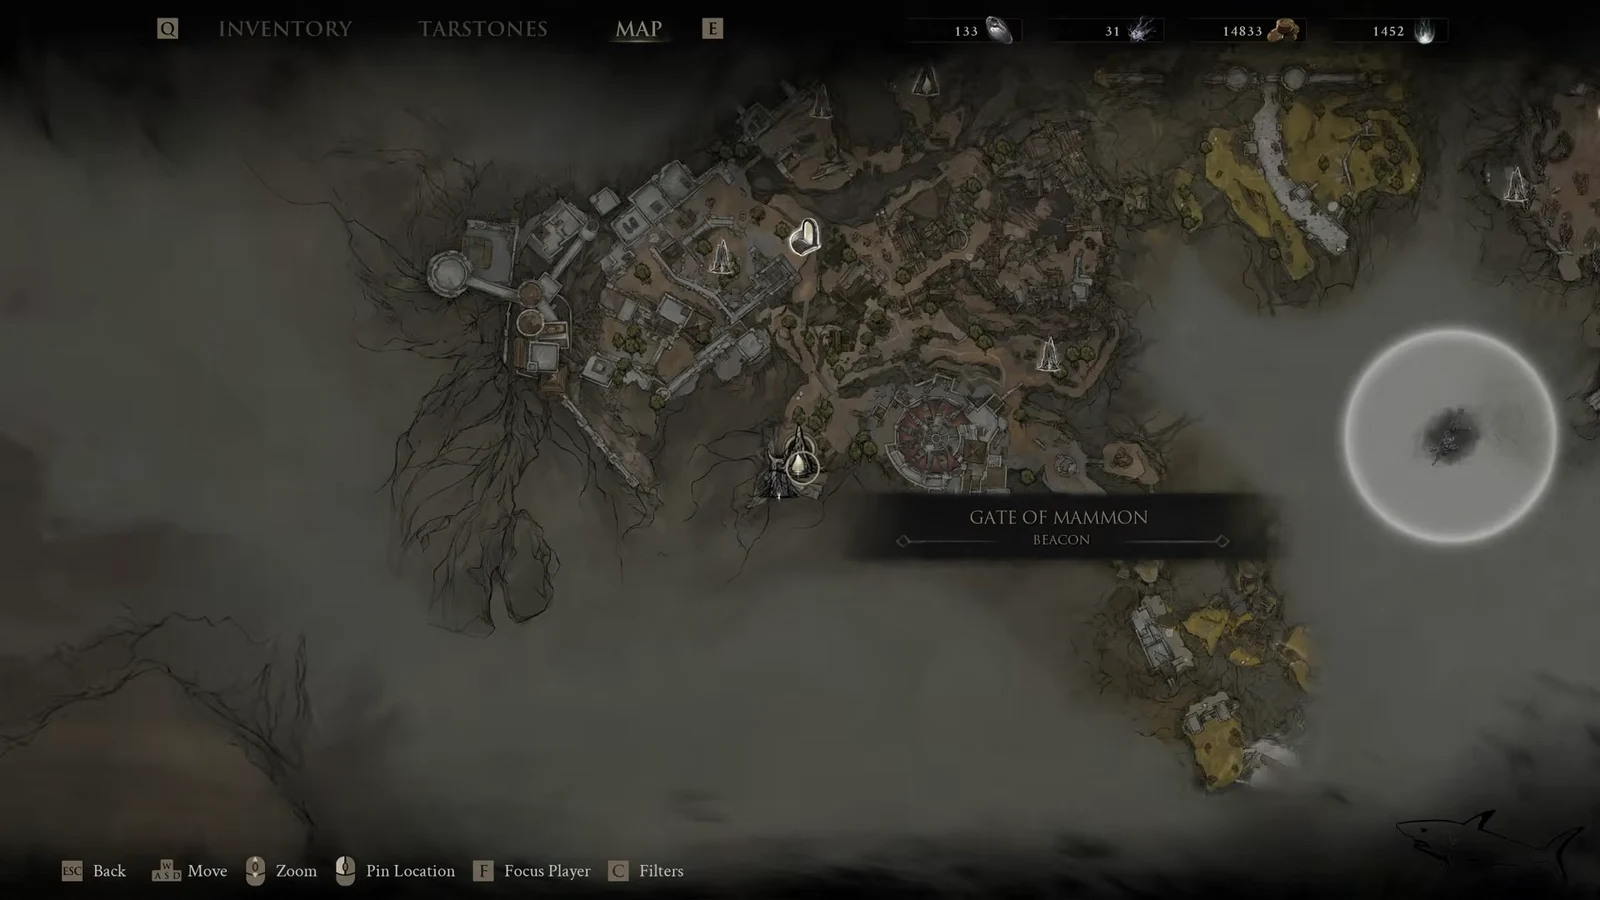
Travel from the Courtyard to the Gate of Mammon beacon. This is the drop point you will want to remember if you die on the climb ahead.
Map screen showing a gate location highlighted with its tooltip open in the Ruins of Mammon
Checking the gate area on the map before the final approach. Image: Cold Symmetry
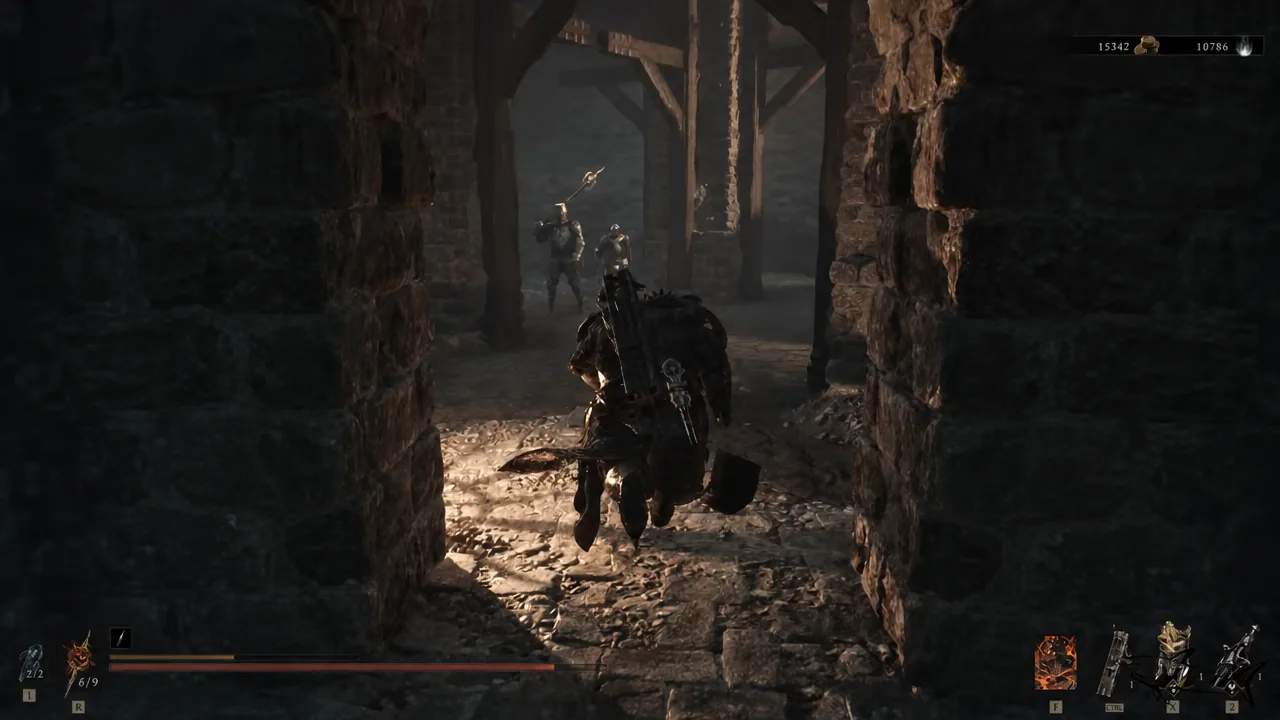
From the Gate of Mammon beacon, look east and climb the wooden stairs leading up into the Lonesome Spire. Enemies patrol the ascent, and the tight footing here punishes careless dodges more than the fights themselves.
Fighting through a dim stone courtyard on the climb toward the Lonesome Spire
Clearing the stonework on the way up into the Lonesome Spire. Image: Cold Symmetry
At the top, deal with the enemies stationed around the cliff edge before you go for the loot. Opening a chest with hostiles still active is how most people lose this run.
Open the stone chest at the top of the Spire. The Splitting Stone drops immediately — there is no puzzle, candle, or switch gating it.

How to confirm you have it and equip it

Open your inventory and check the Tarstone list — the Splitting Stone appears there with its multi-projectile description. Slot it into the combat slot for your sidearm, then equip a compatible weapon such as the Forgotten Crossbow.

The clearest confirmation is in combat. Fire a single shot at a wall or an enemy: you should see two projectiles leave the weapon on a spread instead of one, with your Resolve draining by the usual single-shot amount. If only one projectile appears, the stone is either unequipped or sitting on a sidearm it does not support.


Upgrading the Splitting Stone to three and four projectiles

Higher tiers are not automatic. Upgrading any Tarstone requires the Etching Needle, a quest item that unlocks the deeper upgrade options on the Tarforge in the Marrow Keep.

Find the Etching Needle in a chest just before the Magdalena, the Lady of the Woods fight. Once you spot Ruk past the bridge, drop down through the opening and turn right before the tunnel to reach a small alcove with a bone chest.
Hand the Etching Needle to Franz in the Marrow Keep. This expands what the Tarforge is willing to work on.
Keep the Splitting Stone equipped and kill enemies with it active. Tarstones gain experience only while slotted, so leaving it in your inventory earns nothing.
Once the stone’s XP bar is full, return to Franz and pay Coin to push it to the next level. Each upgrade adds a projectile and reduces the per-projectile damage figure.

Because the extra projectiles are free in Resolve terms, the Splitting Stone changes how much a sidearm is worth carrying at all. A crossbow that used to chip becomes a burst tool for staggered enemies and posture breaks, and the further you level it, the more that single trip up the Lonesome Spire pays back.