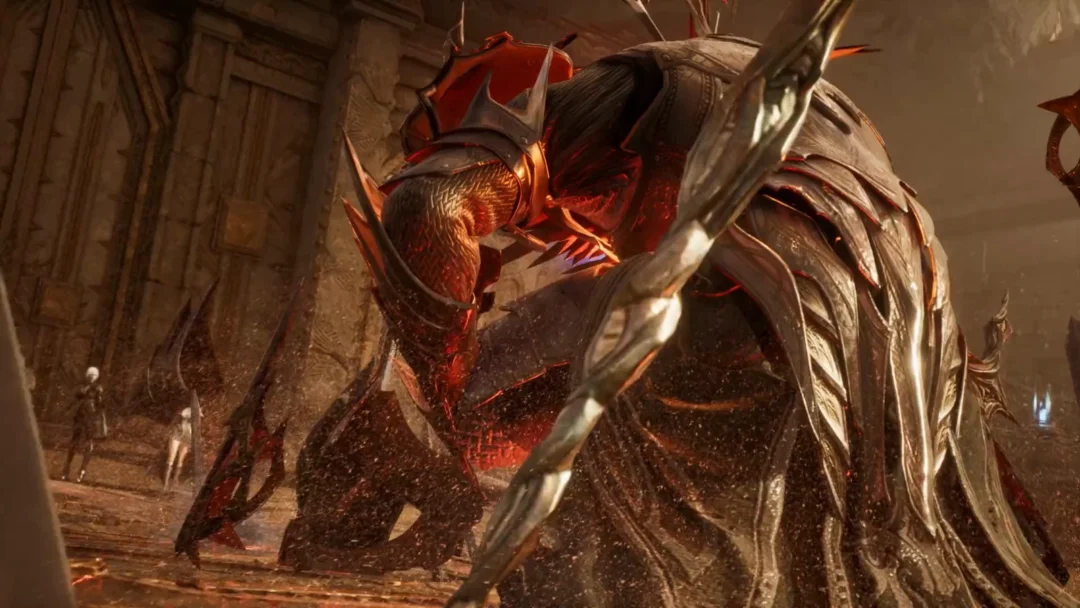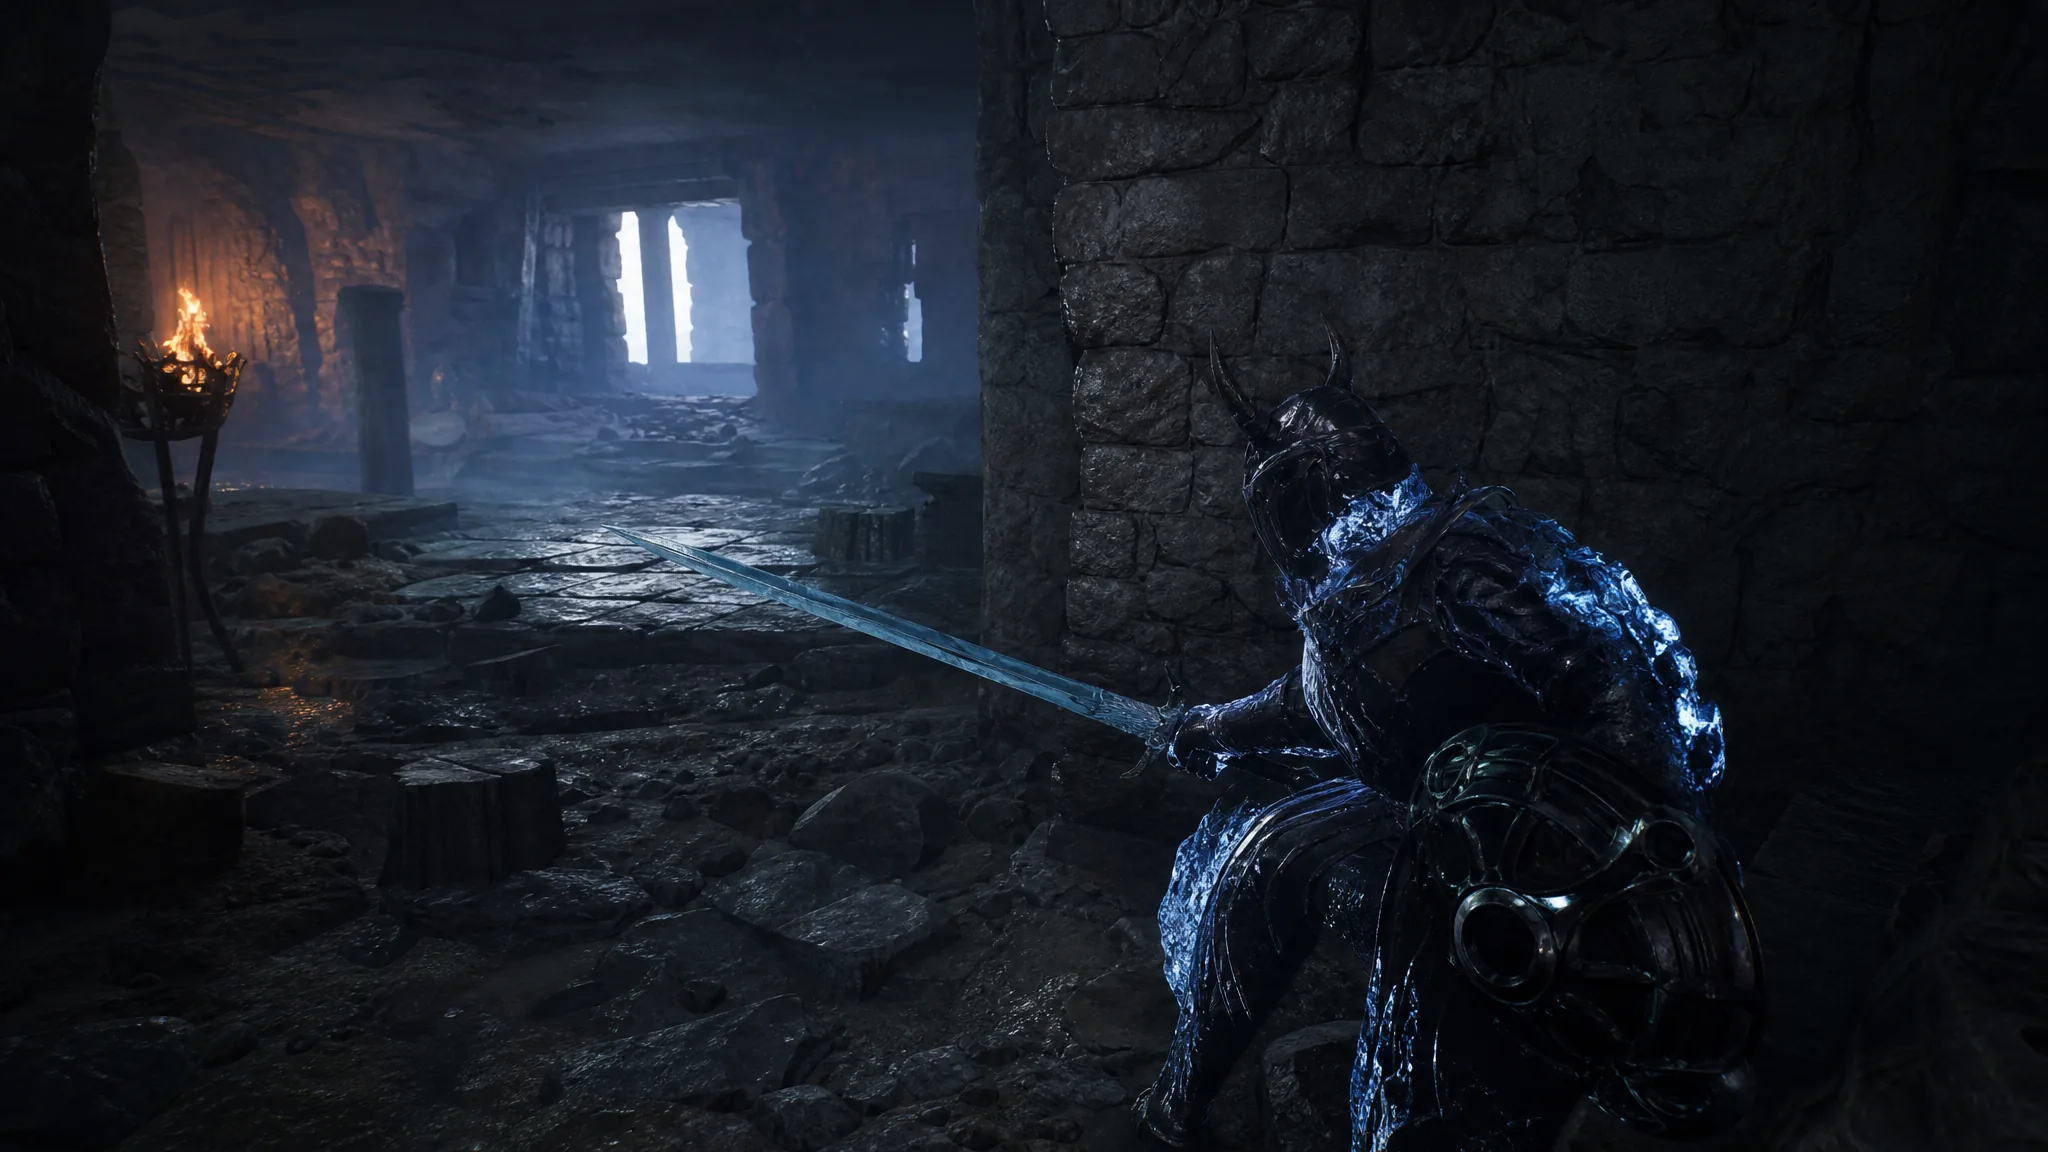
Thieves Retreat is a short optional dungeon in Mortal Shell 2 built around one trick: a collapsed bridge whose floor you cannot see. Get the entrance open, learn to read the mist, and the whole place takes only a few minutes. Fall off, and you land in a flooded pit full of crawling monsters with a long climb back up.
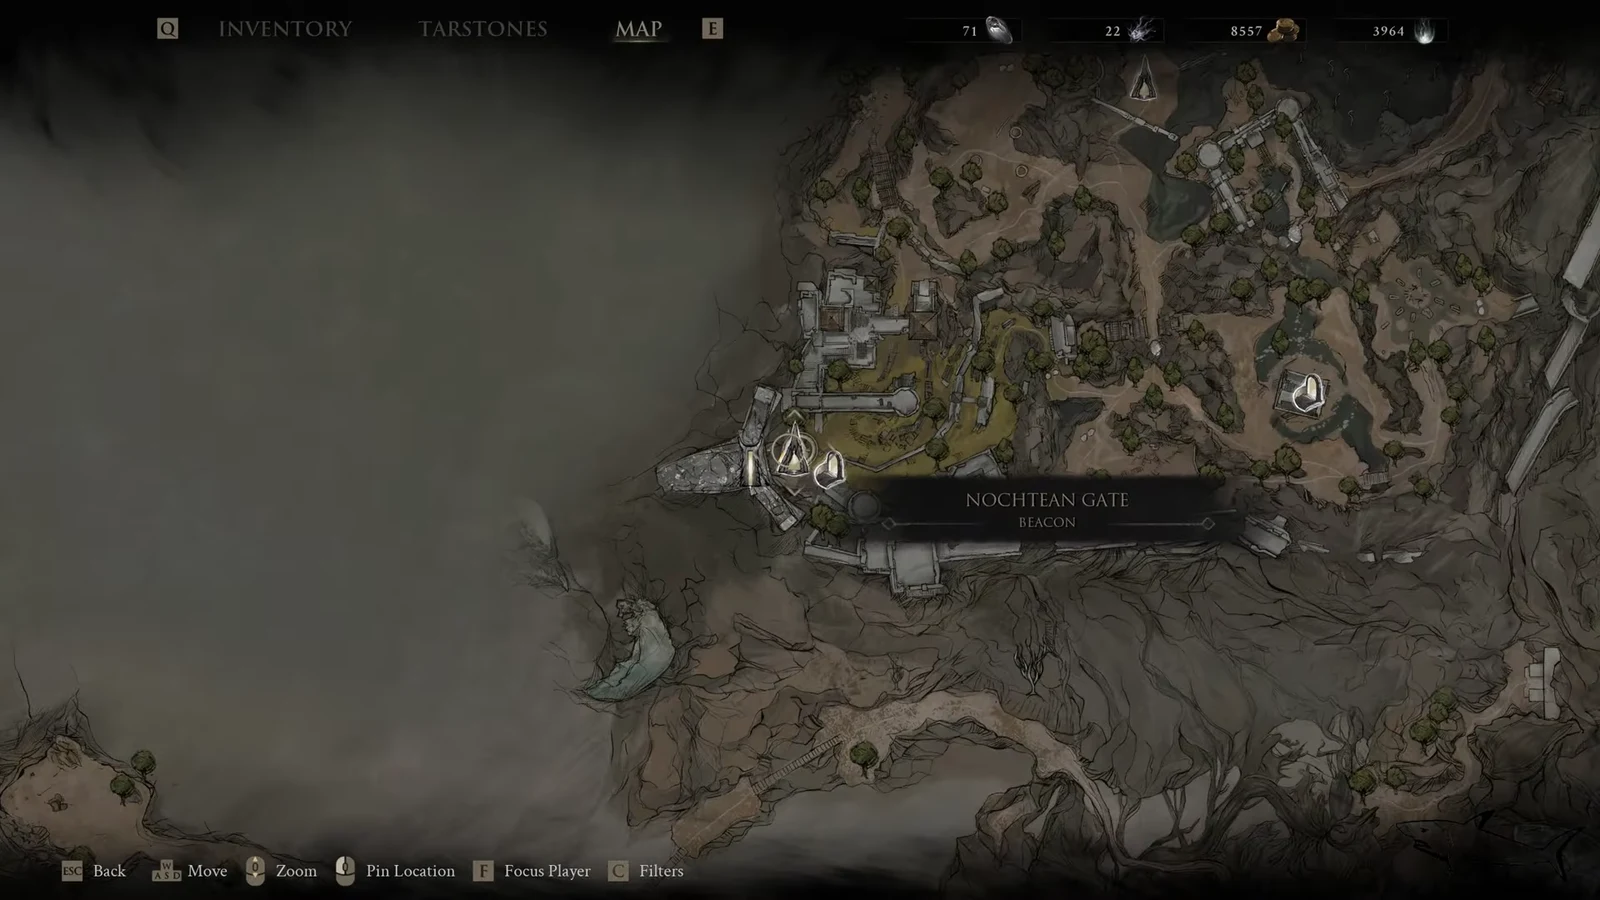
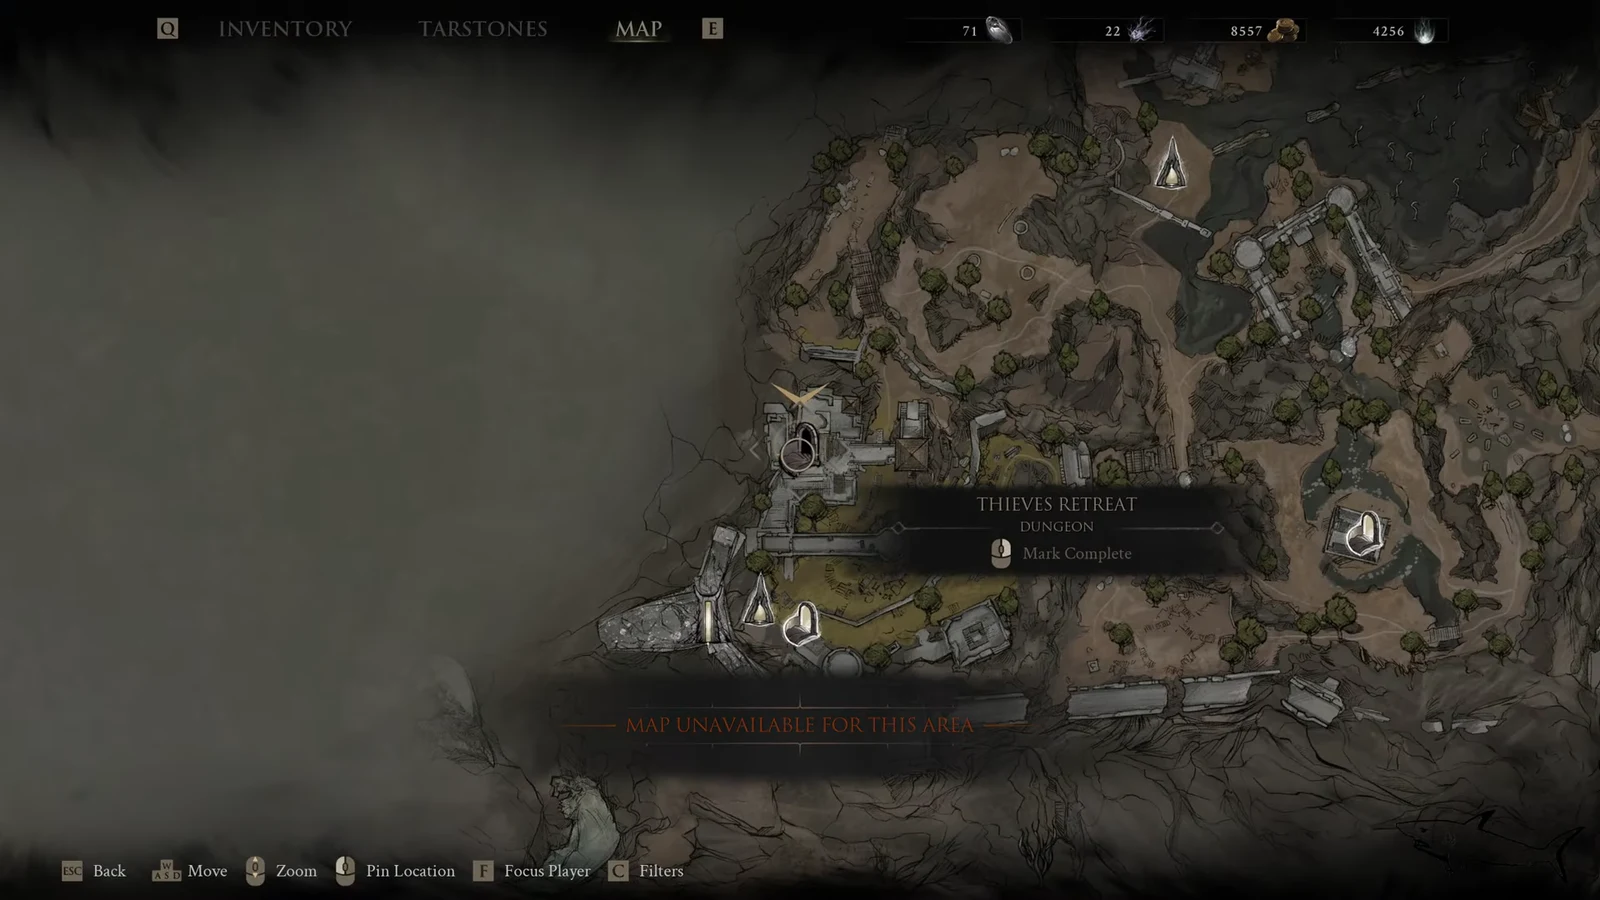
Quick answer: Head north from the Nochtean Gate Beacon, press the stone switch on the wall to the right of the iron gate, then shoot the glowing white circle on the ceiling just inside the gate with a ranged weapon. Ride the elevator down, cross the invisible misty bridge to the candle-lit altar room, and pick up the Revered Gland.
Thieves Retreat location and how to open the gate
The dungeon sits just north of the Nochtean Gate Beacon. Fast travel there, leave the beacon room, and follow the stone battlements. You will run into an armored soldier on a wooden platform and a heavier brute on the stone bridge further along, plus a hostile Stoner near the arched doorways on the lower floor. The entrance is past the arched passageway opposite that Stoner.
Bring lightning resistance before you go in
Most of the danger here comes from floating ghosts that throw Lightning spells, and none of those attacks can be blocked. Since you are fighting them on a narrow ledge you cannot fully see, resistance matters more than damage.
| Setup | Why it helps |
|---|---|
| Proxima with Ampereon at level 2 or higher | Cuts incoming Lightning damage and makes you immune to the Lightning status effect |
| Galvanic Shard in your passive slot | Adds further Lightning damage mitigation |
| Proxima’s Biosampler | Hooks ghosts and pulls them to you instead of letting them spam spells from range |
Space is tight on the bridge, so stay aggressive. Letting a ghost hover at distance is how most runs end with a fall into the pit.
Crossing the invisible bridge
The main chamber is a ruined bridge over a flooded pit. Your target is the doorway on the far side, marked by two lit torches. The missing sections of the bridge are still walkable, you just have to find them.
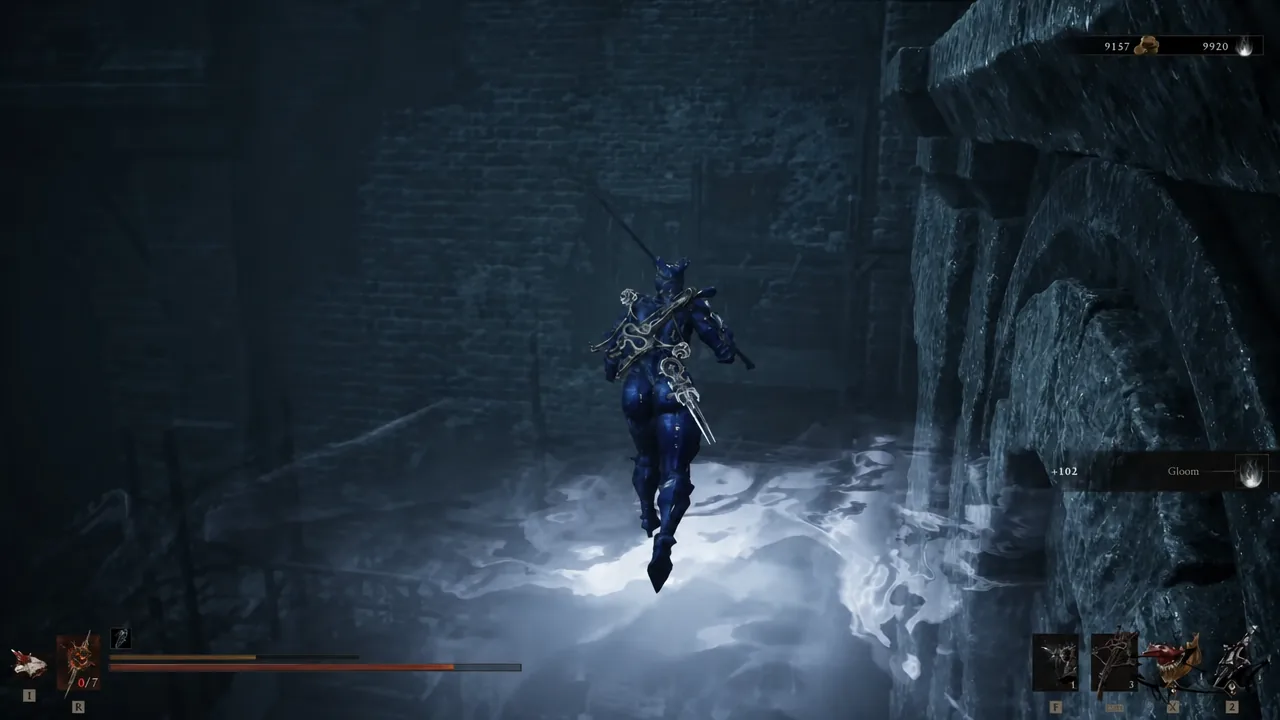
Two glowing white pillars sit along the route, one down in the pit area and one near the archways. Break them for Gloom on your way past.
If you fall into the pit
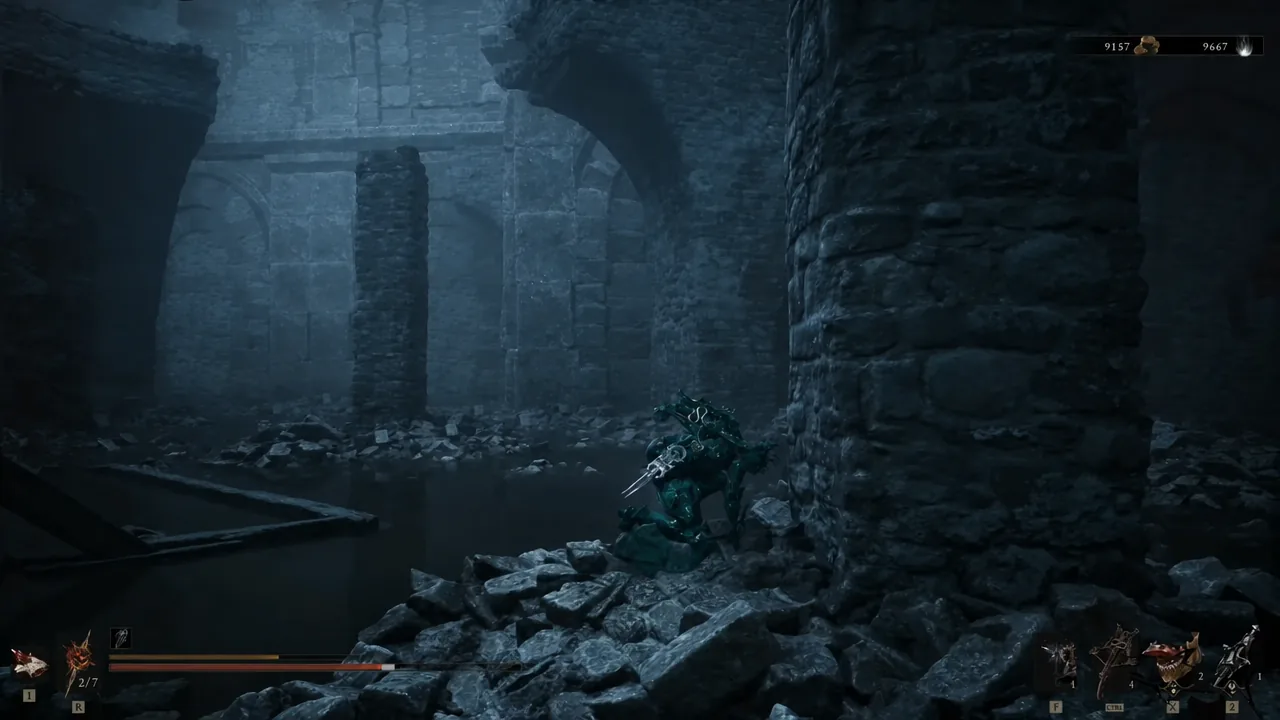
A fall is survivable, but the pit floor is crawling with monsters and a root golem, all fighting you in shallow water. There is an elevator that returns you to bridge level, controlled by a lever.
Either kill everything down there first or pull the pack away from the lever before you double back to it. If the elevator platform is sitting at the top when you need it, pull the lever to recall it, then ride it back up. Missing a landing on the way up simply drops you to the bottom again, so take the elevator a second time rather than trying to salvage the jump.
All Thieves Retreat loot
The pit is worth a deliberate visit rather than something to avoid. Everything except the Revered Gland is down there.
| Item | Where to find it |
|---|---|
| Ventrum | In the pit near the rundown shacks, by a chest tucked behind a glowing pillar on a wooden platform. You need to drop down to grab it. |
| Laterite (x2) | Two separate stone chests in the flooded lower area, one guarded by a crawling enemy in the water. |
| Gloom | Two breakable glowing pillars, one in the lower area and one near the stone archways. |
| Revered Gland | On the floor of the candle-lit altar room at the far end of the invisible path, surrounded by statues. |
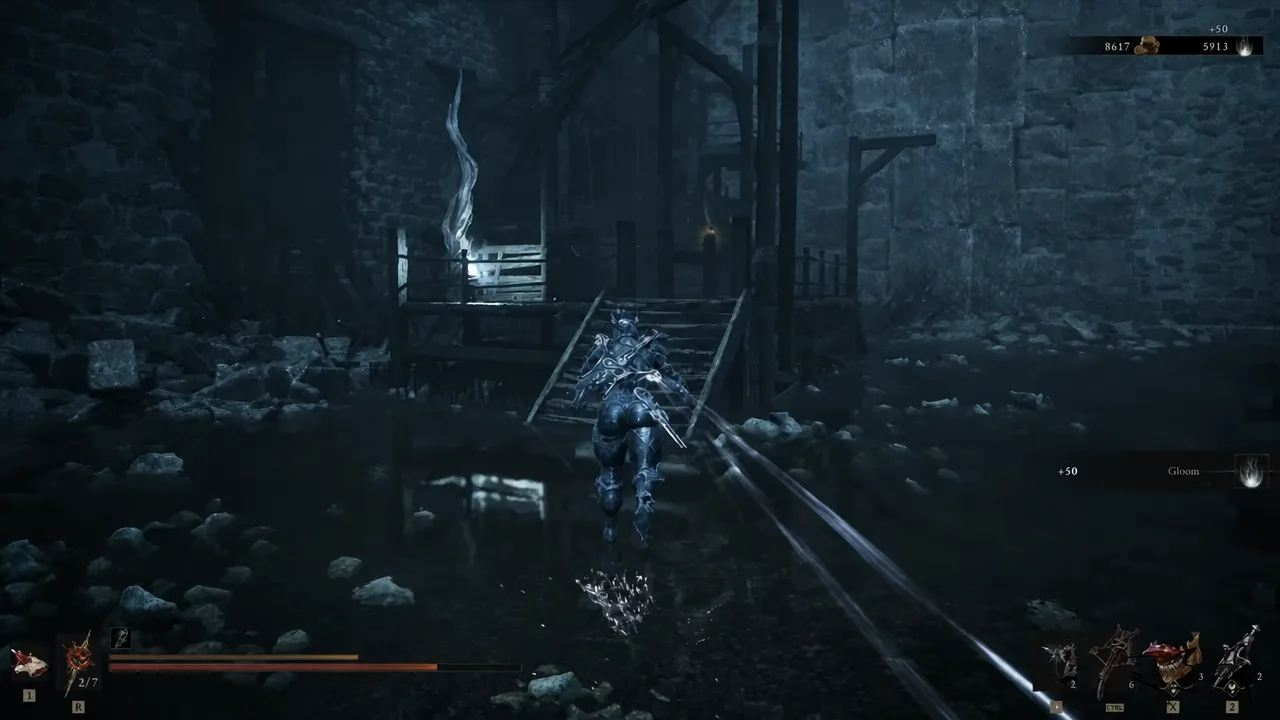
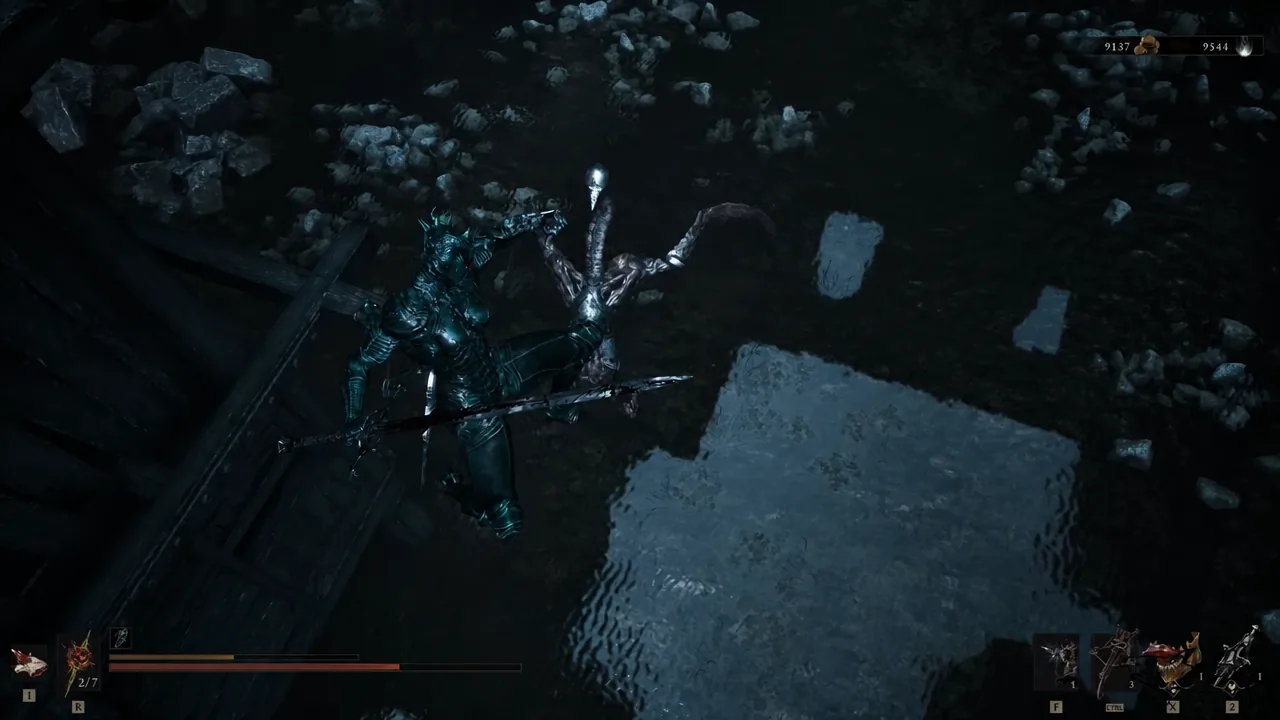
There is one more thing worth checking. Near the dungeon entrance, on the left side, another invisible floor leads to a hallway lined with traps and enemies. Resolve roots grow in that hallway and in the pit, which suggests Shell abilities or ranged attacks have some use there, but no additional secret has been confirmed inside Thieves Retreat.
Revered Gland: What it does and how to leave
Picking up the Revered Gland is the completion trigger. The moment it enters your inventory, a portal back to the dungeon entrance opens — interact with the pedestal and choose “RETURN TO ENTRANCE” to get out without recrossing the bridge.
The Gland itself is consumed at a Beacon to increase your Mether’s Pulse capacity, meaning more healing charges before you need to rest. It does not do anything sitting in your inventory, so spend it at the next Beacon you clear.
This is one of several Revered Glands scattered across the world, with others in places like the Glutted Mire, the Citadel of Penance, the Holding Cells, and the Forgotten Tower. Note that the Thieves Retreat one is the only reward for finishing the dungeon, so there is no reason to keep hunting the interior once you have it.
If the gate outside will not budge, the usual culprit is the ceiling emblem rather than the wall switch — the button only lifts the outer gate, and the way down stays sealed until you land a ranged shot on the glowing circle above you.