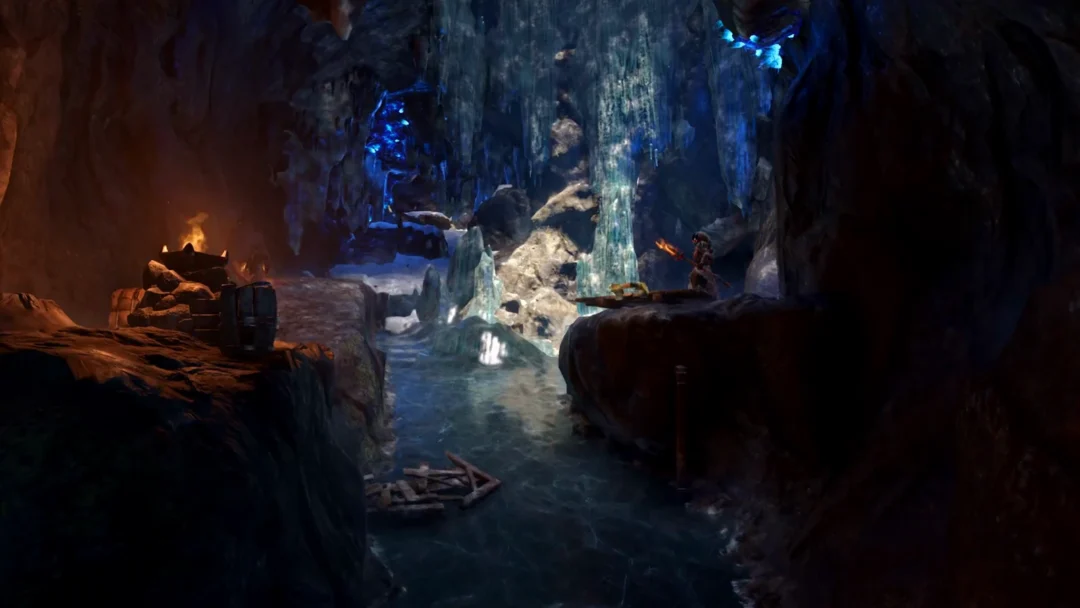
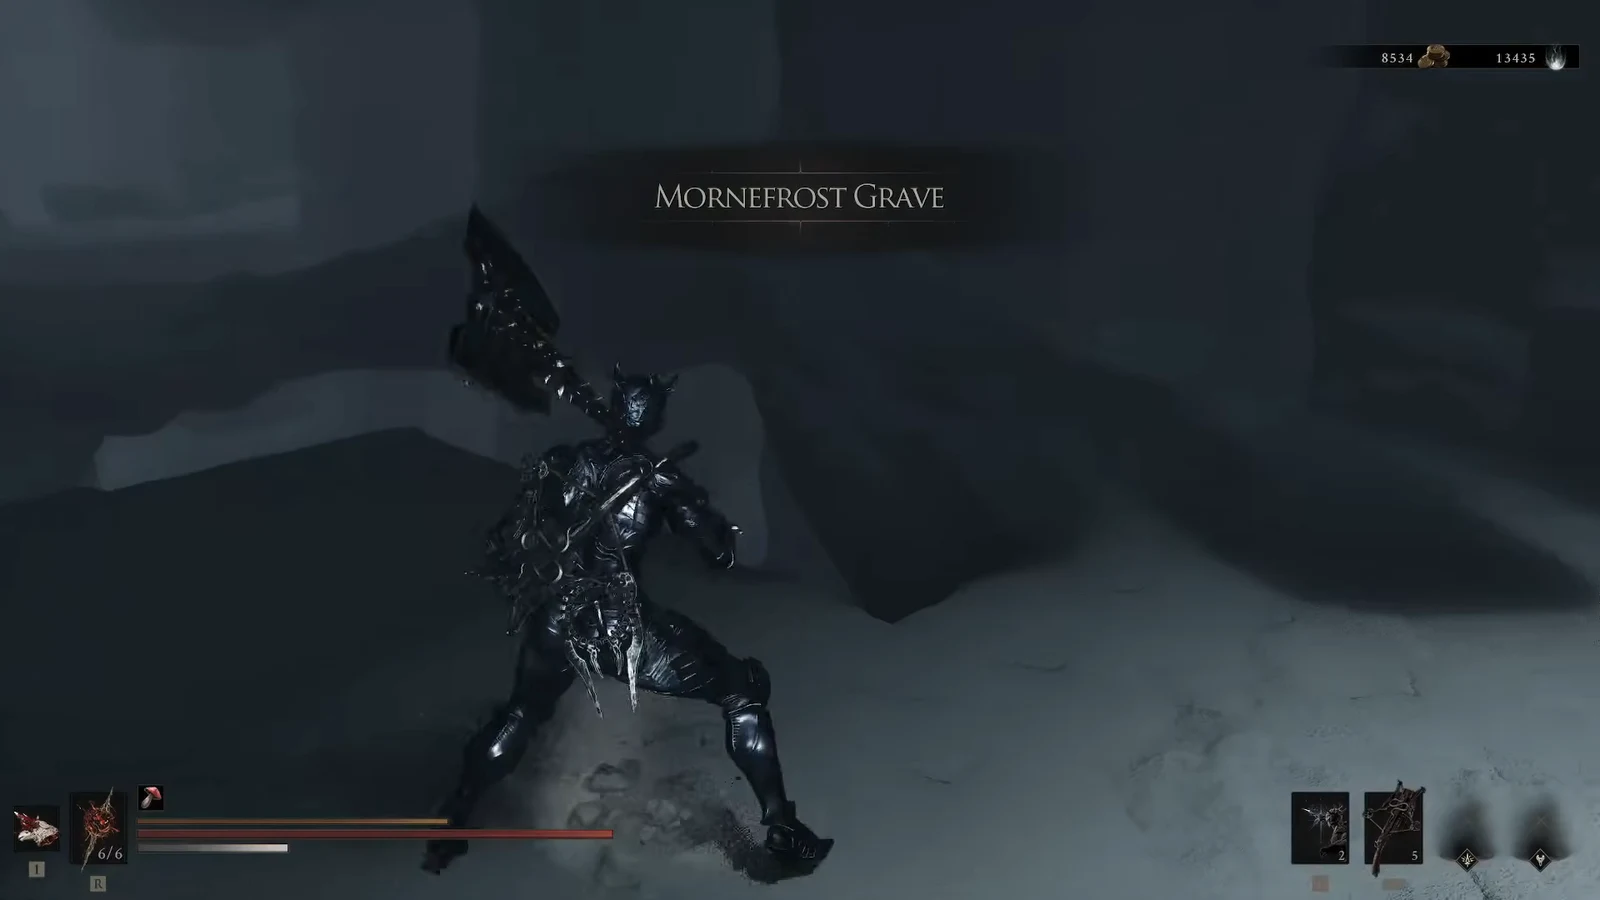
The Winterglass Lake Beacon drops you into the Mornefrost Grave, a frozen dungeon inside the Conquered Temple gate. Clearing it depends on one item, the Immaculate Crown, which moves the giant stone hand statues that block most of the paths. Once those hands shift, you fight the Caged Grisha, cleanse the corruption, and collect the Ovum.
Quick answer: Take the right path at the three-way split, grab the Immaculate Crown from the body beside the closed gate, use the plate to reopen the gate, then take the middle path to kill the Caged Grisha and collect the Ovum to cleanse the beacon.
What you need before starting
The whole beacon run hinges on the Immaculate Crown. It is found inside the Mornefrost Grave itself, so you do not need to bring it in. Its purpose is to unlock the ice, which lets you shatter frozen walls and move the giant hand statues sealing the left and middle paths.
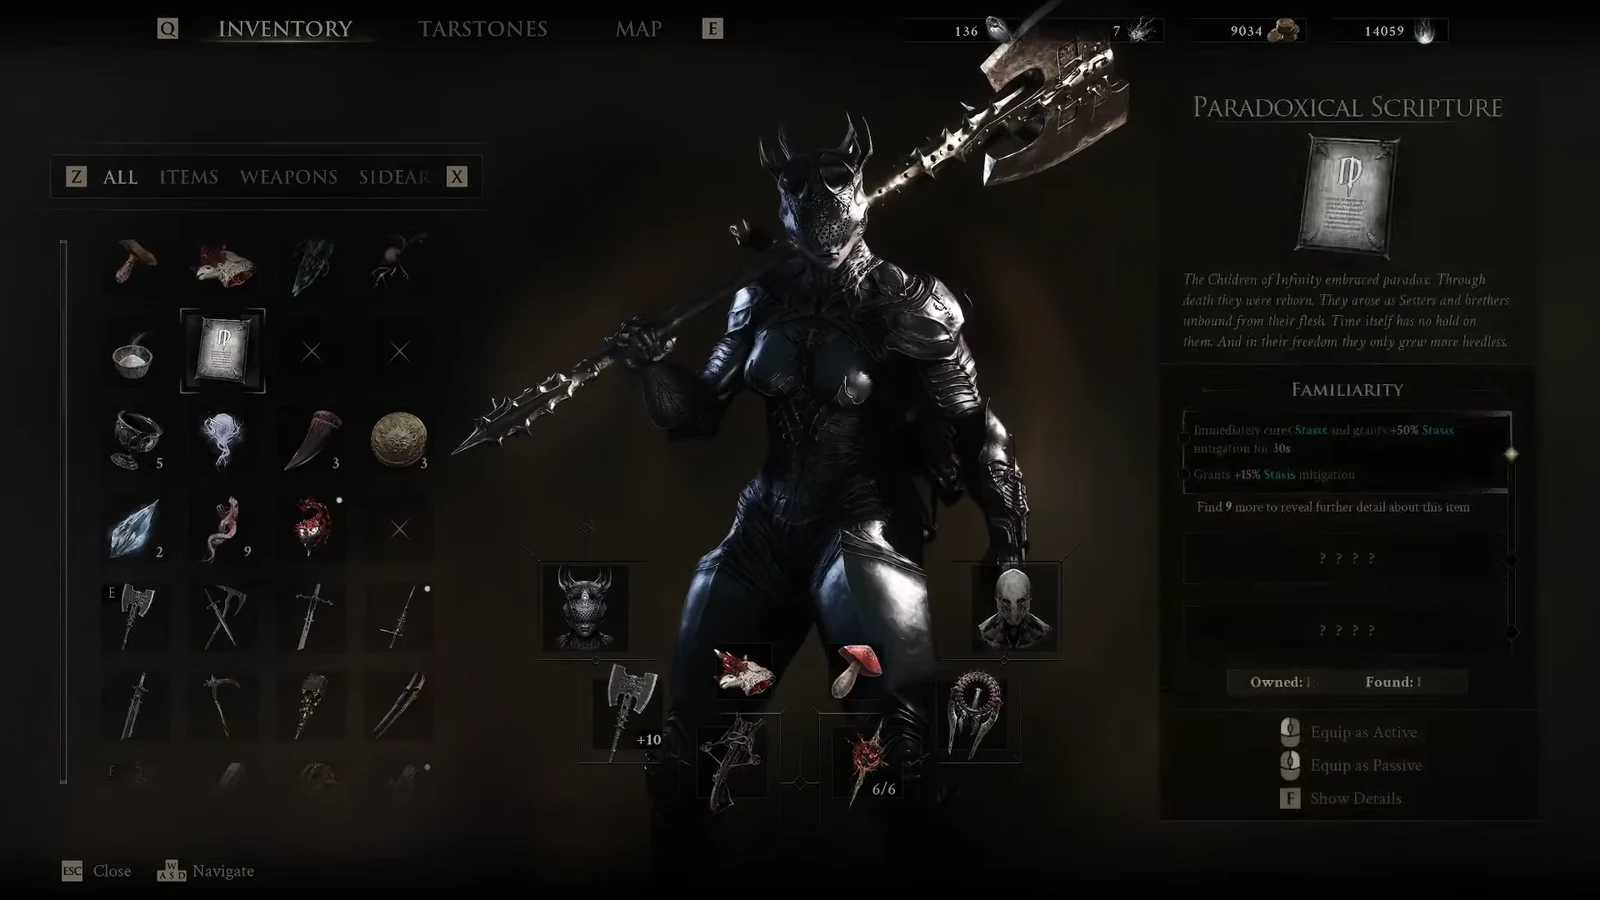
The enemies here deal Frost and can freeze you in place. Martyr’s Ash, which raises Frost resistance, is worth carrying if you have any. Most foes in this cold region are weak to Burn, so a fire infusion or Burn-inflicting sidearm speeds things up.
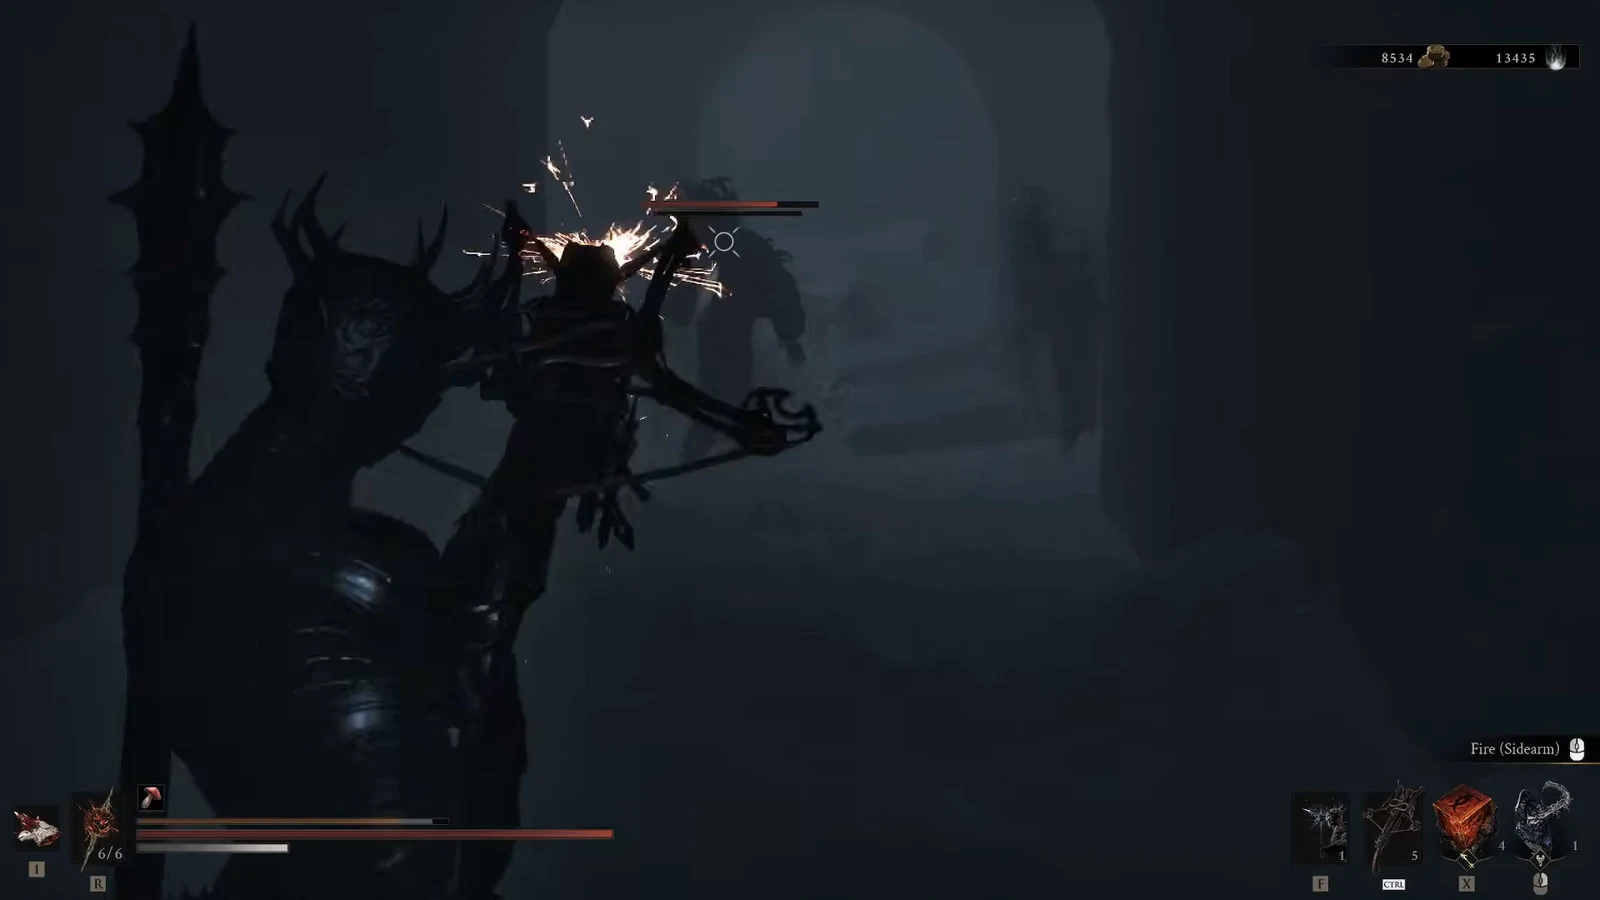
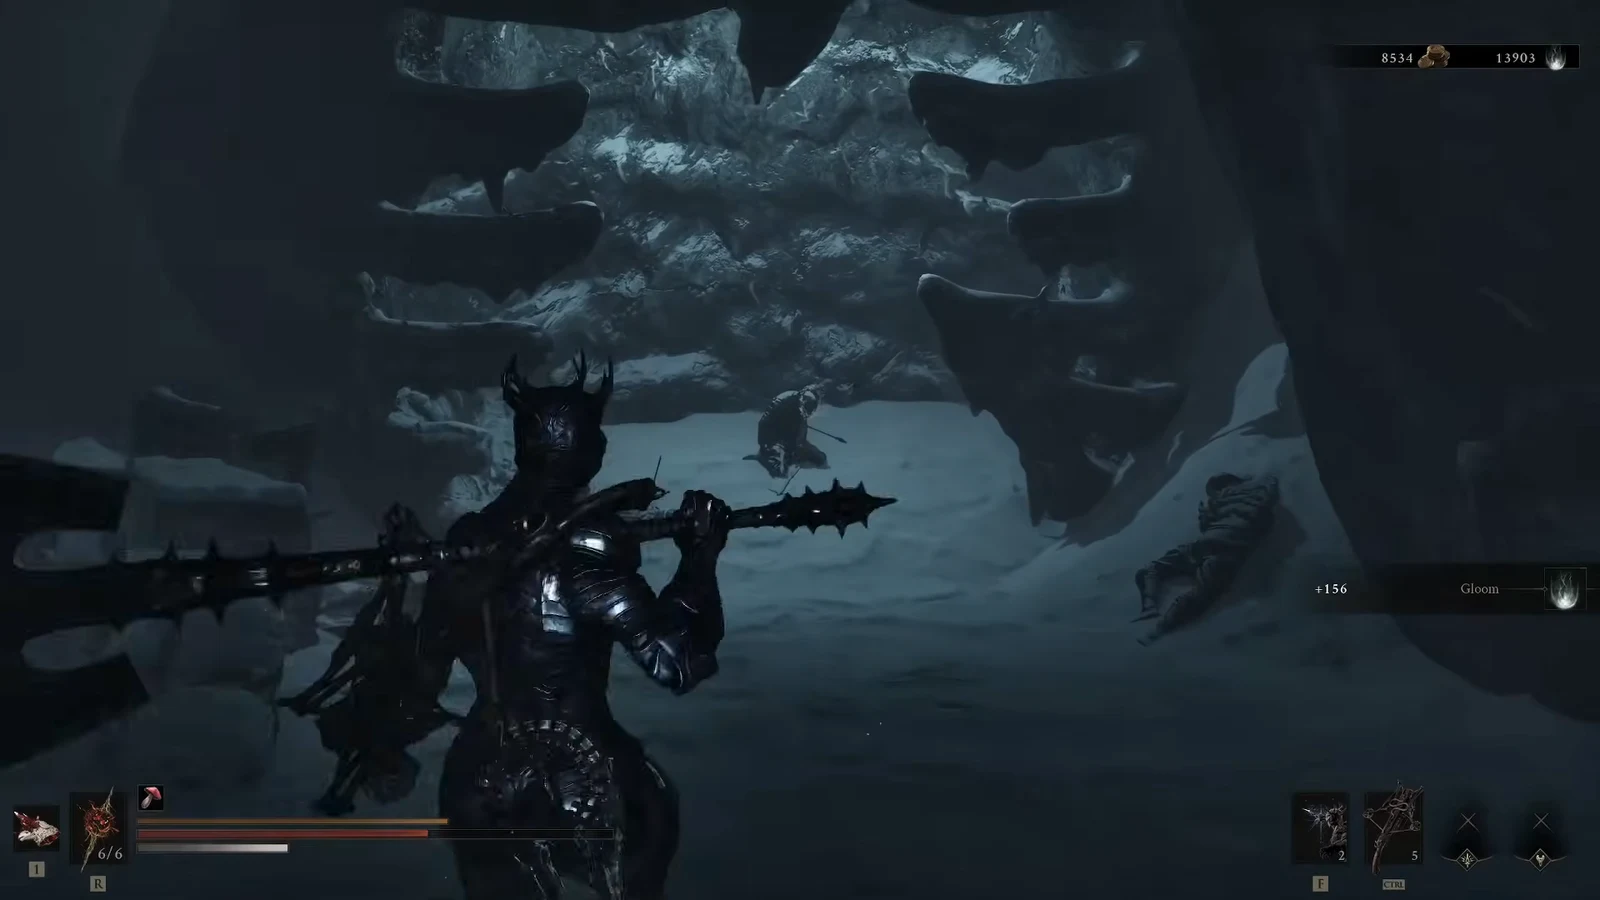
Mornefrost Grave route to the Immaculate Crown
Open the hand statues and reach the boss
With the Immaculate Crown in your inventory, the hand statues that sealed the other two paths move on their own when you approach. The same crown lets you shatter the ice walls you passed earlier and crumble the giant ice hand barrier guarding the boss arena.
How to beat the Caged Grisha
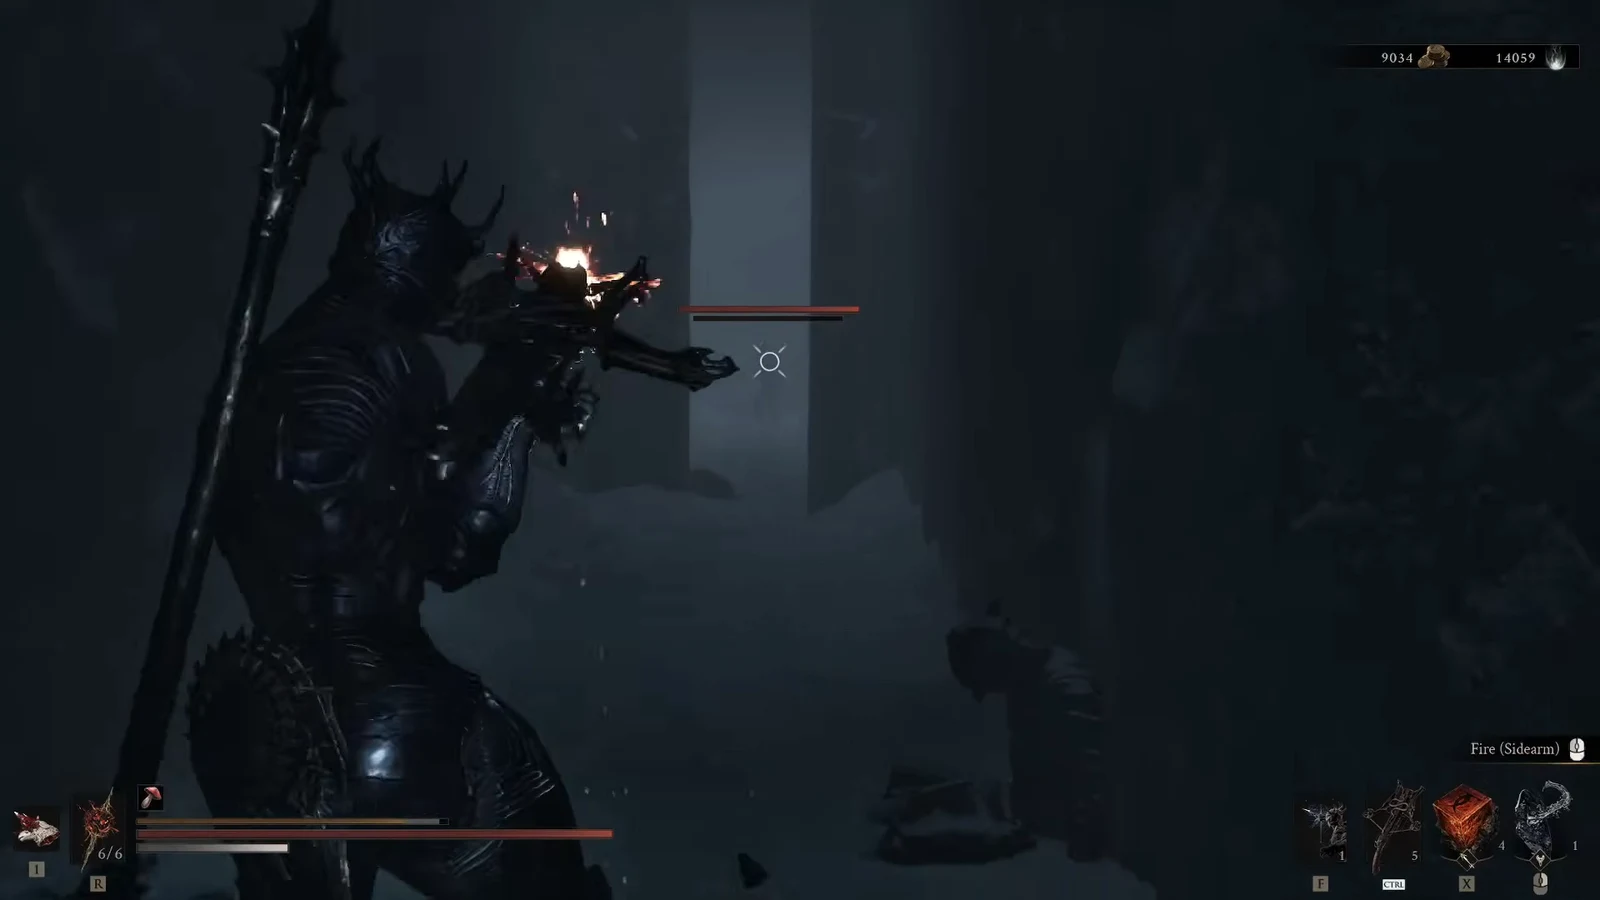
The Caged Grisha leans on large, sweeping slashes that hit hard. Do not trade blows with it, because those slashes drain your health fast. Dodge the wide swings when you can reach safety, and Perfect Guard them when you cannot get clear in time, then follow up with a Riposte.
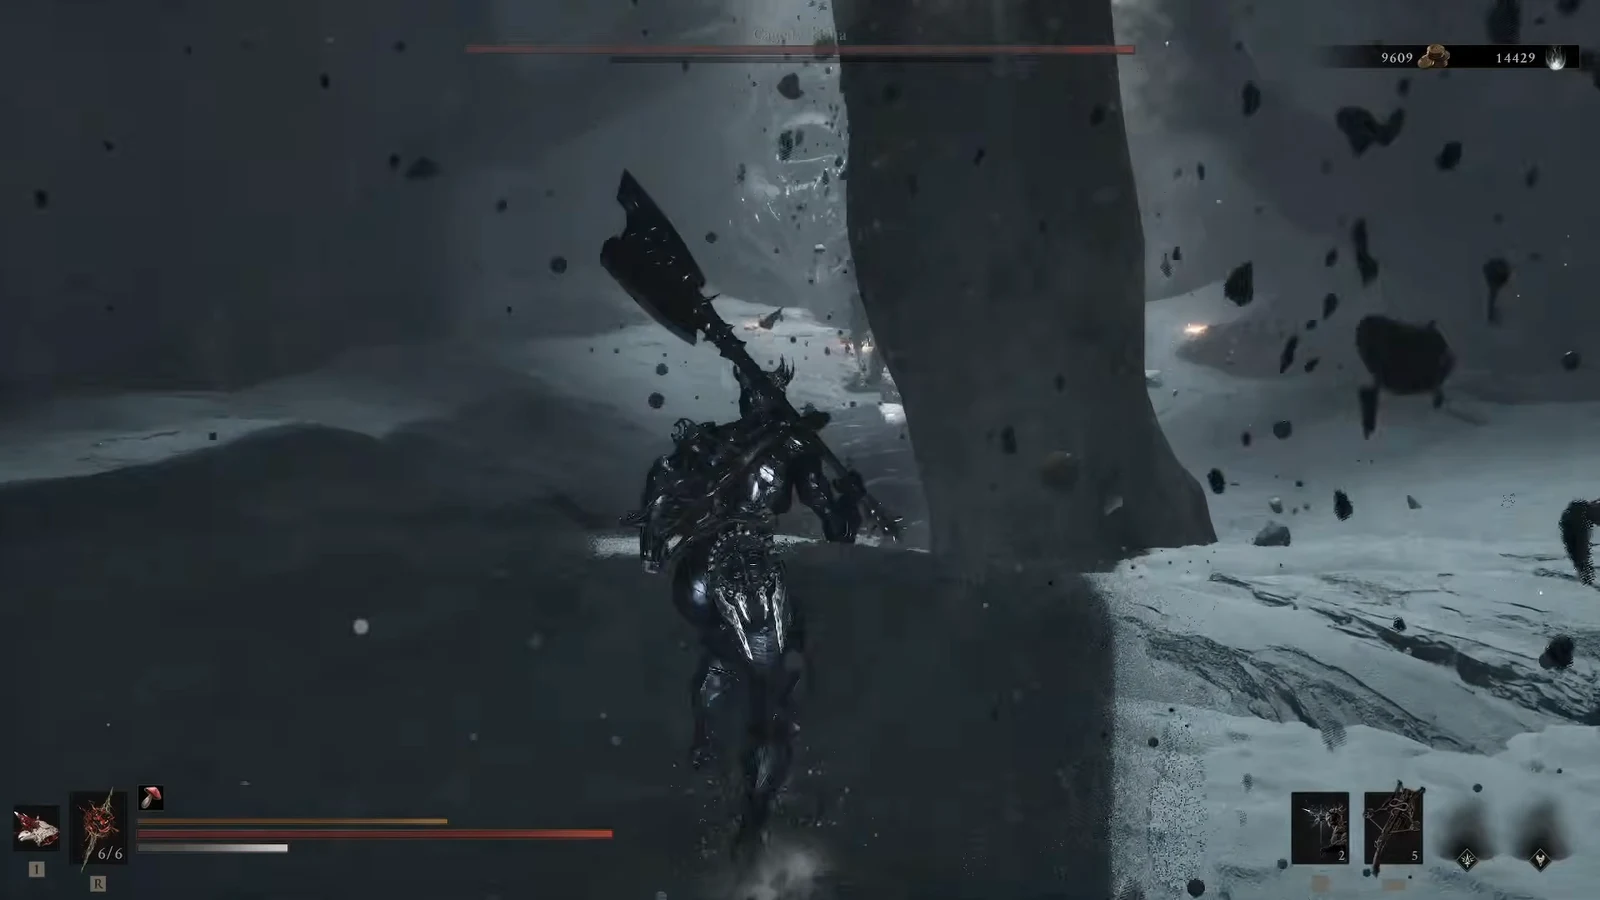
Defeating the Caged Grisha rewards a Grisha Remnant and a Fusillade Stone, along with Glimpse for the fight.
Cleanse the beacon and collect the Ovum
With the boss down, move to the central structure behind the arena and choose Cleanse Corruption. A new Ovum appears, and you will get the prompt to collect it and return to the beacon. Accept it to finish the run.
You know it worked when the Ovum is added to your inventory and the beacon reads Beacon Cleansed on return. That confirms the Mornefrost Grave is complete and the Winterglass Lake Beacon is now a working checkpoint and fast-travel point.
Rewards summary
| Reward | Source |
|---|---|
| Immaculate Crown | Body in the maze side path beside the closed gate |
| Grisha Remnant | Defeating the Caged Grisha |
| Fusillade Stone | Defeating the Caged Grisha |
| Glimpse | Caged Grisha fight |
| Ovum | Cleansing the corruption behind the arena |
| Coins | Left path room and the far end of the right corridor |
The Immaculate Crown stays useful once you leave the dungeon. The giant skeleton hands blocking paths out in the Conquered Temple respond to the same item, so you can walk up to them and move them aside after this run, keeping your way forward open toward Urrig, the Executioner and Droeg, the Conquerer.