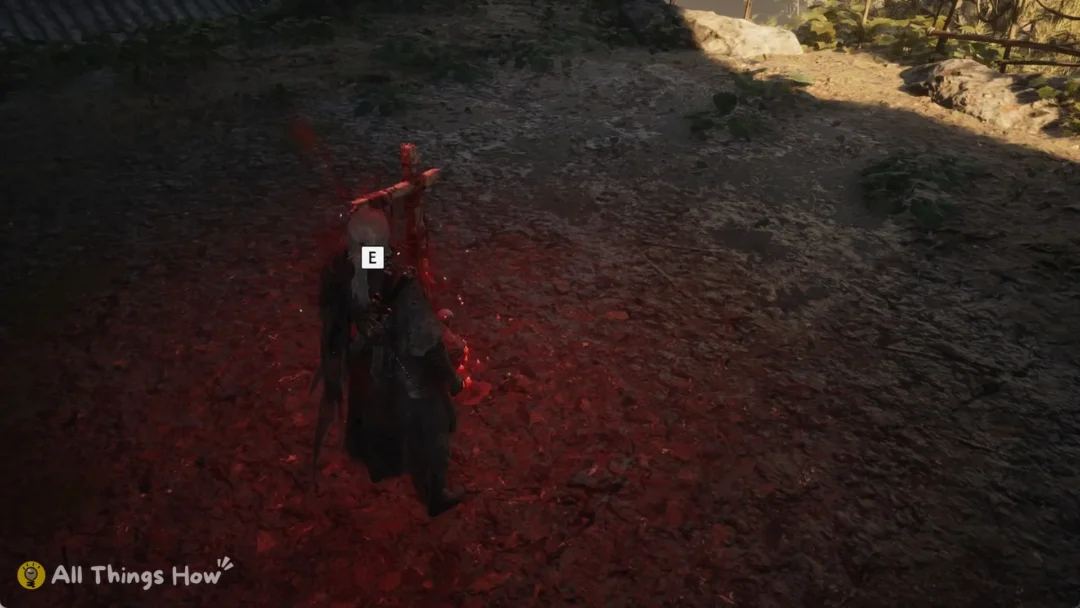
In Net a Fish, bait is a consumable that boosts a single net throw. Depending on the bait, it adds net capacity, makes fish bigger, improves mutation chances, raises the odds of rarer fish, or gives a chance to double the haul. All bait is sold at the Bait Shop stall on your dock. The cheaper baits cost only in-game cash, while the stronger ones stay locked until you reach specific Rebirth milestones.
Quick answer: Press E at the Bait Shop on your dock, buy a bait, then click Use until it shows “IN USE.” Every net throw after that, including auto-fishing, uses one bait and applies its bonuses.
How bait works in Net a Fish
The Bait Shop sums up the whole system in its subtitle: “One bait per cast. Rebirth for better baits.” Bait has no timer and does not stay active between casts. Each time you throw the net, the game takes one unit of your equipped bait and adds that bait’s bonuses to that throw only.
- Each net throw consumes exactly one bait.
- Auto-fishing also consumes bait, one per cast, the same as throwing by hand.
- When your equipped bait runs out, you keep fishing without bait. Nothing pauses and nothing warns you.
- Only one bait can be equipped at a time. The equipped bait is labeled “IN USE.”
- Better baits unlock as your Rebirth count goes up, not as you earn more cash.
The auto-fishing rule is easy to miss. If you leave the game casting on its own, it uses up your stack at the same rate as manual throws. Once the stack is empty, every later cast is an unbaited one.
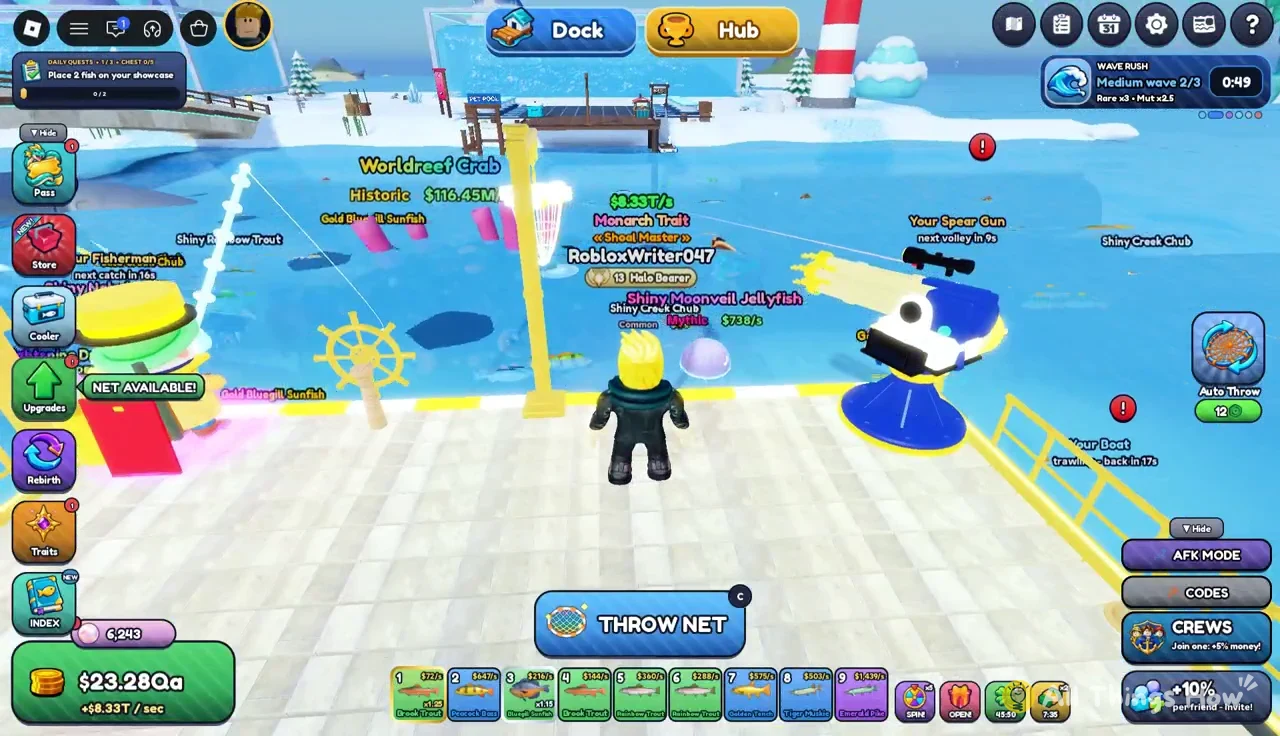
How to buy and equip bait at the Bait Shop
All you need is cash, plus the right Rebirth level if you want one of the locked baits. The Bait Shop is a stall on your own dock, so you do not have to go anywhere else to buy it.
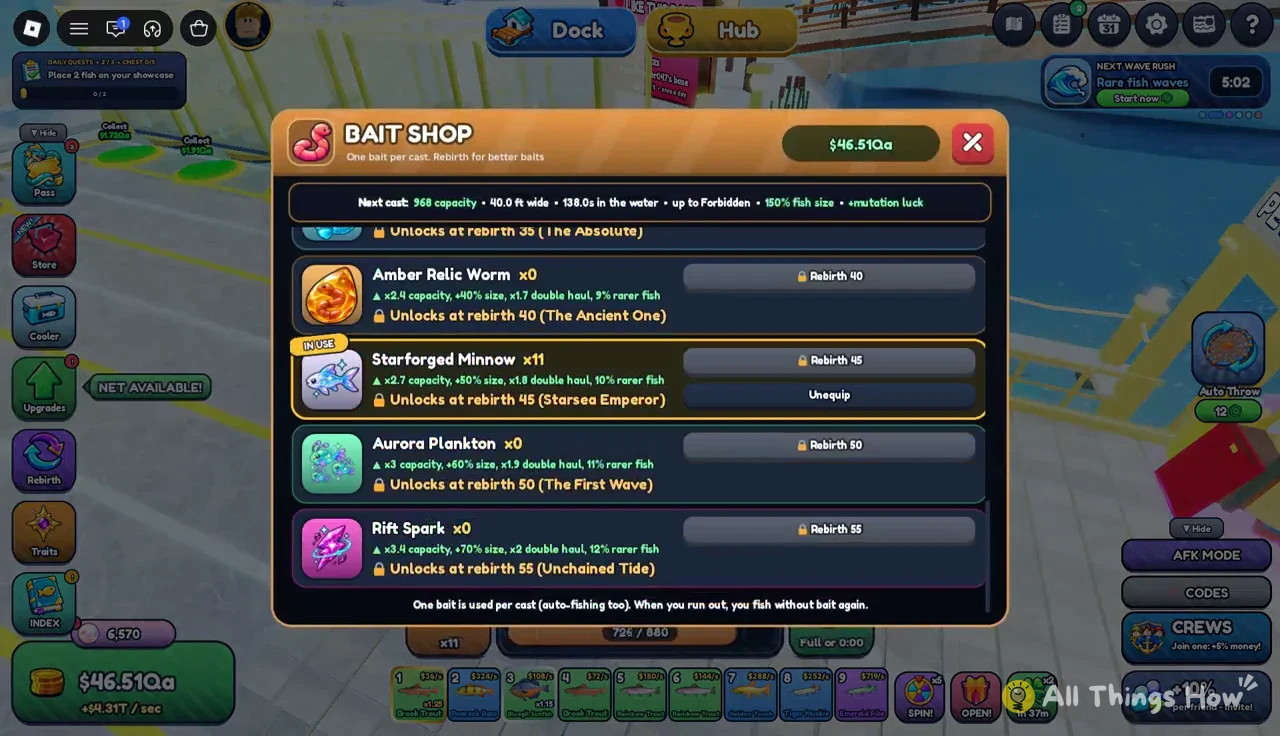
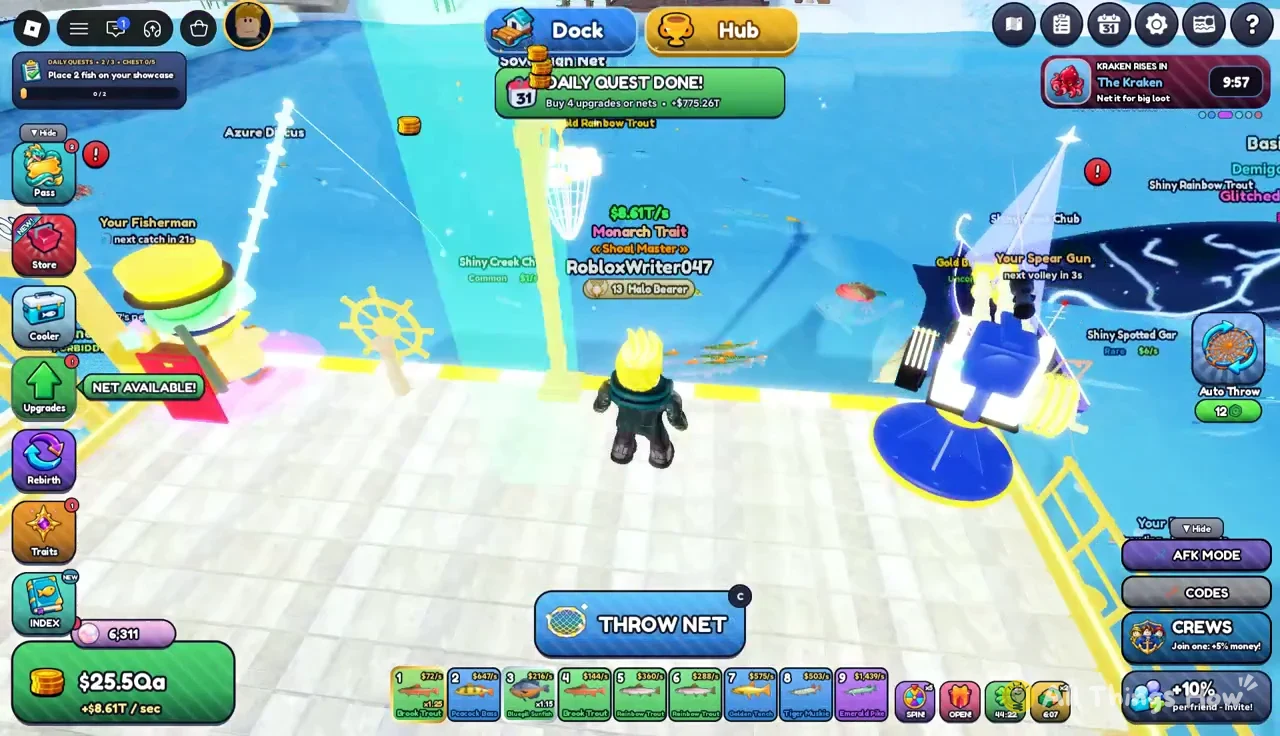
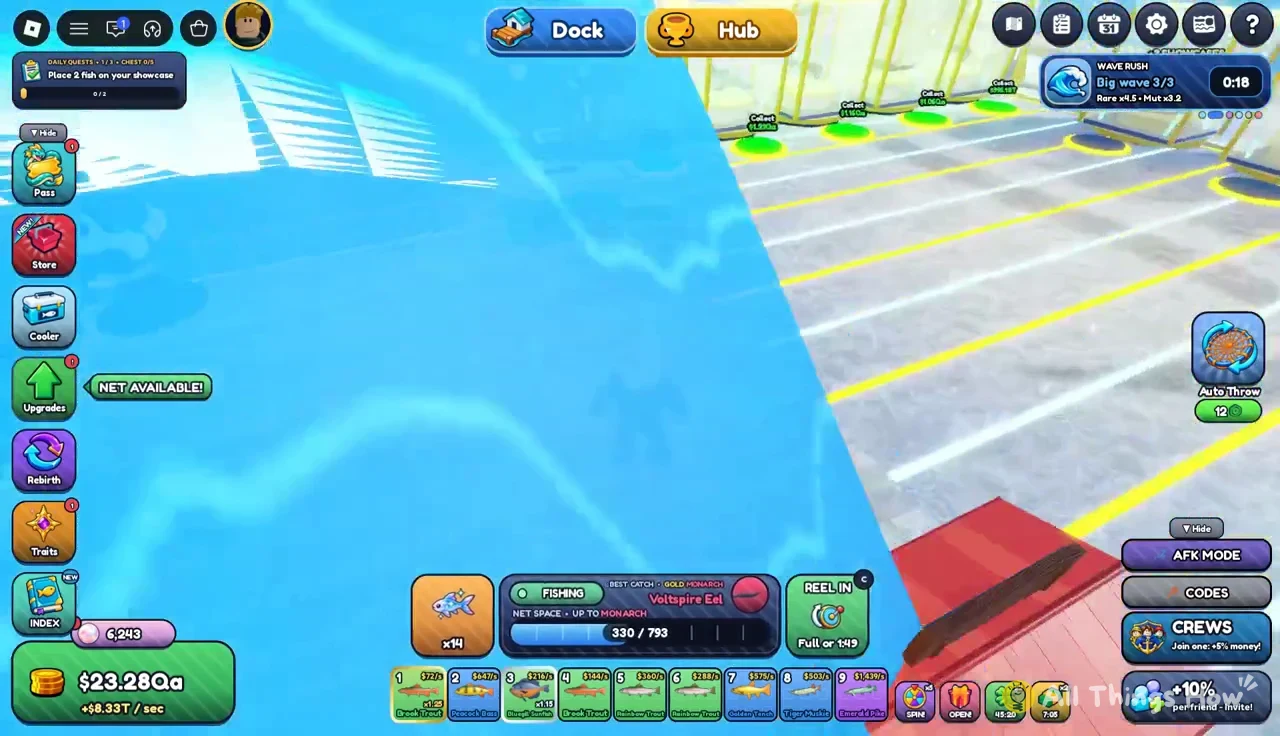
To check that it worked, reopen the Bait Shop. The equipped bait’s count should be one lower than before the cast, and the shop header’s “Next cast” line will show the bait’s bonuses for your next throw.
Every bait in Net a Fish, with prices and Rebirth unlocks
The bait list comes in two groups. Six baits can be bought with cash from the start. The other nine each need a specific Rebirth, and each of those milestones has its own named title.
Cash baits (no Rebirth needed)
| Bait | Bonus per cast | Buy 1 | Buy 10 |
|---|---|---|---|
| Bread Crumbs | +20% net capacity | $14M | $140M |
| Nightcrawlers | Fish 15% bigger | $46M | $460M |
| Chum Bucket | +40% net capacity | $140M | $1.4B |
| Glitter Lure | Much better mutation chance | $560M | $5.6B |
| Golden Grub | x2 lucky catches, +15% capacity, +10% size | $2.3B | $23B |
| Abyss Shrimp | +60% capacity, +15% size | $47T | $470T |
Each cash bait does one main job. Bread Crumbs, Chum Bucket and Abyss Shrimp put more fish in the net. Nightcrawlers make each fish heavier, which the shop says makes it earn more. Glitter Lure is the mutation bait. Golden Grub mixes a little of everything with doubled lucky catches. Abyss Shrimp costs far more than the rest, at $47T per unit, so it is a late-game purchase even though it needs no Rebirth.
Rebirth-locked baits
| Bait | Unlocks at | Capacity and size | Haul and rarity |
|---|---|---|---|
| Starlight Worm | Rebirth 14 (Trench Walker) | +40% capacity | x2 lucky catches, great mutations, 3% rarer fish |
| Kraken Ink | Rebirth 18 (Sun Sovereign) | +80% capacity | x1.5 double haul, 4% rarer fish |
| Phoenix Feather | Rebirth 22 (Dusk Emperor) | +60% capacity, +25% size | Huge mutations, 5% rarer fish |
| Void Pearl | Rebirth 26 (Nightglass Knight) | x2 capacity, +30% size | x1.5 double haul, 7% rarer fish |
| Glowing Krill | Rebirth 35 (The Absolute) | x2.2 capacity, +35% size | x1.6 double haul, 8% rarer fish |
| Amber Relic Worm | Rebirth 40 (The Ancient One) | x2.4 capacity, +40% size | x1.7 double haul, 9% rarer fish |
| Starforged Minnow | Rebirth 45 (Starsea Emperor) | x2.7 capacity, +50% size | x1.8 double haul, 10% rarer fish |
| Aurora Plankton | Rebirth 50 (The First Wave) | x3 capacity, +60% size | x1.9 double haul, 11% rarer fish |
| Rift Spark | Rebirth 55 (Unchained Tide) | x3.4 capacity, +70% size | x2 double haul, 12% rarer fish |
From Void Pearl onward, the capacity bonus changes from a percentage to a straight multiplier. Every bait after that point is better in every stat than the one before it: more capacity, bigger fish, a higher double haul multiplier, and one more percentage point of rarer fish. Starlight Worm and Phoenix Feather are the exceptions in the early part of the list. They give up some raw capacity for strong mutation bonuses, so they suit mutation hunting more than bulk catching.
A locked bait shows only its unlock line, such as “Unlocks at rebirth 14 (Trench Walker),” with no buy buttons. Having enough cash does not make it available early.
Reading the Bait Shop “Next cast” preview
The top of the Bait Shop shows a summary line of what your next throw will do. It combines your current net with your equipped bait, so it is the fastest way to see how much a bait actually changes your cast. With Starforged Minnow equipped on a Tier 20 Sovereign Net, it reads:
Next cast: 793 capacity • 39.8 ft wide • 138.0s in the water • up to Monarch • 150% fish size • +mutation luck- Capacity is the maximum number of fish the cast can hold, including bait multipliers.
- Width (ft wide) is how large an area the net covers in the water.
- Time in the water is how long the net stays out before it comes back.
- “Up to” rarity is the rarest tier this cast can catch.
- Fish size comes from the bait’s size bonus. Starforged Minnow’s +50% shows as 150%.
- +mutation luck appears when the equipped bait improves mutation chances.
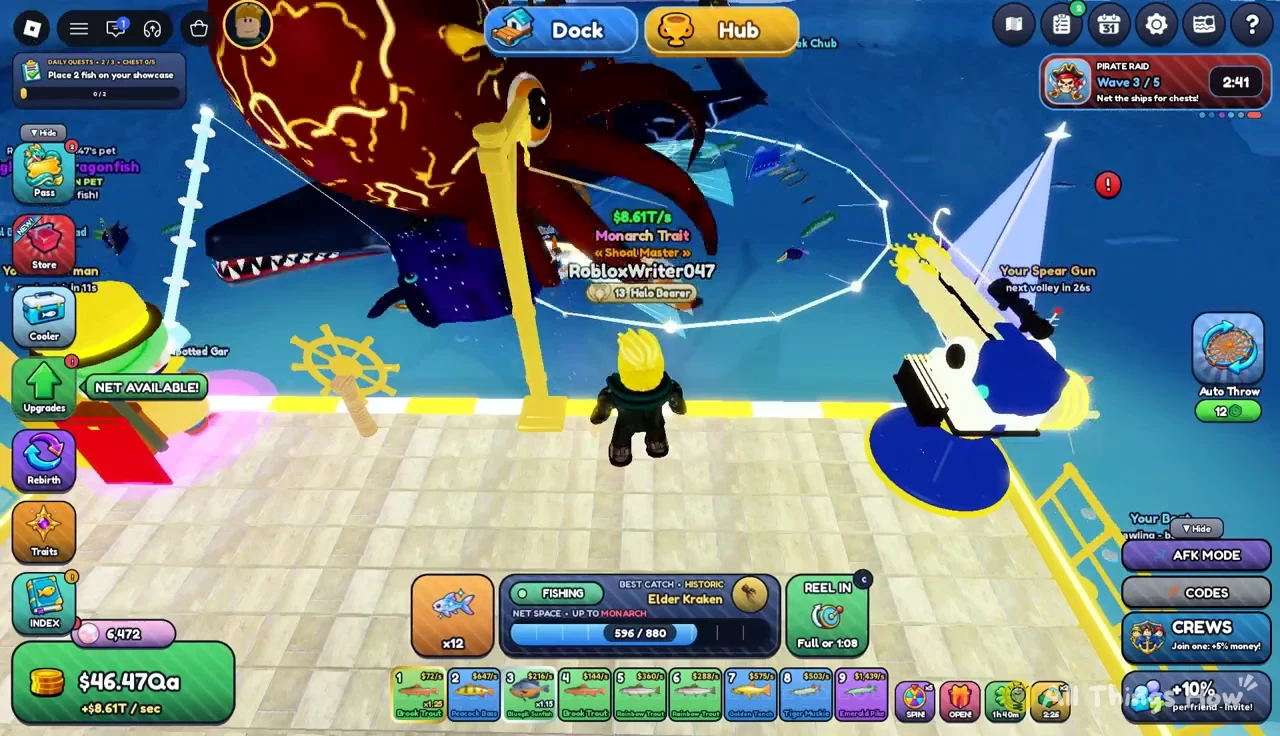
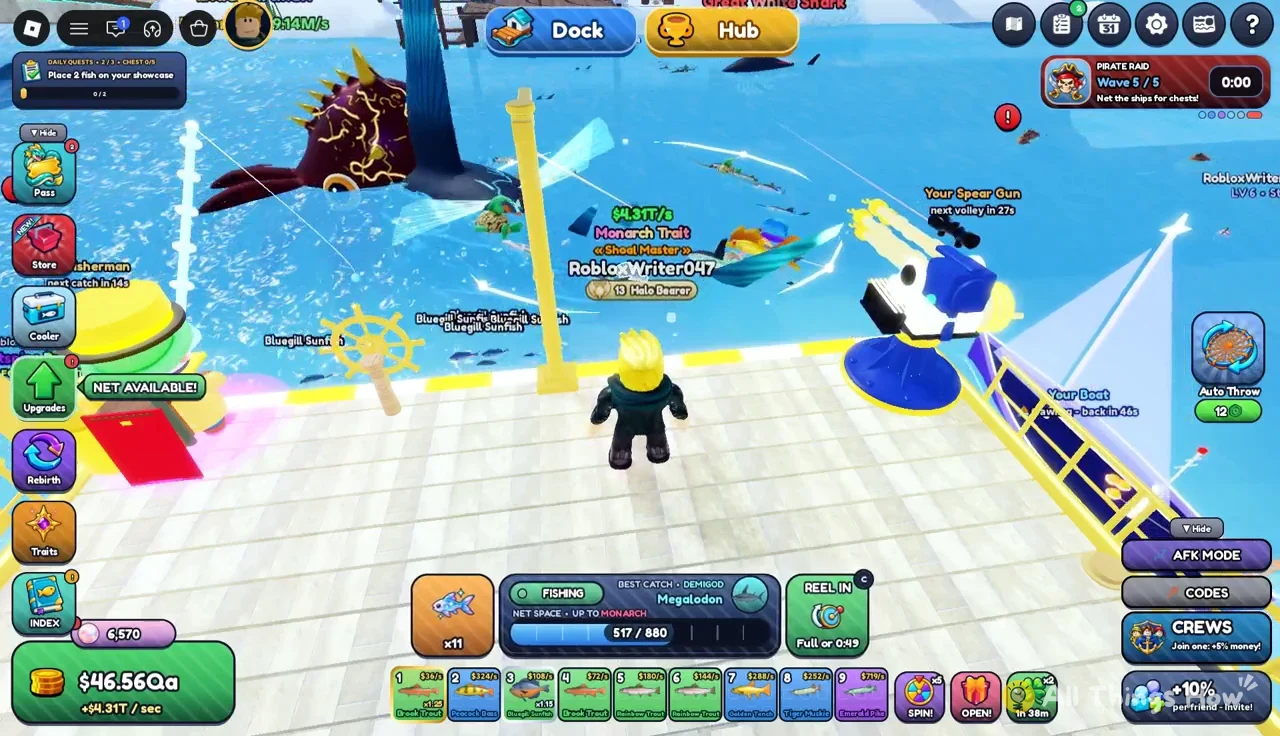
The capacity figure is also the target on the Fishing panel’s progress bar during a reel-in. A bigger number means a fuller net before the cast ends.
Bait vs. net tier: what sets the rarity cap
Bait’s “rarer fish” bonus improves your odds within the rarity range your net allows. It does not raise that limit. The highest rarity a cast can catch is set by the net you own, which you buy from the Nets section of the Upgrades menu.
| Net | Tier | Capacity / width | Rarity cap and price |
|---|---|---|---|
| Sovereign Net | 20 | 300 / 39.9 ft | Up to Monarch, $6T |
| Hexbound Net | 21 | 330 / 40 ft | Up to Forbidden, $46T |
| Oblivion Net | 22 | 360 / 40.1 ft | Up to Forbidden, $240T |
| Stardust Net | 23 | 390 / 40.2 ft | Up to Cosmic, $960T |
Upgrading the net while keeping the same bait shows how the two systems combine. With Starforged Minnow equipped, moving from the Sovereign Net to the Hexbound Net changed the preview to this:
Next cast: 968 capacity • 40.0 ft wide • 138.0s in the water • up to Forbidden • 150% fish size • +mutation luckCapacity went from 793 to 968, and the rarity cap went from Monarch to Forbidden. Fish size and time in the water did not change, because those come from the bait and the cast, not the net. The bait multiplies whatever base the net provides, so a better net also makes the same bait more effective.
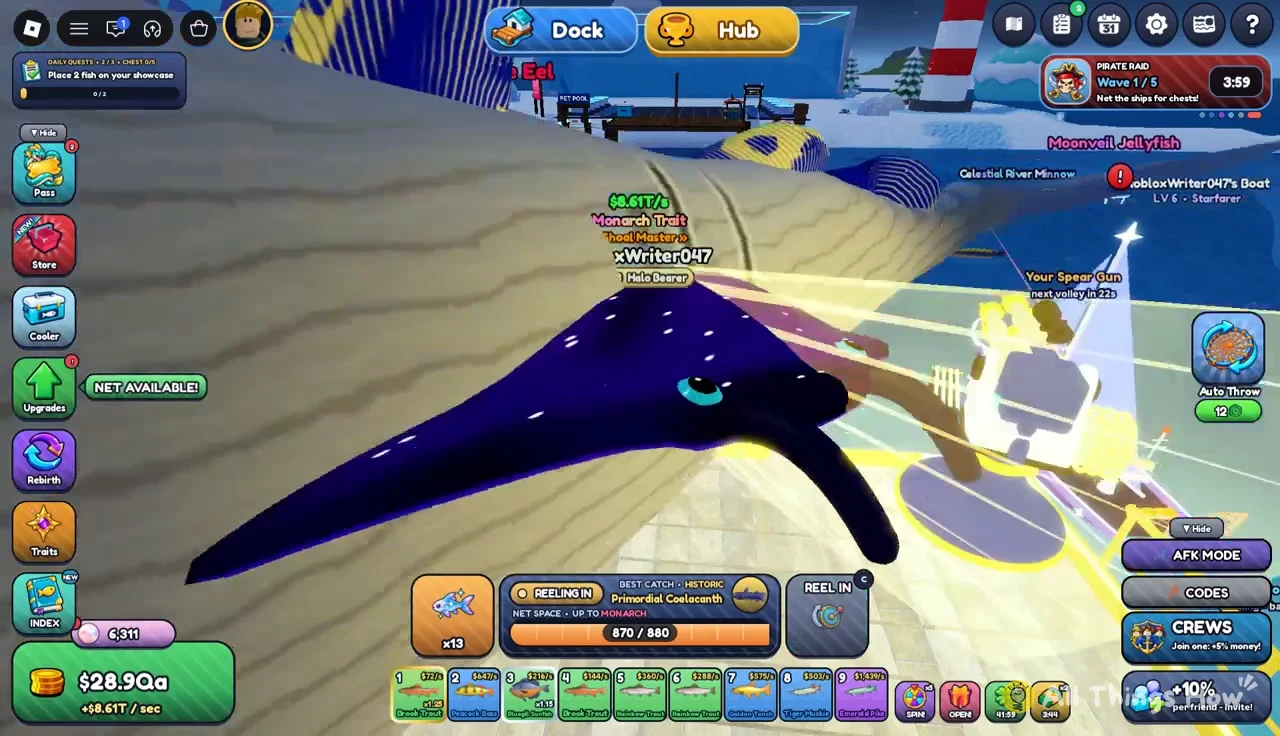
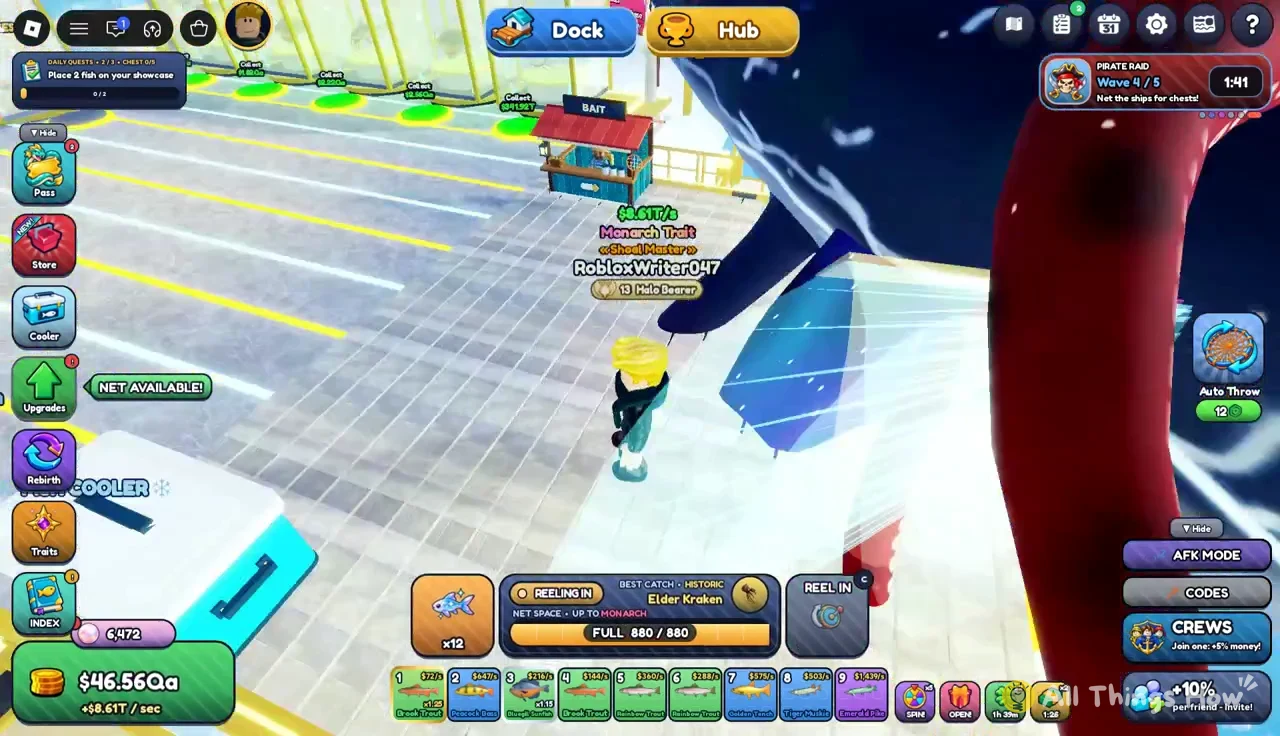
High-rarity catches on baited casts
The fish below were caught on Starforged Minnow casts. When you land one, the catch card shows its rarity, odds, earnings per second and any mutation.
| Fish | Rarity | Odds | Earns |
|---|---|---|---|
| Nightfang Viperfish | Forbidden | 1 in 500M | $8.38B/s |
| Gold Voltspire Eel | Monarch | 1 in 50M | $2.44B/s (x1.25 Gold) |
| Shiny Ghostwake Cachalot | Historic | 1 in 8M | $259.88M/s (x1.15 Shiny) |
| Elder Kraken | Historic | 1 in 5M | $67.56M–$75.49M/s |
Two Elder Kraken catches earned different amounts per second. That fits how size bonuses work: a heavier fish earns more, so the same species can be worth different amounts from one catch to the next. The Gold and Shiny tags are mutations, and each adds its own multiplier, which is why baits with mutation bonuses are worth using when you chase high-rarity fish.
Keeping bait stocked during long fishing runs
Since every cast uses one unit, how fast you go through bait depends on how often you throw. Long auto-fishing runs burn through stacks quickly, and the game simply switches to unbaited casts when the stack is empty. Check your count in the Bait Shop before you leave the game casting on its own, and buy in tens if you plan a long session.
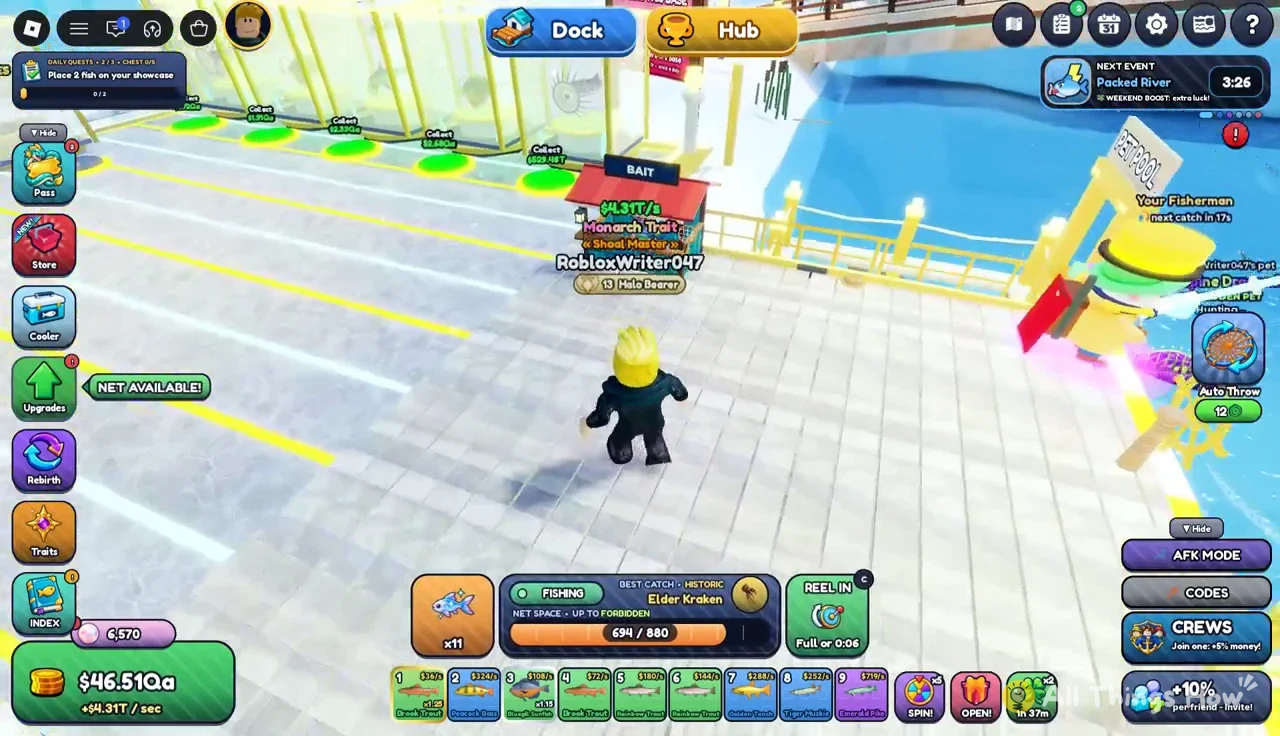
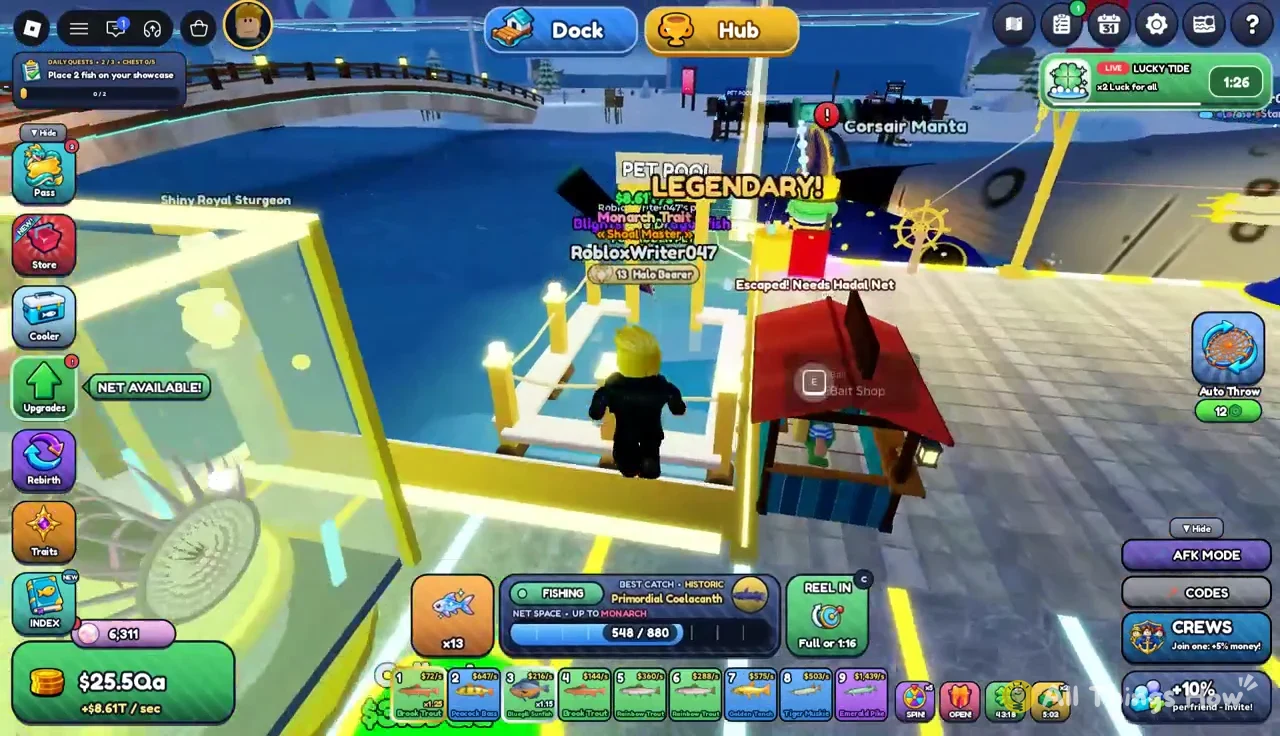
Every cast resets the progress bar to zero and fills it again toward the capacity your net and bait allow. When a cast ends with the bar far short of its total, the extra capacity from your bait was not fully used on that throw.
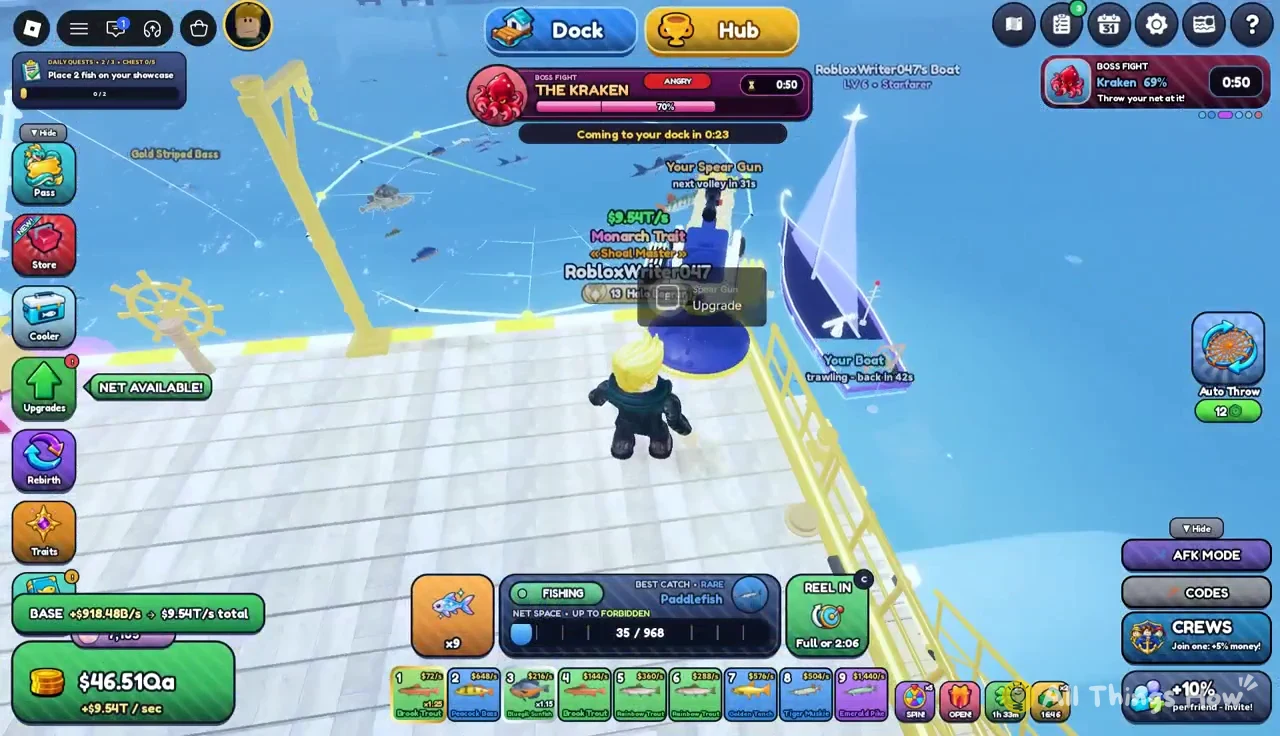
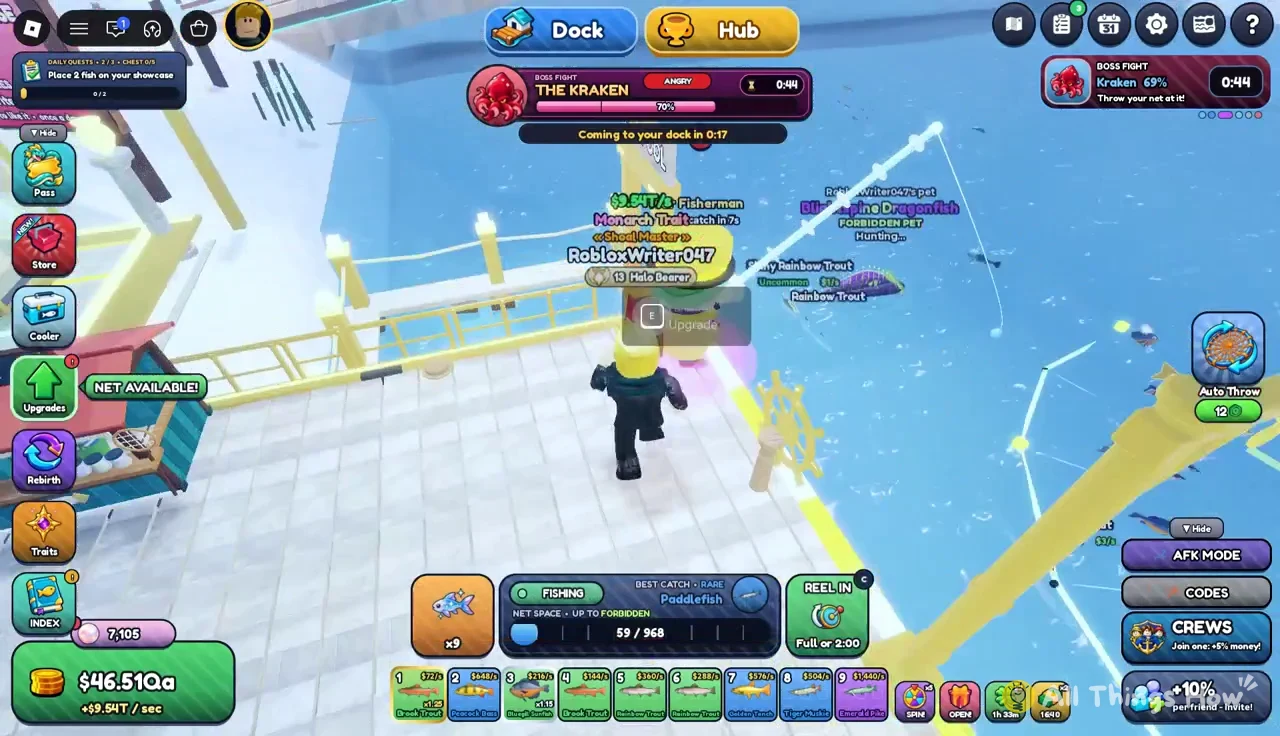
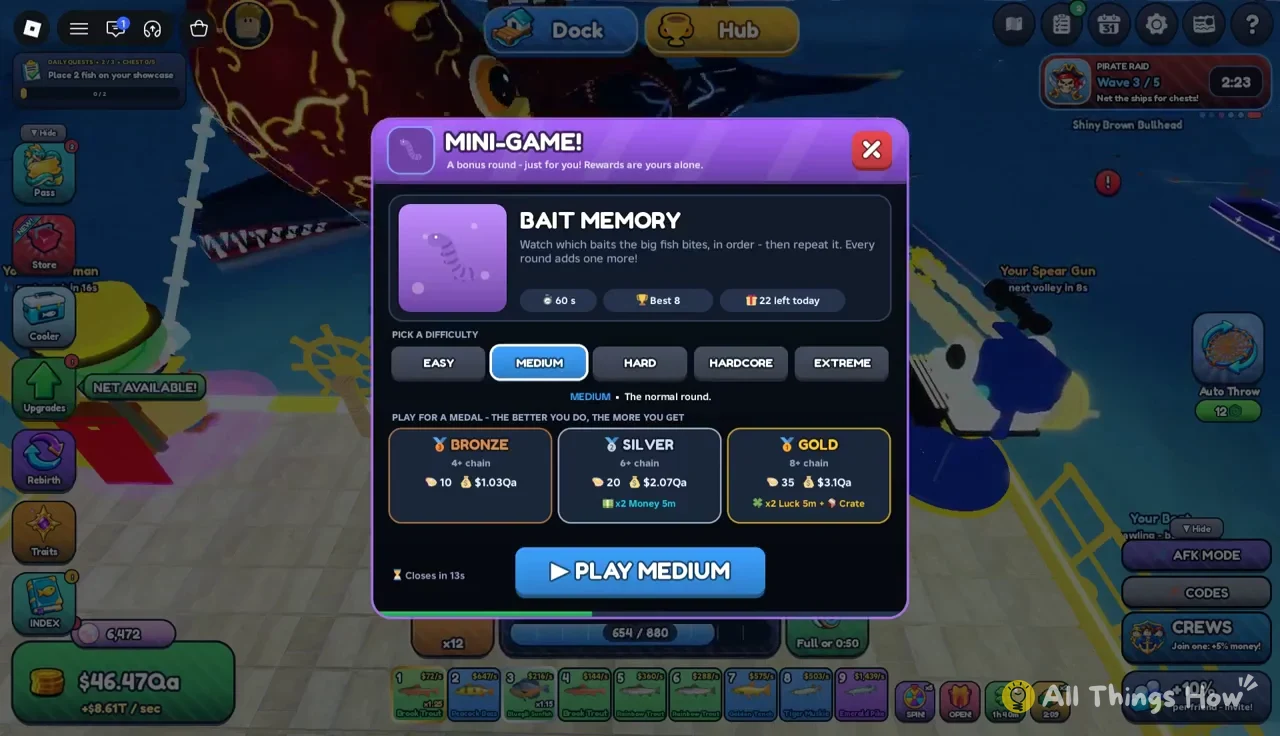
Bait also shows up outside the shop. The Bait Memory mini-game appears as its own window, where you pick a difficulty and start a matching round with buttons like Play Medium.
Dock systems that work alongside bait
Bait affects your net throws. The rest of the dock has its own upgrades and boosts that work on top of it. None of these replace bait, but they affect how much a baited haul is worth once it lands.
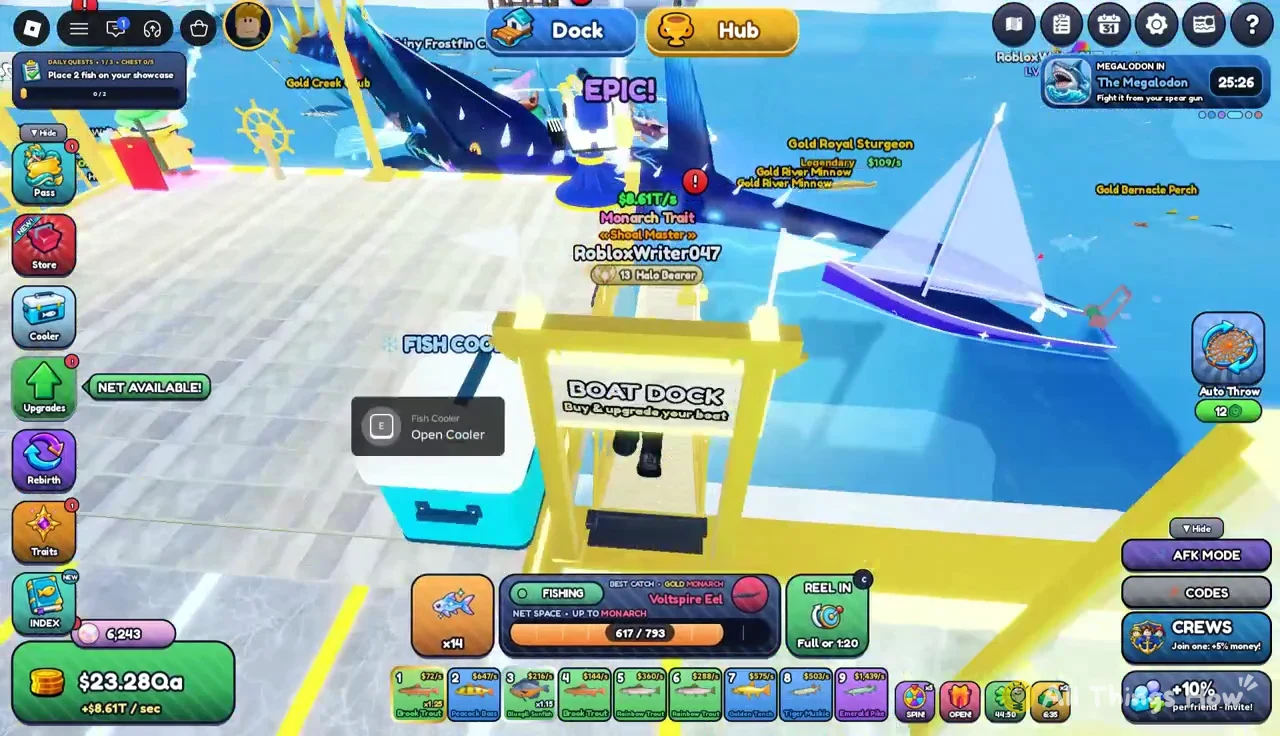
Landed fish show up on the dock, where you pick them up with E before placing or storing them. Your catches are stored in the Fish Cooler, which you open with the “E Open Cooler” prompt. It holds everything from Mythic to Monarch and Forbidden catches, and it is where you trigger auto-sell for lower-tier fish.
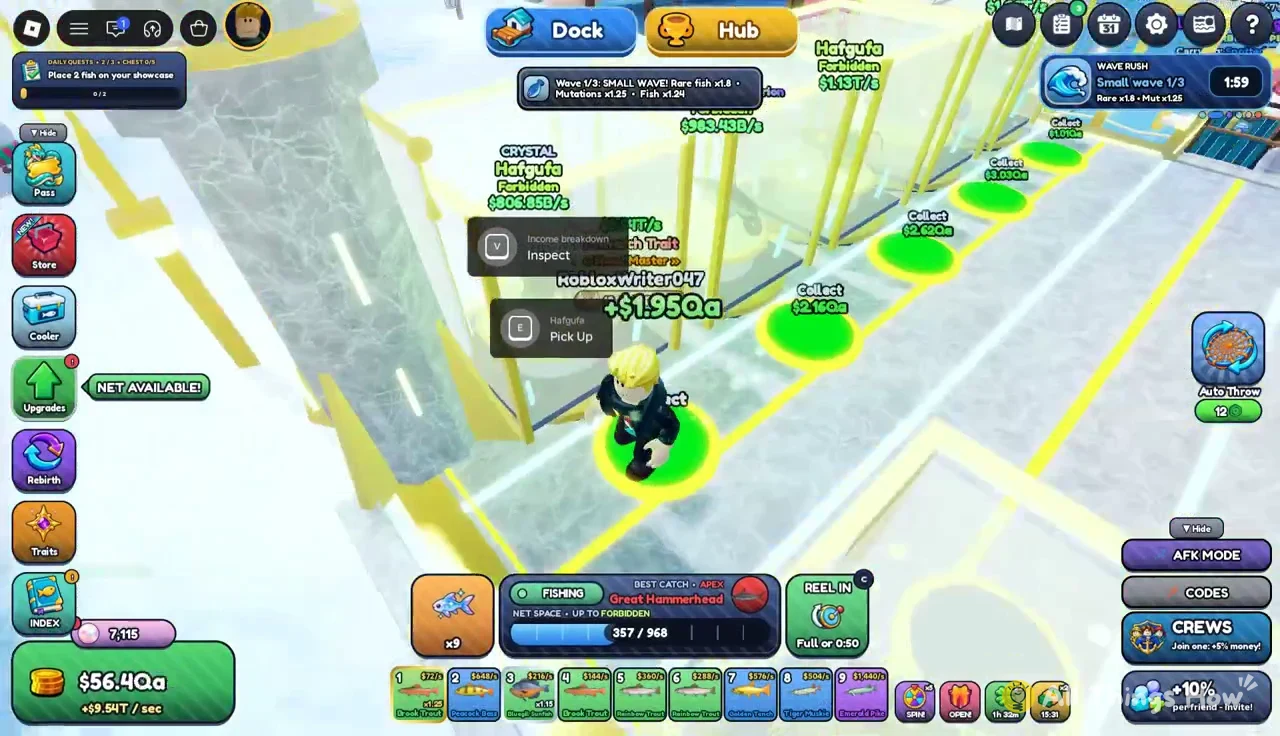
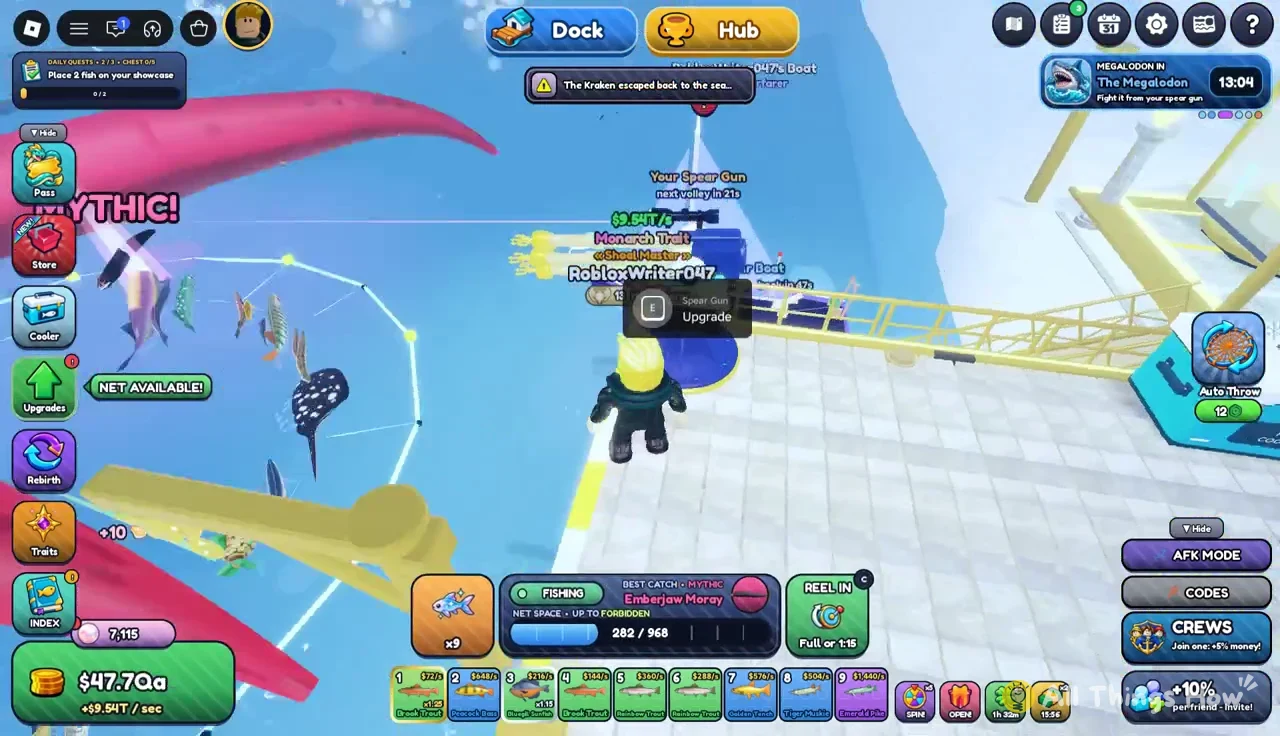
The Spear Gun and the Fisherman assistant are upgraded separately through their own “E Upgrade” prompts. They offer upgrades like Range, Multi-Spear and Bigger Bucket. The Boat has its own enhancements menu as well.
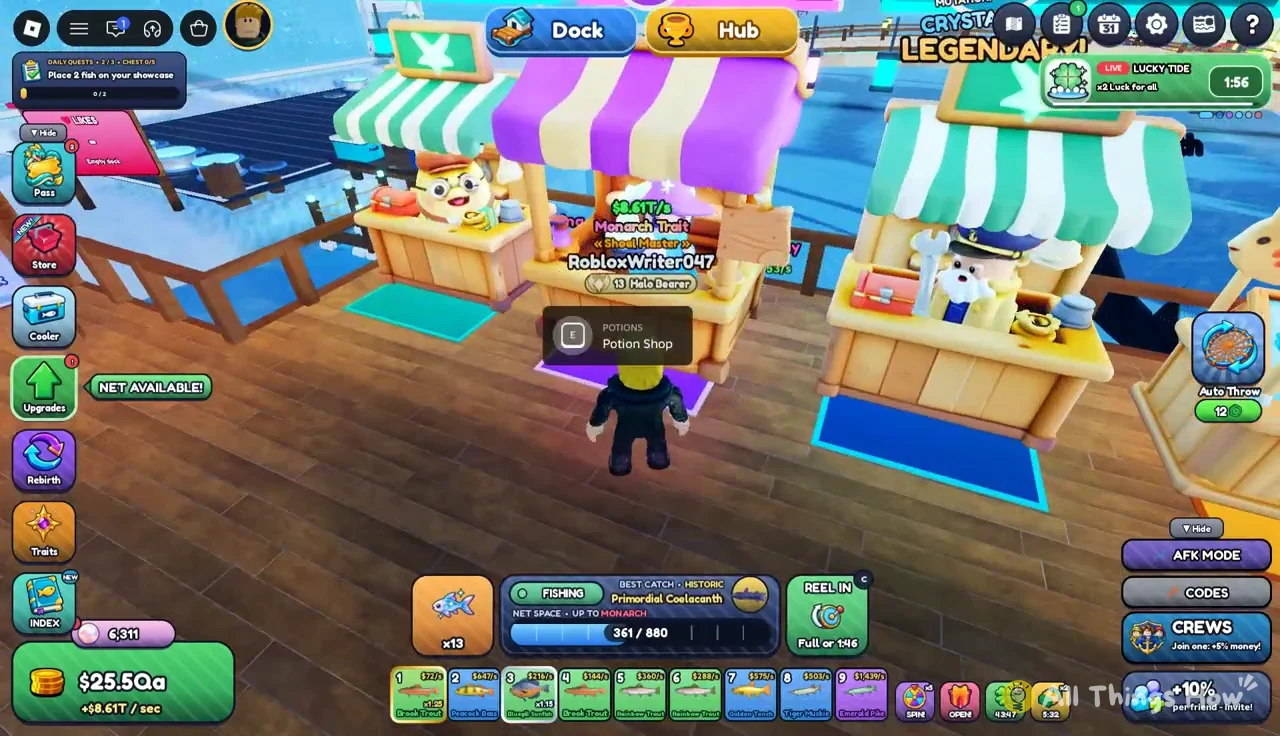
For temporary boosts that overlap with what bait does, the Potion Shop in the Hub sells Fish Caught, Cash Boost and Net Space potions. Net Space is the closest match to a capacity bait. Bait is still the only boost that changes fish size, double haul and rarer-fish odds on each individual cast.
With an equipped bait, a net that can reach the rarity you want, and enough stock to last through auto-fishing, every cast gets the full bonus. When a new Rebirth title unlocks the next bait, switch to it, since each step up the list adds more capacity, size and rarity at the same time.