Net a Fish is a Roblox fishing game from UpdatesDev where you throw a net instead of a rod. You catch fish, place them on pedestals that pay you every second, and spend that cash on tools that catch rarer fish faster. The opening loop is simple, but the order you do things in decides how quickly money starts coming in. Your first few minutes should go toward getting fish on pedestals and buying the cheapest useful upgrades.
Quick answer: Throw your net until it fills, reel in, open the Fish Cooler and press Equip Best, collect pedestal cash from the green pads, then spend it on Fisherman and Spear Gun upgrades.
What is on your Net a Fish dock
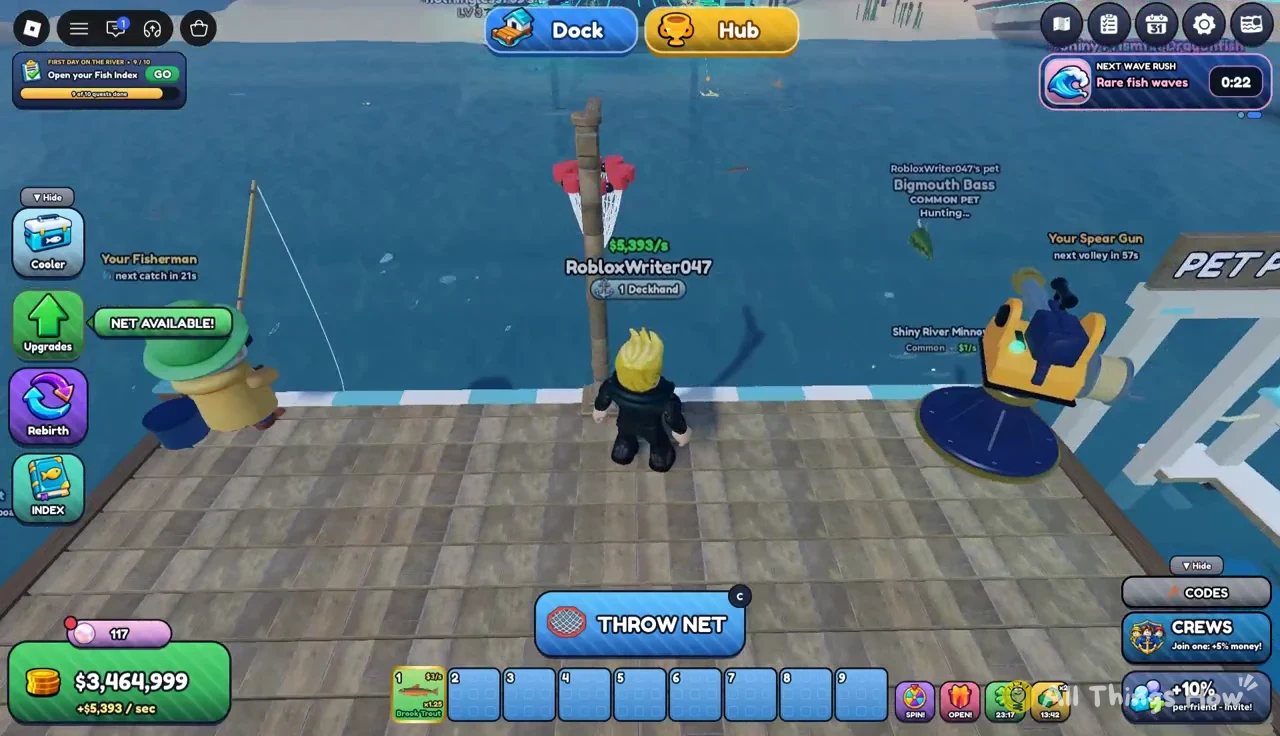
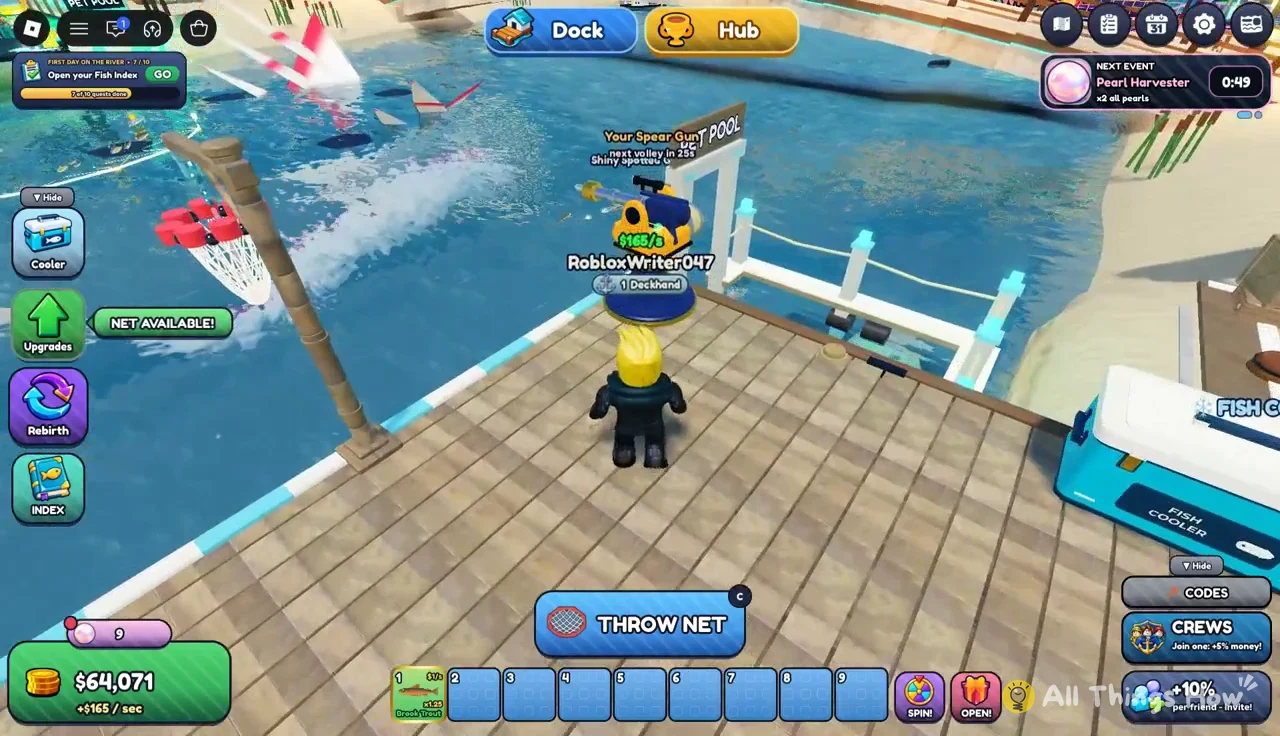
Each player gets a personal dock, and nearly everything you do in the early game happens on it. You don’t need to bring anything when you first launch Net a Fish on Roblox. The net comes equipped, and the THROW NET button sits at the bottom of the screen as soon as you load in.
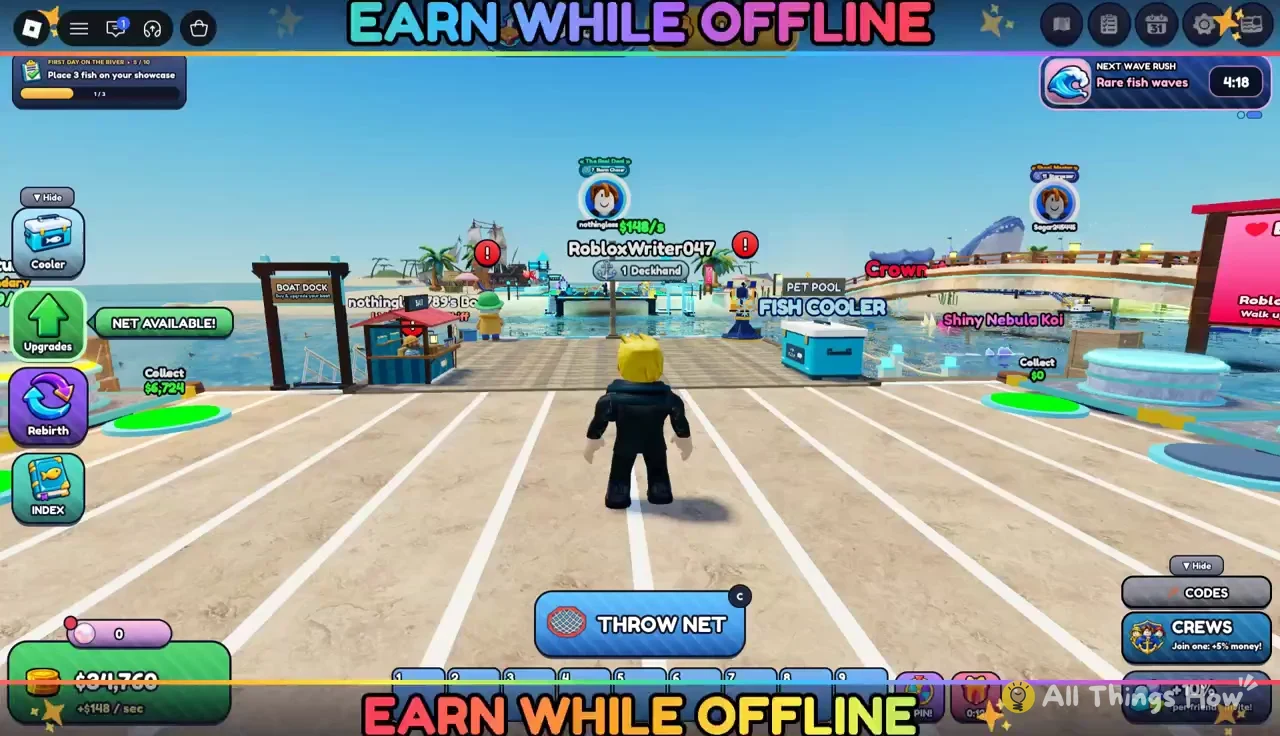
Walk along the pier and you’ll pass the stations you’ll use for the rest of the game:
- Showcase pedestals hold fish and generate cash per second.
- Green collection pads pay out what those pedestals have earned when you walk over them.
- The Fish Cooler stores every fish you catch, plus your Skins.
- The Fisherman is a helper NPC that catches fish on a timer.
- The Spear Gun is a dock tool that fires volleys at fish on its own reload cycle.
- The Bait Shop sits along the same walkway.
How to throw and reel in your net
Your net is your main source of fish early on. It catches fish until it hits its capacity, and the starting net holds 7 fish. The net screen also shows a rarity limit. Your first net reads “NET SPACE: UP TO UNCOMMON,” which means it won’t pull in anything above Uncommon in normal water.
C to throw. The game tells you exactly this on screen: “Aim with the mouse • click the water (or C) to throw.”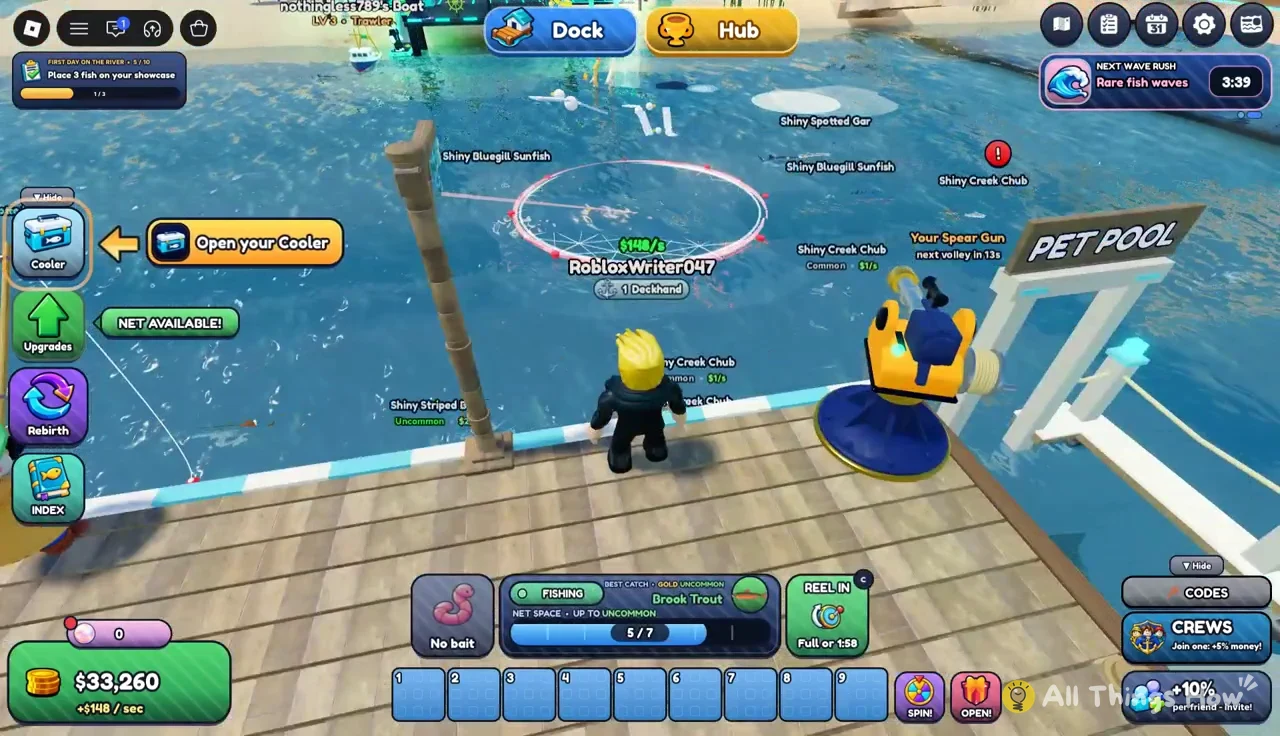
The net doesn’t need you nearby. You can teleport to the Hub, look around, and teleport back to your dock while it keeps filling. The Reel In button stays ready on screen the whole time.
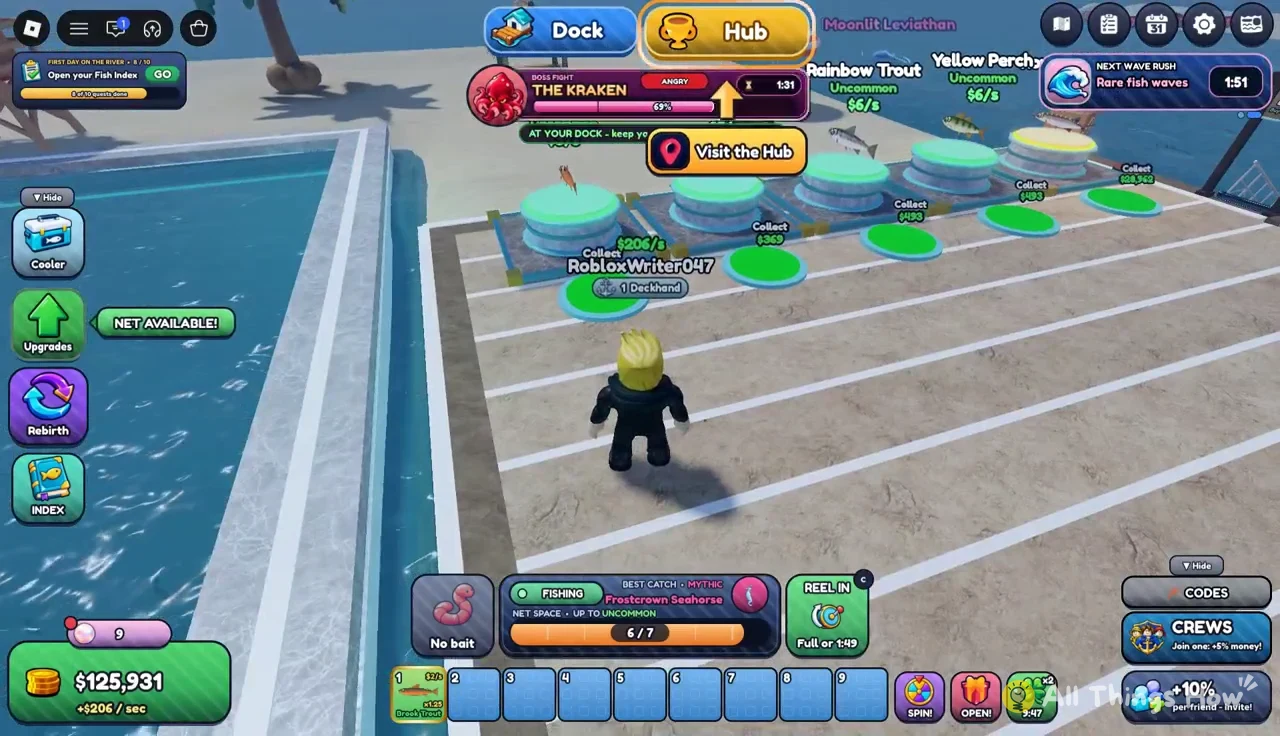
When you get a “BIGGER NET!” message, read it carefully. The first one adds +14% catch area and lets Uncommon fish into the net, so your hauls get larger and more valuable at the same time.
Fish Cooler and pedestals: turning fish into income
Catching fish only pays once. Placing them on pedestals pays every second, and that’s where Net a Fish’s long-term money comes from. Every fish in the cooler lists how much it would earn with a line like “+$4/s if placed,” so you can compare catches before choosing what goes on display.
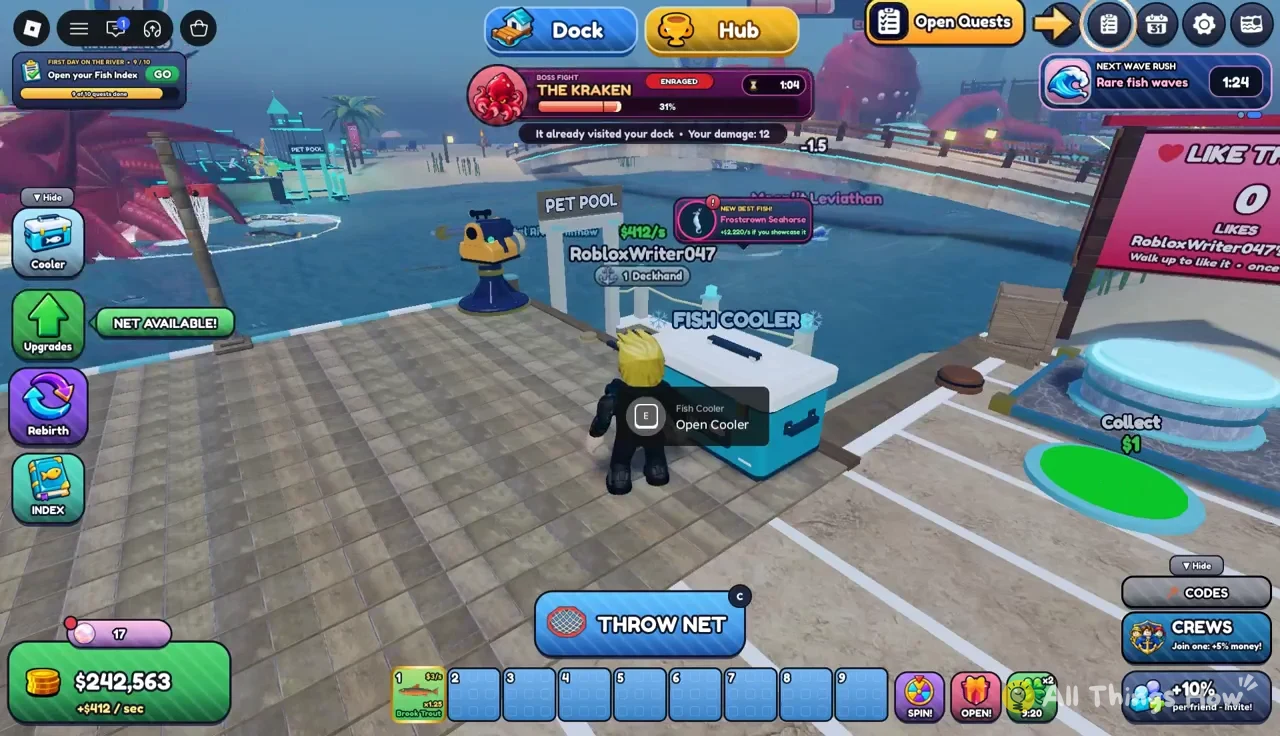
Walk up to the Fish Cooler on your dock and press E at the “Open Cooler” prompt.
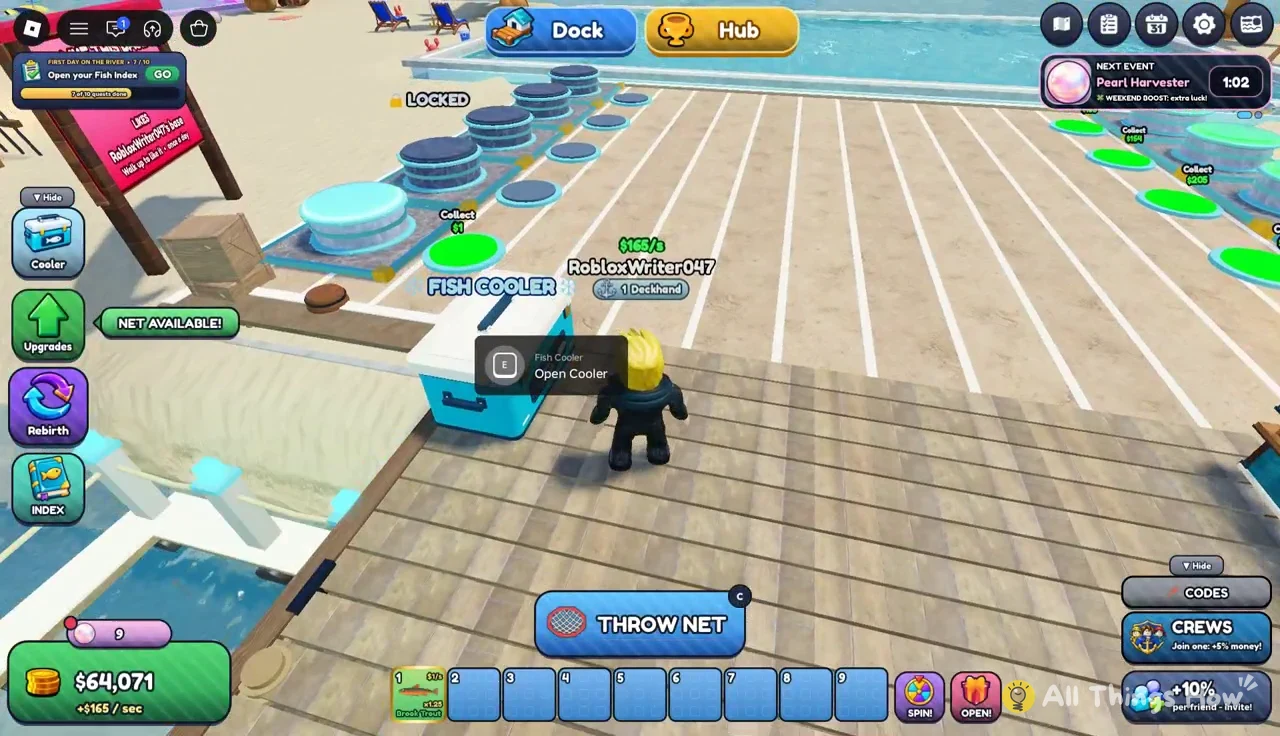
Inside, press EQUIP BEST. It fills every open pedestal with your highest-earning fish automatically, so you don’t need to sort by hand at the start. The same menu has Auto-Sell and Sell Fish options, which turn catches into instant cash rather than per-second income. Early Uncommon catches earn small amounts, as the table below shows.
| Fish | Rarity | Earns if placed |
|---|---|---|
| Gold Brook Trout | Uncommon | $1/s |
| Brook Trout | Uncommon | $3/s |
| Shiny Bluegill Sunfish | Uncommon | $4/s |
| Yellow Perch | Uncommon | $5/s |
Notice that a “Gold” or “Shiny” label doesn’t guarantee a better earner. The Gold Brook Trout pays less than a plain Brook Trout, which is why Equip Best is safer than guessing by name.
You can also place fish by hand. Pick a fish up from the cooler, such as the Gold Brook Trout, and carry it to an empty showcase pedestal. This is useful when you want a specific fish on display, but for pure income, Equip Best does the math for you.
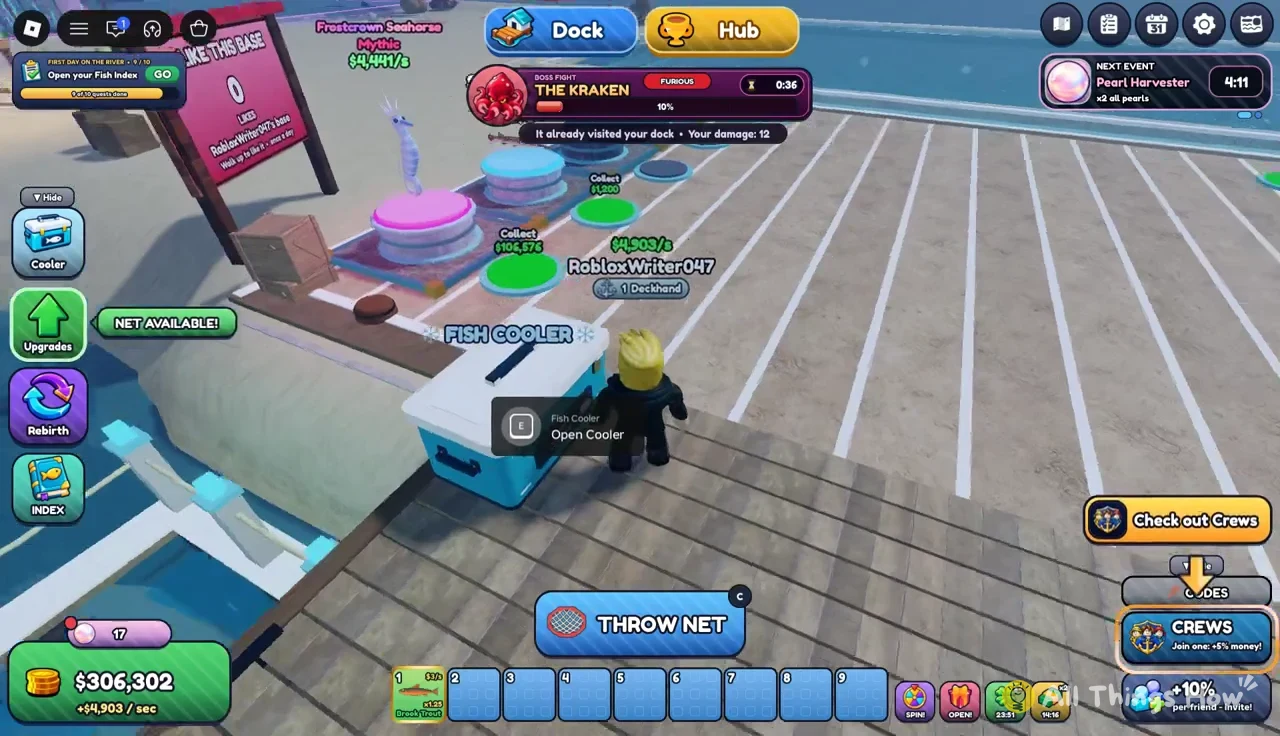
The cooler also holds a Skins tab. A tutorial prompt reading “Open your Cooler: your Skins are inside” points to the Cooler button the first time you’re meant to look.
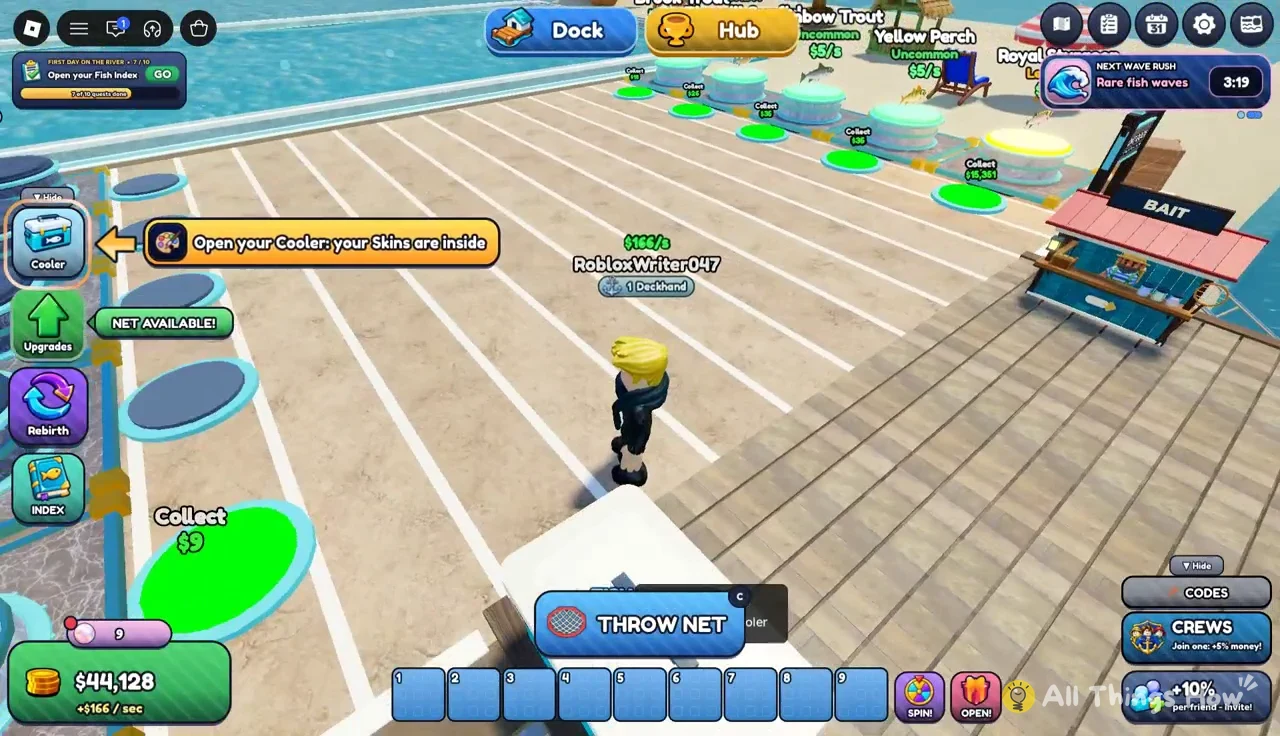
Pedestal earnings pile up until you collect them. Walk over the green pads marked “Collect $…” along the dock, and the cash moves into your balance. Make this a habit between net throws, because uncollected money can’t be spent on upgrades.
First upgrades: Fisherman and Spear Gun costs
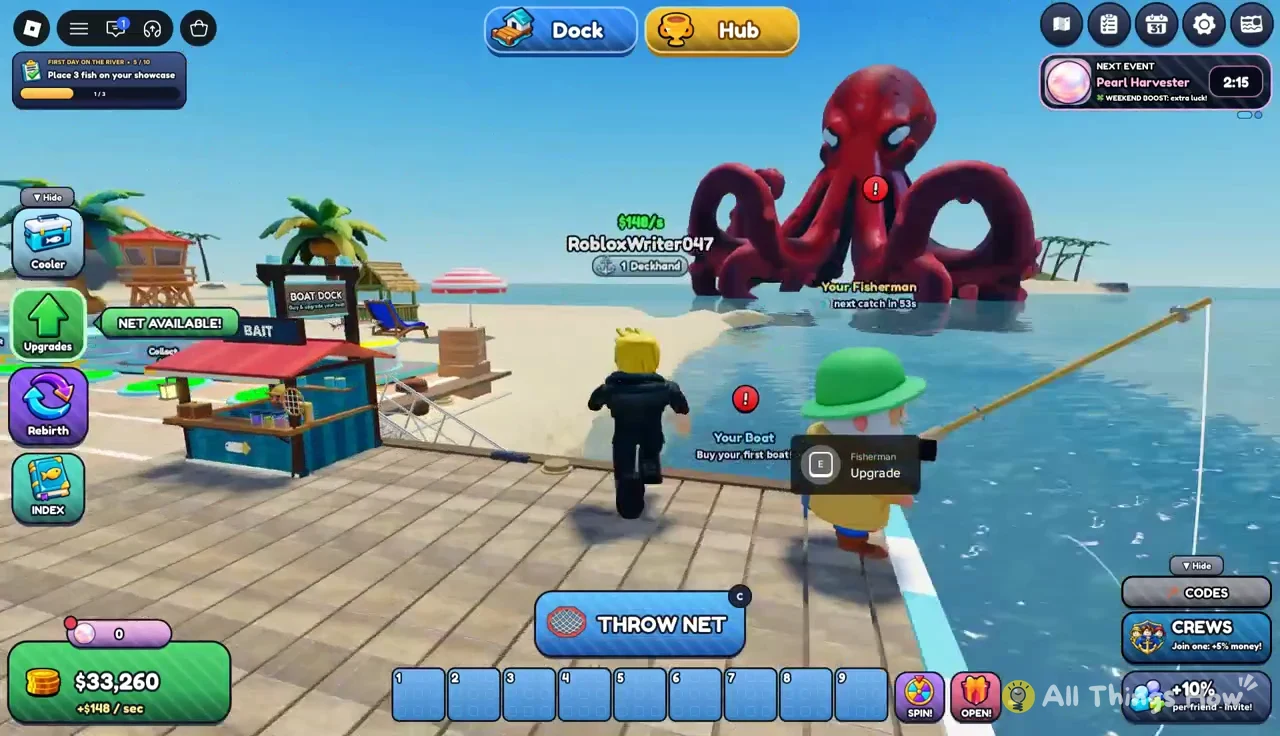
Both dock tools have their own upgrade menus. Each upgrade raises one thing: the rarity cap, the number of fish per catch, the time between catches, or the range. Walk up to the Fisherman and press E at the “Upgrade” prompt to open his menu.
Fisherman upgrades
| Upgrade | Max level | First level cost | Effect at level 1 |
|---|---|---|---|
| Fishing Rod | 34 | $600 | Up to Uncommon → up to Rare |
| Bigger Bucket | 34 | $840 | 1 → 2 fish per catch |
| Quick Hands | 34 | $690 | Every 60s → every 54s |
Fishing Rod is the cheapest upgrade on the dock, and its first level lifts the Fisherman’s cap from Uncommon to Rare. Rare fish are worth more on pedestals, so it’s a sensible first purchase. Bigger Bucket doubles how many fish he brings in per catch, and Quick Hands shortens the wait between catches.
Spear Gun upgrades
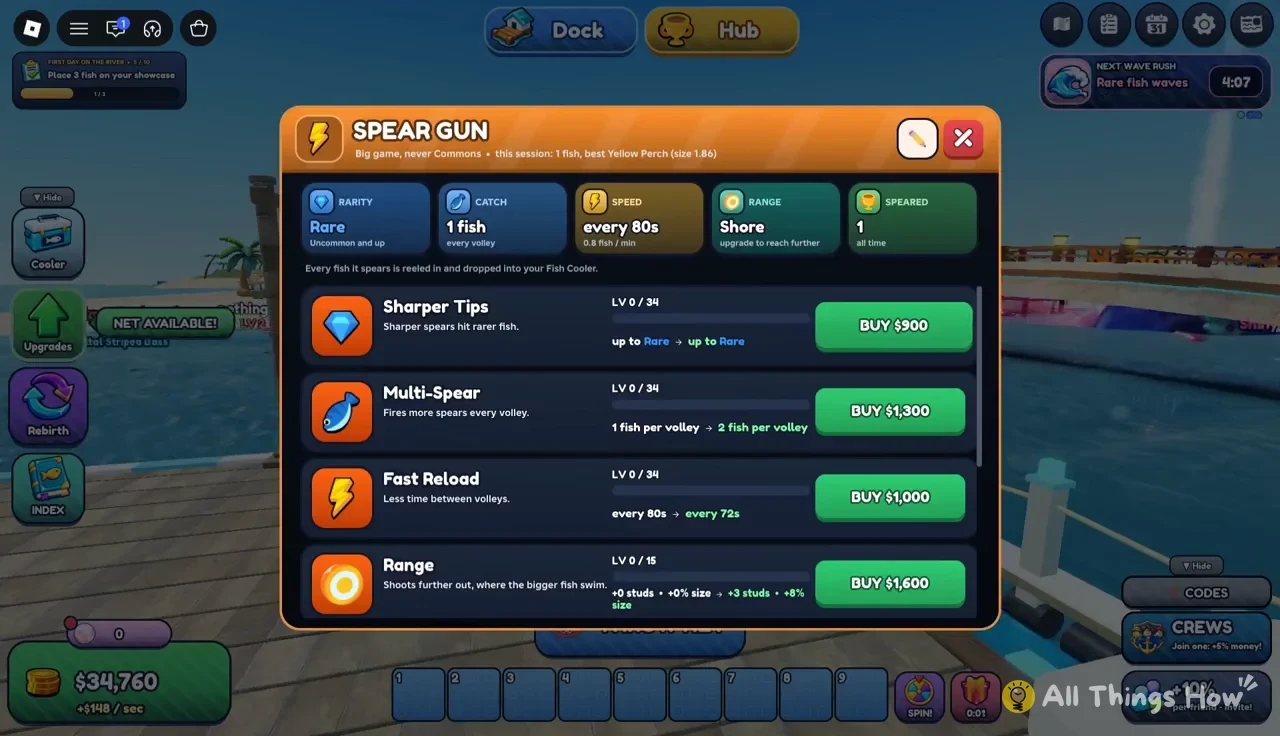
The Spear Gun menu works the same way, with green BUY buttons next to each option and the before-and-after values listed underneath.
| Upgrade | Max level | First level cost | Effect at level 1 |
|---|---|---|---|
| Sharper Tips | 34 | $900 | Up to Rare → up to Rare |
| Multi-Spear | 34 | $1,300 | 1 → 2 fish per volley |
| Fast Reload | 34 | $1,000 | Every 80s → every 72s |
| Range | 15 | $1,600 | +3 studs, +8% size |
The Spear Gun already reaches Rare, and the first level of Sharper Tips doesn’t raise that cap. If you want an immediate change from your first spend, Multi-Spear doubles fish per volley and Fast Reload cuts eight seconds off each cycle. Range is the only Spear Gun upgrade that stops at level 15 rather than 34.
Daily Rewards and the group money bonus
Open the Daily Rewards window and press CLAIM on the current day. The button switches to “Claimed” once it works. Day 1 alone is worth far more than your first few hauls, so claim it before buying upgrades.
| Day | Reward |
|---|---|
| Day 1 | $49,500 |
| Day 2 | 2x Money for 1 hour |
| Day 3 | $148,500 |
| Day 4 | 1 Ocean Crate (1 random pet) |
| Day 5 | $297,000 |
| Day 6 | 2 Ocean Crates (2 random pets) |
| Day 7 | 5 Ocean Crates (5 random pets) |
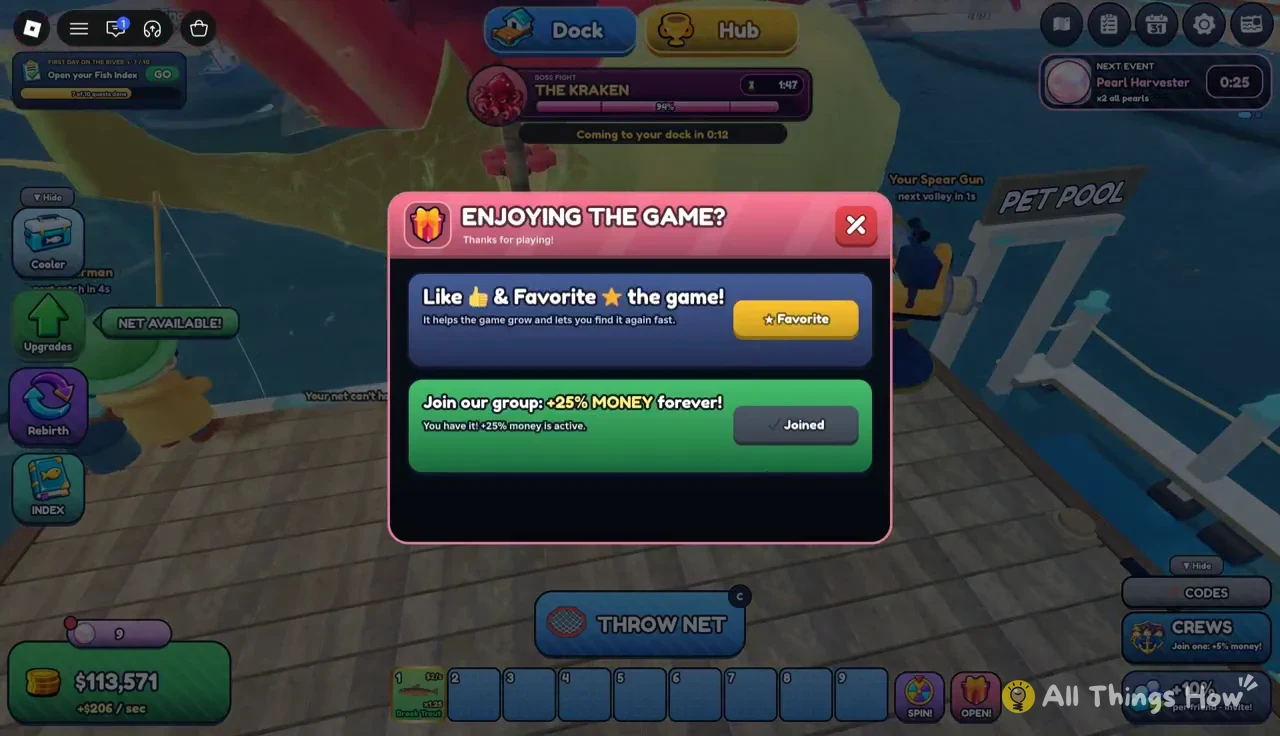
Early on, an “Enjoying the Game?” pop-up appears. It offers “Join our group: +25% MONEY forever!” along with a Favorite button. Joining the developer’s Roblox group applies a permanent +25% bonus to your showcase earnings, which compounds with every pedestal you fill.
The Kraken boss fight: what to do when it spawns
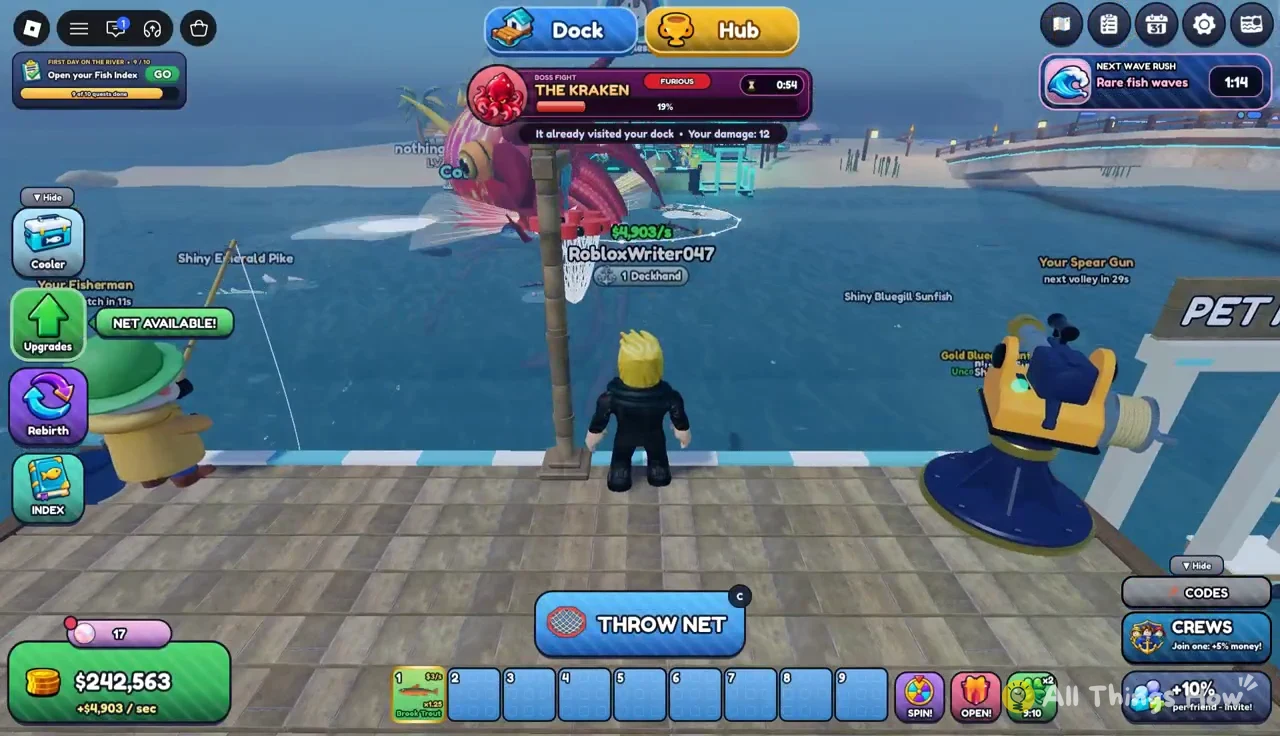
The Kraken is a world boss that shows up right at your dock. A “BOSS FIGHT: THE KRAKEN” health bar appears, followed by “THE KRAKEN ROARS!” You don’t need a weapon for it. Throwing your net into the water around the boss damages it, and the net still catches fish while it does.
Kraken rewards and the Ocean Crate
You’ll know the fight is over when the “KRAKEN DEFEATED!” window appears. It ranks everyone by damage and pays out based on rank. Even last place pays well. Rank 5 of 5, with 13 damage at 57% of the top net, still earned:
- +$2.94M in cash
- +100 pearls
- One Ocean Crate
Before that window appears, it’s worth opening the cooler once more to see what the fight added. Hauls from boss water stack up quickly, and you’ll want the best of them on pedestals as soon as the cash arrives.
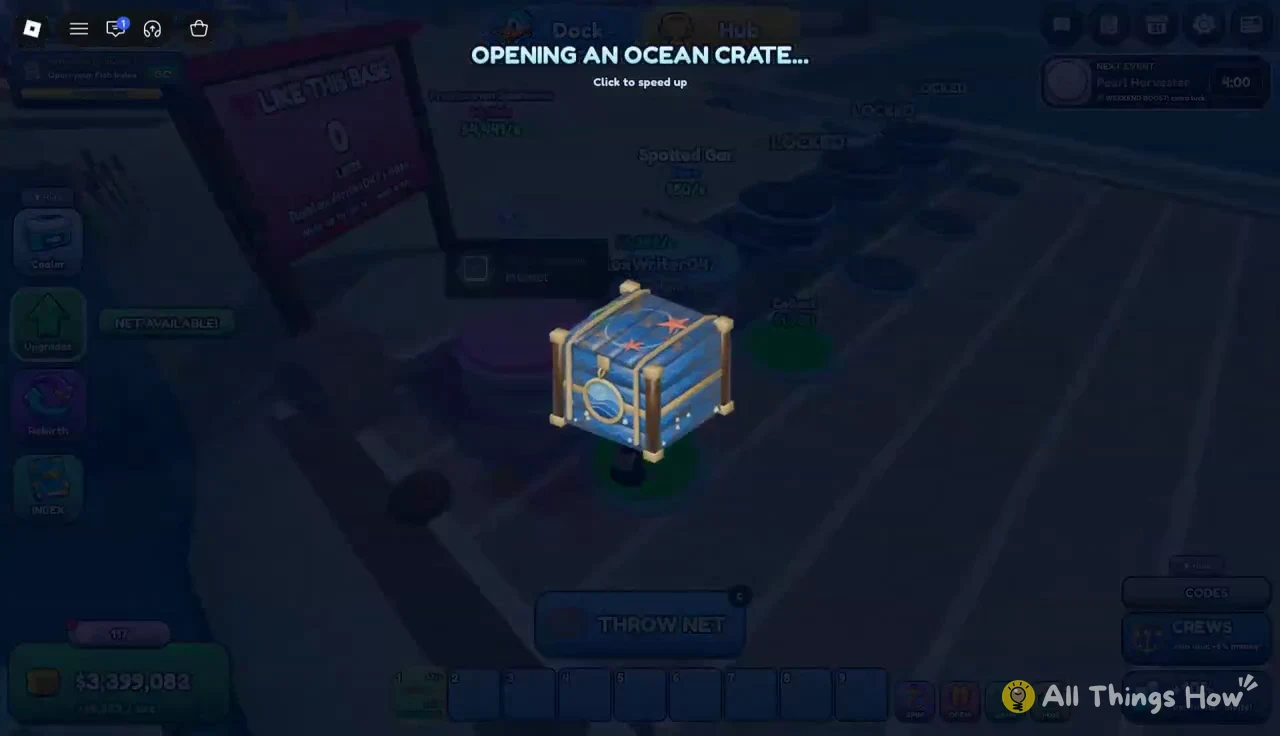
The Ocean Crate opens on an “OPENING AN OCEAN CRATE…” screen, and clicking speeds up the animation. Each Ocean Crate holds one random pet. A Kraken crate can give something like a Common Bigmouth Bass, shown with a “YOU GOT BIGMOUTH BASS!” message. Pets you place in the Pet Pool roam the nearby water and help with hunting.
Once the Kraken is gone, the dock goes back to its normal loop. Throw, reel, equip, collect from the pads, and put the Kraken payout into the next Fisherman or Spear Gun level. Each upgrade brings in rarer fish, and rarer fish make the next upgrade cheaper to afford.