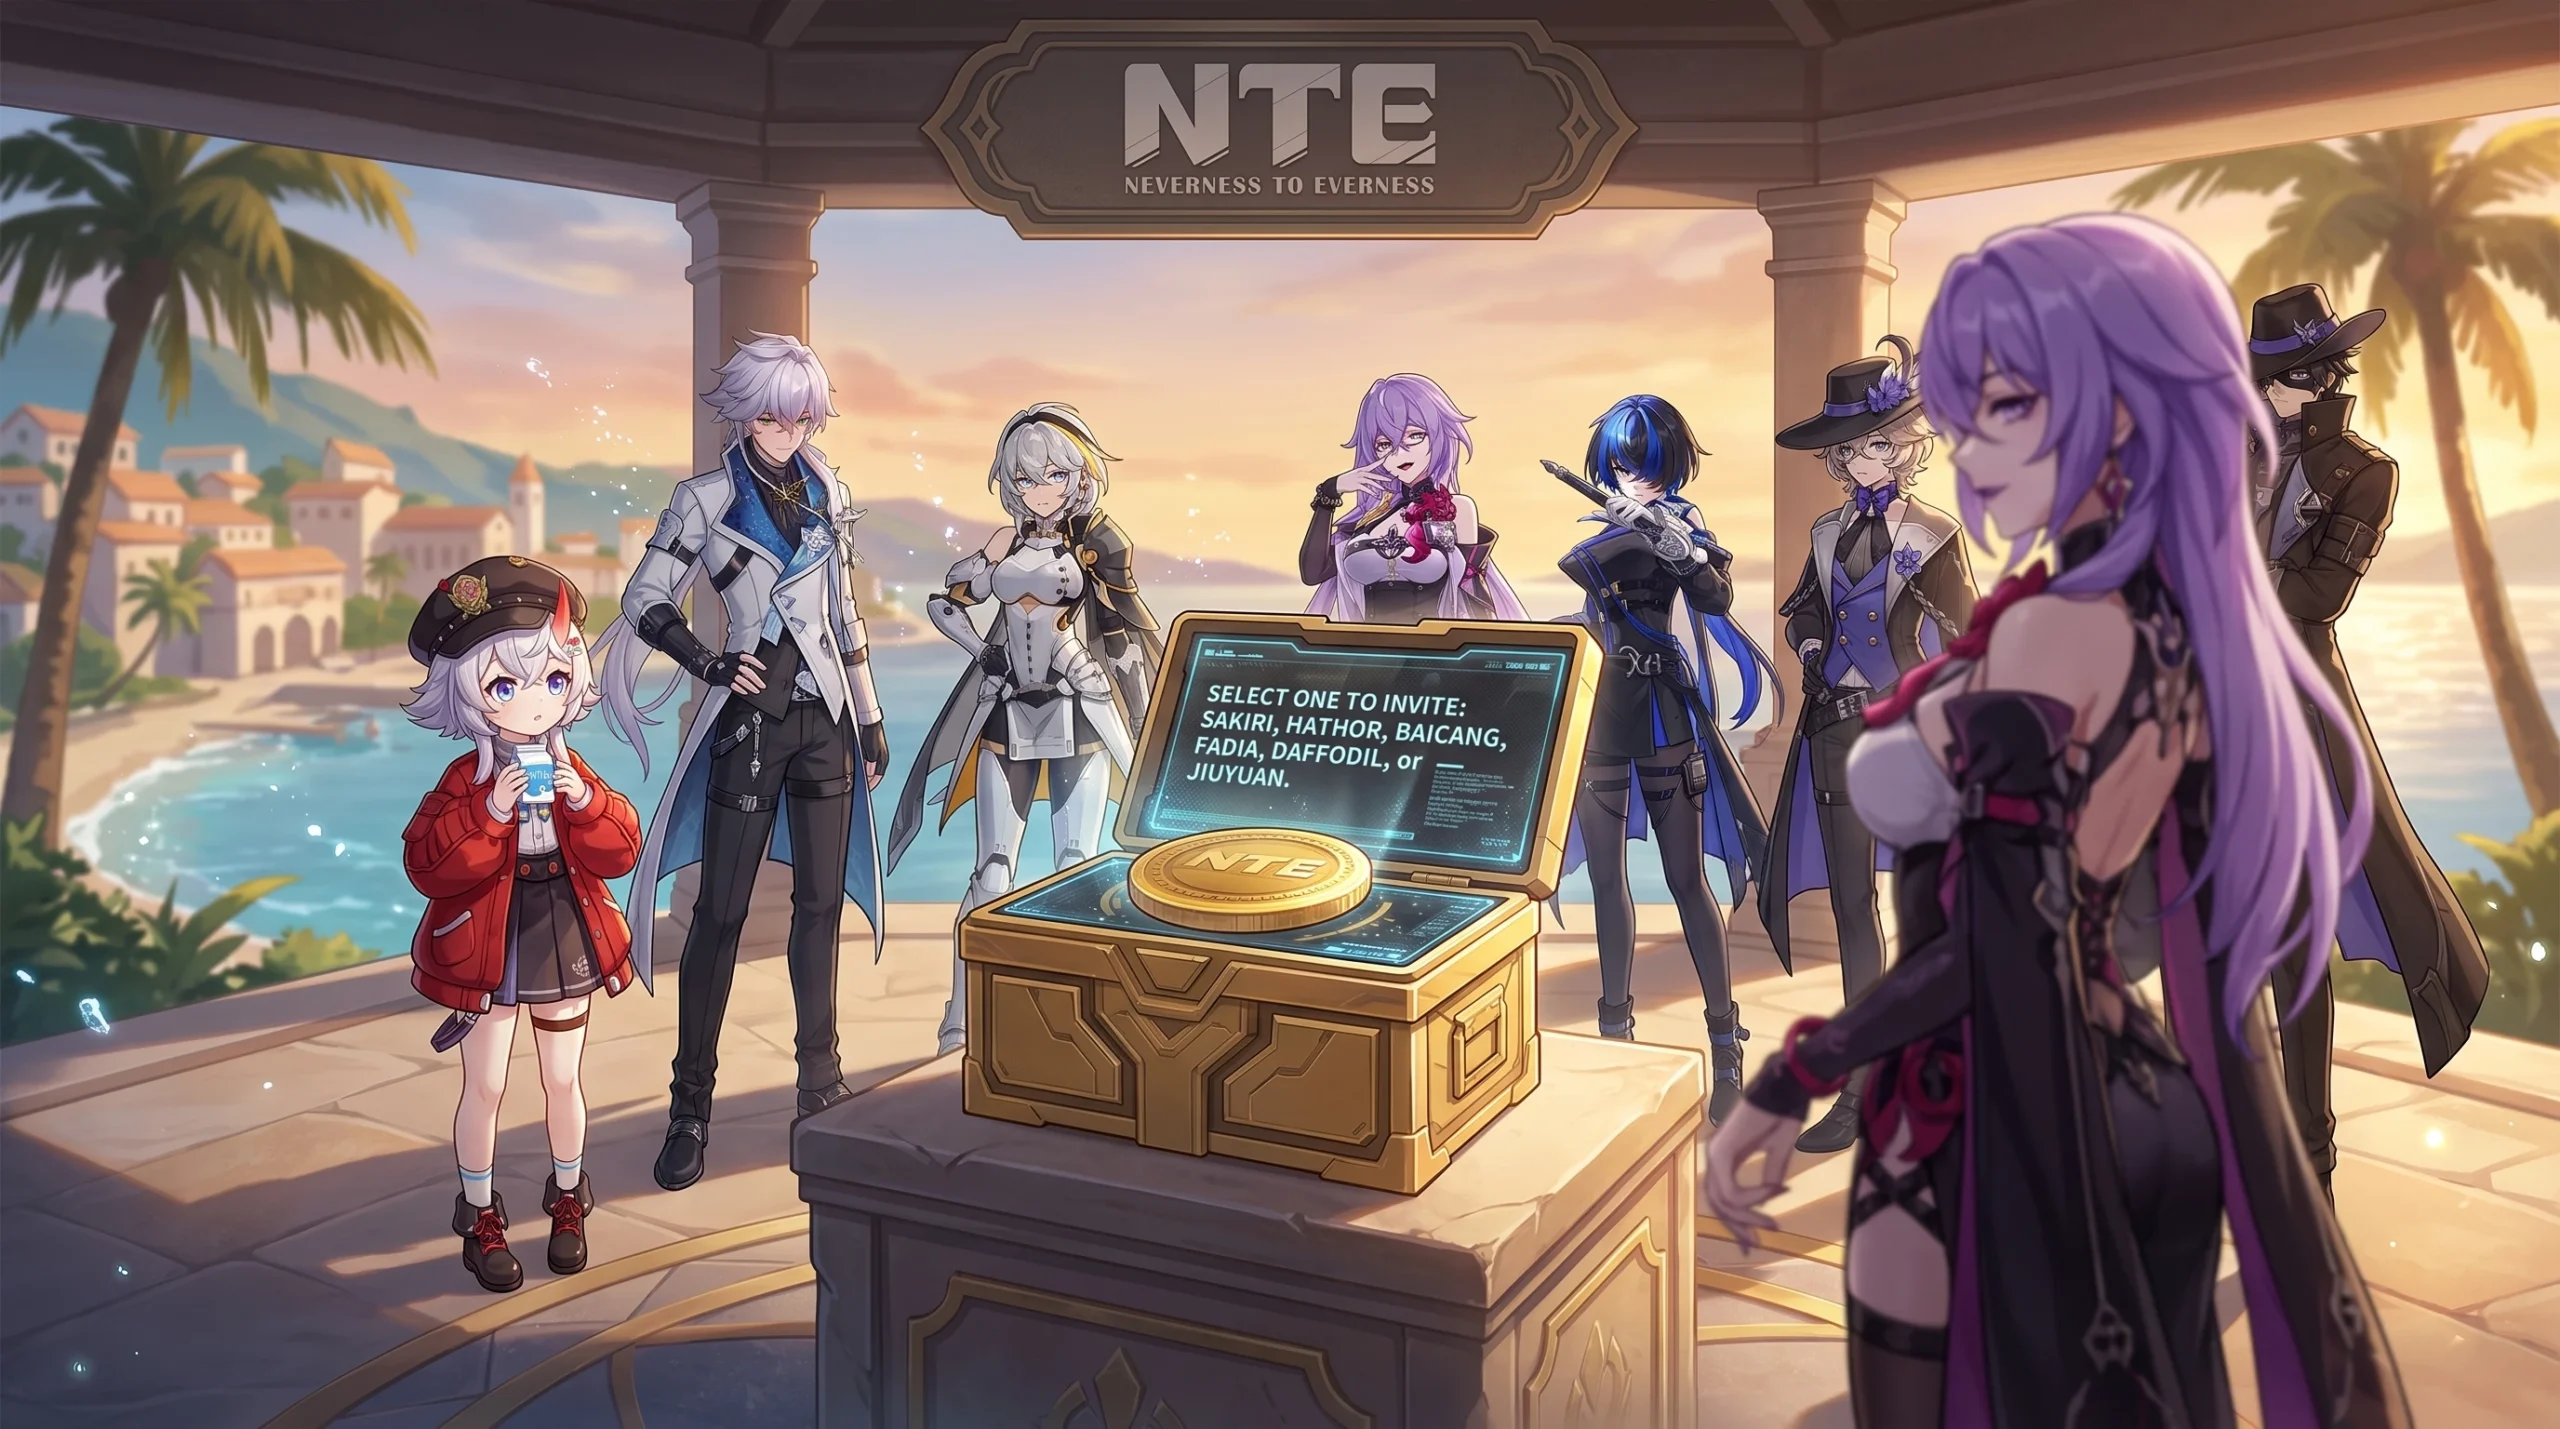
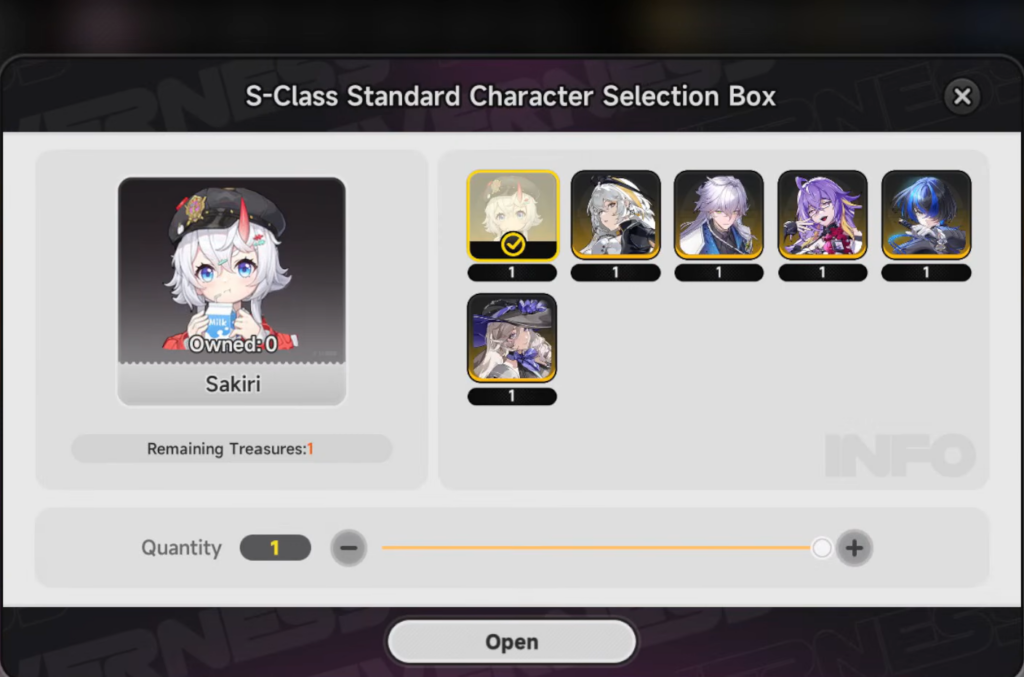
The free S-Rank Selector in Neverness to Everness lets you claim one Standard-pool S-Rank character at no extra cost, and the version 1.2 pool keeps the same six options: Sakiri, Jiuyuan, Baicang, Daffodil, Hathor, and Fadia. The pick you make sets the direction of your early roster, so it is worth matching the choice to the role your teams are missing rather than the character you like the look of.
Quick answer: If you do not already own her, take Sakiri — she is the only S-Rank support that groups enemies and hands out a team attack buff. If you have Nanally, take Jiuyuan instead. Wait until after your next natural Standard S-Rank pull before you spend the selector, so you do not hand yourself a duplicate.

How to unlock the free S-Rank Selector
The selector is tied to the Standard Banner, not the Limited Banner. You unlock the choice after completing 50 pulls on the Standard Banner, and those pulls do not consume any of your Limited pity. The Standard pity is also kept separate from the Limited Banner, so nothing you do here affects your rate-up progress.
The first stretch of Standard pulls is discounted to soften the cost. The opening five 10-pulls run at 8 Fabricated Dice each instead of 10, which brings the road to 50 pulls down to roughly 40 dice. You are also guaranteed at least one S-Rank inside your first 20 Standard pulls, which is why the character you eventually select can end up duplicating one you already earned.
Spend all of your free launch and beginner resources on the Standard Banner before you confirm the selector. That way you can see which S-Rank you naturally pulled and steer the free pick toward a role you still lack.
Selector priority for the six S-Rank options
The goal for a healthy account is eight characters spread across two working teams, covering a main DPS, a sub-DPS, a support or buffer, and a tank in each. The table below ranks the six selector characters by how much unique value they add and how hard that role is to fill elsewhere.
| Priority | Character | Role | Element | Why pick |
|---|---|---|---|---|
| Top | Sakiri | Support / CC | Incantation | Only unit that groups enemies and buffs team attack at once. |
| Top | Jiuyuan | Sub-DPS / DPS | Anima | Strong AoE and DoT; gains AoE healing at first awakening; best partner for Nanally. |
| Top | Fadia | Tank | Psyche | Best survivability in the pool; shields, reflects, and shares team damage. |
| Mid | Hathor | Melee DPS | Lakshana | Only Lakshana S-Rank; strong out-of-combat module income passive. |
| Situational | Baicang | Main DPS | Incantation | Highest raw damage, but his best team leans on Daffodil. |
| Situational | Daffodil | Break / Sub-DPS | Chaos | Only Chaos unit and the sole Scorch enabler; core engine for Baicang. |
Sakiri: the safest first pick
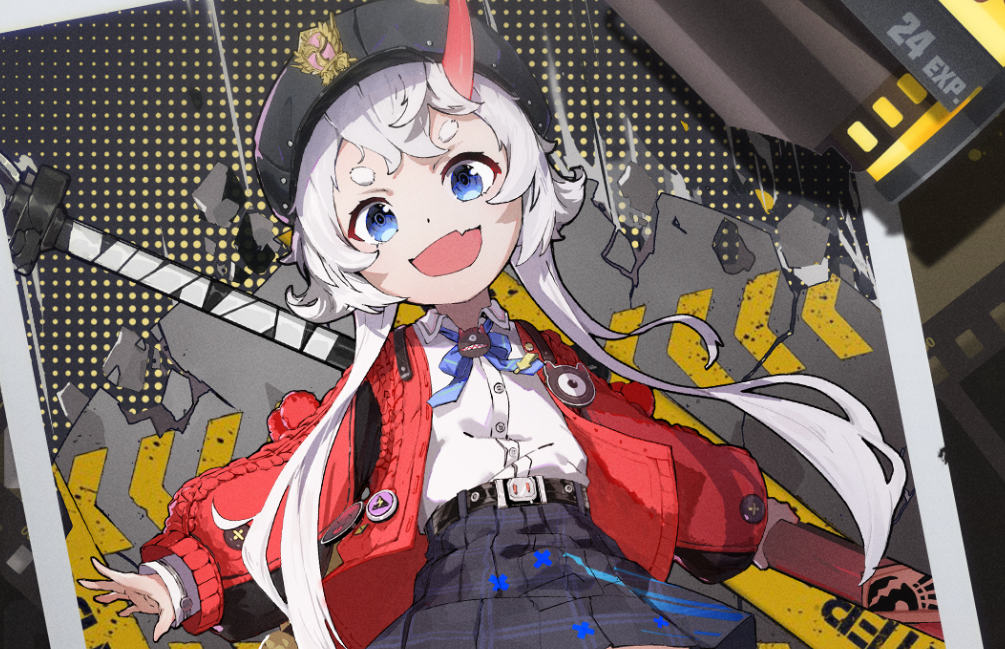
Sakiri fights alongside a summoned hammer-creature that pulls enemies together, suspends them in the air, and swallows weaker mobs. On top of that crowd control, her ultimate hands the whole team an attack buff based on her own base attack, and that conversion rate roughly doubles at higher awakening levels. No other S-Rank currently combines grouping and a team buff, which is why she is the default pick when you do not already have her.
She also carries the exploration draw. You can ride her companion around the open world to clear obstacles and gather faster, which makes her an easy quality-of-life choice for newer accounts. If you picked Mint on the Beginner Banner, Sakiri should be your first thought for the free selector.
Jiuyuan and Fadia: the other top-tier picks
Jiuyuan is a ranged Anima DPS built around her bleed. The fifth hit of her basic chain applies a lingering damage-over-time effect, and her ultimate sweeps wide before detonating for heavy AoE. Her real selling point is flexibility. She groups enemies, slots cleanly into Anima and Incantation teams, and gains team AoE healing at her first awakening, letting her double as a stand-in healer. She is the best-in-slot partner for the Limited Anima carry Nanally, so pick her if you own or plan to build Nanally.
Fadia answers the survival question. She binds to a teammate to share 30% of the damage they take, generates shields, reflects attacks, and self-heals through her ultimate, with emergency skills that fire at critical HP. If either of your two teams lacks a sustain unit, she is close to irreplaceable and stays relevant from early game into endgame.
Baicang and Daffodil: pick them as a pair or skip
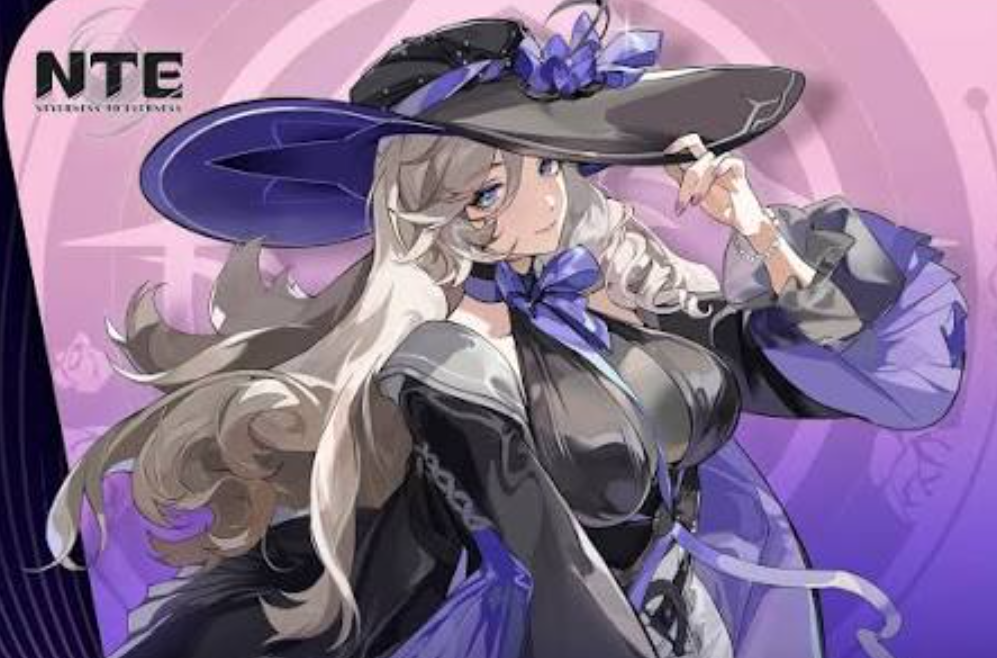
Baicang puts out some of the highest raw damage in the selector pool. He marks enemies to spike his own output and drops an execution zone that finishes low-HP targets and bursts bosses. The catch is that his strongest composition leans on Daffodil to trigger Scorch reactions, since she is the only Chaos element unit and therefore the sole enabler for those interactions. Without her, his ceiling drops sharply.
Daffodil is a twin-blade Break specialist whose dodges do not interrupt her combos and who shreds enemy stagger bars quickly. Her main value right now is being the reaction core for Baicang. If you are not committing to Baicang, there is little reason to select her first — hold the pick for a role you actually need.

Hathor: choose her once your teams are built
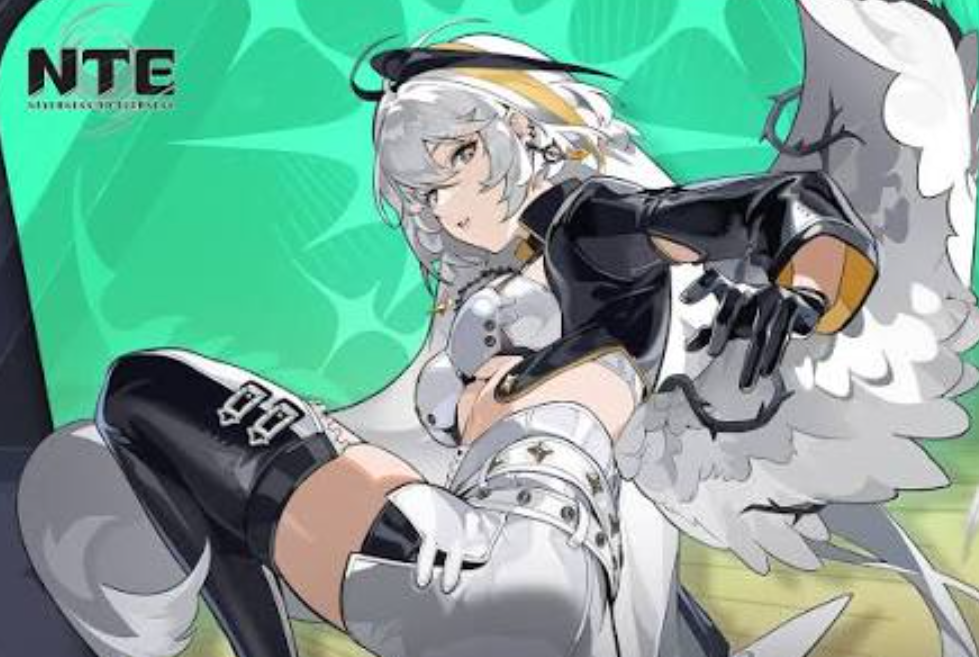
Hathor is a high-mobility Lakshana melee DPS with a stacking attack buff and a motorcycle ultimate that runs enemies down. As the only Lakshana S-Rank, she flexes between main and sub-DPS in Lakshana teams. Her standout perk sits outside combat, though. Her apartment passive produces one free module piece every day, which adds up to roughly 30 modules a month and a meaningful gear lead over a full year.
That passive makes her a high-value pick specifically for players who have already assembled two functional teams. Selecting her before you have that foundation trades immediate combat power for a slow long-term gain, so she is better as a later choice than a first one.
Time your pick to avoid duplicates
The single most common mistake is using the selector too early. Because the Standard Banner guarantees an S-Rank inside your first 20 pulls, spending the free choice before that drop risks doubling up on the same character. A duplicate wastes the selector’s whole purpose, which is to plug a specific elemental or role gap.
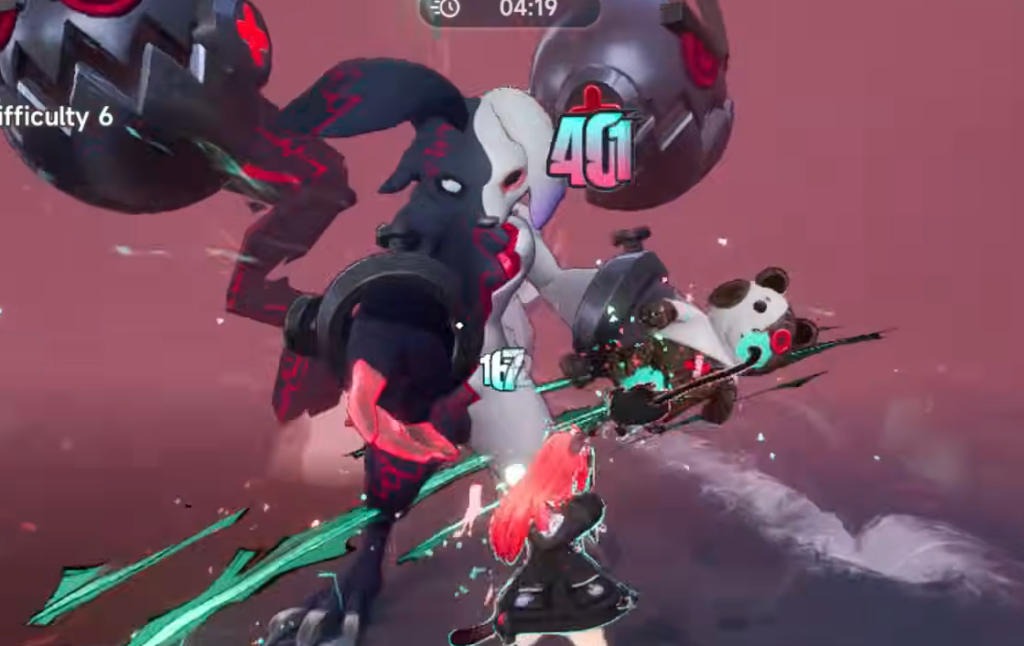
Image credit: Perfect World Games
Avoid the “Fair Exchange” currency trap
The Mall’s Fair Exchange section looks like a way to grab an extra S-Rank selector, but it is a poor deal for free-to-play and low-spend players. The currency it uses is generated mainly through heavy summoning, so it is scarce. Spending it on Standard characters you can already get through the free selector and normal pity burns a limited resource on something you would obtain anyway.
Hold that currency. Limited characters may be added to the exchange pool later, and if you drain it now on Standard units, you could lose the chance to secure a limited-tier unit when one becomes available there.
Put simply, the free selector rewards patience. Pull first, read the gaps in your two teams, and claim the character that turns two rosters into two complete ones — Sakiri or Jiuyuan for most accounts, Fadia if you need a wall, and Hathor once the rest is already in place.