The bow-and-sniper loadout, the route to the boss door, and the generator routine that makes the Deviated Fridge killable alone.
The bow-and-sniper loadout, the route to the boss door, and the generator routine that makes the Deviated Fridge killable alone.
by AllThingsHow Staff
Image: Starry Studio
Securement Silo – PSI on Pro is tuned for a full squad. The entrance console lists it at Lv.60 with “Recommended Players: 4”. It is still very doable alone. The layout is linear, most of the dangerous enemies can be shot from a distance before they see you, and the Empty House boss stays harmless as long as you handle its generators properly and keep to high ground.
Quick answer: Bring a high-damage bow or rifle plus a sniper. Snipe each room from range, use the Rosetta V3 Access Card, clear both laser corridors, then break the generator shields with Ice Spikes before damaging the Fridge.
Silo PSI Pro requirements and location
The silo is in the Red Sands region, south of the Forsaken Monolith. The entrance sits at coordinates 2489, -2568, at the R.S.T LAB 06 door. Pick Pro on the entrance console before you load in.
Pro difficulty: Lv.60, built for 4 players
Boss: Empty House, a Deviated Fridge (Lv.60)
Key item inside: Rosetta V3 Access Card, needed to open the first security door
Mutators are listed on the entry screen and rotate, so check them before you commit
On Pro, the layout and boss mechanics match the lower difficulties. What changes is that enemies hit harder, have more health, and show up in larger numbers. A solo clear comes down to damage and positioning, not new mechanics.
Solo Pro loadout for Silo PSI
The build below is a proven solo setup. It uses a bouncing bow for groups and armored targets, and a sniper for the long cavern and the boss arena’s catwalk snipers.
Slot
Item
Mod
Primary
Compound Bow – The Burden of Betrayal (Tier V)
Multi-Bounce <Bounce>
Secondary
AWS.338 – Bullseye (Tier V)
Vulnerability Amplifier <The Bull’s Eye>
Ammo
Armor-Piercing Arrow
—
Helmet
Savior Helmet
Momentum Up <Precision>
Mask
Savior Mask
Precision Bounce <Violent>
Top
Savior Top
Rejuvenating <Violent>
Pants
Hot Dog Shorts
Three Strikes <Precision>
Gloves
Savior Gloves
Crit Amplifier <Aero>
Shoes
Stormweaver Shoes
Rush Hour <Deviant Energy>
Deviation
Lonewolf’s Whisper
—
Armor-Piercing Arrows matter because Rosetta soldiers are armored. Lonewolf’s Whisper draws aggro and adds damage, which buys you time during the boss phase. You don’t need this exact setup. Fast Gunner assault rifle builds and weakspot revolver builds have both cleared Pro solo. What carries over is the idea behind it: strong single-target damage up close, plus a scoped weapon for the snipers.
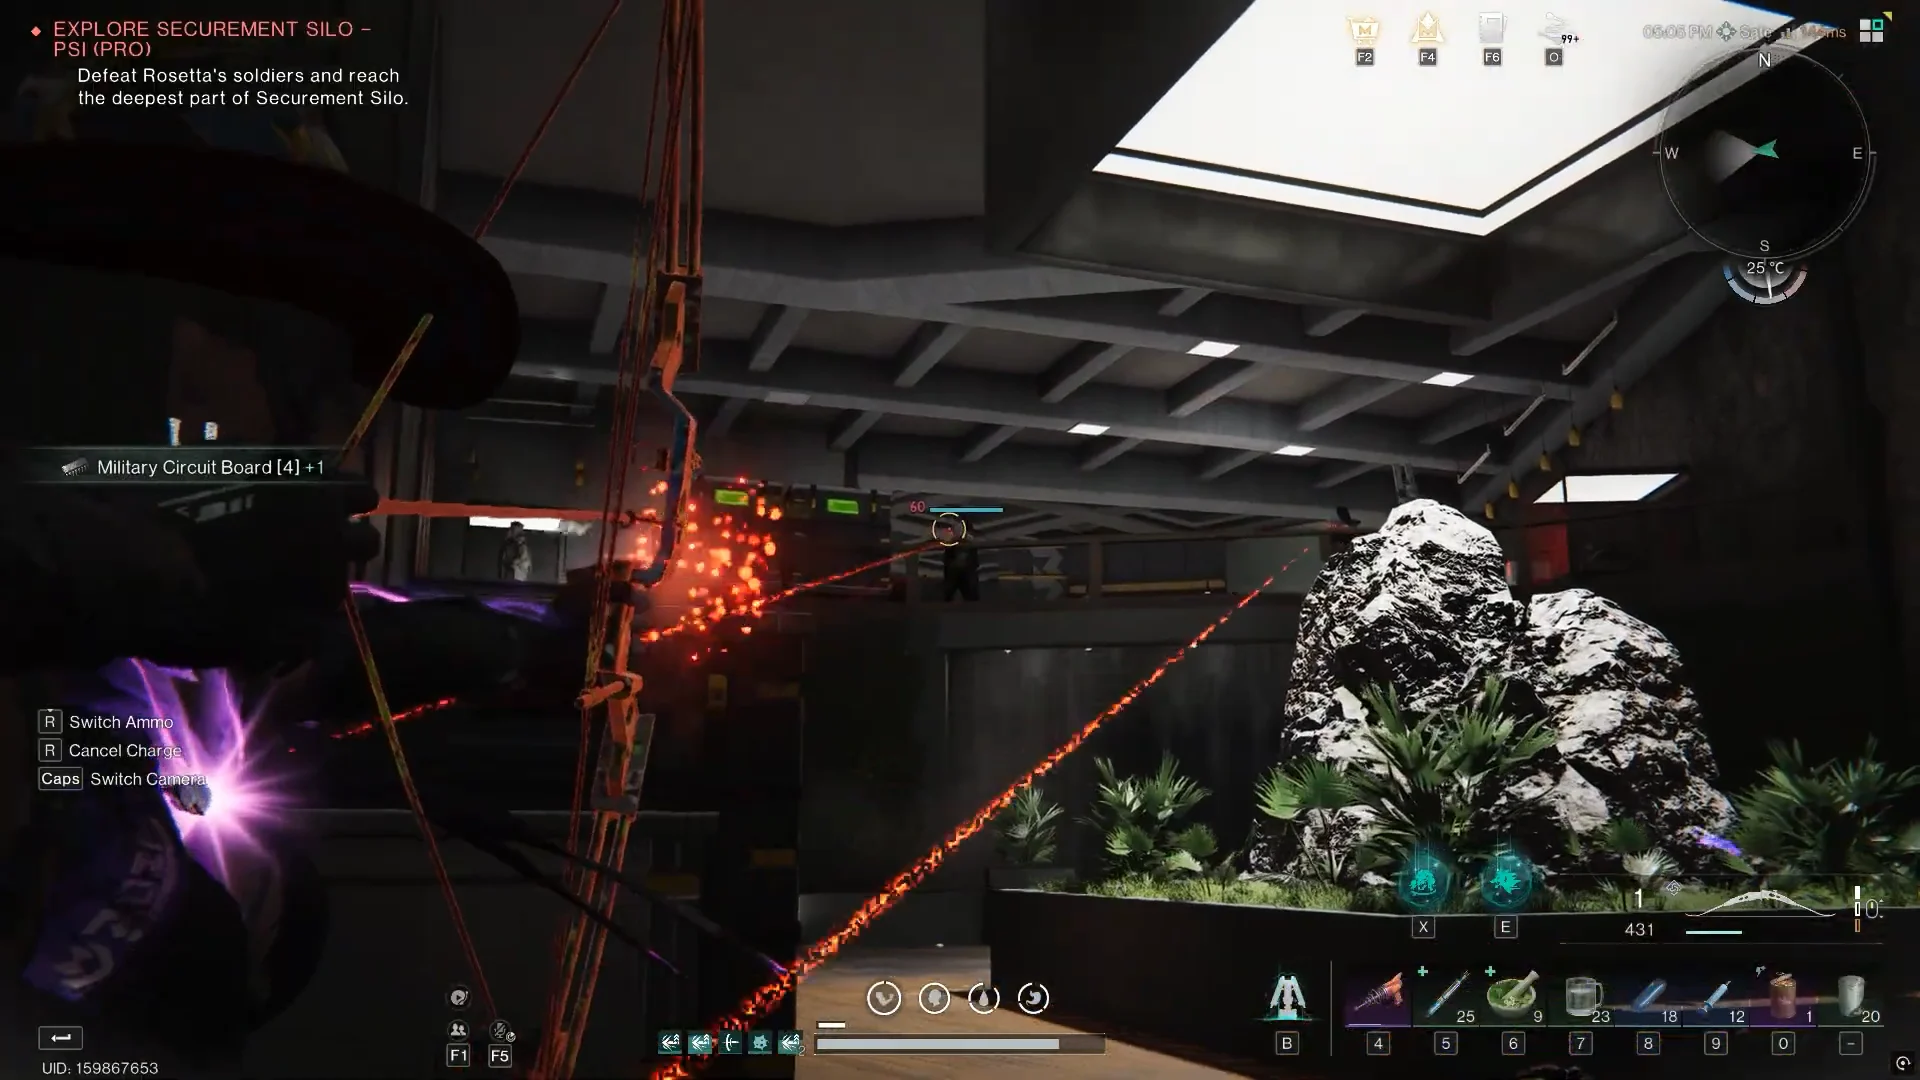
Clear the automated turrets and Rosetta soldiers in the first room from the edge of the room, not the middle. Snipers are mixed in with the guards, so kill them first.
Climb the stairs to the mezzanine and the larger second room. Rosetta drones there can stun you with electricity, which leaves you open to the snipers at the back. Shoot the drones as soon as they appear.
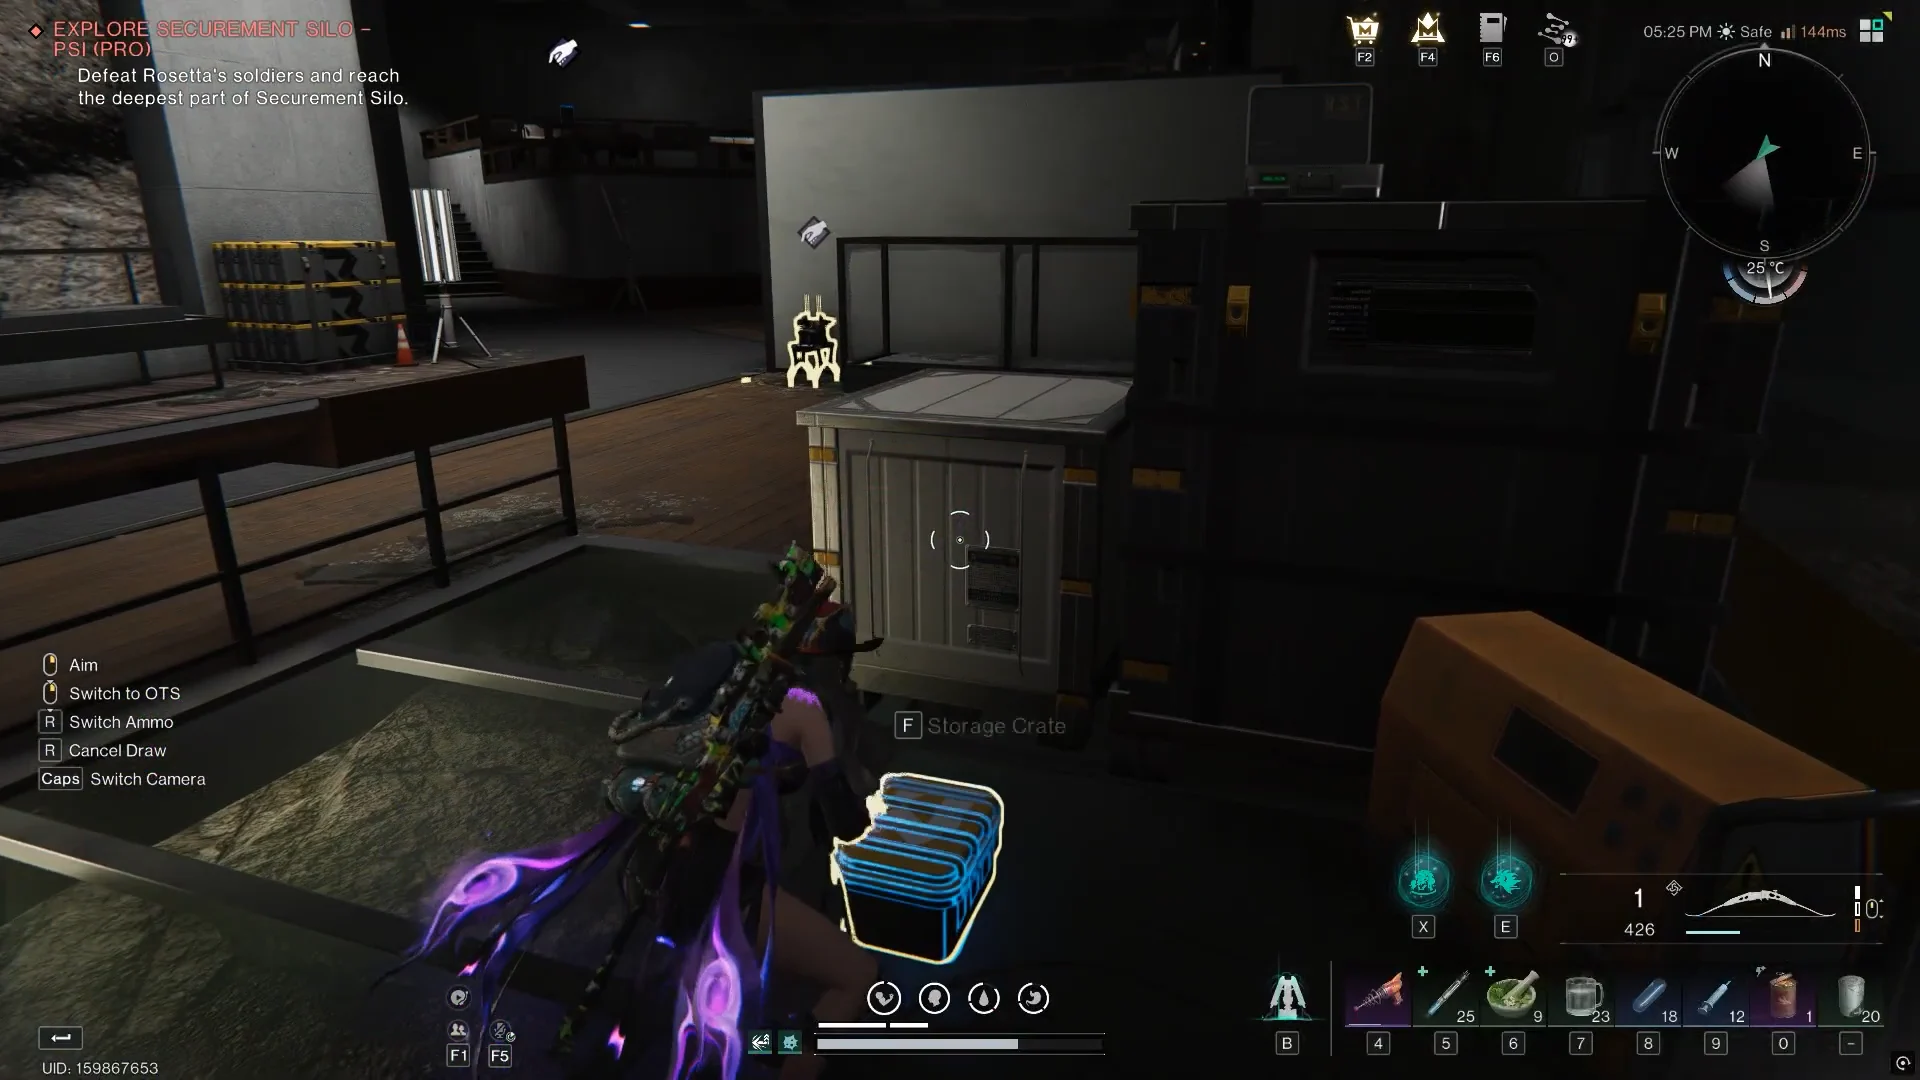
Once the floor is clear, open every storage crate and cabinet on the upper level. A second wave, including an elite, can spawn after the first kills, so don’t start looting too early.
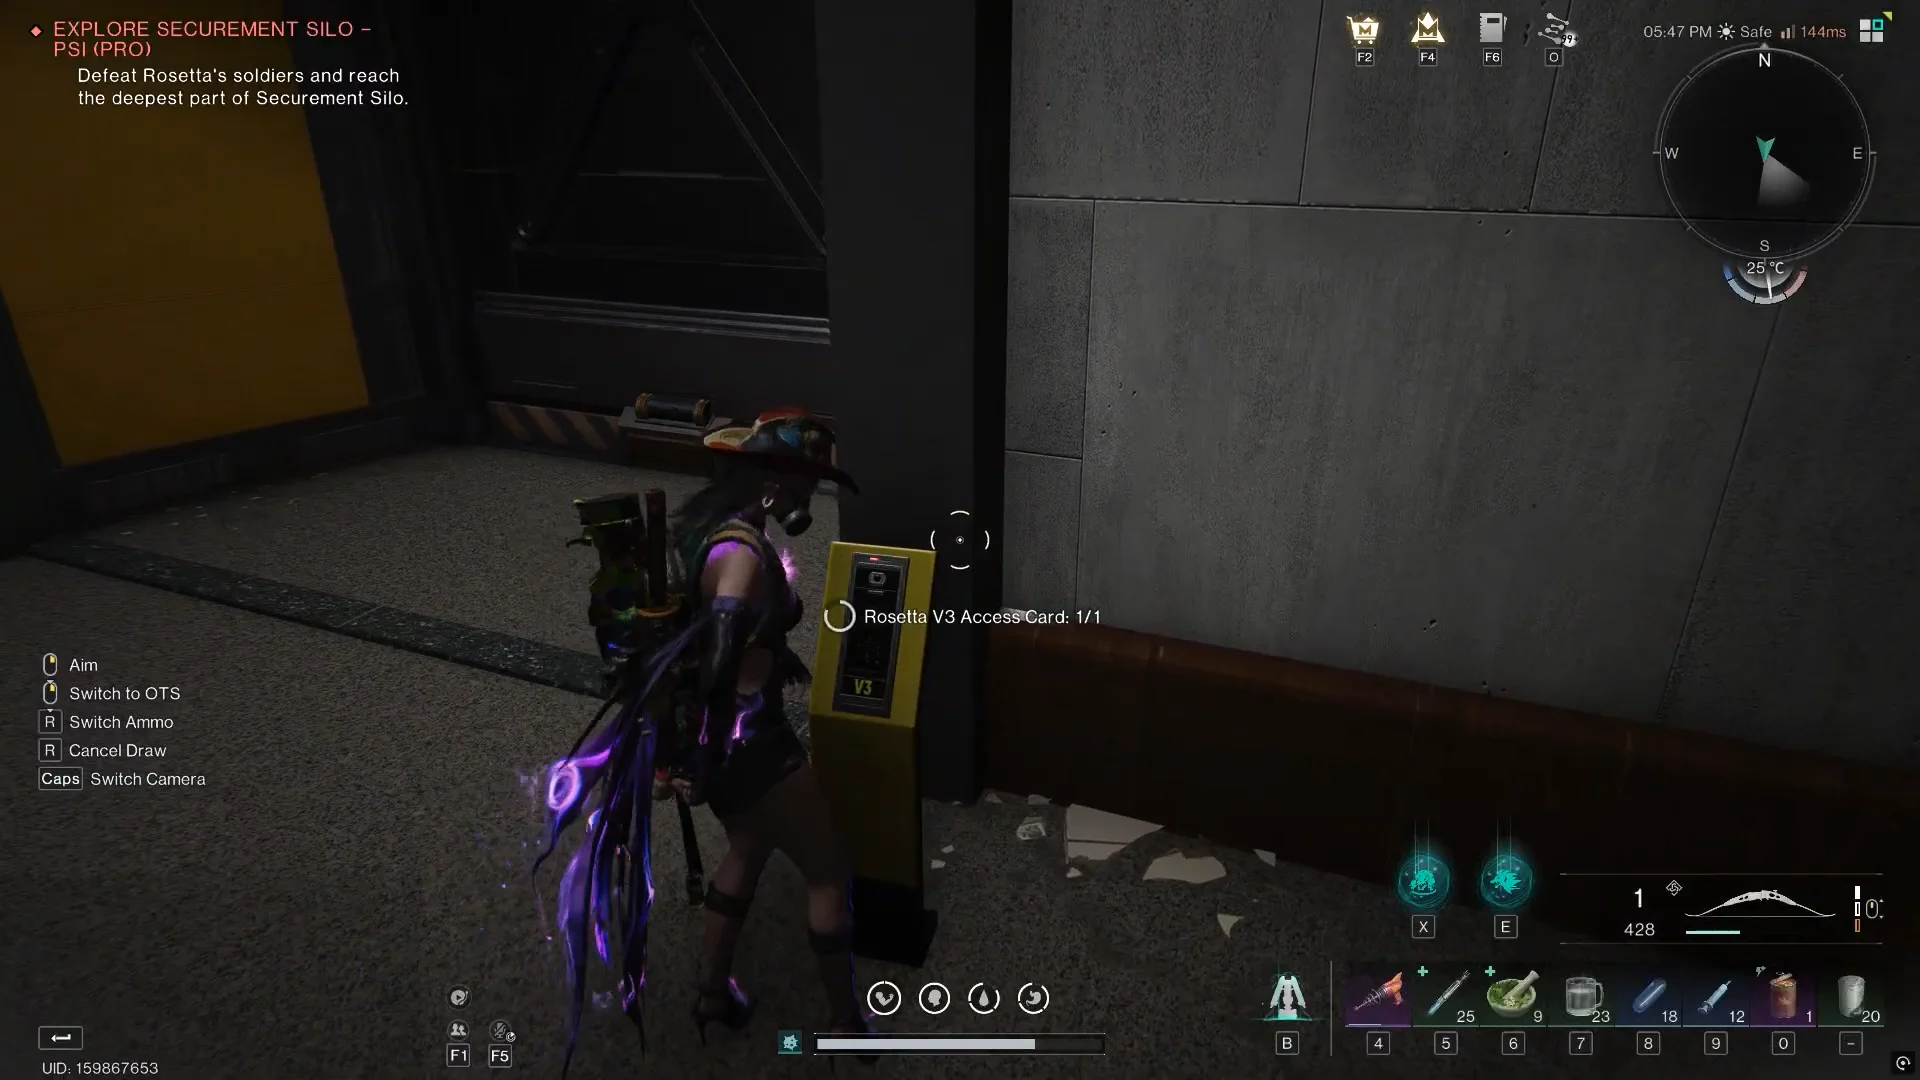
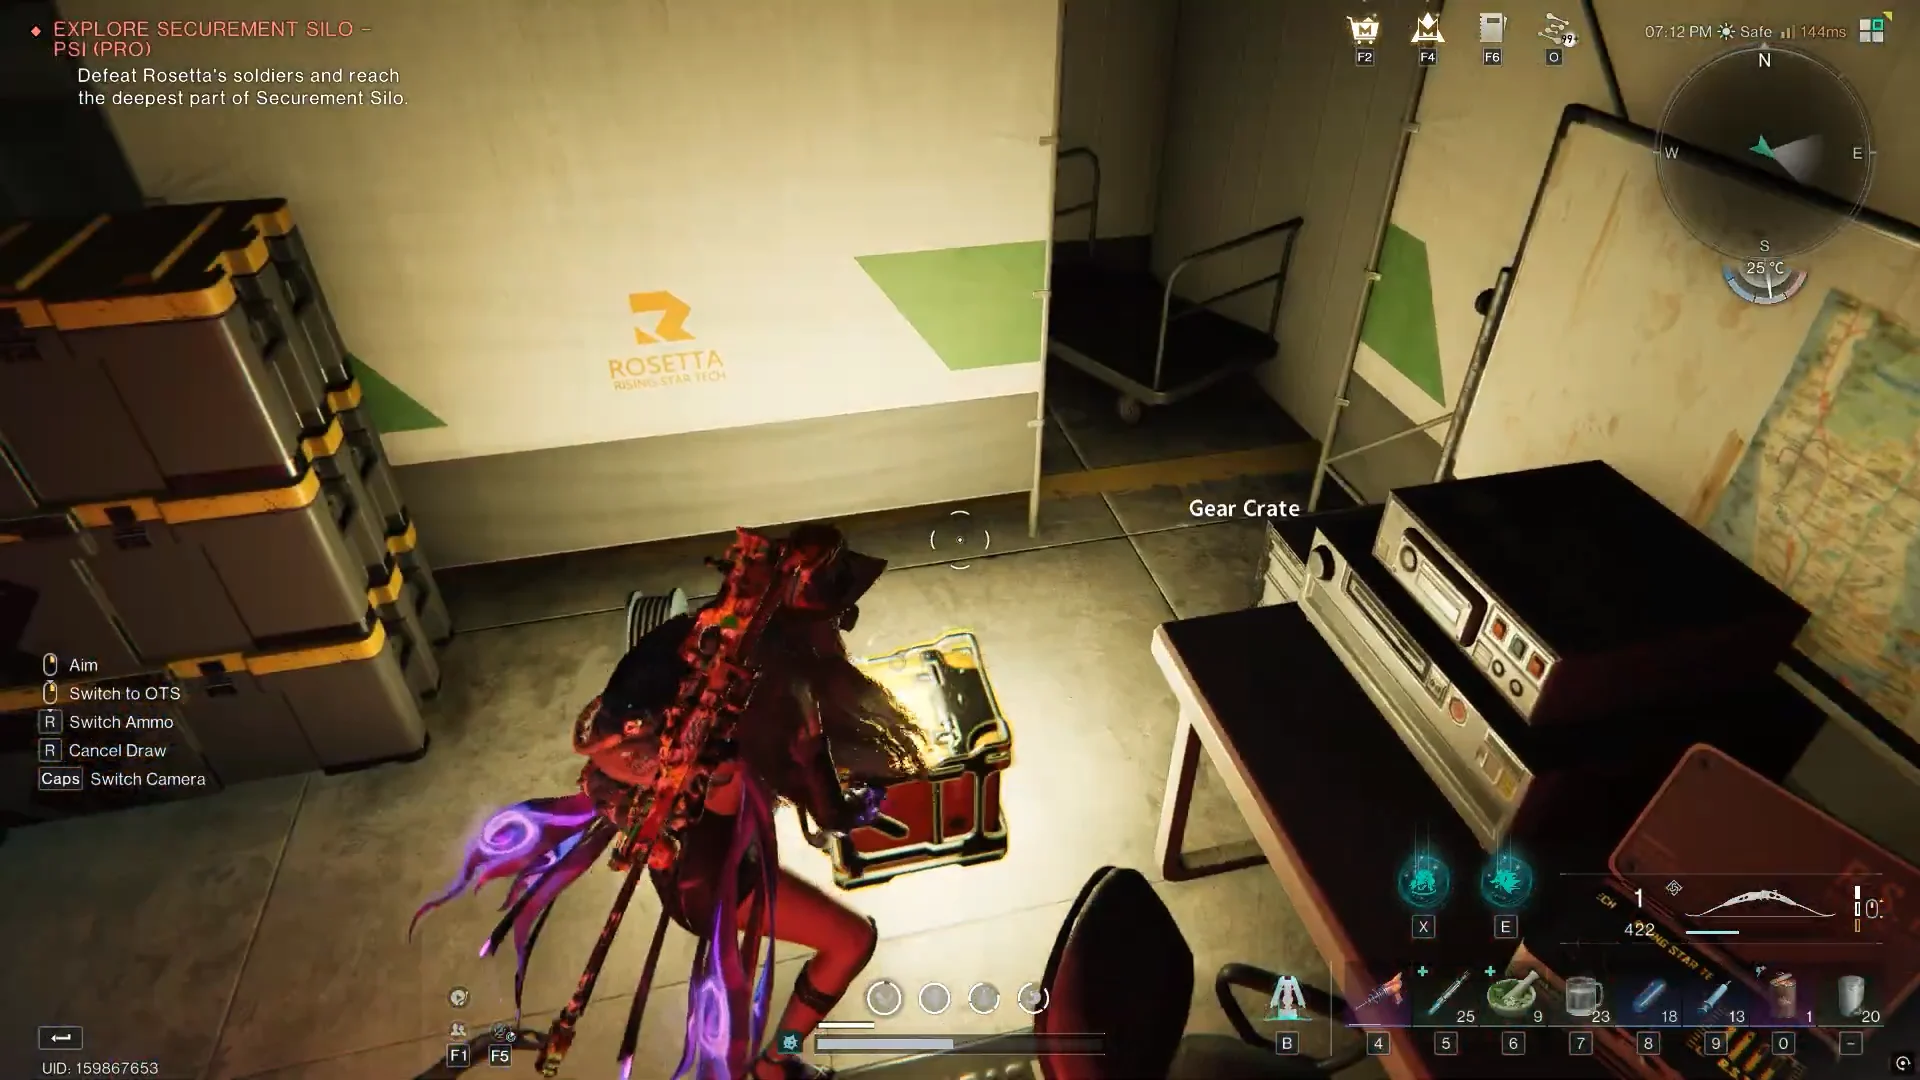
Head up into the office lounge and open the glowing crate on the table to get the Rosetta V3 Access Card. Then use it on the yellow V3 terminal beside the blast door to open the passage.
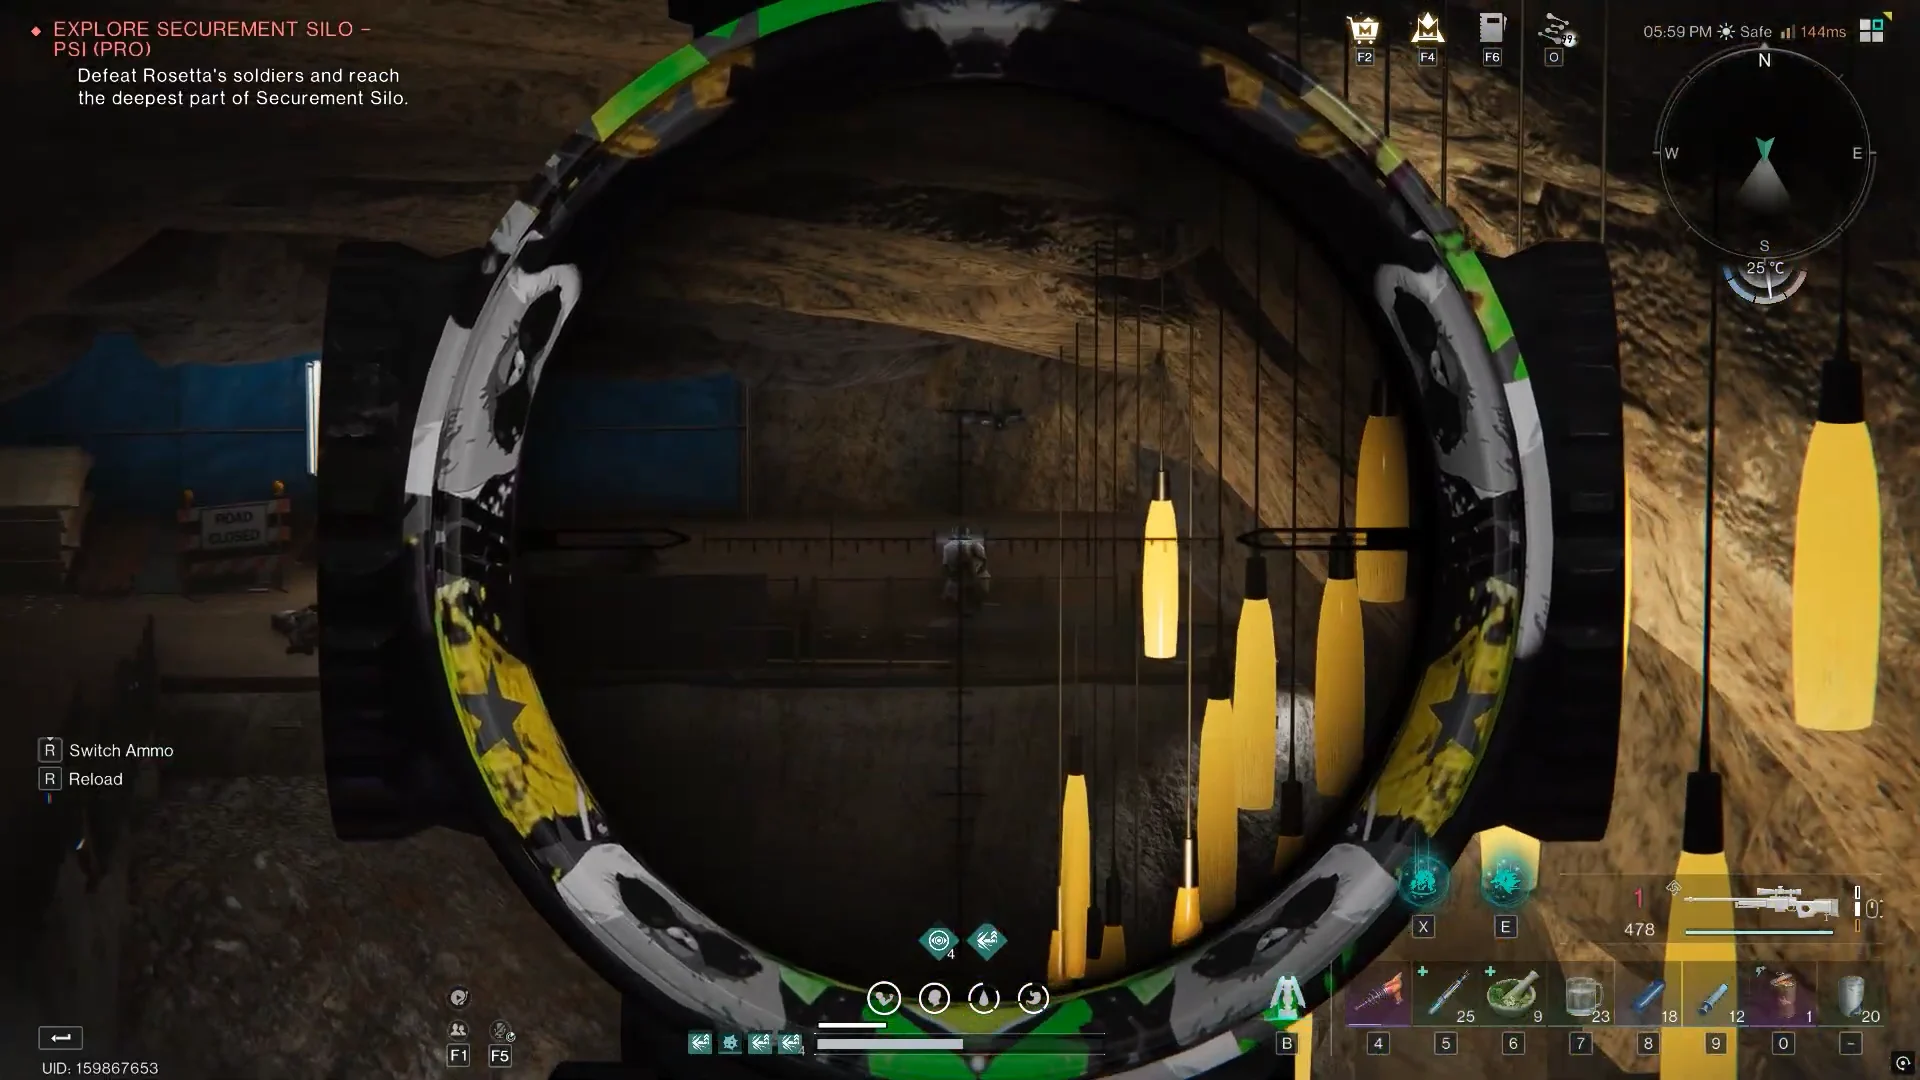
Stop at the entrance of the long mine-shaft cavern and switch to the AWS.338 – Bullseye. Snipers and guards are posted on distant walkways and platforms. From the entrance ledge you can kill most of them without pulling the rest.
Work down the wooden catwalks, shooting any remaining snipers below, and loot the crates along the path. Grenade throwers and drone summoners hold the lower walkways, so keep moving between pieces of cover.
Enter the multi-level mess hall from the upper balcony and shoot the soldiers around the bar counters from above. A Rosetta Elite joins the fight here. It hits hard up close, so keep your distance and keep using the elevated cover.
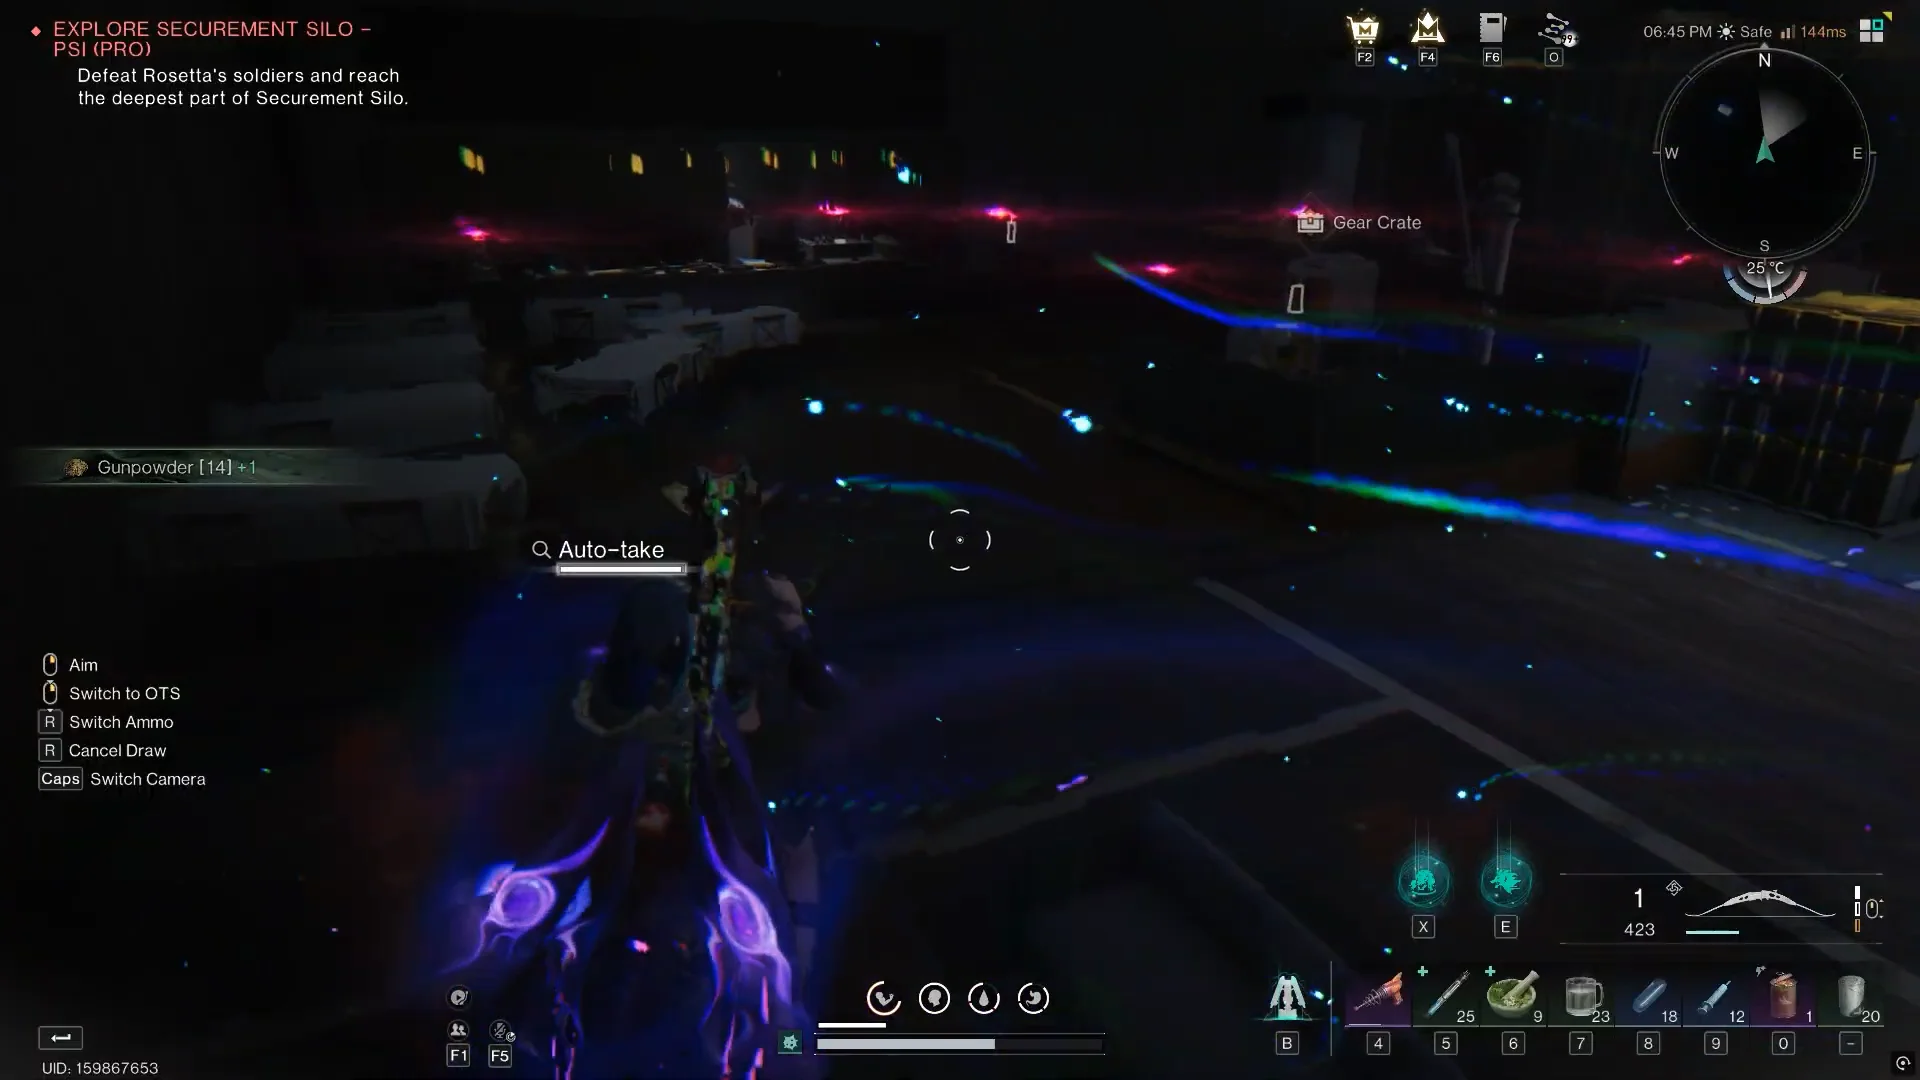
Past the access doors the path splits. Take the right-hand laser corridor first. Crouch, roll, or jump through the beams to reach the Gear Crate at the end, then use the wall console to switch those lasers off.
Go back and take the second laser corridor. Time your movement through the beam pattern, then use the console at the far end to disable the traps and unlock the door to the frozen arena.
Touching a laser deals significant damage. On Pro, one careless sprint through a corridor can end a solo run, so wait for each gap instead of rushing.
Empty House boss fight: breaking the generators solo
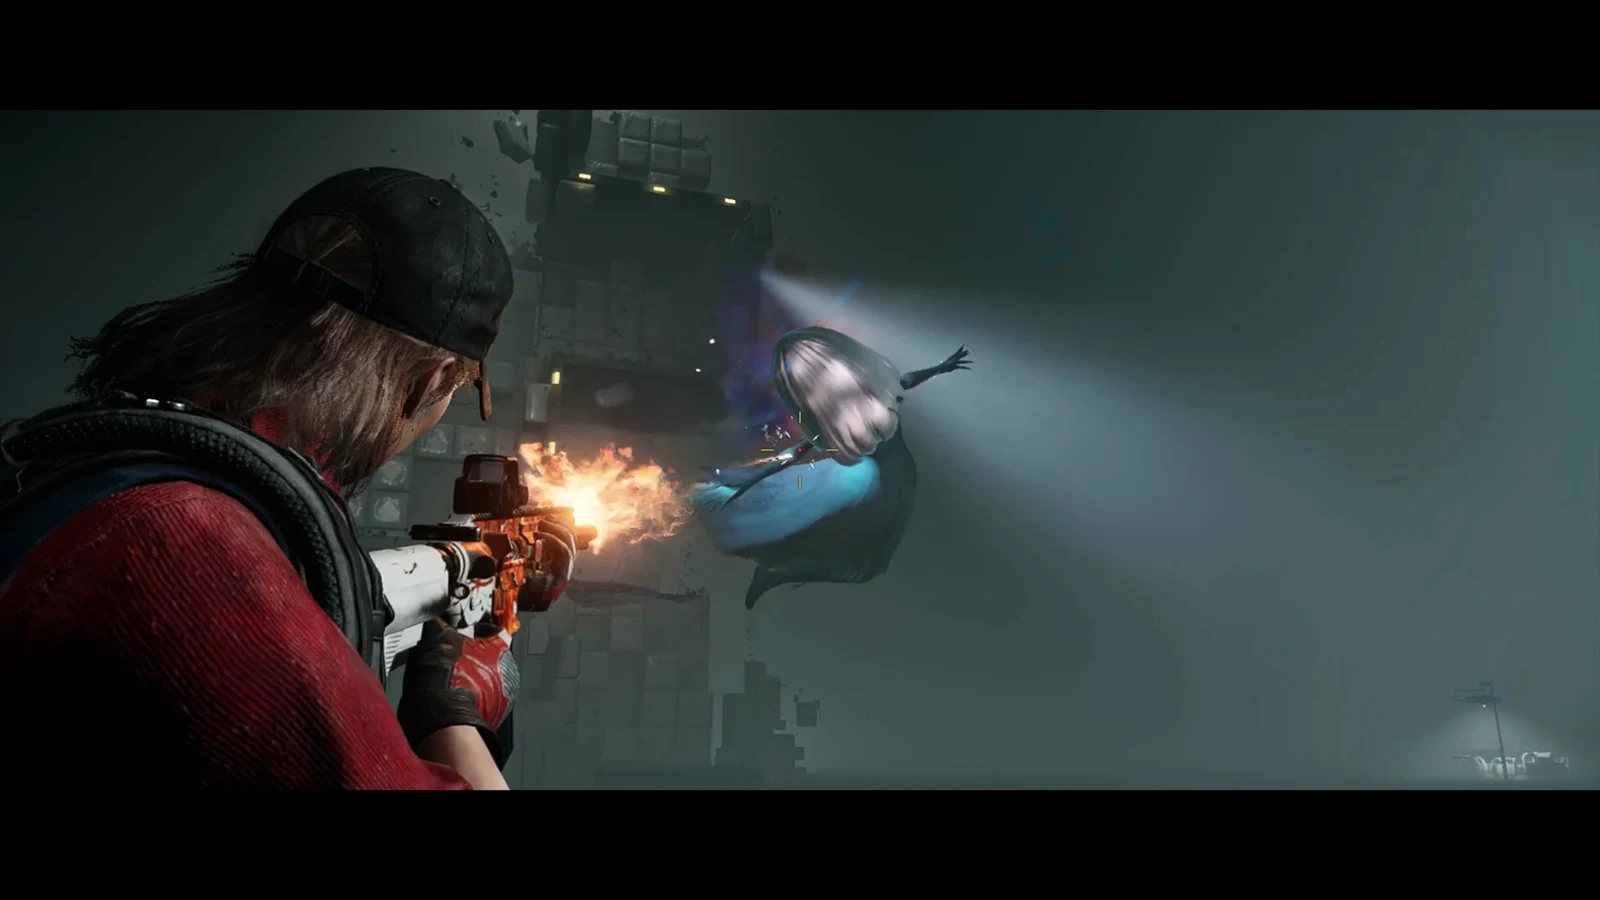
The Empty House is a floating fridge with a huge health pool. Glowing wires run from it to generators around the arena, and those generators keep it invulnerable. When the boss spots you, the on-screen message reads “Anomaly Fridge spotted the intruder!” Frozen Rosetta soldiers are scattered around the room. The fight thaws them out over time, and destroying a generator also releases more of them, including elites later on.
Clear the active adds near the entrance. Keep watching the floor for red circular indicators, which mark where ice stalactites and icy projectiles are about to land.
Pick up an Ice Spike from the ground with F, then throw it at the black, ice-encased shield around a generator. Follow the glowing wires if you lose track of where a generator is. One sits on an elevated platform, and one is behind a frost-blocked alcove that the spike also smashes open.
Repeat the spike-and-shoot cycle for the remaining generators, usually four in total. If the Fridge turns invulnerable again during a phase, go back to the generators until the message “Fridge has lost the power of the anomaly.” appears.
Climb the scaffold stairs to the high catwalk, shoot any Rosetta snipers stationed there, and crouch behind the crates or metal railing. Summon Lonewolf’s Whisper and fire crits into the Fridge from up there until it dies.
The Fridge moves slowly and can’t climb the terraced stairs around the arena’s edge. The upper levels are the safest place to do your damage, as long as you stay out of line of its frost blasts.
Confirming the clear and Silo PSI Pro rewards
The run is complete when the VICTORY banner appears. After that, glide or walk to the boss remains on the snowy mound and interact with the reward rift to claim your drops. The end-of-run screen confirms the Securement Silo – PSI Lv.60 clear, and solo runs are marked as a Solo Showdown.
Reward
Notes
Pants Mods (armor mods)
Main target-farm reason for this silo
Snow Globe
Deviation captured at the rift
Eclipse Cortex Lv. 3
Hard and Pro only
Stardust Source
Crafting material
Energy Link
Upgrade material
Armor Mod Parts
Crafting material
Weapons and armor
Random gear drops
Pants Mods are the reason most players return here. Because Pro drops Eclipse Cortex Lv. 3 and the run takes roughly ten minutes once the route is learned, a solo Pro clear is a practical way to farm those mods without waiting for a group.