Onimusha: Way of the Sword drops you into a Genma-infested Kyoto as Miyamoto Musashi with a cursed gauntlet on your arm and almost no tutorial padding. The early hours reward patience over button-mashing, and most of the systems that decide whether you live or die are introduced quietly during the run through Kiyomizu-dera Temple. Learning what each key does before the first real duel saves a lot of pain later.
Quick answer: Hold guard and react to enemy swings instead of blocking on instinct, press C to absorb souls after every kill, press E for a fast heal, and bank your Oni Armament meter (G) for the Sasaki Ganryu fight at the end of the Kiyomizu route.
Default PC controls you need in the first hour
Movement is standard WASD, and jumping is handled automatically — Musashi vaults ledges and gaps on his own when you run at them, so there is no dedicated jump input to fumble. Everything else sits on a handful of keys that the opening area teaches one at a time.
| Key | What it does |
|---|---|
| M | Opens the map. Yellow dots mark the path you have already walked, and Spirit Mirrors are flagged on it. |
| C | Absorbs the soul orbs dropped by defeated Genma. |
| E | Instantly eats a Hozuki berry to restore health. |
| Tab | Opens the quick slot wheel for other consumables, such as a Lesser Soul Crystal. |
| G | Triggers your Oni Armament attack once the meter is full. |
| V | Activates Oni Vision to reveal hidden objects. |
| Ctrl (hold and release) | Aims and fires the Oni Bow. |
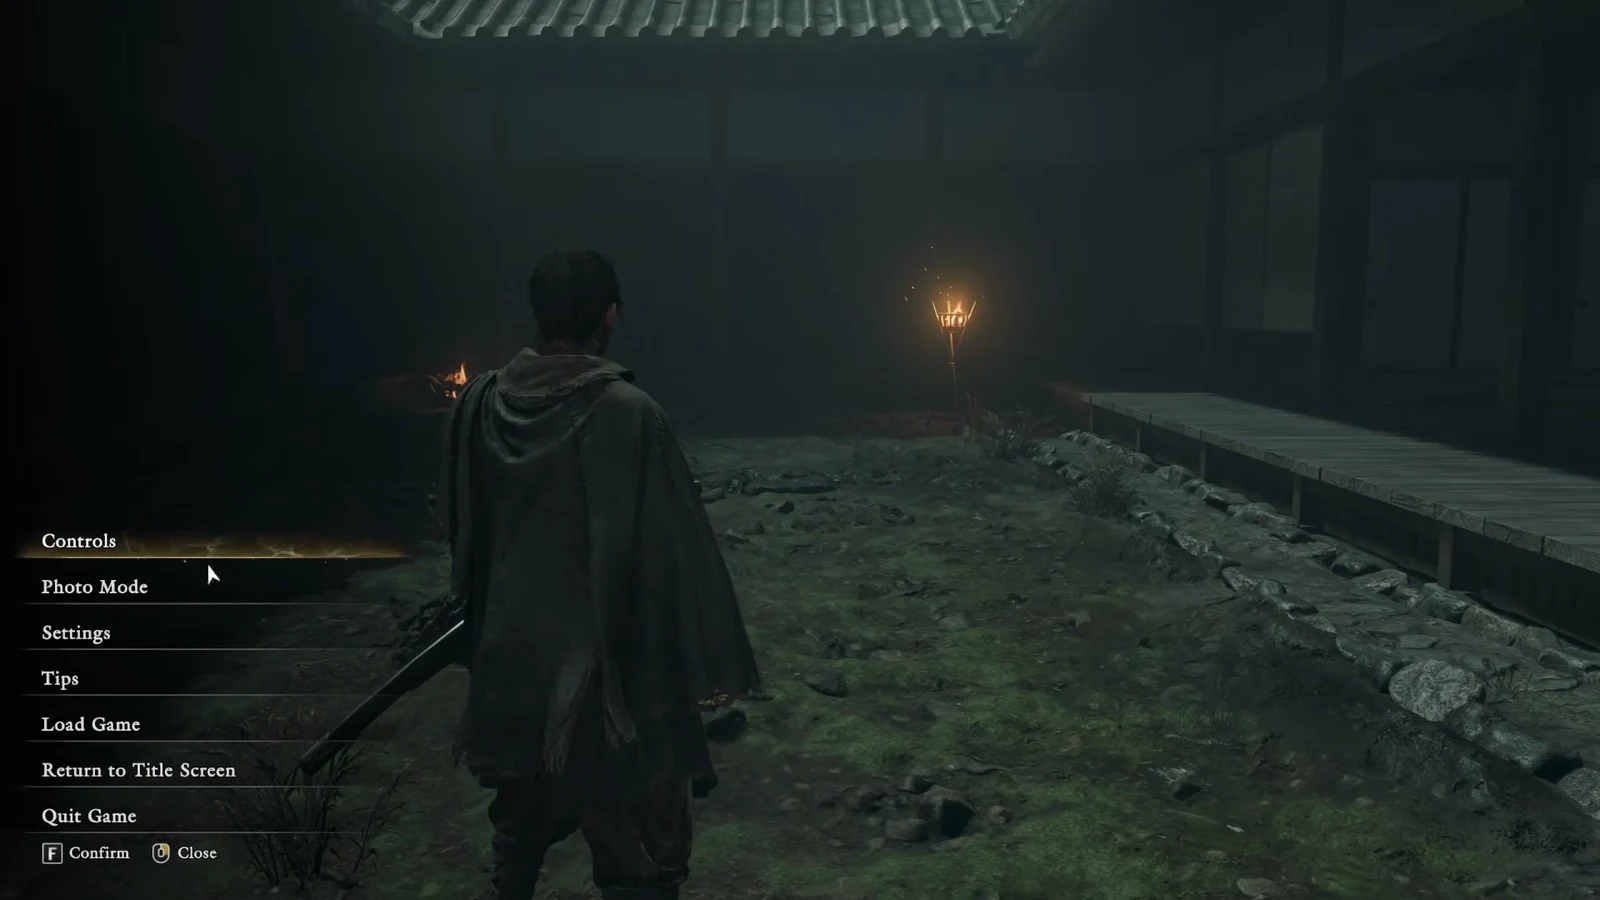
The pause menu is worth a detour before you fight anything serious. Alongside the controls list, it carries a Tips section that breaks down combat, items and equipment in short entries — including Stamina and Break Issen, Blade Barrages, Assassinations, Parries and the Blazing State, and Reflex Dodges and Reflex Combos. Those pages stay available all game, so you can re-read a mechanic mid-run instead of guessing.
Soul orbs: What blue, yellow and red actually give you
Dead Genma leave coloured orbs behind, and they do not vanish into your character automatically. You have to press C to pull them in, which means soul absorption is a decision you make during a fight rather than a free reward. Absorb when an enemy is down, right after a clean counter, or when you have opened up enough distance to be safe.
| Orb colour | Effect |
|---|---|
| Blue | Fills the meter for your Oni Armament attack. |
| Yellow | Restores health, which makes it the priority when you are low. |
| Red | Banked for progression and upgrades later in the game. |
Tip: if you are one hit from death and there is a yellow orb on the floor, absorbing it is often faster and safer than opening the item wheel.
Parry, deflect and Issen timing
Combat is built around blade-on-blade exchanges, not long combo strings. Blocking by habit gets you stamina-broken; reacting to the specific swing coming at you is the whole game. Parrying shuts an attack down and hands you a safe window to punish, and it feeds the Blazing State. Deflecting is the harsher option — it strips a large chunk of enemy stamina and can break their posture, but it can leave the enemy able to follow up, so you need an answer ready.
Issen is the series’ signature critical strike, landed on a very tight window when an enemy commits to an attack. It is not something to spam. Practise it on ordinary Genma along the temple route so the rhythm is muscle memory before a boss punishes a mistimed input. Chain Issen and Break Issen build on the same read, and repeated dodging fills a Reflex gauge that pays out as a Reflex Combo — useful when a group of small enemies is crowding you.
Healing items, the quick slot wheel and your Storehouse
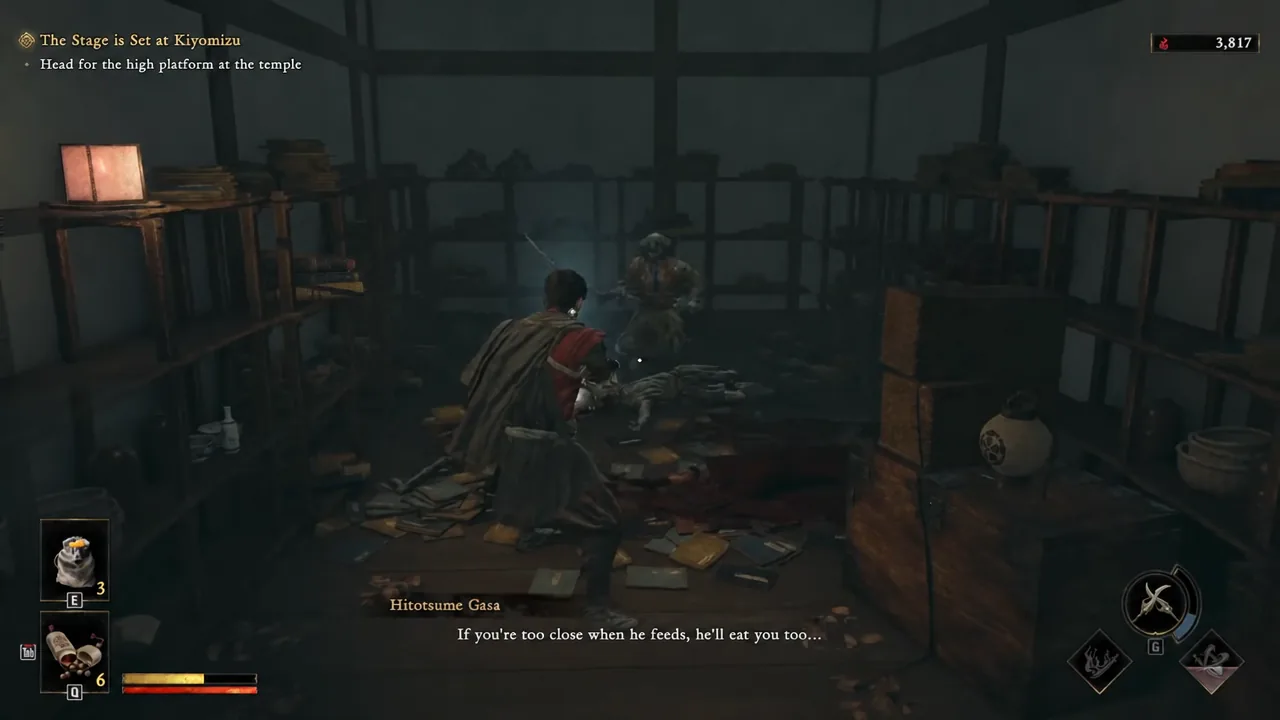
Hozuki berries are your bread-and-butter heal, carried in Hozuki Pouches and used with a single tap of E so you are not stuck in a menu while something is swinging at you. Anything else — a Minor Miracle Cure, a Lesser Soul Crystal, a Lesser Might Talisman or a Lesser Defense Talisman — goes through the quick slot wheel on Tab.
Your carrying capacity is limited, but nothing is lost when it fills up. Extra pickups are sent to the Storehouse automatically, and you retrieve them later rather than dropping them in the field. That makes it safe to grab every item you pass on the way through the temple grounds.
Spirit Mirrors: Saving, storage and switching difficulty
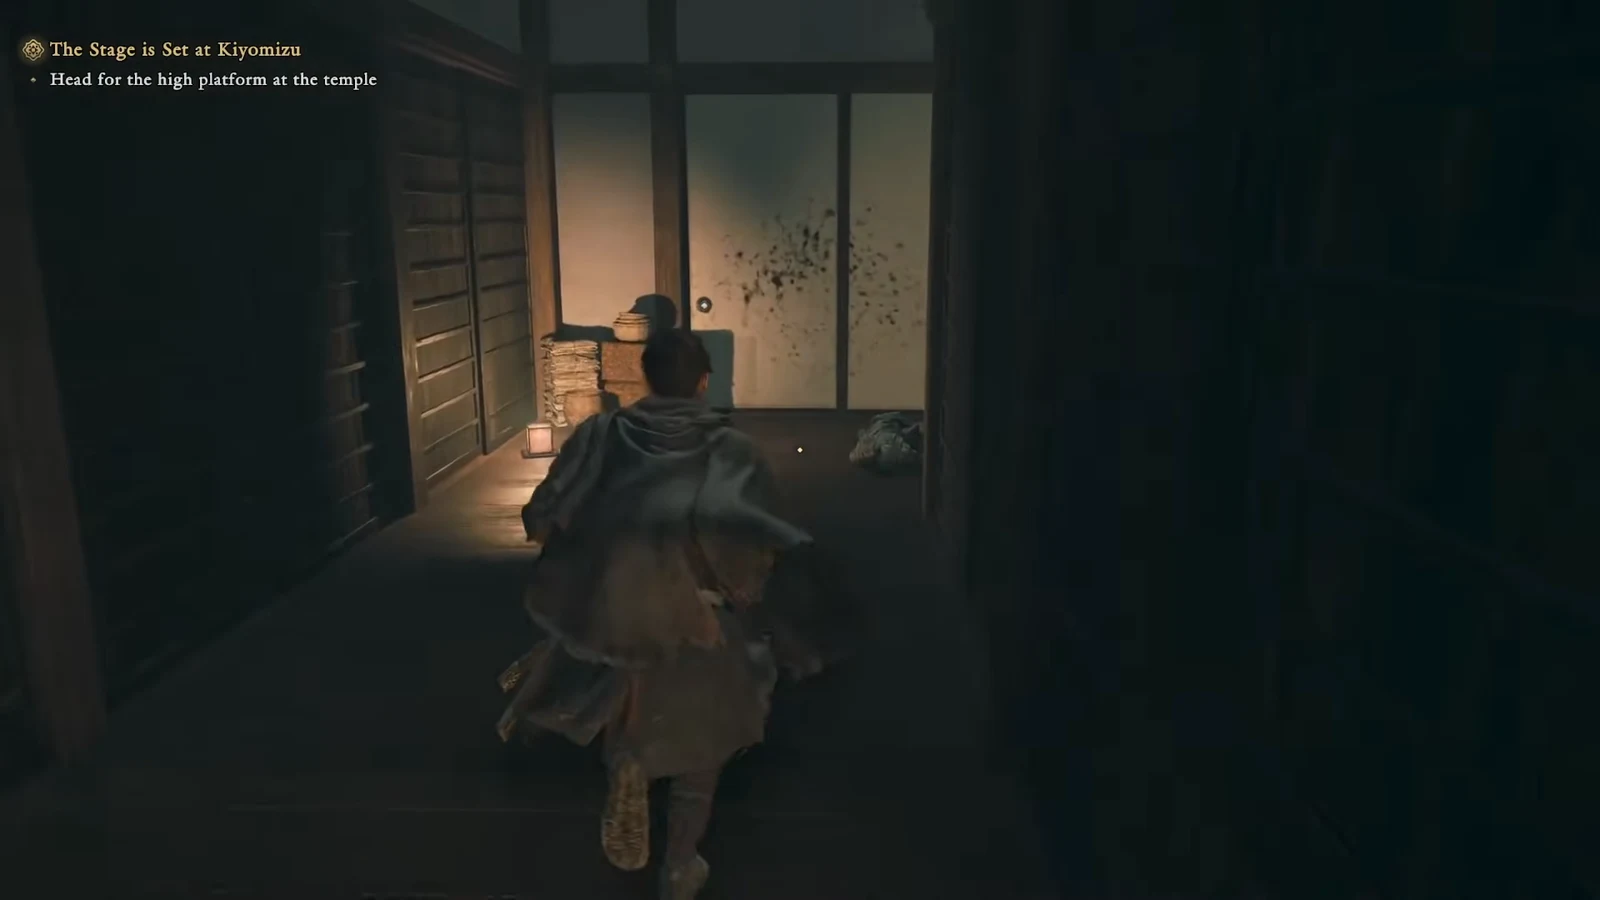
Spirit Mirrors are the game’s hub points, and the first one you meet sits at the Nio-mon Gate. Interacting with one lets you save your progress, pull items out of the Storehouse, and change the difficulty setting. They appear as markers on the map, so pressing M is the quickest way to work out how far the next safe point is.
Because difficulty is adjustable here rather than locked at the start, there is no penalty for beginning cautiously. If a stretch of enemies is grinding you down, walk back to a mirror and change the setting instead of repeating the same death.
Story mode vs Action mode
Two settings are available. The practical difference is whether the game tells you which button to press mid-fight.
| Setting | What changes | Best for |
|---|---|---|
| Story (Storyline Focus) | On-screen action prompts show the exact input for deflecting and attacking as enemies swing. | Learning the defensive rhythm and following the narrative. |
| Action (Combat Focus) | The prompts are removed, so you read enemy animations yourself. | Players who want the timing challenge the combat is designed around. |
A reasonable route is to open on Story, use the prompts as a live tutorial for parry and deflect windows, then switch to Action at a Spirit Mirror once you can call the timing without help. Talismans and other pickups you collect along the way carry over regardless of the setting.
Oni Vision and the Oni Bow for hidden paths
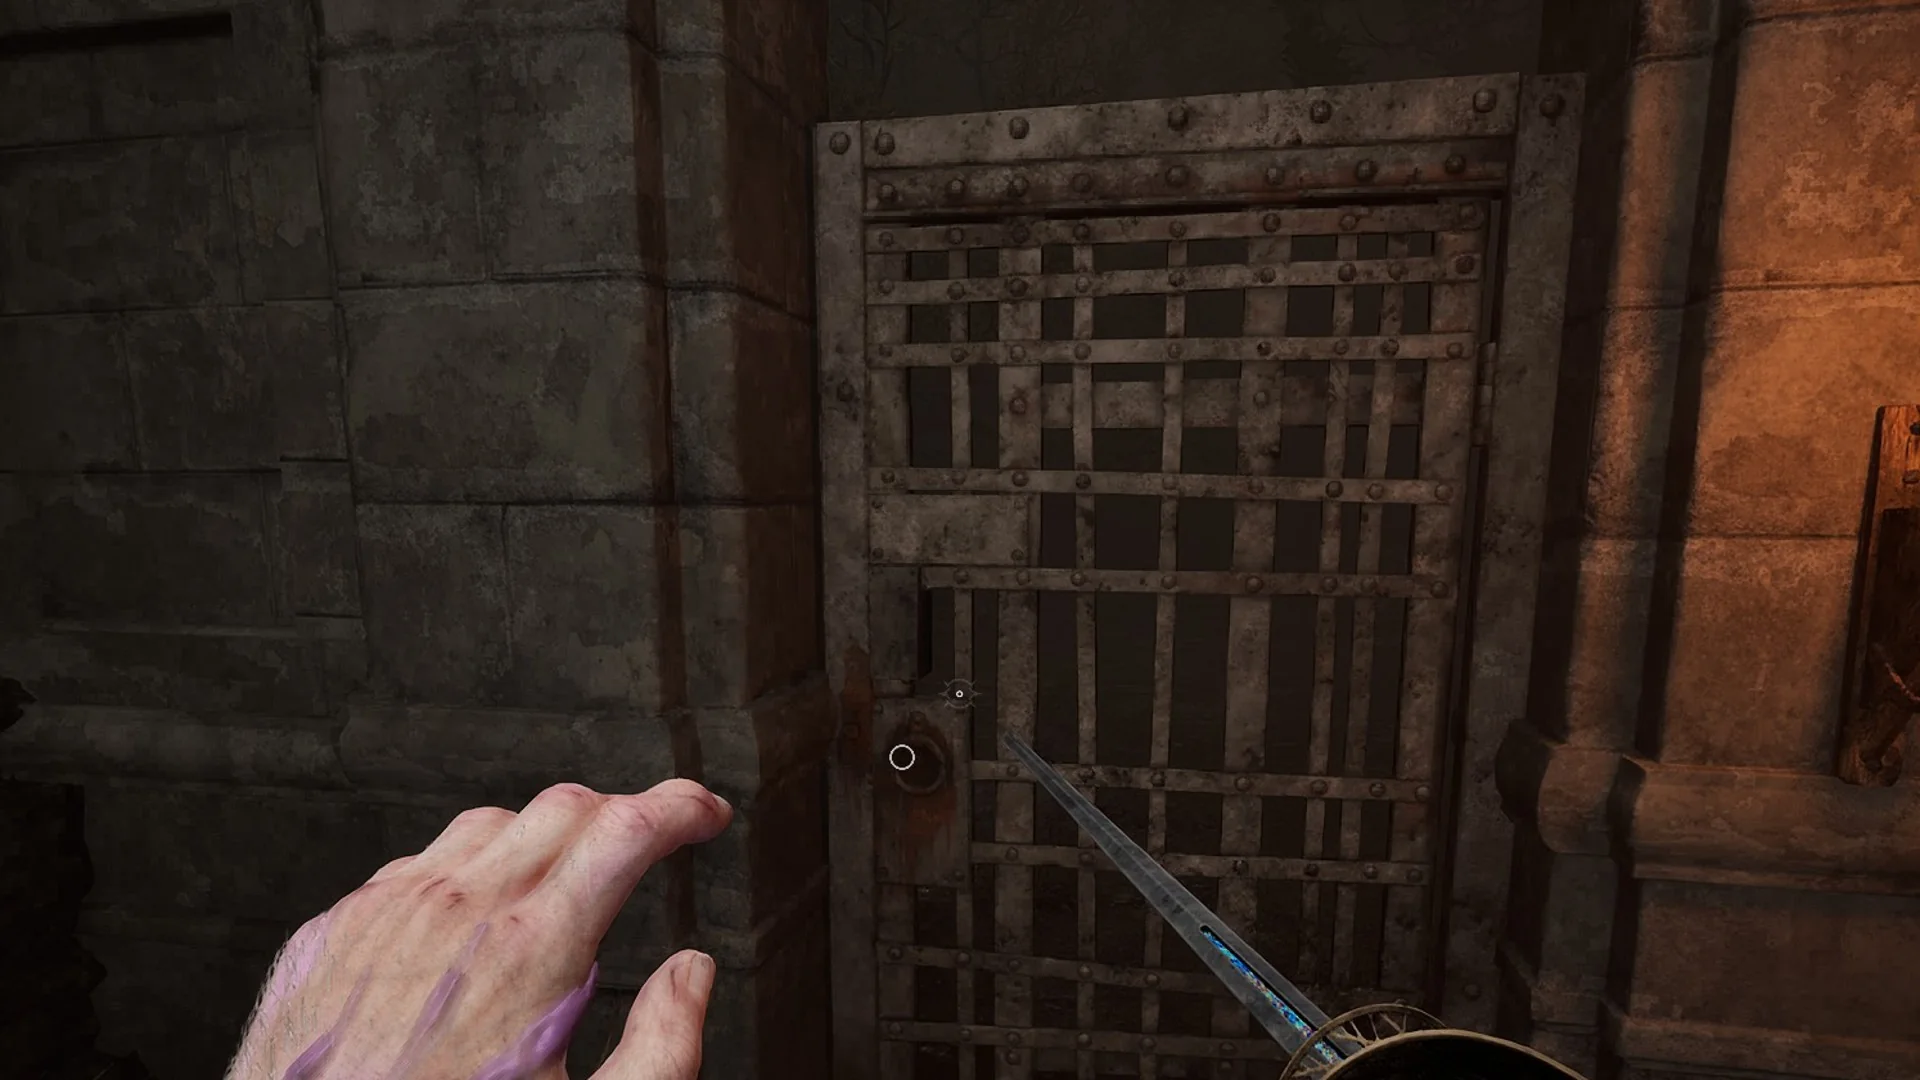
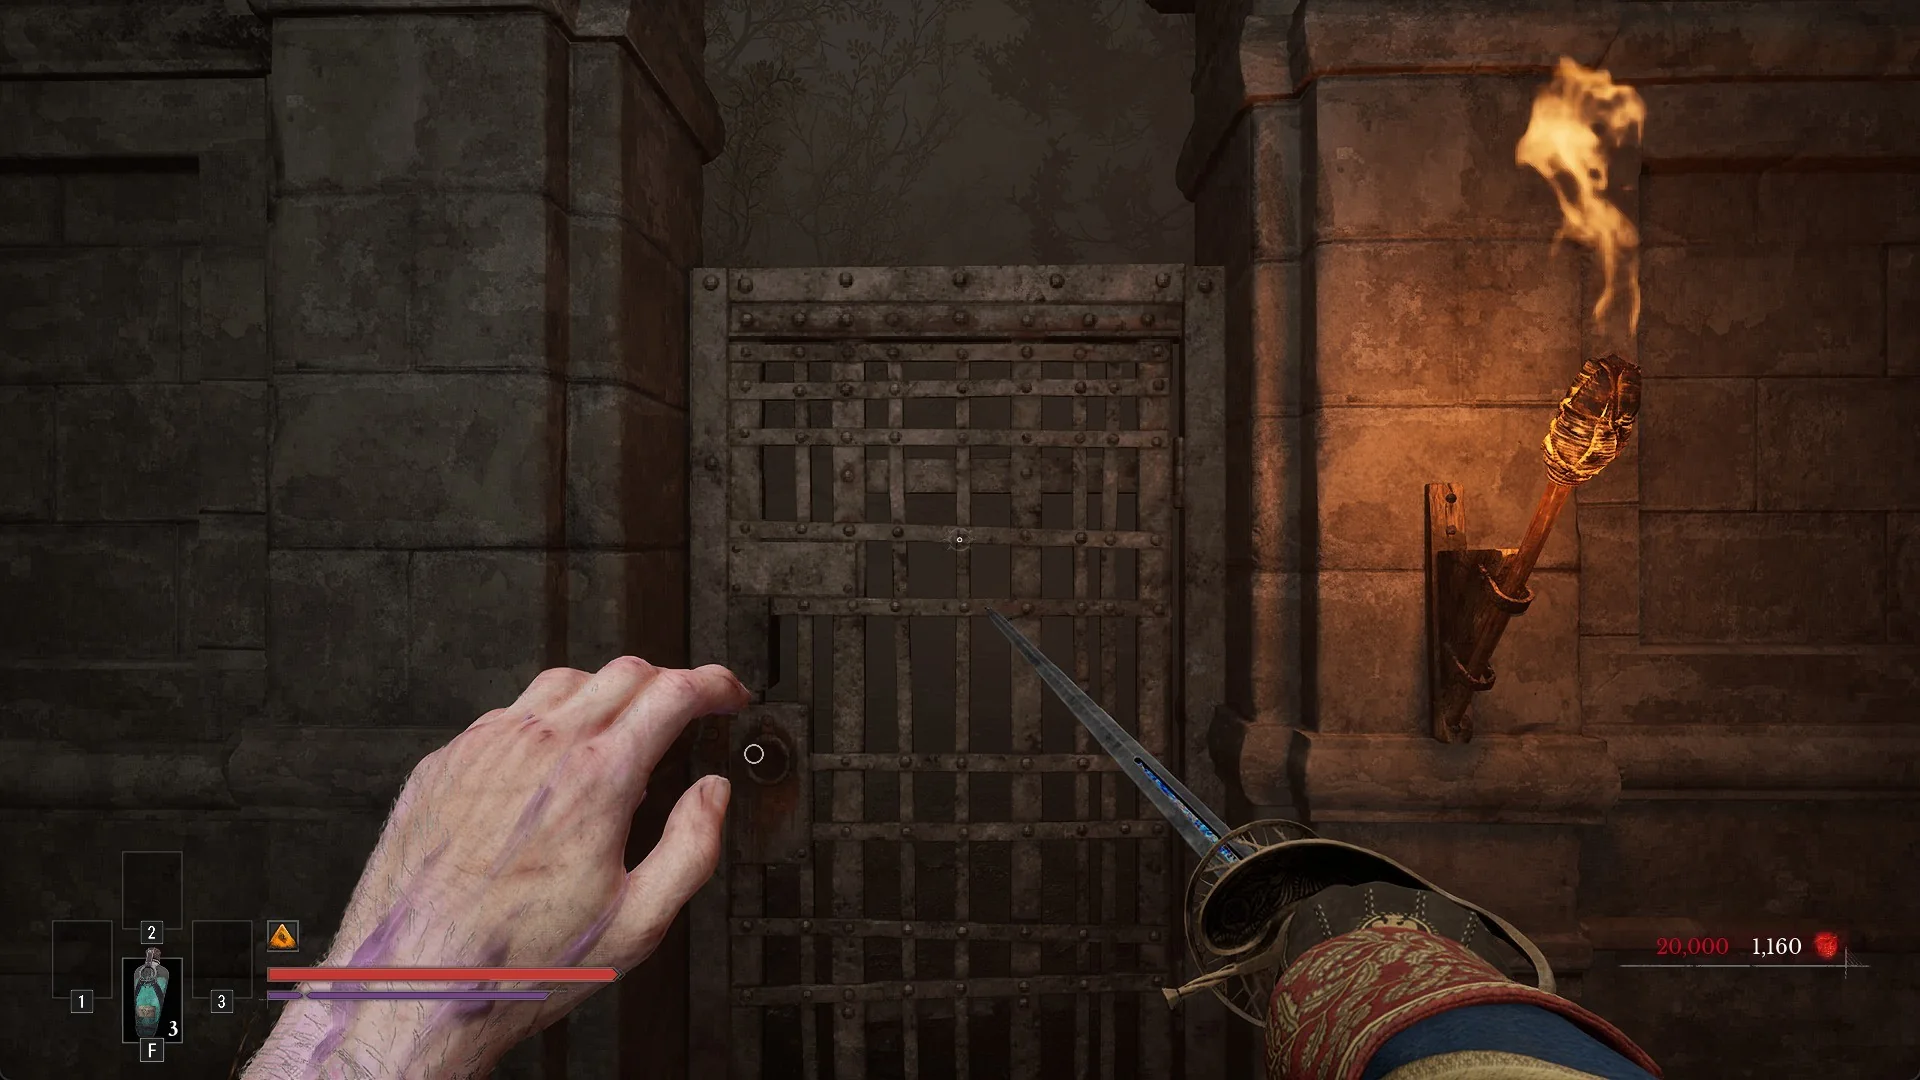
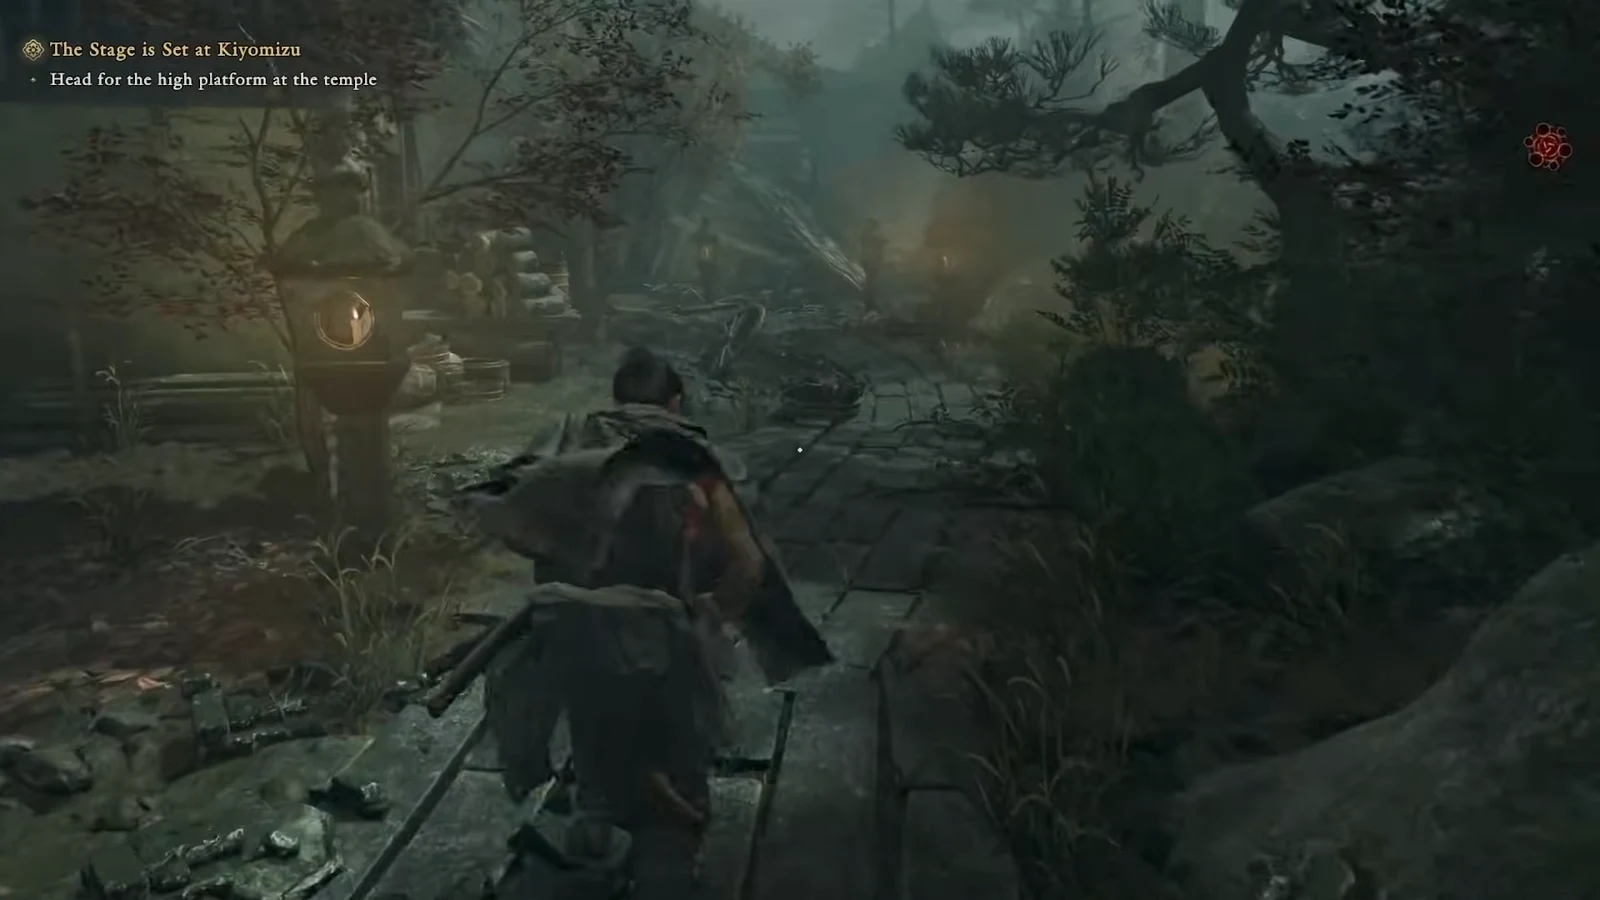
Exploration runs on two gauntlet abilities. Oni Vision, on V, reveals things that are invisible in normal view, most importantly Oni Glyphs. You do not have to guess when to use it — your gauntlet flashes when there is something nearby worth looking at, and the objective text will sometimes tell you outright to investigate with Oni Vision.
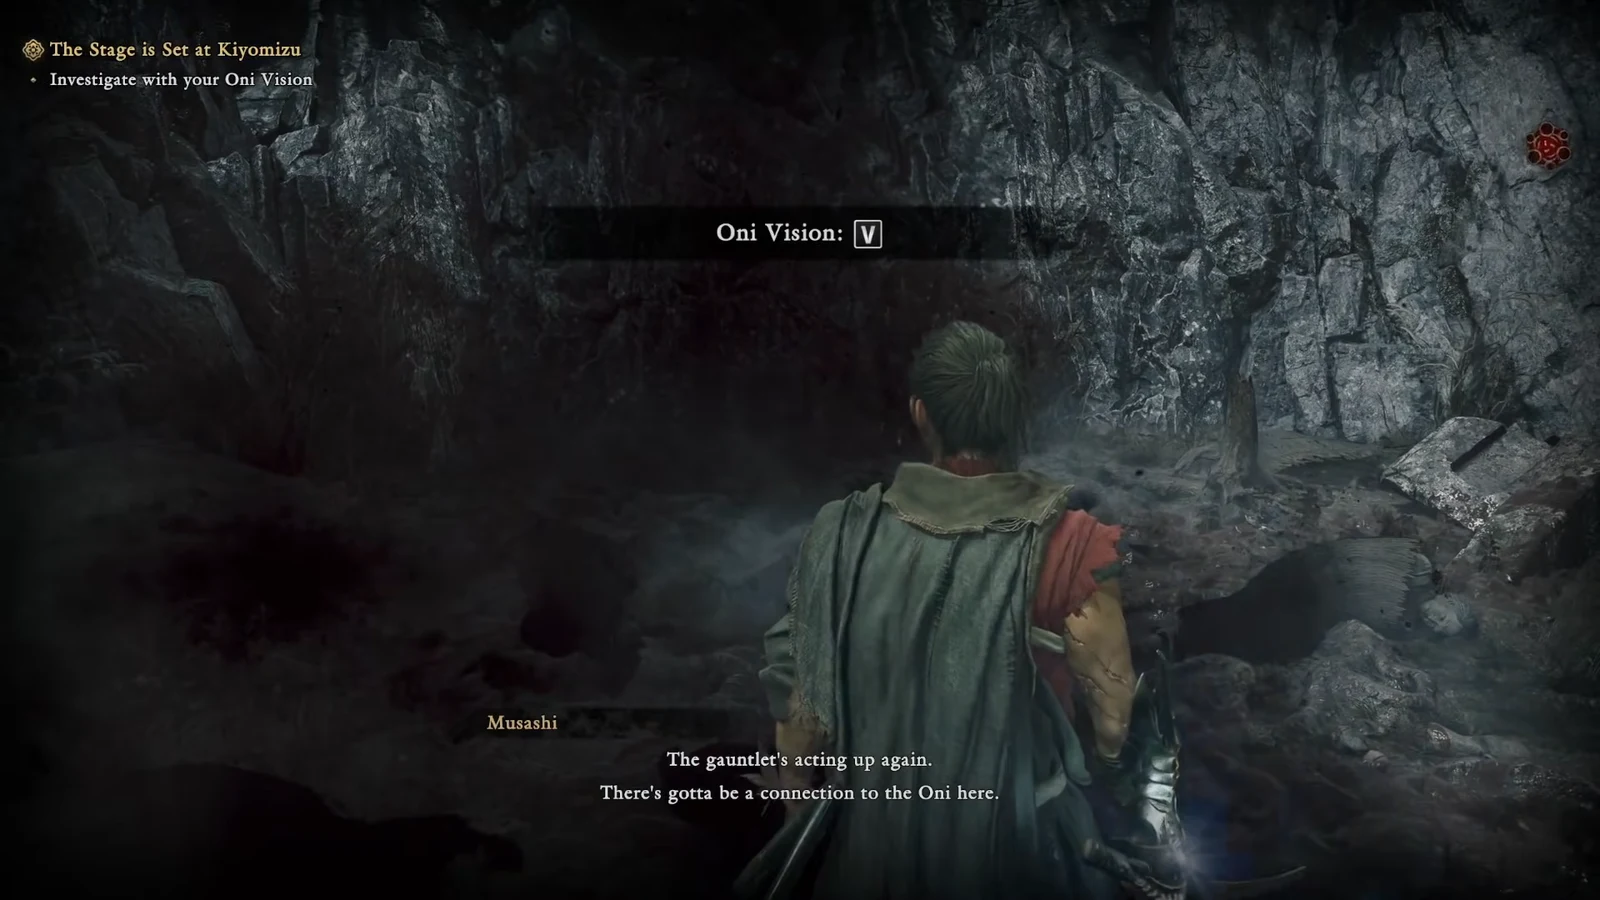
The Oni Bow handles the rest. Hold Ctrl to aim, release to fire, and use it on the mechanisms that open doors and shift the environment. If a route appears blocked with no enemies around, the answer is almost always a glyph you have not lit up or a target you have not shot.
Sasaki Ganryu boss fight basics
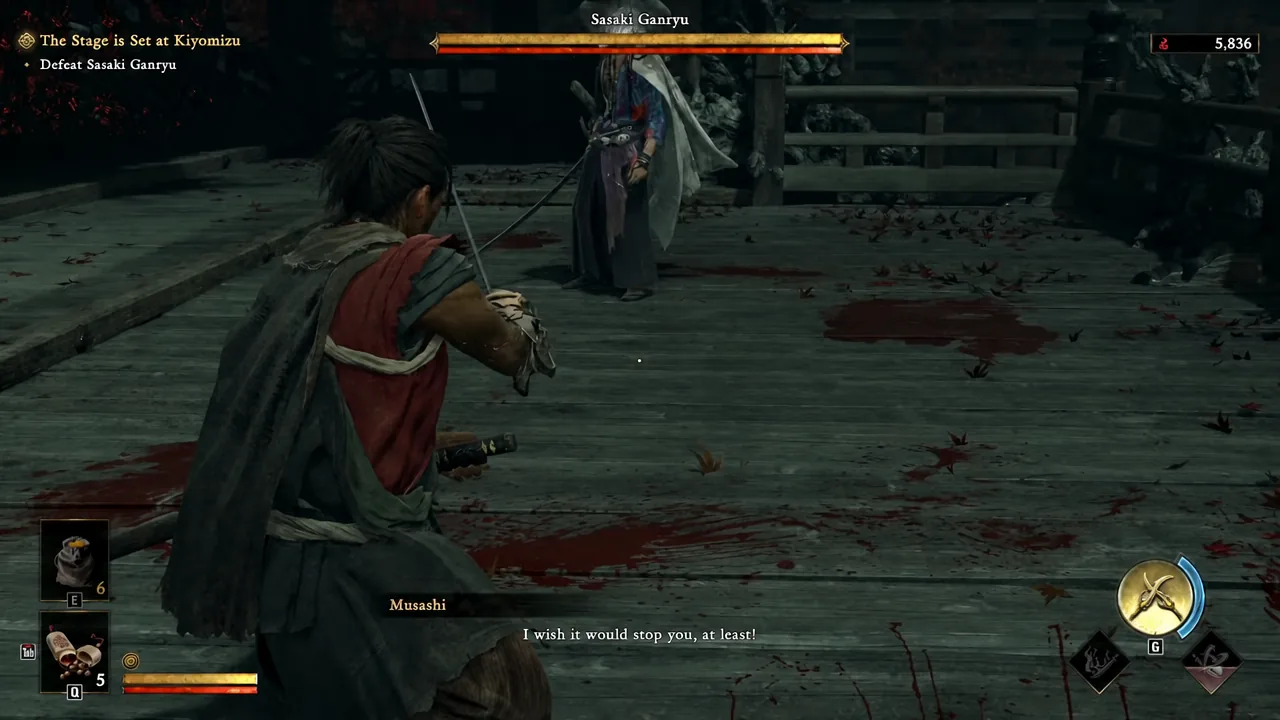
Sasaki Ganryu waits on the temple stage at Kiyomizu-dera, and he is a duel rather than a crowd fight. He carries an Oni Gauntlet of his own, so he does not fold to pressure the way ordinary Genma do. Everything you practised on the way in — reading the swing, parrying instead of blocking, converting the opening into an Issen — is what the encounter is testing.
Two extras matter here. Once your meter is full, G unleashes an Oni Armament attack, which is best saved for the moment he is pressuring you or a clear opening appears. And during certain scripted beats, purple target areas light up on him; use WASD to pick which one you want and land a precise strike on it. Absorb blue orbs whenever the fight gives you breathing room so the meter is ready again for the next window.
Use the free demo as a training run
A free demo is available on PS5, Xbox Series X|S, the Epic Games Store and Steam, and it is the cleanest place to drill the fundamentals. It runs roughly 30 minutes, covers the Kiyomizu-dera route and early encounters, and ends on the Sasaki Ganryu duel. Download size is around 10 GB, so clear the space before you start.
Your demo progress does not carry into the full game, but the save file is not wasted — having demo save data unlocks Charm: Kubi Akari in the full release. Treat the run as a combat sandbox rather than a race to the boss, and repeat the early encounters until parry and deflect stop feeling like coin flips.
None of these systems are complicated on their own. The difficulty comes from stacking them under pressure — holding guard for a deflect while a second Genma closes in, deciding whether to spend a second absorbing a yellow orb, remembering that the wall you cannot climb needs the bow and not the sword. Get the seven keys above into your fingers during the temple run, and the rest of Kyoto stops feeling like an ambush.